¡Hola hivers!💜
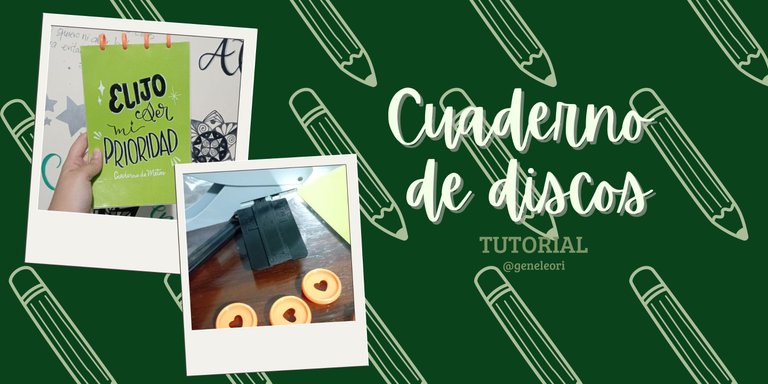
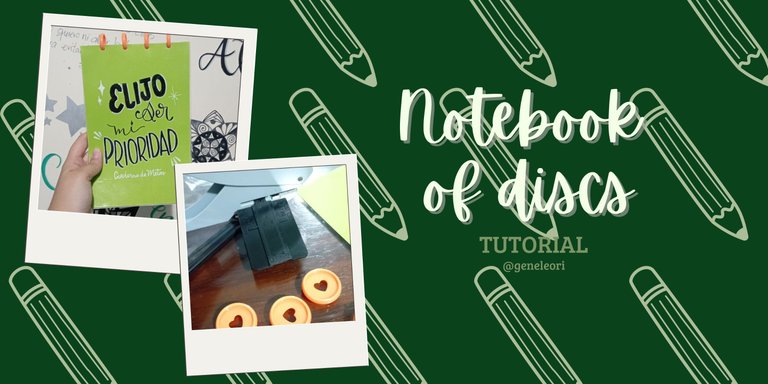
Espero que se encuentren bien y felices, queridos crafters. Tengo varios cuadernos: uno punteado para bocetos, un planner diario para organizar mis cosas, pero me hacía falta un pequeño cuaderno de notas, donde pudiera anotar de todo y desarrollar ideas libremente. Recordé que tenía guardado discos y un abre hueco en forma de hongos, muy parecido al sistema que usan las agendas de la marca “Happy Planner”. Algo que me gusta de este estilo de anillos, es que las hojas se pueden meter y sacar sin ningún problema, asi que seria perfecto para mis notas.
Les muestro el proceso:
MATERIALES
Hojas blancas tamaño carta
Cartulina
Papel contact transparente
Guillotina o cutter
Discos
Abre huecos de hongo
Lápiz
Marcadores de pintura acrílica
PASO A PASO
PASO 1
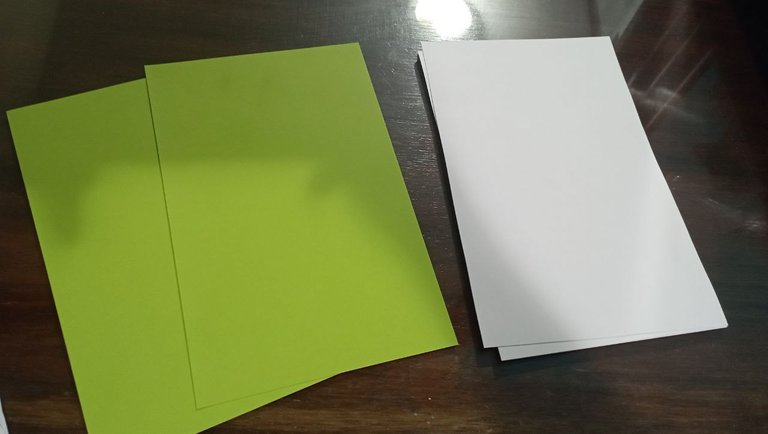
Primero, la idea era que fuera una libreta tamaño media carta, así que con ayuda de la guillotina corte las hojas por la mitad. Use unas 25 hojas, dando un total de 50 hojas. De igual forma, corte la cartulina para la portada. Use una color verde.
PASO 2
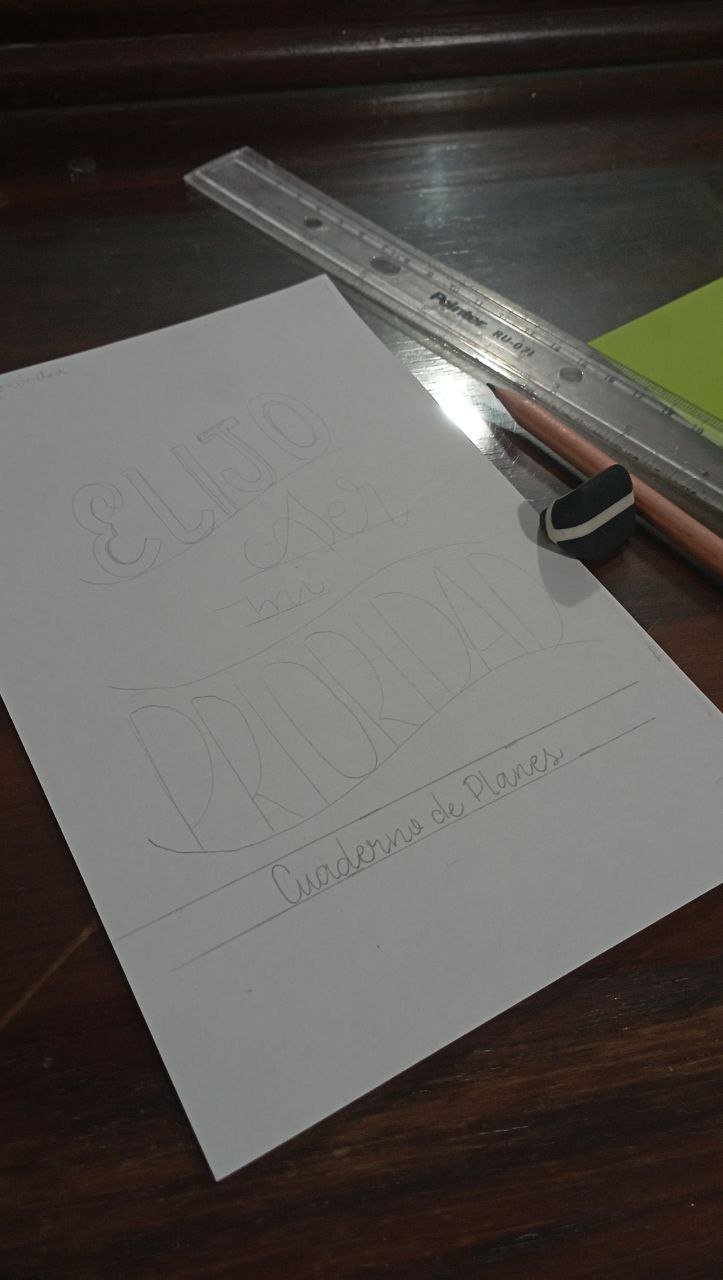
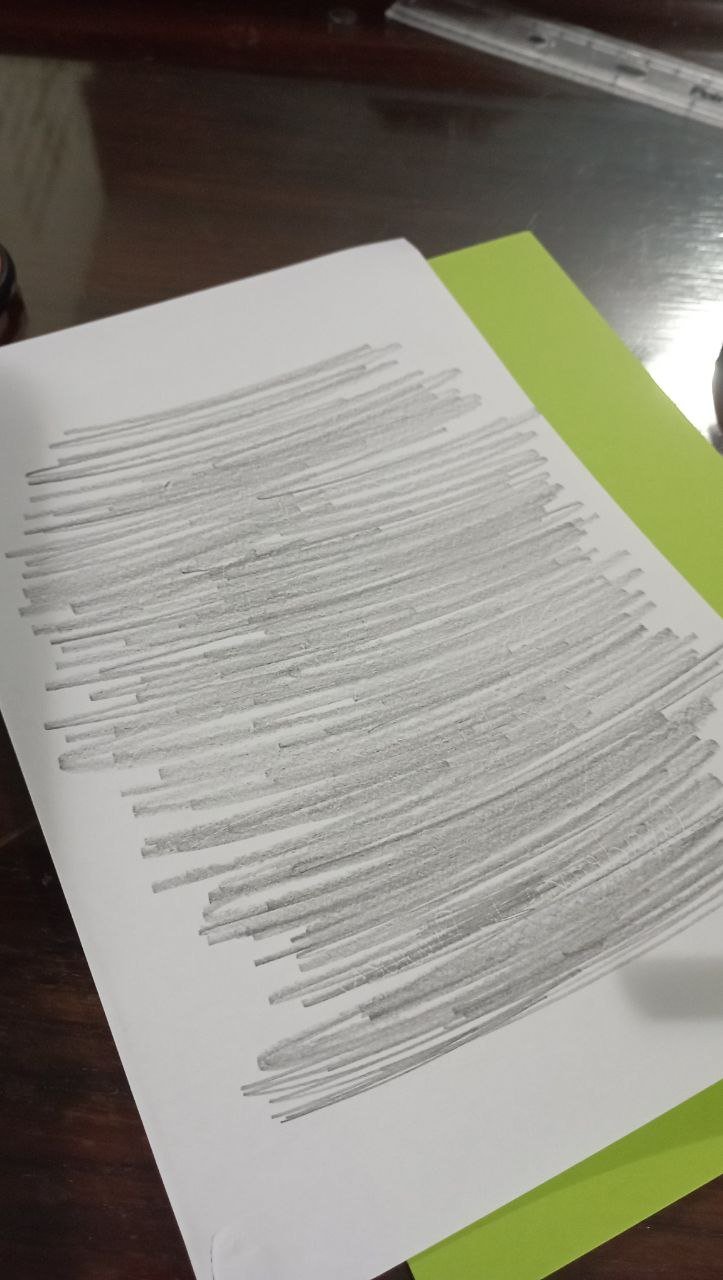
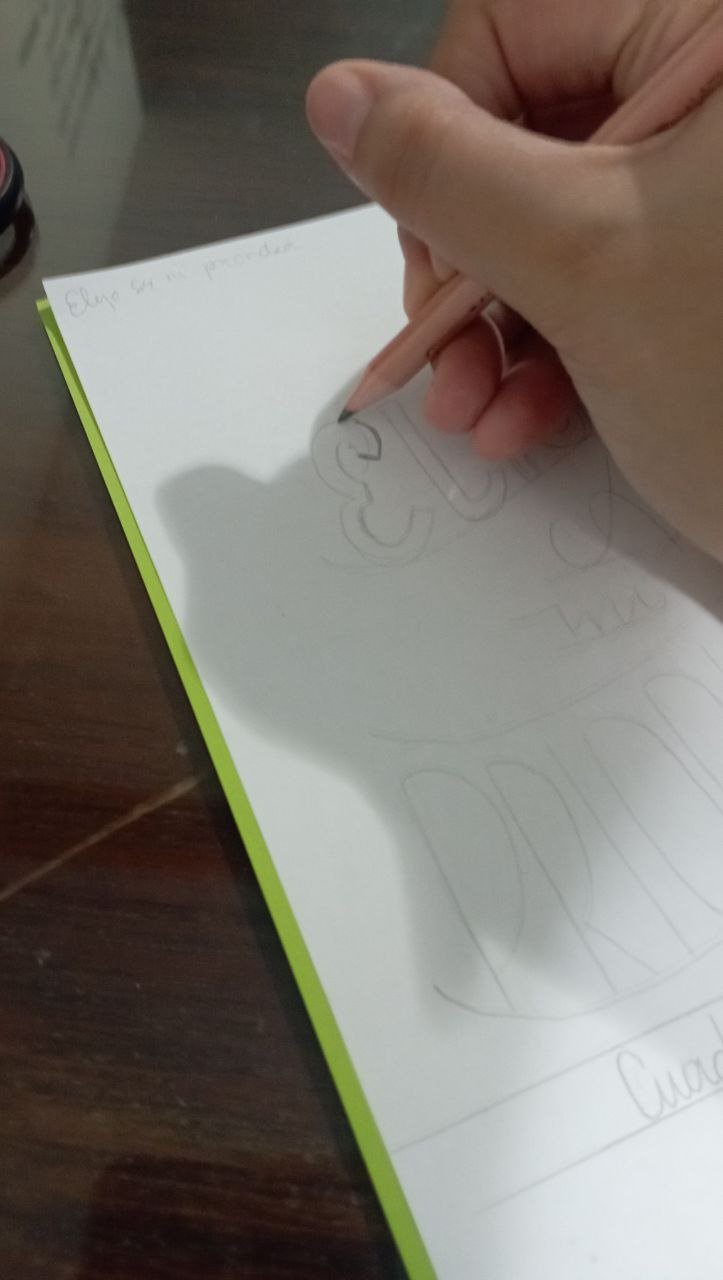
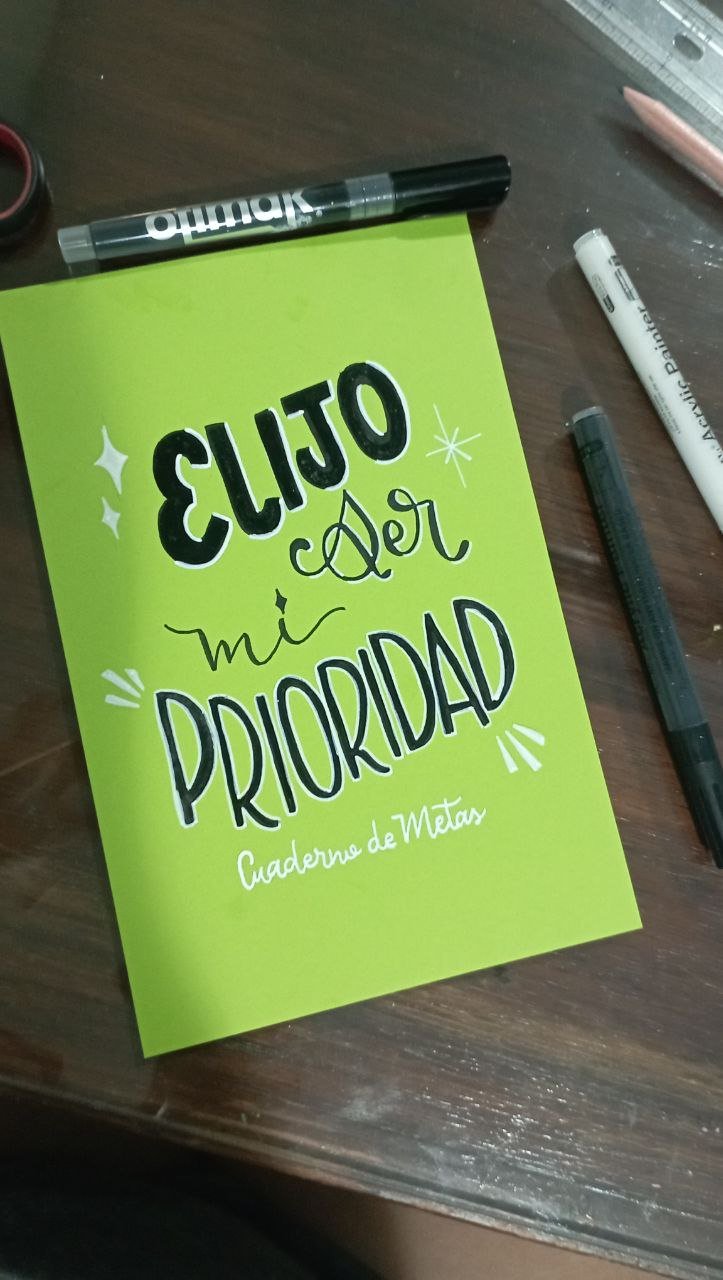
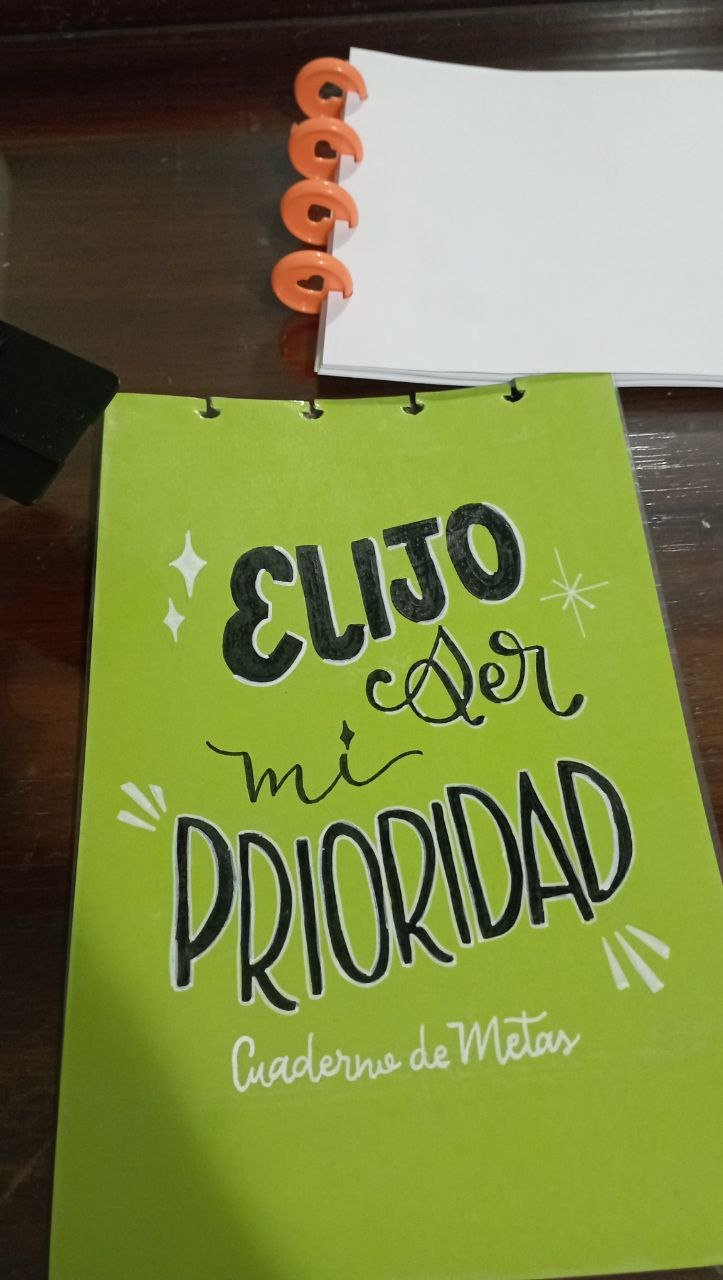
Toca decorar la portada, para esto hice lettering con la frase: “Elijo ser mi prioridad”. Use un estilo monolinea y cursiva. Primero, hice el boceto en una hoja de papel con lápiz de grafito. Una vez terminado, lo traspase rayando con lápiz de grafito y luego posicionando sobre la cartulina y remarcando la frase. Así logramos transferir un diseño de forma limpia. Para terminarlo lo repase con marcadores de pintura acrílica negra y blanca.
PASO 3
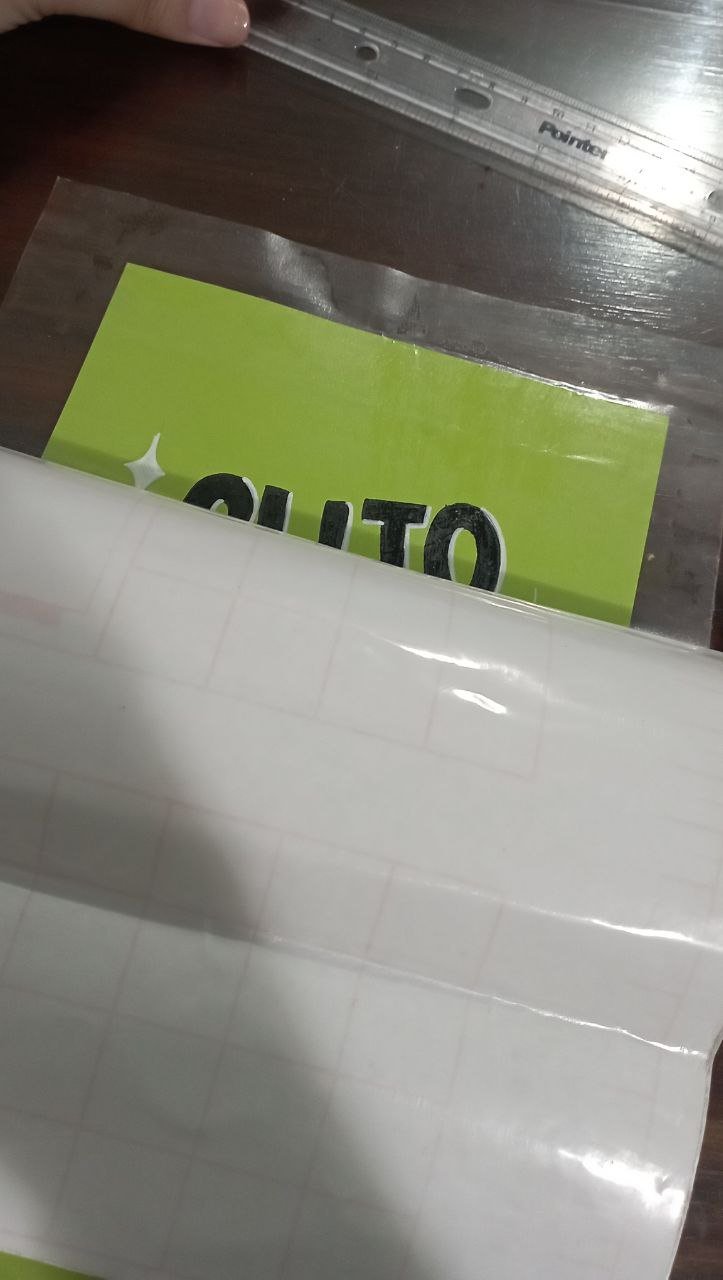
Para que la cartulina resista más, la lamine con ayuda del papel contact transparente, tanto la portada como la contraportada.
PASO 4
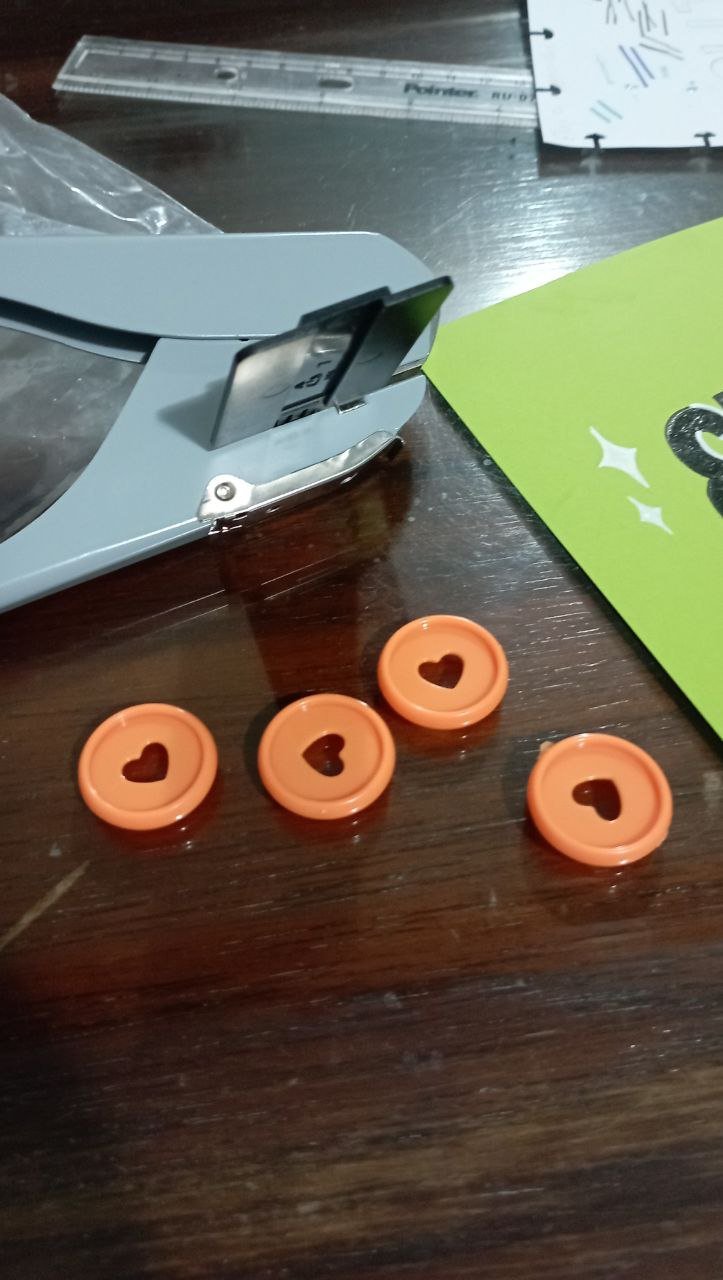
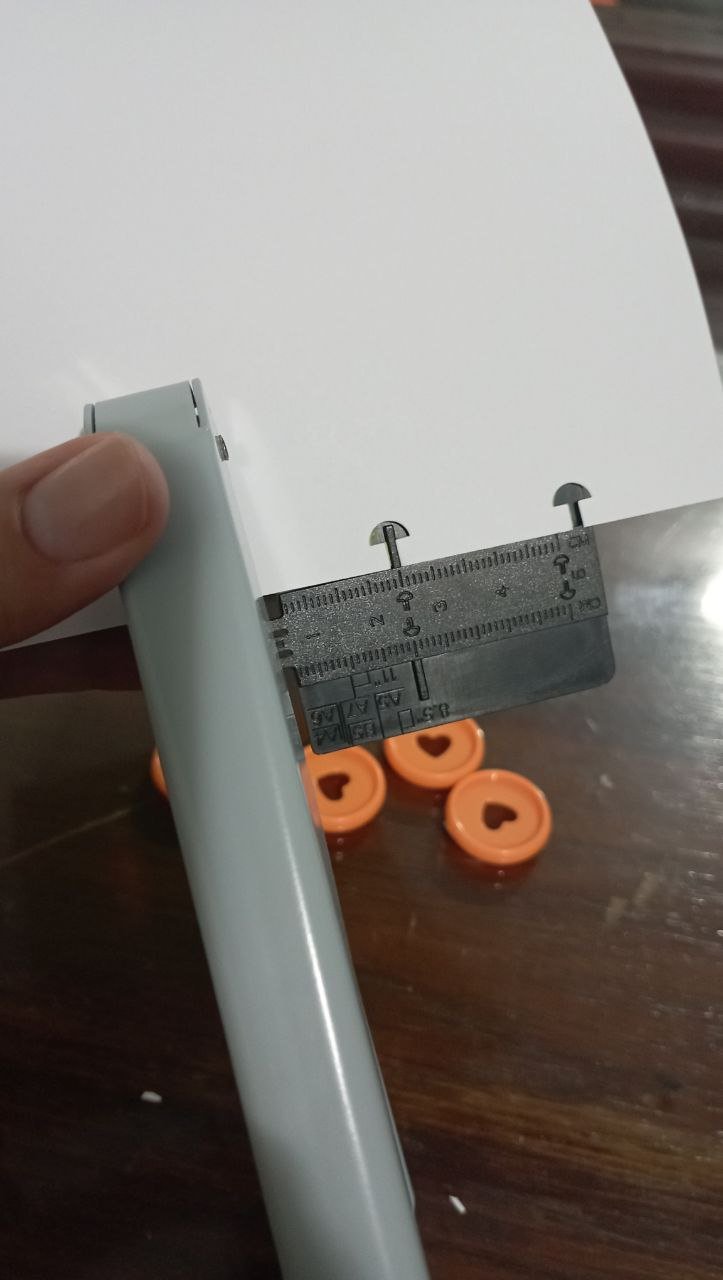
Hora de abrir los huecos. Para esto use un abre huecos especial que en vez de hacer círculos abre los huecos en forma de hongo. Esta forma es perfecta para los discos. Para la medida use la regla que trae el abre huecos y procedí a abrirlos tanto en la portada y contraportada como en las hojas de adentro.
PASO 5
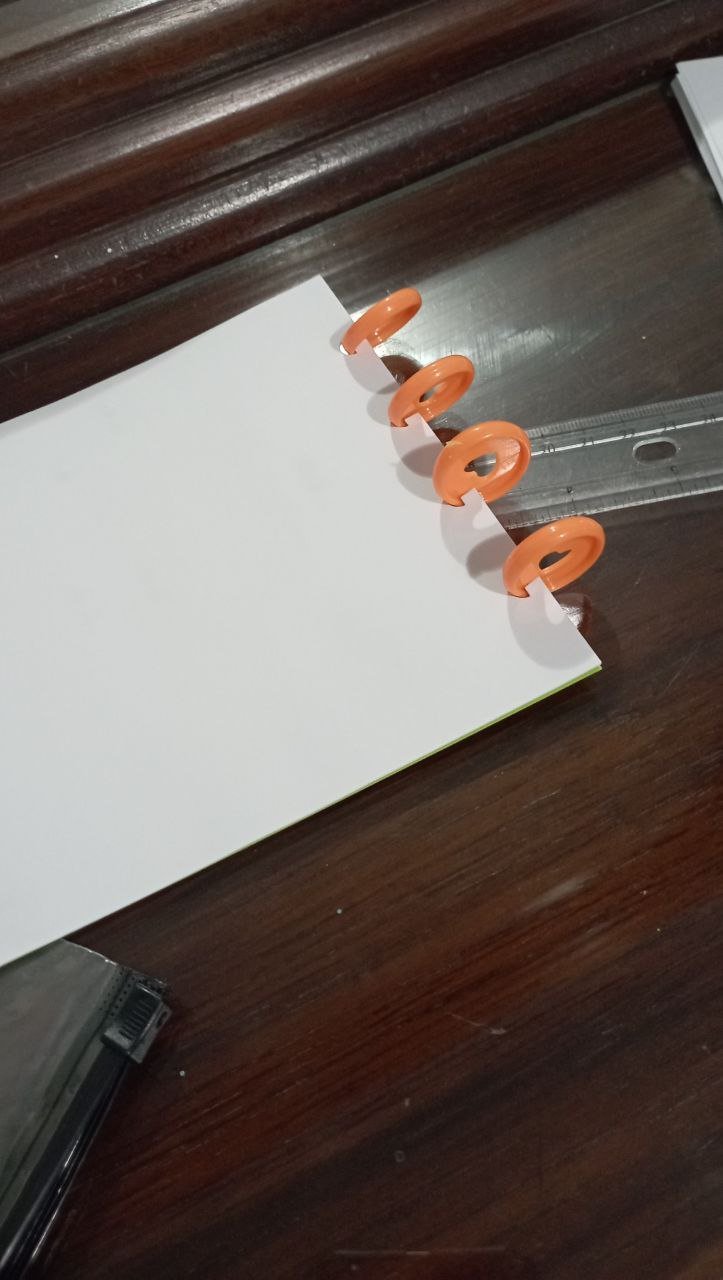
Una vez que tuve todos los huecos abiertos, empecé a armar el cuaderno con los discos. Esta parte es muy sencilla, los discos son muy fáciles de poner.
PASO 6
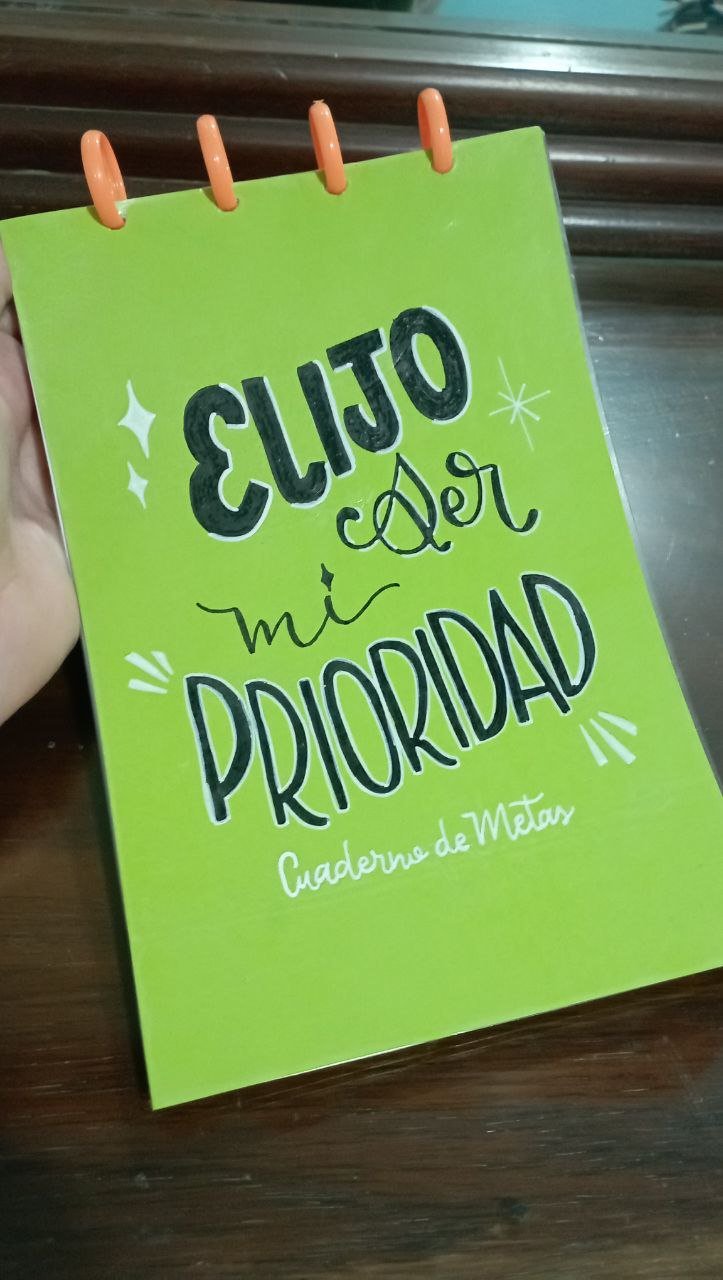
¡Cuaderno listo!
Hacer este cuaderno me tomó aproximadamente 2 horas. Cumple con lo que necesito: algo sencillo donde pueda desarrollar mis ideas. También puede ser funcional a largo plazo, ya que si se me acaban las hojas puedo cortar otras, abrirles sus respectivos huecos y anexarlas al cuaderno. Sin duda, este sistema de discos es algo que me encanta.
Gracias por leerme
Con cariño, G.
Hi hivers! 💜
I hope you are well and happy, dear crafters. I have several notebooks: a dotted one for sketches, a daily planner to organize my things, but I needed a small notebook, where I could write down everything and develop ideas freely. I remembered that I had some disks and a mushroom-shaped hole-opener, very similar to the system used in the “Happy Planner” diaries. Something I like about this style of rings, is that the sheets can be put in and taken out without any problem, so it would be perfect for my notes.
I show you the process:
MATERIALS
Letter size white sheets
Cardboard
Transparent contact paper
Guillotine or cutter
Disks
Mushroom hole openers
Pencil
Acrylic paint markers
STEP BY STEP
STEP 1
First, the idea was to make a half letter size notebook, so with the help of the guillotine I cut the sheets in half. I used about 25 sheets, giving a total of 50 sheets. In the same way, cut the cardboard for the cover. Use a green color.
STEP 2
It's time to decorate the cover, for this I did lettering with the phrase: “I choose to be my priority”. I used a monoline and italic style. First, I made the sketch on a sheet of paper with graphite pencil. Once finished, I transferred it by scratching it with graphite pencil and then positioning it on the cardboard and highlighting the phrase. In this way we were able to transfer a clean design. To finish it off, I went over it with black and white acrylic paint markers.
STEP 3
To make the cardboard more resistant, laminate the front and back covers with transparent contact paper.
STEP 4
Time to open the holes. For this use a special hole opener that instead of making circles opens the holes in the shape of a mushroom. This shape is perfect for the discs. For the measurement I used the ruler that comes with the hole opener and proceeded to open the holes on the front and back covers as well as on the inside sheets.
STEP 5
Once I had all the holes open, I started to assemble the notebook with the disks. This part is very simple, the disks are very easy to put in.
STEP 6
Notebook ready!
It took me about 2 hours to make this notebook. It fulfills what I need: something simple where I can develop my ideas. It can also be functional in the long run, since if I run out of sheets I can cut others, open their respective holes and attach them to the notebook. Without a doubt, this disk system is something I love.
Thank you for reading me
With love, G..
FUENTE
Fotos: tomadas por mi desde mi redmi 10
Traducción: Deepl
SOURCE
Photos: taken by me from my redmi 10
Translation: Deepl

Está genial el proyecto! Había visto ese tipo de discos pero no sabía como usarlos , pero con ese cortador y los discos entonces se podrían hacer muchas variedades de libretas , sería una buena inversión ✨
Siiii, y lo mejor es que puedes reutilizarlos para armar otras libretas o añadirle más hojas