Hola Amigos de esta apreciada comunidad Hive DIY, un placer poder compartir con ustedes nuevamente, he estado un poco inactiva por este medio, pero intentare reintegrarme.
Hello friends of this appreciated Hive DIY community, a pleasure to share with you again, I have been a little inactive by this means but I will try to rejoin.
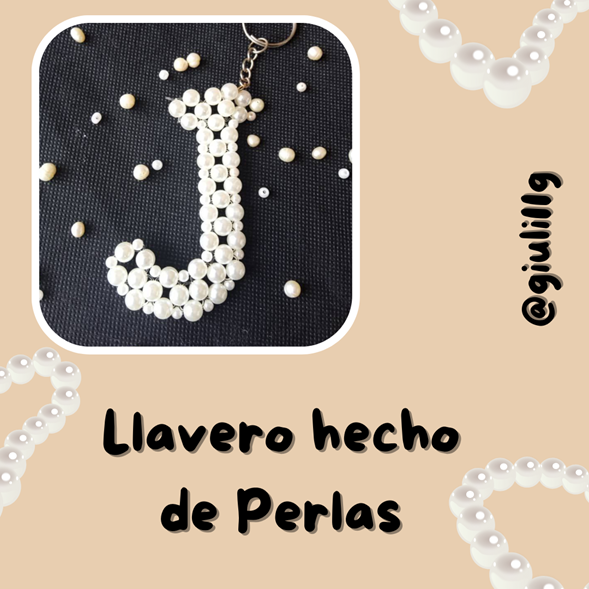
Como les he dicho en anteriores publicaciones Pinterest es una de mis plataformas preferidas para buscar ideas de cualquier tipo de manualidades y cosas diversas, en ella me encontré una idea de ¡llaveros hechos con perlas! Me pareció genial la idea y ya que tenía los materiales en casa decidí hacerlo y en este blog es muestro como lo hice. En este caso yo haré la letra J.
As I have told you in previous posts Pinterest is one of my favorite platforms to find ideas for any kind of crafts and various things, in it I found an idea of keychains made with pearls! I thought the idea was great and since I had the materials at home I decided to do it and in this blog is I show how I did it.In this case I will make the letter J.
Para elaborar este hermoso llavero necesitaremos:
- Un aro con cadena
- Perlitas de diversos tamaños (en este caso usé perlas de 12mm y 6mm)
- Hilo Nailon
- ¡Y mucha paciencia y dedicación!
To make this beautiful keychain we will need:
A ring with chain
Beads of different sizes (in this case I used 12mm and 6mm beads)
Nailon thread
And a lot of patience and dedication!
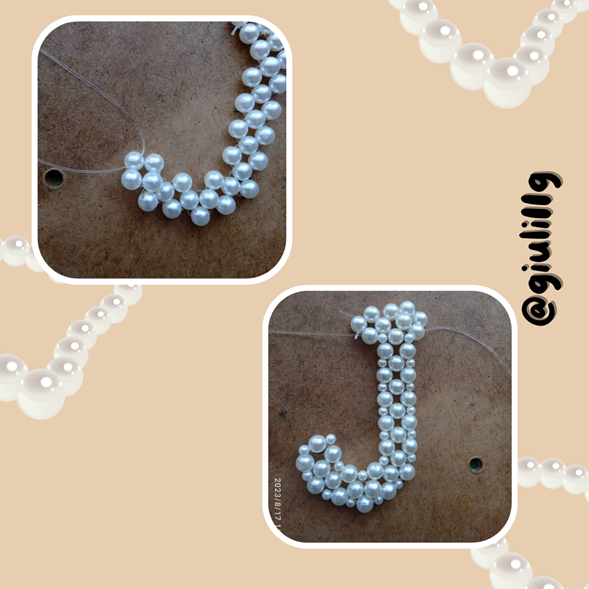
Paso 1
Tomé un trozo de Nailon y lo doble a la mitad e inserté tres perlas y la cuarta la crucé con los dos hilos formando un Rombo, nuevamente inserté 2 perlas más y la segunda la crucé con los hilos, esto lo repetiremos 3 veces para poder formar una curva que sería la parte de debajo de la letra.
Step 1
I took a piece of Nylon and folded it in half and inserted three beads and the fourth one I crossed it with the two threads forming a rhombus, again I inserted 2 more beads and the second one I crossed it with the threads, we will repeat this 3 times to form a curve that would be the part below the letter.
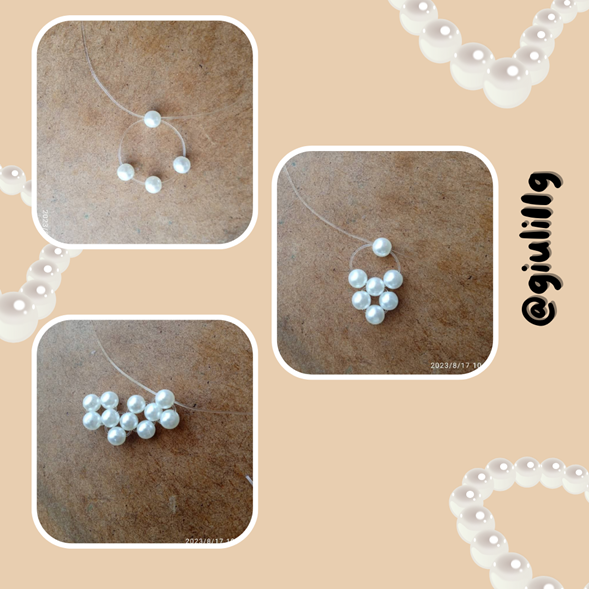
Paso 2
Continuaremos colocando 3 perlas y cruzando la numero 4 hasta formar 6 rombos hacia arriba, recordando templar bien el nailon para que quede firme.
Step 2
We will continue placing 3 beads and crossing the number 4 to form 6 rhombuses upwards, remembering to temper the nylon well so that it is firm.
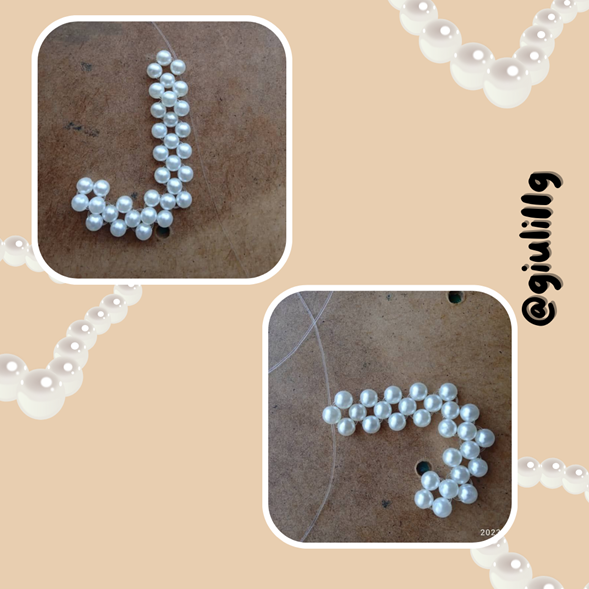
Paso 3
Luego que lleguemos al rombo numero 6 haremos un rombo de lado derecho y posteriormente de lado izquierdo, haciendo unos nudos a cada lado para que quede muy bien asegurado
Step 3
After reaching the rhombus number 6 we will make a rhombus on the right side and then on the left side, making a few knots on each side so that it is very well secured.
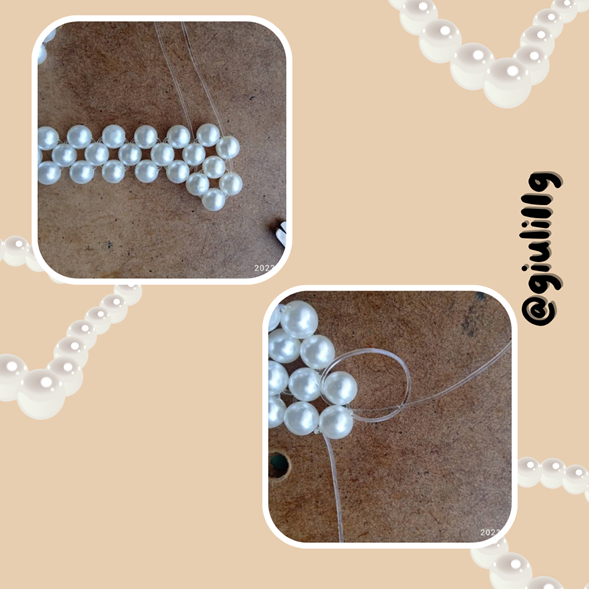
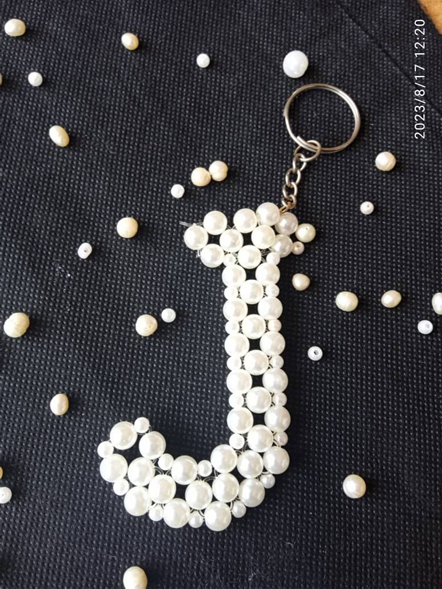
Paso 4
Seguido de esto tome un trozo más de Nailon y lo introduje en la parte de debajo de la letra quedando de un lado la mitad y de otro lado la otra parte, este servirá para insertar las perlas más pequeñas en los espacios que quedaron en el contorno de la letra y de esta manera darle más forma, al llegar a la parte de arriba hacemos el nudo a cada lado.
Step 4
After this, take one more piece of Nylon and insert it in the part below the letter, leaving half on one side and half on the other side, this will be used to insert the smaller beads in the spaces that were left in the outline of the letter and thus give it more shape, when we reach the top we tie the knot on each side.
Paso 5
Por ultimo agregamos el Aro con la cadena en la parte superior y así queda terminado nuestro hermoso llavero, esta idea se puede hacer con diferentes colores y tipos de cuentas, distintas formas.
Step 5
Finally we add the ring with the chain at the top and so is finished our beautiful keychain, this idea can be done with different colors and types of beads, different shapes.
I hope you liked this tutorial. See you next time!
Espero haya sido de tu agrado este tutorial ¡Nos vemos la próxima!
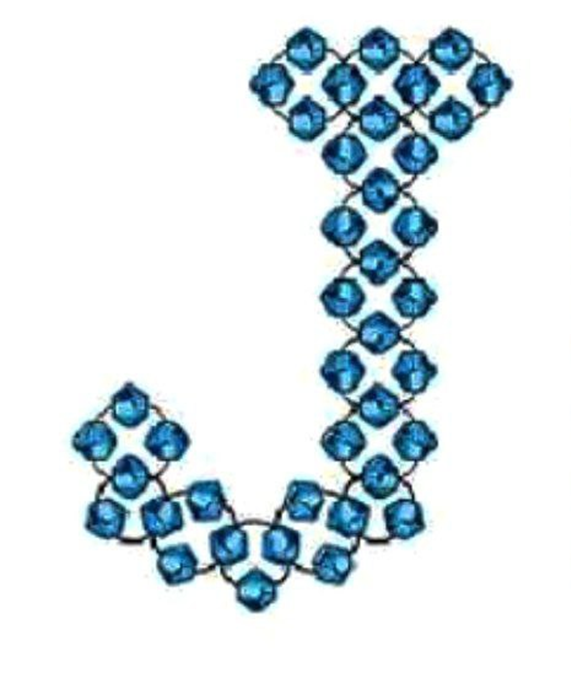
Aquí te dejo una imagen que encontré, que te sirve de patrón para guiarte mejor
Todas las fotos fueron tomadas con el Redmi 9A editadas en Canva y traducidas con Deepl
Here's an image I found, which serves as a template to guide you better
All photos were taken with the Redmi 9A edited in Canva and translated with Deepl
That is a delightful keychain.
Well done
!DIY
!discovery 27
Muchisimas gracias!
This post was shared and voted inside the discord by the curators team of discovery-it
Join our Community and follow our Curation Trail
Discovery-it is also a Witness, vote for us here
Delegate to us for passive income. Check our 80% fee-back Program
You can query your personal balance by
!DIYSTATSHola!! 🌸 Que bonito te ha quedado este llavero, y la forma en la que lo rellenaste con las perlitas pequeñas. La letra J es de mis favoritas porque es la inicial de mi nombre así que me llamó mucho la atención este trabajo🌷 Saludos!!
Hola! muchísimas gracias por este comentario lo aprecio.Es mi primera vez haciendo este tipo de llaveros y me alegra tanto que te haya gustado,Saludos!!