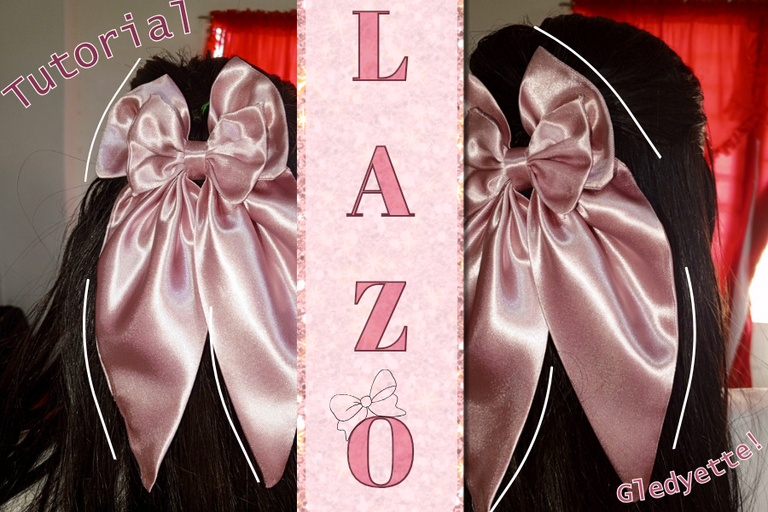
¡Hola gente bella!
Espero que estén muy bien teniendo una semana muy creativa, por este lado del mundo me encuentro lo suficientemente inspirada para compartirles este proyecto que está muy de moda actualmente.
Y es que estos lazos coquette los ves en todos lados y si te metes en las redes sociales aún más, lo ves de diferentes formas, estilos, colores, texturas y te enganchas viendo esos mil y un tutoriales.
Así que movida a eso decidí hacer estos lazos a mi estilo y con técnicas propias de mi supervivencia a la costura jajaja es que no soy costurera así que me abro paso en este mundo con mi propia fuerza y este es uno de esos resultados.
Hello beautiful people!
I hope you are having a very creative week, on this side of the world I find myself inspired enough to share with you this project that is very fashionable at the moment.
You see these coquette bows everywhere and if you get on social networks even more, you see them in different shapes, styles, colors, textures and you get hooked watching those thousand and one tutorials.
So moved to that I decided to make these bows in my own style and with my own techniques of my own survival to sewing hahaha is that I'm not a seamstress so I make my way in this world with my own strength and this is one of those results.
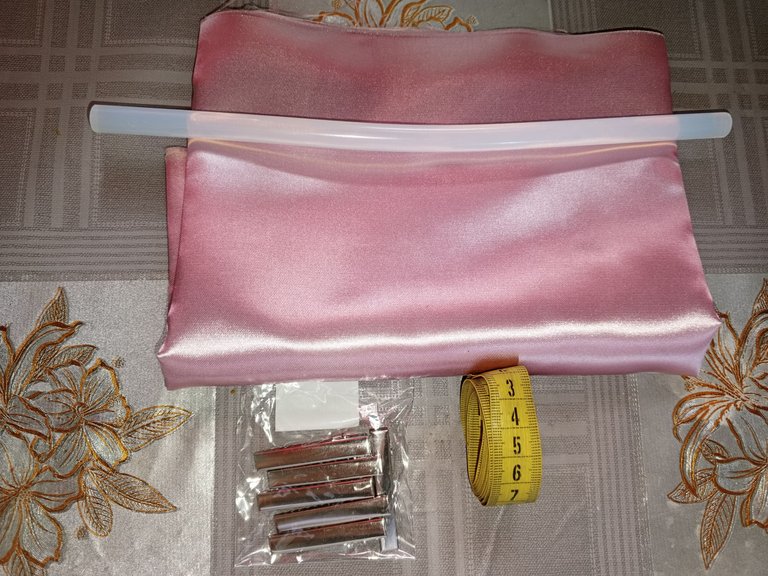
Los materiales que utilice para elaborar estos lazos Gledyette fueron los siguientes:
| 🎀 Tela Satinada color Rosa pálido | |
|---|---|
| Silicón en barra | |
| Pinza de cabello tipo caimán #5 |
⚠️ 1 kg de paciencia y 0 distracciones 😆
Ahora con todos estos materiales nos ponemos manos a la obra.
The materials I used to make these Gledyette bows were as follows:
| 🎀 Pale Pink Satin Fabric | |
|---|---|
| Silicone stick | |
| Alligator Hair Clip #5 |
⚠️ 1 kg patience and 0 distractions 😆
Now with all these materials we get to work.
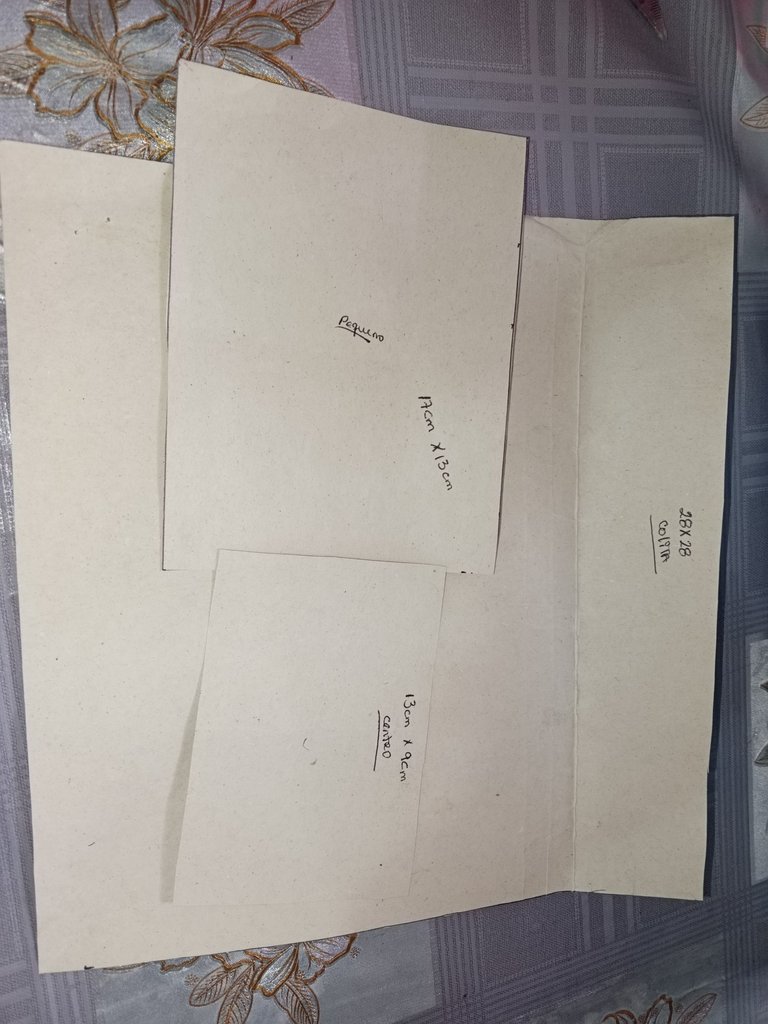
Lo primero que realice fueron unos moldes de cartulina que me servirán de guía, no se los dije, pero yo estoy empezando a realizar estos lazos para la venta y utilizando estos "patrones" me ahorro mucho tiempo.
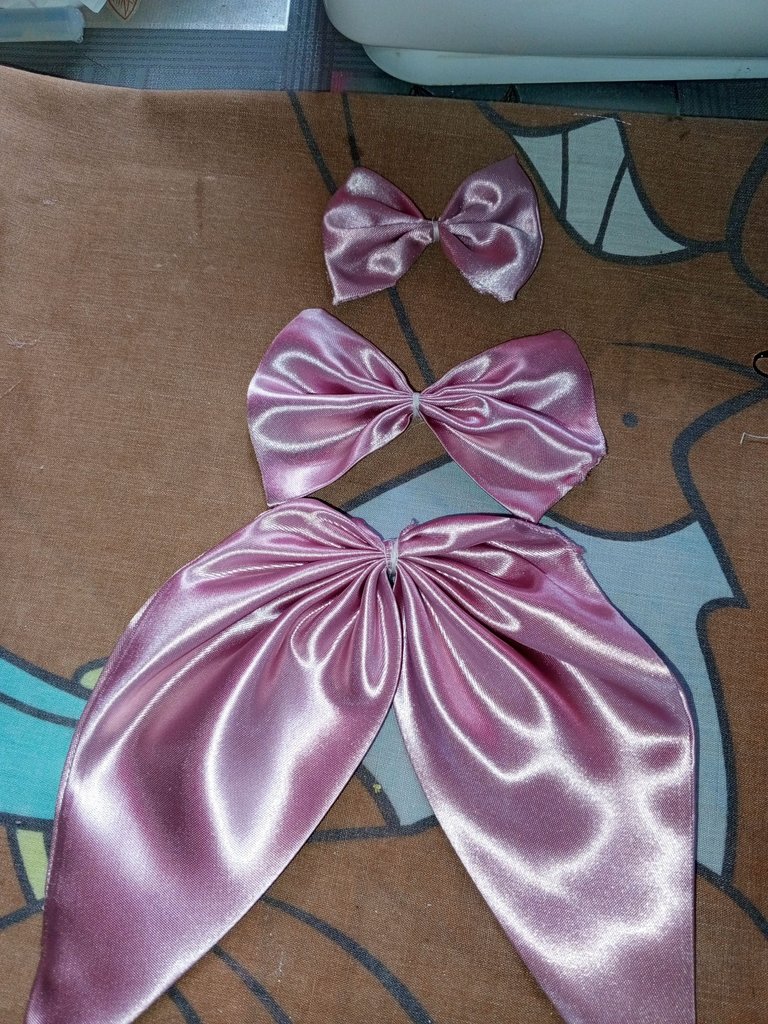
Una vez transferido los moldes a la tela los corto. Las medidas que utilice fueron las siguientes:
para el lazo grande 17x13cm
Lazo pequeño 13x9cm
Colita del lazo 28x28 cm
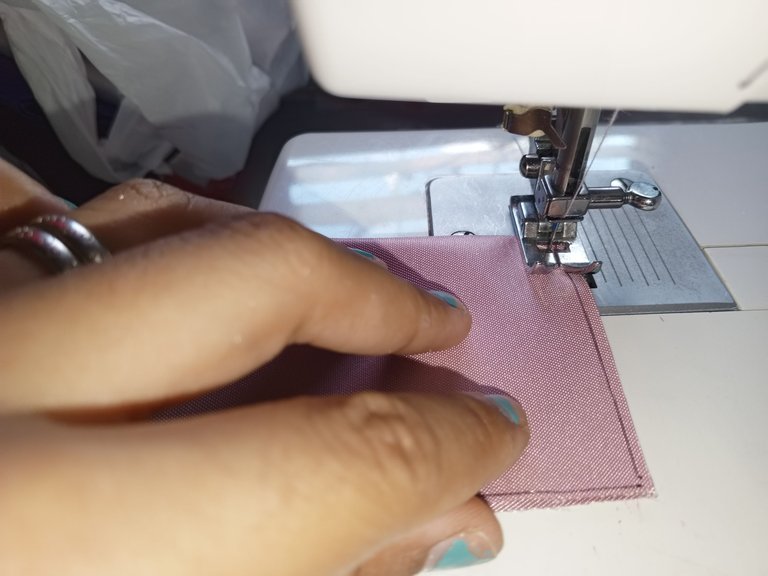
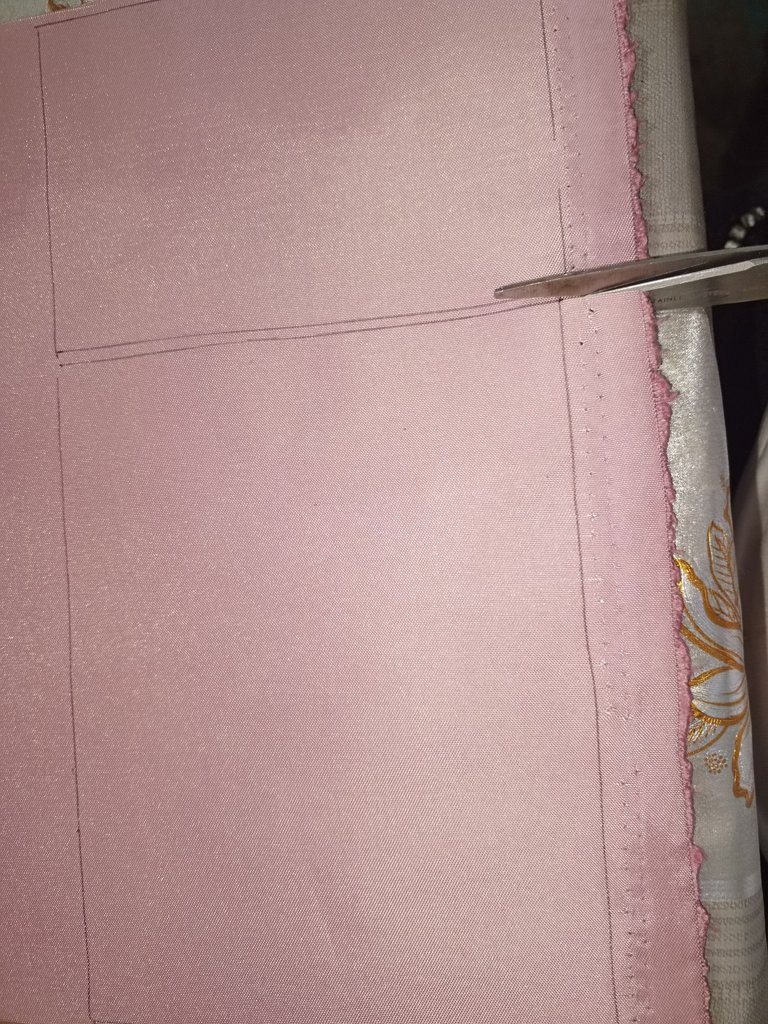
Cortamos las piezas de la tela y la vamos a ir cosiendo por los bordes.
The first thing I made were some cardboard molds that will serve as a guide, I did not tell you, but I'm starting to make these bows for sale and using these "patterns" will save me a lot of time.
Once the molds are transferred to the fabric I cut them. The measurements I used were as follows:
for the big bow 17x13cm
Small bow 13x9cm
Tail of the bow 28x28 cm.
We cut the pieces of fabric and we are going to sew along the edges.
 |  |
|---|
Es importante dejar una pequeña abertura que nos servirá para poder dar vuelta a la tela, esta abertura es de unos 2 cm aproximadamente, créanme que les facilitara la vida al momento de armar el lazo.
Para la cola de este lazo lo que utilizamos fue un cuadrado y lo dividimos de una esquina a otra para formar un triángulo, así de fácil.
It is important to leave a small opening that will help us to turn the fabric, this opening is about 2 cm approximately, believe me it will make your life easier when assembling the bow.
For the tail of this bow we used a square and divided it from one corner to the other to form a triangle, it's that easy.
 |  |  |
|---|
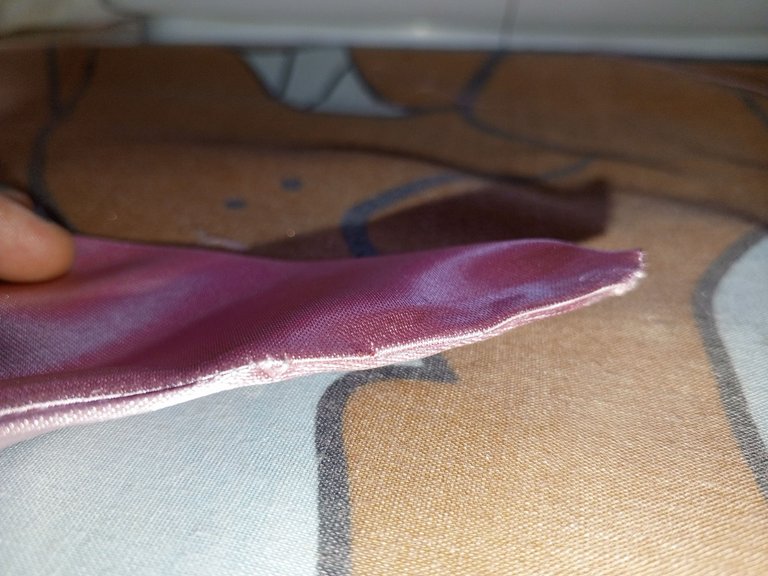
Cuando ya tenemos todas las piezas cosidas, algo que yo hago es quitar todos los excesos de la tela y como está en particular suelta muchos hilos me ayudó con un encendedor y lo paso por los bordes para así evitar que se deshilache la pieza, hasta el momento me ha funcionado y el resultado es muy bonito.
Ok, una vez realizado todo esto me ayudé con un bolígrafo para definir todas las puntas de lo que será este lazo y empiezo a dar vuelta con mucha paciencia cada una de mis piezas con calma para no dañar la tela, esta tela es muy bonita no obstante también demasiado delicada hay que saber manipularla.
Ya con todas estas puntas bien definidas y bonitas procedemos a planchar estás piezas para que tengan un mejor acabado, si sé que son demasiados pasos para hacer estos lazos, pero más adelante verán que este planchado hace la diferencia, el resultado es simplemente hermoso.
When we already have all the pieces sewn, something I do is to remove all the excesses of the fabric and as it is particularly loose many threads I helped myself with a lighter and pass it along the edges to avoid fraying the piece, so far it has worked for me and the result is very nice.
Ok, once all this is done I help myself with a pen to define all the ends of what will be this bow and I start to turn with patience each of my pieces calmly so as not to damage the fabric, this fabric is very beautiful but also very delicate, you have to know how to handle it.
Now with all these tips well defined and beautiful we proceed to iron these pieces to have a better finish, yes I know they are too many steps to make these bows, but later you will see that this ironing makes the difference, the result is simply beautiful.
 |  |  |
|---|
Planchamos con mucho cuidado a una temperatura muy baja para no quemar y dañar la tela, recuerdan las aberturas que dejamos, pues, plánchela bien porque el siguiente paso es ocultarlas.
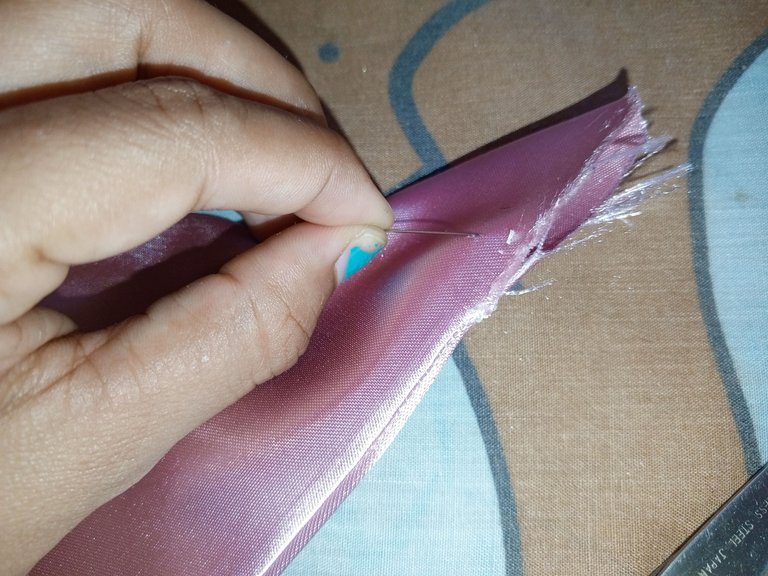
Debo aclarar que esta es mi forma de hacer estos lazos, es la que me ha funcionado y la que me hace tener una mayor ganancia en cuanto a rendir el material, así que una vez dicho esto tomamos el silicón en barra con la ayuda de una aguja y un encendedor vamos a colocar delicadamente unos pequeños puntos de silicón para sellar estás aberturas, está parte es delicada, por lo tanto, requiere concentración al mil porciento.
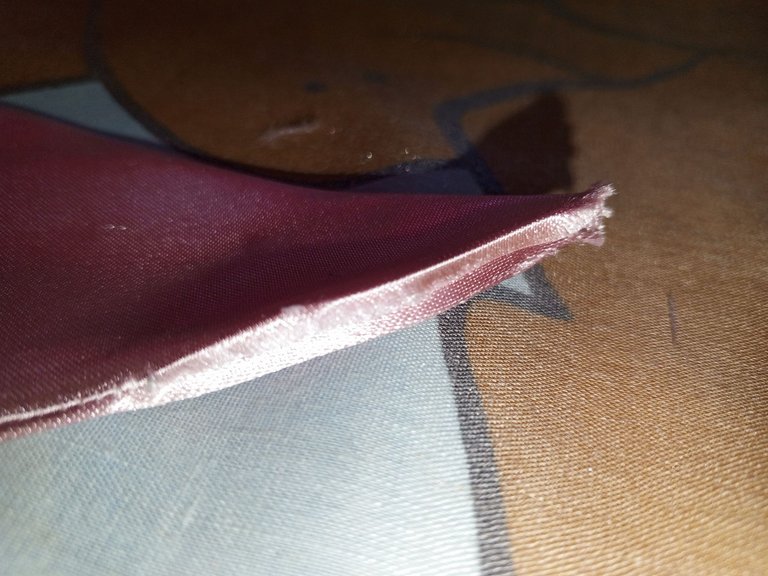
Este es el resultado de toda esa paciencia, unos bordes muy bonitos y delicados, listos para el paso final que es armar los lazos, creo que este es el paso más fácil, lo tedioso ya pasó.
We iron very carefully at a very low temperature so as not to burn and damage the fabric, remember the openings that we left, well, iron it well because the next step is to hide them.
I must clarify that this is my way of making these bows, is the one that has worked for me and that makes me have a greater gain in terms of yielding the material, so once said this we take the silicone stick with the help of a needle and a lighter we will delicately place a few small dots of silicone to seal these openings, this part is delicate, therefore, requires concentration to one thousand percent.
This is the result of all that patience, very nice and delicate edges, ready for the final step which is to assemble the bows, I think this is the easiest step, the tedious part is over.
 |  |  |
|---|
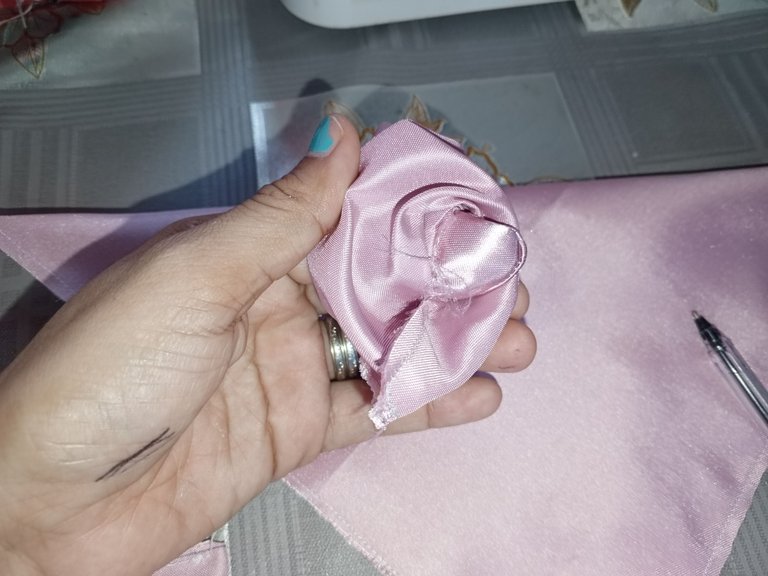
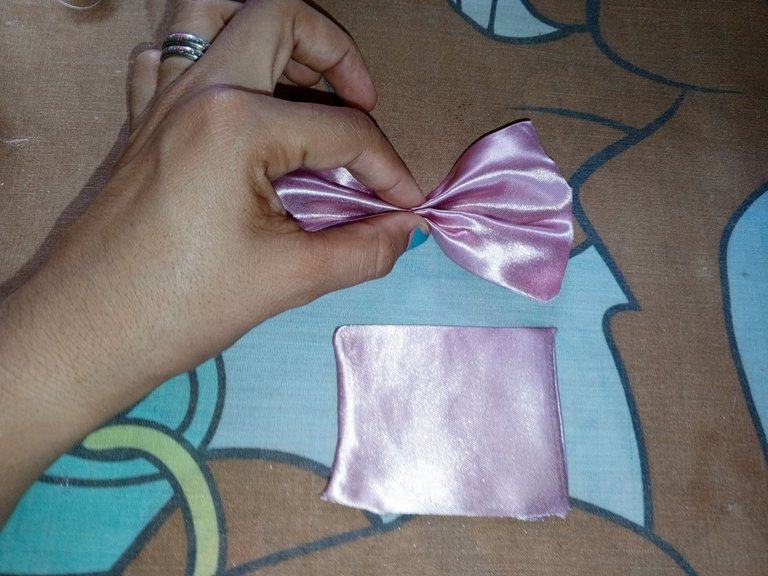
Simplemente, lo que haremos es dar pequeños pellizcos o pequeños pliegues al lazo para formar esas ondas muy bonitas y una vez que estemos satisfechos con el resultado nos ayudamos con un poco de hilo para sujetar el lazo.
Y así con todas las demás piezas incluida la colita del moño que le dará una caída muy bonita a este lazo.
Ahora procedemos a juntar los lazos y la colita del moño, vamos a superponer un lazo sobre otro yo me ayude con una goma de cabello para que me facilitara el trabajo y también ubique mi colita, di pequeños ajustes y listo.
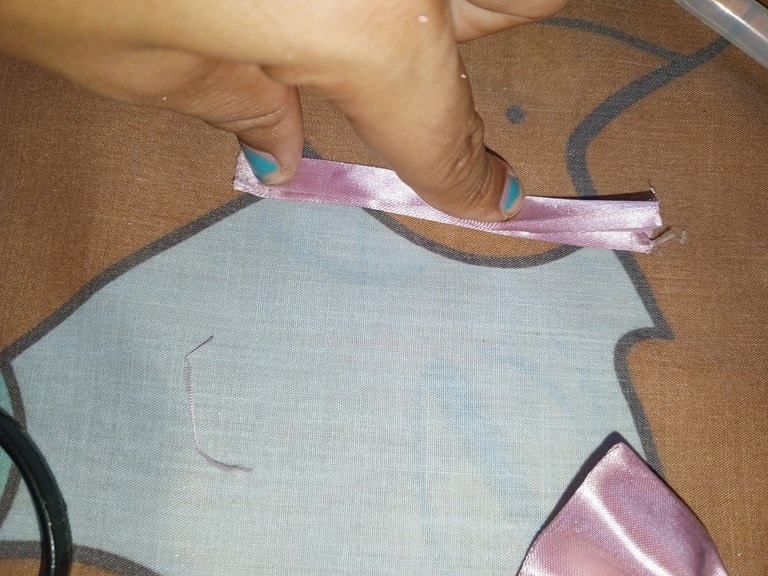
Tape el centro del lazo con un pequeño trozo de tela con mucho cuidadito y pegue la pinza del cabello así mismo la asegure con la cinta sobrante y liiiisto.
Simply, what we will do is to give small pinches or small folds to the bow to form those very nice waves and once we are satisfied with the result we help ourselves with a little thread to hold the bow.
And so on with all the other pieces including the little tail of the bow that will give a very nice fall to this bow.
Now we proceed to join the ribbons and the tail of the bow, we are going to superimpose a loop over another one, I helped me with a rubber band to make my work easier and I also placed my tail, make small adjustments and that's it.
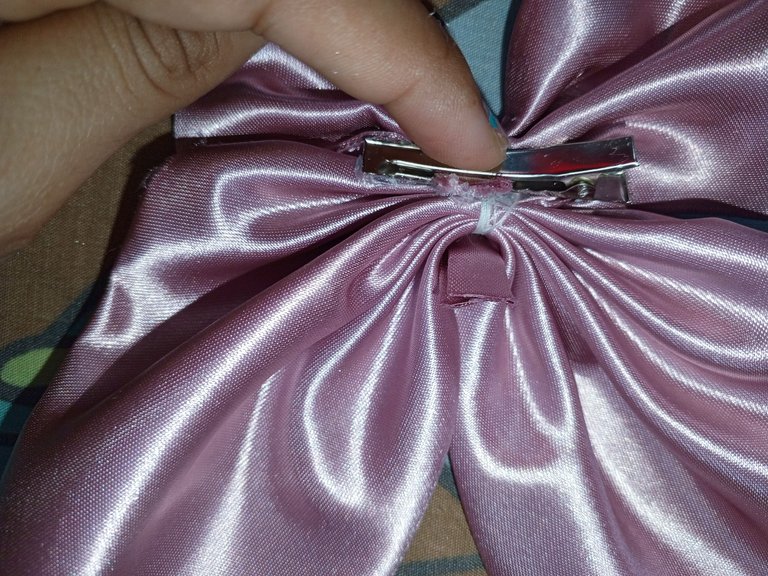
Cover the center of the bow with a small piece of fabric very carefully and glue the hair clip and secure it with the leftover ribbon and liiiisto.
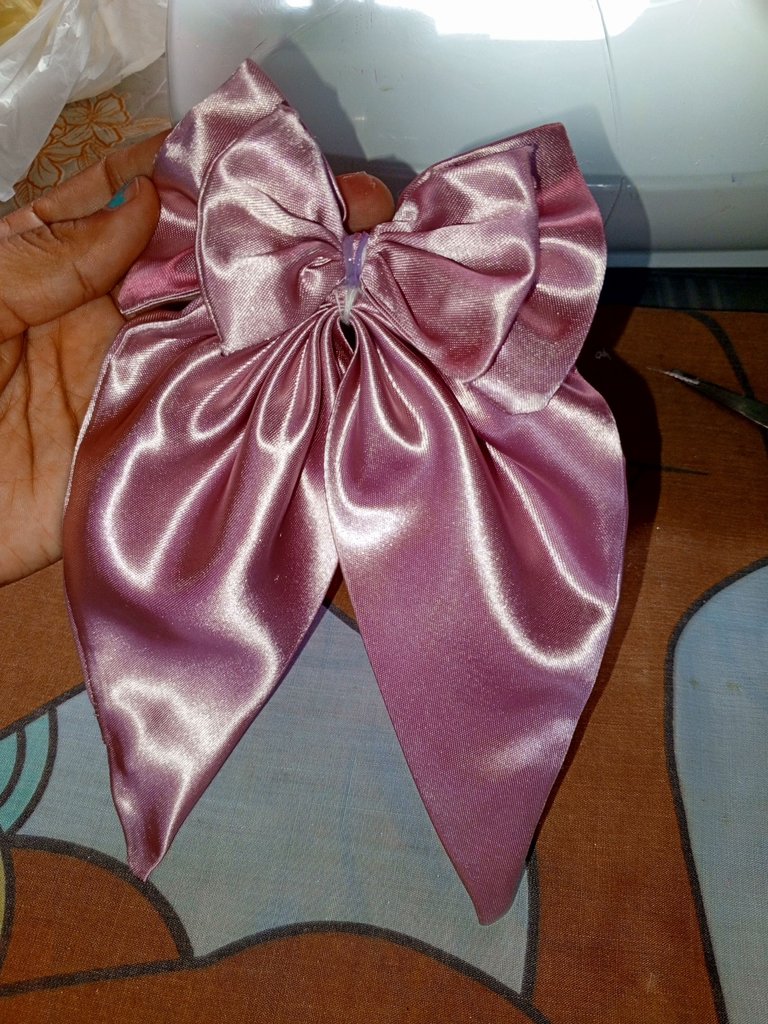
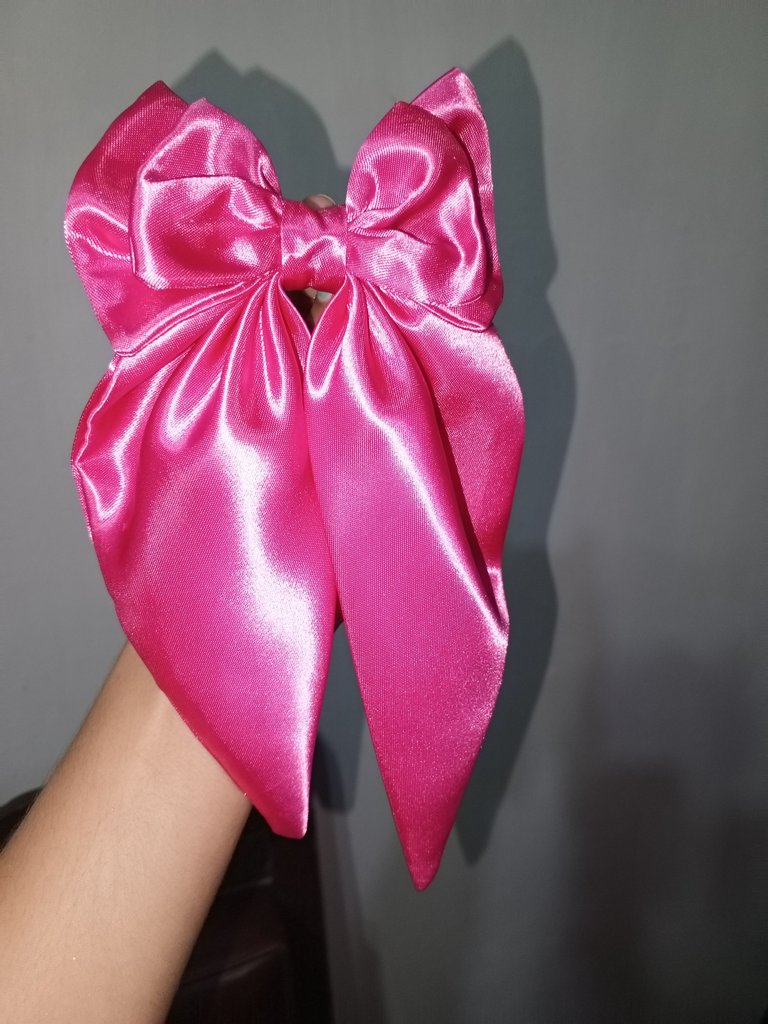
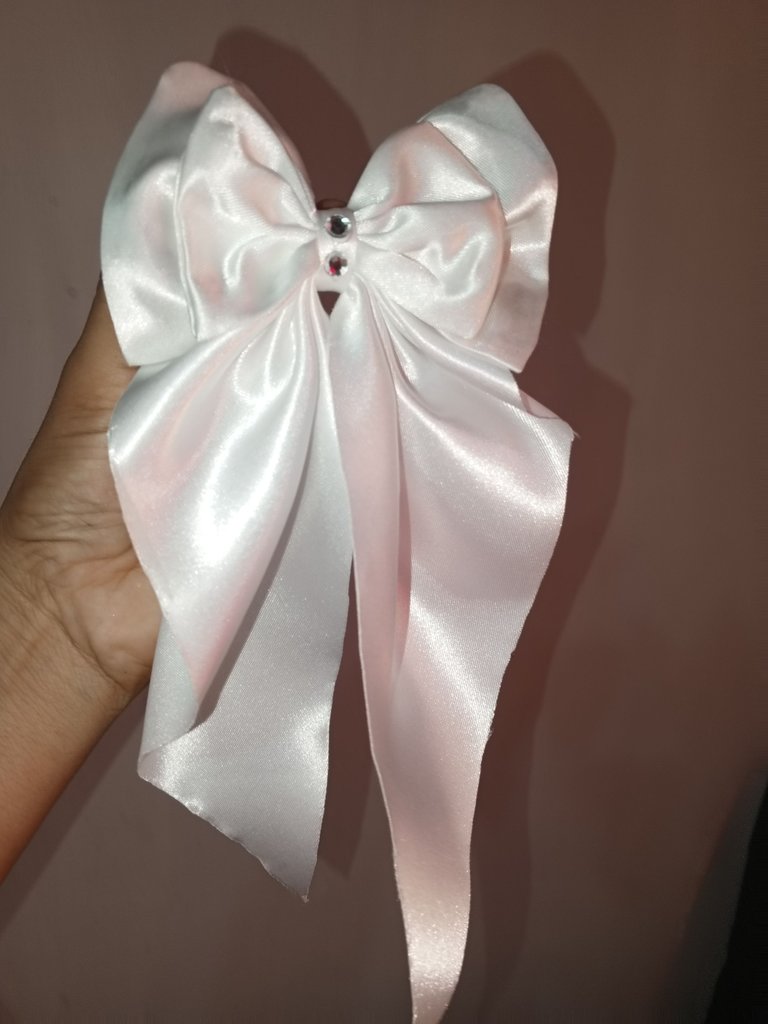
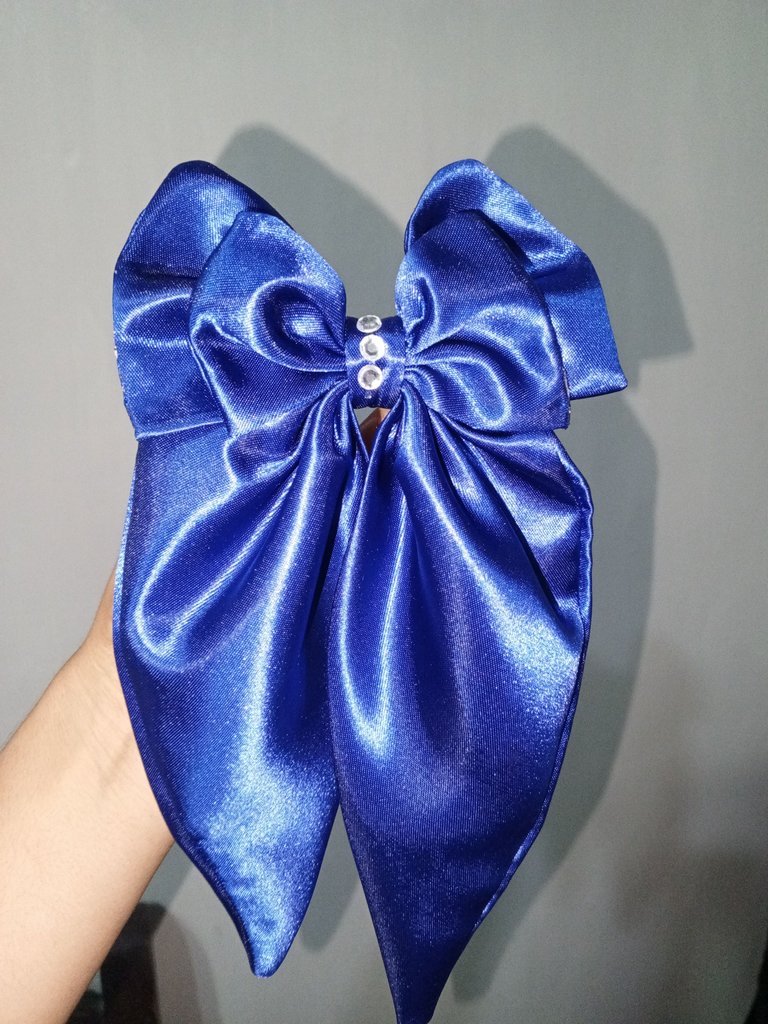
Así queda mi lindo moño Gledyette
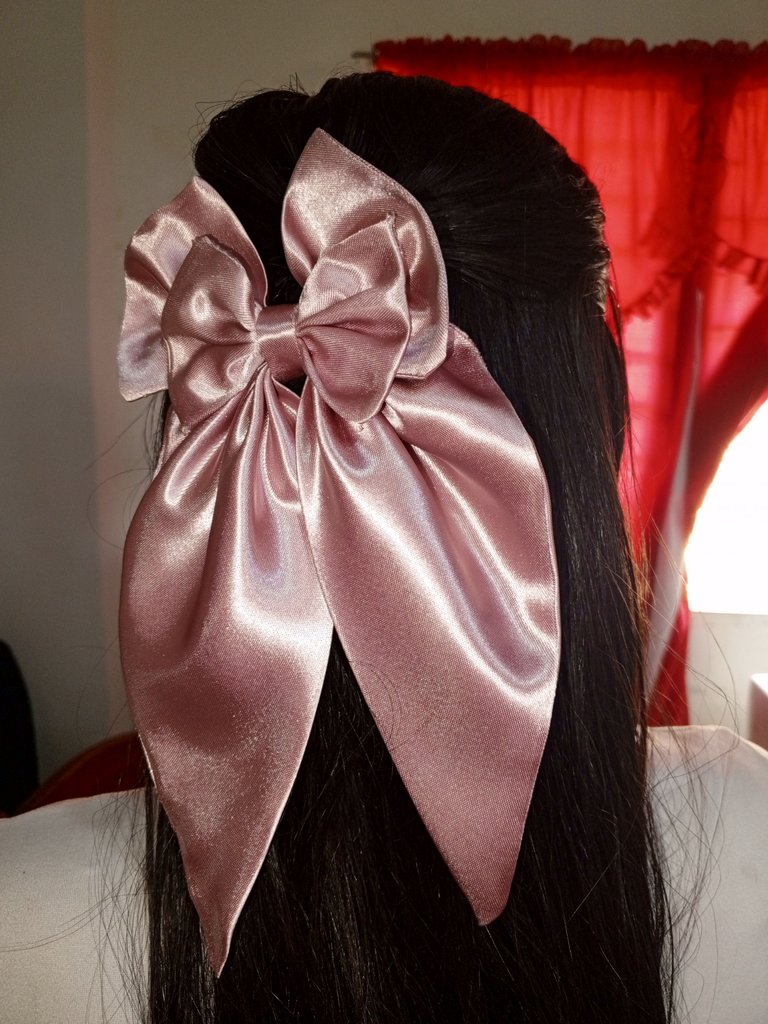
Espero que les guste, que se animen a intentarlo en casa para sus princesas o también para emprender.
This is how my pretty Gledyette bow looks like.
I hope you like it, that you are encouraged to try it at home for your princesses or also to undertake.
 |  |  |
|---|

✨Imagen principal editada utilizando Canva
⚠️Todas las fotografías son propias capturadas con mi teléfono Tecno Spark 10 pro
✨Main image edited using Canva.
⚠️Todas photos are my own captured with my Tecno Spark 10 pro phone.
Vota por HIVEDIY como Witness en el siguiente Link:
https://vote.hive.uno/@hivediy
this DIY can save money more. indeed so easy to make it if we have the materials. thank you for sharing this cute and beautiful DIY :)
Hello friend, yes this is my way of doing it and it has really worked for me because I optimize the use of the fabric much more.
Thanks for your comment ☺️
Está precioso!
Siii 🎀Muy lindos 🫶
It's a glamorous job you've done. Your presentation is great. Thank you for posting your craft with us.
@sagarkothari88 vote 17.5%
| Hive Curators Community | Join Discord | Support Witness | Follow Curation Trail |
Keep Up the good work on Hive ♦️
A beautiful garment that will enhance the style of whoever wears it. I loved the combination of colors and the chosen material.
Sin duda realza la belleza femenina aportando un toque de delicadeza y dulzura, el juego de colores es infinito es estos lindos moños 🎀
Through your own hands and scissors, Gladient presents the style that is truly extraordinary. May God always bless you with all abilities. I love this beautiful vibrant gift. Let's give it to a loved one. Thank you so much for introducing the art of awesomeness to us. May the creator always bless you with all the skills.
Thank you for your good wishes.
You are always most Wellcome my dear pleasure my friend
I have a post you can read which can be very important for our platform.thanks pleasure
https://ecency.com/hive-11060/@mdakash62/commenting-efforts-to-make-hive
Hermoso, el color de la tela muy tierno, y los pasos muy bien explicado, me encanto feliz día.
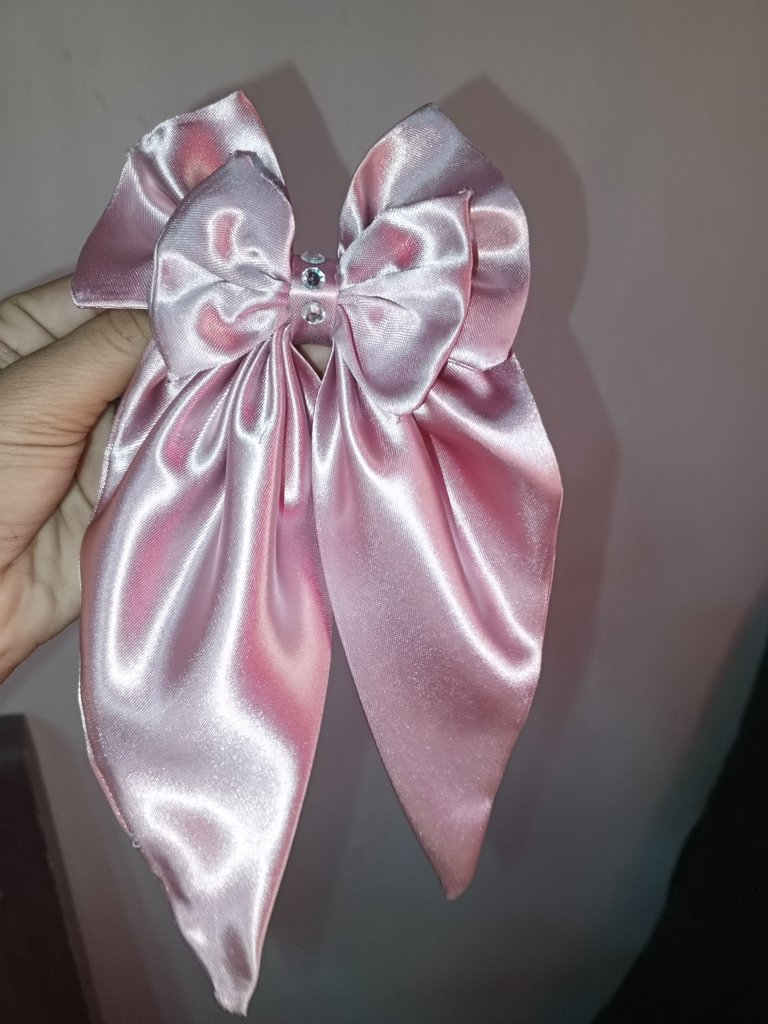
Siii ese color rosa vieja es muy delicado y se ve bellísimo, lo combine con unas bonitas piedras y quedó fenomenal.espero que te animes a intentarlo.🫶☺️
Que precioso te quedó ese lazo 🥰 Me encanta el color, se ve muy delicado y elegante ¡demasiado bello! ❤️
Este color es bellísimo aporta de todo un poco ☺️ es uno de los que más se venden 🎀
¡¡¡Buen trabajo!!! Gracias por publicar tu excelente contenido en Hive Diy.
Tu comunidad necesita de tu apoyo, Vota Hive DIY como Wintess aquí
Hola amiga, está hermosa está iniciativa para emprender , estos lazos se ven super lindos ais que te auguro muchas clientas!😁🎀
Saludos!
Muchas gracias amiga, es una buena forma de generar un ingreso extra.💕✨
Me encantó ese modelo del lazo, mi hermana lleva días diciéndome que le haga uno, como están de moda, le voy a hacer uno de estos 😍🎀
Si ahorita se ven por todos lados, espero que lo intentes y nos compartes a ver cómo te fue.
Congratulations @gledys19! You have completed the following achievement on the Hive blockchain And have been rewarded with New badge(s)
Your next target is to reach 30000 upvotes.
You can view your badges on your board and compare yourself to others in the Ranking
If you no longer want to receive notifications, reply to this comment with the word
STOP