English
Hello friends!
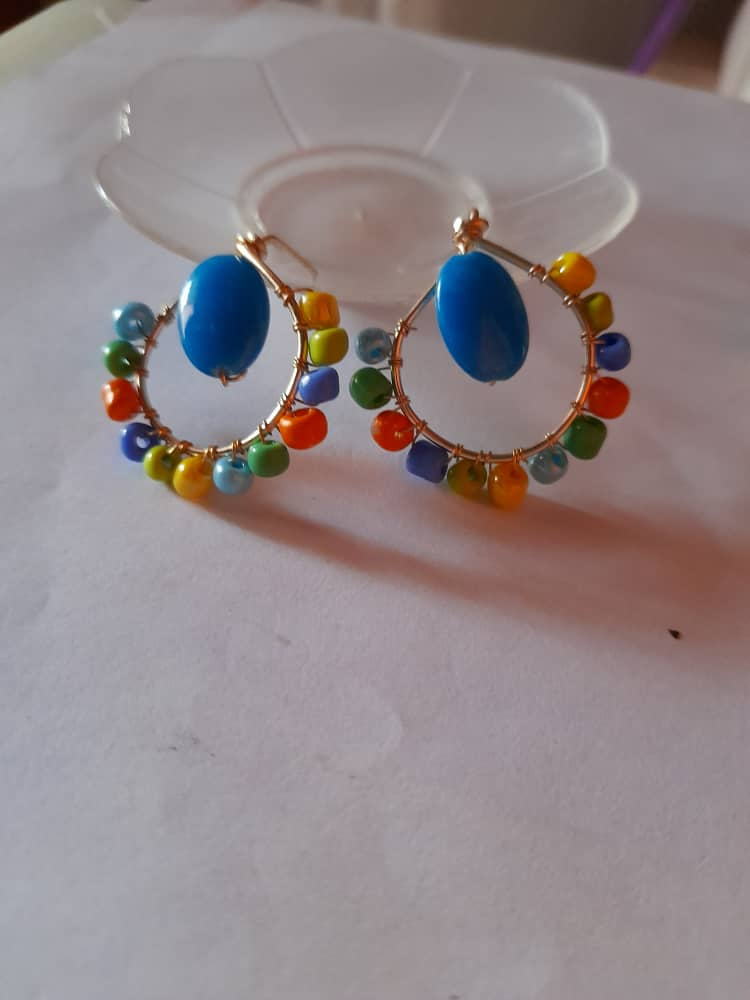
Back with you again to show you a great costume jewelry project, I'm sure you will like it, it's about colorful earrings that will give life to any outfit.
The earrings or earrings as we also call them, can make the difference, now this accessory is known with the term earring and even earrings to refer to the shape of hoops in large dimensions to which in many places we call rings, what is a reality is that the use of them dates back to ancient cultures as they have been found in excavations metals and precious stones that obey the design of earrings or earrings of the time, so we can say that the use of these accessories has a historical and cultural origin.
We can make reference to the use of earrings or earrings by ancient civilizations, as the Bible, the oldest book of mankind and which in turn is full of signs and characteristics of ancient societies make mention of such accessories.
After this historical cultural walk I will tell you a little about the project I bring you today.
Materials
- 18 centimeters of 18 gauge bijouterie wire.
- 40 centimeters of 26 Gauge bijouterie wire.
- 10 centimeters of 22 gauge wire
- 2 oval-shaped jade stones
- 24 colored beads
- Cutting tweezers
- Round-tipped tweezers
- Flat tip tweezers
Procedure
Step 1
Cut two wire sections of nine (9) centimeters each.
Step 2
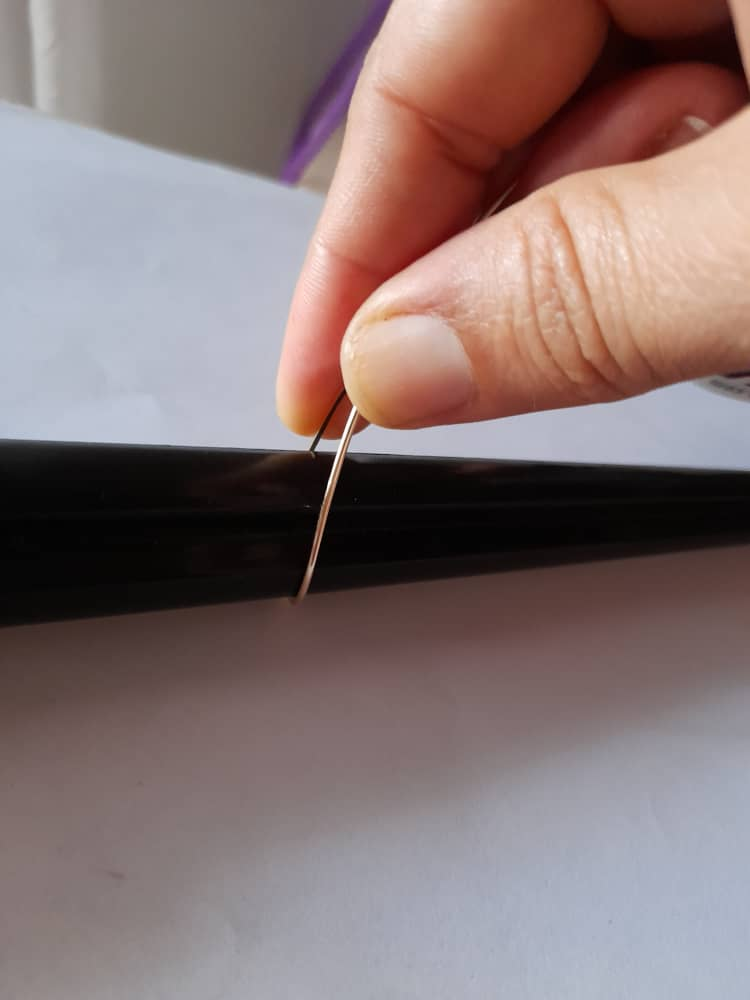
Mold the wire with the ring mandrel, to make a kind of drop.
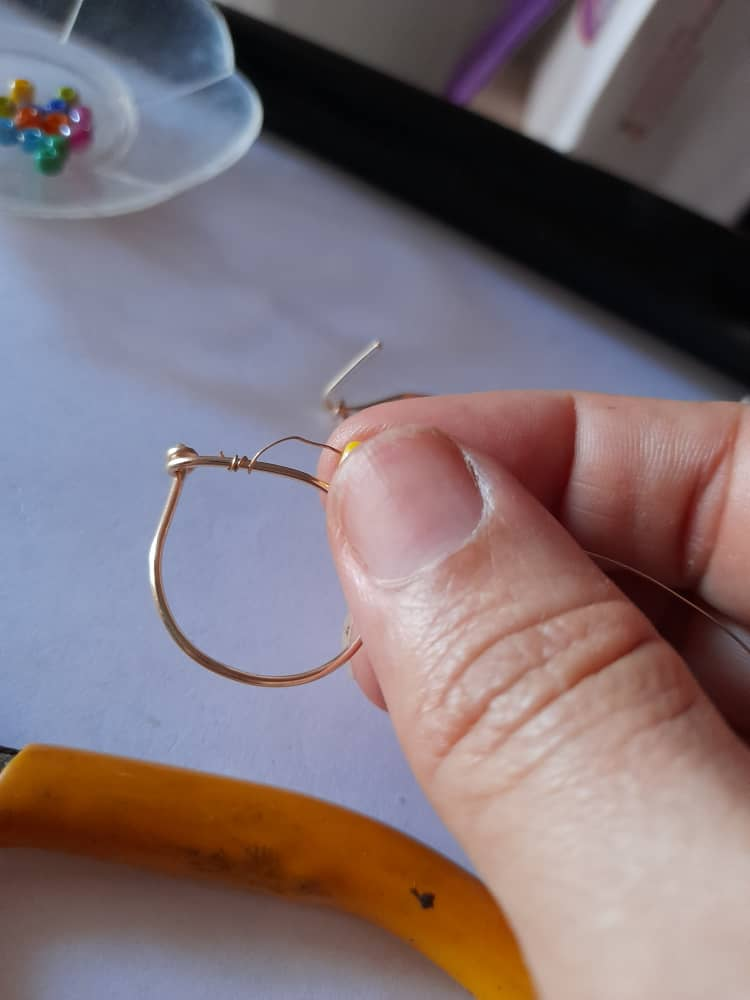
Step 3
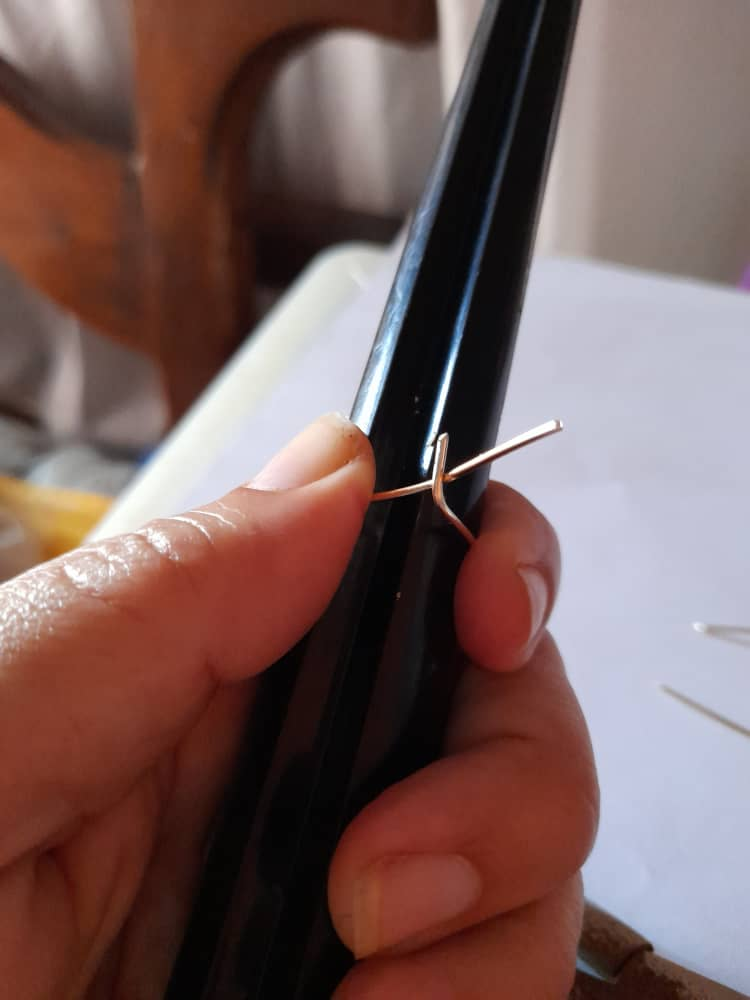
Wrap the wire over the other leaving about one centimeter.
Step 4
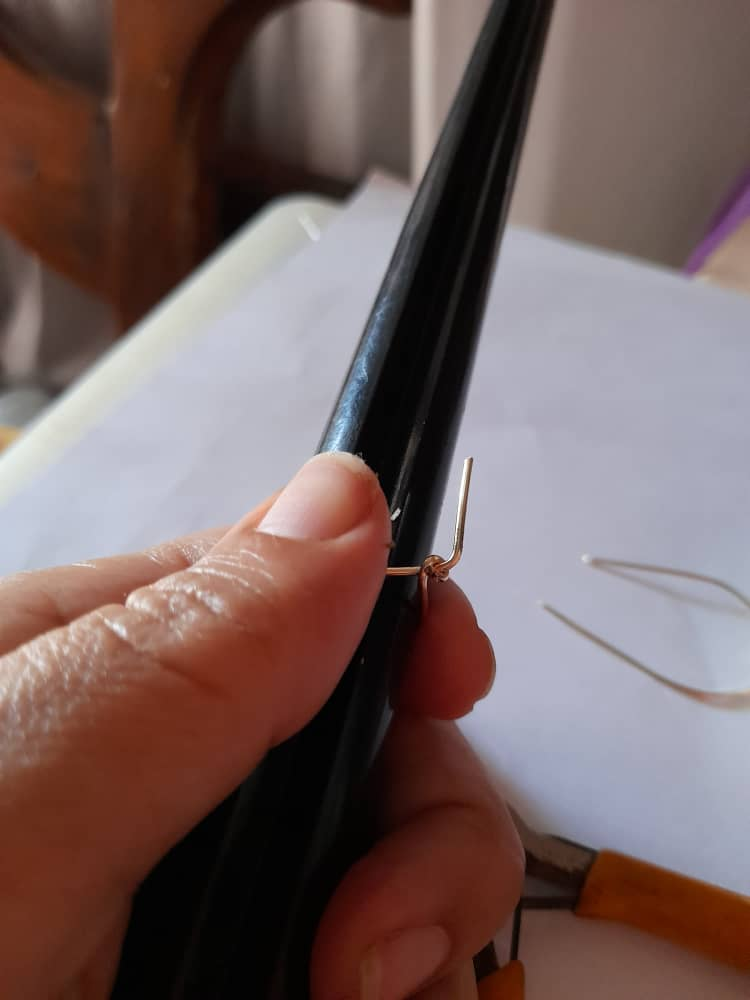
Once the wire is fixed with the flat-nosed pliers, bend the end of one centimeter to turn it into the pin. Proceed in the same way with the other section of wire.
Step 5
Cut twenty (20) centimeters of 26 gauge wire and wrap it around the piece you made. Secure it tightly with the flat nose pliers.
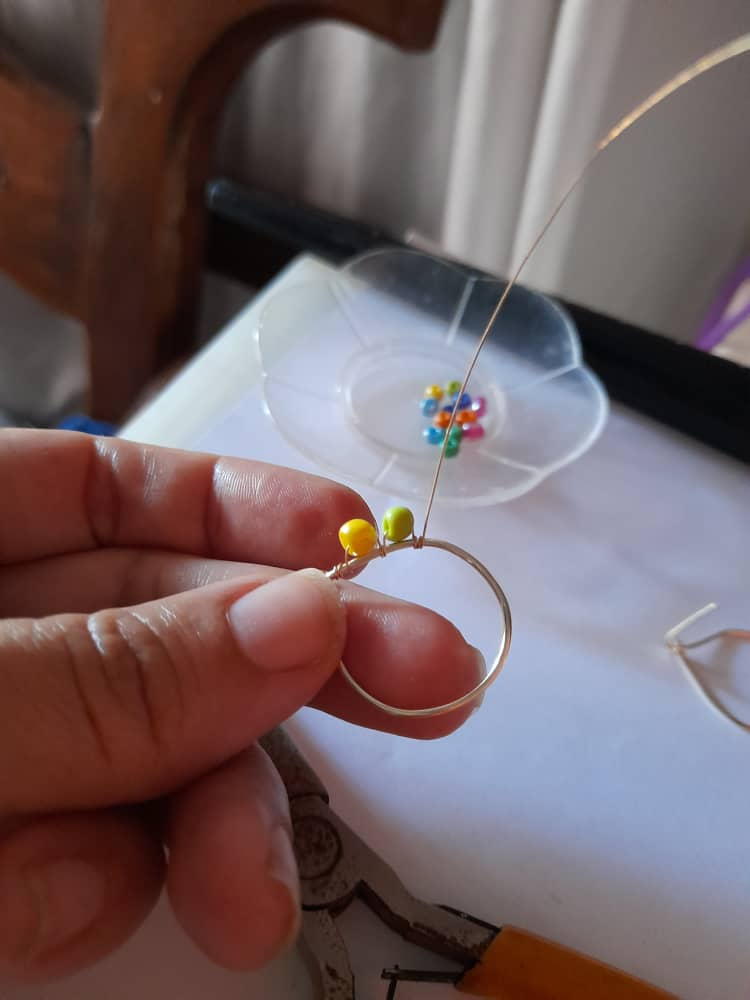
Step 6
Now proceed to place a bead on the wire and roll it over the base, this process is repeated until all the beads are placed, at the end seal it well with the flat nose pliers.

Step 7
After this place 5 cm of wire cal 22 in the oval stone, make a ring at one end of the wire so that the stone does not come out and with the other fix to the base of the earring, repeat the process with the other piece.
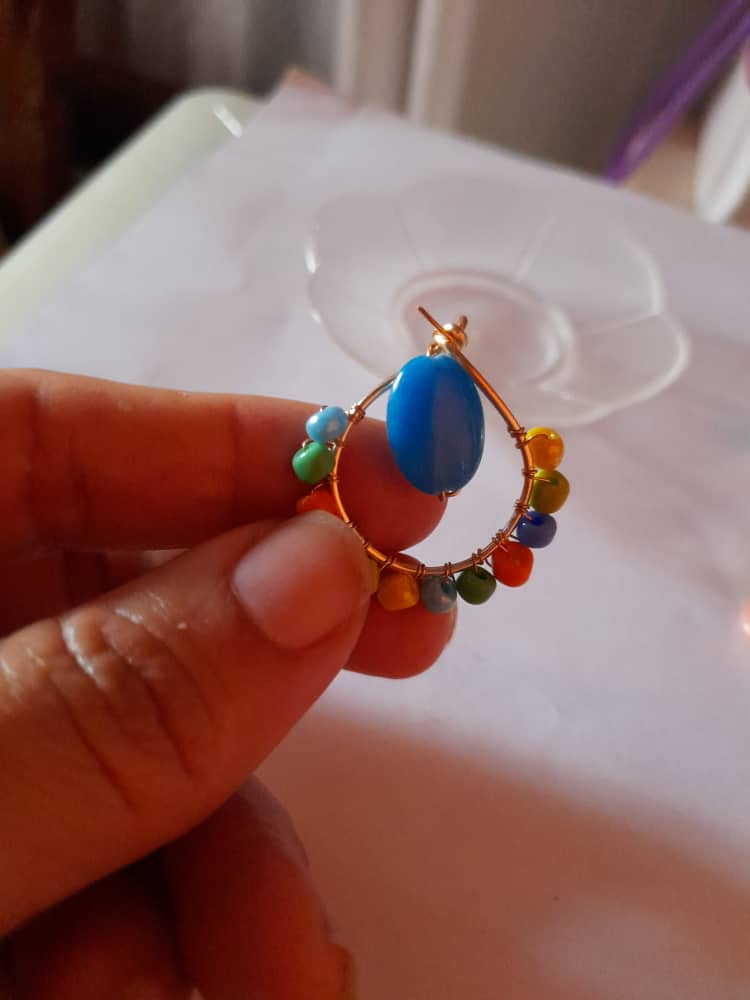
The next step is to attach the earring to the earring and it is ready to wear.
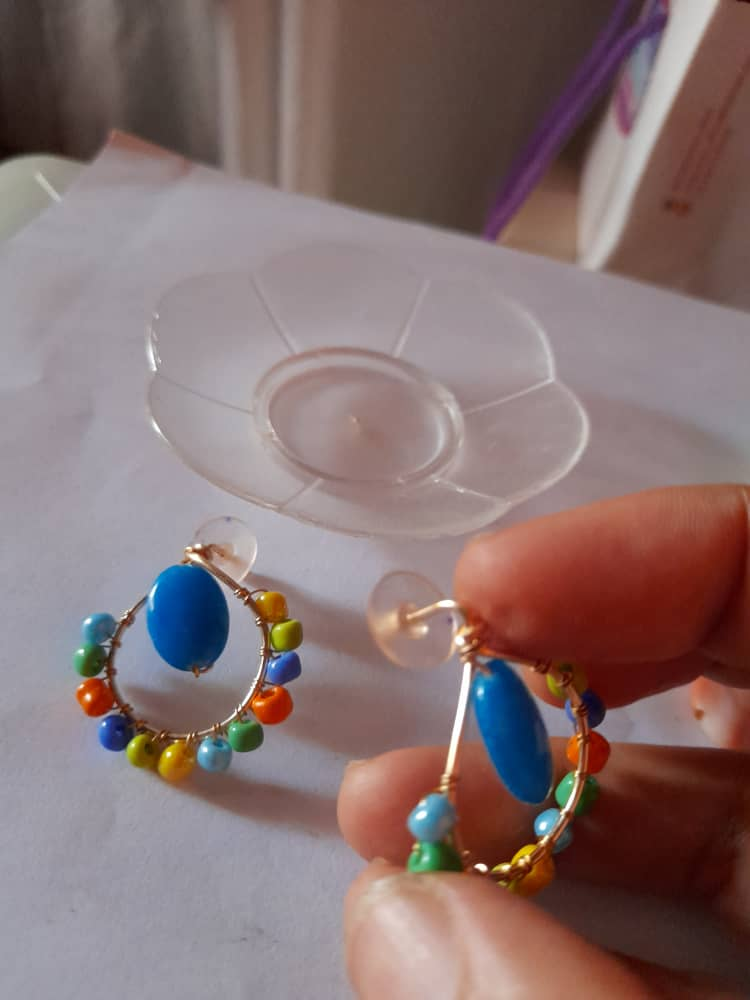
I hope you liked this project.
Thanks for reading.
Photos by @hetyg
Photo edited in Canva
Translated with www.DeepL.com/Translator (free version)
Hola amigos!
De nuevo con ustedes para mostrarles un proyecto de bisutería estupendo, de seguro les gustara, se trata de unos aretes coloridos que darán vida a cualquier outfit.
Es que los aretes o zarcillos como también los llamamos, pueden hacer la diferencia, ahora bien a este accesorio se le conoce con el termino pendiente e incluso arracadas para referirse a los de forma de aros en grandes dimensiones a los que en muchos lugares llamamos argollas, lo que si es una realidad es que el uso de ellos se remonta a culturas antiguas pues se han encontrado en excavaciones metales y piedras preciosas que obedecen al diseño de aretes o pendientes propios de la época, por lo que podemos decir que el uso de estos accesorios tiene un origen histórico y cultural.
Podemos hacer referencia al uso de los zarcillos, aretes o pendientes por parte de civilizaciones antiguas, pues la Biblia el libro mas antiguo de la humanidad y que su vez esta cargado de señales y características de las sociedades antiguas hacen mención de tales accesorios.
Después de ese paseo histórico cultural les contare un poco sobre el proyecto que les traigo para hoy.
Materiales
- 18 centímetros de alambre de bisutería Calibre 18
- 40 centímetros de alambre de bisutería Calibre 26
- 10 centímetros de alambre calibre 22
- 2 piedras de jade con forma ovalada
- 24 mostacillas de colores
- Pinza de corte
- Pinza de punta redondo
- Pinza de punta plano
Procedimiento
Paso 1
Cortar dos secciones de alambre de nueve (9) centímetros cada una
Paso 2
Moldear con el mandril de anillos el alambre, para hacer una especie de gota.
Paso 3
Enrollar el alambre sobre el otro dejando un centímetro aproximadamente
Paso 4
Una vez fijado el alambre con la pinza de punta plano, doblar el extremo de un centímetro para convertirlo en el pin. Proceder de la misma forma con la otra sección de alambre.
Paso 5
Corta veinte(20) centímetros de alambre calibre 26 y enrollar sobre la pieza que realizaste. Fijarla bien con la pinza de punta plano.
Paso 6
Ahora se procede a colocar una mostacilla en el alambre y enrollar sobre la base, este proceso se repite hasta colocar todas las mostacillas, al final se sella bien con la pinza de punta plano.
Paso 7
Después de esto coloca 5 cm de alambre cal 22 en la piedra ovalada, hacer un arito en un extremo del alambre para que la piedra no se salga y con el otro fijar a la base del arete.Repetir el proceso con la otra pieza.
Lo siguiente es colocar el trancadero al arete y ya esta listo para lucirlo.
Espero les haya gustado este proyecto.
Gracias por leerme.
Fotos de @hetyg
Foto editada en Canva

The rewards earned on this comment will go directly to the person sharing the post on Twitter as long as they are registered with @poshtoken. Sign up at https://hiveposh.com.
@tipu curate
Upvoted 👌 (Mana: 20/100) Liquid rewards.
Están divino
Gracias amiga!
Saludos!
Nicely
!discovery 30
This post was shared and voted inside the discord by the curators team of discovery-it
Join our community! hive-193212
Discovery-it is also a Witness, vote for us here
Delegate to us for passive income. Check our 80% fee-back Program
thats a really cool idea to make the earring in one piece! i mean that you dont have to hang the part you made on an existing earring but that it works out in one piece, nice work:)
Thank you!
Thank you for sharing this amazing post on HIVE!
Your content got selected by our fellow curator @priyanarc & you just received a little thank you via an upvote from our non-profit curation initiative!
You will be featured in one of our recurring curation compilations and on our pinterest boards! Both are aiming to offer you a stage to widen your audience within and outside of the DIY scene of hive.
Join the official DIYHub community on HIVE and show us more of your amazing work and feel free to connect with us and other DIYers via our discord server: https://discord.gg/mY5uCfQ !
If you want to support our goal to motivate other DIY/art/music/homesteading/... creators just delegate to us and earn 100% of your curation rewards!
Stay creative & hive on!