Hello Hive fam, a pleasant day to all of you. It's @iamjkk and I'm back for another crafting episode. In this blog I am going to teach you how to make a diy durable and creative paper pot.
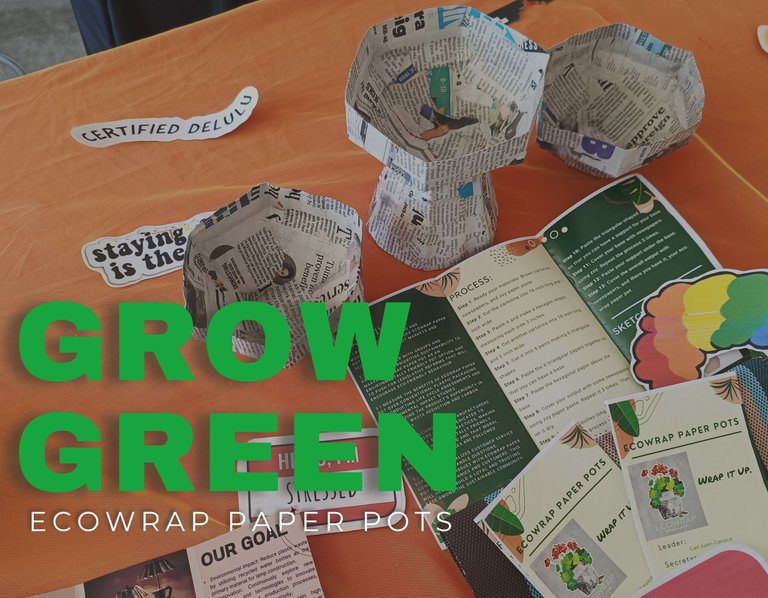
The Entrep Trade Fair was the main event for this product making. This is the event wherein students from different strands and sections gather and display their proposed products to appeal possible customers. It serves as a practice for students who will pursue business related courses in the near future.
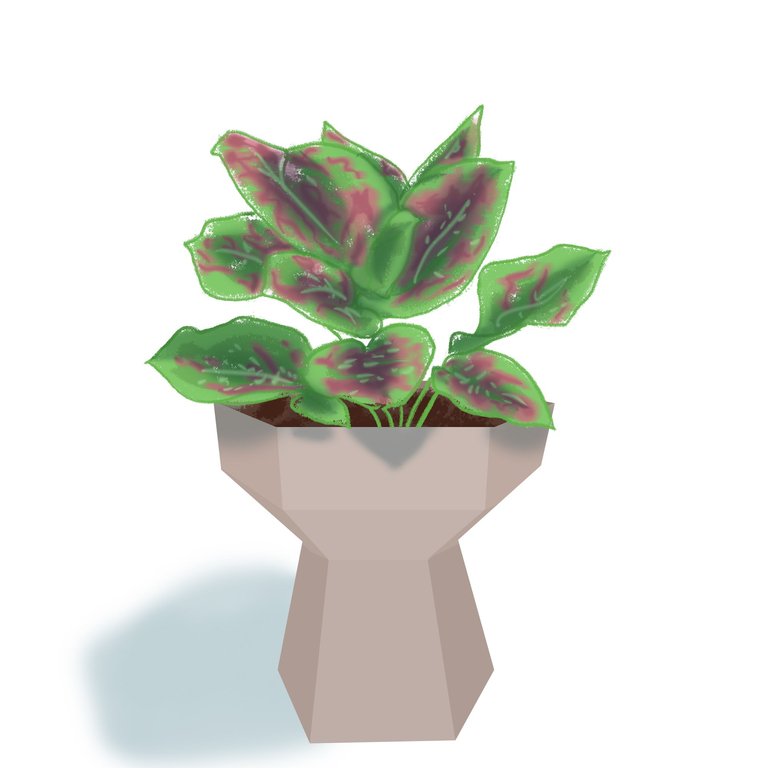
I am the one tasked to make the product in our group. Above is the digital sketch made by one of our co-members. The idea is to create a bouquet-like shape pot. But instead of going for a rounded shape, we opted to use a hexagonal shape with six sides to give our product a more enticing appearance.
LET'S DIVE IN!
For this, we are going to need the following materials:
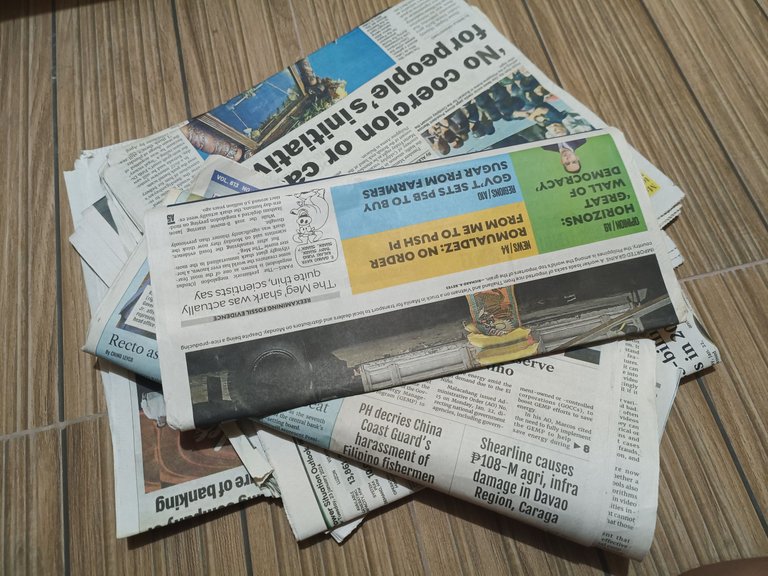
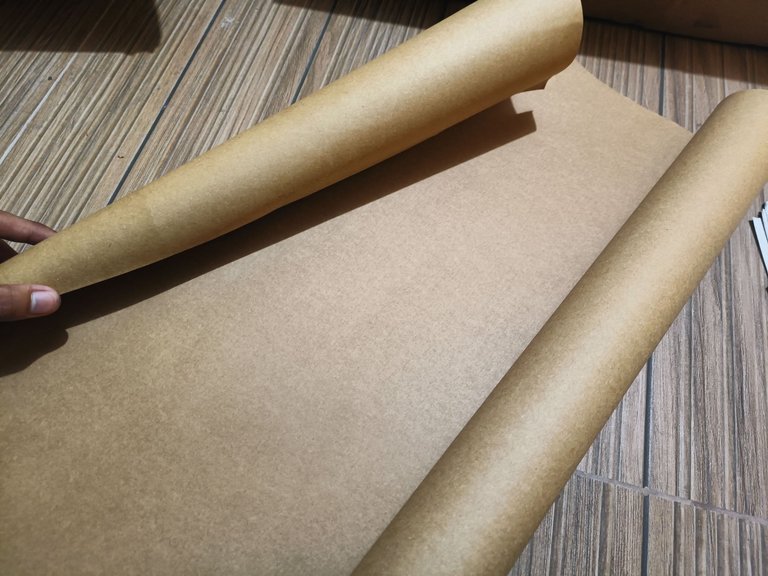
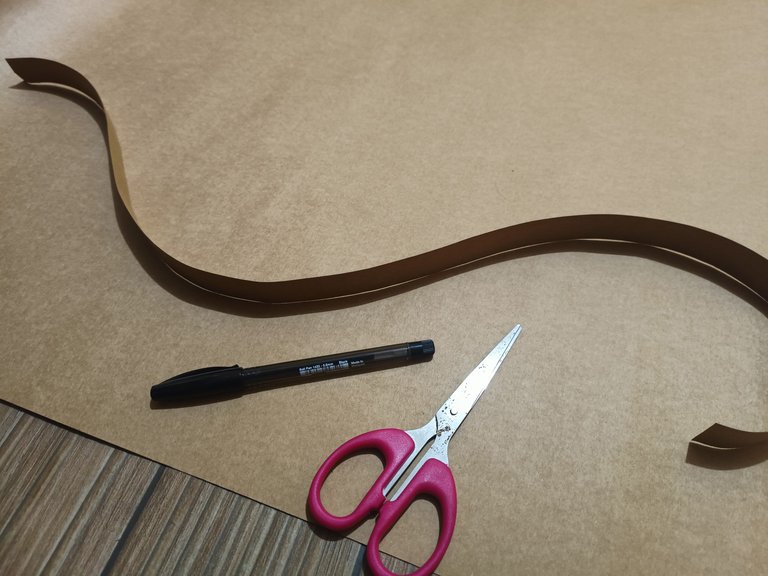
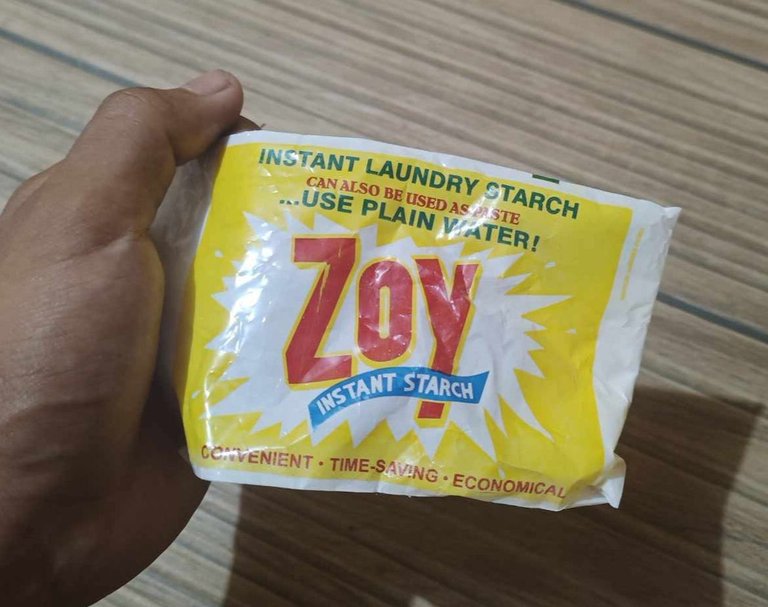
A few newspapers, a brown cartolina, zoy instant starch for paste, ballpen, and a scissor.
Ecowrap Paper Pot Procedure:
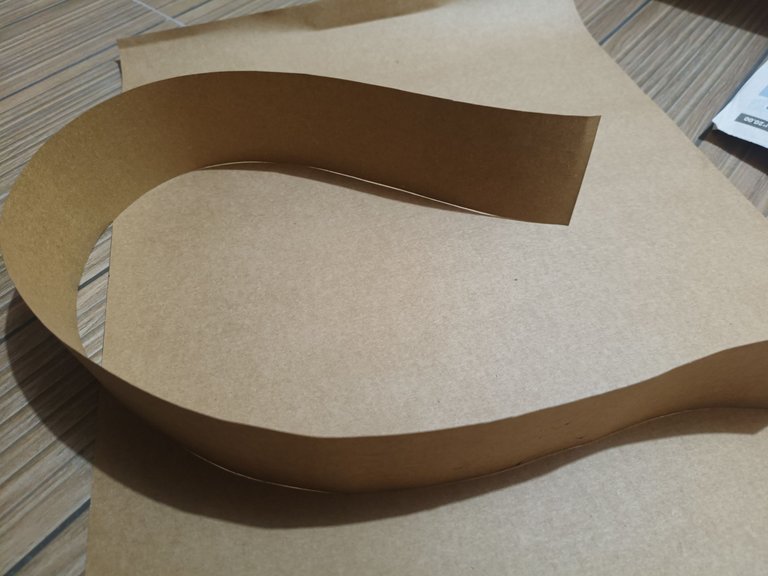
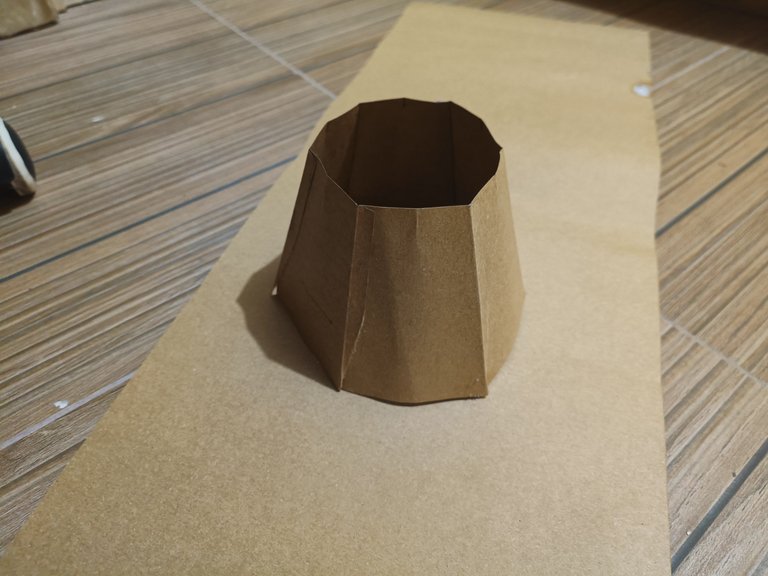
Step 1: Cut an 18 inch long and 1 inch wide cartolina.

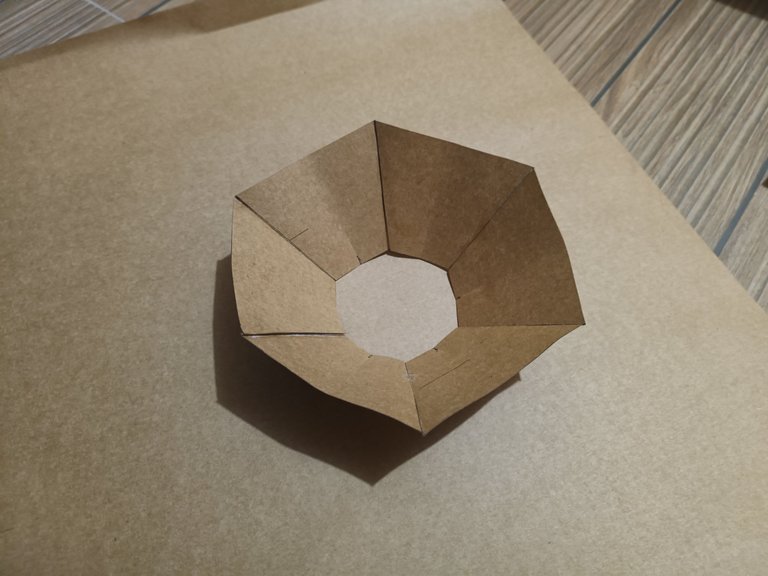
Step 2: Paste it and make a hexagonal shape, measuring each side of 3 inches.
Step 3: Cut an 18 inch long and 2 inch wide cartolina.
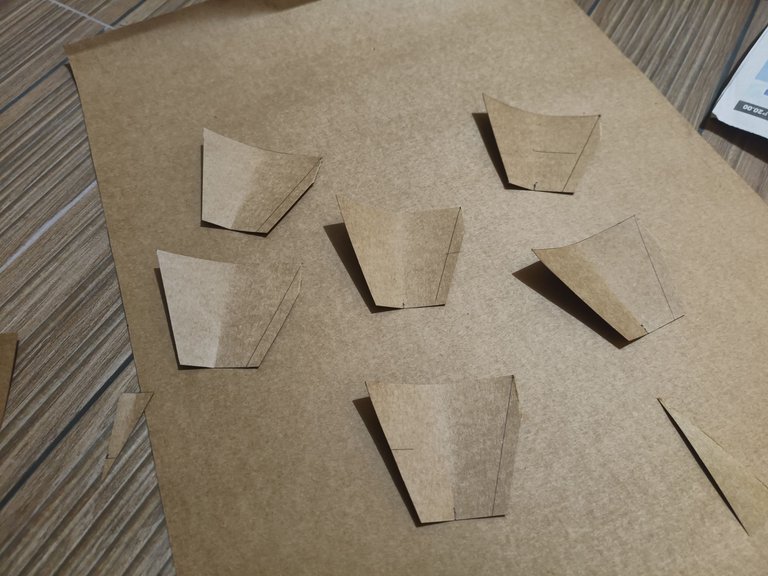
Step 4: Cut it into 6 parts making 6 trapezoidal shapes. The top part measuring 3 inches, the bottom measuring 1 and a half inch, and the sides measuring 3 and a half inches.
Step 5: Paste the 6 triangular papers so that you can have a base.
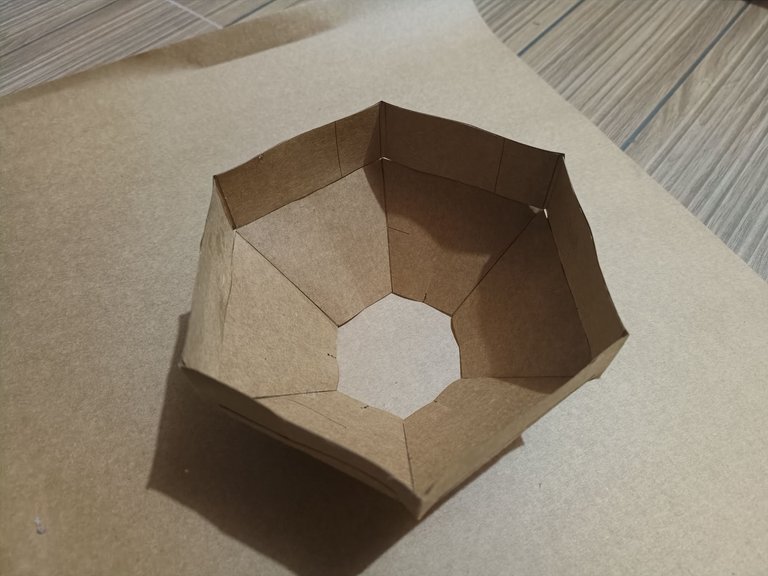
Step 6: Paste the hexagonal paper above the base.
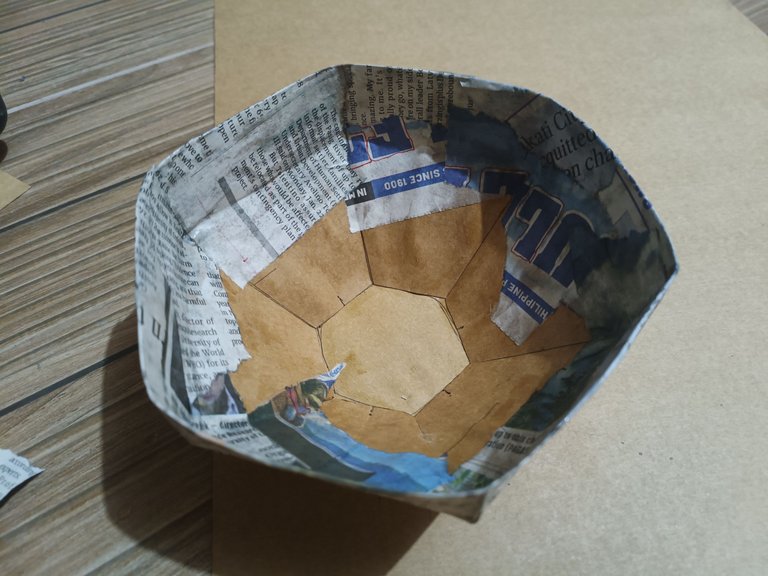
Step 7: Cover your output with some newspapers using zoy paper paste. Repeat it 3 times. Then let it dry.
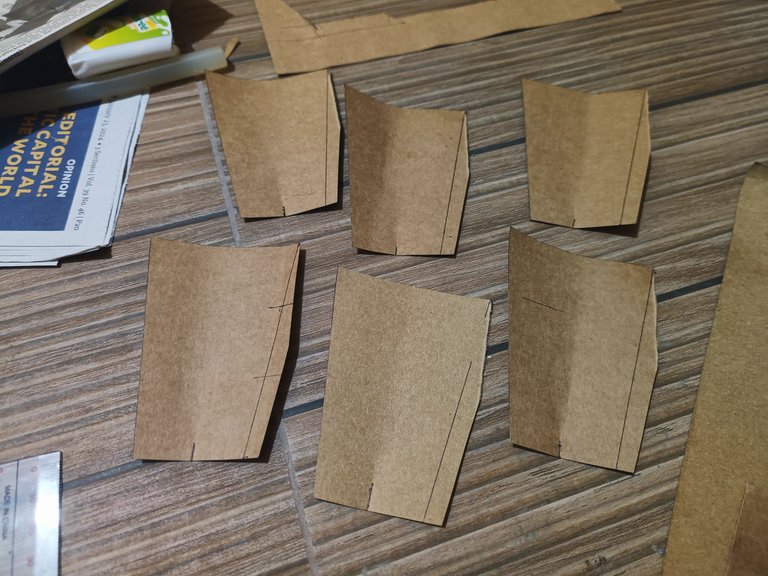
Step 8: Cut an 18 inches long with 3 inch wide cartolina. Copy the process in step #4.
Step 9: Paste the trapezoidal-shaped papers so that you can have another base.
Step 10: Cover your base with newspapers using zoy. Repeat the process 3 times.
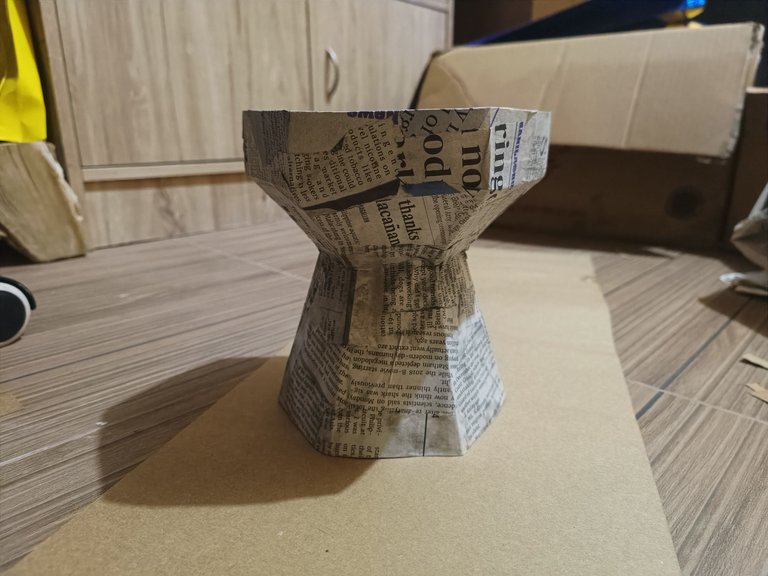
Step 11: Paste your support under the base.
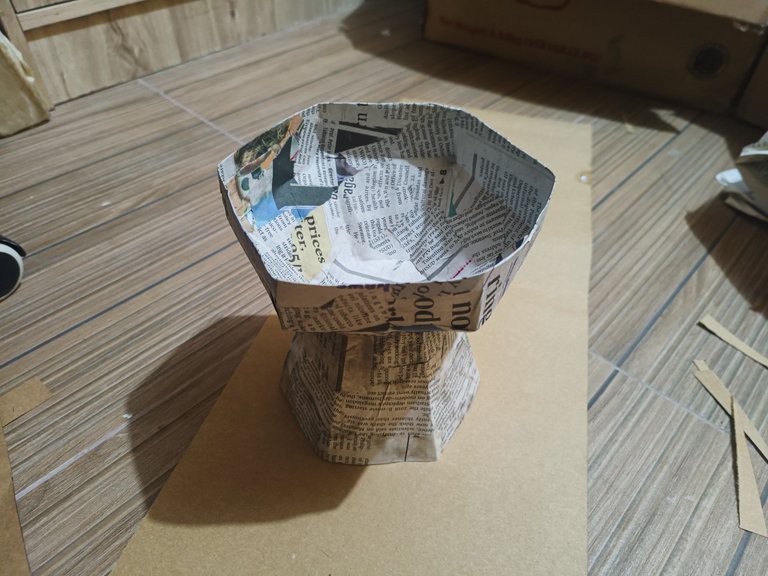
Step 12: Cover the overall output with newspapers, and there you have it, your ecowrap paper pot.
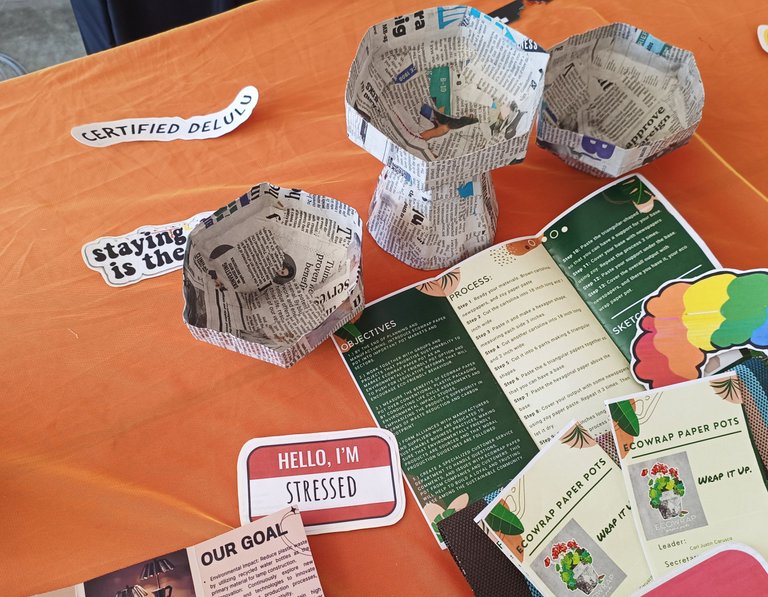
After finishing the output, I also made two pots with no base to give our customers two options. The final products were displayed in our room together with the other groups and sections. We also made brochures to advocate and promote our ecowrap paper pots.
Making this project was not really that challenging for me since I have an experience in crafting. If you will just follow the measurements, as well as the sketch, I'm sure you can make this perfectly. And if you are a creative type of person, you can create a more innovative version of this product. Play with your imagination and you can do it!
This blog ends here, my fellow hivers. Hopefully you enjoyed reading my blog and I hope I was able to contribute useful ideas for your future eco-friendly products. See you around and have a nice day!
Thank you for the idea Sir @iamjkk and I am excited to learn more DIY project for your next blog.
Thank you so much ma'am♥️♥️
wow
How beautiful it is very artistic.
Thank you @lauracraft🫶🏼
Wow it's so nice, all that with just paperwork 😍
Thank you @theringmaster♥️♥️
You're most welcome
Congratulations @iamjkk! You have completed the following achievement on the Hive blockchain And have been rewarded with New badge(s)
Your next target is to reach 1250 upvotes.
You can view your badges on your board and compare yourself to others in the Ranking
If you no longer want to receive notifications, reply to this comment with the word
STOP