Hola a todos queridos amigos, es mi primer blog para esta comunidad y para esta ocasión les quiero traer algo nuevo y es como reparar o arreglar tu mismo las cosas en casa, en esta ocasión les traigo como reparar de manera sencilla un inodoro que se ah despegado del suelo en el baño, eh tomado fotos de manera detallada cada paso para que entiendan mejor, comencemos.
Aquí tenemos algunas imágenes del inodoro que vamos a reparar
Hello to all dear friends, it is my first blog for this community and for this occasion I want to bring you something new and it is how to repair or fix things yourself at home, this time I bring you how to easily repair a toilet that is ah off the floor in the bathroom, I have taken detailed photos every step so that you understand better, let's get started.
Here we have some images of the toilet that we are going to repair
Comenzaremos con aflojar y sacar los tornillos de plástico que aguantan el tanque de nuestro inodoro, debemos asegurarnos de colocar abajo de ellos algún envase para recoger el agua que siempre queda al fondo del tanque para no regar agua en el suelo.
We will start with loosening and removing the plastic screws that hold the tank of our toilet, we must make sure to place a container below them to collect the water that always remains at the bottom of the tank so as not to spill water on the ground.
.jpg)
procedemos a aflojar y despegar la manguera que llena el tanque
we proceed to loosen and detach the hose that fills the tank
.jpg)
Retiramos el tanque, todo con mucho cuidado ya que recuerden que estamos trabajando con porcelana o cerámica que son muy delicadas
We remove the tank, all very carefully since remember that we are working with porcelain or ceramic that are very delicate
.jpg)
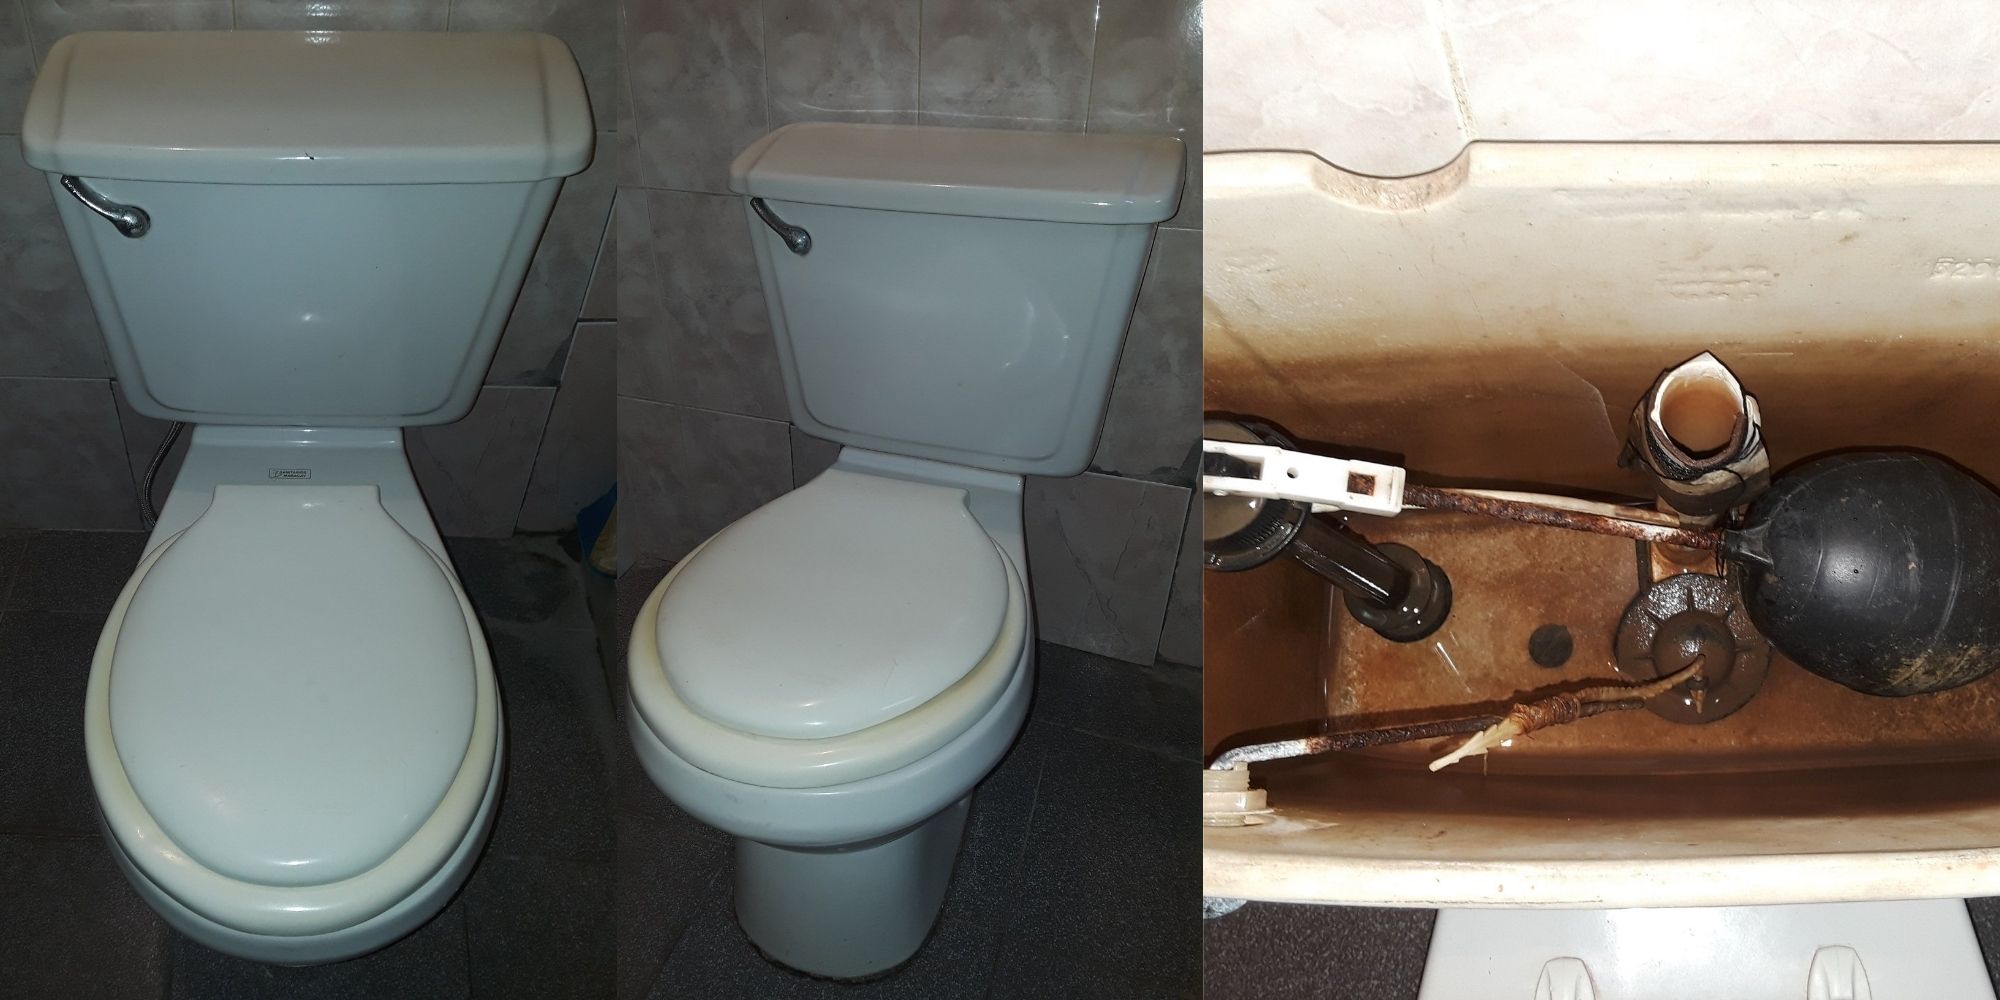
Aquí podemos ver como se ah despegado el inodoro, supongo que esto sucede por los años de humedad o tal vez que el cemento que se uso para pegarlo era de mala calidad
Este trabajo luce y es algo asqueroso ya que hablamos de donde durante años hemos hecho nuestras necesidades, jajaja! y muchas bacterias encontradas, pero para aquellos que no tenemos el dinero para llamar algún plomero o albañil que en varios casos cobran mucho dinero por hacer esta clase de trabajos, aquí les muestro como en mi caso logre repararlo sin invertir ni un solo centavo, solo mi tiempo
Here we can see how the toilet has detached, I suppose this happens because of the years of humidity or perhaps that the cement that was used to glue it was of poor quality
This job looks and is somewhat disgusting since we talk about where for years we have done our needs, hahaha! and many bacteria found, but for those of us who do not have the money to call a plumber or mason who in several cases charge a lot of money to do this kind of work, here I show you how in my case I managed to repair it without investing a single penny, just My time
.jpg)
procedamos a llevar el inodoro afuera donde podamos desarmar la tapa
let's proceed to take the toilet outside where we can disassemble the lid
.jpg)
Luego buscamos algunas telas o ropas dañadas gruesas que no sirvan para colocarlas en el suelo y volteamos nuestro inodoro en ellas para comenzar a golpear con un cincel y martillo muy cuidadosamente para despegar el cemento viejo, recuerden ser muy pacientes y cuidadosos ya que golpear muy fuerte o equivocadamente hará estrellar o romper en 2 el inodoro, mi recomendación es no darle verticalmente, sino horizontal colocando el cincel entre la cerámica y el cemento para levantarlo, apliquen agua para ablandar un poco el cemento y así facilitar las cosas, siempre paciencia ya que esta es la parte donde mas debemos tener cuidado
Then we look for some thick damaged fabrics or clothes that do not serve to place them on the floor and we turn our toilet on them to start hitting with a chisel and hammer very carefully to remove the old cement, remember to be very patient and careful since hitting very hard or mistakenly it will crash or break the toilet in 2, my recommendation is not to hit it vertically, but horizontally, placing the chisel between the ceramic and the cement to lift it, apply water to soften the cement a little and thus make things easier, always be patient as This is the part where we must be most careful
.jpg)
.jpg)
Luego de quitar bien el cemento duro y limpiar nuestro inodoro procedemos a preparar nuestro cemento nuevo, no le eh tomado fotos de como hacerlo porque se me ah olvidado pero para los que no sepan como batir cemento pueden buscar un tutorial en internet, es muy sencillo. al tener nuestro cemento ya fresco vamos al baño y regamos el cemento justo con la marca donde había quedado el inodoro anteriormente, una capa no tan gruesa y con mucho cuidado lo colocamos calculando bien donde estuvo ubicado antes
After removing the hard cement well and cleaning our toilet we proceed to prepare our new cement, I have not taken pictures of how to do it because I have forgotten but for those who do not know how to beat cement they can look for a tutorial on the internet, it is very simple . When we have our cement already fresh we go to the bathroom and water the cement just with the mark where the toilet had been previously, a not so thick layer and with great care we place it calculating well where it was located before
.jpg)
.jpg)
Luego humedecemos una tela que no sirva para limpiar el cemento sobresaliente y limpiamos el cemento fresco del inodoro para que no quede sucio
Then we moisten a cloth that does not serve to clean the protruding cement and we clean the fresh cement from the toilet so that it is not dirty
.jpg)
Ya al tenerlo todo limpio solo nos queda esperar unos 2 a 3 días para que el cemento seque muy bien y armamos nuestro inodoro nuevamente
Since we have everything clean, we only have to wait about 2 to 3 days for the cement to dry very well and we assemble our toilet again
.jpg)
Y así ah quedado nuestro inodoro, limpio y como nuevo. Te invito a intentarlo si te ah sucedido lo mismo, yo lo hice y fue mi primera vez y me ah resultado y quería compartirlo con ustedes así se vea algo asqueroso, me gusta intentar reparar siempre algo en casa para aprender de todo un poco, viendo tutoriales en internet y guiándome así estaré mas preparado para un futuro, espero te resulte esta guia amigos, bendiciones.
Todos los textos fueron explicados por mis propias palabras
Las imágenes fueron tomadas por mi celular Samsung J7 Prime
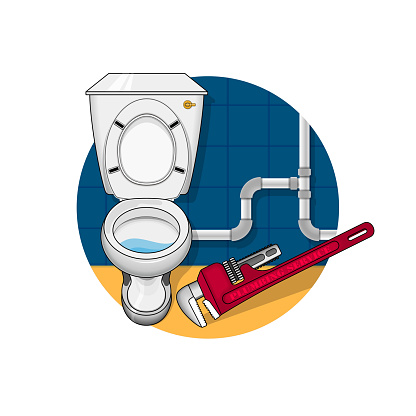
Aquí tienen la fuente de la primera imagen extraída de una pagina web
https://www.istockphoto.com/es/vector/servicio-de-plomer%C3%ADa-de-ba%C3%B1o-gm951548958-259752029
And so our toilet has been, clean and like new. I invite you to try it if the same thing happened to you, I did it and it was my first time and it worked for me and I wanted to share it with you even if it looks disgusting, I like to always try to repair something at home to learn a little about everything, watching tutorials on the internet and guiding me so I will be more prepared for the future, I hope you find this guide friends, blessings.
All texts were explained in my own words
The images were taken by my Samsung J7 Prime cell phone
Here is the source of the first image taken from a web page
https://www.istockphoto.com/es/vector/plomer-service%C3%ADa-de-ba%C3%B1o-gm951548958-259752029
Excelente truco amigo, bienvenido a nuestra comunidad. Te falto colocar las fuentes las imagenes que no son tuyas. Debes colocarlas para que tengas alcance en cuanto a curación. La forma correcta es colocarlo al final del post la dirección web de alojamiento de la misma. Si puedes editas el post y me avisas.
Hola amiga, muchas gracias por la bienvenida ;) supongo que la fuente de solo la primera imagen? ya que es la única que extraje de internet, las demás fueron fotos tomadas por mi.
Podrías aclararme esa duda?
La primera, es evidente, cualquier recurso que utilicemos para nuestra publicación que no sea nuestra, eso incluye separadores de texto, imágenes, entre otros, debemos enunciarlos al final del post preferiblemente, como te dije, debes colocar en la fuente el sitio web donde se encuentra alojado el texto o imagen, esto es por los derechos de autoría.
Entendido amiga, ya lo corregí!
Que tal quedo?
Te quedó bien, eso te ayudará en tus siguientes publicaciones, me alegra ser de ayuda.
Aunque no recibí nada de votos curativos... Pero como usted dice tal vez si los reciba para las siguientes publicaciones que haga en esta comunidad
Le agradezco por instruirme ;)
Siempre debemos ser pacientes, pues los votos no siempre llegan el mismo dia. Saludos.