Friends of #hivediy a pleasure to greet you, as I have shown you, I like to design and create images, it is something that I have been learning to do over time, I confess, I never imagined that I would like or learn, but here I am every day creating something new.
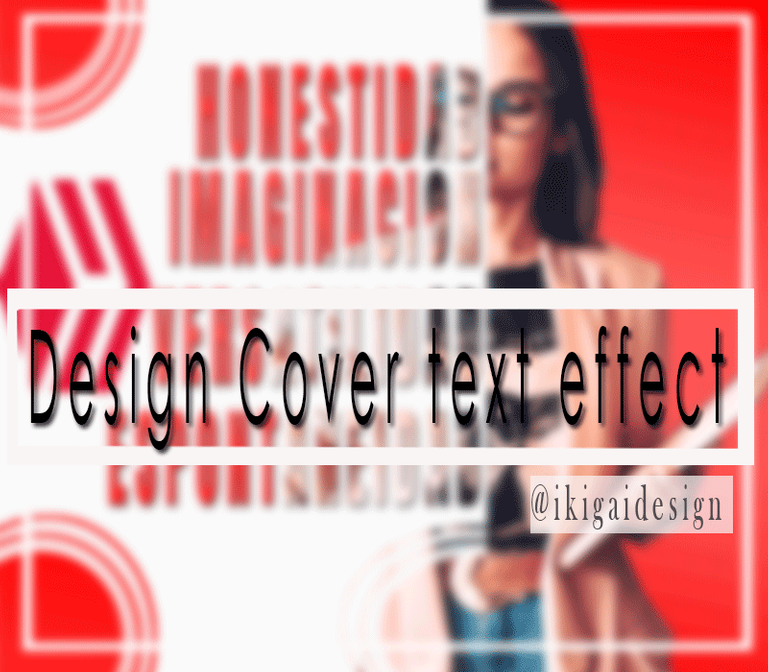
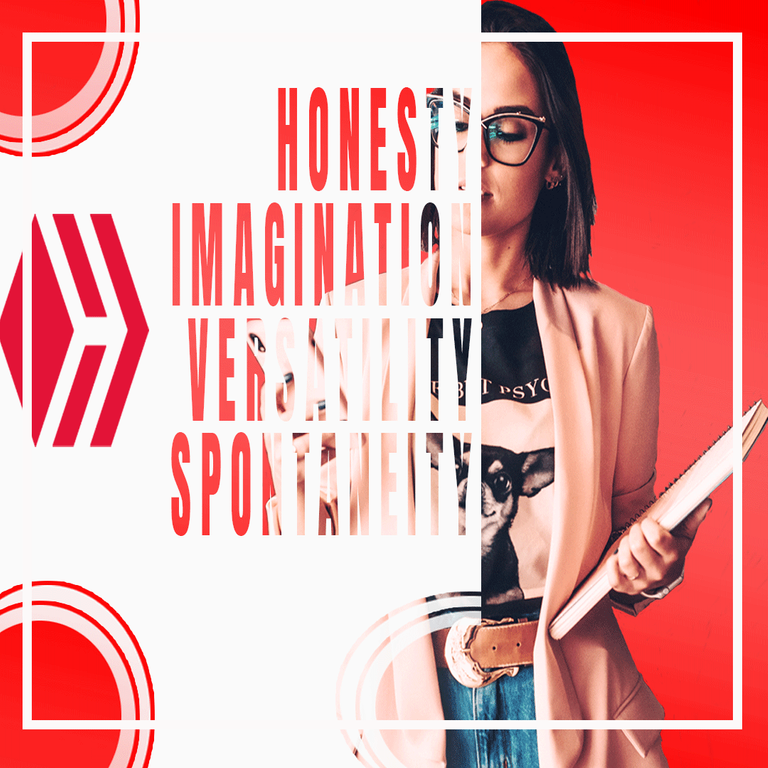
This time I want to share with you a little flayer, so to speak, related to Hive, no doubt this platform encourages us again and again to create, improve, learn and be original.
Some time ago I saw these designs of images with text portraits, I saw several videos, but I never sat down calmly to see how it was, today I decided to do it, even if it was something simple, and as it was to share it with you, I wanted to relate it to Hive.
You have heard what an Acrostic is, well, let me explain, it is a combination of words, where we take the initial, middle or final letters and create others, in my case I took the initial letters of HIVE and formed others, giving a meaning to each one.
The words I formed were the following:
Honesty: I feel that here we all are and we should be honest, show ourselves as we are, sharing the best of each one of us.
Imagination: to create good content we must always have a little imagination, either to write those great stories that many love and captivate us.
Versatility: without a doubt we must be very versatile, since in Hive we can see so many communities with different topics, with which we can feel identified, and thus participate in each one.
Spontaneity: the best way to create is to be spontaneous, when writing, when recording a video, being as I said, original and unique.
These were the words I used to form my image, now I will explain how to create my Flayer.
How I did it
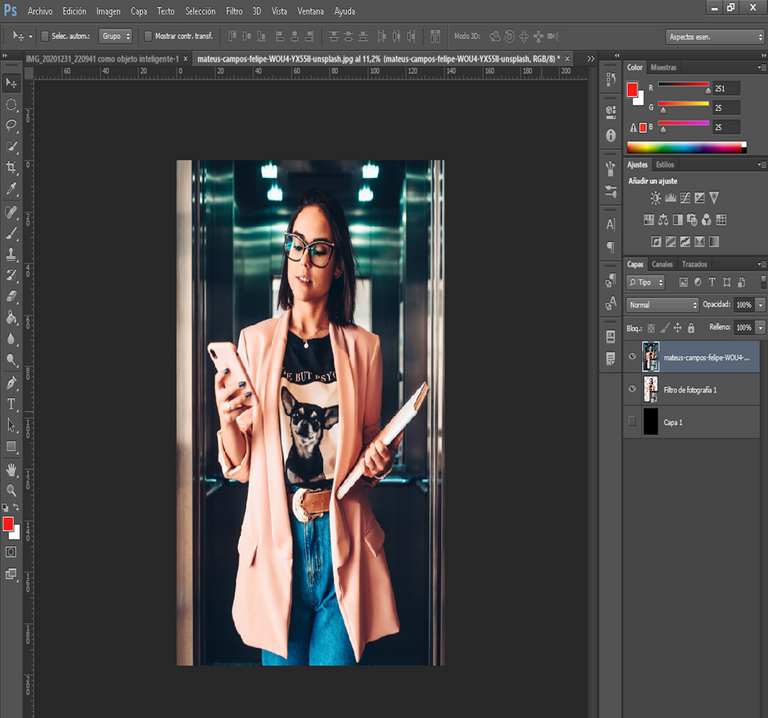
First I looked for an image, it cost me a little, I'm a little indecisive when choosing a good image, but in the end I decided for this , a girl with a phone and an agenda in her hand, somehow this is what Hive is all about, we are always connected either by phone or computer, and with our agenda, writing down everything we are going to do.
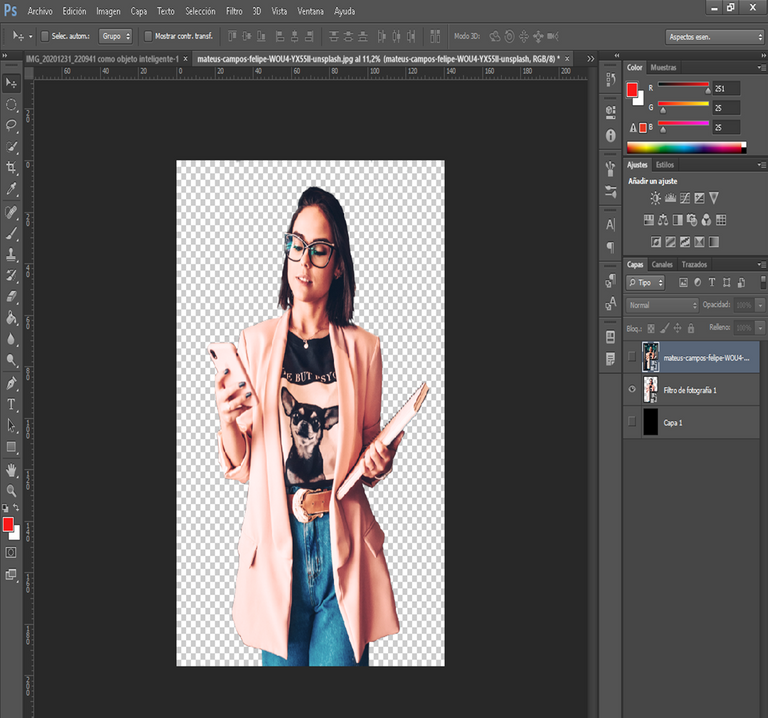
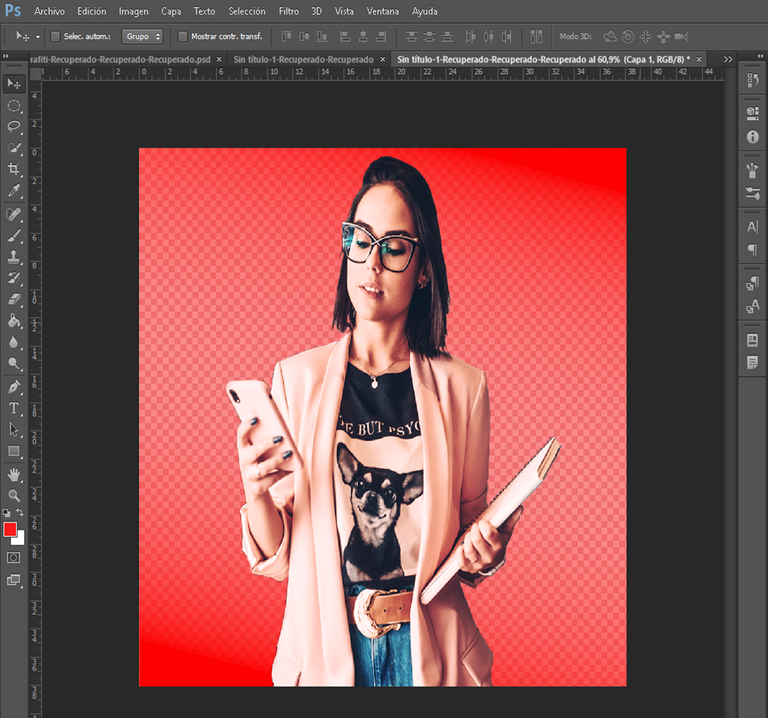
Already with my selected image, I only had to assemble my design, first I removed the background, a process which I do with Photoshop, with a lot of patience, once done, I apply a gradient with a red background.
 |  |
|---|
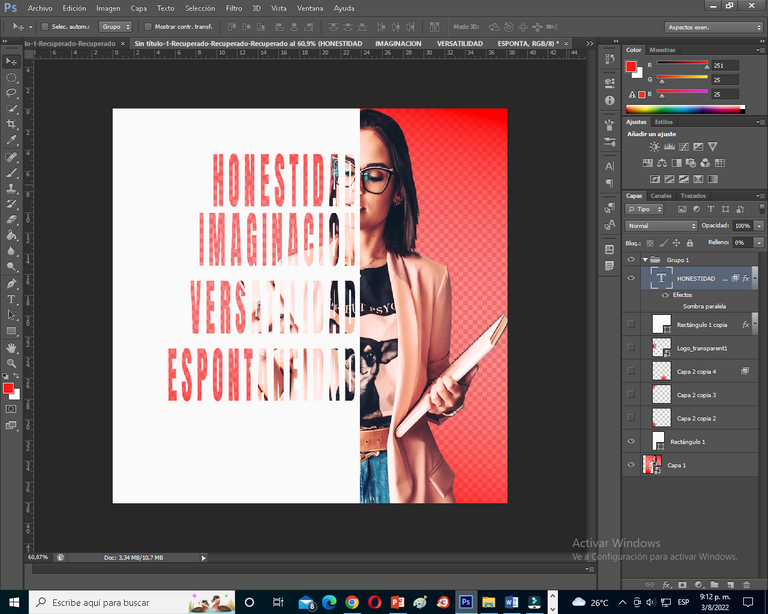
Once this is done, I convert my image into a smart object to join it and form one, once done I proceed with the letters, for this type of design it is recommended to use a thick font.
To do this I add a rectangle in the middle of the image, add the text, and place it at a size according to the image, with this I then proceed to make the effect of the text with the image.
Here we will take the text layer, we go to blending options, remove the fill and click on the advanced blending option, in the part where it says coverage and select superficial.
 |  |
|---|
Once this is done, we proceed to combine the text layer with the layer of the rectangle previously created, with this, we only have to click to attach the text inside the image, as I show you.
The truth is a somewhat confusing process, but simple and fast, and with this we only have to add some details to the image, as an extra to the flayer.
As you can see it is something simple, maybe for experts this is nothing, but for beginners like me, who are still investigating all the effects and designs that we can create with this great tool like Photoshop, it is a great achievement.
If you like it, let me know, if you have any suggestions too, or any request for a design you want to learn how to make, just let me know in the comments, and I will gladly work on it.

Amigos de #hivediy un gusto saludarlos, como bien les he mostrado, me gusta diseñar y crear imágenes, es algo que he ido aprendiendo a realizar con el tiempo, les confieso, nunca me imaginé que me gustaría o aprendería, pero aquí estoy cada día creando algo nuevo.
En esta oportunidad quiero compartirles un pequeño flayer, por así decirlo, relacionado con Hive, sin duda esta plataforma nos incentiva una y otra vez a crear, mejorar, aprender y ser originales.
Hace un tiempo vi estos diseños de imágenes con retratos de textos, veía varios videos, pero nunca me senté con calma a ver como era, hoy me propuse hacerlo, aunque sea algo sencillo, y como era para compartirlo con ustedes, quise relacionarlo con Hive.
Ustedes han escuchado lo que es un Acróstico, pues bien, les explico, es una combinación de palabras, donde tomamos las letras iniciales, del medio o finales y creamos otras, en mi caso tome las letras iniciales de HIVE y forme otras, dándole un significado a cada una.
Las palabras que forme fueron las siguientes:
Honestidad: siento que aquí todos somos y debemos ser honestos, mostrarnos tal cual como somos, compartiendo lo mejor de cada uno.
Imaginación: para crear buen contenido siempre debemos tener un poco de imaginación, ya sea para escribir esas grandes historias que a muchos les encanta y nos cautivan.
Versatilidad: sin duda debemos ser muy versátiles, ya que en Hive podemos ver tantas comunidades con diferentes tópicos, con la cual nos podemos sentir identificados, y así participar en cada una.
Espontaneidad: la mejor manera de crear es siendo espontáneos, al escribir, al grabar un video, siendo como dije uno mismo, originales y únicos.
Estas fueron las palabras que use para formar mi imagen, ahora les explicaré como creer mi Flayer.
Como lo hice
Primero busqué una imagen, me costó un poco, soy un poco indecisa al momento de escoger una buena imagen, pero al final me decidí por esta , una chica con un teléfono y una agenda en la mano, de alguna forma de esto se trata Hive, siempre estamos conectados ya sea por el teléfono o la computadora, y con nuestra agenda, anotando todo lo que vamos a hacer.
Ya con mi imagen seleccionada, solo me quedo montar mi diseño, primero le quité el fondo, un proceso el cual realizo con Photoshop, con mucha paciencia, una vez hecho esto, le aplico un degradado con fondo, de color rojo.
| |
|---|
Terminado esto, convierto mi imagen en un objeto inteligente para unirlo y forma una, una vez hecho procedo con las letras, para este tipo de diseño se recomienda usar un tipo de letra gruesa.
Para ello agrego un rectángulo en la mitad de la imagen, agrego el texto, y lo coloco a un tamaño acorde a la imagen, con esto procedo entonces hacer el efecto del texto con la imagen.
Aquí tomaremos la capa del texto, nos vamos a opciones de fusión, le quitamos el relleno y le damos en la opción de fusión avanzada, en la parte donde dice cobertura y seleccionamos superficial.
| |
|---|
Realizado esto, procedemos a combinar la capa del texto con la capa del rectángulo anteriormente creado, con esto, solo nos queda darle clic para anexar el texto dentro de la imagen, así como les muestro.
La verdad es un proceso algo confuso, pero sencillo y rápido, ya con esto solo nos queda agregarle algunos detalles a la imagen, como extra al flayer.
Como puede observar es algo sencillo, quizás para los expertos esto no sea nada, pero para los principiantes como yo, que aún seguimos indagando un poco todos los efectos y diseños que podemos crear con esta gran herramienta como lo es Photoshop, es un gran logro.
Si les gusto, háganmelo saber, si tienen alguna sugerencia también, o alguna petición de algún diseño que quieran aprender hacer, solo déjenme saber en los comentarios, y con gusto trabajaré en ello.

Banner, Cover y picture edited with Photoshop
Images captured from my PC
Edited video gif: giphy.com // clipchamp
source

The rewards earned on this comment will go directly to the people( @ikigaidesign ) sharing the post on Twitter as long as they are registered with @poshtoken. Sign up at https://hiveposh.com.
Saludos amiga @ikigaidesign 🤗
Wow! Te quedó increíble 🤩 Me encantó 😍
Bueno, yo también soy nueva en esto de los programas de edición pero quiero seguir aprendiendo. Se ve que tiene sus retos. Así que muchas gracias por compartir como lo hiciste, pues me anima a yo hacerlo también 💟
¡Muchas gracias, amiga, si es todo un proceso, pero vale la pena el resultado, espero te animes y empieces a crear, gracias por leerme, saludos!!
Amiga @ikigaidesign que éxito te quedo hermoso.
Y si hice nos ha ayudado a ser más creativos.
Que bueno que cada día estés creando cosas como estas.
Ya estará diseñando grandes proyectos en el futuro.
Muchas gracias, si así ando cada día buscando aprender y mejorar.
Dios te oiga, la practica hace al maestro, en esas ando practicando y aprendiendo jijij, gracias por leerme, saludos.
Congratulations @ikigaidesign! You have completed the following achievement on the Hive blockchain and have been rewarded with new badge(s):
Your next target is to reach 4750 upvotes.
You can view your badges on your board and compare yourself to others in the Ranking
If you no longer want to receive notifications, reply to this comment with the word
STOPCheck out the last post from @hivebuzz:
Support the HiveBuzz project. Vote for our proposal!
Muy buen trabajo, bien logrado, saludos ❤️
muchas gracias, saludos.
Wow amiga se ve súper bien, y te entiendo los e irle agarrando cariño al diseño de flyer, yo he estado viendo cursos de Photoshop con mi novias y es un mundo genial, un saludo amiga 🤘🏼
si es una gran herramienta te permite crear grandes diseños, espero ver los tuyos jiji, saludos.
Que gran trabajoooo, felicitaciones 🙏
muchas gracias, si lo fue, saludos😍
Guaoooo se ve sencillo y fácil de aplicar, te felicito por seguir aprendiendo y compartiendo tus conocimientos. Bendiciones amiga.💖
gracias amiga, si me gusta mucho esto de crear nuevos diseños, gracias por leerme, saludos.
Genial amiga bella me encanto.. necesito unas clases de diseño..
gracias amiga, bueno en YouTube hay muchos videos tutoriales, así es que he ido aprendiendo, es cuestión de ponerlos en practica jiji, saludos.
Muy buen montaje, te quedo genial, aunque no seas una experta como tu dices, te quedo muy bien