Hello dear friends. There are already 4 months until Christmas arrives and the truth is that I have been wanting to renew the decorations of my house and the Christmas tree for a long time.
So I said to myself: Why not make them myself? There are always recycling materials around the house that I can use to make these decorations and so I recycle a bit. I also manage to give my house another atmosphere.
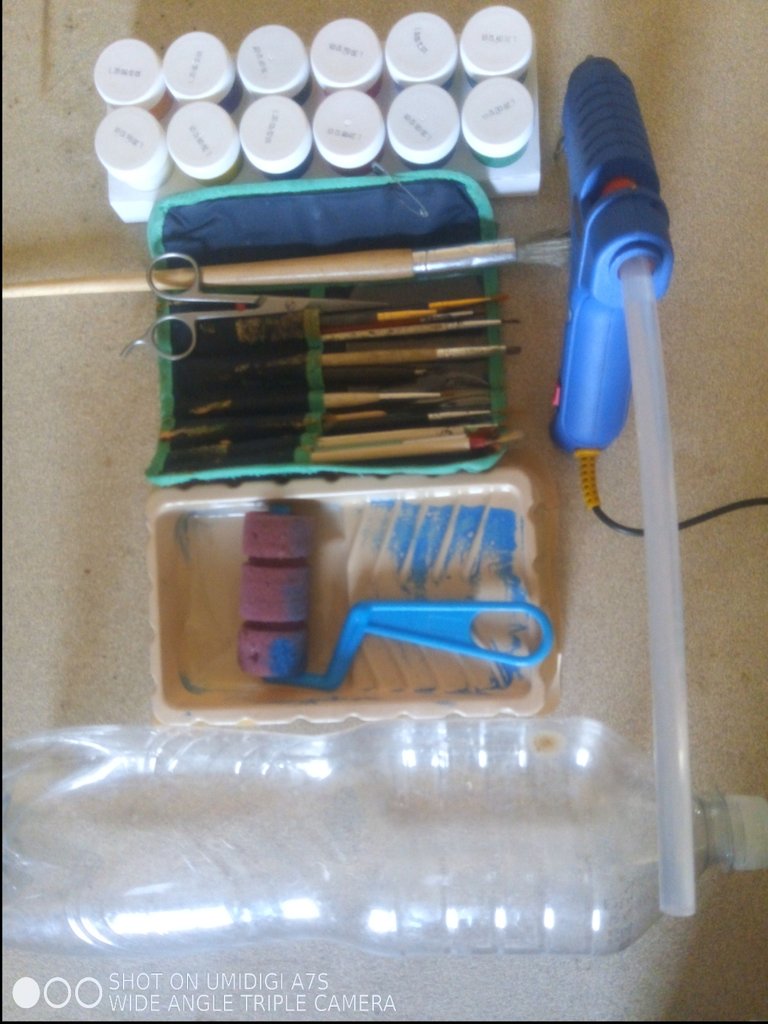
For this Snowman we need:
A bottle of soda
pair of scissors,
silicone gun,
silicone bar,
White paint,
Brush,
a piece of red cloth for the scarf,
cardboard for the hat,
black paint for the hat
and an ornament for the hat.
We will also need a little sand to fill the bottle.
We started by painting the bottle white, I used tempera. You can use acrylic paint for this work as it looks great. We let it dry.
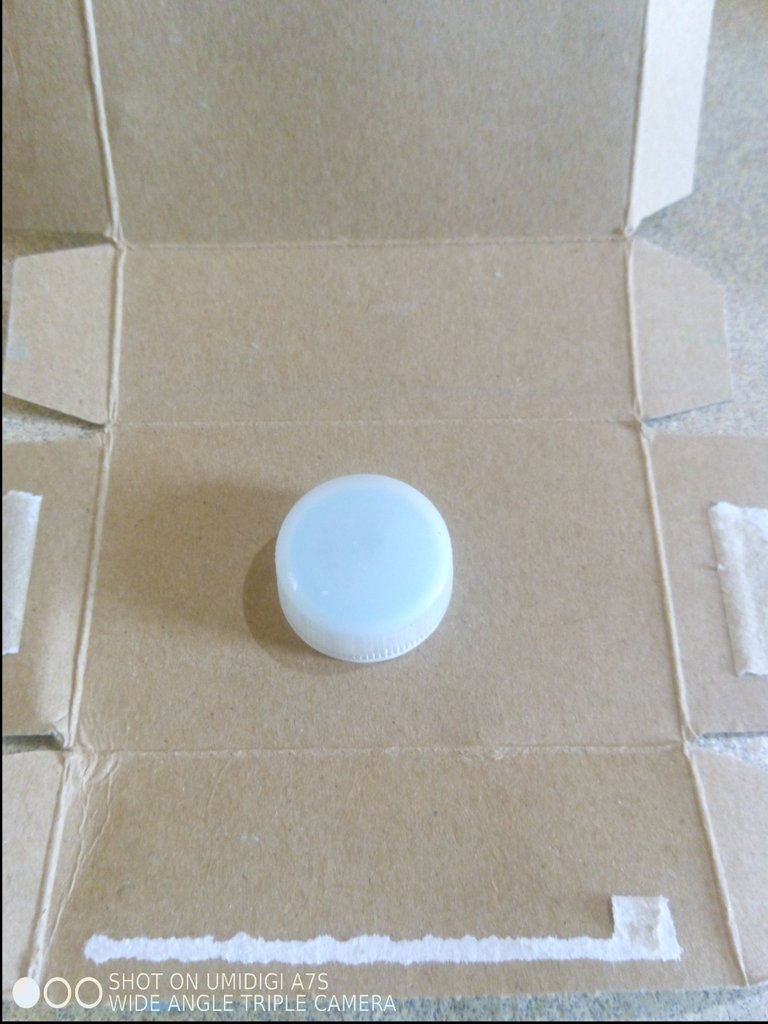
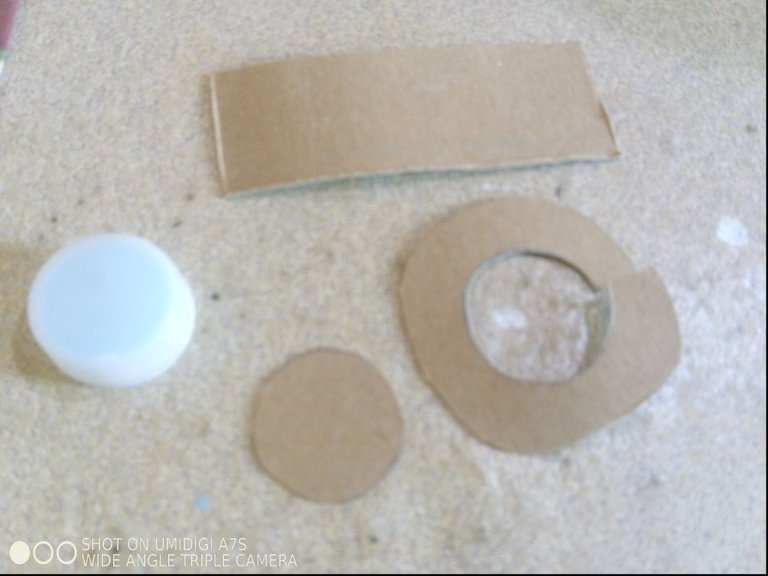
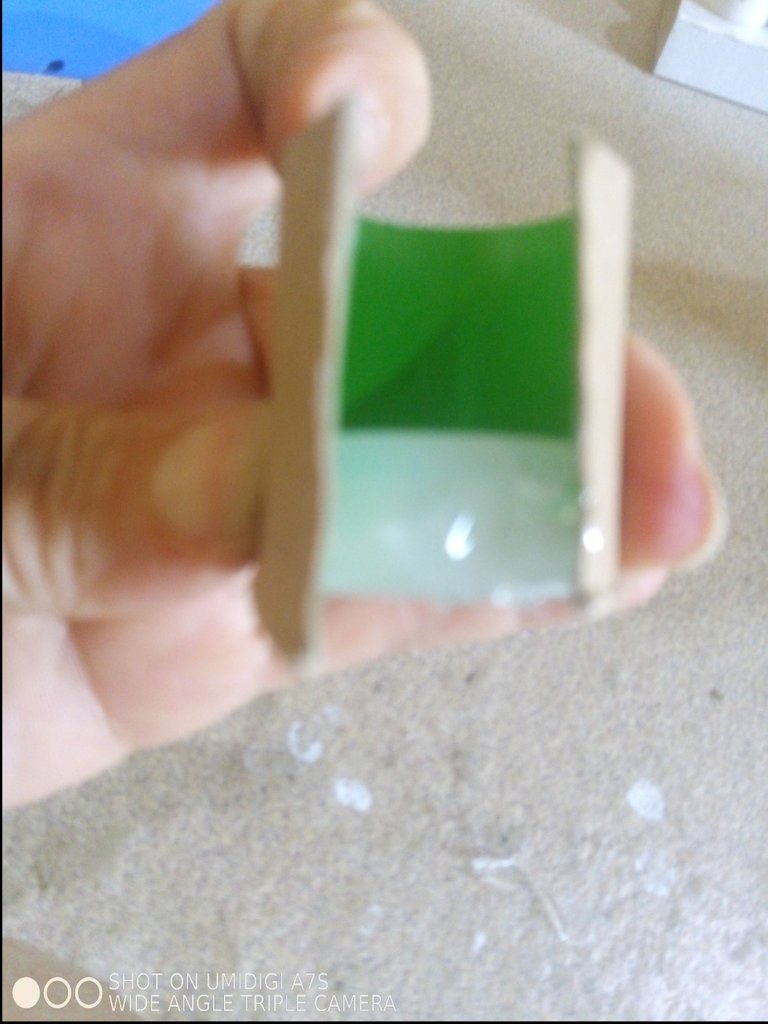
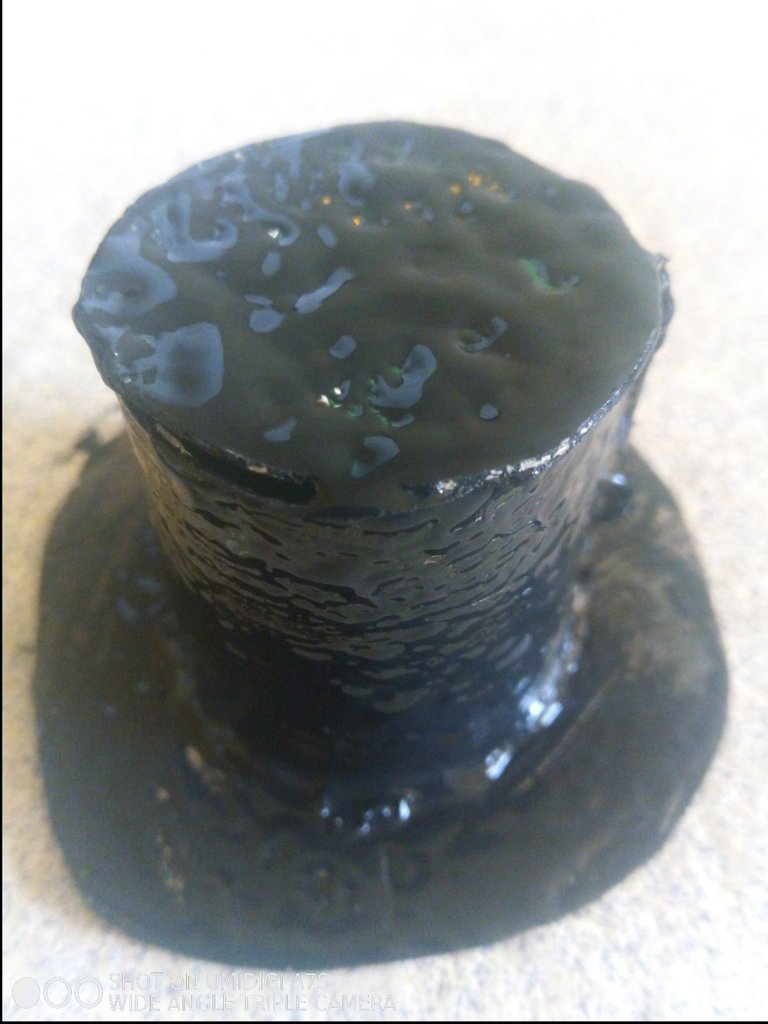
To make the hat, we used a piece of cardboard, I used a bath soap box. We use the cap of the bottle to take the measurement and we make a circle of that size, then we mark 2 centimeters around the circle to make the brim of the hat. We will make the top of the hat with a rectangle that measures the circumference of the bottle cap and 4 centimeters high. We join everything with the silicone gun and paint in black.
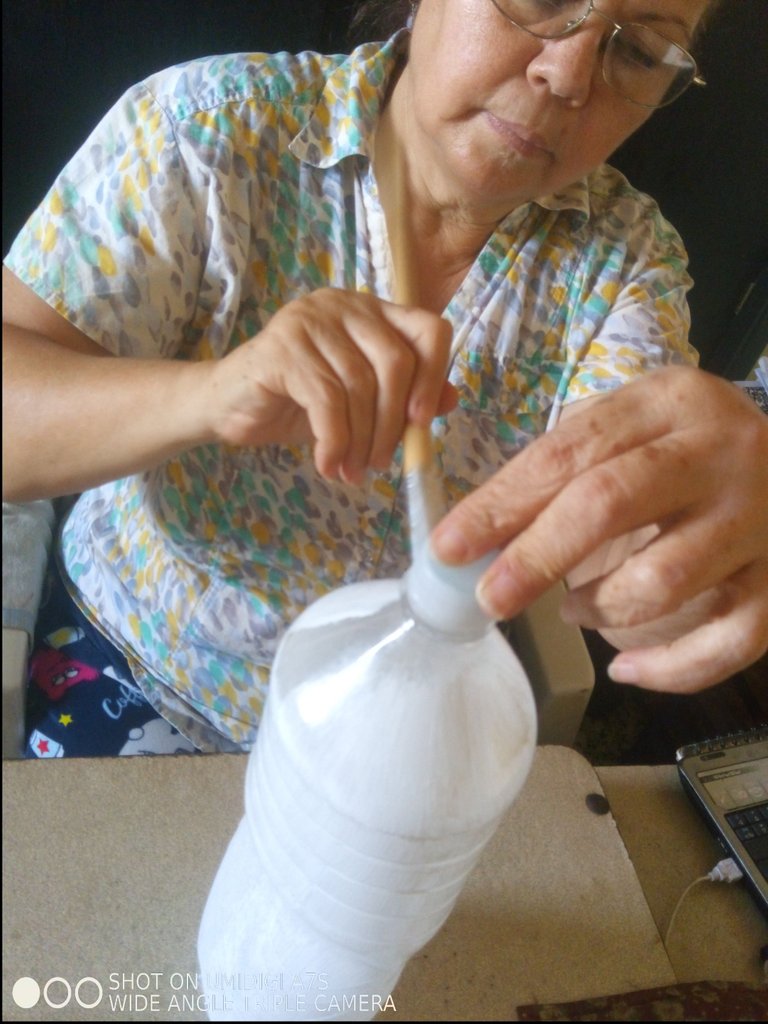
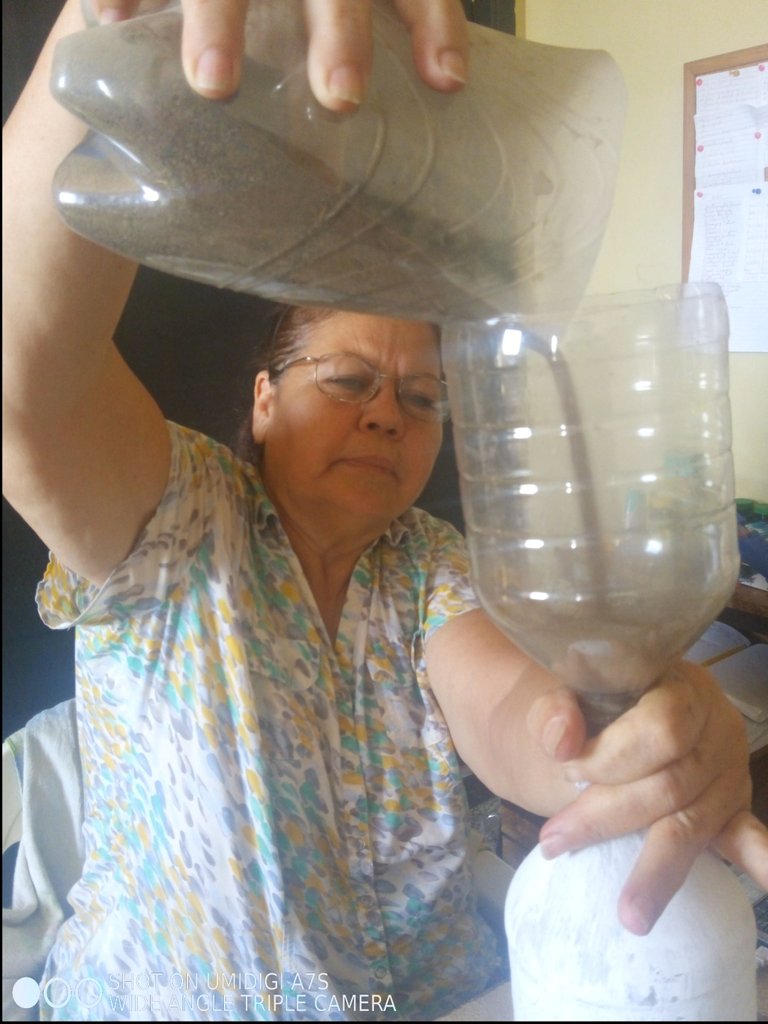
We place the sand inside the bottle making a funnel with another bottle cut in half, it is the size of the mouth of the bottle. The objective of placing sand is to make the bottle heavy because otherwise it will fall with any wind that reaches it. You can fill it all up if you want.
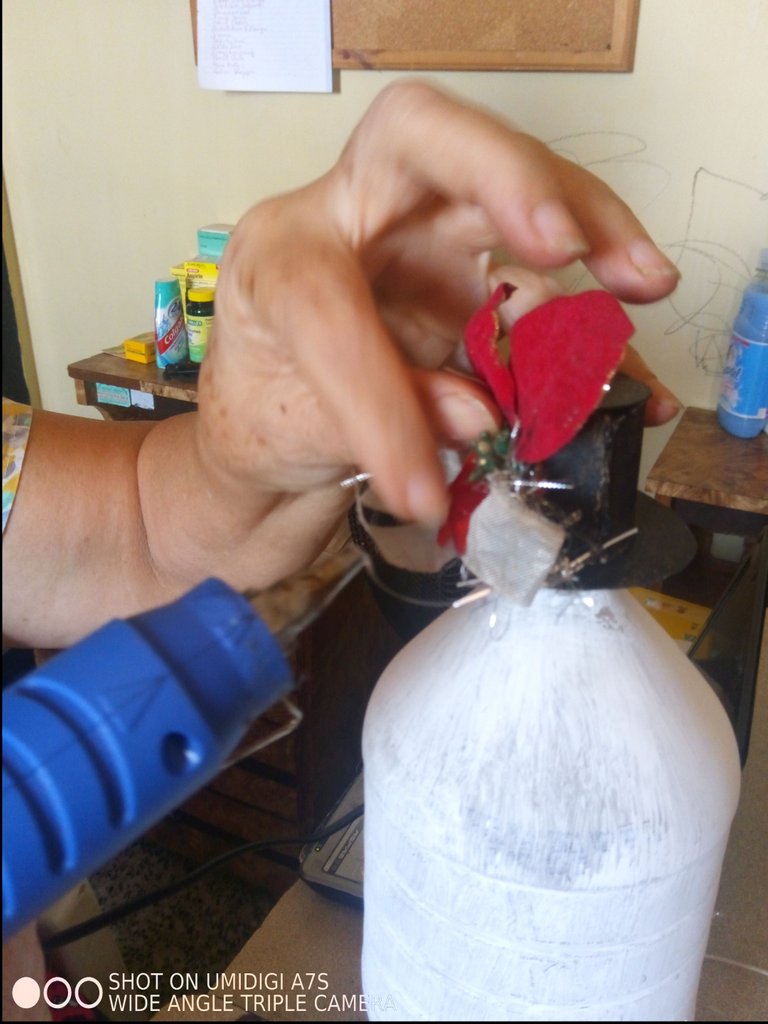
Now you need to decorate the hat, place what you have on hand, small flowers, bows, any decoration that you can do with elements that you already have from the other decorations.
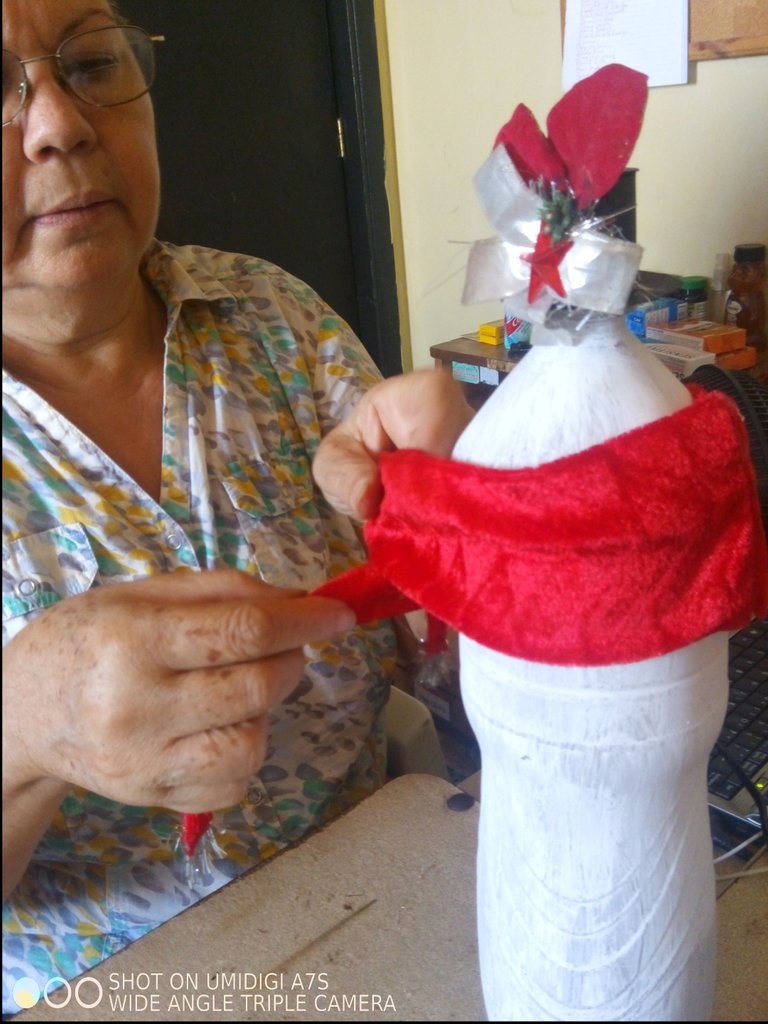
Put the scarf on the snowman and glue the ends with silicone so that they do not move.
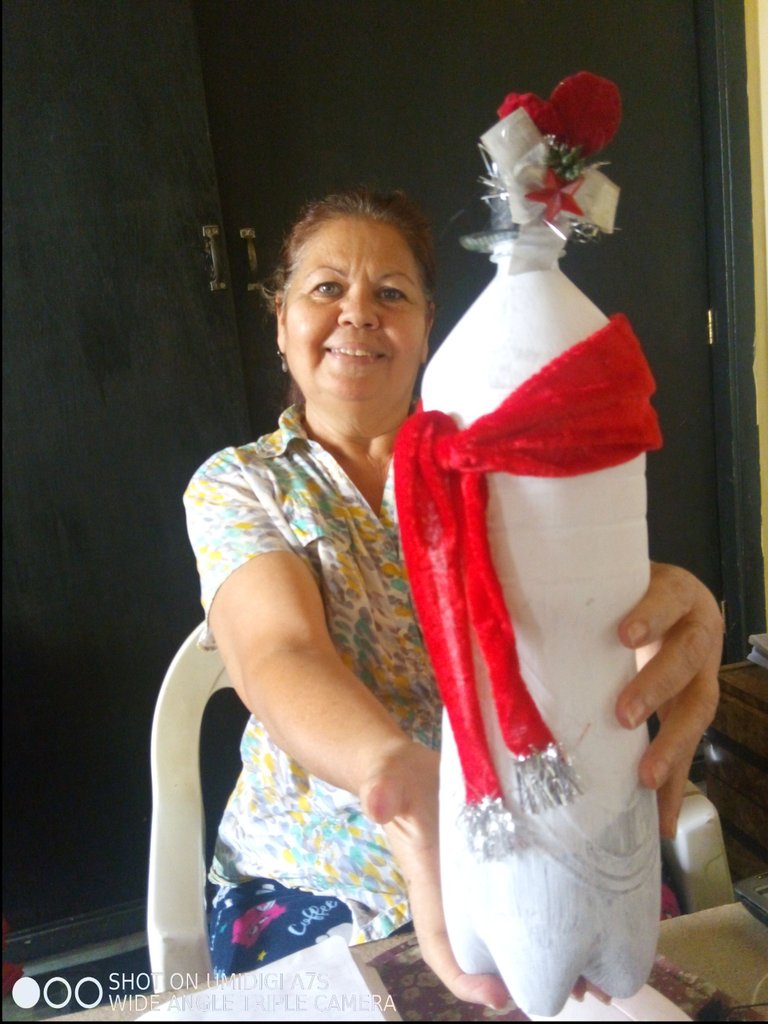
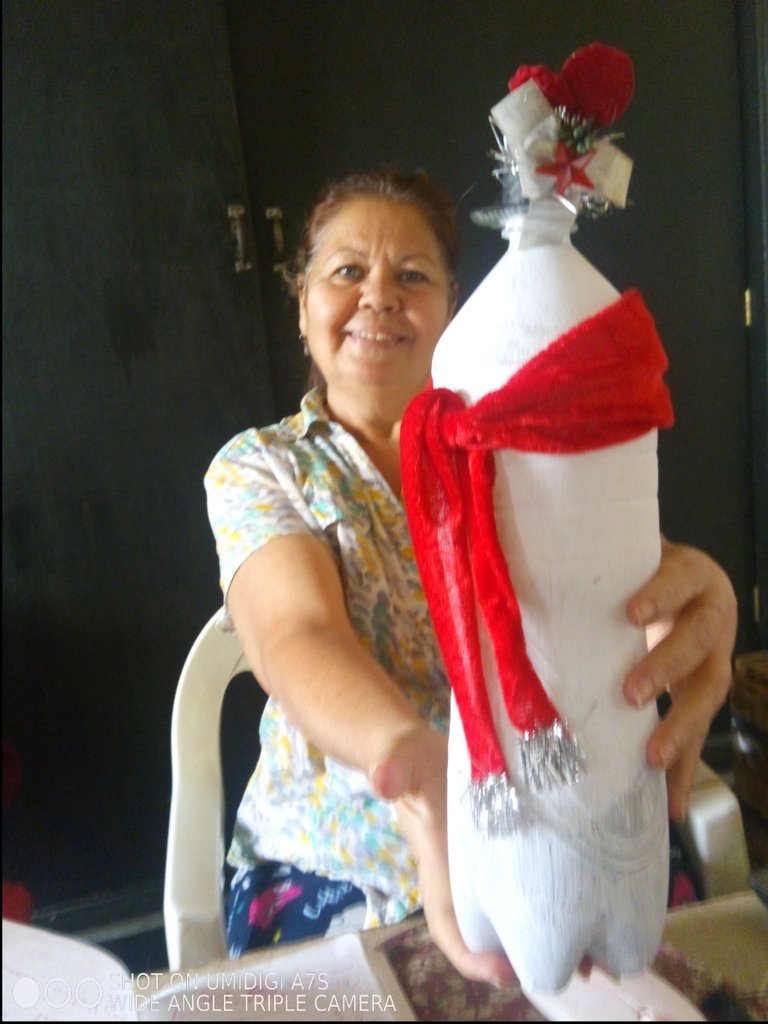
Ready friends, our snowman is finished. Don't tell me it wasn't quick and easy. And best of all, we did it ourselves, to our liking and using recycled materials. Soon I will bring you more crafts, see you soon.

Español:
Hola queridos amigos. Ya faltan 4 meses para que llegue la navidad y la verdad es que hace tiempo estoy queriendo renovar los adornos de mi casa y del árbol de navidad.
Así que me dije: Por qué no hacerlos yo misma ? En la casa siempre hay materiales de reciclaje que puedo usar para hacer estas decoraciones y así reciclo un poco. También consigo darle otro ambiente a mi casa.
Para este Muñeco de Nieve necesitamos:
Una botella de refresco,
tijeras,
pistola de silicón,
barras de silicón,
pintura blanca,
pincel,
un trozo de tela roja para la bufanda,
cartón para el sombrero,
pintura negra para el sombrero
y un adorno para el sombrero.
Además necesitaremos un poco de arena para rellenar la botella.
Comenzamos por pintar la botella de color blanco, yo usé tempera. Puedes usar pintura acrílica para esta labor ya que queda muy bien. Dejamos secar.
Para hacer el sombrero, utilizamos un trozo de cartón, yo usé la caja de un jabón de baño. Utilizamos la tapa de la botella para tomar la medida y hacemos un círculo de ese tamaño, luego marcamos 2 centímetros al rededor del círculo para hacer la ala del sombrero. La copa del sombrero la haremos con un rectángulo que mida la circunferencia de la tapa de la botella y 4 centímetros de alto. Unimos todo con la pistola de silicón y pintamos en color negro.
Colocamos la arena dentro de la botella haciendo un embudo con otra botella cortada a la mitad, queda del tamaño de la boca de la botella. El objetivo de colocar arena es que quede pesada la botella porque de lo contrario quedará cayéndose con cualquier viento que le llegue. Puedes llenarla toda si deseas.
Ahora falta decorar el sombrero, coloca lo que tengas a la mano, flores pequeñas, lazos, cualquier decoración que puedas hacer con elementos que ya tengas de las otras decoraciones.
Colócale la bufanda al muñeco de nieve y pega las puntas con silicón para que no se muevan.
Listo amigos, nuestro muñeco de nieve está terminado. No me digan que no fue rápido y fácil. Y lo mejor de todo es que lo hicimos nosotros mismos, a nuestro gusto y usando materiales de reciclaje. Pronto les traigo más manualidades, hasta pronto.
