Versión en Español
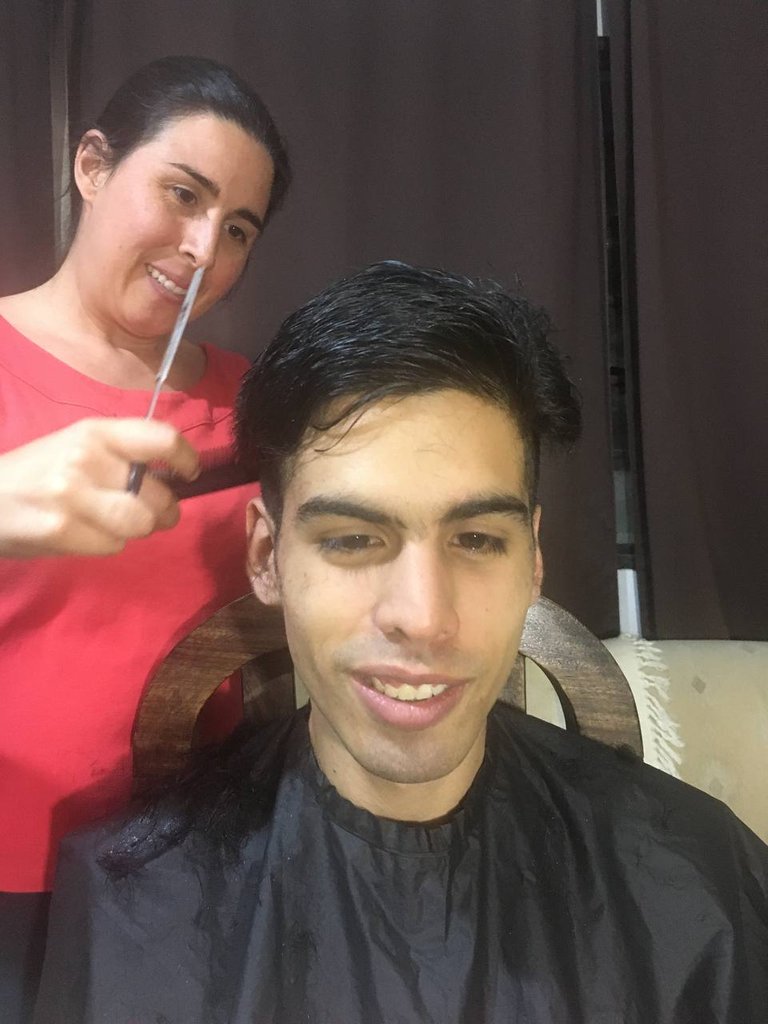
Estimados hivers, en esta oportunidad quiero presentarles un corte de cabello para hombre joven, cada vez que lo hago, lo disfruto mucho. Es importante, ponerle cariño a lo que haces y así pasarás un rato agradable cualquiera que sea tu talento, explótalo y manos a la obra.
Quiero agradecer a @liberflash por servir de modelo y a @danielamilanesa quien tomó las fotos.
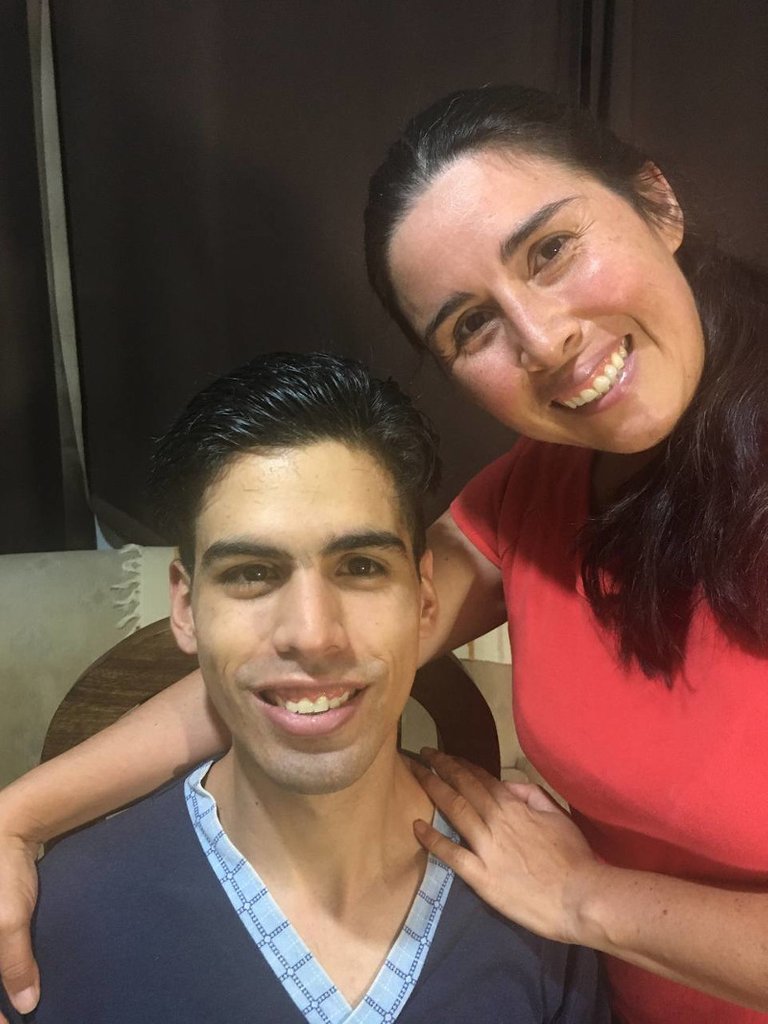
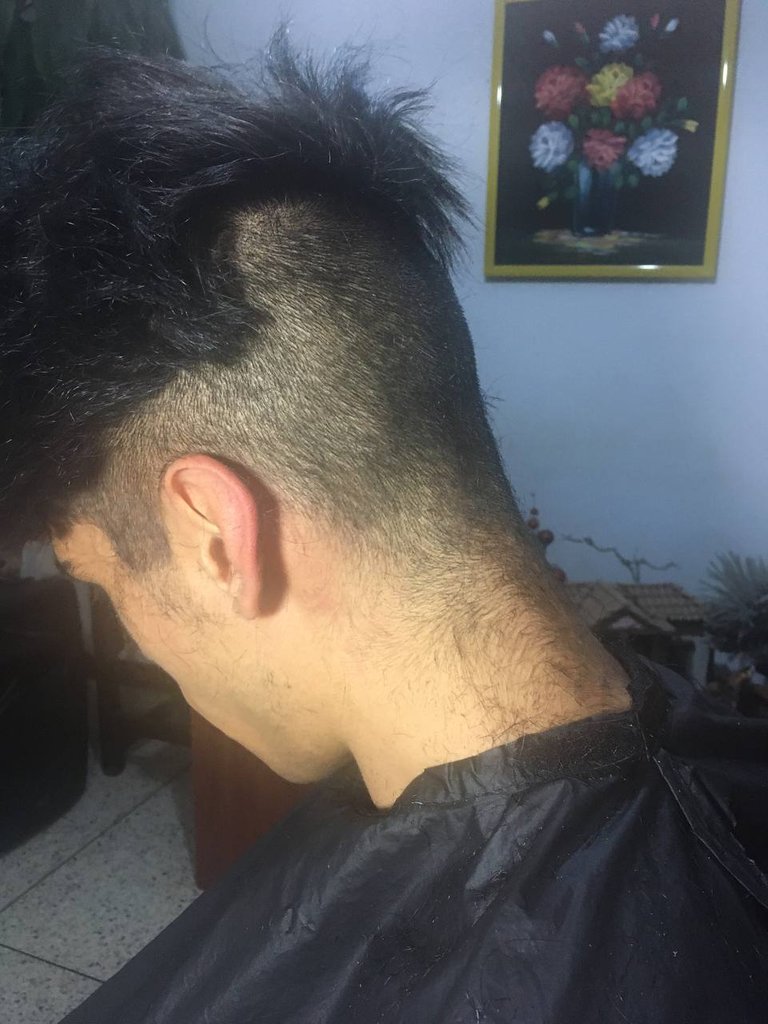
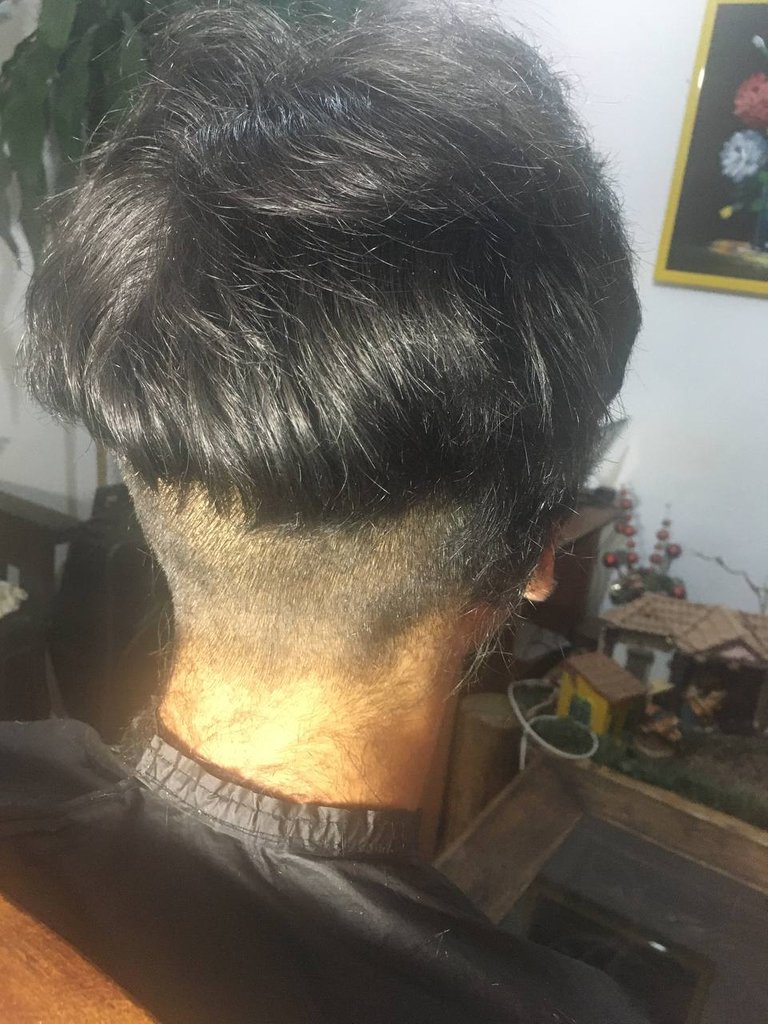
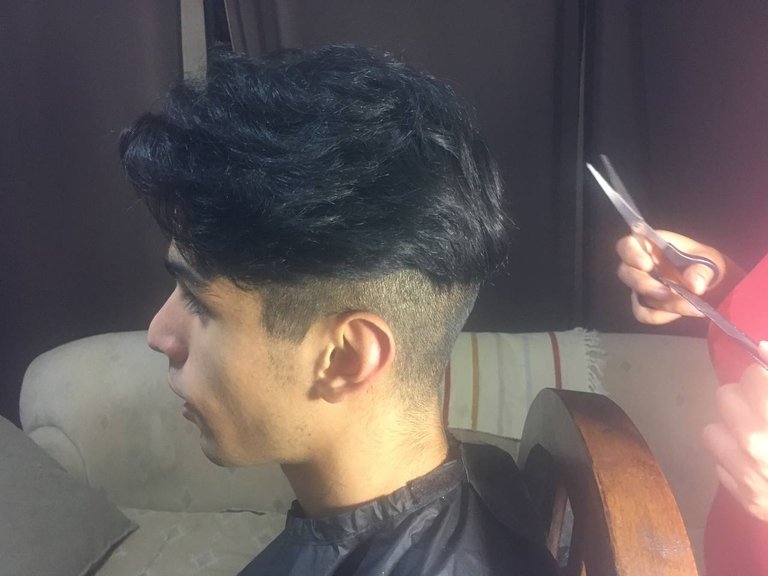
Este fue el resultado final:

Las herramientas son las siguientes:
- Dispensador de agua.
- Tijeras.
- Peine.
- Máquina de afeitar.
- Máquina perfiladora.
- Capa.
- Brocha de barbería.
Acompáñame en el proceso:
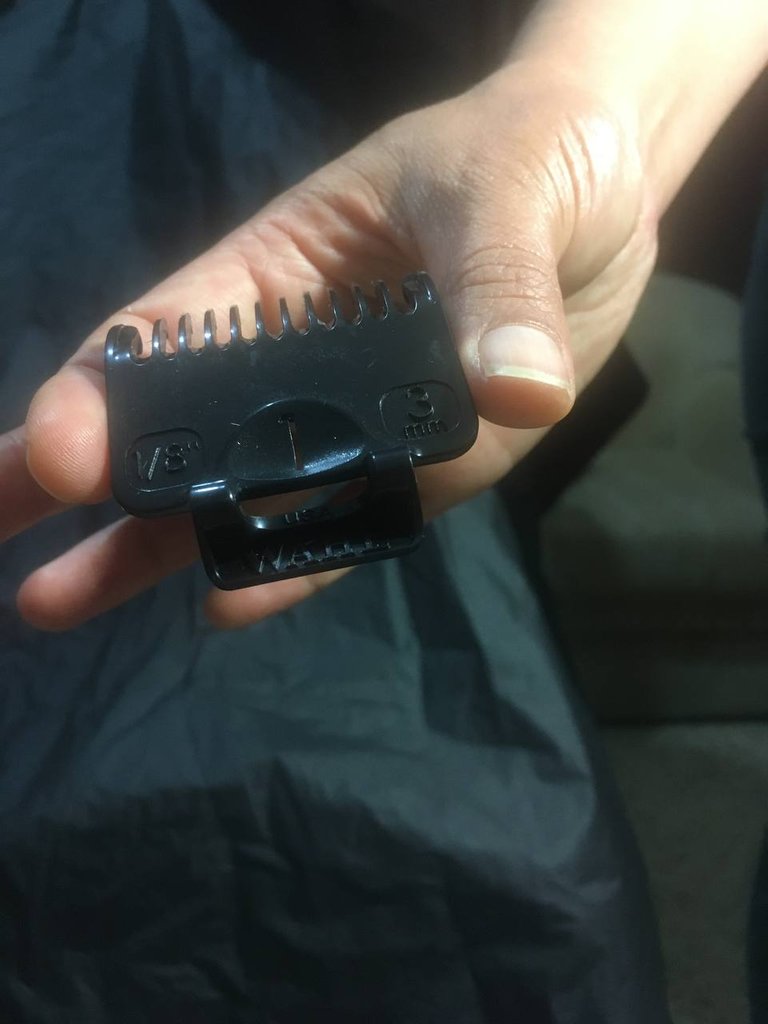
Primer paso: Escoger el número de peine de la máquina de afeitar, en este caso es el número 1, como lo índico en la imagen posterior. En el centro del peine pueden observar el número.
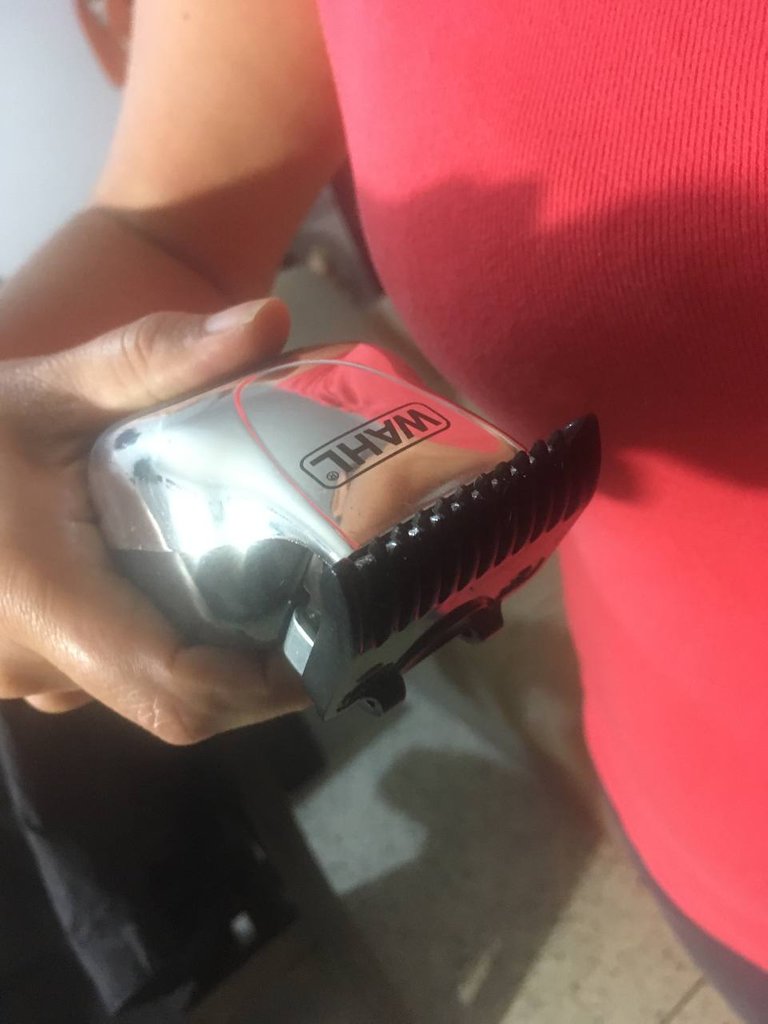
Segundo paso: Después de encajar el peine en la máquina de afeitar, se debe agarrar la máquina, colocando la mano de la siguiente manera.
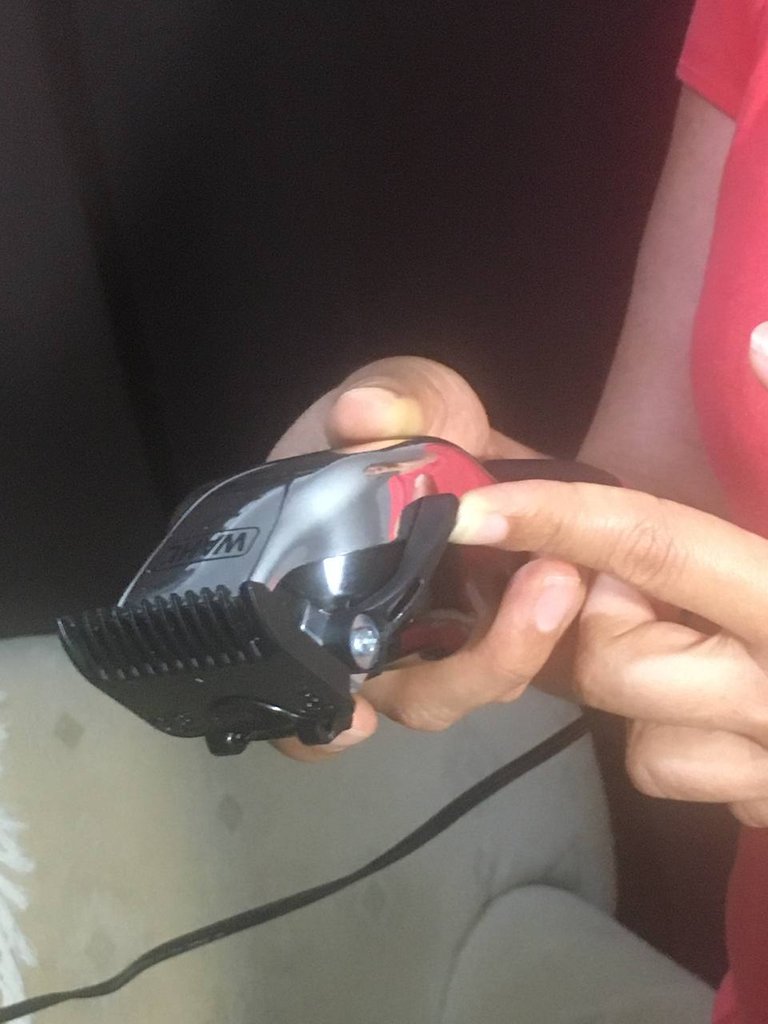
Tercer paso: La palanca debe estar en el número 0 y para ello debemos ponerla en la siguiente posición.
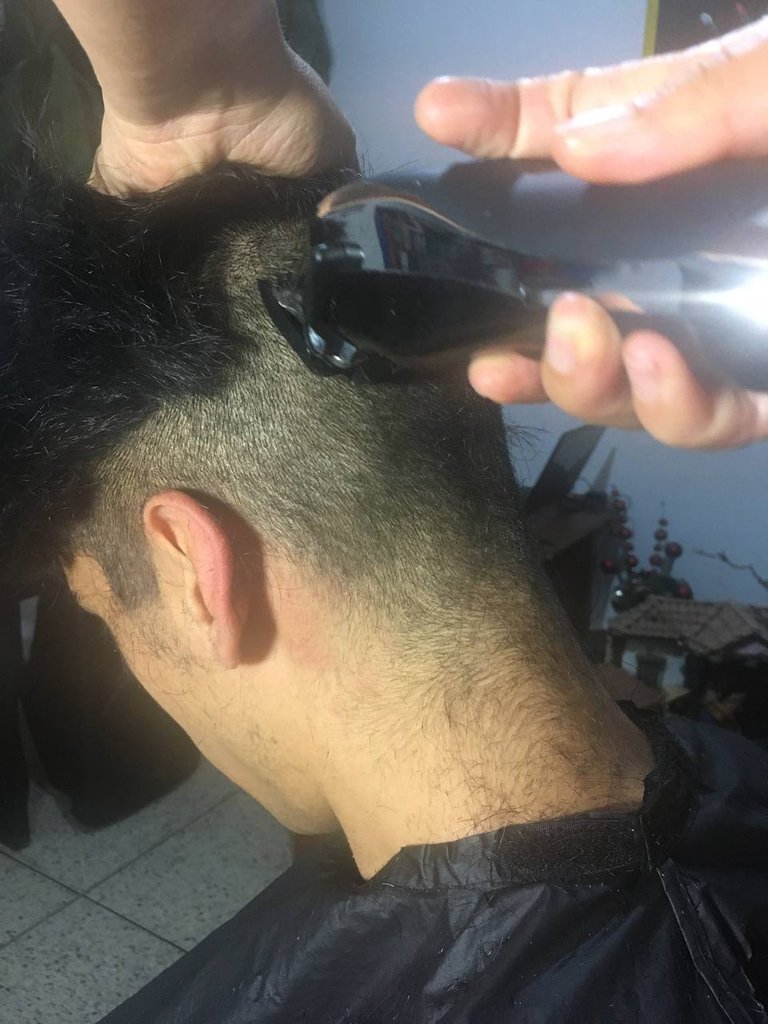
Cuarto Paso: Comenzamos a afeitar de abajo hacia arriba, deteniéndonos a la altura de la sien e imaginándonos una línea que va del lado de la sien a la otra sien de manera horizontal. Este va a ser el límite hasta donde vamos a llegar con la máquina de afeitar.
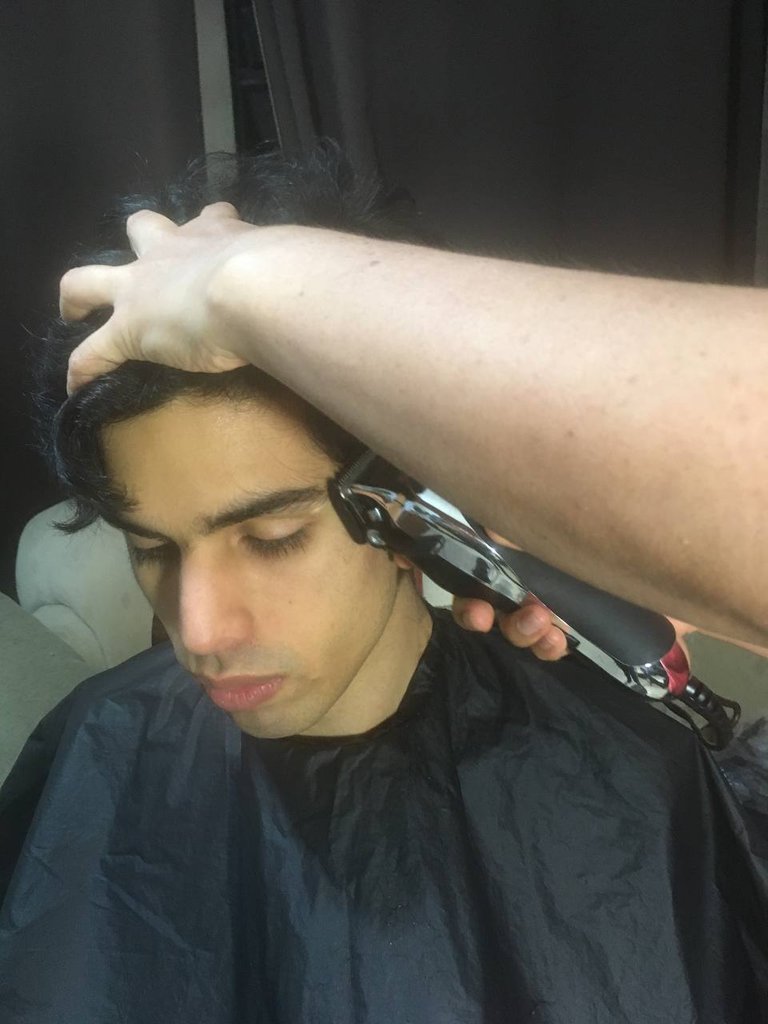
Seguimos con el proceso, con nuestra mano izquierda podemos agarrar parte del cabello para saber hasta dónde llegamos de acuerdo con la altura, utilizando la máquina de afeitar. Colocar la mano izquierda sobre la cabeza del modelo, nos sirve de apoyo para una mejor postura.
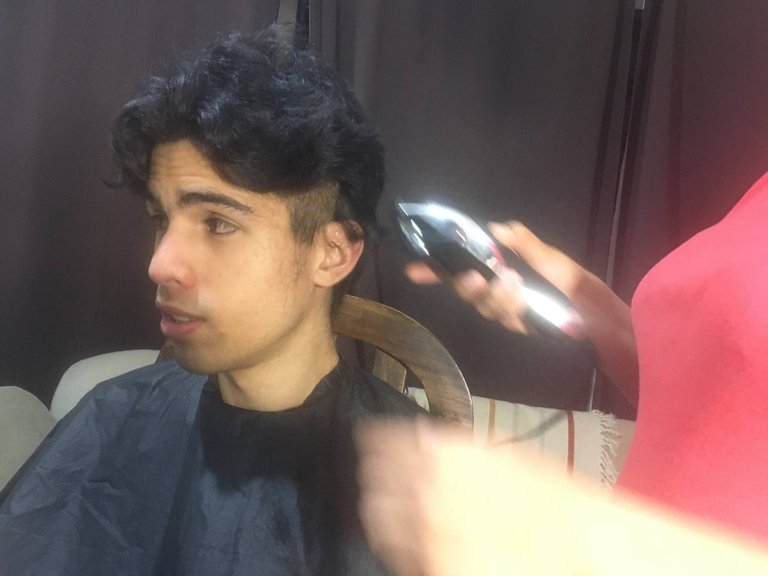
Vamos pasando la máquina de abajo hacia arriba, cortando la parte inferior del corte dejando la melena en la parte superior de la cabeza.
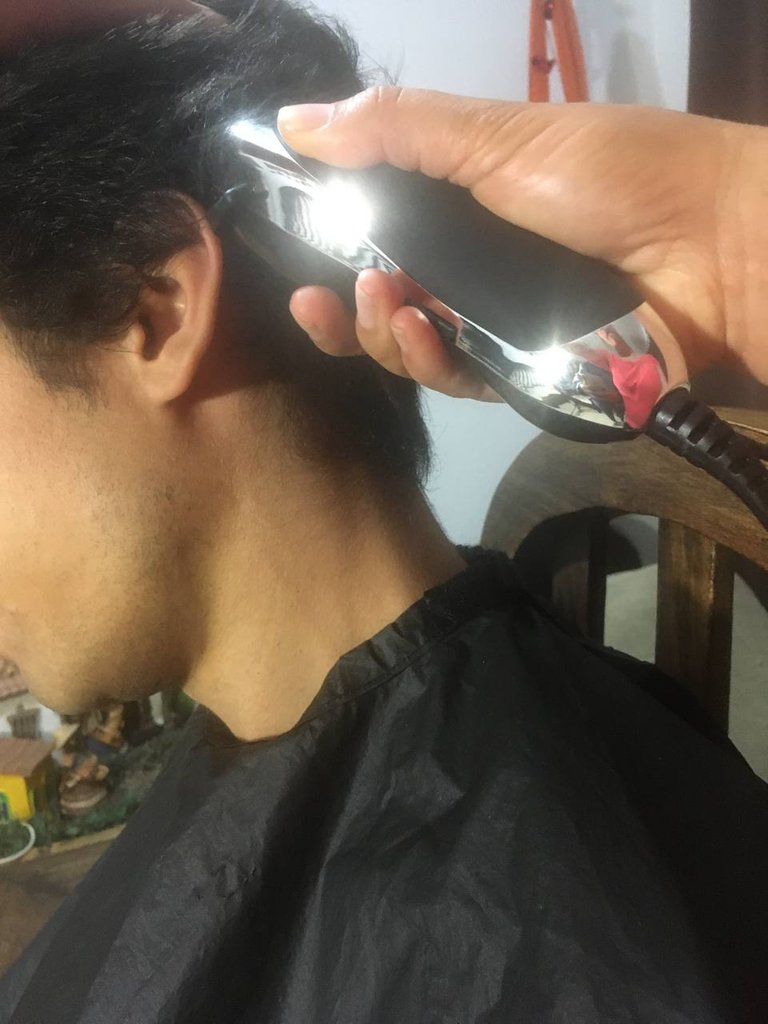
Continuamos haciendo la parte de atrás.
Luego, soltamos la melena de arriba, para que más adelante la perfeccionemos con la tijera.
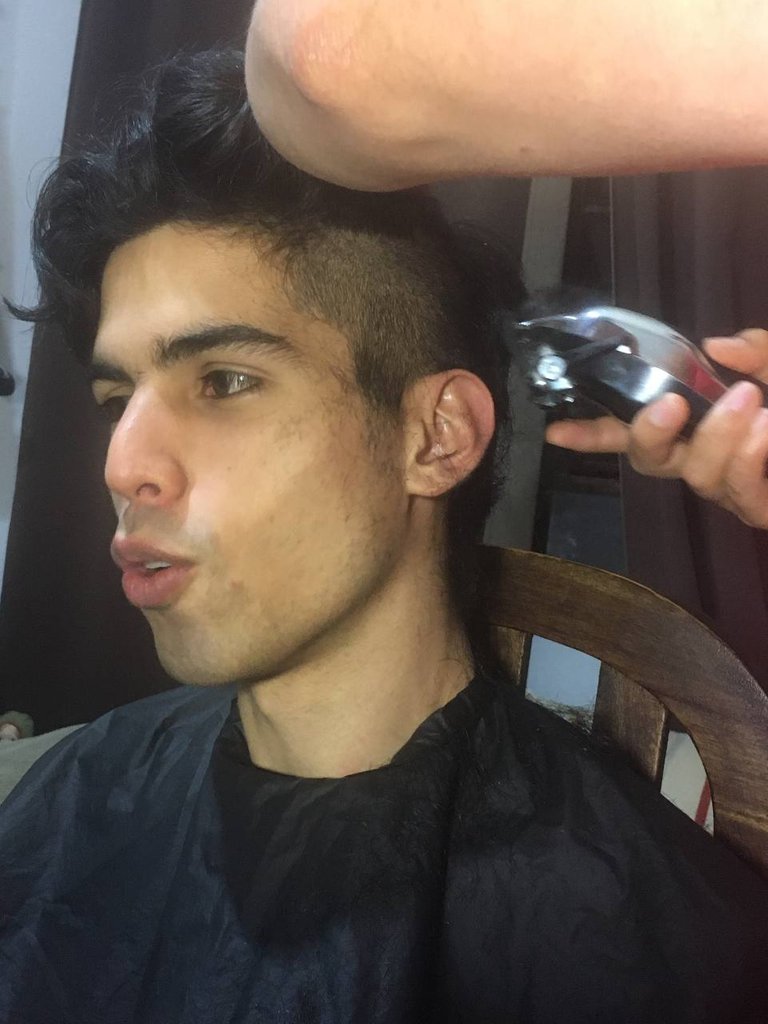
En la foto de abajo, observamos el mismo procedimiento para el lateral derecho, siempre pasando la máquina de abajo hacia arriba. En esta imagen, se ve claramente, cómo se debe agarrar la melena de arriba, con la mano izquierda. Aquí se aprecia el límite en que debemos pasar la máquina de afeitar.
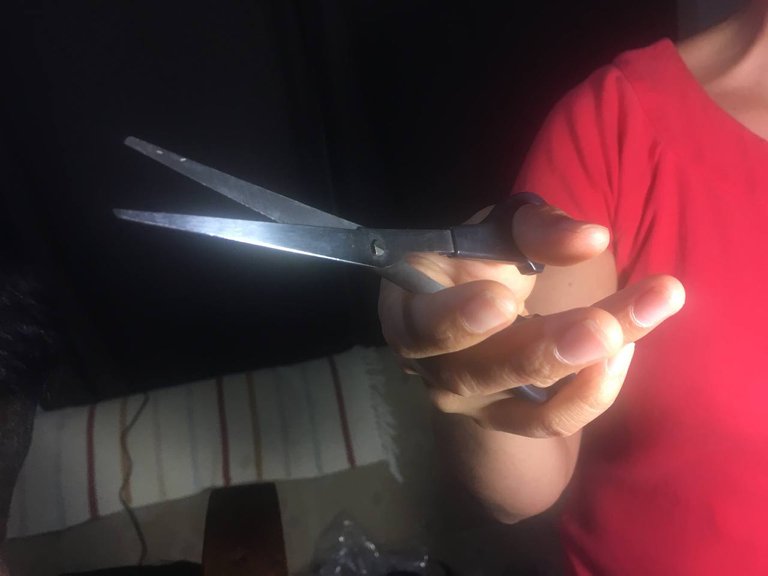
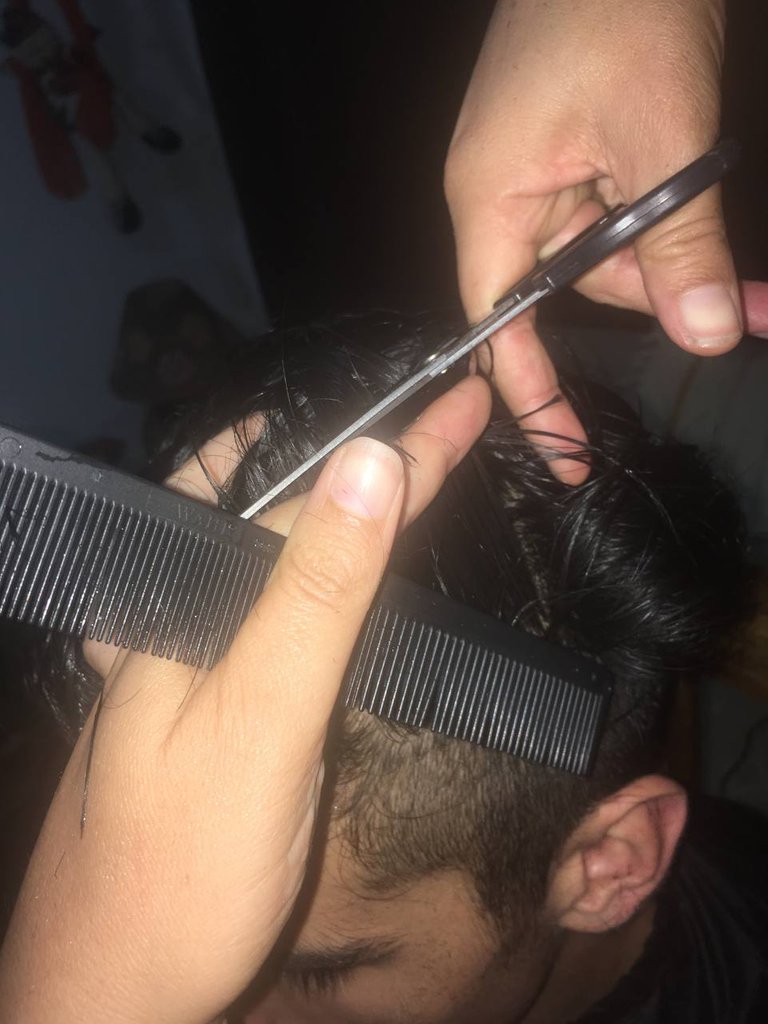
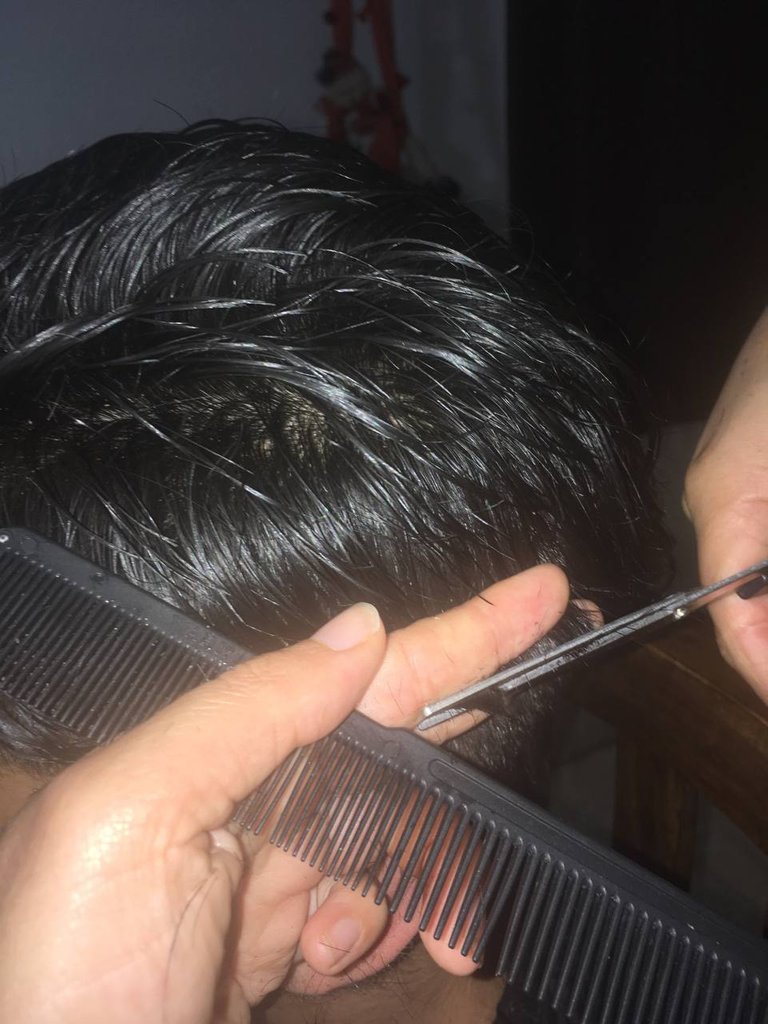
Próximo paso les indico cómo debemos agarrar las tijeras, así deben ir los dedos en cada orificio de la herramienta:
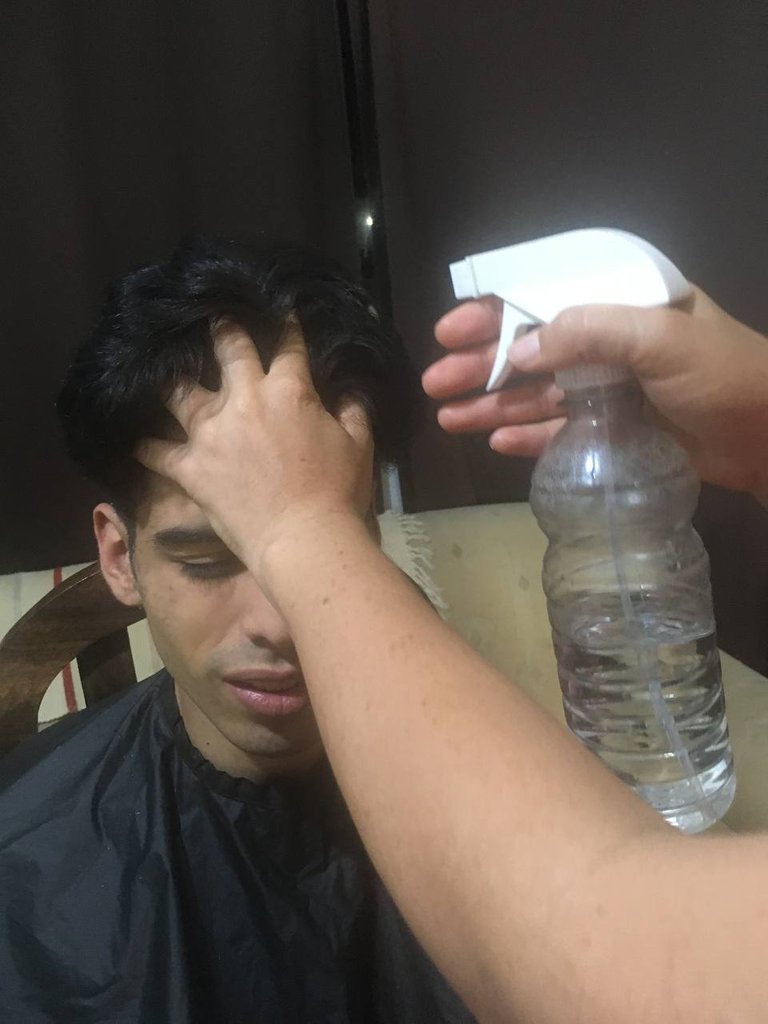
Humedecemos la melena utilizando el dispensador de agua, teniendo cuidado de no mojar el rostro de nuestro modelo. Hacemos uso de nuestra mano izquierda para esparcir el agua en el cabello, con una orientación de acuerdo a la caída natural del cabello
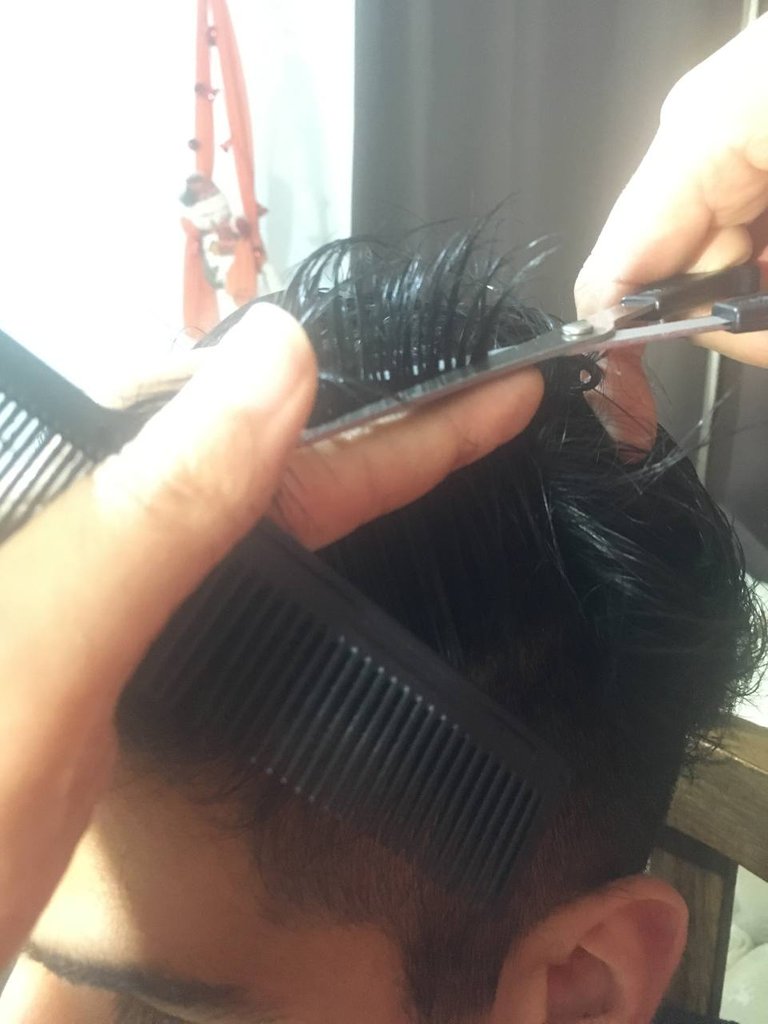
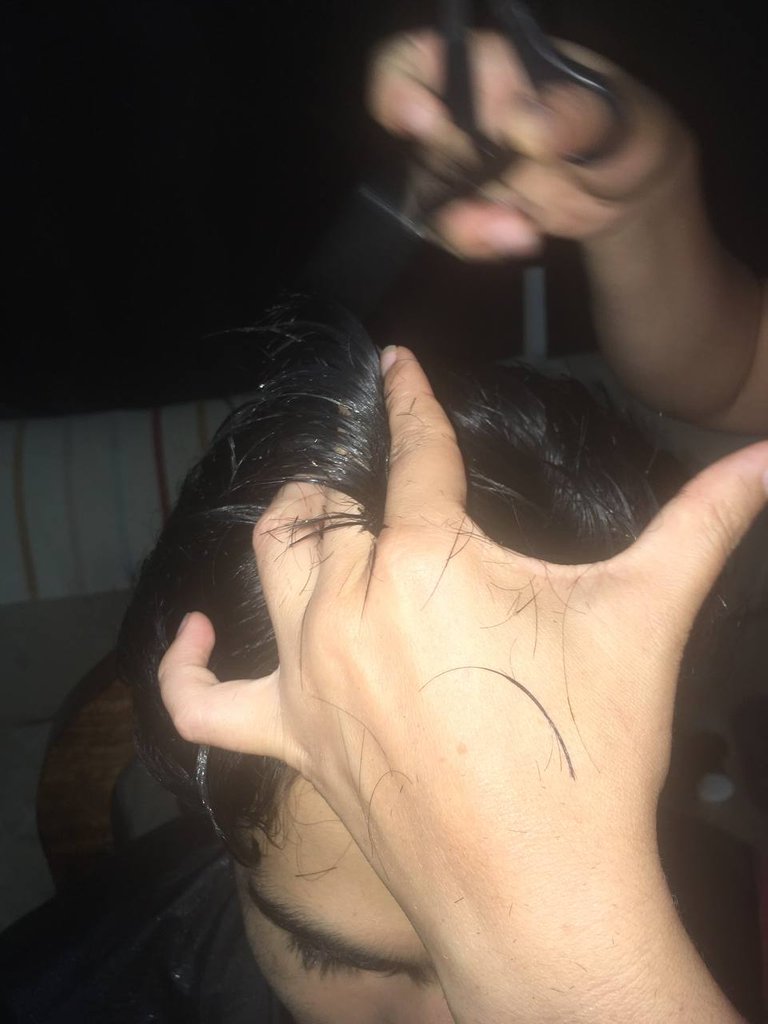
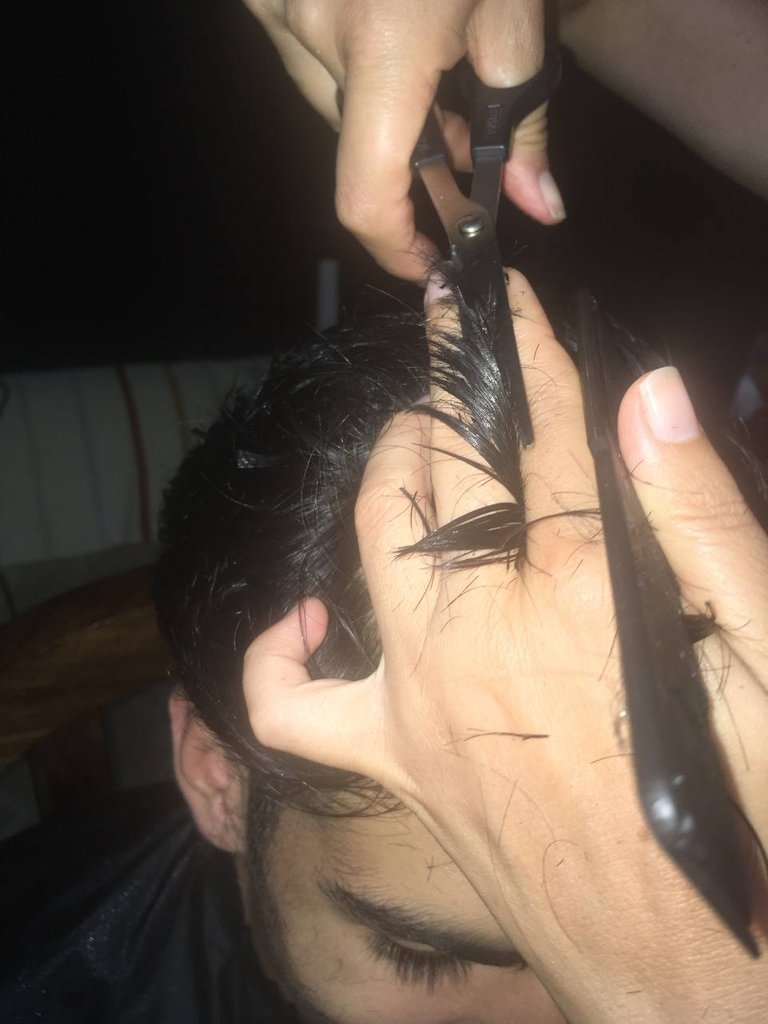
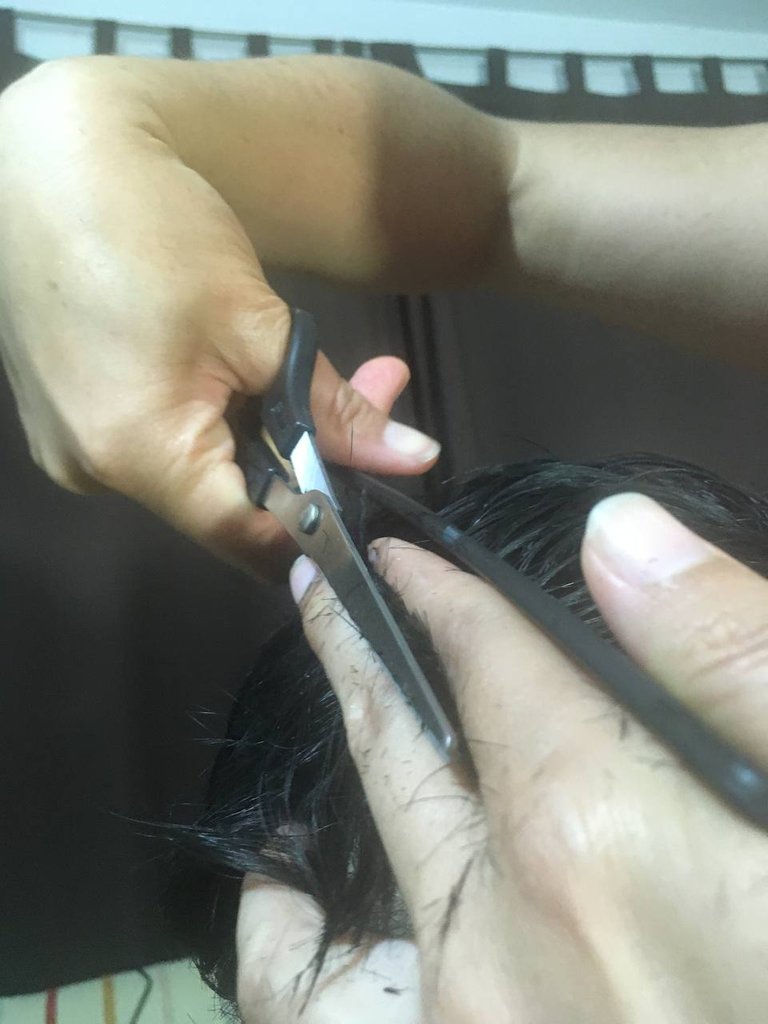
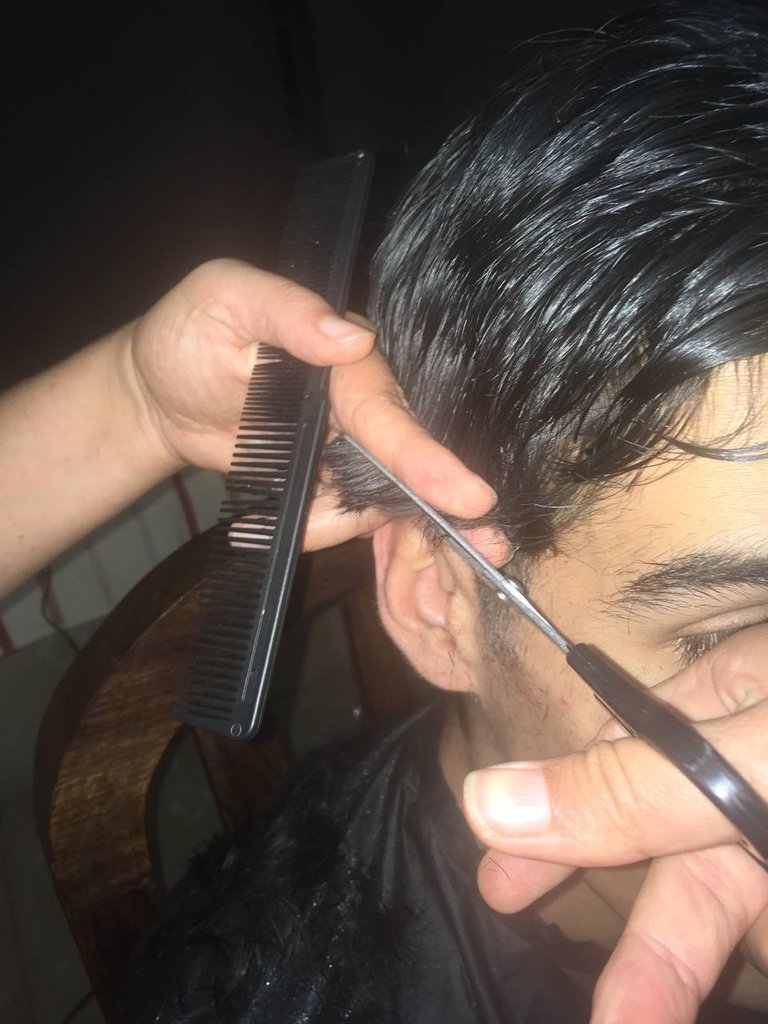
Tomamos un mechón de cabello y lo cortamos a la altura que queremos, para hacer un corte de lado, así obtenemos nuestra mecha guía, la llamamos así porque es la que nos va a indicar el largo del corte. Nos servirá como su nombre lo indica de guía, para seguir haciendo el corte en la parte superior de la cabeza. Vamos tomando mechones desde la izquierda hasta la derecha, para hacer un corte de lado.
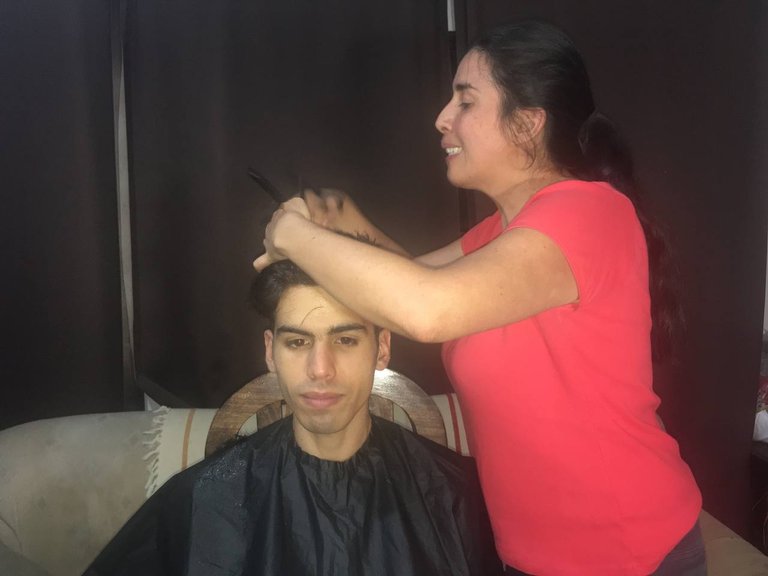
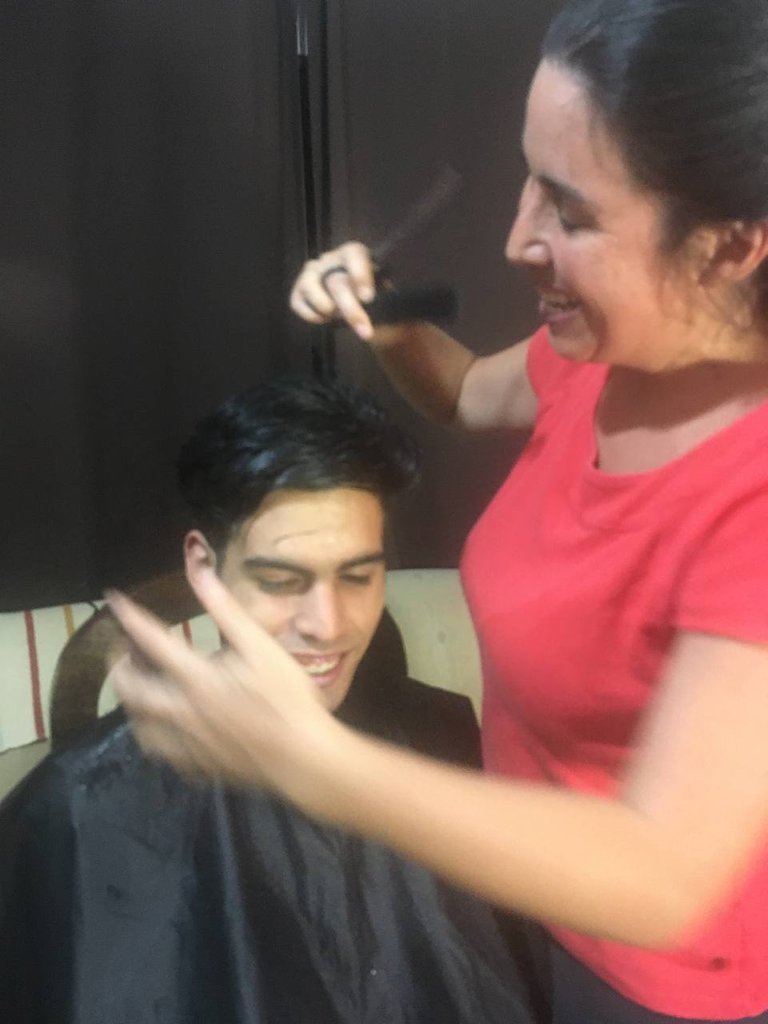
Aquí, disfrutando de la labor, mientras mi modelo también se divierte, @danielamilanesa nos acompañó con su risa aunque no la vemos.
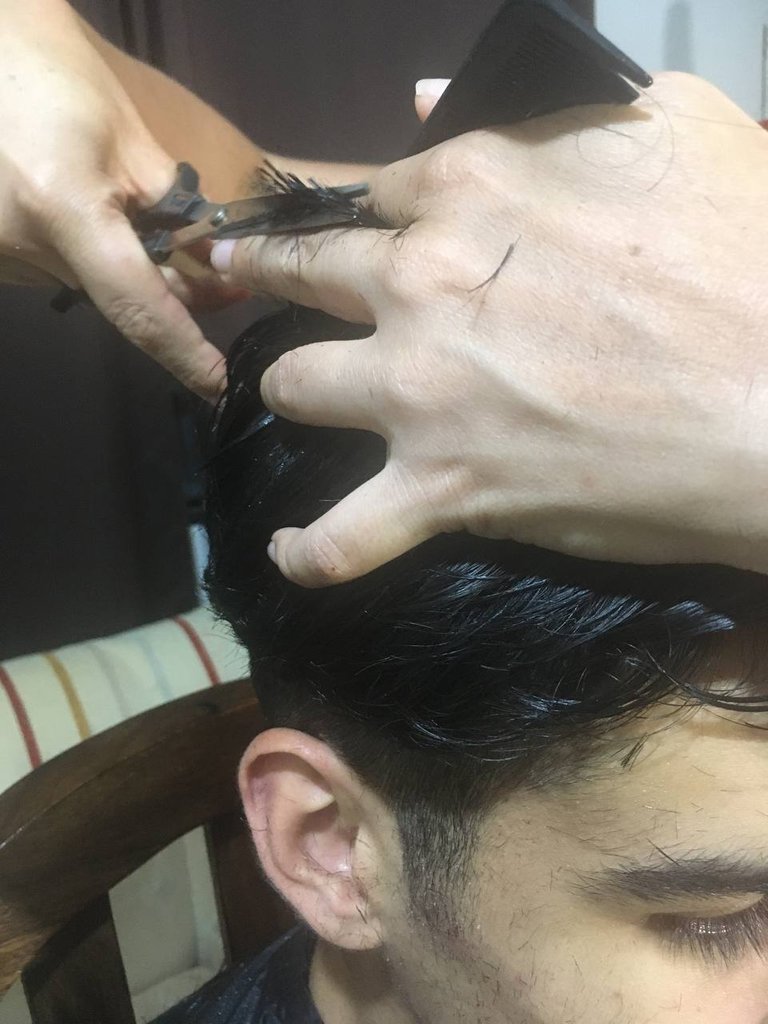
Cortamos un poco el largo de la melena comenzando por el lateral izquierdo, pasando por la parte de atrás de la cabeza, culminando en el lateral derecho del modelo. Este procedimiento se hace en las puntas de los bordes de la melena.
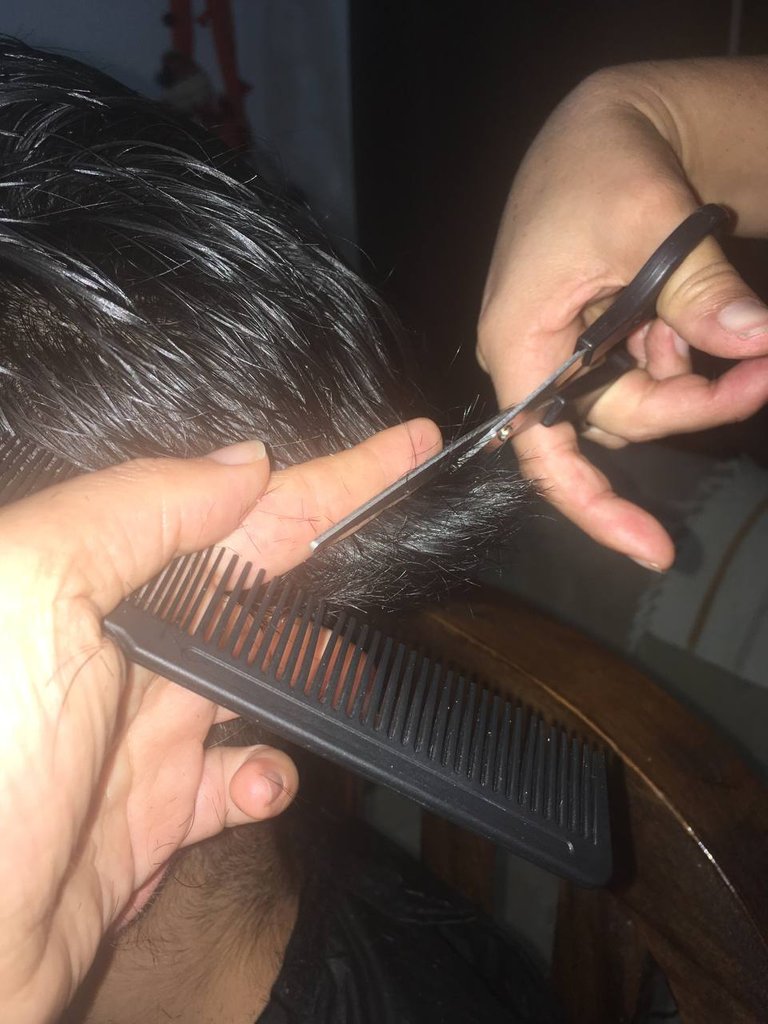
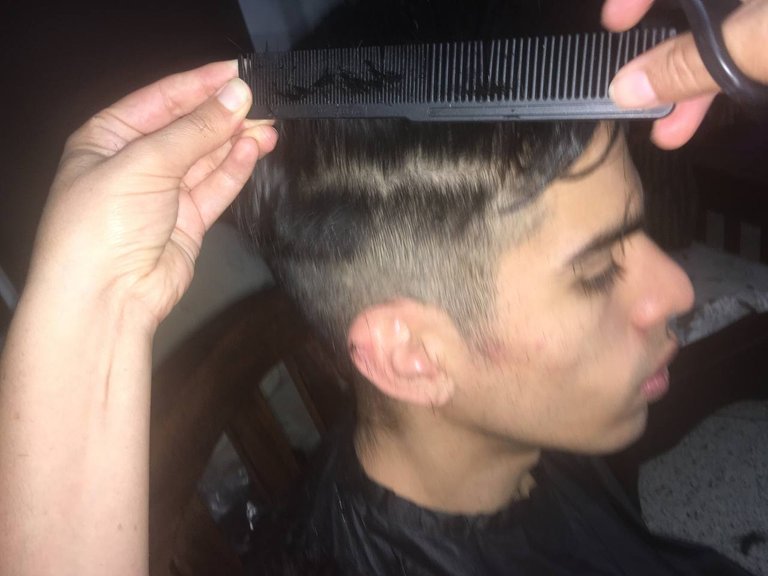
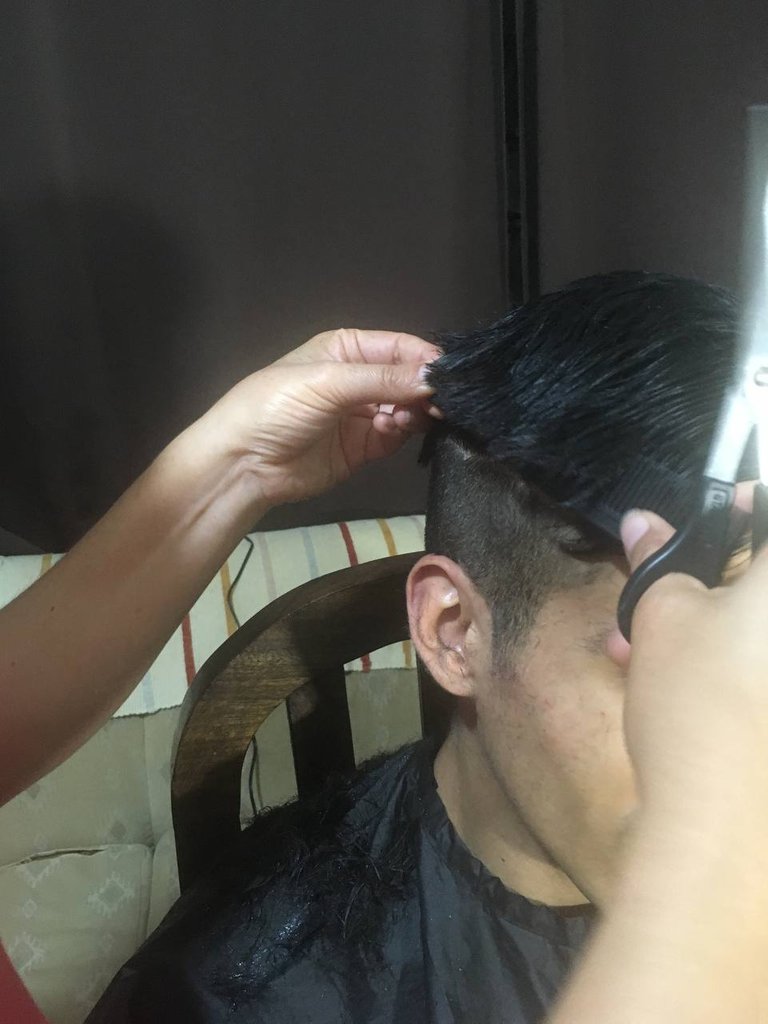
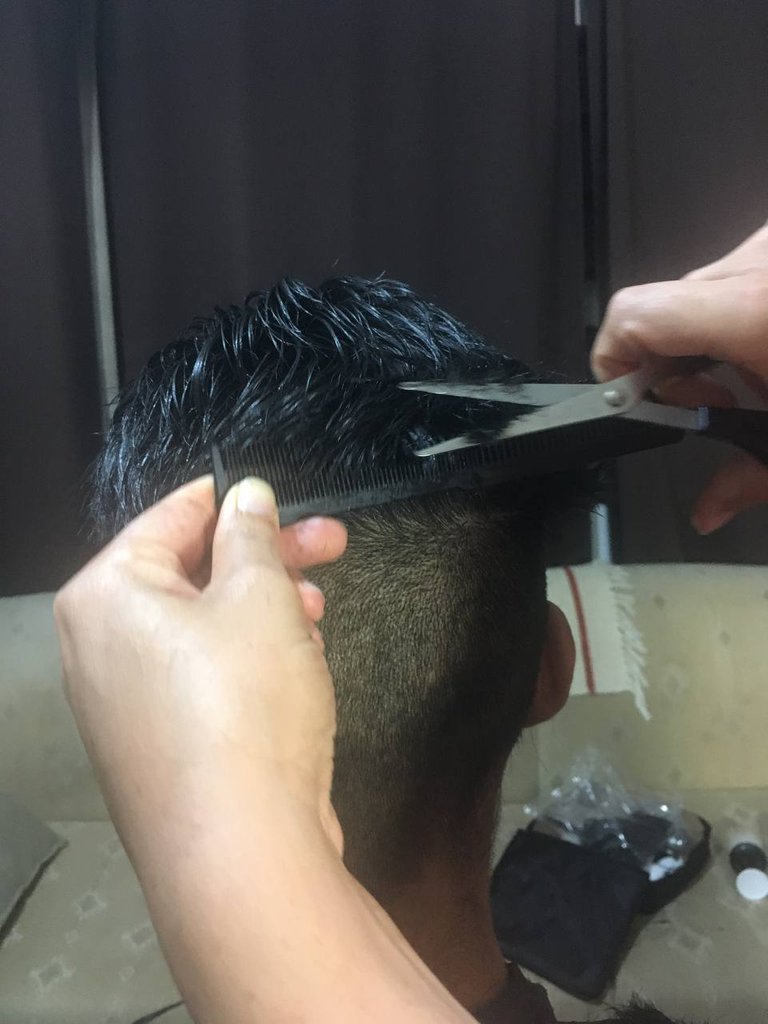
Rebajamos el corte por los bordes, peinando de abajo hacia arriba, mientras pasamos la tijera sobre el peine, cortando el cabello. No en la parte superior de la cabeza sino por la parte más baja de la melena.
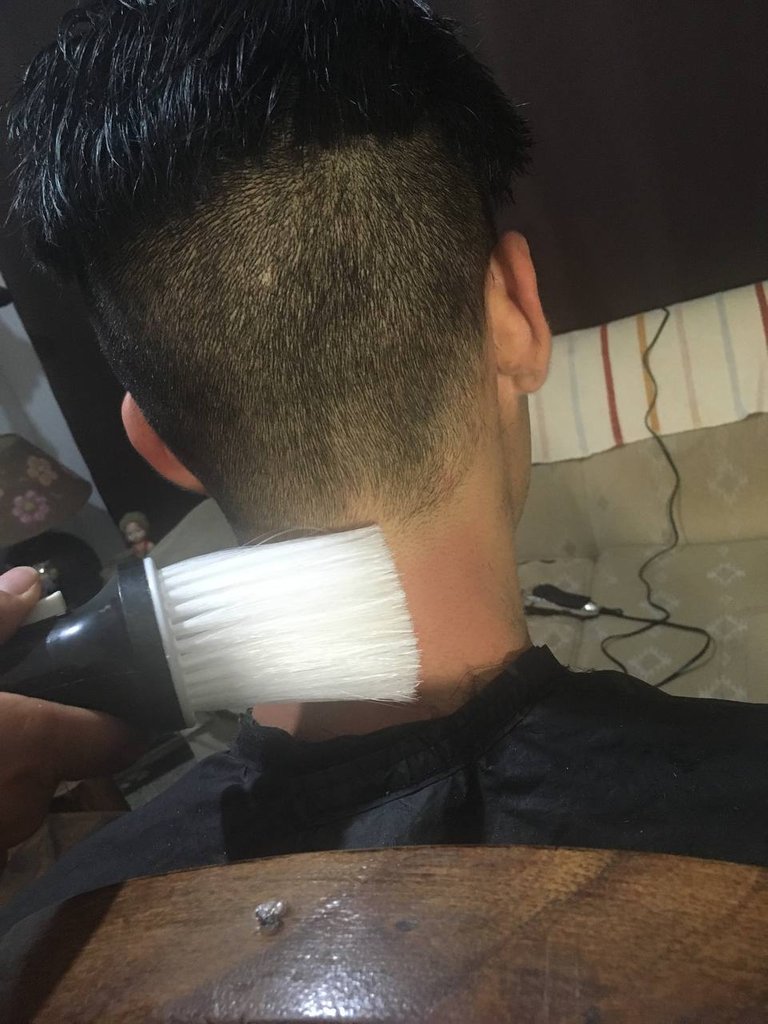
Al culminar de rebajar el corte, pasamos la brocha para limpiar los cabellos que sobran.
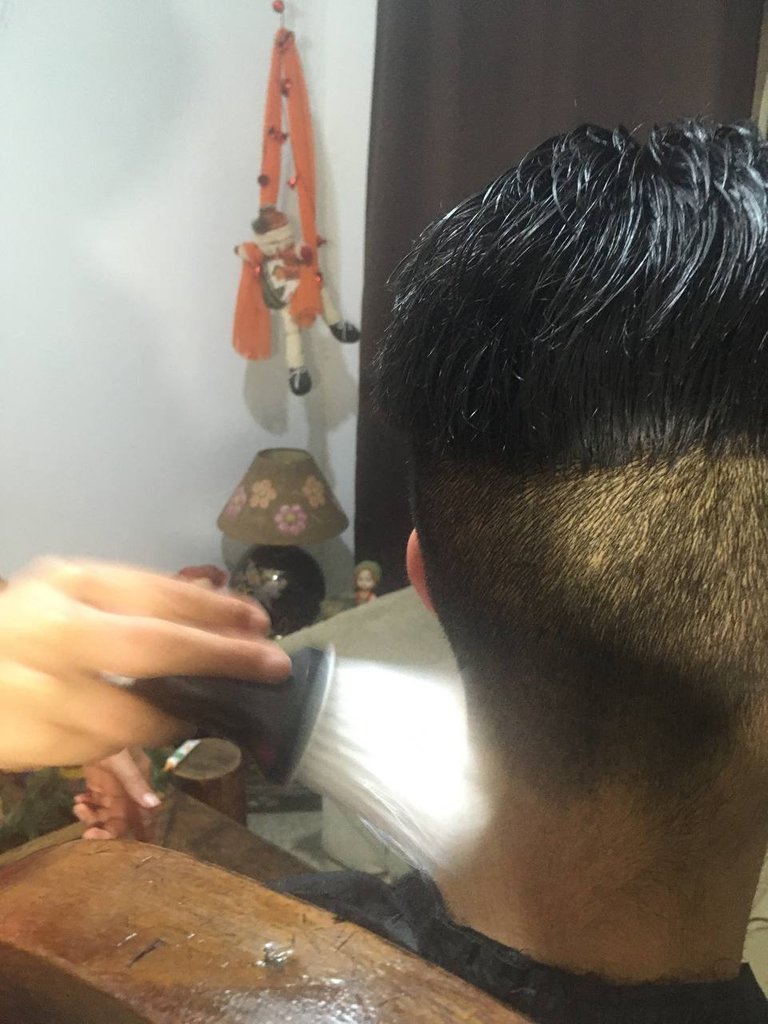
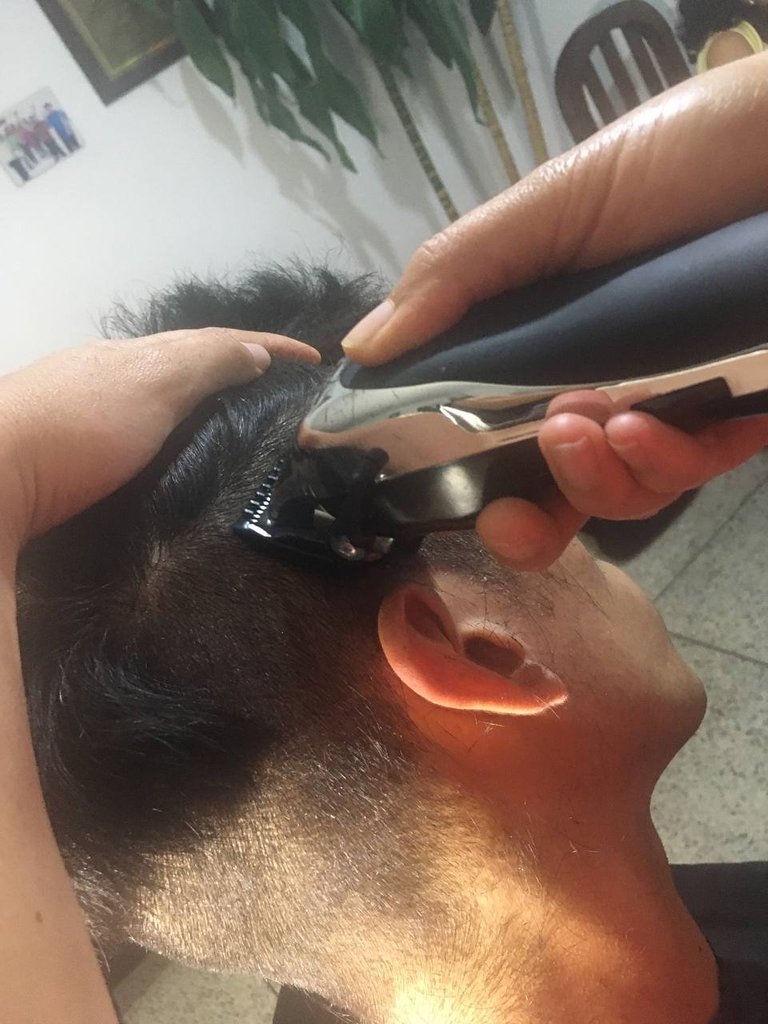
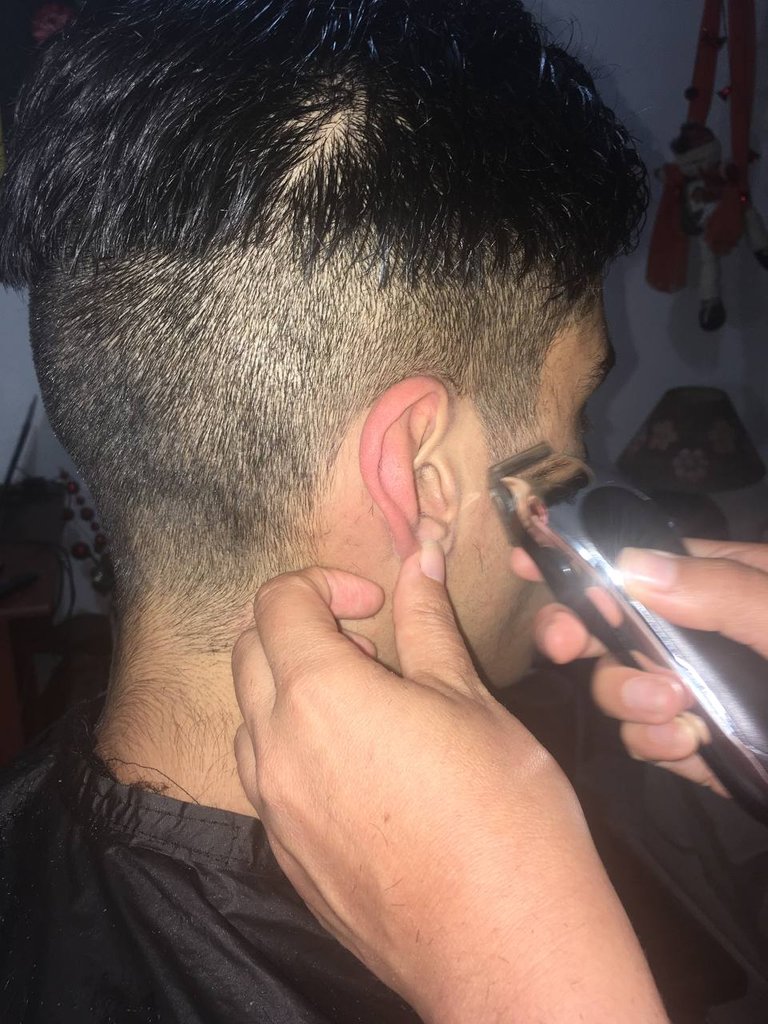
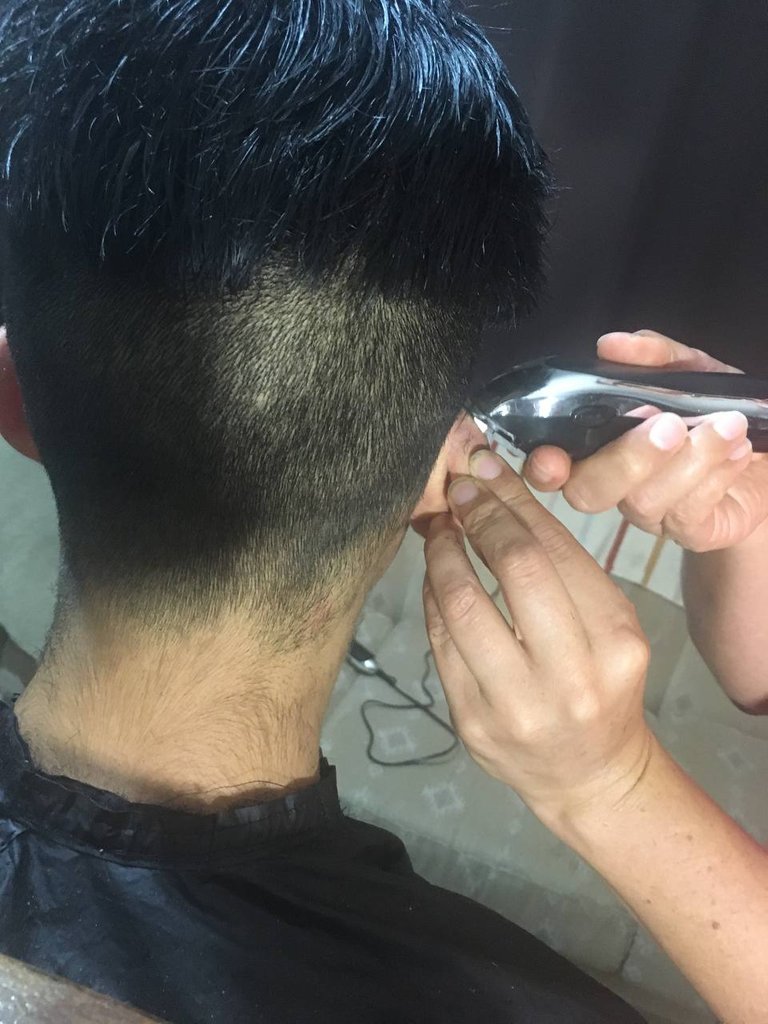
Pasamos la perfiladora por encima de las orejas por las patillas y el cuello, limpiando las zonas.
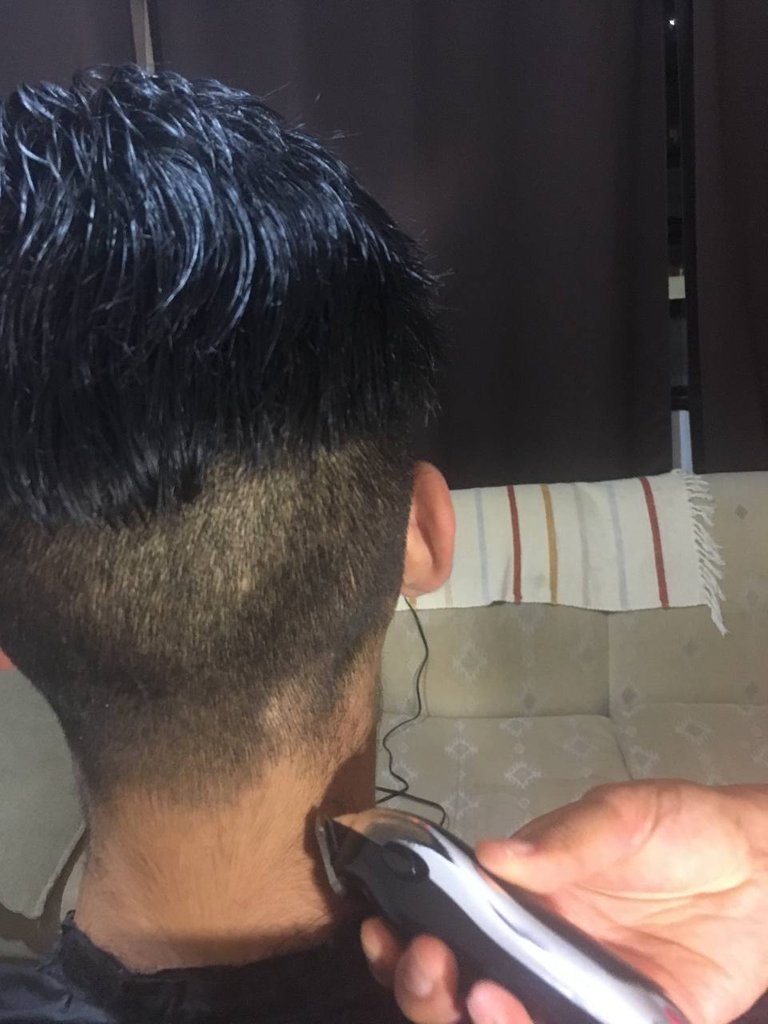
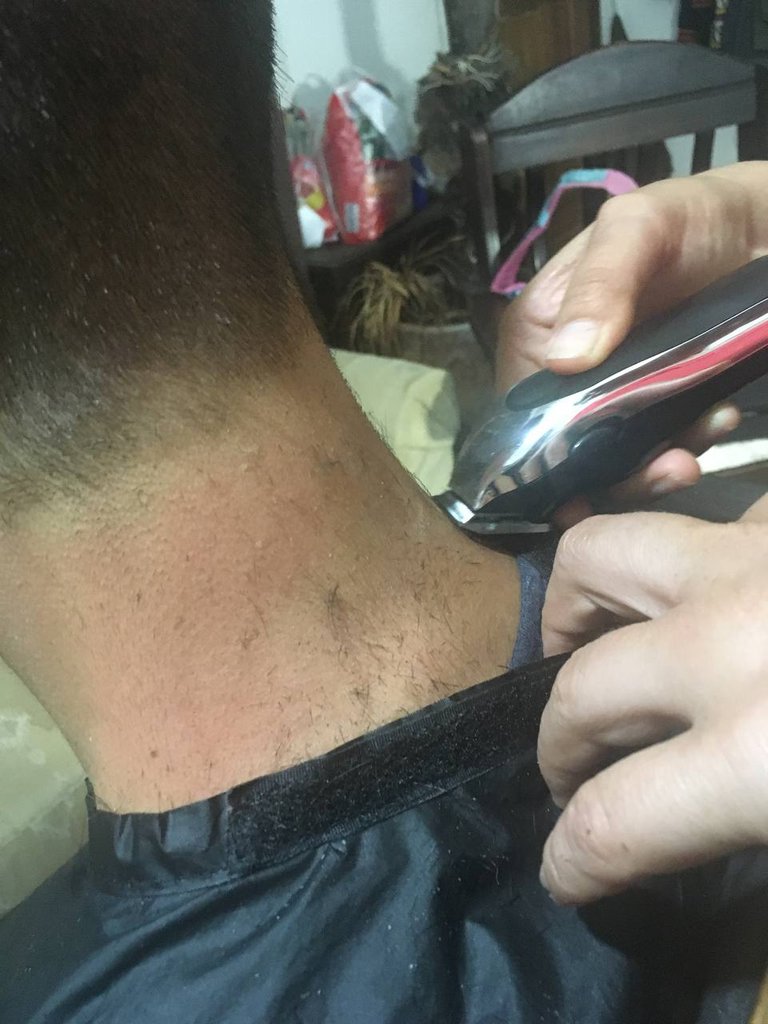
La línea del cuello, lo hice recto.
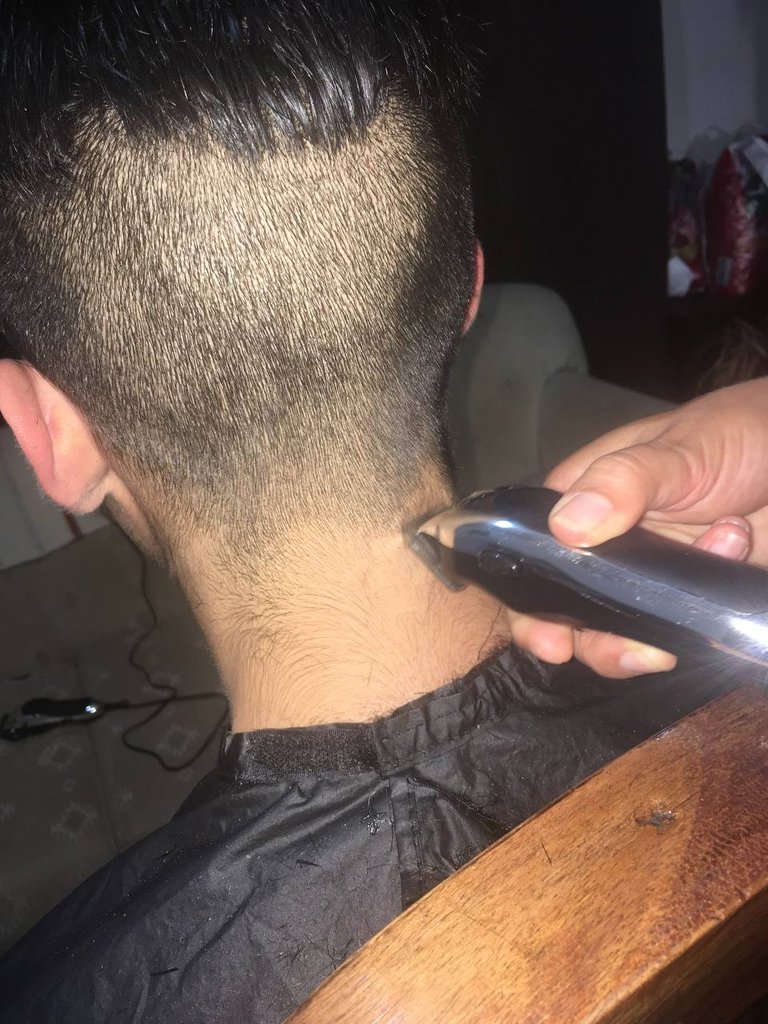
Seguimos limpiando la zona.
Pasamos la brocha.
Y listo tenemos nuestro corte juvenil.

English Version
Dear hivers, this time I want to present you a haircut for young men, every time I do it, I enjoy it very much. The important thing is to put love to what you do and so you will have a nice time whatever your talent is, explore it and let's get to work.
I want to thank @liberflash for serving as model and @danielamilanesa who took the photos.
This was the final result:
The tools are as follows:
- Water dispenser.
- Scissors.
- Comb.
- Shaver.
- Profiling machine.
- Coat.
- Barber brush.
Join me in the process:
First step: Choose the number of the comb of the shaving machine, in this case it is number 1, as I indicate in the image. In the center of the comb you can see the number.
Second step: After fitting the comb into the razor, the razor should be grasped by placing the hand according to the picture.
Third step: The lever must be at number 0 and for this we must put it in the following position.
Fourth Step: We start shaving from the bottom to the top, stopping at the level of the temple and imagining a line that goes from the side of the temple to the other temple horizontally. This is going to be the limit as far as we are going to go with the razor.
We continue with the process, with our left hand we can grab part of the hair to know how far we reach according to the height, using the razor. Place the left hand on the head of the model, it serves as a support for a better posture.
We pass the machine from bottom to top, cutting the lower part of the cut leaving the mane on the top of the head.
We continue making the back part.
Next, we loosen the top mane, so that we can later perfect it with the scissors.
In the photo below we observe the same procedure for the right side, always passing the machine from bottom to top. In this image, you can clearly see how to grab the mane from above, with the left hand. Here you can see the limit at which we must pass the razor.
Next step I show you how we should hold the scissors, so the fingers should go in each hole of the tool:
We wet the hair using the water dispenser, being careful not to wet our model's face. We make use of our left hand to spread the water on the hair, with an orientation according to the natural fall of the hair.
We take a strand of hair and cut it at the height we want, to make a side cut, so we get our guide strand, we call it that way because it is the one that will indicate the length of the cut. It will serve as a guide, as its name indicates, to continue making the cut on the top of the head. We take strands from the left to the right, to make a side cut.
Here, enjoying the work, while my model is also having fun, @danielamilanesa joined us with her laughter even though we don't see her.
We cut a little the length of the mane starting from the left side, passing through the back of the head, culminating on the right side of the model. This procedure is done at the ends of the edges of the mane.
We lower the cut along the edges, combing from bottom to top, while passing the scissors over the comb, cutting the hair. Not on the top of the head but on the lower part of the mane.
At the end of the cut, we pass the brush to clean the hairs that are left over.
We run the profiler over the ears along the sideburns and neck, cleaning the areas.
The neck line, I made it straight.
We continue cleaning the area.
We pass the brush.
And now we have our youthful cut.
Translated with www.DeepL.com/Translator (free version)
Congratulations @izulina! You have completed the following achievement on the Hive blockchain and have been rewarded with new badge(s):
Your next target is to reach 20 posts.
You can view your badges on your board and compare yourself to others in the Ranking
If you no longer want to receive notifications, reply to this comment with the word
STOPTo support your work, I also upvoted your post!
Check out the last post from @hivebuzz:
Support the HiveBuzz project. Vote for our proposal!
Buen trabajo, el corte es muy elegante. Yo una vez practiqué cortar el cabello de ésta manera y me gustó el proceso, es relajante y rápido de hacer.
Hermoso corte, bendiciones para ti y mucho éxito 🌹
Muchas gracias si es muy agradable hacer este corte. Amén, bendiciones para ti también.
¡Excelente trabajo! Lo que faltó fue la foto inicial con la tumuza... 😁
Es decir, el antes y el después... 👍
Gracias Ylich, lo tomaré en cuenta para la próxima.