
Greetings and hugs to all those beautiful people who every day take a little of their time to teach us to make some great craft projects in this beautiful community of #HiveDiy, I have not been able to be every day with you since I started working every day and sometimes I get very tired, but I will do my best to be with you to show you my projects. I hope you are feeling well and that you have had a nice day.
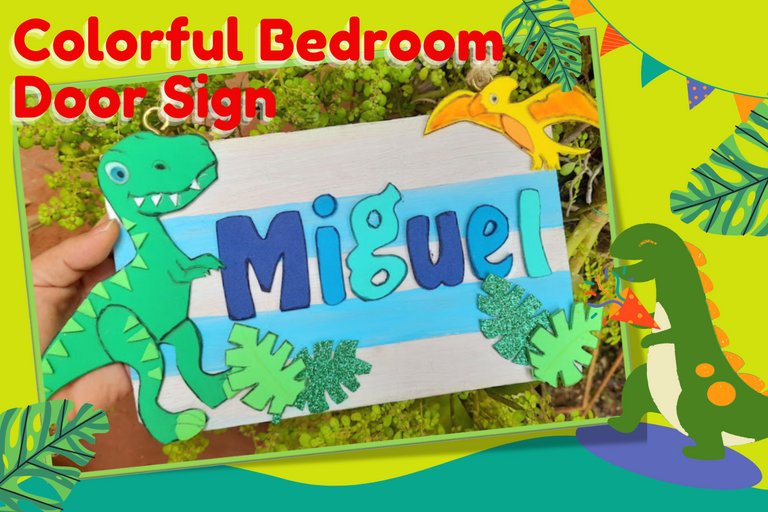
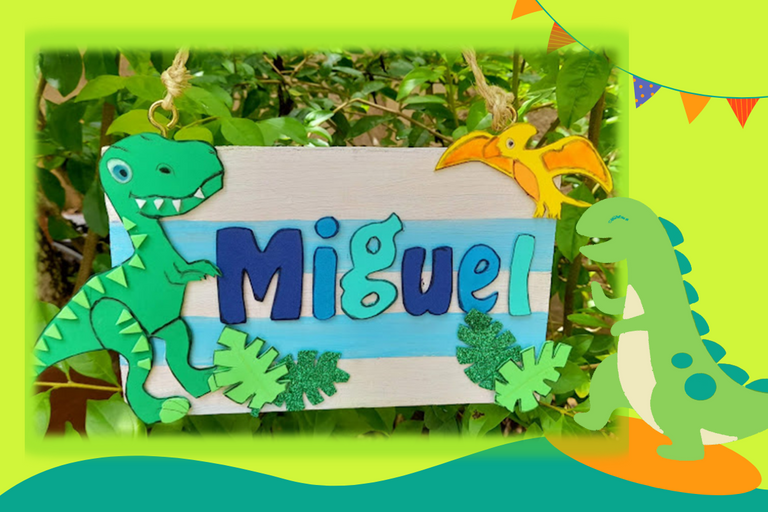
Welcome back to my blog and tonight I want to share with you the step by step of how to make a cute and colorful wooden poster for the bedroom door, these posters have always seemed to me a fantastic idea to decorate the room of our children, because you can hang them on the bedroom door or simply place it on the wall of the room of our princes or princesses and best of all is that you can decorate them with the theme that you like or adapt them for boys or girls. I tell you that this idea of making this poster with the theme of dinosaurs comes because one of my youngest nephews "Miguel" is today turning 3 years old and as he loves dinosaurs I took the opportunity, when I was doing this craft made me remember that when my oldest son was that age he also loved dinosaurs and he knew a lot of the names of many of them and even his cousin Miguel has inherited many of those dinosaurs ....
Well my dear friends don't miss the step by step to make this cute and colorful wooden sign for your child's bedroom door, let's get to work!!!

Saludos y abrazos para todas esas bellas personas que día a día toman un poco de su tiempo para enseñarnos a realizar unos estupendos proyectos de manualidades en este linda comunidad de #HiveDiy, yo no he podido estar todos los días con ustedes ya que empece a trabajar todos los días y a veces llego muy cansada, pero haré lo posible por estar con ustedes para mostarle mis proyectos. Espero se encuentre muy bien y que hayan tenido un lindo día.
Bienvenidos nuevamente a mi blog y en esta noche les quiero compartir el paso a paso de como elaborar un lindo y colorido cartel de madera para la puerta de dormitorios, estos carteles siempre me han parecido una idea fantástica para decorar la habitación de nuestros niños, ya que los puedes colgar en la puerta del dormitorio o simplemente ubicarlo en la pared de la habitación de nuestros príncipes o princesas y lo mejor de todo es que los puedes decorar con la temática que mas te guste o adaptarlos para niños o niñas. Les cuento que esta idea de realizar este cartel con la temática de dinosaurios viene porque uno de mis sobrinos mas pequeños "Miguel" esta hoy cumpliendo 3 añitos de vida y como le encanta mucho los dinosaurios aproveche la ocasión, cuando estaba realizando esta manualidad me hizo recordar que cuando mi hijo mayor tenia esa edad a él también le encantaba mucho los dinosaurios y se sabia mucho de los nombres de muchos de ellos e incluso su primito Miguel a heredado muchos de esos dinosaurios...
Bueno mis queridos amigos no se pierdan el paso a paso para hacer este lindo y colorido cartel de madera para la puerta del dormitorio de su niño o niña. ¡¡Manos a la obra!!

- EVA rubber (yellow, white, light green, dark green, light blue, dark blue)
- Wooden board
- Blue and white paint
- Paintbrush
- Mecatillo
- Scissors
- Blue tape
- Silicon
- Screw eye hook
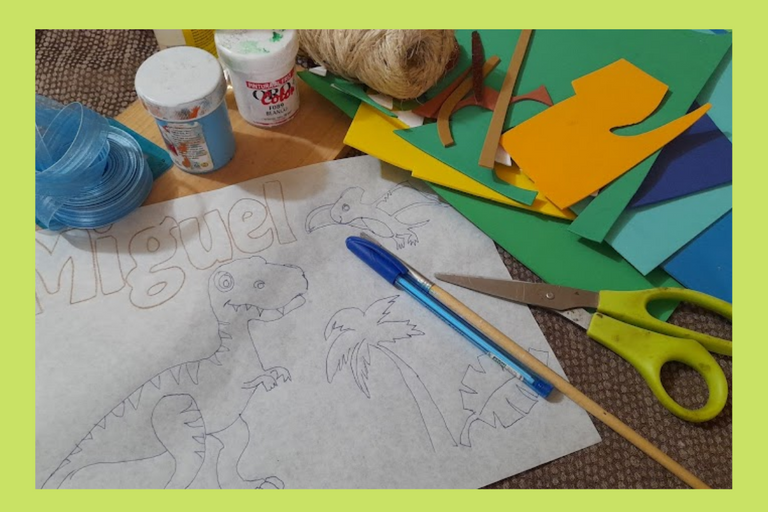
- Dinosaur drawing and letters
- Goma eva (amarillo, blanco, verde claro, verde oscuro, azul claro, azul oscuro)
- Tabla de madera
- Pintura azul y blanca
- pincel
- Mecatillo
- Tijera
- Cinta azul
- Silicon
- Gancho de ojo tornillo
- Dibujo dinosaurio y letras

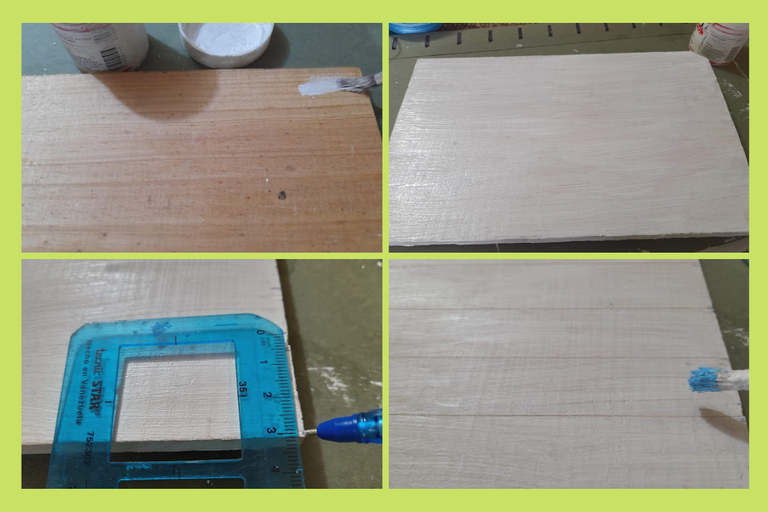
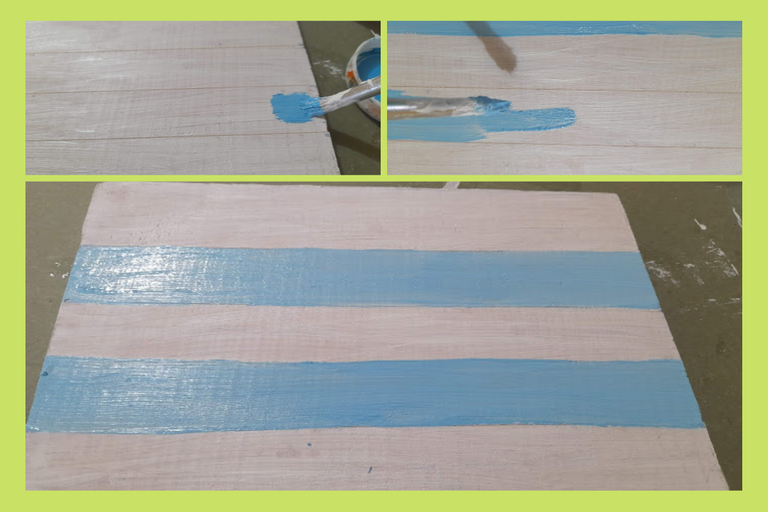
1:We take the wood which measures 23 centimeters wide by 14 centimeters high and proceed to paint it white on the front and back, let it dry, then with the ruler we divide it into four stripes and paint two blue and three white stripes and let it dry.
1: Tomamos la madera la cual mide 23 centímetros de ancho por 14 centímetros de alto y la procedemos a pintar de blanco por delate y por detrás, dejamos secar, luego con la regla la dividimos en cuatro franjas y pintamos dos franjas azules y tres blancas y dejamos secar.
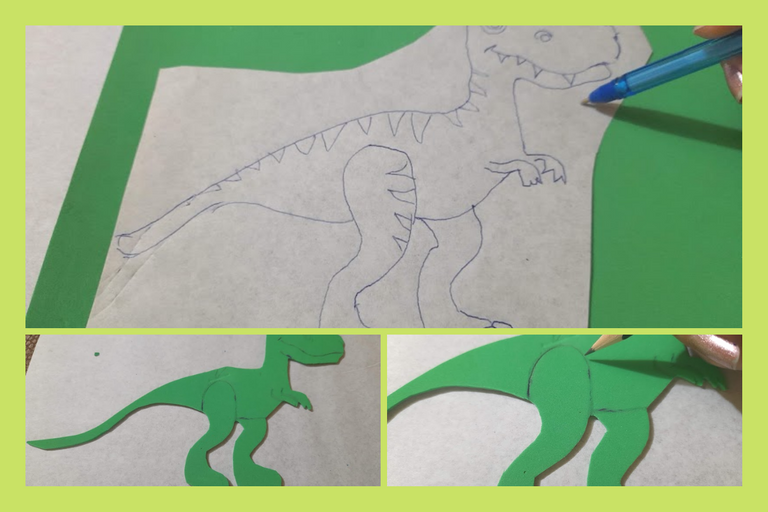
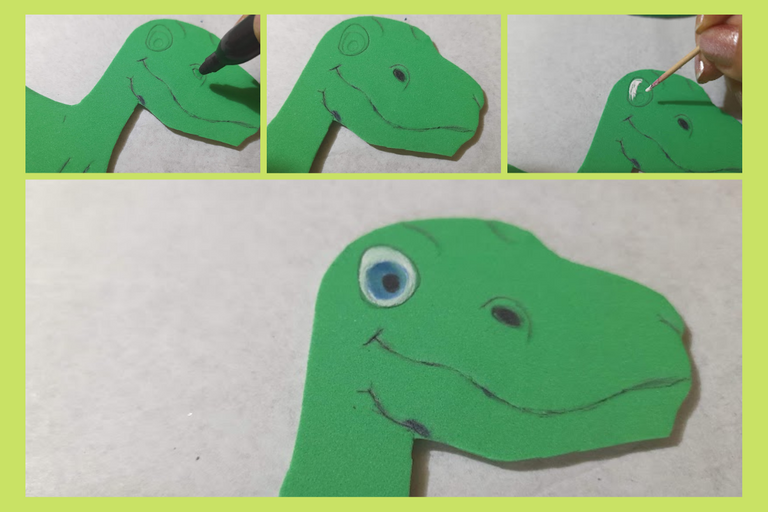
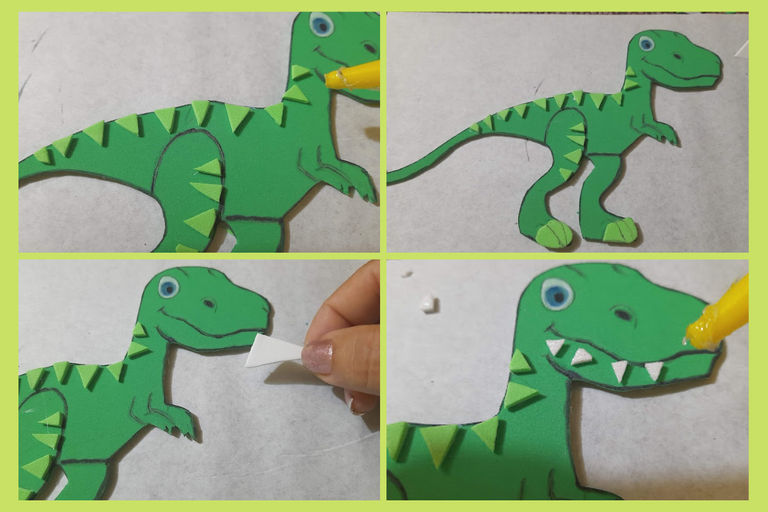
2:We proceed to make our first dinosaur (Tyrannosaurus Rex), in the dark green eva rubber we mark the silhouette of the dinosaur, we cut it out and then with a pencil we mark the details of our dinosaur, then we proceed to paint the eye with the help of a toothpick, then with a black marker we highlight the entire edge of the dinosaur.
2: Procedemos a realizar nuestro primer dinosaurio (Tiranousaurio Rex), en la goma eva verde oscuro marcamos la silueta del dinosaurio, recortamos y luego con un lápiz marcamos los detalles de nuestro dinosaurio, seguidamente procedemos a pintar el ojo con la ayuda de un palillo, luego con un marcador negro le resaltamos todo el borde al dinosaurio.
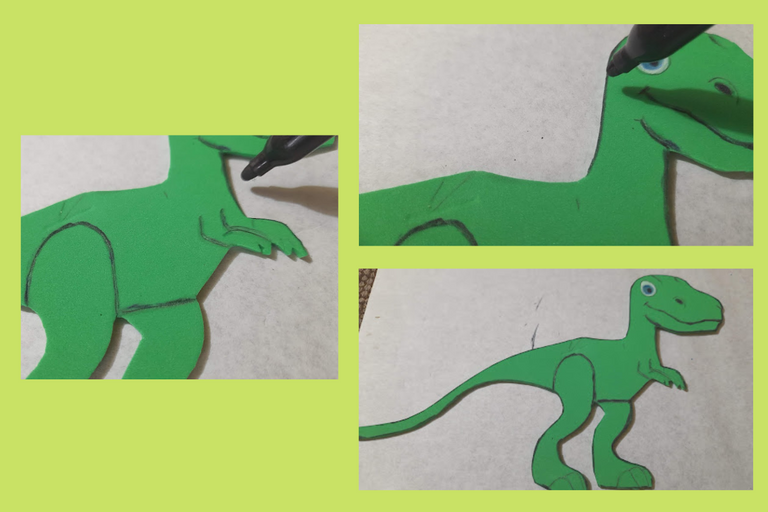
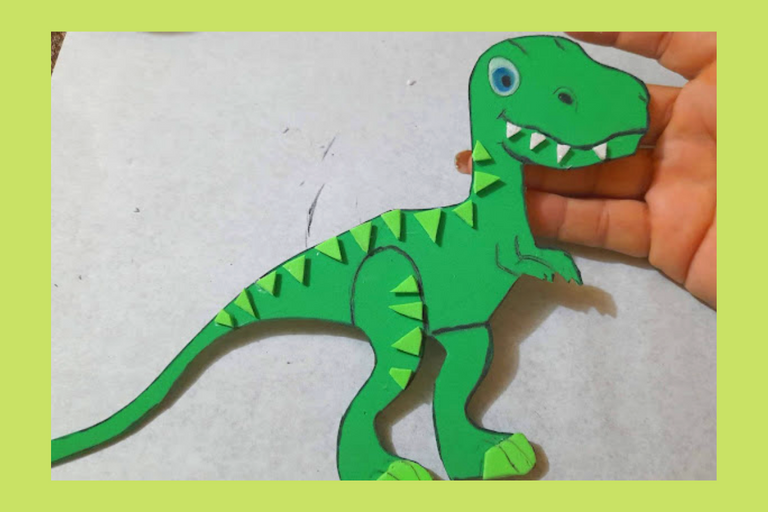
3:Now with the light green foami we make the nails and some small triangles to decorate the body of the dinosaur and with the white eva rubber we make some small teeth.
3: Ahora con el foami verde claro le realizamos las uñas y unos pequeños triángulos para decorar el cuerpo del dinosaurio y con el goma eva blanco le realizamos unos pequeños dientes.
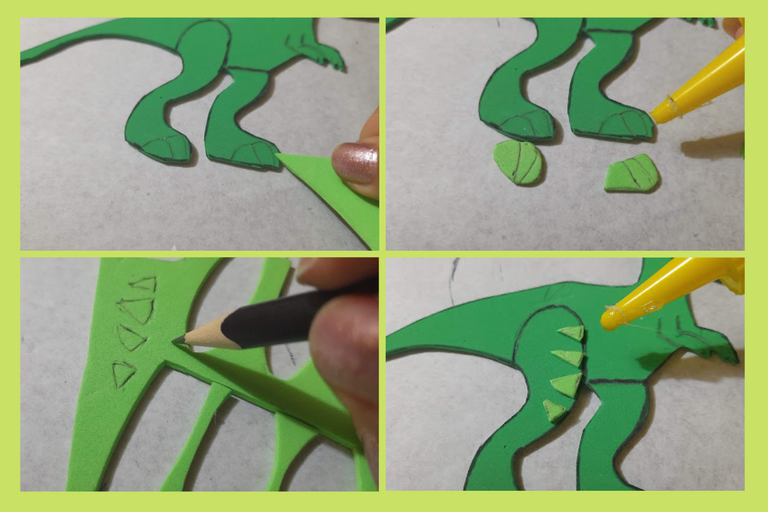
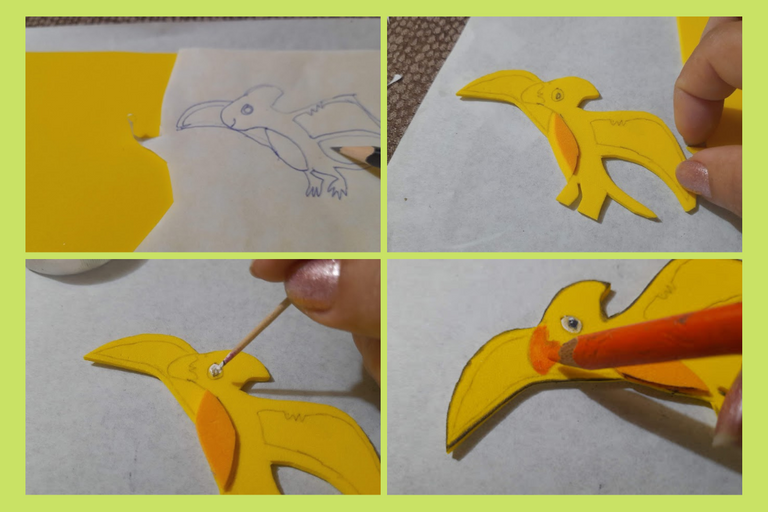
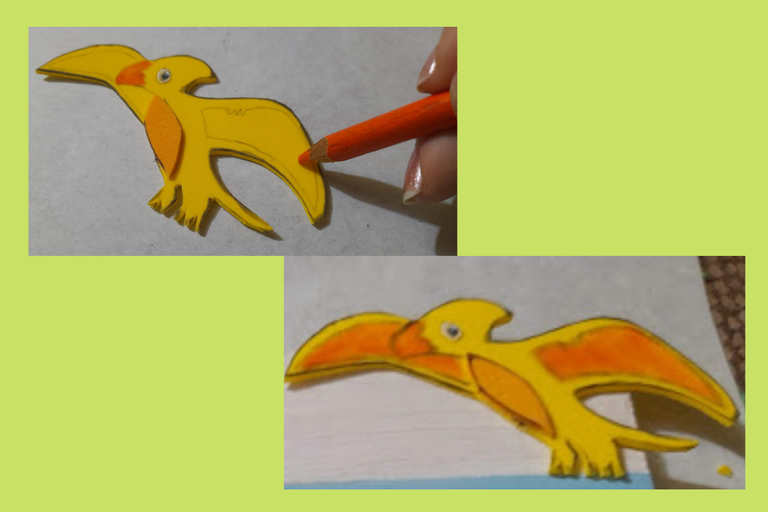
4: On the yellow eva rubber we mark the silhouette of a Pterosaur, cut it out and with an orange creyon we highlight the beak and part of the wings, as you can see in the images.
4: En el goma eva amarillo marcamos la silueta de un Pterosaurios, recortamos y con un creyon naranja le resaltamos el pico y parte de las alas, como pueden observar en las imágenes.
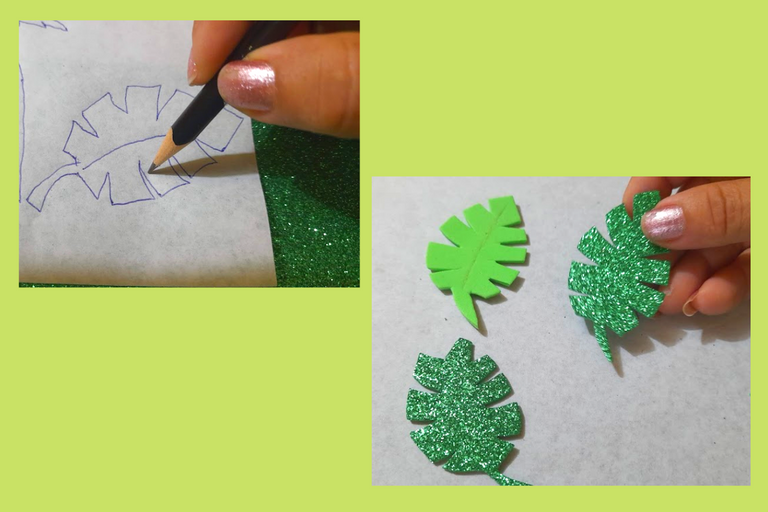
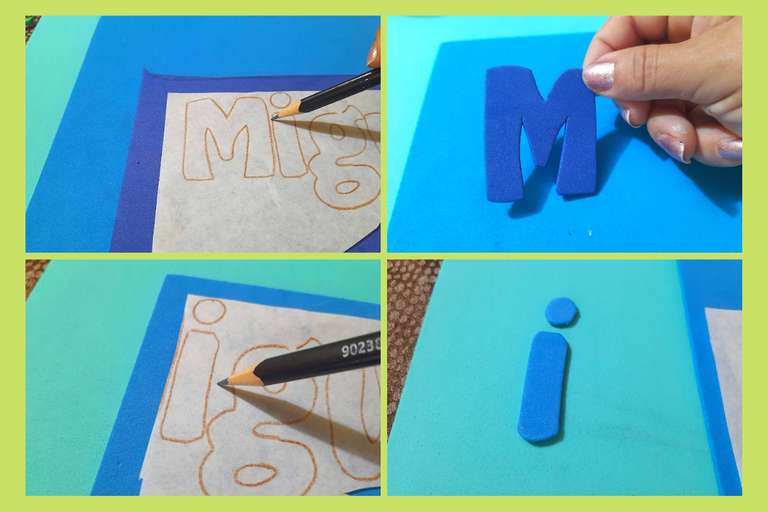
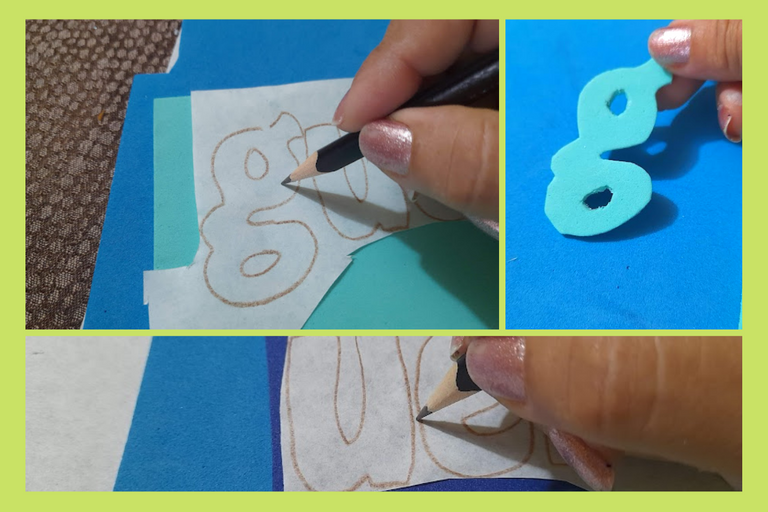
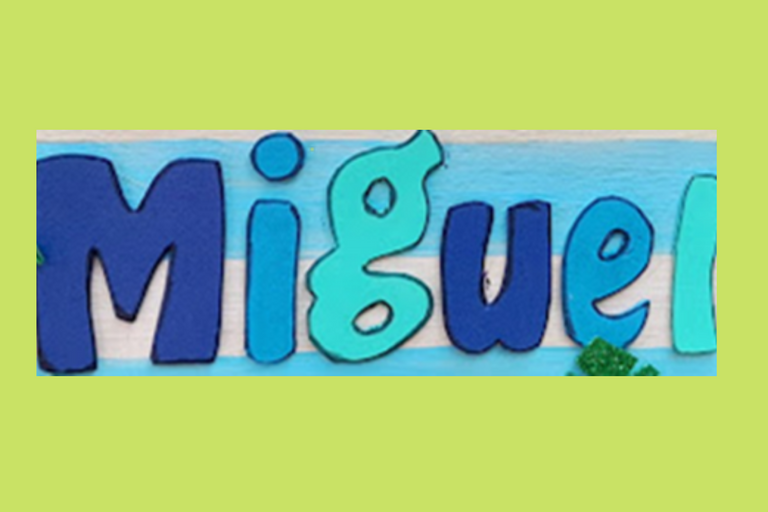
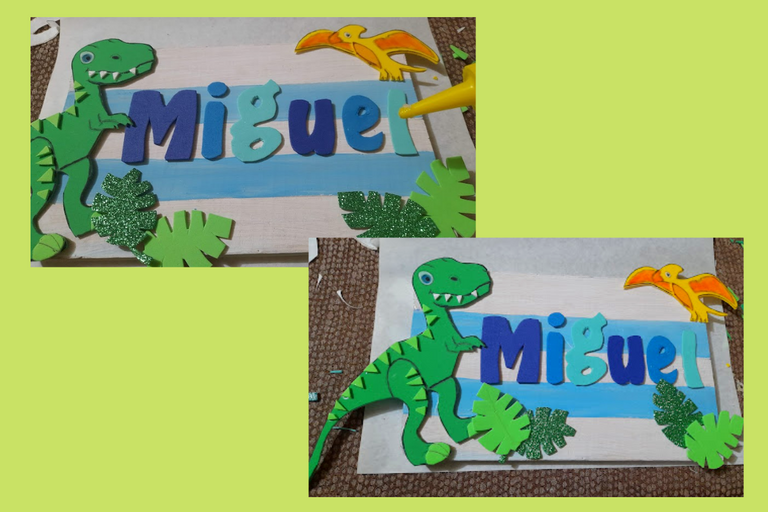
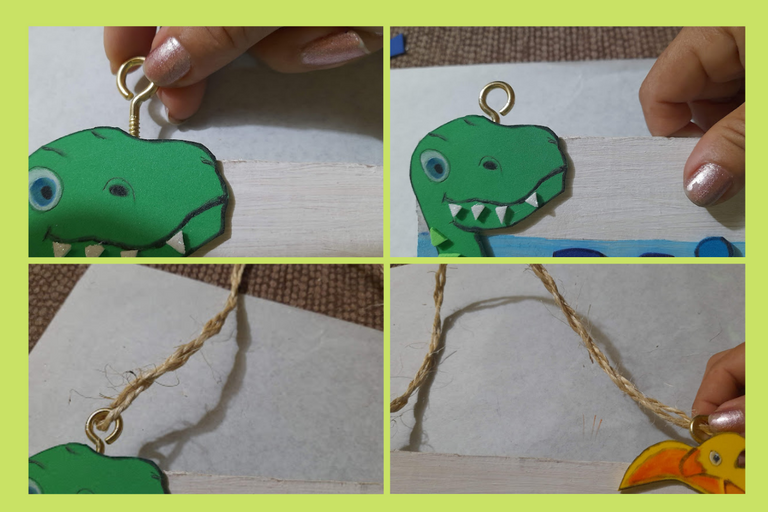
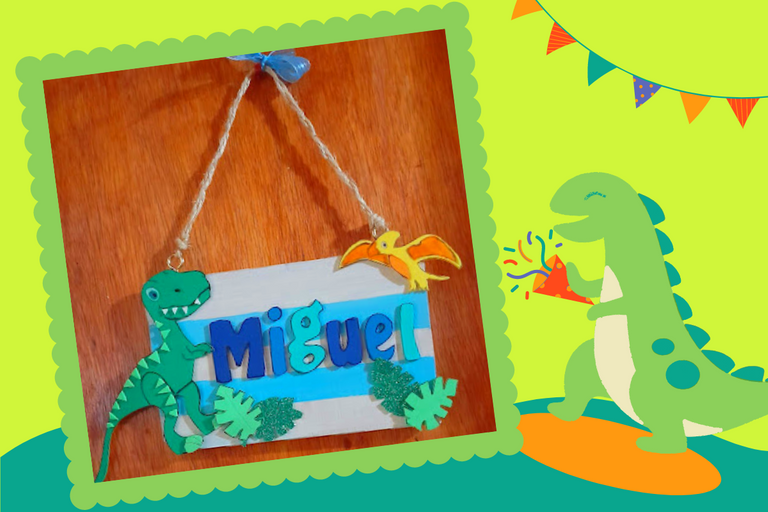
5: Now in the frosted dark green and light green eva rubber we mark several leaves and cut out, then we proceed to mark and cut out each of the letters of the name in the colors of eva rubber that we selected for decoration, finally we present all the details in our wood and then proceed to glue them, then we screw the eye hooks on top of the wood and then we link the mecatillo from one end to the other and ready.
5: Ahora en la goma eva verde oscuro escarchado y en el verde claro marcamos varias hojas y recortamos, seguidamente procedemos a marcar y recortar cada una de las letras del nombre en los colores de goma eva que seleccionamos para la decoración, finalmente presentamos todo los detalles en nuestra madera y luego procedemos a pegarlos, después atornillamos los gancho de ojo en la parte superior de la madera y luego enlazamos el mecatillo de un extremo al otro y listo.
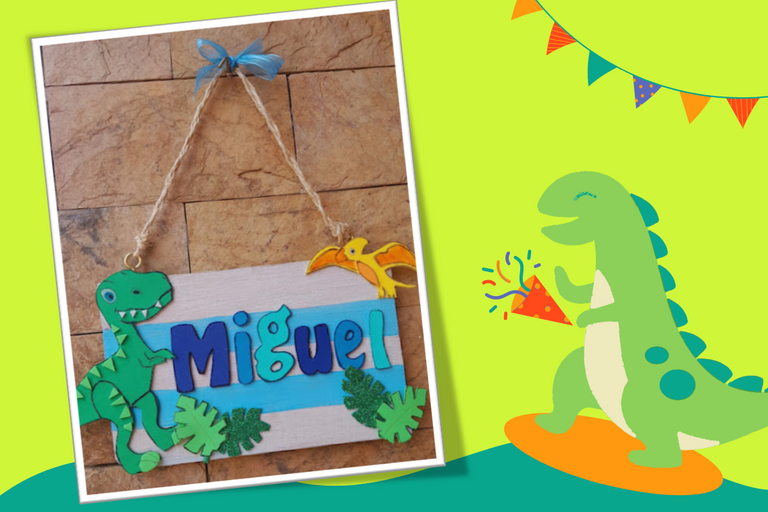
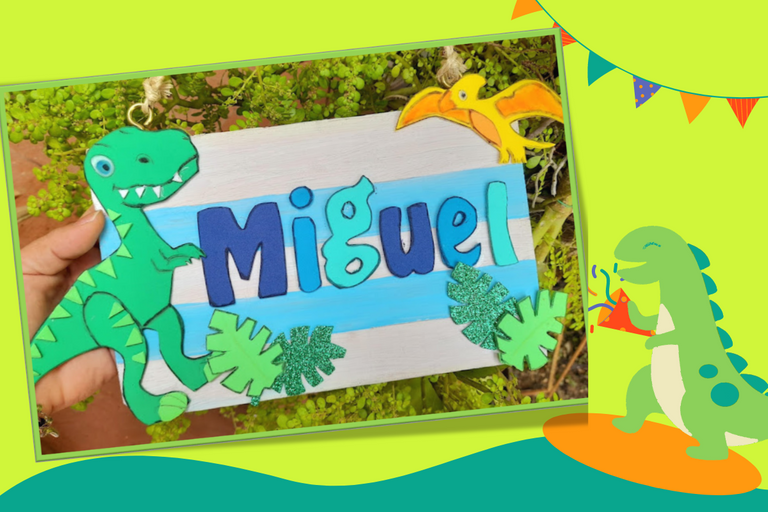
Ready, friends this is the final result of my cute and colorful wooden sign to decorate the door of my beautiful nephew "Miguel's" bedroom. I hope you liked my project today!
See you next time!
Listo, amigos este es el resultado final de mi lindo y colorido cartel de madera para decorar la puerta del dormitorio de mi bello sobrino "Miguel" ¡Espero les haya gustado mi proyecto de hoy!
¡Hasta una próxima publicación!
Portada y plantillas elaboradas en canva
Fuente Separador
Imagen referencial


The photographs were taken with a Samsung A12 smartphone, the text was translated into English with the Google translator.link
The banner was designed on canvas link
Las fotografías fueron tomadas con un teléfono inteligente Samsung A12, el texto fue traducido al ingles con el traductor de Google.link
El banner fue diseñado en canvas link
Muy linda y creativa tu manualidad. Mis hijos tenían cada uno hecho solo con goma eva y se les caía todo el tiempo de la puerta. (se los habían regalado, así que no podía ponerme exquisita)
Excelente para un regalito de cumple
Hola, pero se los puedes pegar también en un cartón que sea duro. Gracias por leer y comentar. feliz día.
Realmente no lo pensé en su momento. Igual emigramos y se quedaron en nuestro país, de recuerdo, en su habitación
ah ok, QUE TENGAS UN FELIZ DÍA
dinosaurio bello para mi rodri
Thank you for sharing this amazing post on HIVE!
Your content got selected by our fellow curator @rezoanulvibes & you just received a little thank you via an upvote from our non-profit curation initiative!
You will be featured in one of our recurring curation compilations and on our pinterest boards! Both are aiming to offer you a stage to widen your audience within and outside of the DIY scene of hive.
Join the official DIYHub community on HIVE and show us more of your amazing work and feel free to connect with us and other DIYers via our discord server: https://discord.gg/mY5uCfQ !
If you want to support our goal to motivate other DIY/art/music/homesteading/... creators just delegate to us and earn 100% of your curation rewards!
Stay creative & hive on!