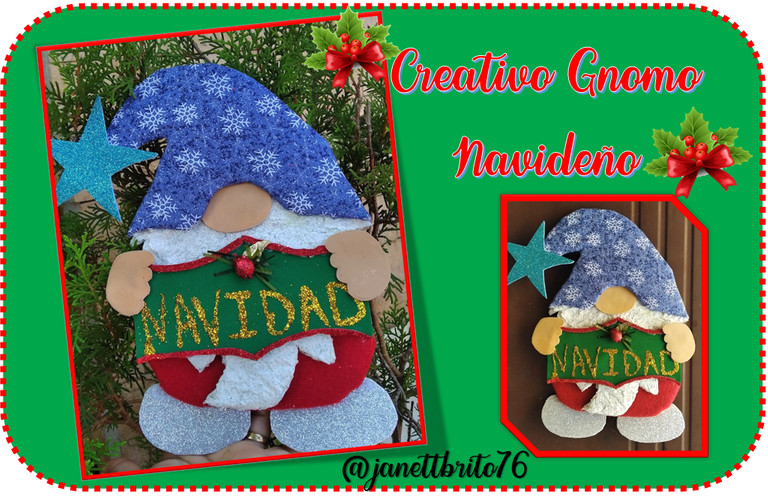

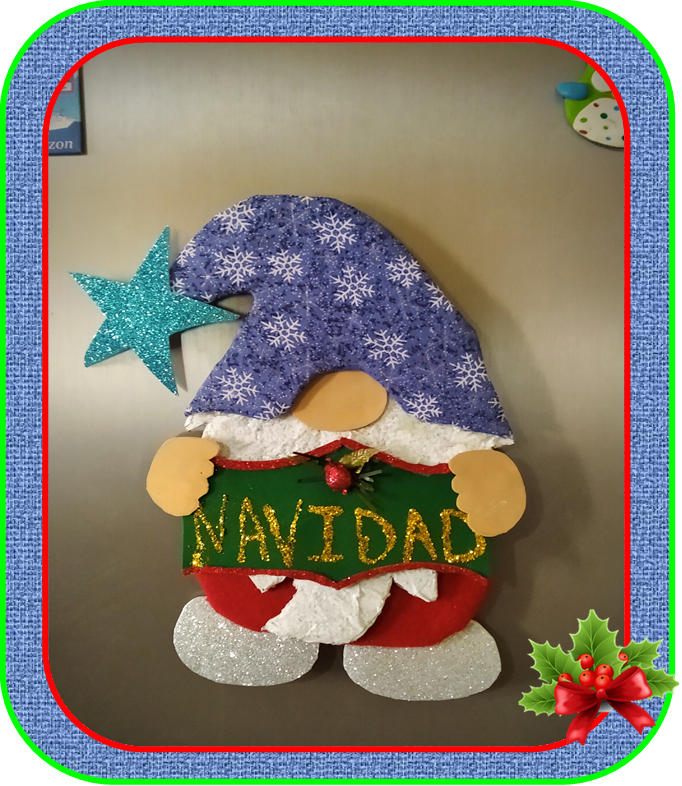
Feliz y bendecida noche para todos los que conforman esta gran comunidad de #HiveDiy espero se encuentren muy bien. Encantada nuevamente en mostrarle como realizar unos bellos adornos para esta navidad, creo que este tutorial les van a encantar. En esta oportunidad les voy a enseñar como realizar un creativo y alegre gnomo navideño para colgarlo en la puerta principal de tú hogar o en el refrigerador o simplemente para colgarlo en el árbol de navidad, Este gnomo esta realizado con cartón reciclado. Es una manualidad fácil y rápida, así que ¡No te pierdas el paso a paso! Espero que les guste y se animen a realizarlo!

Happy and blessed night for all those who make up this great community of #HiveDiy, I hope you are very well. Delighted again to show you how to make some beautiful decorations for this Christmas, I think you are going to love this tutorial. This time I am going to teach you how to make a creative and cheerful Christmas gnome to hang it on the front door of your home or on the refrigerator or simply to hang it on the Christmas tree. This gnome is made with recycled cardboard. It's a quick and easy craft, so don't miss the step by step! I hope you like it and are encouraged to do it!.


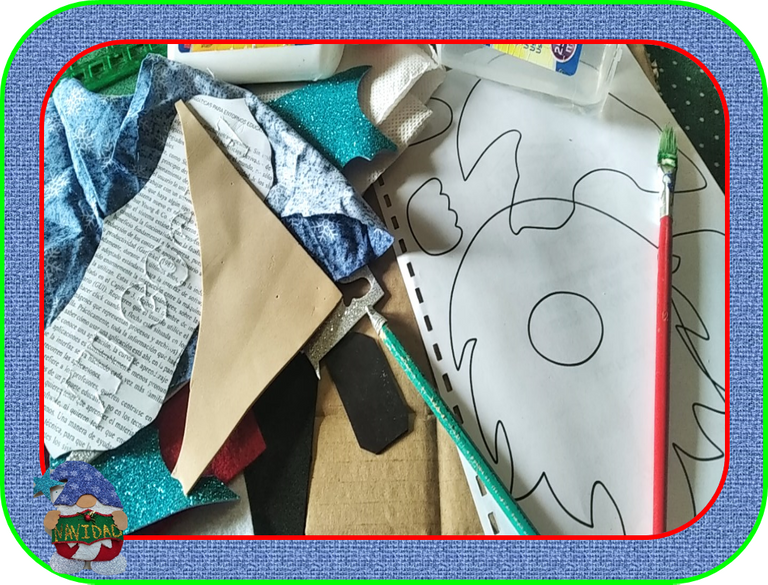
•Cartón reciclado
• Tijera
• Pega/silicon
• Lápiz
• Tela (retaso)
• Fieltro rojo
• Foami retasos (plateado, verde y carne)
• Escarchas(plateada-dorada)
• Cinta magnética
• Servilleta o papel
• Plantilla Gnomo
•Recycled carton
• Scissor
• Glue / silicone
• Pencil
• Fabric (backing)
• Red felt
• Foami retasos (silver, green and meat)
• Frost (silver-gold)
• Magnetic tape
• Napkin or paper
•Gnome Template

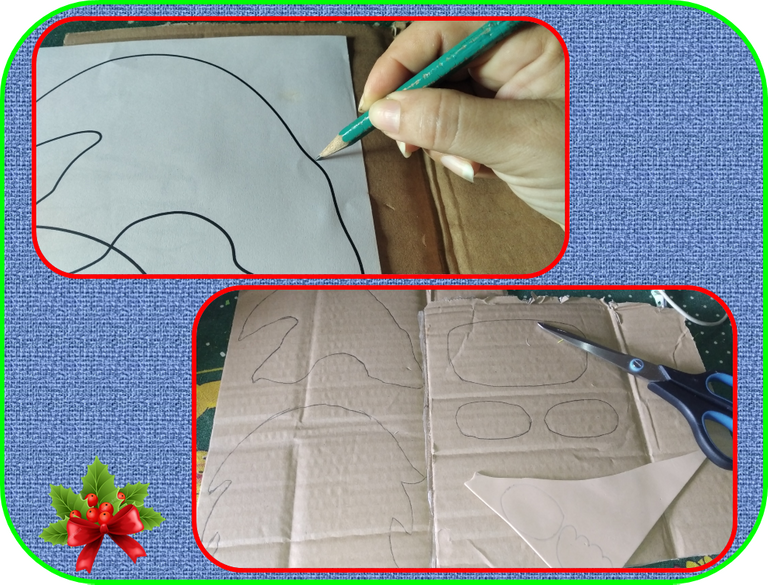
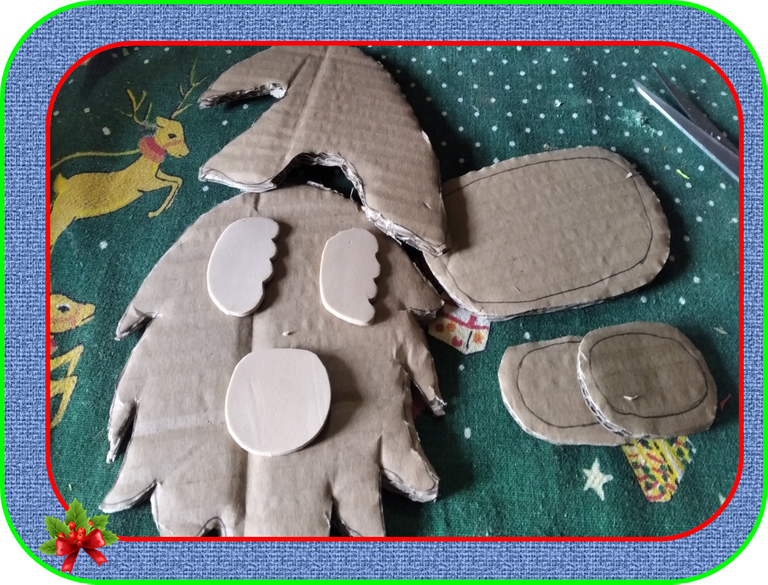
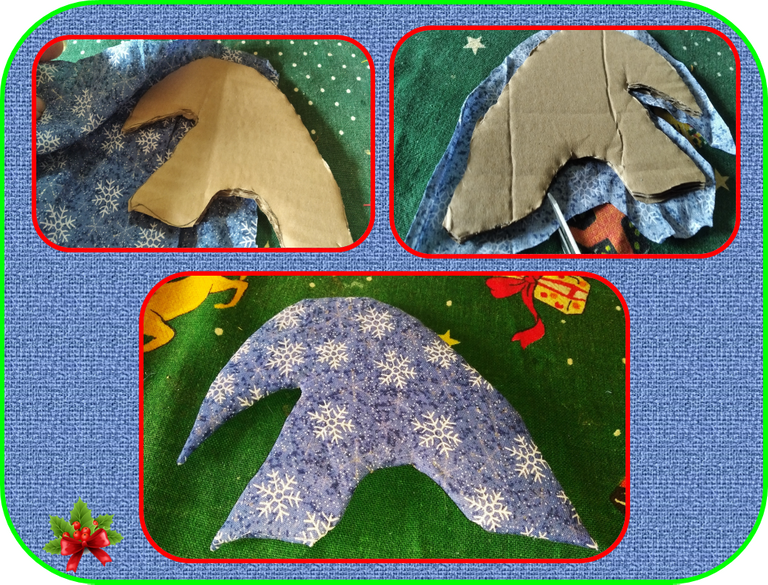
Paso1 :Comenzamos marcando en el cartón el molde de cada una de las piezas de nuestro gnomo y luego recortamos.
Step1:We start by marking on the cardboard the mold of each of the pieces of our gnome and then we cut out.
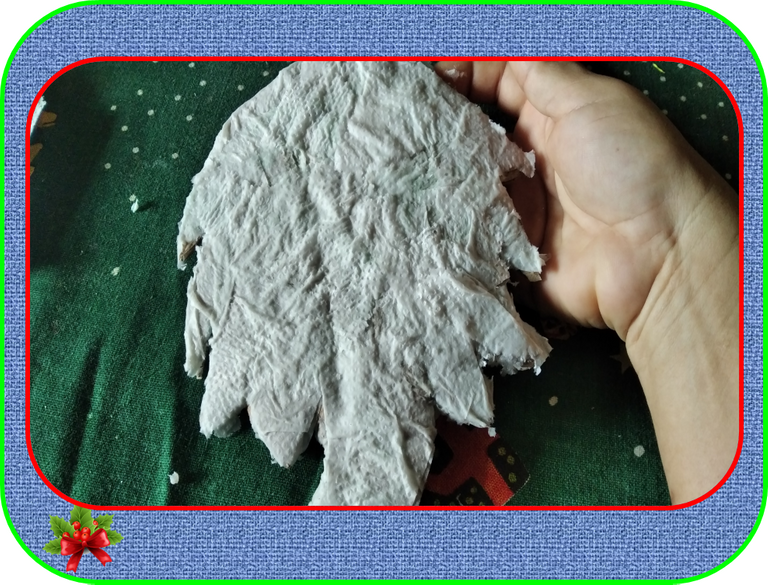
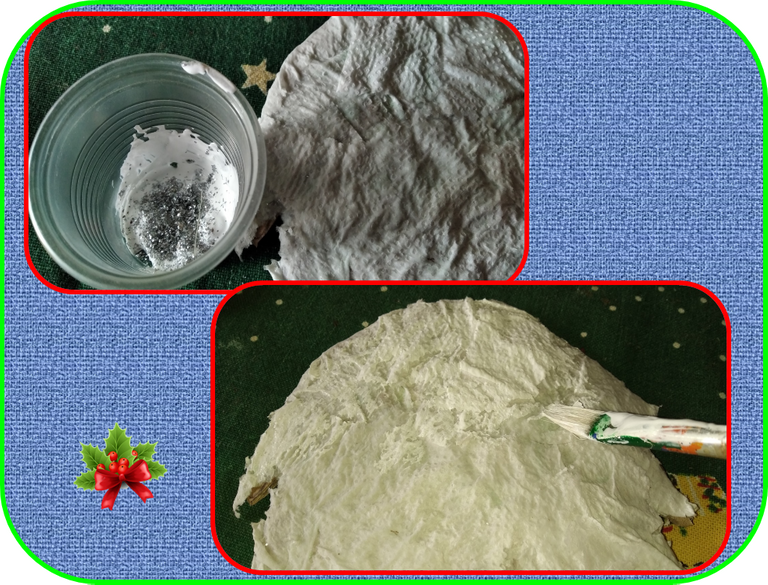
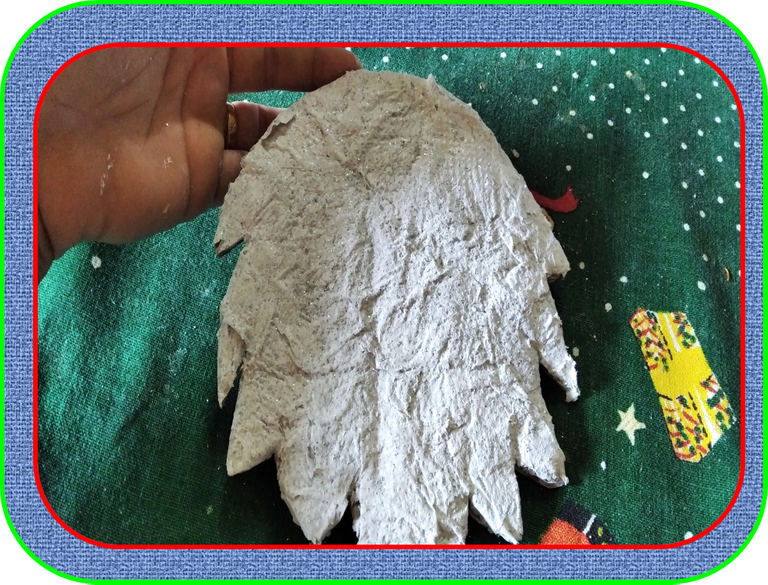
Paso 2: En un envase preparamos un poco de pega con agua, luego le colocamos un poco a la pieza de la barba de nuestro gnomo y seguidamente comenzamos a pegar la servilleta poco a poco en toda la pieza, dejamos secar.
Step 2: In a container we prepare a little glue with water, then we put a little bit on the piece of our gnome's beard and then we begin to glue the napkin little by little throughout the piece, we let it dry.

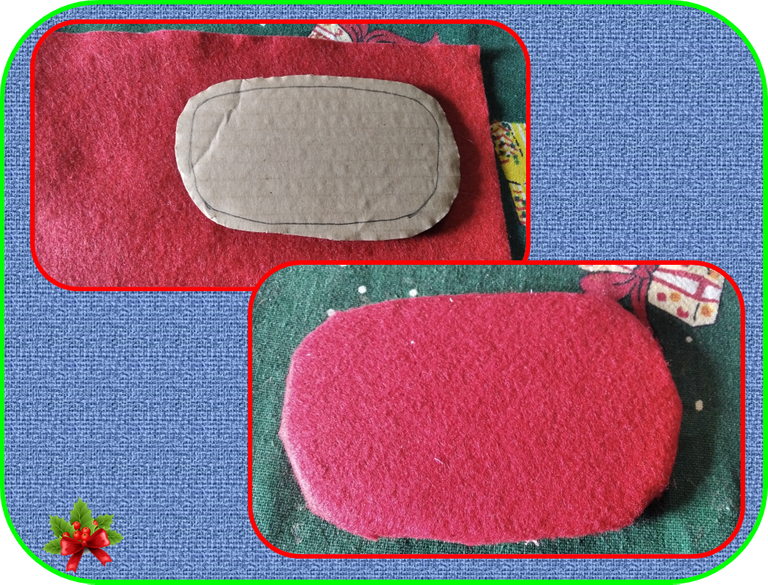
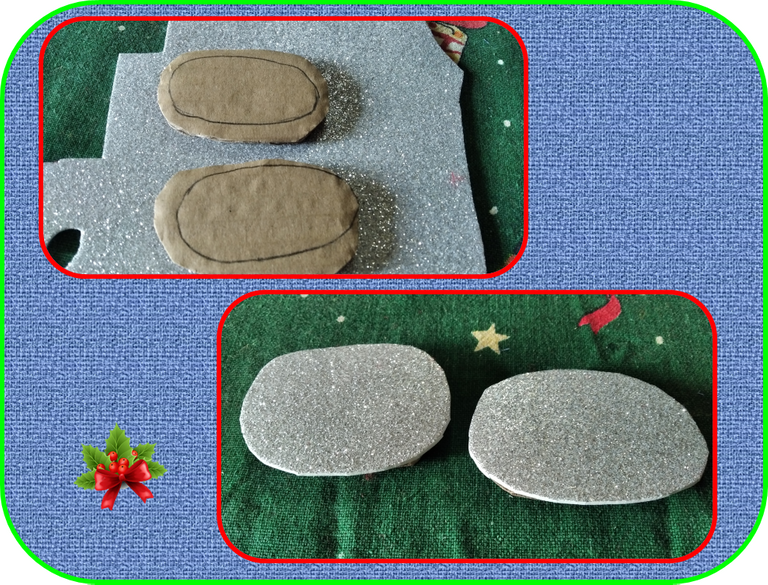
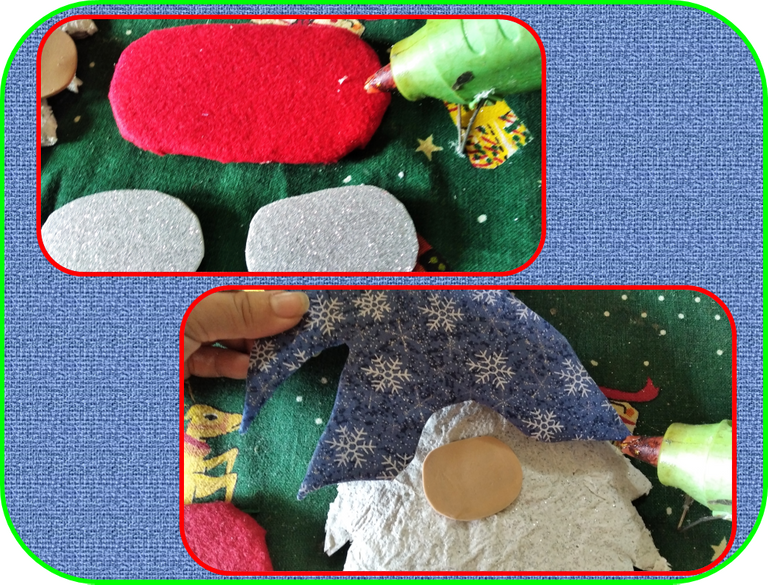
Paso 3 :procedemos a forrar el gorro con la tela de navidad, les realizamos unos pequeños cortes para que nos quede prolijo, luego con el fieltro rojo forramos la barriga y seguidamente forramos los zapatos con foami plateado.
Step 3:We proceed to line the hat with the Christmas fabric, we make some small cuts to make it neat, then with the red felt we line the belly and then we line the shoes with silver foami.
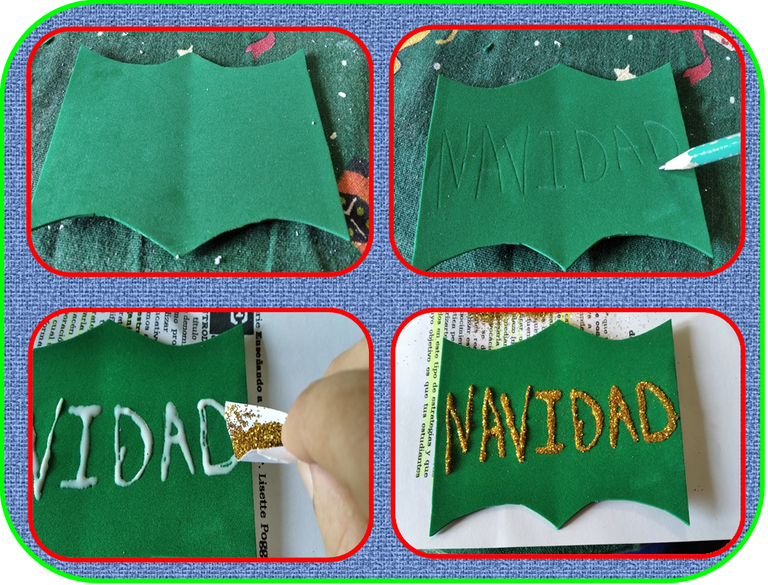
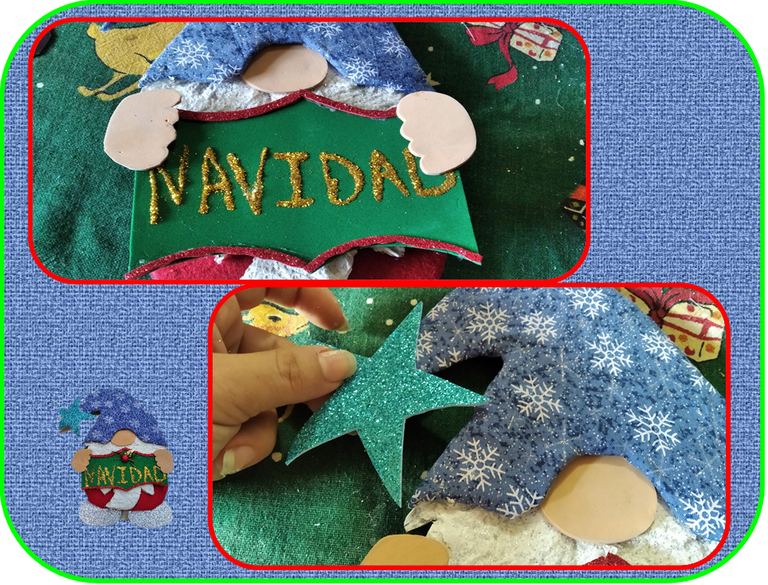
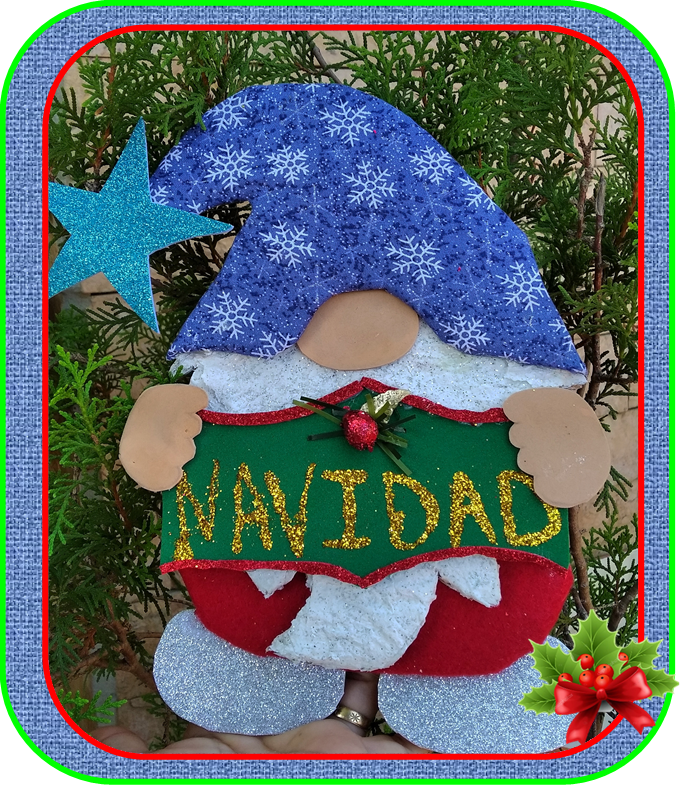
Paso 4 :Una vez seca nuestra barba procedemos a pintarla de blanco y a la pintura le colocamos un poco de escarcha plateada para darle un toque especial, luego procedemos a pegar cada una de nuestras piezas para armar nuestro gnomo y para finalizar en el foami verde le realice un cartel el cual le escribí la palabra navidad y con pega y escarcha dorada las decore y con foami azul escarchado le realice una estrella para decorar la punta del gorro.
Step 4:Once our beard is dry we proceed to paint it white and we put a little silver frost on the paint to give it a special touch, then we proceed to glue each of our pieces to assemble our gnome and to finish in the green foami I make a poster which I wrote the word Christmas and with glue and golden glitter I decorated them and with frosted blue foami I made a star to decorate the tip of the hat.
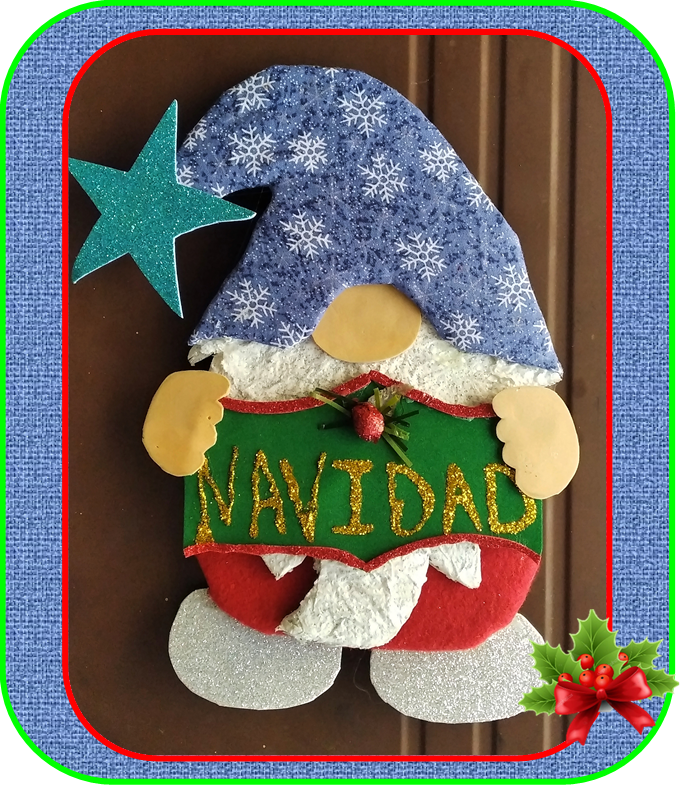
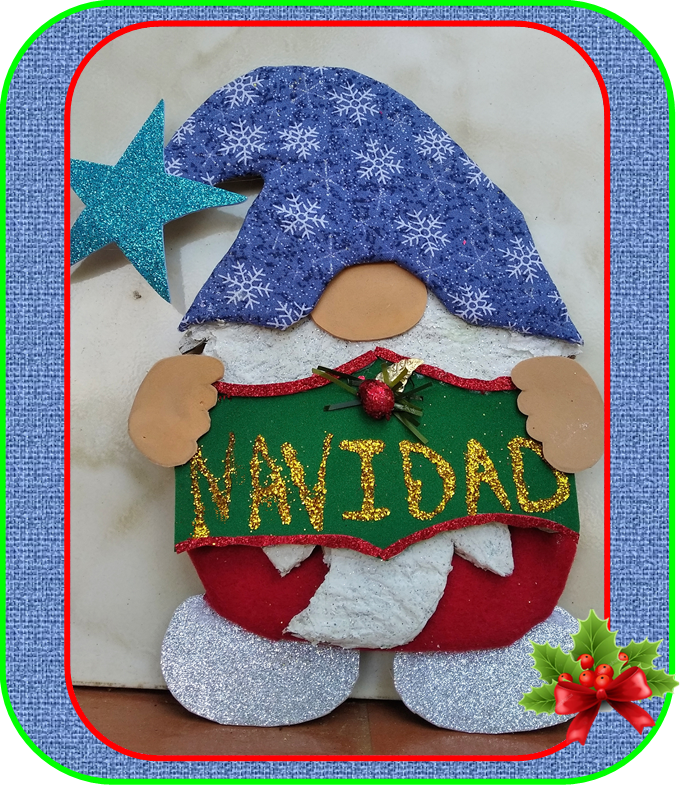
Listo, terminado mi creativo gnomo de navidad. Espero les haya gustado!.
Hasta la próxima
Ready, finished my creative Christmas gnome. I hope you liked it!.
Until next time
Las fotografías fueron tomadas con un teléfono inteligente Xiaomi Redmi 7A, el texto fue traducido al ingles con el traductor de Google.
The photographs were taken with a Xiaomi Redmi 7A smartphone, the text was translated into English with the Google translator.
