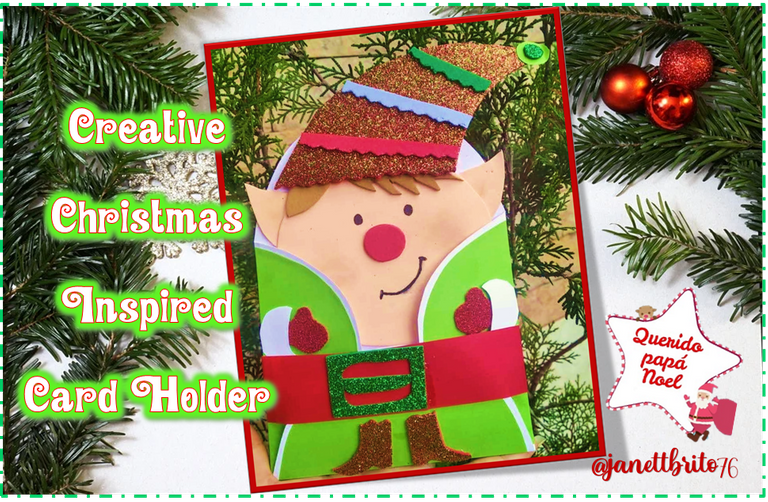

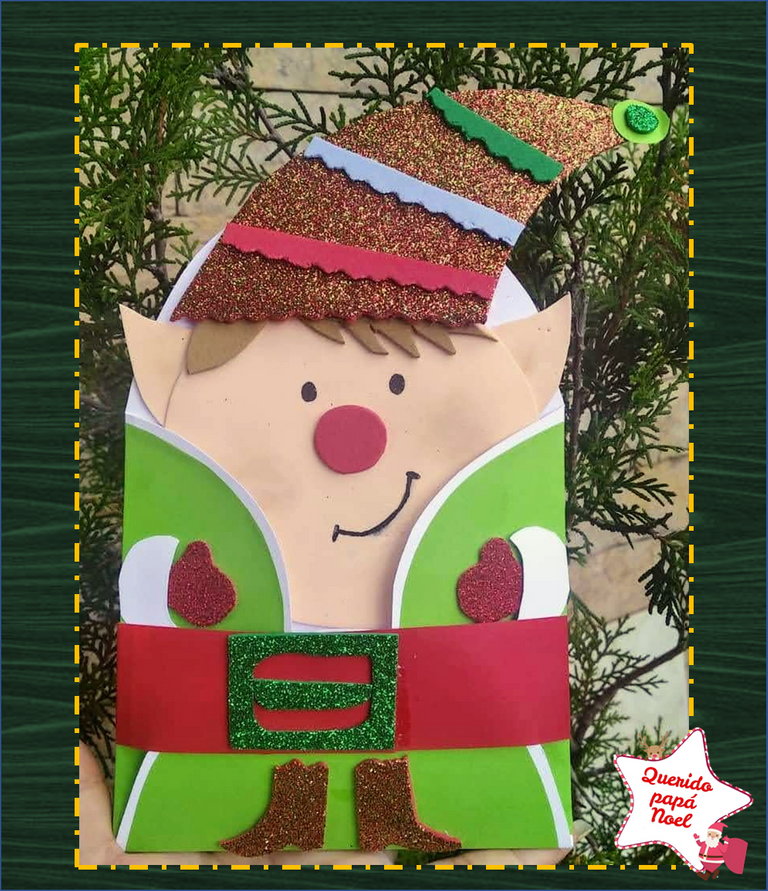
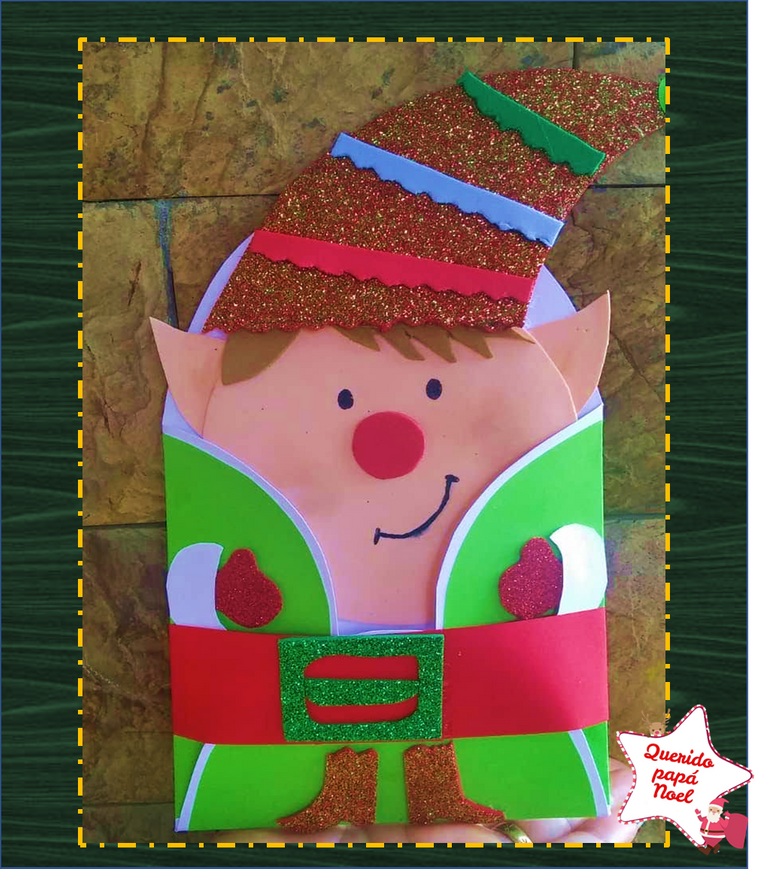
¡Feliz noche a todos mis amigos de esta creativa comunidad de #HiveDiy!. En el día de hoy les quiero compartir el paso a paso de como realizar este lindo y creativo tarjetero inspirado en la navidad, en este caso tome como referencia uno de los duendes que trabajan con Papá Noel, ya que que ellos son los que les llevan las cartas a Santa... Esta es una fabulosa idea para que los pequeñines de la casa puedan enviarle su carta al rey del Polo Norte en el interior de este tarjetero, aunque también lo puedes utilizar para enviar algún regalo a alguien en especial (foto, dinero,...) o también lo puedes utilizar como un porta postal. Espero que les guste esta creativa manualidad que les traigo hoy!.. Manos a la obra !!

Happy evening to all my friends from this creative #HiveDiy community! Today I want to share with you the step by step of how to make this cute and creative Christmas-inspired card holder, in this case take as a reference one of the elves who work with Santa Claus, since they are the ones who take you the letters to Santa ... This is a fabulous idea for the little ones in the house to send their letter to the king of the North Pole inside this card holder, although you can also use it to send a gift to someone in particular (photo , money, ...) or you can also use it as a postcard holder. I hope you like this creative craft that I bring you today! .. Let's get to work !!


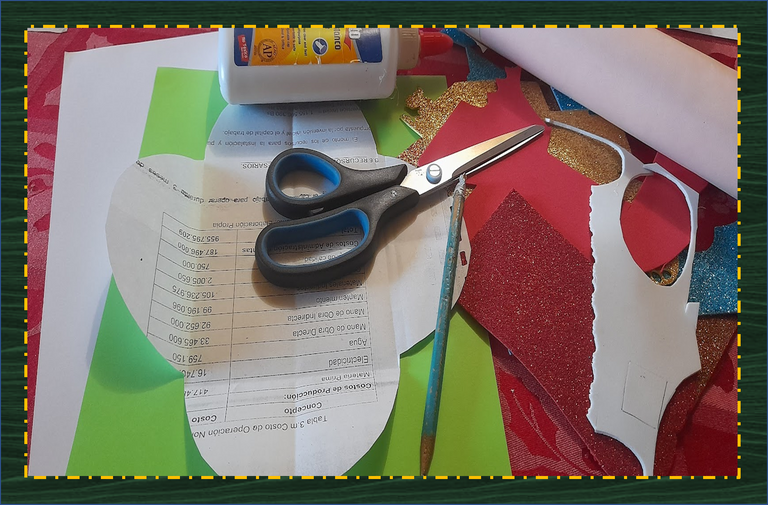
Cartulina ( blanca, verde, roja)
Silicon/ pega
Foami (rojo, verde escarchado, tornasol, carne, marrón)
Tijera
Molde tarjetero
Cardstock (white, green, red)
Silicon / glue
Foami (red, frosty green, litmus, meat, Brown)
Scissor
Card holder mold

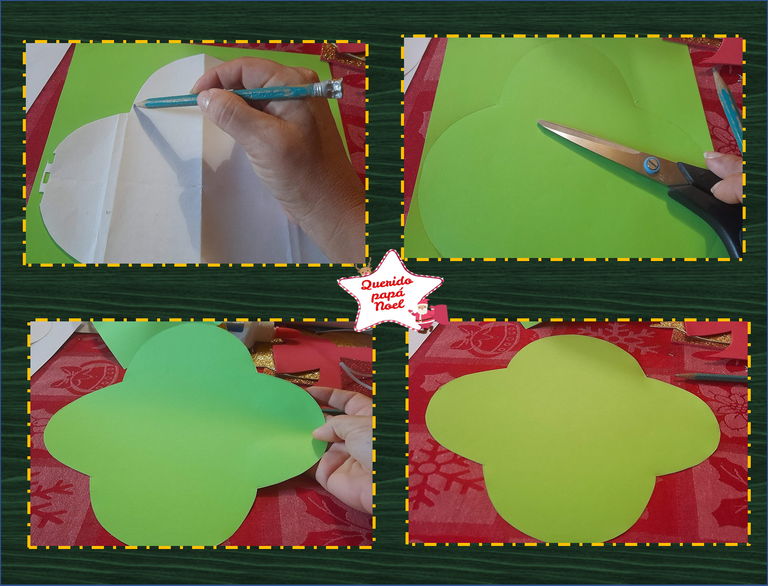
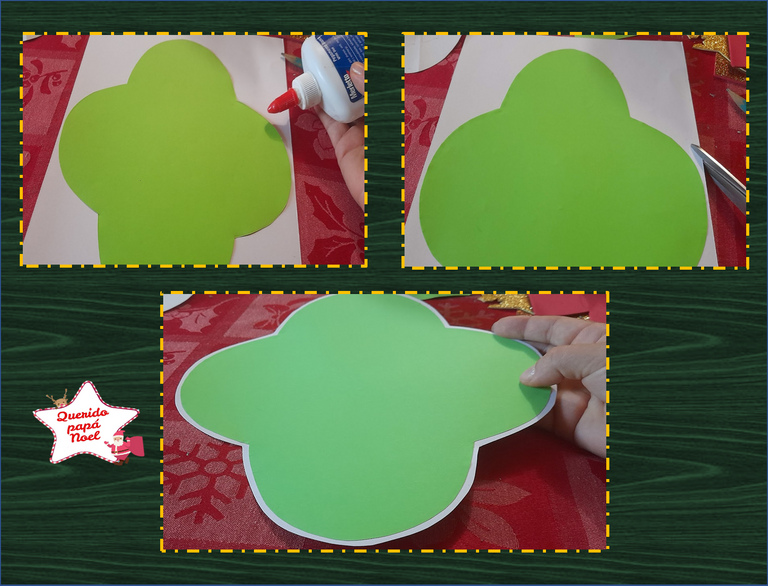
1: Comenzamos marcando nuestro molde tarjetero en la cartulina verde, luego recortamos. Este molde lo realice utilizando un cd marcando media circunferencia por los cuatro lados de la hoja.
1:We start by marking our card holder mold on the green cardboard, then we cut out, this mold is made using a cd marking half a circumference on the four sides of the sheet.
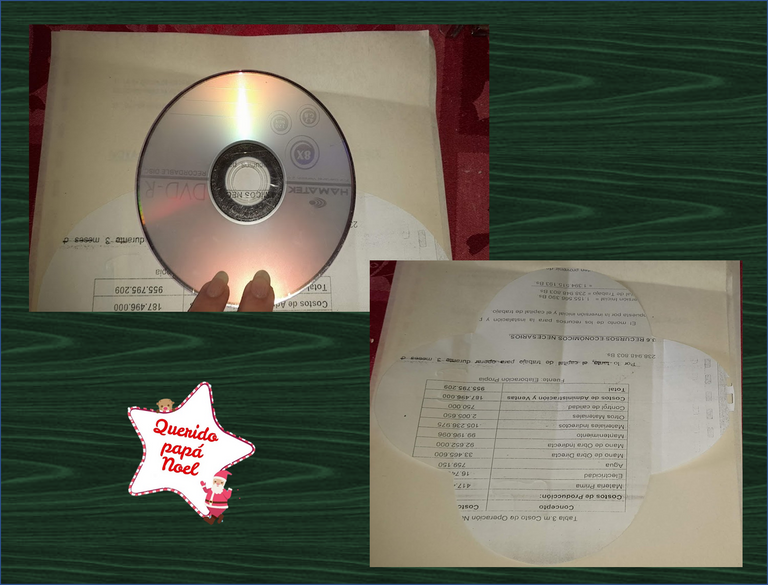
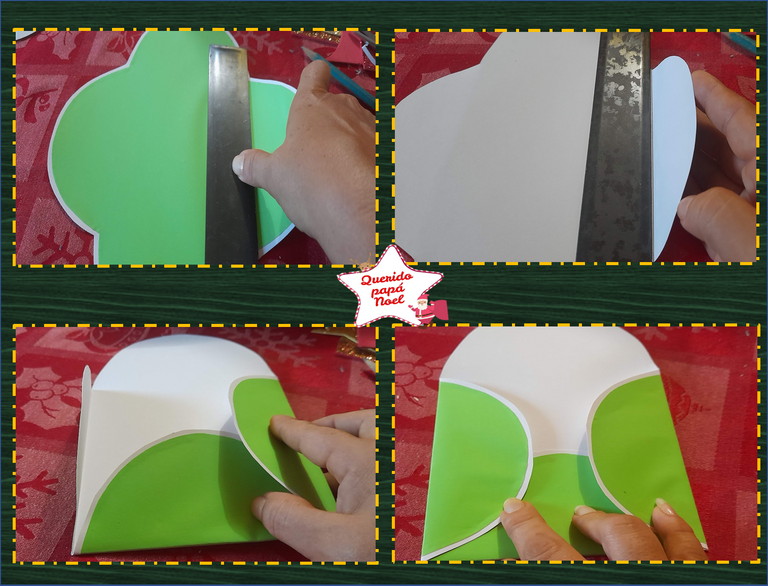
2: Una vez ya recortado nuestro molde procedemos a pegarlo en la cartulina blanca, luego recortamos dejando aproximadamente 3mm por todo el contorno del tarjetero, seguidamente con la ayuda de una regla vamos doblando los pliegues y solo dejamos el de la parte superior sin doblar como se muestra en las imágenes.
2: Once our mold is cut, we proceed to stick it on the white cardboard, then we cut it leaving approximately 3mm around the entire contour of the card holder, then with the help of a ruler we are folding the folds and we only leave the upper part unfolded as shown in the pictures.
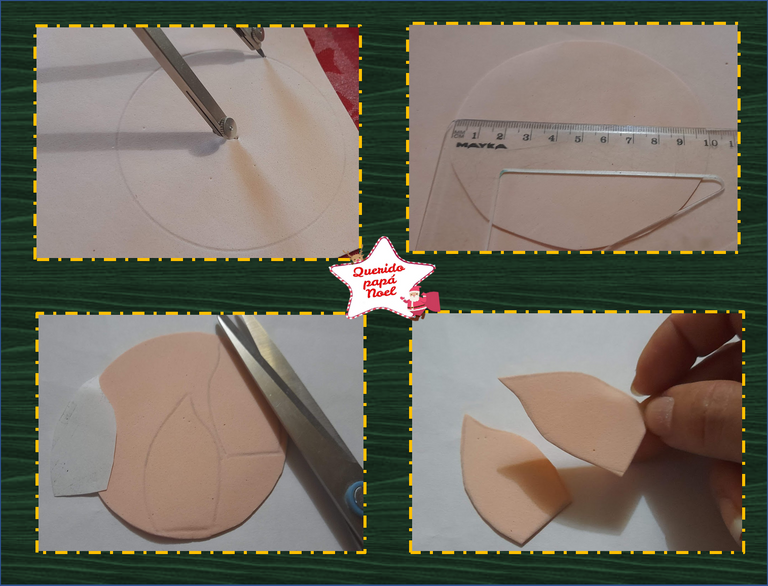
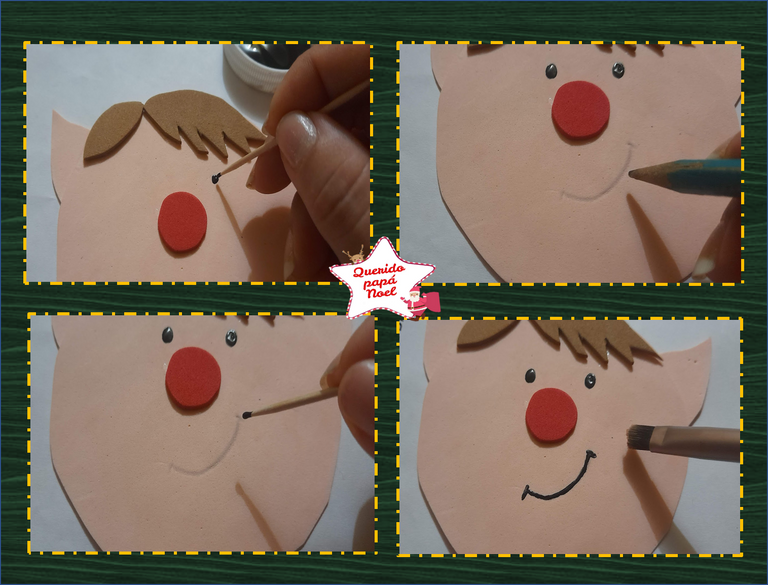
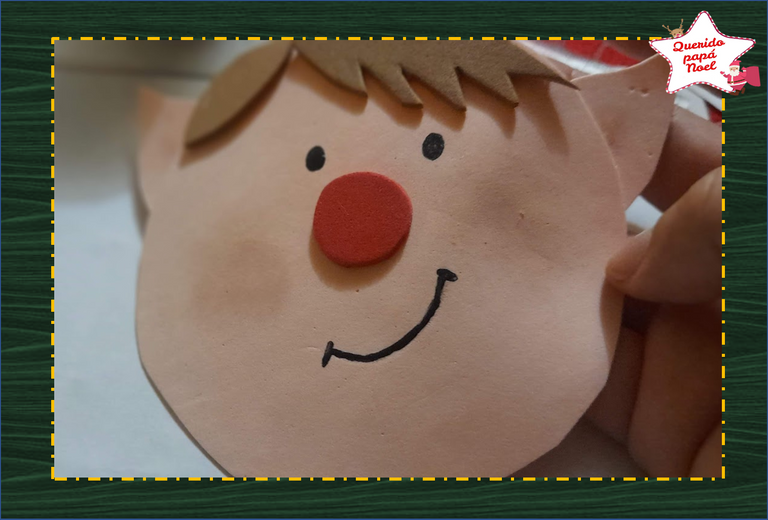
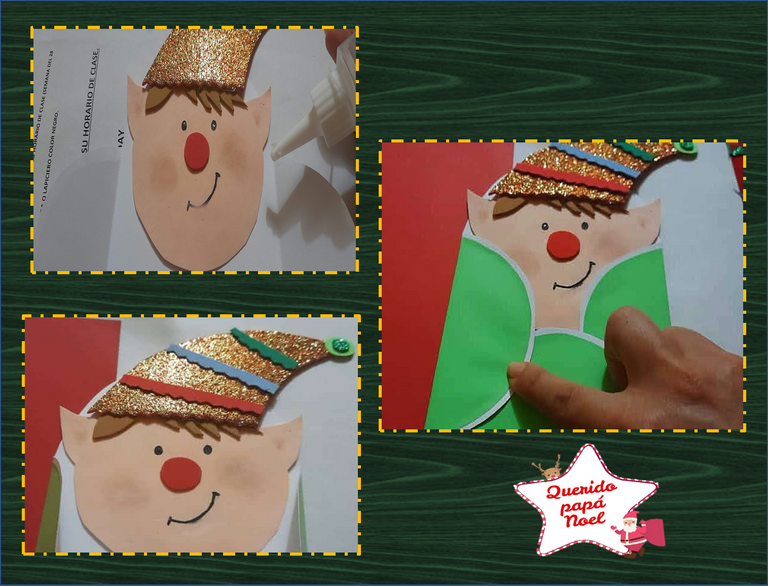
3: Para realizar la carita de nuestro duende, comenzamos marcando en el foami color carne un circulo de 10 cm de diámetro, luego hacemos unas pequeñas orejas en el foami color carne y en el foami rojo le realizamos la nariz, seguidamente procedemos apegar cada una de las piezas y con un palillo y pintura negra le hacemos los ojitos y boca, como se muestra en las imágenes.
3: To make the face of our elf, we start by marking on the flesh-colored foam a circle of 10 cm in diameter, then we make small ears on the flesh-colored foam and on the red foam we make the nose, then we proceed to attach each of the pieces and with a toothpick and black paint we make the eyes and mouth, as shown in the images.
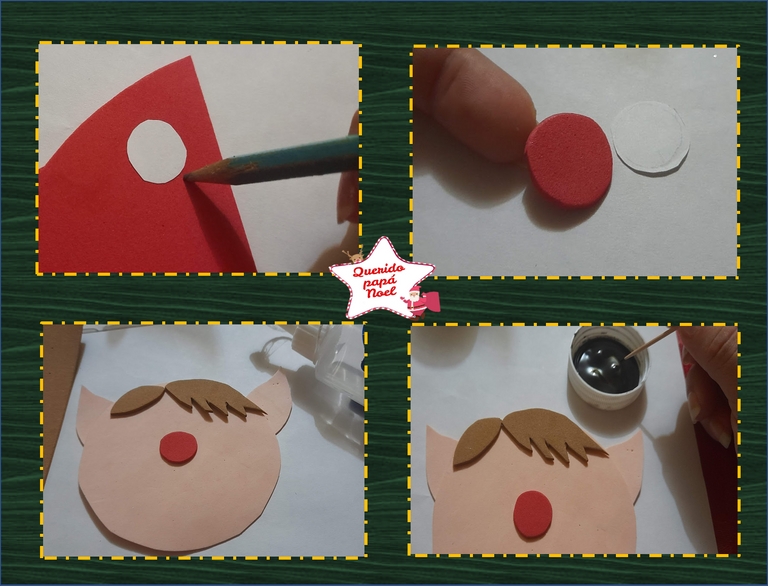
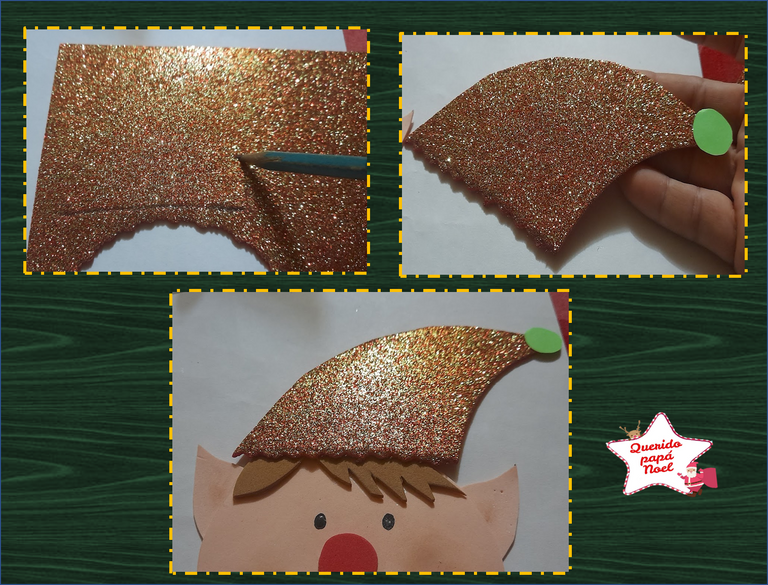
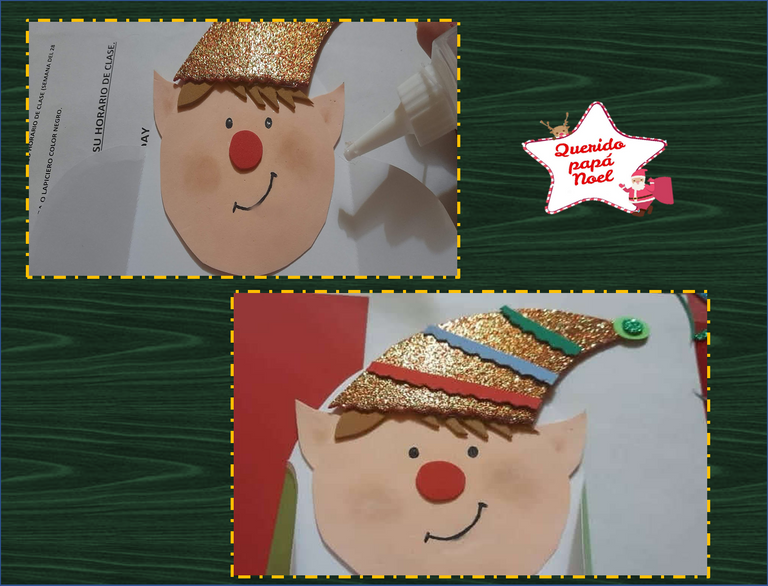
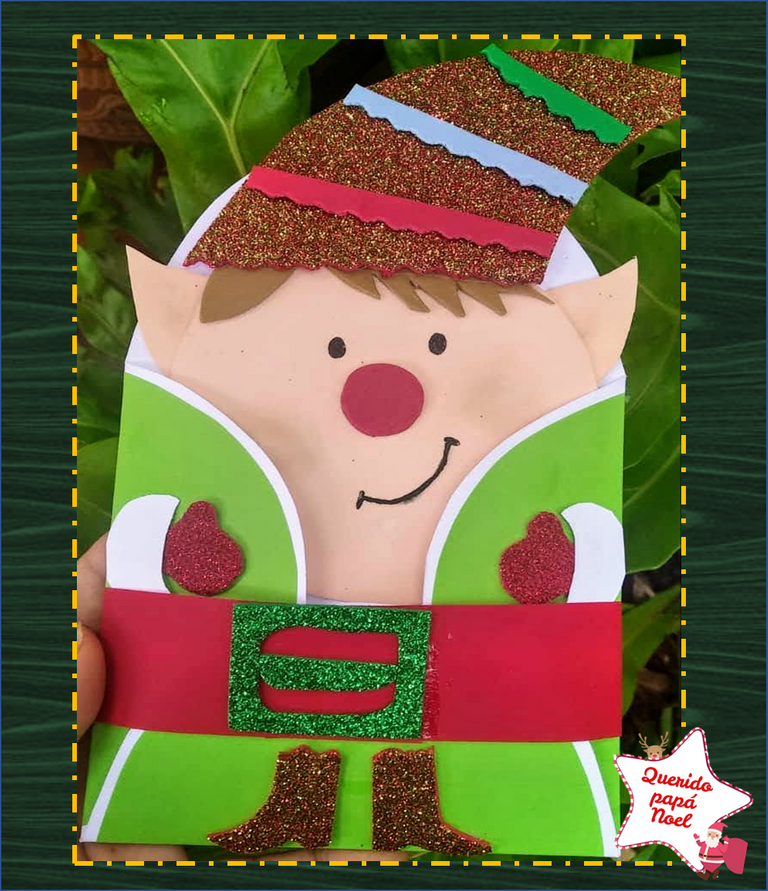
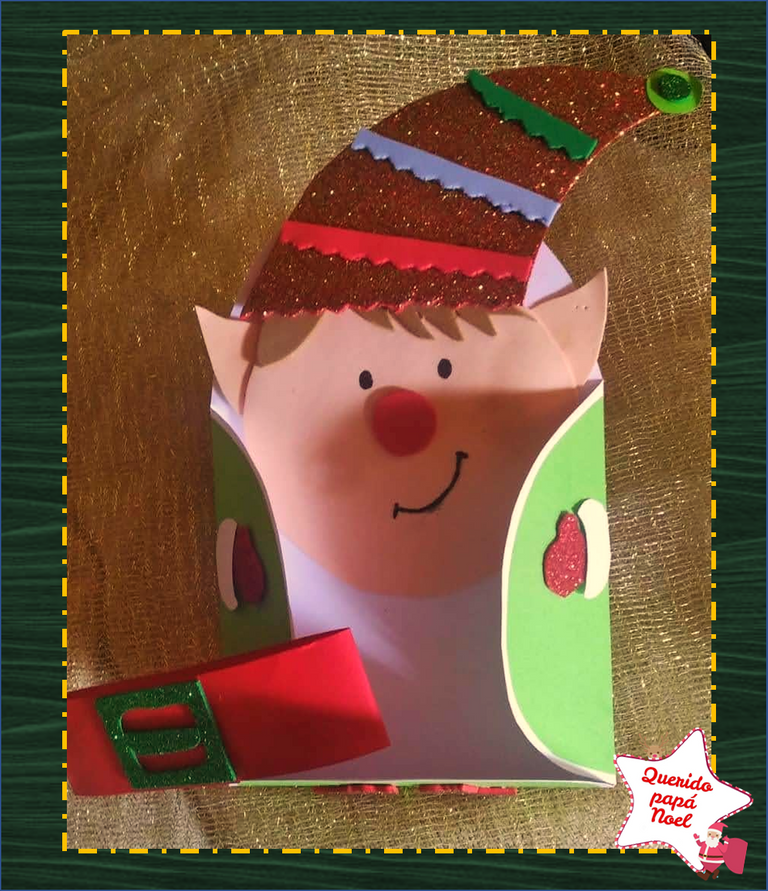
4: Tomamos el foami tornasol y realizamos un pequeño gorro, el cual lo decore con unas tiritas de foami de color verde, rojo y azul. Seguidamente procedemos a pegar la carita de nuestro duende al tarjetero.
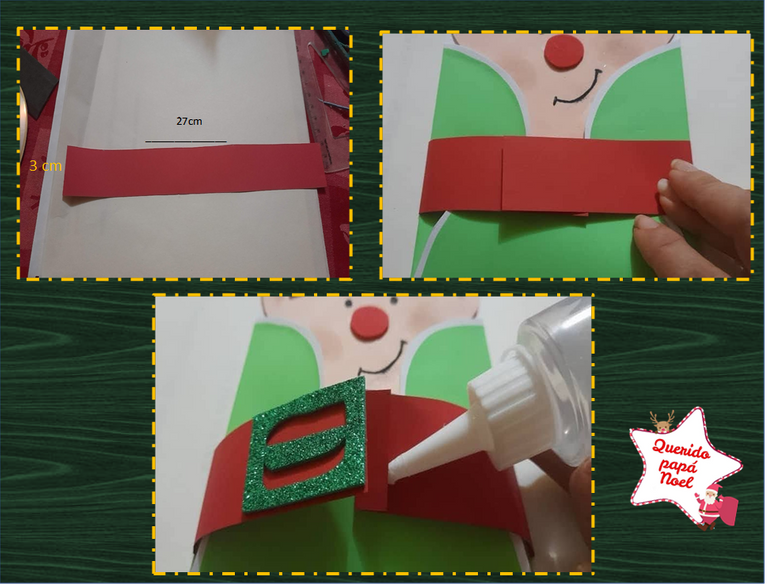
Para poder cerrar nuestro tarjetero realizamos un cinturón con la cartulina roja, el cual mide 27cm de largo por 3 cm de ancho y le pegamos una hebilla realizada con el foami verde escarchado, ademas le pegamos unos guantesitos y unas boticas.
4:We take the litmus foam and make a small cap, which we decorate with some strips of green, red and blue foam. Then we proceed to glue the face of our elf to the card holder.
In order to close our card holder we made a belt with the red cardboard, which measures 27cm long by 3cm wide and we glued a buckle made with frosted green foam, we also glued some gloves and some drugstores.
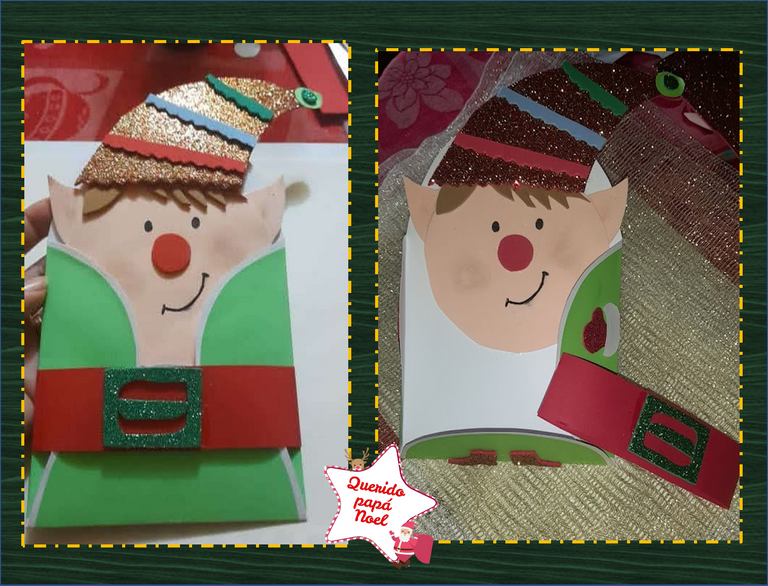
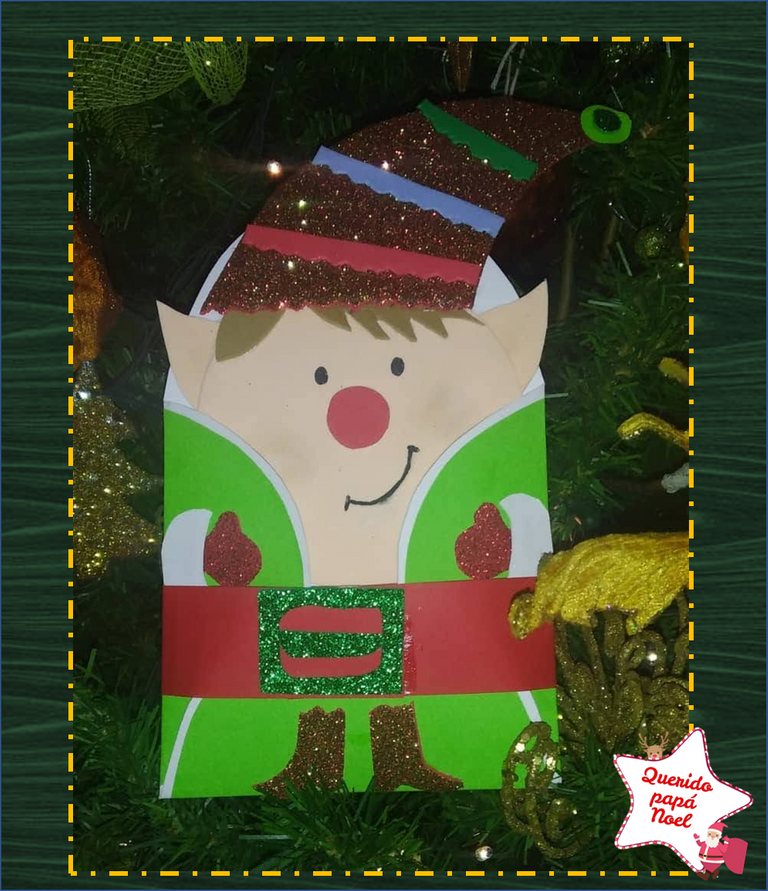
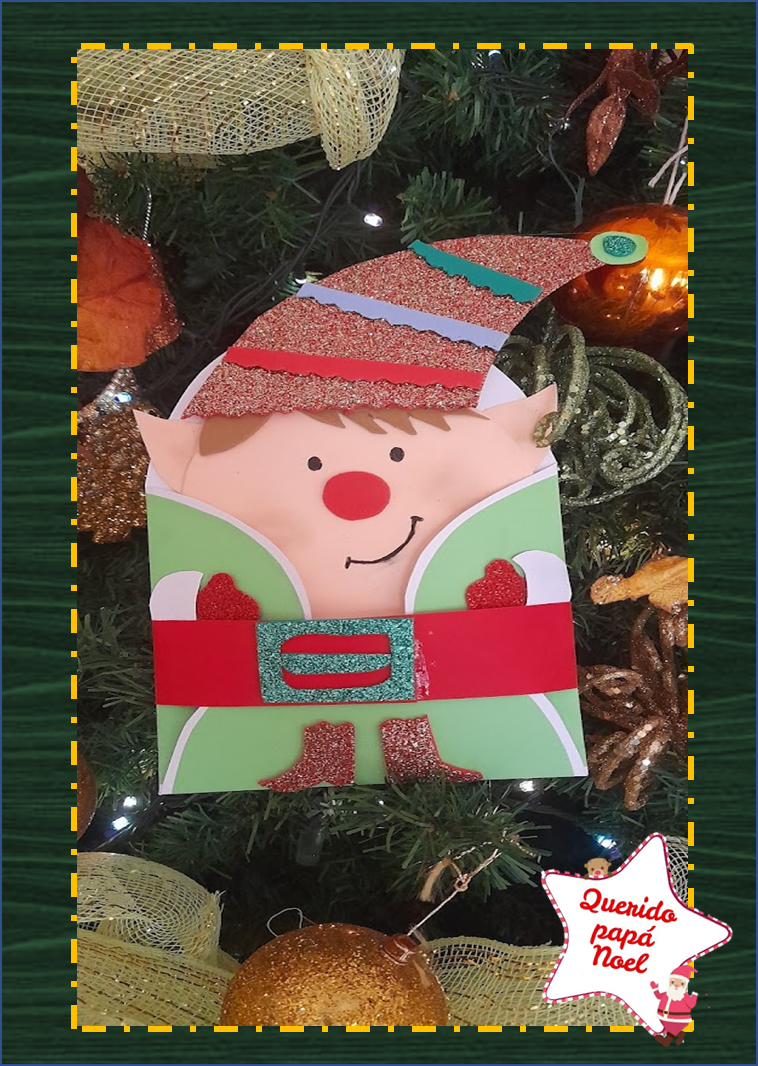
Listo terminado mi creativo y lindo tarjetero para los pequeños de la casa puedan enviarle su carta a Papá Noel. Espero les haya gustado mi proyecto creativo del día de hoy y se animen a realizar sus propios tarjeteros los puedes realizar del personaje que mas te guste de la navidad !.
Hasta la próxima amigos
Ready finished my creative and cute card holder for the little ones in the house to send their letter to Santa Claus. I hope you liked my creative project today and are encouraged to make your own card holders you can make the character you like the most about Christmas!
** Until next time friends **

Las fotografías fueron tomadas con un teléfono inteligente Samsung A12, el texto fue traducido al ingles con el traductor de Google.
The photographs were taken with a Samsung A12 smartphone, the text was translated into English with the Google translator.
Me encanta ese tarjetero para enviar mi carta a Santa, ya que todos los años le hago mi carta, y me ha cumplido hasta hora. Feliz Noche. Te quedo muy simpatica