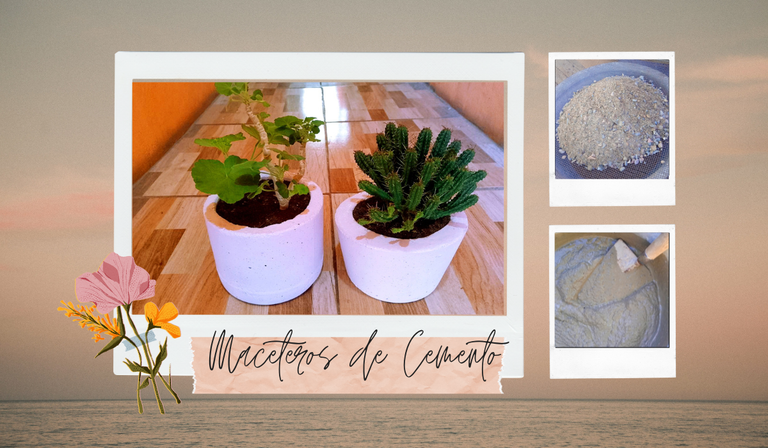
¡Hola a todos los creativos de la comunidad Hive DIY! 👋🏻 Hace unas semanas, mientras limpiaba mi jardín, noté que mis maceteros ya no eran lo suficientemente grandes para algunas plantas. Consideré usar botellas plásticas, pero recordé experiencias pasadas no tan buenas con ellas y descarté la idea, olvidándome por completo de ello.
Uno de mis hobbies es el crochet, y mientras buscaba un curso para aprender nuevas técnicas, encontré por casualidad uno fascinante que enseñaba a crear macetas y muebles con cemento. Sin embargo, mi presupuesto solo alcanzaba para un curso, así que opté por el de crochet. Decidida a no rendirme, recurrí a YouTube para aprender a hacer macetas de cemento con pocos materiales.
Para mi sorpresa, ¡lo logré! Fue un proceso divertido y creativo que me permitió darle una nueva vida a mis plantas. Aquí les comparto el paso a paso para que también puedan hacerlo. Con un poco de cemento, moldes sencillos y algo de paciencia, podrán crear sus propias macetas únicas y personalizadas. Espero que disfruten tanto como yo este proyecto DIY. 🌿
Hello to all the creatives in the Hive DIY community! 👋🏻 A few weeks ago, while cleaning my garden, I noticed that my planters were no longer big enough for some of my plants. I considered using plastic bottles, but I remembered past experiences that weren’t so great, so I discarded the idea and completely forgot about it.
One of my hobbies is crochet, and while looking for a course to learn new techniques, I accidentally found a fascinating one that taught how to create planters and furniture with cement. However, my budget only allowed for one course, so I chose the crochet one. Determined not to give up, I turned to YouTube to learn how to make cement planters with minimal materials.
To my surprise, I did it! It was a fun and creative process that allowed me to give new life to my plants. Here, I share the step-by-step process so you can do it too. With a bit of cement, simple molds, and some patience, you can create your own unique and personalized planters. I hope you enjoy this DIY project as much as I did. 🌿
Materiales / Materials
|
|
|
|
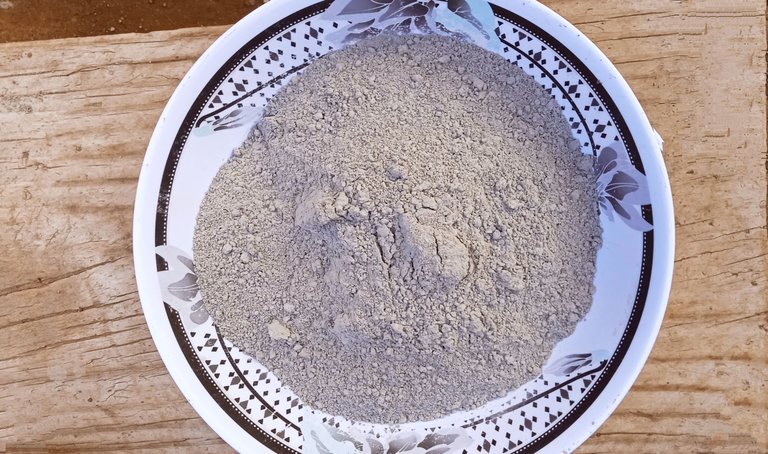
- Cemento
- Arena de rio o Arena de construcción
- Agua
- Moldes
- Un cuenco o bowls grande
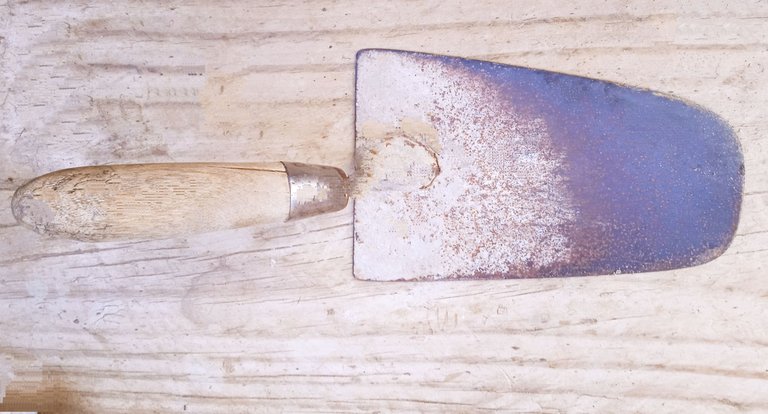
- Cucharin de Albañil o algo con que revolver
- Pintura selladora (opcional)
- Cement
- River sand or construction sand
- Water
- Molds
- A large bowl
- Mason's trowel or something to stir with
- Sealing paint (optional)
Elaboración / Elaboration
|

|
Los materiales los conseguí a través de mi papá, que es albañil en sus tiempos libres. Así que siempre tiene estas cosas a mano.
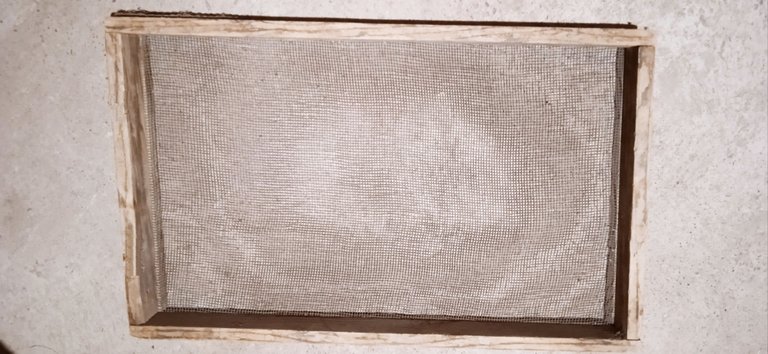
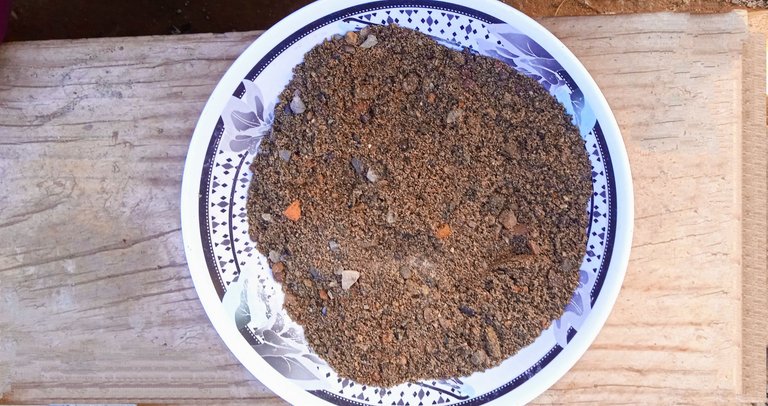
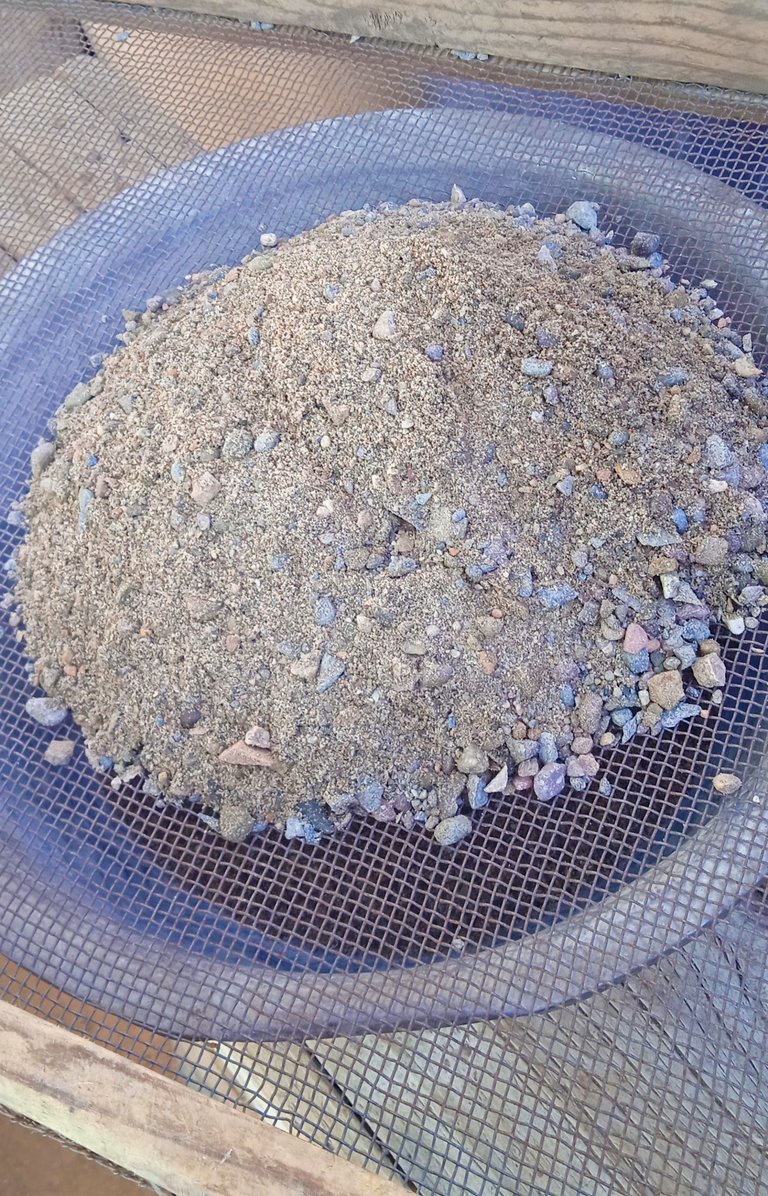
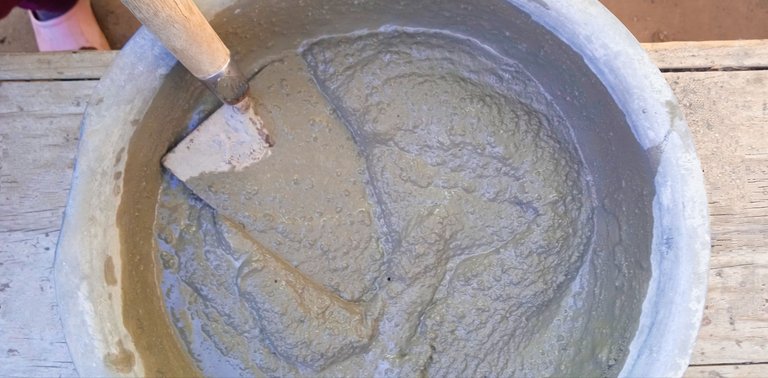
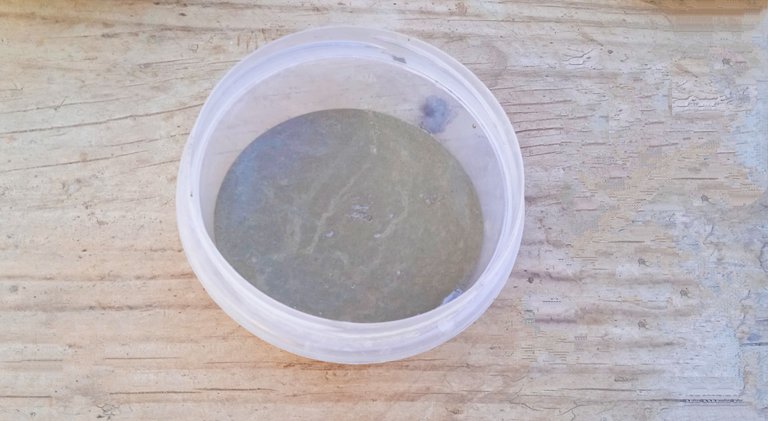
Lo primero que hice fue cernir la arena para sacarle la gravilla, es decir, las piedras pequeñas que contiene. Luego, eché la arena en el cuenco junto con el cemento. En seco, hay que revolver la mezcla bastante bien. Después, agregué el agua y nuevamente revolví la mezcla, asegurándome de que los materiales se integraran completamente.
I got the materials from my dad, who is a mason in his spare time. So he always has these things on hand.
The first thing I did was sift the sand to remove the gravel, meaning the small stones it contains. Then, I put the sand in the bowl along with the cement. While dry, you need to mix it well. After that, I added the water and mixed again, making sure the materials were fully integrated.
|
|
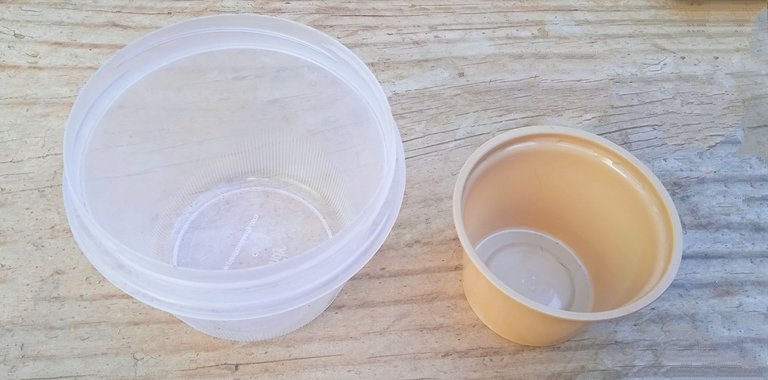
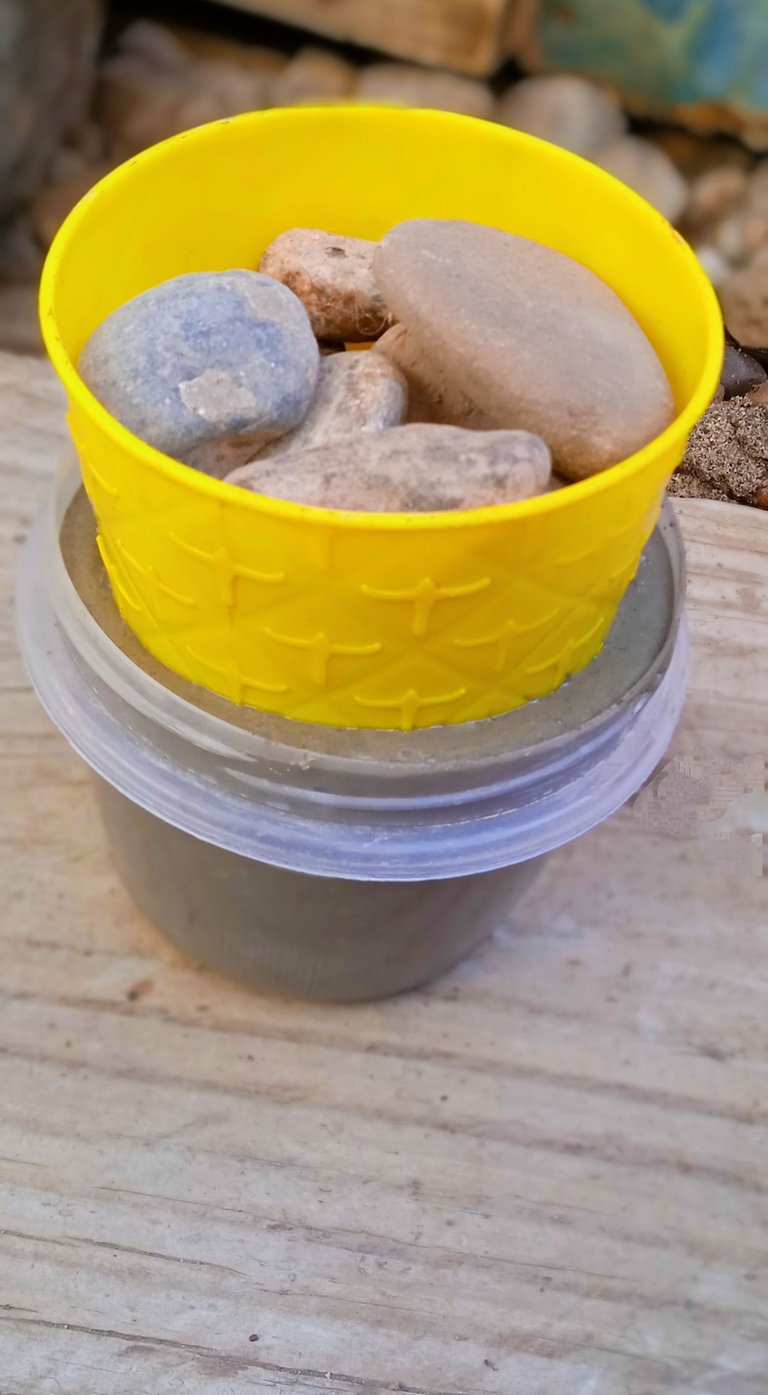
Ya después, hay que colocar la mezcla ya lista en los moldes. Para esto, necesitamos tener dos moldes, uno más pequeño que el otro, es decir, que el más pequeño quepa dentro del otro. Al molde más pequeño hay que echarle algo para que haga peso; en mi caso, le agregué piedras.
Al final, terminé cambiando algunos moldes, pero la idea es echar la mezcla de cemento hasta la mitad del molde más grande. En ese momento, golpeamos un poco para que se vayan las burbujas. Luego, colocamos el molde más pequeño justo en el medio. Ahora está listo para dejarlo secar durante 2 días.
After that, you need to put the ready mixture into the molds. For this, you need two molds, one smaller than the other, meaning the smaller one fits inside the larger one. You need to add something to the smaller mold to weigh it down; in my case, I added stones.
In the end, I changed some molds, but the idea is to pour the cement mixture up to halfway in the larger mold. At that point, tap it a bit to get rid of any bubbles. Then, place the smaller mold right in the middle. Now it’s ready to dry for 2 days.
Resultado/Result
|
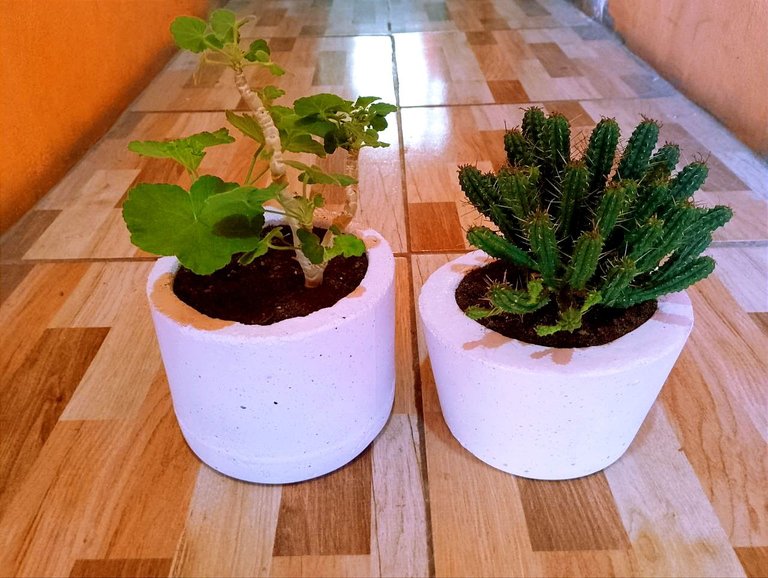
|
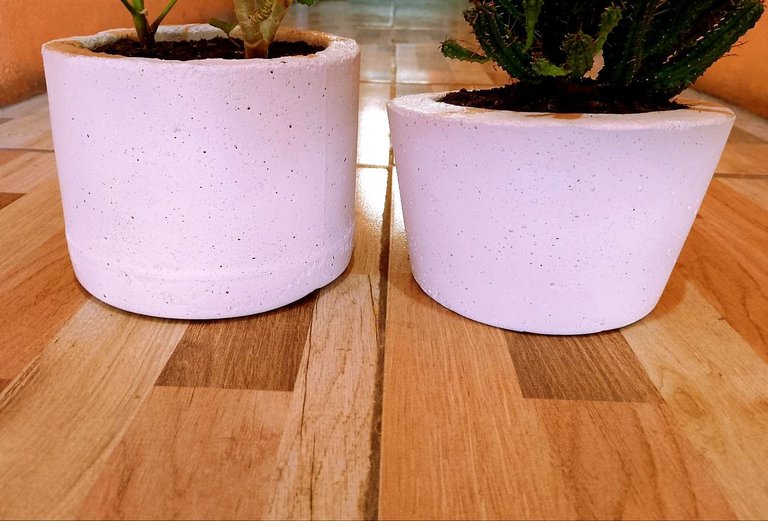
Ya una vez secos, los saqué del molde y los sumergí en agua fría durante tres días. Esto es crucial para que el cemento se cure correctamente y quede más firme. Esta técnica no la encontré en los tutoriales; fue un consejo de mi padre, quien tiene mucha experiencia en estas cosas.
Después de dejarlos en el agua, los saqué y los dejé secar completamente. Luego, decidí usar una pintura blanca selladora para darles un acabado más profesional y proteger el cemento. La pintura también ayuda a resaltar los detalles y a darles un toque final muy bonito.
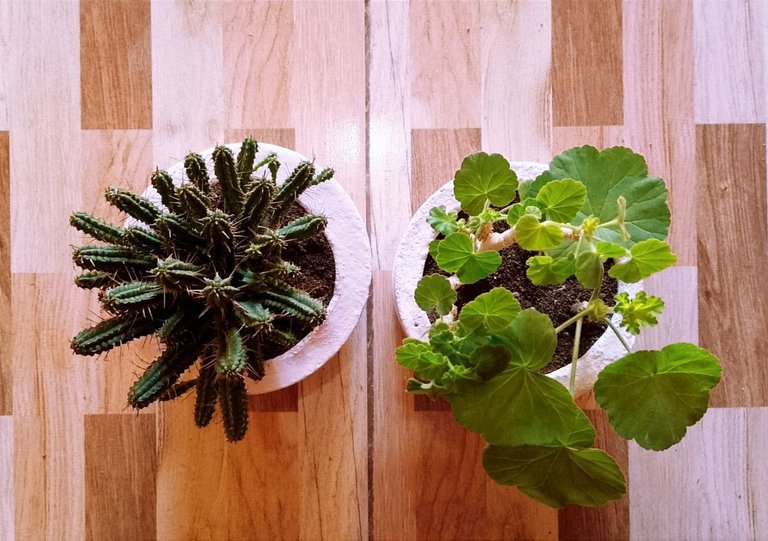
Al ver el resultado, me sorprendí gratamente. Para ser la primera vez que hacía macetas de cemento, quedaron realmente bellas. Estoy muy contenta con el resultado y ya tengo varias ideas para futuros proyectos. Espero que se animen a probar esta técnica y disfruten tanto como yo el proceso. 🤗
Once they were dry, I removed them from the mold and submerged them in cold water for three days. This is crucial for curing the cement properly and making it stronger. I didn't find this technique in tutorials; it was advice from my father, who has a lot of experience with these things.
After soaking them in water, I took them out and let them dry completely. Then, I decided to apply a coat of white sealing paint to give them a more professional finish and protect the cement. The paint also helps highlight the details and give them a beautiful final touch.
When I saw the result, I was pleasantly surprised. For my first time making cement planters, they turned out really beautiful. I'm very happy with the outcome and already have several ideas for future projects. I hope you're encouraged to try this technique and enjoy the process as much as I did. 🤗
Me olvidé de mencionar las medidas, aquí se las dejo:
Las proporciones ideales son 2 partes de arena por 1 parte de cemento y media parte de agua.
Sin embargo, en mi caso, decidí usar 4 partes de arena por 2 partes de cemento y 1 parte de agua ya que hice dos macetas medianas.
I forgot to mention the measurements, here they are:
The ideal proportions are 2 parts sand to 1 part cement and half a part of water. However, in my case, I used 4 parts sand to 2 parts cement and 1 part water.

Te quedaron bien!
!PIZZA 🍕
$PIZZA slices delivered:
@spartano(4/5) tipped @jcchelme
Quedaron preciosos, hace mucho tiempo vi como hacerlos pero no cuento con los materiales pero es una opción única para adornar nuestros espacios, felicidades amiga 💕
Te quedaron muy bien! Excelente consejo el que te dio tu padre, es indispensable hacerlo.