¡Saludos Amigos!
Hola mi nombre es Jericó Melean soy venezolano. En está oportunidad les traigo un paso a paso de un dibujo que hice de un personaje que saque de múltiples referencias que fui viendo por las redes especialmente pinteres e Instagram, espero que les guste.
Hello my name is Jericho Melean I am Venezuelan. In this opportunity I bring you a step by step drawing of a character that I drew from multiple references that I was seeing by the networks especially pinteres and Instagram, I hope you like them.
Los materiales que use son:
- Un portaminas de punta 0,5mm.
- Lápiz 6B y HB.
- Goma de borrar.
- Pincel con cerdas suaves.
- hoja tamaño carta.
The materials I used are:
- A mechanical pencil with 0.5mm tip.
- Pencil 6B and HB.
- Eraser.
- Brush with soft bristles.
- Letter size sheet
El paso a paso:
/The step by step:
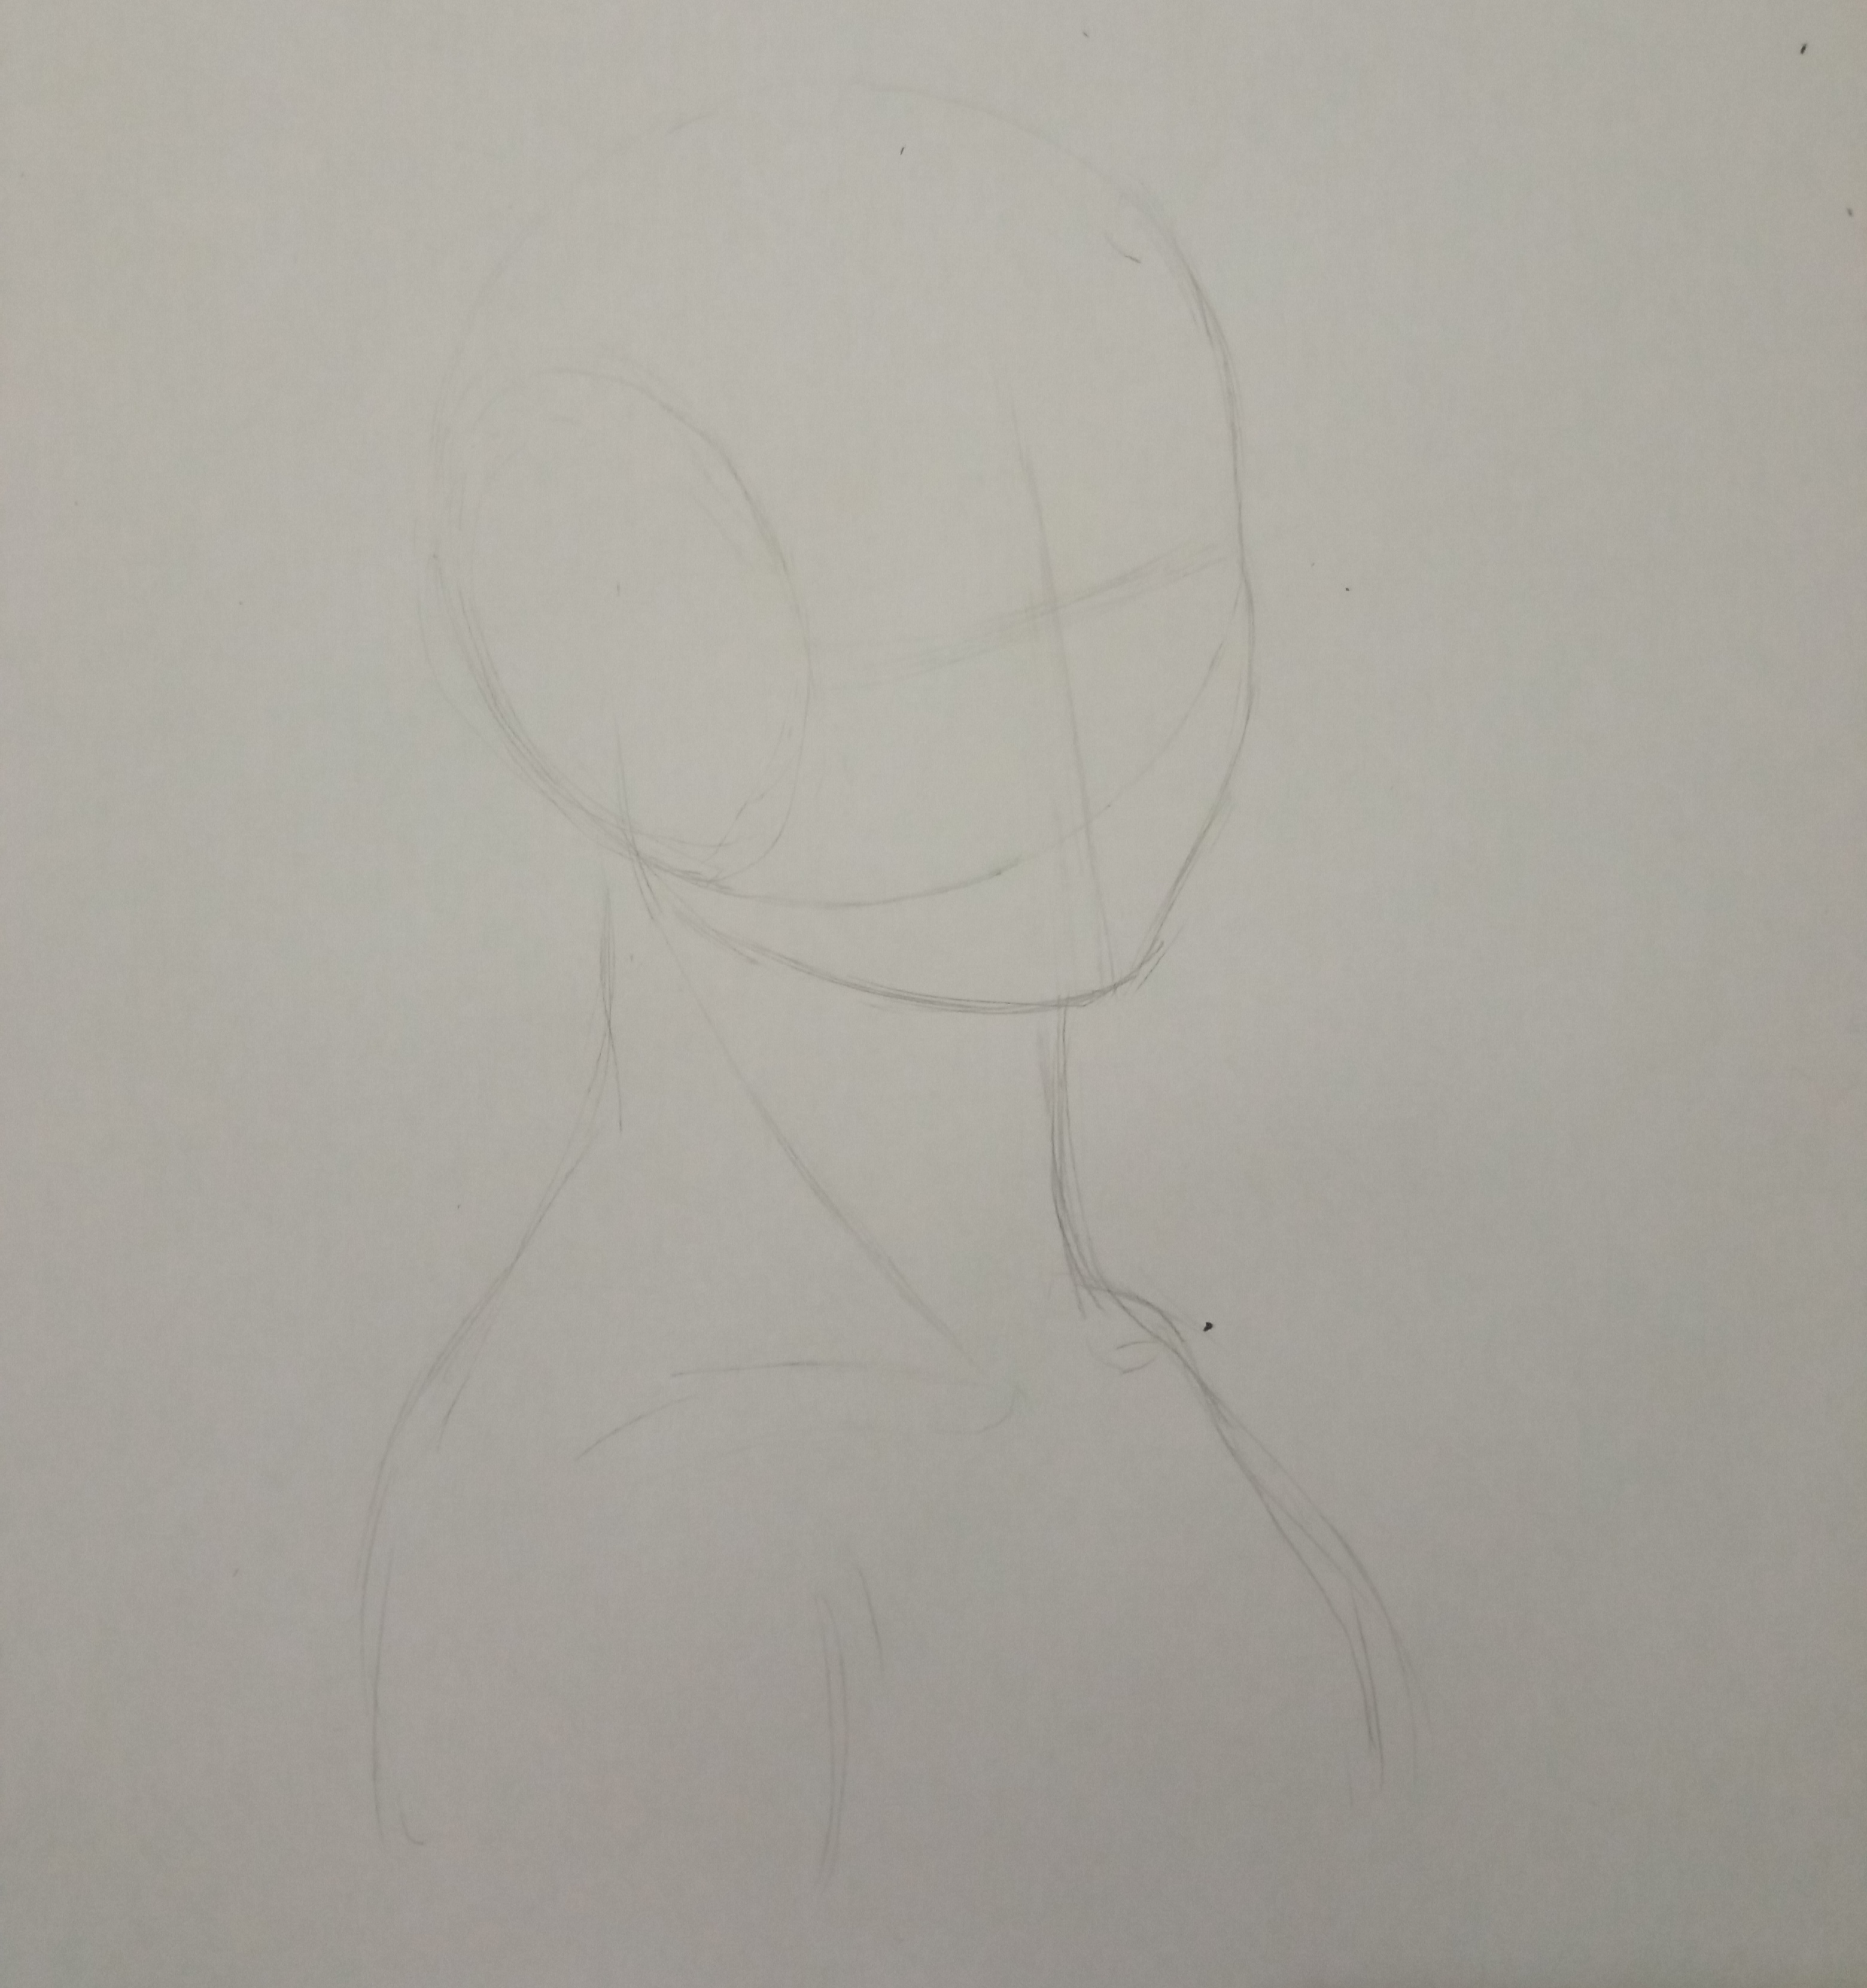
Paso 1:
Realice un boceto de la estructura de la cabeza, en este punto suelo borrar varias veces hasta conseguir un gesto que me llame la atención. Los trazos los hago con el portaminas aplicando muy poca presión y no preocupado por los pequeños detalles, los corregiré mas adelante. La estructura esta basado en el método loomis para dibujar cabezas pero con mi estilo propio.
Step 1:
I made a sketch of the structure of the head, at this point I usually erase several times until I get a gesture that catches my attention. The strokes are made with the mechanical pencil applying very little pressure and not worrying about the small details, I will correct them later. The structure is based on the loomis method to draw heads but with my own style.
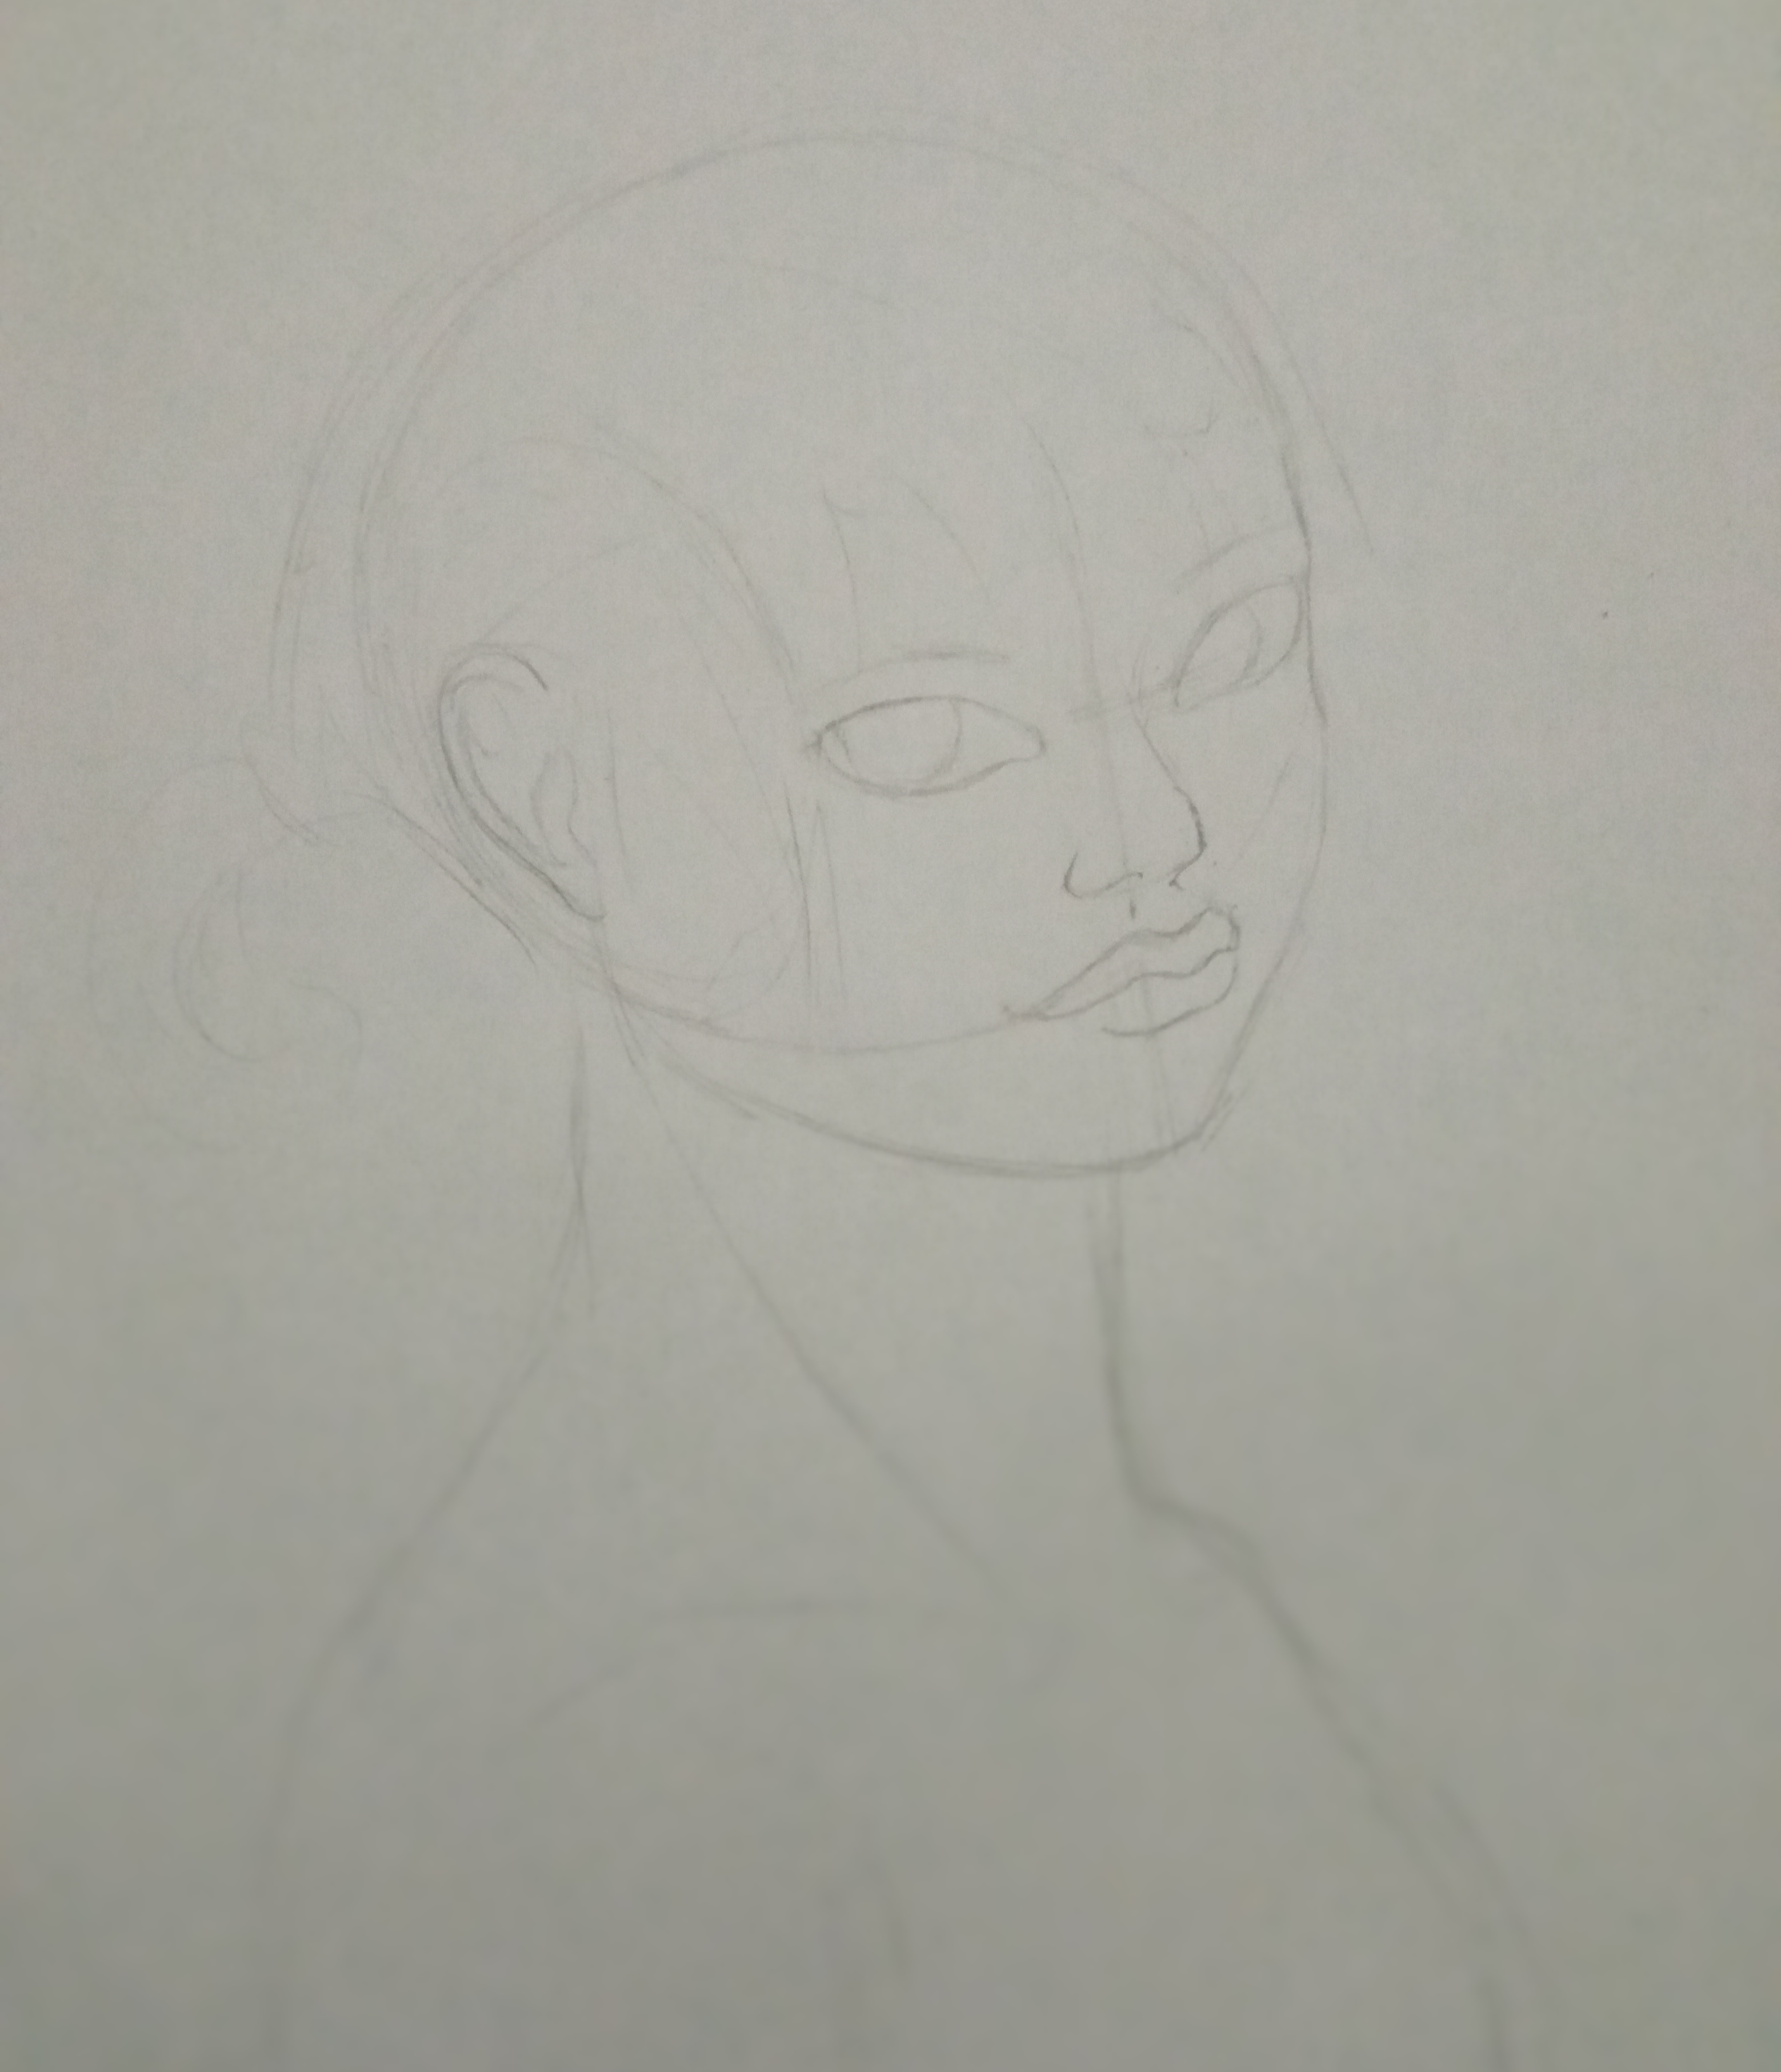
Paso 2:
Luego de haber terminado con la estructura y conseguido una buena pose. Establezco mi fuente de luz y de que tipo quiero que sea, después sigo marcando las líneas de pendiendo de la luz en las sombras, lineas mas gruesas en las luces mas delgadas e incluso carencia de las mismas. Recuerda esto dependiendo de donde viene la fuente de luz.
Step 2:
After I have finished with the structure and got a good pose. I set up my light source and what kind of light I want it to be, then I keep marking the lines depending on the light in the shadows, thicker lines in the thinner lights and even lack of them. Remember this depending on where the light source is coming from.
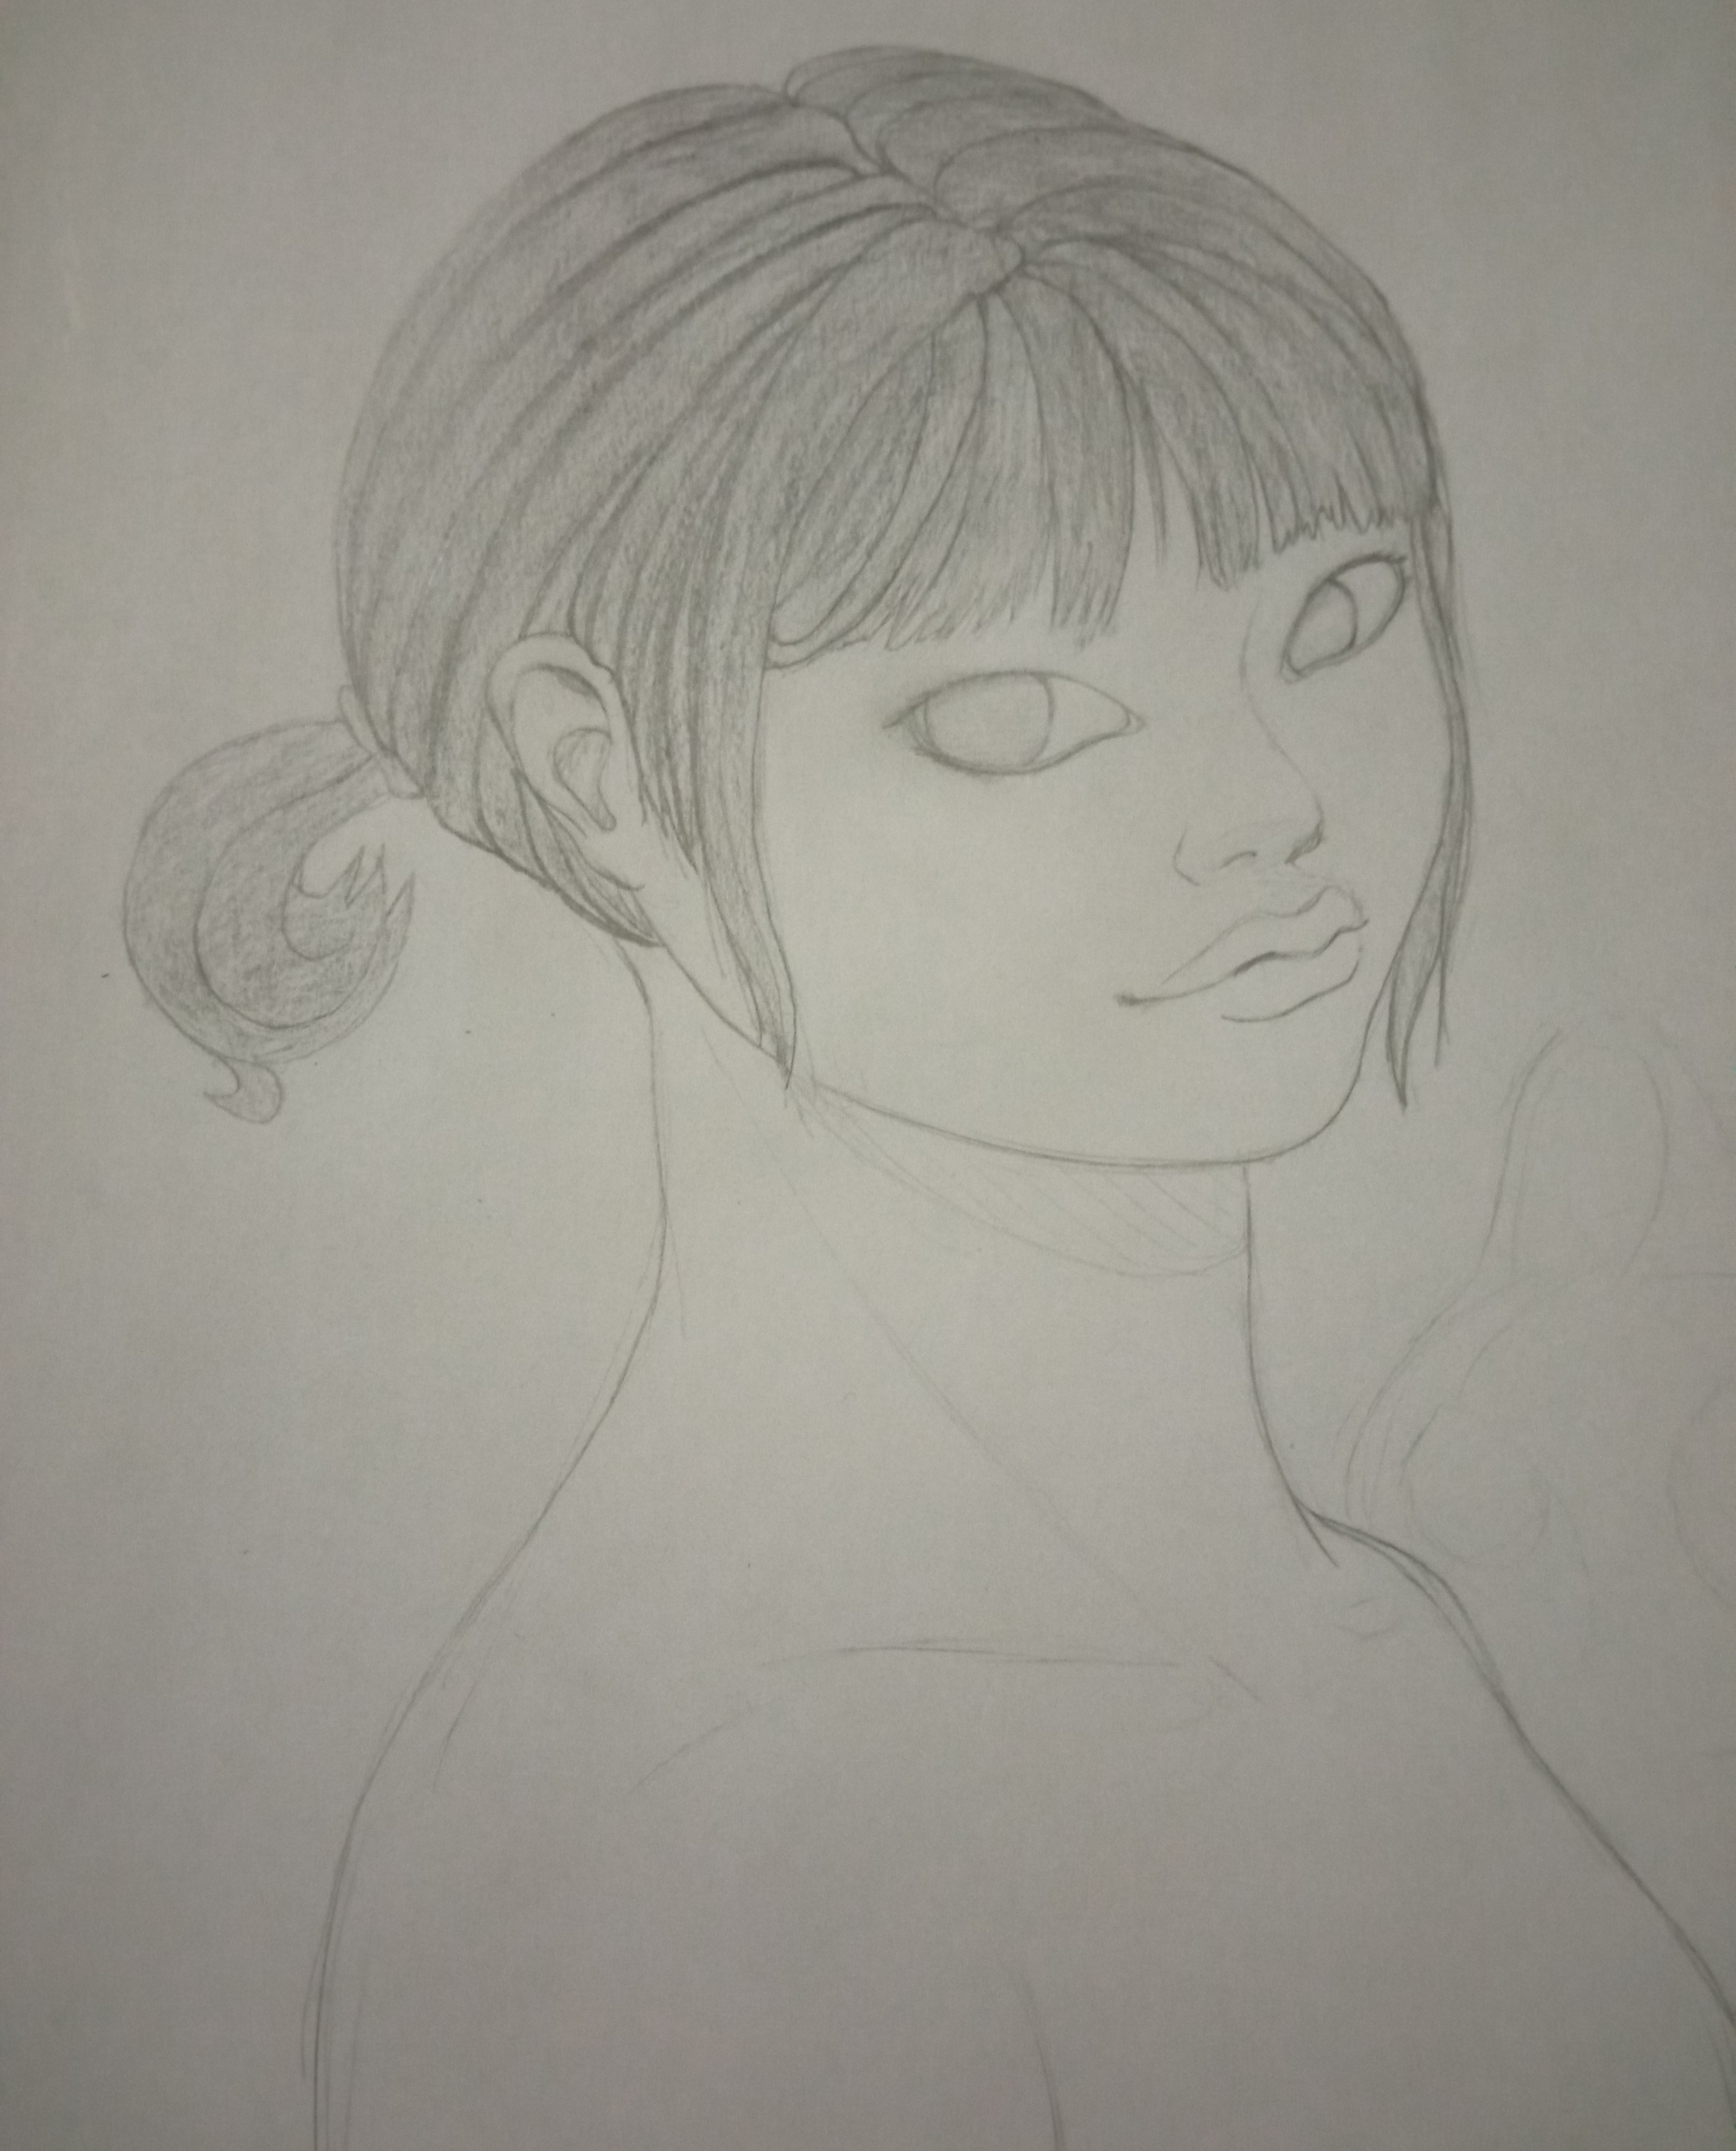
Paso 3:
Defino poco a poco con mucha paciencia, para luego establecer las escalas de grises, coloco grises planos en el pelo como es normalmente mas oscuro que la piel uso un lápiz suave como el 6B que es el que tengo por ahora, los ojos se los pongo mas oscuro de lo normal para que resalten y darle contraste y punto de enfoque.
Step 3:
I define little by little with a lot of patience, to then establish the gray scales, I place flat grays in the hair as it is normally darker than the skin I use a soft pencil like 6B which is the one I have for now, the eyes I put them darker than normal to highlight and give contrast and focus point.

Paso 4:
Aplico las sombras del rostro con el lápiz HB y voy difuminando con el pincel suavemente para despues con la borra agregarles las luces del rostro y los brillos del pelo y ojos. Defino boca, nariz y voy poco a poco con los pequeños detalles.
Step 4:
I apply the shadows of the face with the HB pencil and I blend with the brush softly and then with the eraser I add the highlights of the face and the hair and eyes. I define the mouth, nose and I go little by little with the small details.

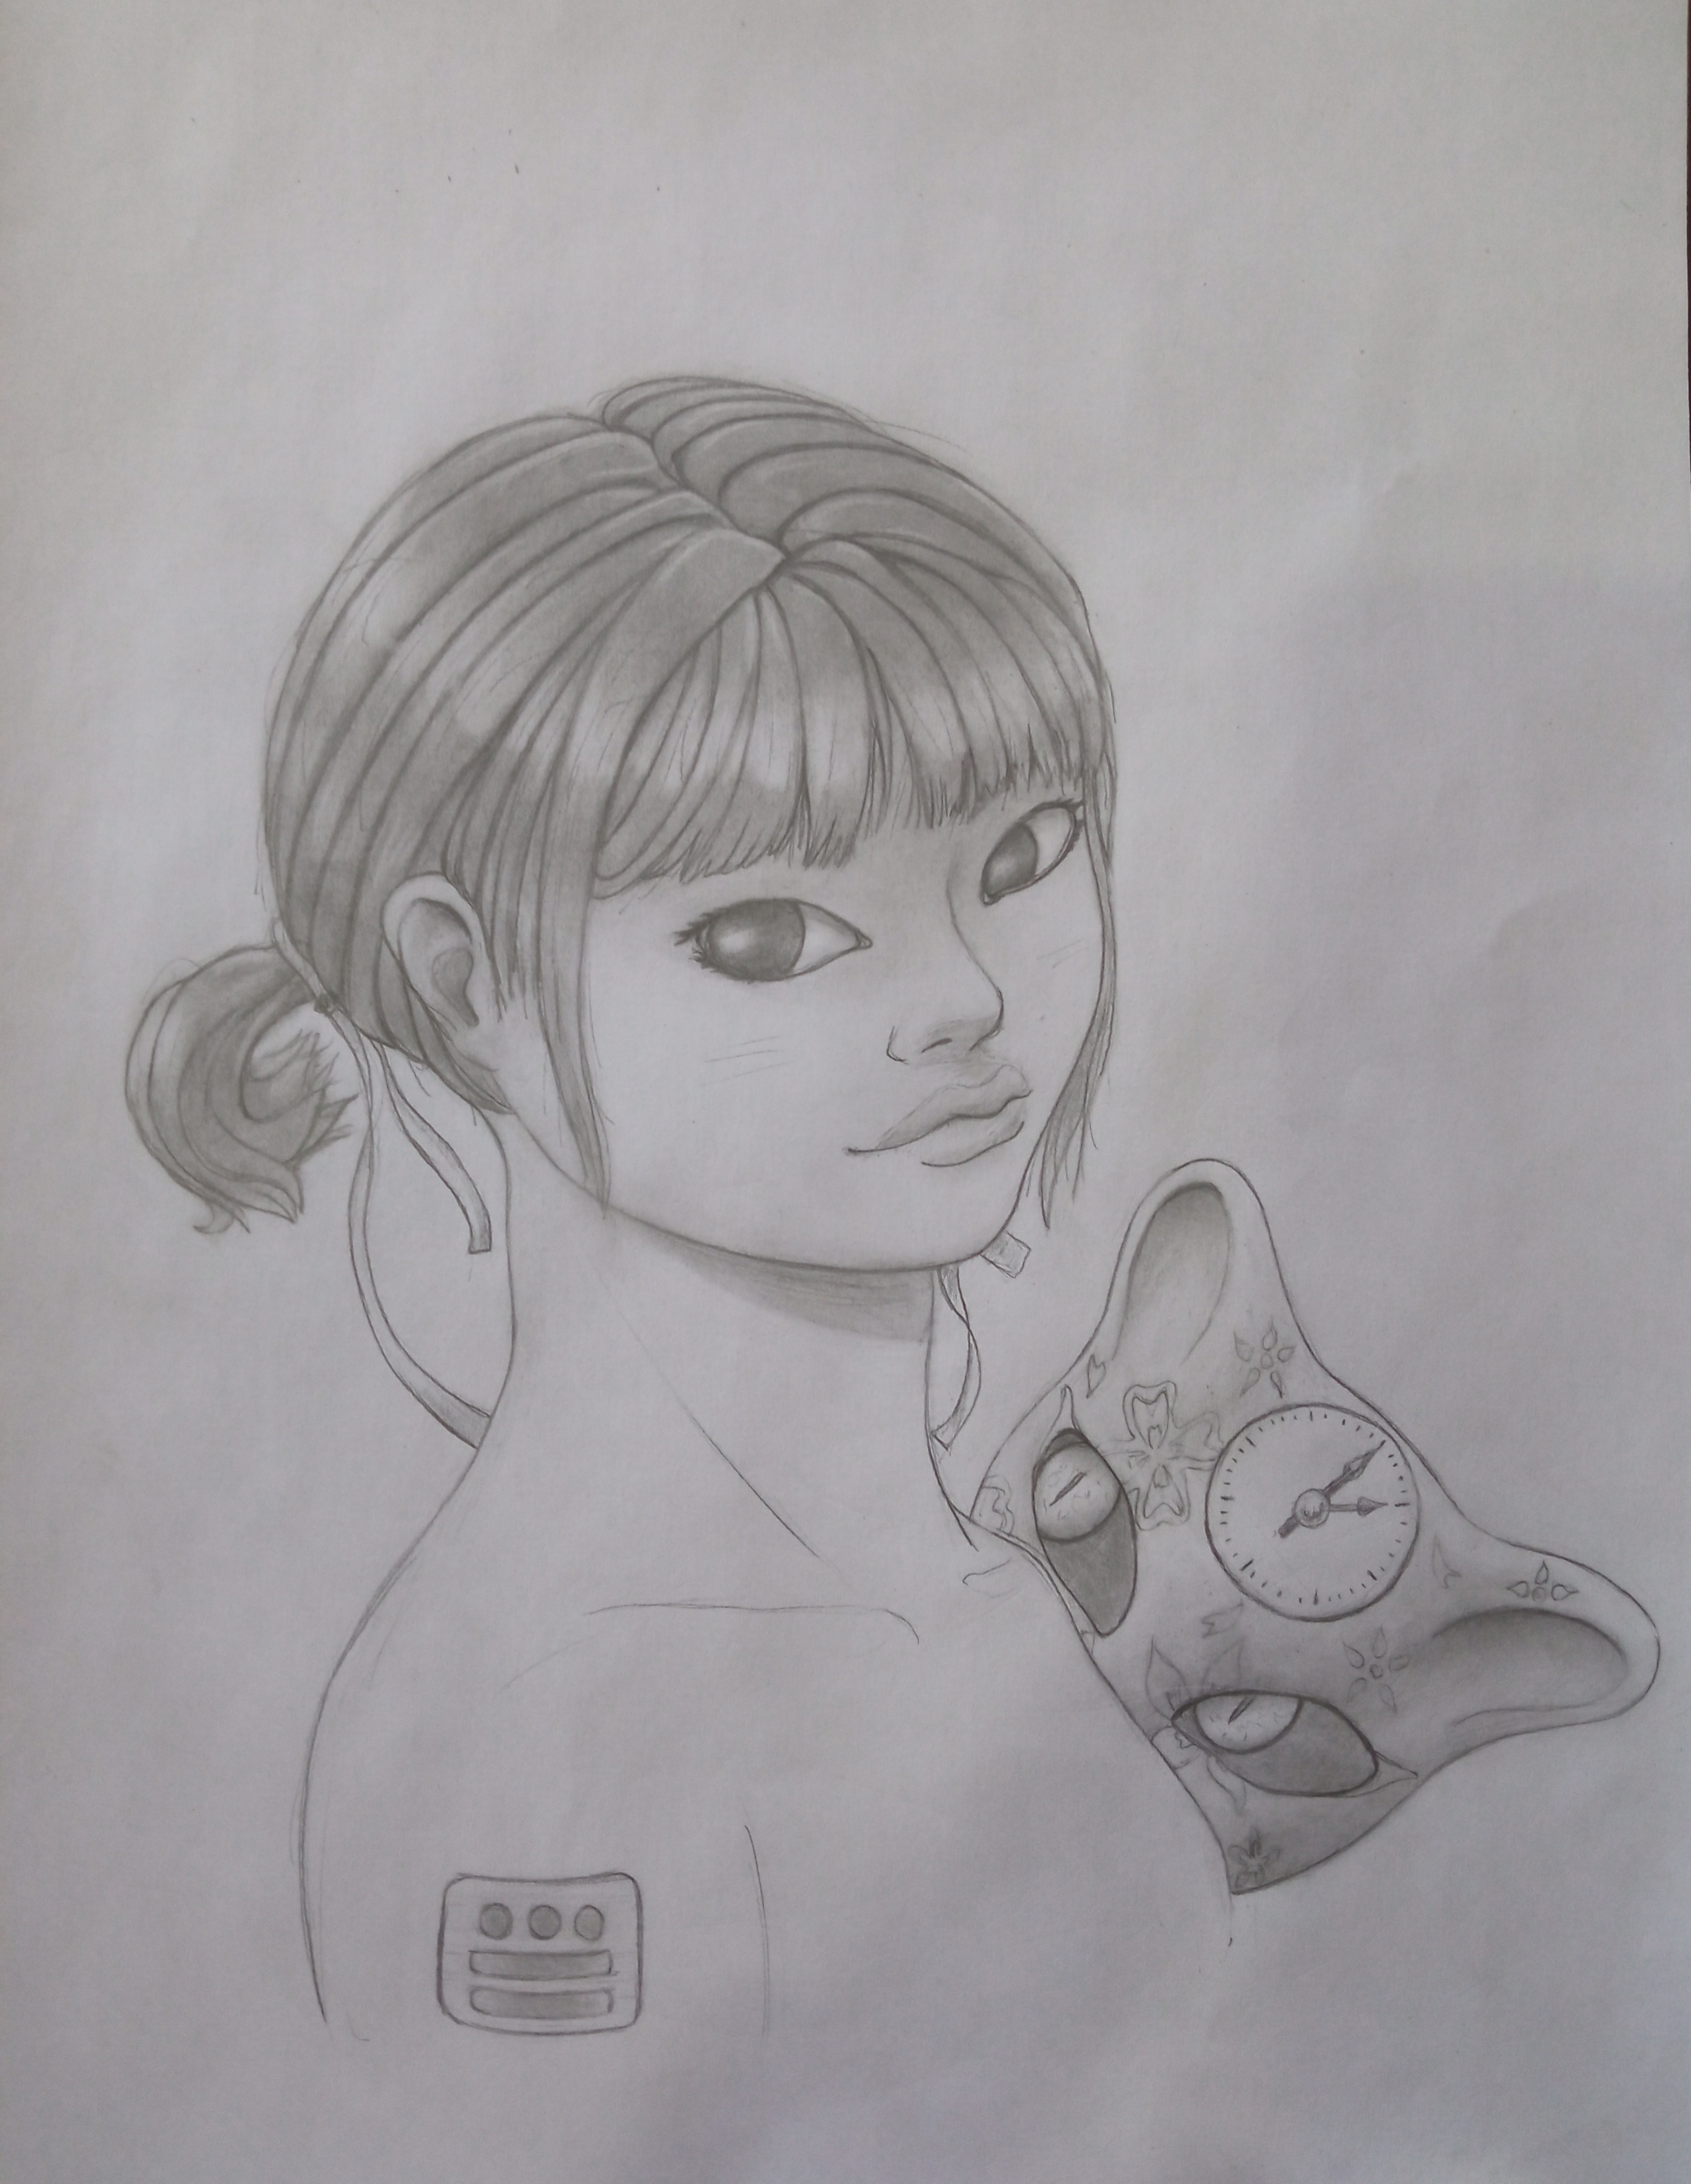
Paso 5:
Al final coloco un segundo personaje que tenia en mente uso tonos mas oscuros para las sombras para darle su propio ambiente y misterio, luego lo difumino y detallo.
Step 5:
At the end I placed a second character that I had in mind, I used darker tones for the shadows to give it its own atmosphere and mystery, then I blurred and detailed it.
Este ha sido un paso paso detallado de mi dibujo espero que sea de su agrado, más adelante les estaré mostrando otros dibujos de mi autoría.
This has been a detailed step by step of my drawing, I hope you like it, later I will be showing you other drawings of my authorship.