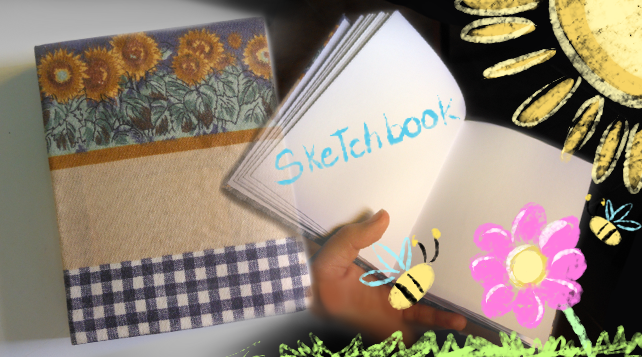
Buen día Comunidad de Hive Diy, el día de hoy quiero mostrar cual fue el proceso que seguí para hacer mi propia sketchbook, que pueda abrir del todo para dibujar cómodamente.
Good morning Hive Diy Community, today I want to show you the process I followed to make my own sketchbook, which I can open completely to draw comfortably.
I needed to get a sketchbook, but it's a little complicated to find one where I live, I remembered that my sister made one some time ago and by chance I've been getting videos of people making theirs. I realized that they were not so complicated to make and that in fact I had the materials, so I decided to make my own, I hope you find it useful to see my process of how I made it.
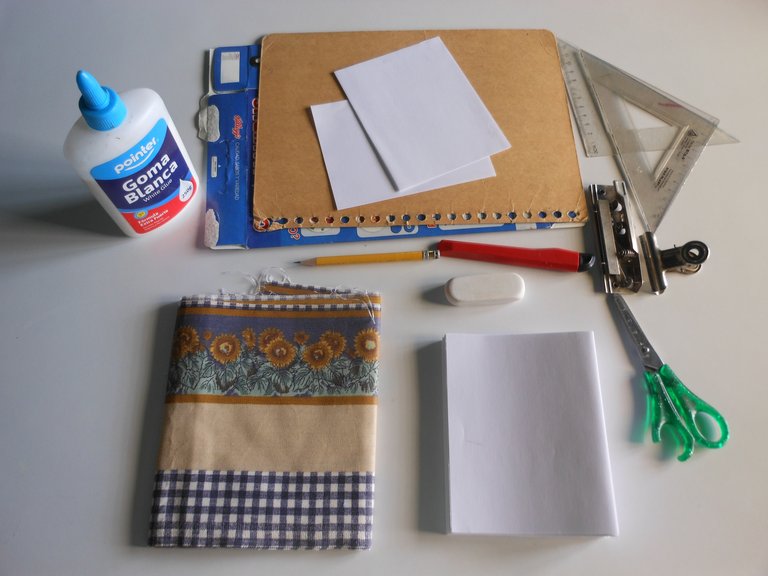
Materiales / Materials
- 26 hojas tamaño carta
- Carton
- Tela con algún motivo bonito
- Pega blanca
- Tijera
- Pinzas para sostener el papel
- Regla
- Lápiz
- Un exacto
- Aguja e hilo
- 26 letter size sheets
- Cardboard
- Fabric with a nice pattern
- White glue
- Scissors
- Tweezers to hold the paper
- Ruler
- Pencil
- An exacto
- Needle and thread
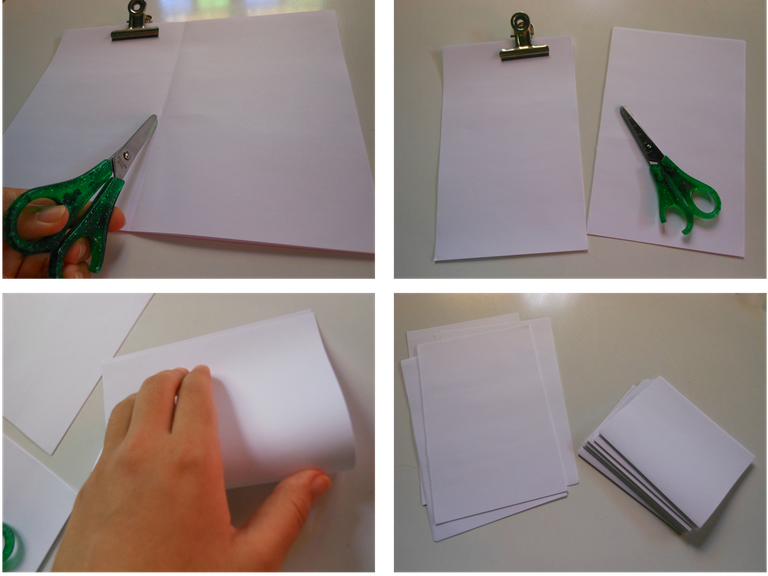
Lo primero es dividir las hoja a la mitad, es mejor ir cortando en grupos de 5 hojas ayudándonos con el gancho para sostenerlas; luego de cortarlas volvemos a dividirlas a la mitad, solo doblamos esta vez y apilamos en montones de 5 hojas, al final, de las 26 hojas nos sobrara una que utilizaremos luego.
The first thing to do is to divide the leaves in half, it is better to cut them in groups of 5 leaves helping us with the hook to hold them; after cutting them we divide them in half again, only this time we fold them and stack them in piles of 5 leaves, at the end, of the 26 leaves we will have one left over that we will use later.
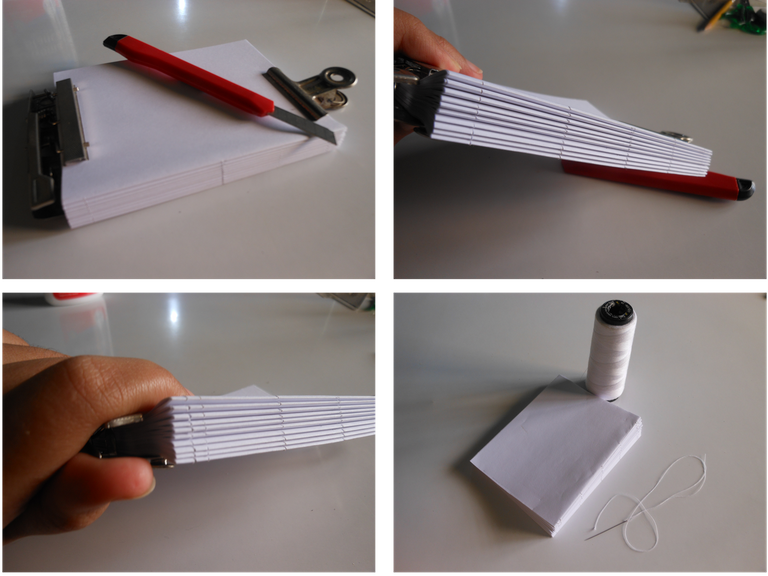
Tomamos todos los montones, ayudándonos con los ganchos para que queden fijos, luego con un exacto vamos a hacer 7 marcas donde irán las uniones , marcamos en el medio, en las esquinas dejando un espacio desde el borde de 1cm realizamos 2 marcas lo mas cerca posible sin que se rompa cuando pasemos el hilo y una marca en medio de las marcas de las esquinas y la del centro.
We take all the piles, helping us with the hooks so that they are fixed, then with an exacto we are going to make 7 marks where the joints will go, we mark in the middle, in the corners leaving a space from the edge of 1cm we make 2 marks as close as possible without breaking when we pass the thread and a mark in the middle of the marks of the corners and the one in the center.

Para coserlo tomamos un hilo, un pedazo de buen tamaño ya con la aguja le hacemos un nudo y vamos a empezar a coser desde la parte de afuera y aprovechando las marcas cercanas de las puntas lo anudamos bien, terminamos de coser por el resto de marcas y en la siguiente punta atamos igual con el nudo final en la parte de afuera y hacemos lo mismo desde el otro extremo con el siguiente montón pero desde el lado opuesto continuando con el mismo hilo, todos los montones terminaran unidos.
To sew it we take a thread, a piece of good size and with the needle we make a knot and we will start sewing from the outside and taking advantage of the marks near the ends we knot it well, we finish sewing the rest of the marks and in the next end we tie the same with the final knot in the outside and we do the same from the other end with the next pile but from the opposite side continuing with the same thread, all the piles will end up together.
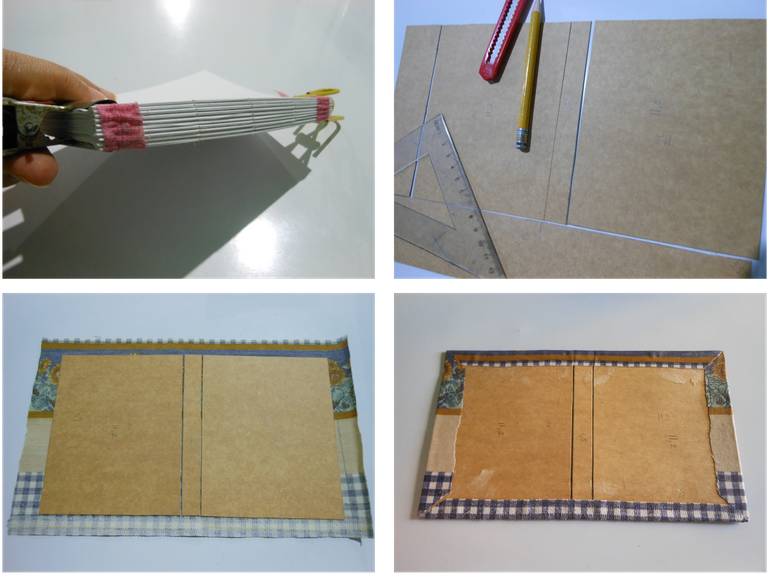
- Cortamos una tira pequeña de tela de 1cm de grosor y colocaremos en cada esquina sobre los nudos del hilo, que cubra bien cada montón de hojas y con ayuda de las pinzas dejamos secar
- Para la tapa tomamos un cartón y tomando nuestras hojas ya unidas y medimos la altura, lo prefiero así para comprobar que cubra bien, por si no quedaron bien ajustadas las hojas, al igual que para medir el ancho del lomo, en mi caso, de altura todas las partes median 14,3cm, y de anchura las tapas laterales median 11,2cm y el lomo 1,5cm .
- Para colocar la tela, medimos colocando el cartón sobre la tela dejando un pequeñísimo espacio entre las tapas y lo que es el lomo para cuando cerremos el cuaderno, y dejando al rededor de 1cm de tela sobrante de cada lado para poder doblarlo luego hacia adentro
- We cut a small strip of fabric 1cm thick and place in each corner over the knots of the thread, covering well each pile of leaves and with the help of tweezers let it dry.
- For the cover we take a cardboard and taking our leaves already joined and we measure the height, I prefer this way to check that it covers well, in case the leaves were not well adjusted, as well as to measure the width of the spine, in my case, in height all the parts measure 14.3cm, and in width the side covers measure 11.2cm and the spine 1.5cm.
- To place the fabric, we measure by placing the cardboard on the fabric leaving a very small space between the covers and the spine for when we close the notebook, and leaving about 1cm of fabric left over on each side to be able to fold it inwards later.
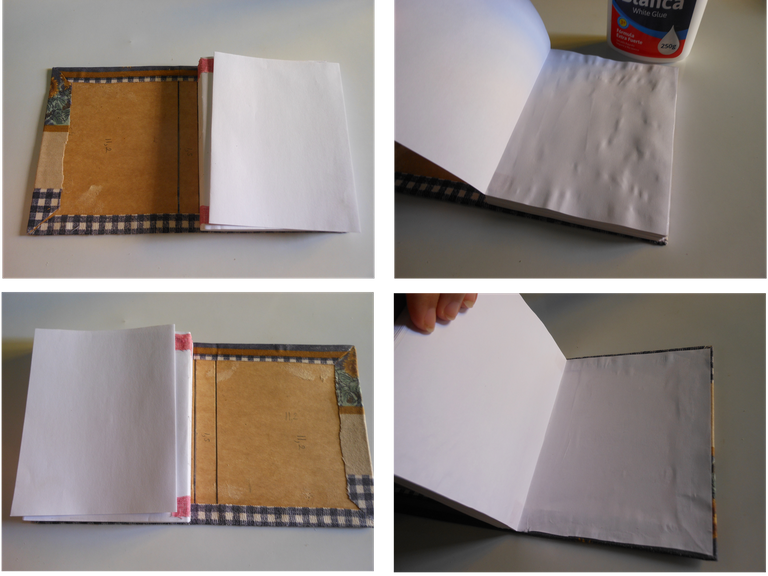
Ahora toca armar, con la hoja extra, tomamos una de las mitades y pegamos primero a las hojas y luego al cartón tratando todo el tiempo de no dejar burbujas o arrugas , repetimos el mismo proceso con en otro lado, si se arruga un poco cuando este húmedo no te preocupes, al secar se vera mejor.
Now it's time to assemble, with the extra sheet, we take one of the halves and glue it first to the leaves and then to the cardboard trying all the time not to leave bubbles or wrinkles, we repeat the same process with the other side, if it wrinkles a little when wet do not worry, it will look better when it dries.
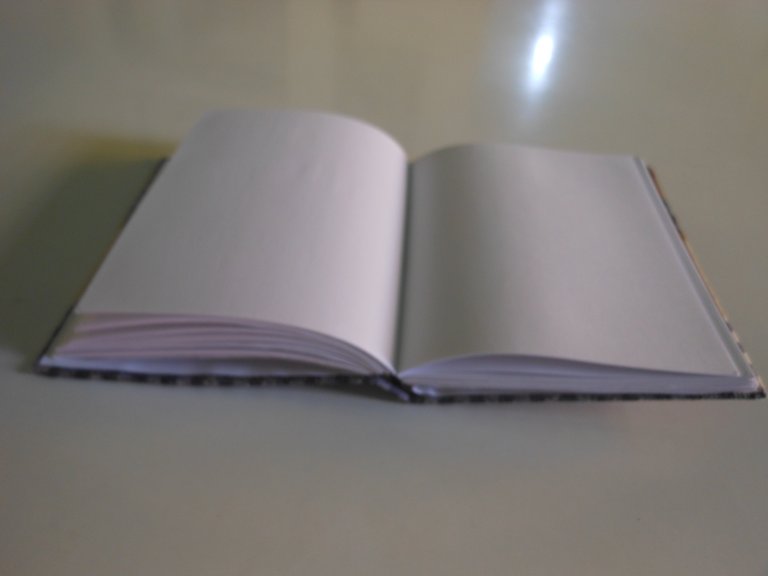
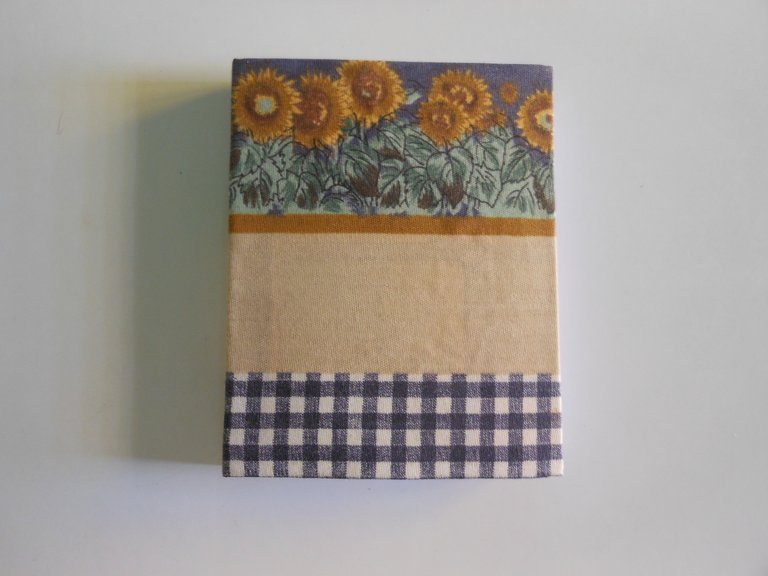
Ya cuando seque del todo esta lista nuestra Sketchbook, una ventaja que me gusta de pegarle las tiras de tela y solo pegar las hojas a los laterales es que puedes abrir mas cómodamente a la hora de dibujar, me gusta mucho como quedo y espero darle buen uso, espero les guste.
Now when it dries completely our Sketchbook is ready, an advantage that I like to glue the fabric strips and only glue the sheets to the sides is that you can open more comfortably when drawing, I really like how it looks and I hope to give it good use, I hope you like it.

Muchas gracias por leer
nos vemos pronto :D

Thank you very much for reading
see you soon :D

Translated with www.DeepL.com/Translator (free version)
The rewards earned on this comment will go directly to the people( @annafenix ) sharing the post on Twitter as long as they are registered with @poshtoken. Sign up at https://hiveposh.com.
Es una excelente idea amiga, y lo mejor de todo es que lo podemos personalizar, gracias por compartir, saludos 🖖
SII, no le hice mucho mas a la mía porque me gusto mucho el estampado de la tela, pero bien se podría pintar algo lindo sobre una tela sin nada, saludo nun
¡Me encanta como quedó! Siempre he tenido ganas de hacer el mío pero no me atrevía, los tutoriales que ví hacían muchas cosas. Pero me gusta mucho como lo explicas y creo que pronto lo intentaré.
¡Gracias por compartir!
Muchas Gracias, me alegro que te gustara, espero te sea útil, si te animas a hacerla seguro te quedara muy bien me encantaría verla nun
Está muy buena! Y también se puede hacer con diferentes tipos de papel, y personalizarla hasta en los materiales de las hojas. Sale mejor que comprarlas jaja
Graciaas, me gustaría hacer una con papel para acuarela, aunque primero lleno esta antes de inventar hacer otra jaja
Me encanta, porque es personalizada jejeje, amo los girasoles 🤗 y podría tener una así para escribir recetas 😋💚😘.
Te quedo genial la memoria, nosotros le llamamos memoria a las libretas de dibujo 😁
Muy bonito y creativo, yo también me hice la mía hace un tiempo, lo mejor es hacerlo uno mismo, a nuestro gusto, con lo que tenemos, no es tan difícil, que bueno que te animaste y lo hiciste, saludos.
Si realmente me alegro de haberla hecho, aparte de no ser complicado es entretenido de hacer, saludos :)
Congratulations @jes.seth! You have completed the following achievement on the Hive blockchain And have been rewarded with New badge(s)
Your next target is to reach 2500 upvotes.
You can view your badges on your board and compare yourself to others in the Ranking
If you no longer want to receive notifications, reply to this comment with the word
STOPCheck out our last posts:
Support the HiveBuzz project. Vote for our proposal!