
Fácil, rápido y con material reciclable; increíble para decorar cualquiera de tus espacios...
Hola amigos lectores!! el día de hoy les traigo un tutorial de cómo hacer un muñeco de nieve completamente de vaso, para ello vas a necesitar:
Easy, fast and with recyclable material; amazing to decorate any of your spaces...
Hello friends readers!! today I bring you a tutorial on how to make a snowman completely out of glass, for this you will need:

Materiales:
Para el cuerpo:
3 paquetes de vasos de 7 oz. (210cc) de 100 unidades
Grapas
Grapadora
Para la cara:
Foamy o goma eva: naranja, verde o azul, blanco y negro
Marcador negro o del color a elegir
Silicón de barra
Materials:
For body:
3 packs of 7 oz. (210cc) of 100 pcs.
Staples
Stapler
For the face:
Foamy or eva rubber: orange, green or blue, white and black.
Black marker or color of your choice
Silicone stick
Pasos / Steps
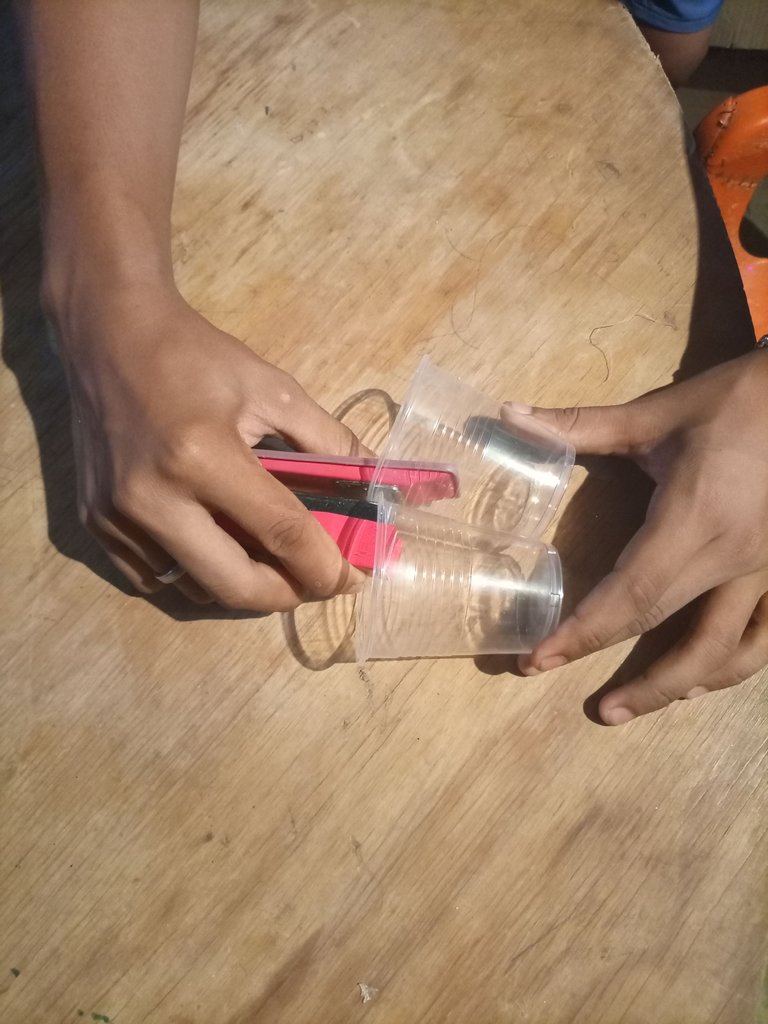
1- vas a unir los vasos por su lateral con una grapa cómo se muestra en la imagen hasta formar un círculo de 21 vasos.
1- You are going to join the glasses by their sides with a staple as shown in the image to form a circle of 21 glasses.
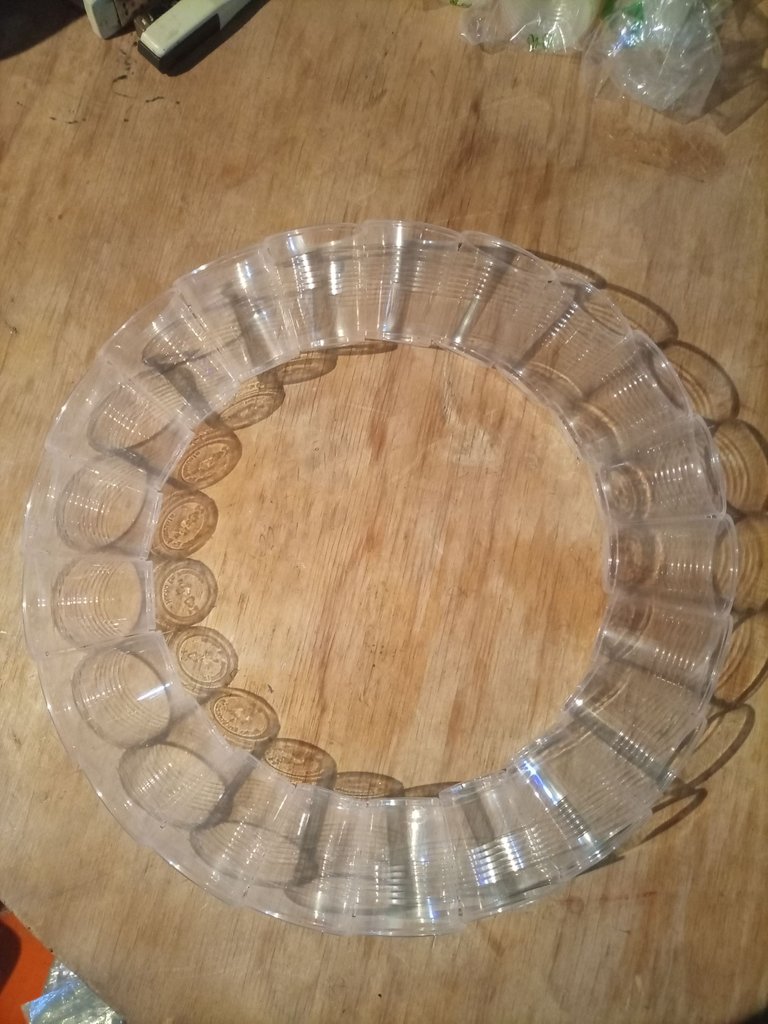
2- sobre ese aro vas asegurar un vaso y vas a repetir el mismo procedimiento pero esta vez con 19 vasos.
2- on that ring you will secure a glass and repeat the same procedure but this time with 19 glasses.

3- una vez terminado, une los vasos de ambos aros con grapas.
3- Once finished, join the cups of both rings with staples.
4- vas a realizar el mismo proceso 2 veces más pero esta vez con aros de 15 y 10 vasos, hasta formar una media esfera con un orificio en su parte superior.
4- you are going to do the same process 2 more times but this time with rings of 15 and 10 glasses, until you form a half sphere with a hole in its upper part.
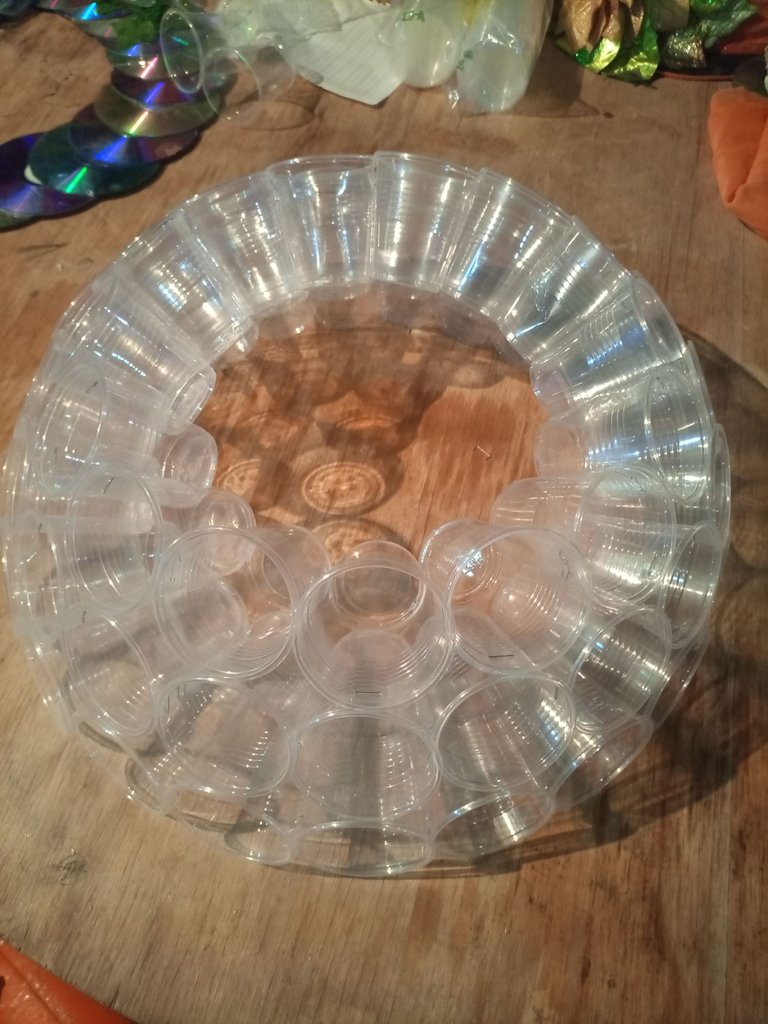
5- voltea la media esfera con su parte más ancha hacía arriba y repite el procedimiento pero esta vez con un orden de 21, 21, 19, 16 y 12 vasos por aro respectivamente.
5- turn the half sphere with its widest part upwards and repeat the procedure but this time with an order of 21, 21, 19, 16 and 12 glasses per ring respectively.
6- una vez culminado te tuvo que haber quedado una esfera con aberturas en su parte superior e inferior. Esa es una bola de nuestro muñeco.
6- once finished, you should have a sphere with openings at the top and bottom. That is a ball of our doll.
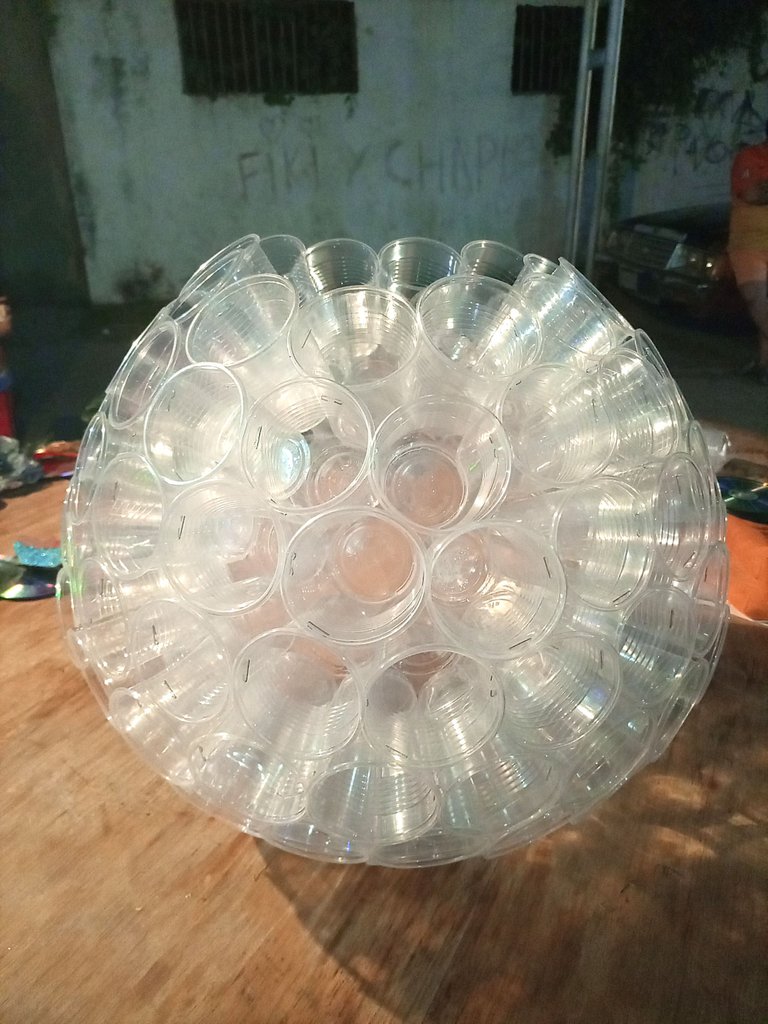
7- haremos otra igual, siguiendo los mismos pasos.
Nota: posiblemente te falten 8 vasos para culminar esta pelota
7- we will make another one, following the same steps.
Note: you may be 8 glasses short of completing this ball.
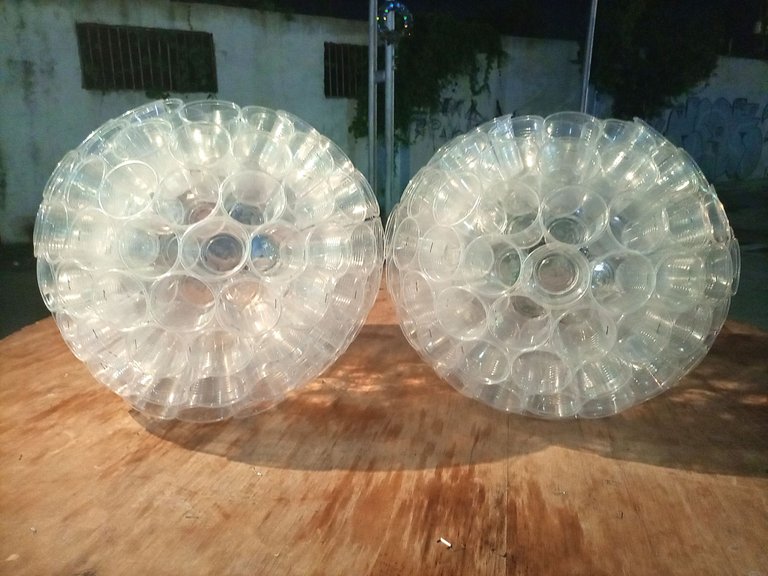
8- colocaremos una bola sobre otra y unimos usando pedacitos de alambre.
8- We will place one ball on top of the other and join them together using small pieces of wire.

Listo!! tenemos el cuerpo! ahora le daremos vida
Ready! we have the body! now we will bring it to life!
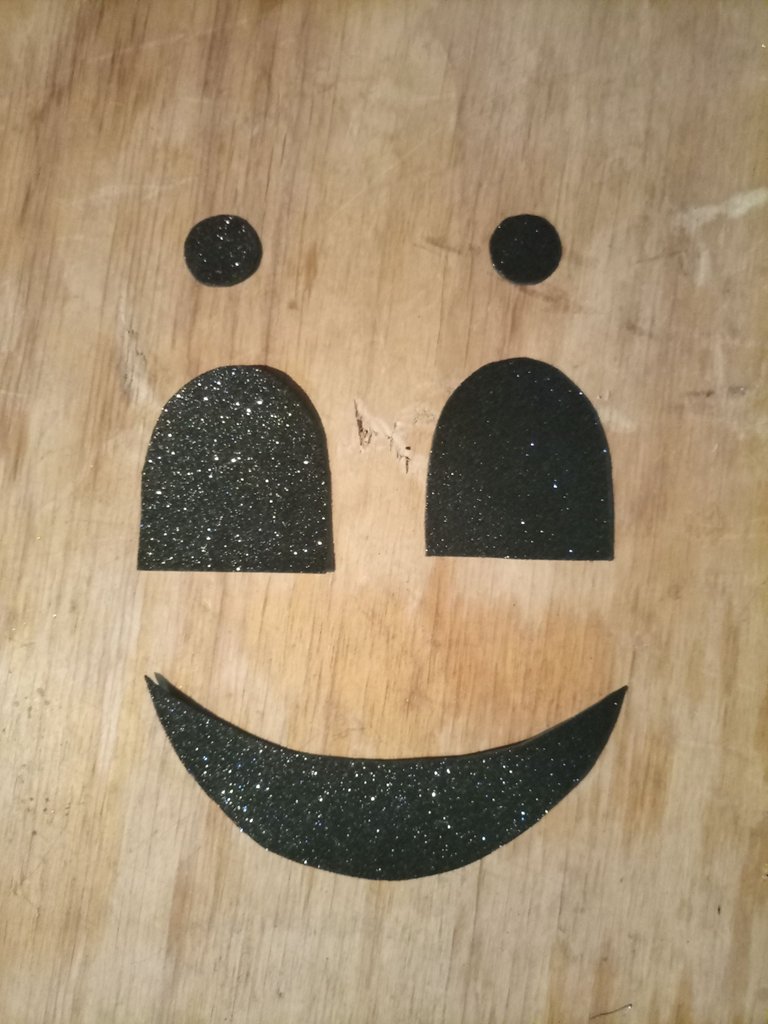
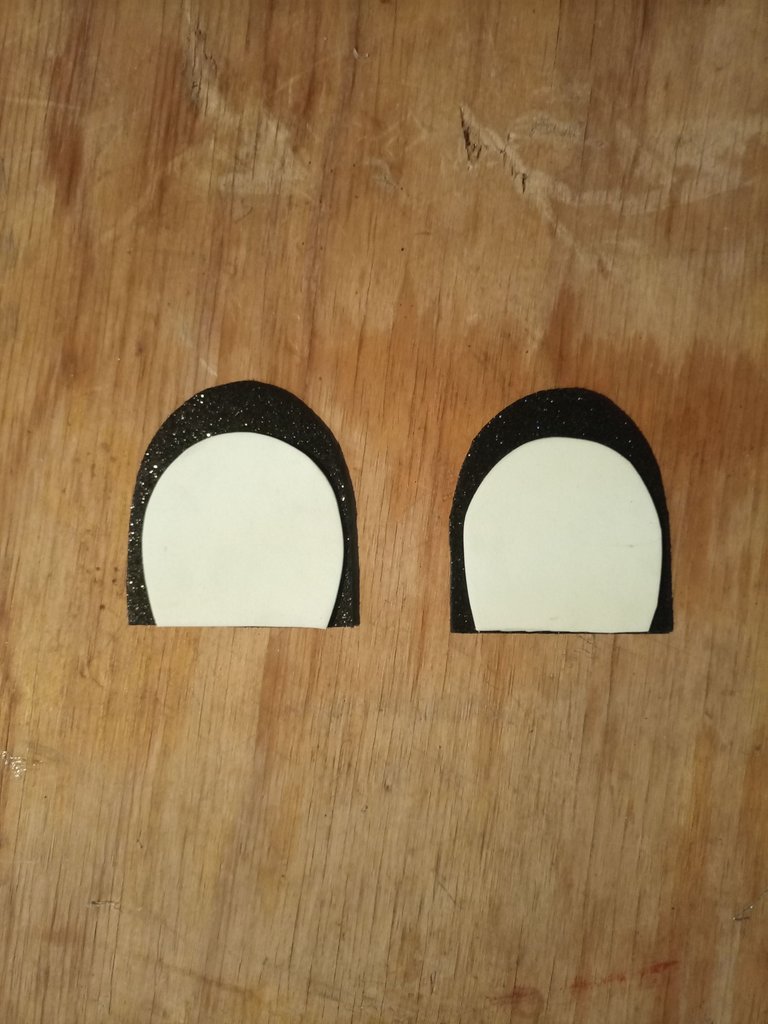
9- con el foamy o goma eva negra sacaremos las figuras que vemos en la imagen ( 2 círculos, 2 arcos y una luna)
9- with the foamy or black eva rubber we will make the figures that we see in the image (2 circles, 2 arcs and a moon).
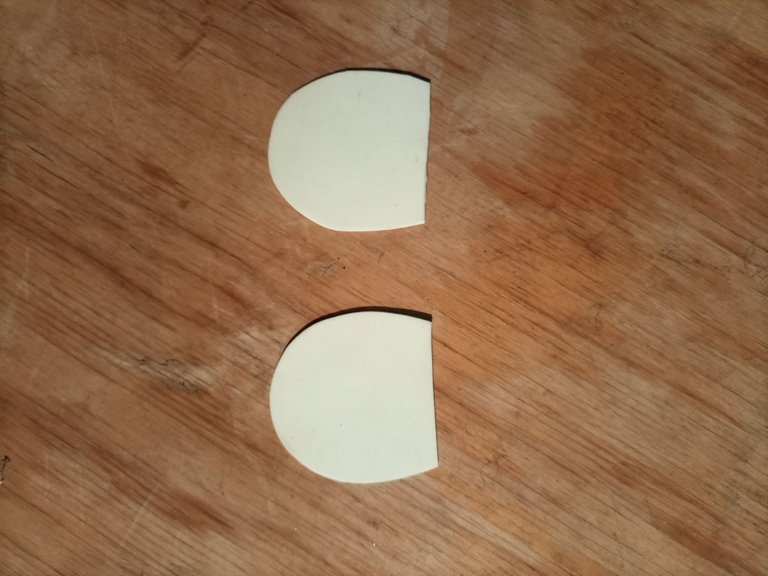
10- con el foamy o goma eva blanca sacaremos 2 arcos un poco más pequeños que los negros
10- with the foamy or white eva rubber we will make 2 arches a little bit smaller than the black ones.
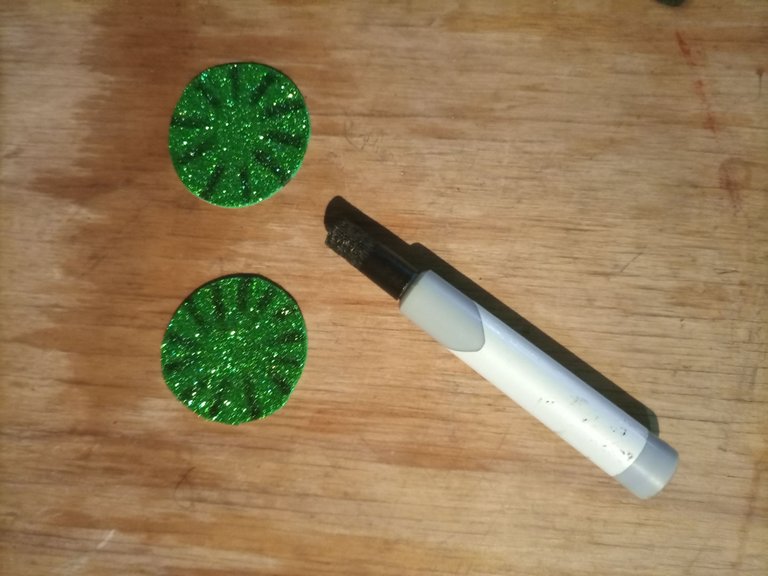
11- con el foamy o goma eva verde o azul sacaremos 2 círculos pequeños que serán nuestras pupilas y 3 más grande que serán botones ( estos también pueden ser del color de tu preferencia)
11- with the green or blue foamy or eva rubber we will make 2 small circles that will be our pupils and 3 larger ones that will be buttons (these can also be the color of your preference).

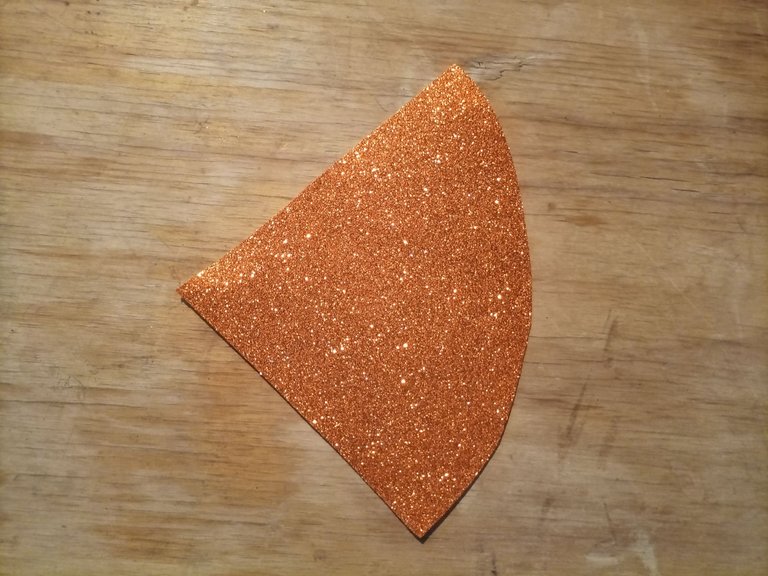
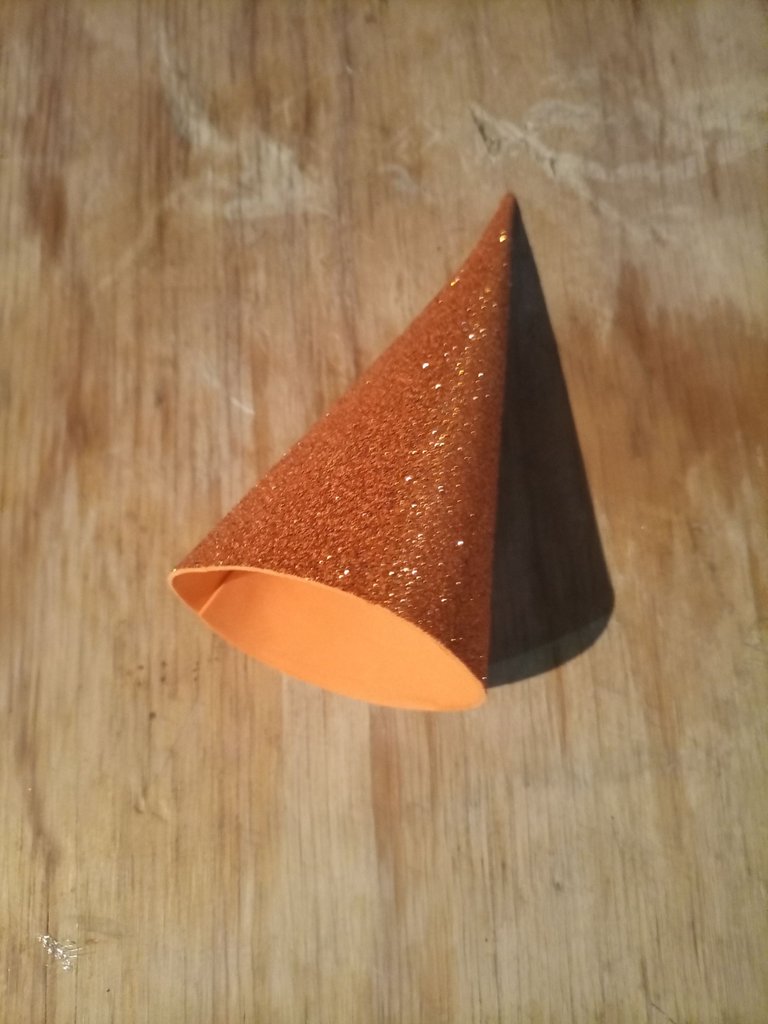
12- Por último con el foamy naranja sacaremos un triángulo un extremo arqueado cómo se muestra en la imagen y con ayuda de silicón pegaremos sus extremos rectos.
12- Finally with the orange foamy we will make a triangle with an arched end as shown in the image and with the help of silicone we will glue its straight ends.
13- Pegaremos los arcos blancos sobre los negros.
13- Glue the white bows over the black ones.
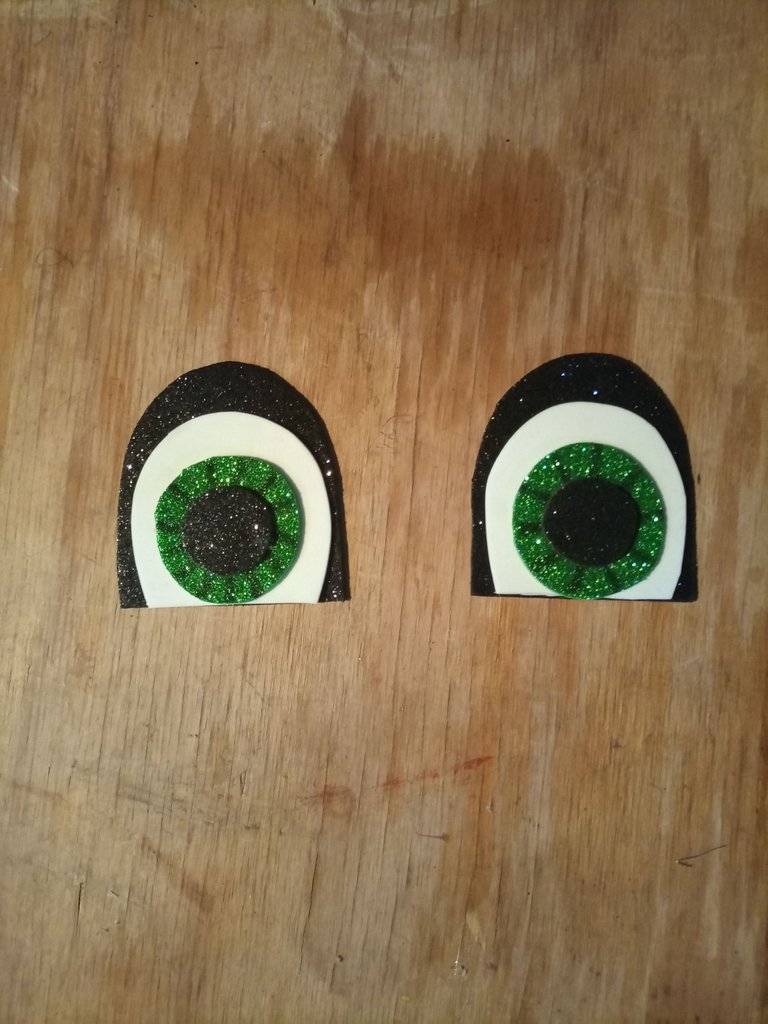
14- A nuestras pupilas les haremos rayas con un marcador negro o del color de nuestro foamy.
14- We will make stripes on our pupils with a black marker or the color of our foamy.

15- pegaremos los círculos negros en el centro de nuestras pupilas y luego estas sobre los arcos.
15- we will glue the black circles in the center of our pupils and then these on the arches.

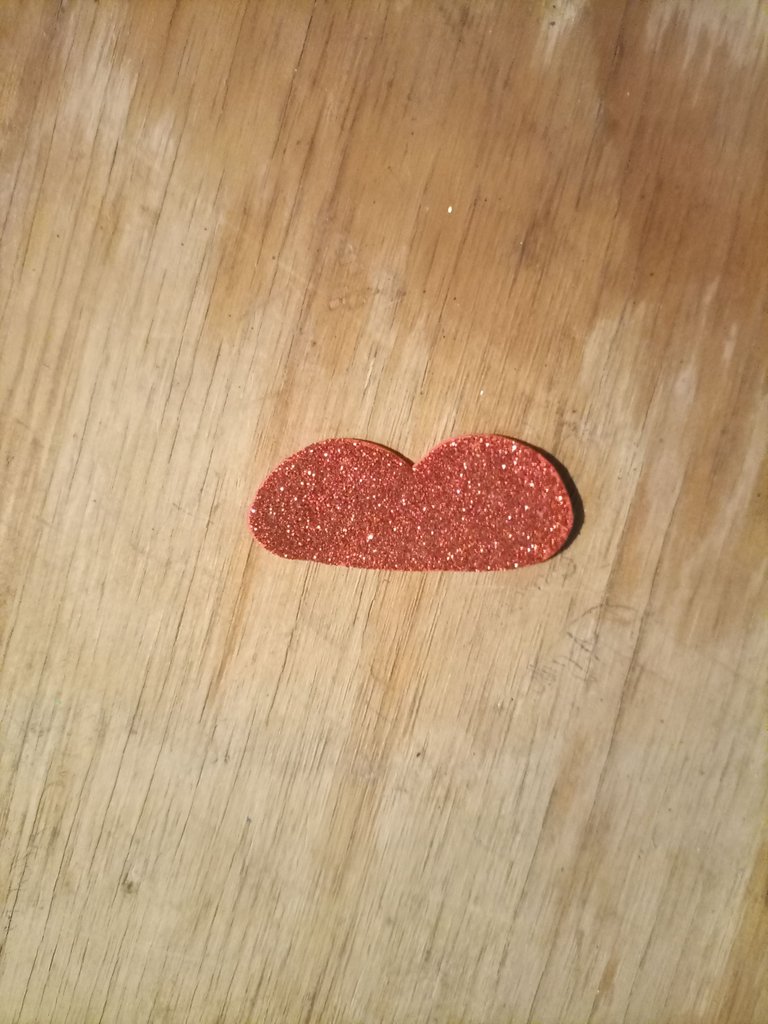
16- con un pedacito de foamy o goma eva roja haremos dos montañas y la pegaremos sobre la luna negra que será nuestra boca.
16- with a piece of foamy or red eva rubber we will make two mountains and we will glue it over the black moon that will be our mouth.
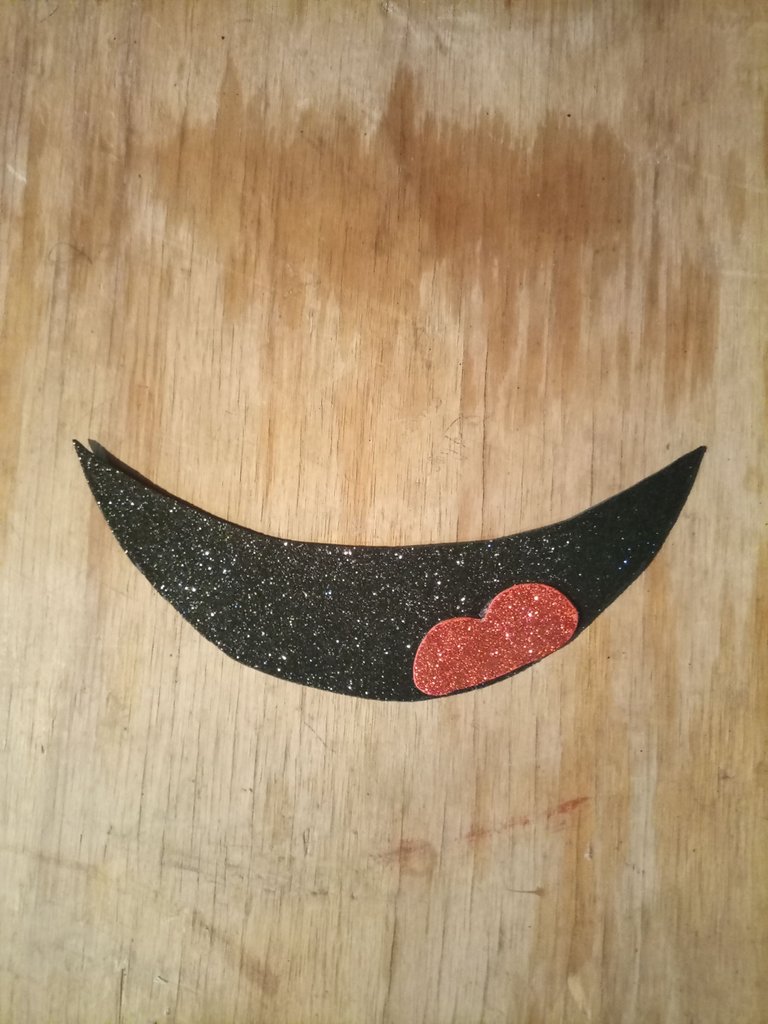
¡Ya tenemos la cara de nuestro muñeco de nieve!
We already have the face of our snowman!

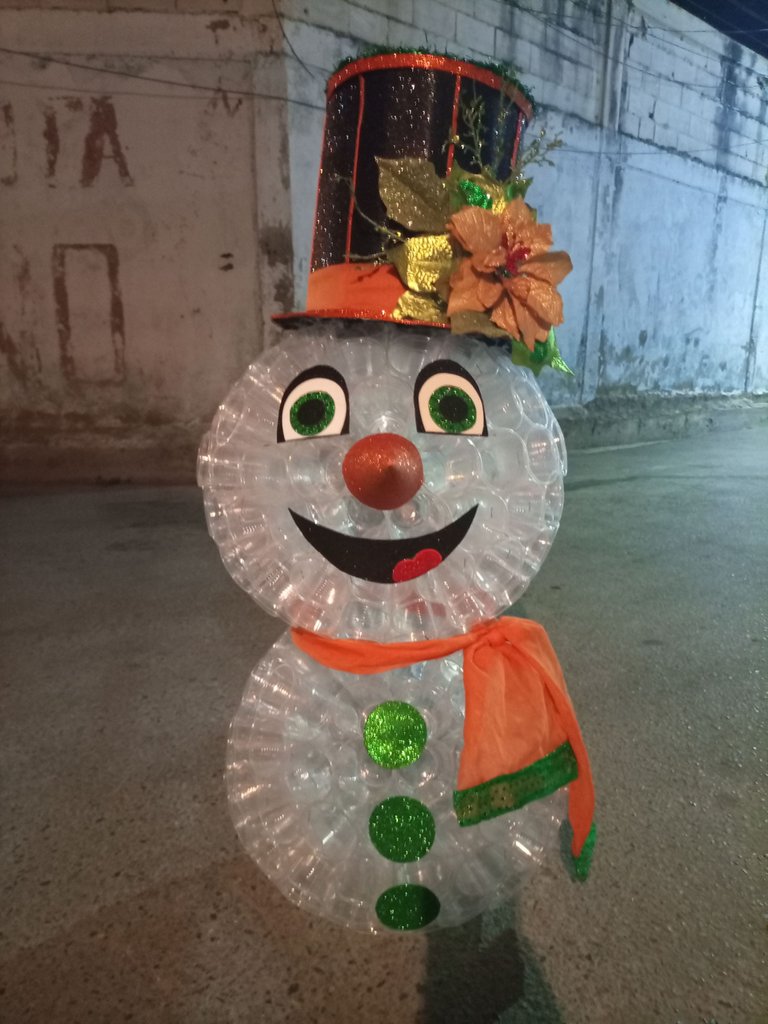
17- le pegaremos los botones, le ponemos una bufanda, un sombrero y listo ya tenemos nuestro muñeco de nieve.
17- we will glue the buttons, put a scarf, a hat and ready we have our snowman.
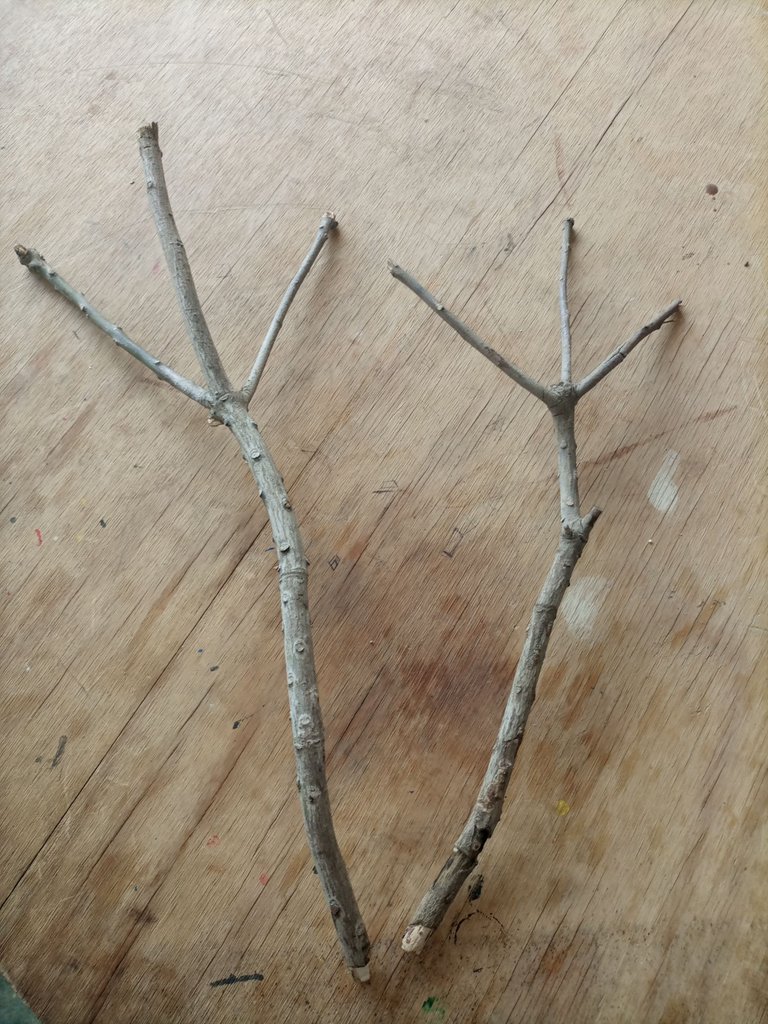
18- cómo detalle final le puedes agregar dos ramas de árbol secas para que sean sus brazos
18- as a final detail you can add two dry tree branches to be his arms.
¿Qué opinas, te gustó?
Si no tienes un sombrero y te gustaría hacer uno de foamy o goma eva, te lo explicaré en mi siguiente post
What do you say, did you like it?
If you don't have a hat and you would like to make one out of foamy or eva rubber, I will explain it to you in my next post

Hasta el próximo post!
See you next post!
Traducción: Deepl. // Traslation: Deepl.
GIF: Tenor, del buscador de PeakD //GIF: Tenor, from PeakD search engine.
Wow this is a impressive way to make a snowman and it works well.
Así es! Y si le colocas una luz dentro, se ve mucho mejor. Gracias por leerme!