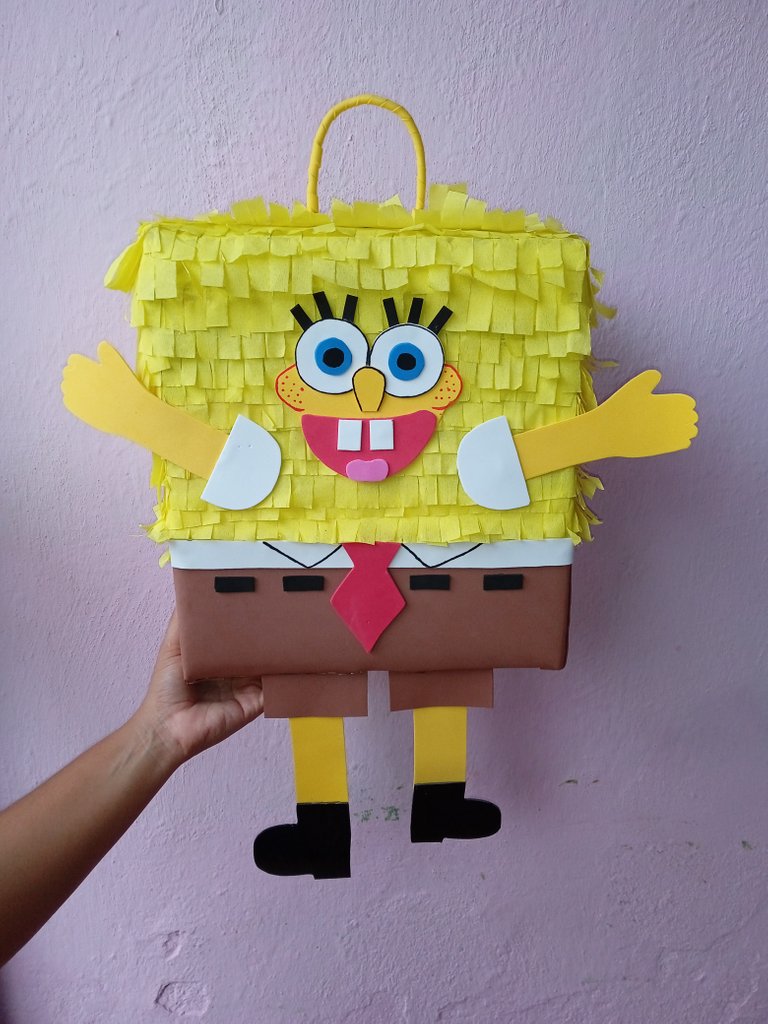
Hola feliz noche mis hermosos amigos lectores y creadores de contenido ,espero se encuentren bien ,que hayan tenido un gran día ,antes que nada quiero felicitar a todas las mujeres triunfadoras ,inteligentes y emprendedoras de esta plataforma ,son valiosas todas ,en esta noche realice una piñata del famoso Bob esponja ,les confieso que es la primera que hago ,me siento satisfecha de como la realice ,espero les guste
Hello happy night my beautiful reader friends and content creators, I hope you are well, you have not had a great day, before I want to congratulate all the successful, intelligent and enterprising women of this platform, they are all valuable, on this night perform a piñata of the famous Sponge Bob, I confess that it is the first one that I do, I am satisfied with how I made it, I hope you like it
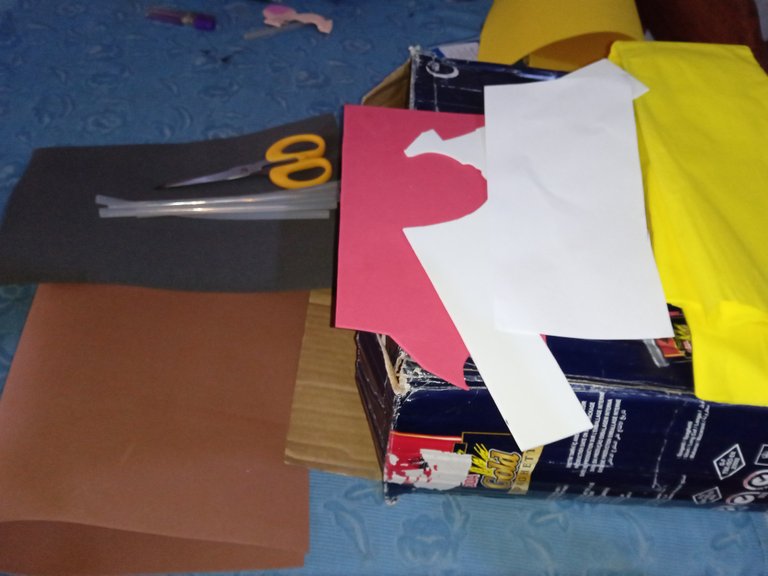
Materiales que utilice:
Caja de cartón
Silicón
Papel creppe
Foamis
Tijera
Materials you use:
Carton box
silicone
crepe paper
Foamis
Scissors
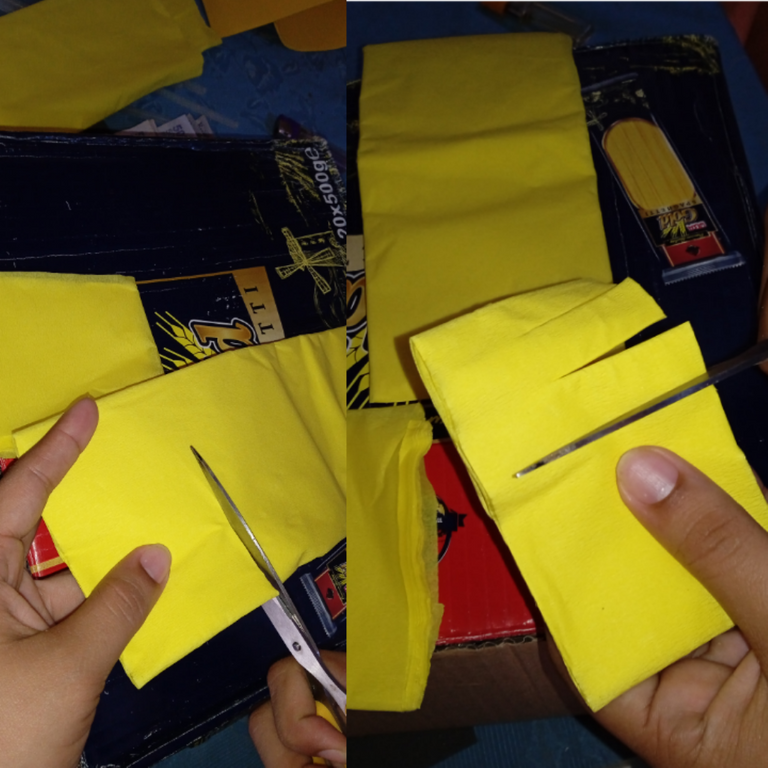
A continuación los pasos a seguir:
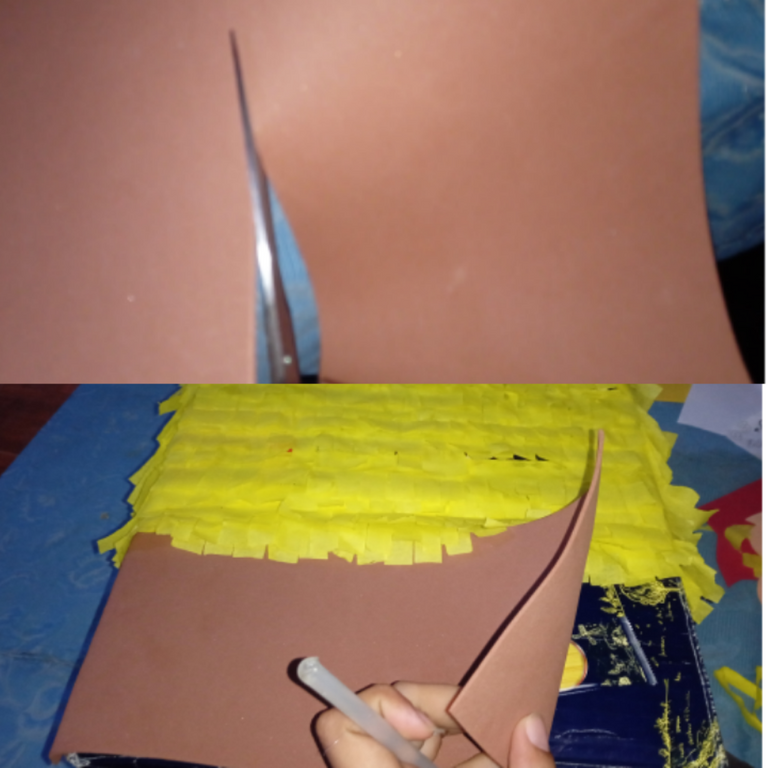
Para relalizar nuestra piñata ,lo primero que debemos hacer es forrar la ,antes de eso iniciaremos tomando el papel creppe y cortando cuatro dedos de altura sin abrirlo ,luego comencé a cortarlos en tiras dejando un pequeño borde sin cortar ,con el haremos el cuerpo de Bob esponja
Here are the steps to follow:
To make our piñata, the first thing we must do is cover it, before that we will start taking the crepe paper and cutting four fingers in height without opening it, then I began to cut them into strips leaving a small uncut edge, with it we will make the body of Sponge Bob
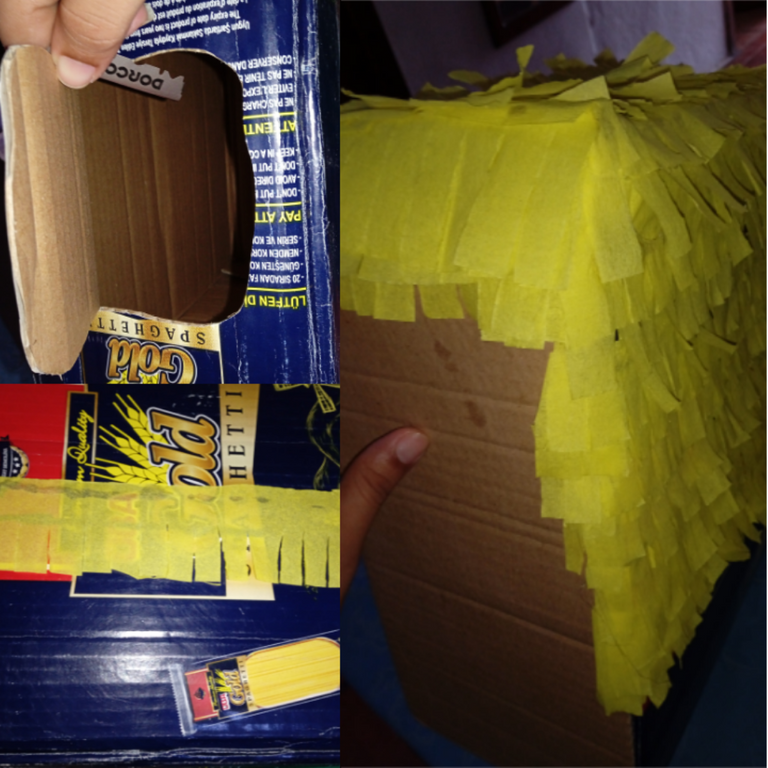
Luego tomamos una hojilla y con ella le haremos un pequeño hueco a la caja en la parte de abajo (tambien pueden hacerlo en la parte de arriba ) este hueco será para que entre la chuchería y los juguetes ,continuamos forrando la caja ,solo vamos a decorar la mitad que será el cuerpo de Bob ,en la parte de adelante por ser la más ancha ,comencé decorando de abajo para arriba y así nos va quedando en forma escalonada el papel creppe
Then we take a leaf and with it we will make a small hole in the box at the bottom (you can also do it at the top) this hole will be so that between the baubles and the toys, we continue lining the box, we are only going to decorate the half that will be Bob's body, in the front part because it is the widest, I started decorating from the bottom up and so the creppe paper is left in a staggered way
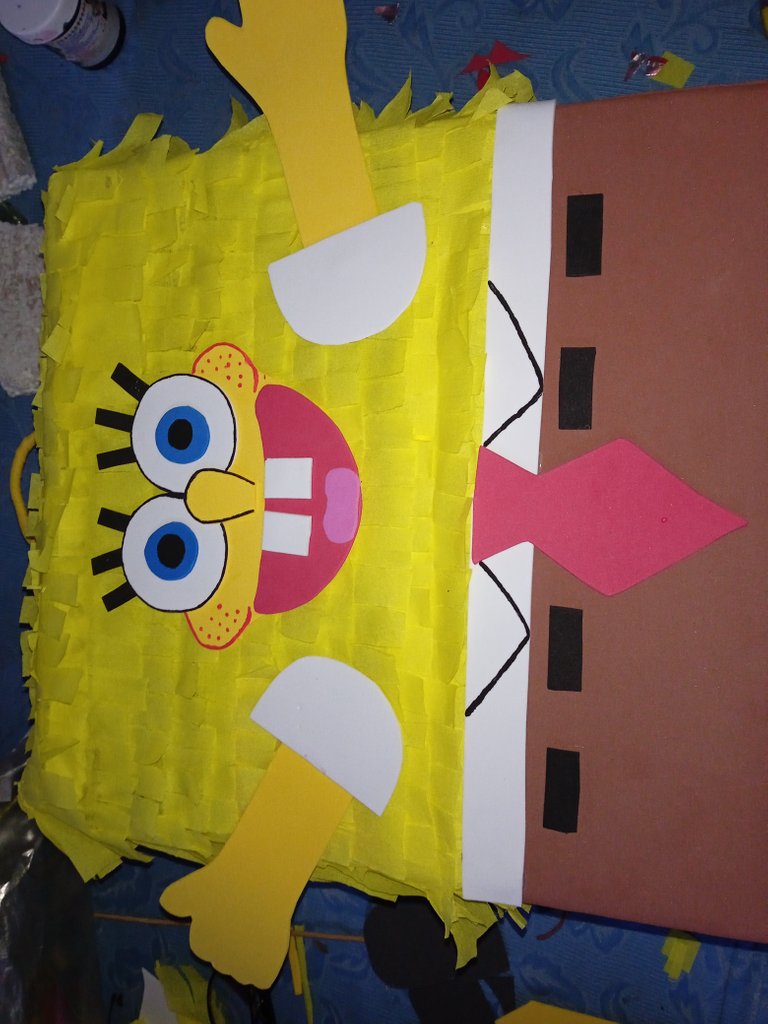
Una vez listo el cuerpo de Bob esponja ,tomamos el foamis marrón y recortamos,con el haremos el pantalón ,la medida del foamis para el pantalón será del tamaño sobrante de la caja , una vez que tengamos las piezas del pantalón lista ,pegamos estirando bien el foamis
Once the body of SpongeBob is ready, we take the brown foamis and cut it, with it we will make the pants, the measurement of the foamis for the pants will be the size left over from the box, once we have the pieces of the pants ready, we paste stretching well the foamis
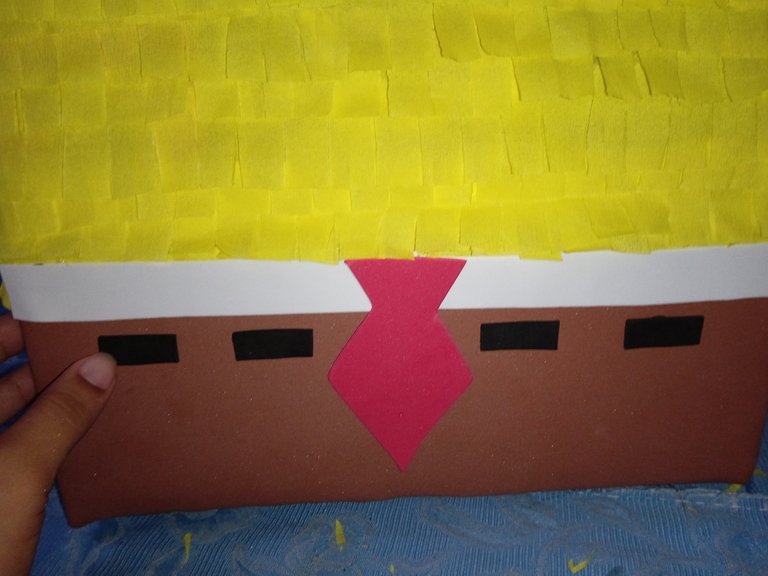
En la parte de arriba del pantalón de Bob ,pegamos una tira de foamis blanco que será la camisa ,en medio de ella coloque una corbata roja ,y unas tiras pequeñas negras que representan la correa de Bob esponja
In the upper part of Bob's pants, we glue a strip of white foamis that will be the shirt, in the middle of it place a red tie, and some small black strips that represent SpongeBob's belt.
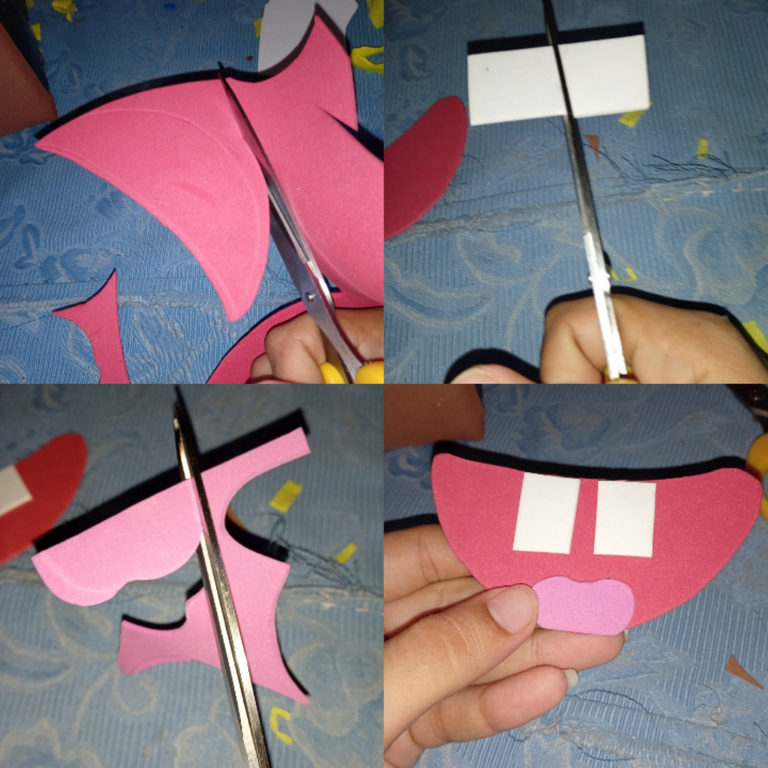
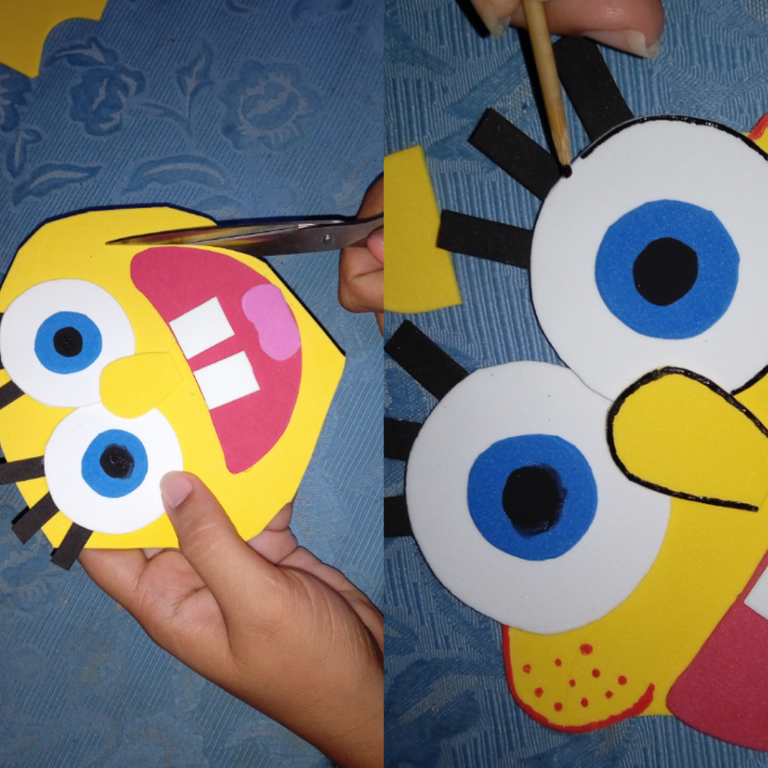
Continuamos sacando la boca de Bob esponja , sacamos su sonrisa enorme ,recorte dos dientes bien grandes ,y una pequeña lengua que se ve a lo lejos por su risa carcajadas y pegue arriba los dientes y abajo su lengua
We continue taking out SpongeBob's mouth, we take out his huge smile, cut out two very large teeth, and a small tongue that can be seen in the distance because of his laughter and stick his teeth up and his tongue down
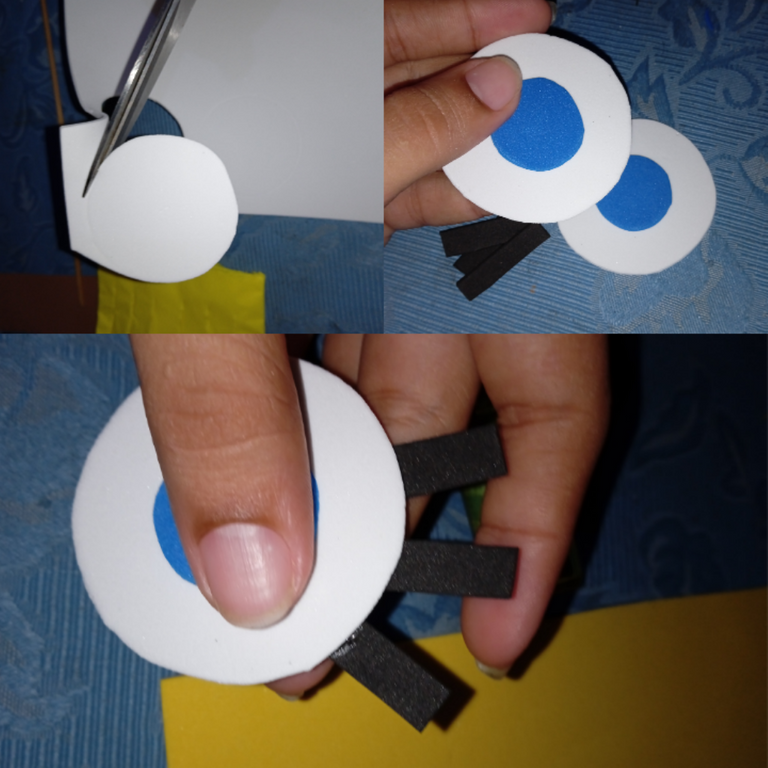
Luego recorte dos círculos blancos para hacer sus ojos ,en el pegue en el centro otro círculo pero azul ,y en el fondo del azul pinté otro círculo negro ,en la parte de arriba pegue sus pestañas todas largas y de este modo realice sus ojos
Then I cut two white circles to make her eyes, in the center I glued another circle but blue, and in the bottom of the blue I painted another black circle, in the upper part I glued her long lashes and in this way I made her eyes
Luego sus ojos y su enorme sonrisa la pegue encima de un foamis amarillo para formar su rostro ,su nariz y unas mejillas coloradas ,los bordes de sus ojos y nariz pinté con negro
Then his eyes and his huge smile I glued it on top of a yellow foamis to form his face, his nose and some red cheeks, the edges of his eyes and nose I painted with black
Continúe recortando sus brazos y piernas con el foamis amarillo ya que el es de ese color
Continue cutting out his arms and legs with the yellow foam since he is that color.
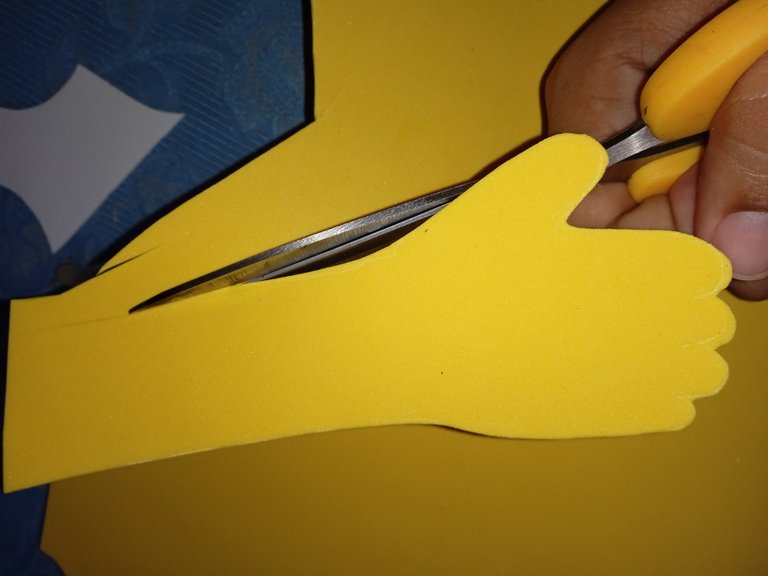
En el centro del cuerpo de Bob esponja ,pegue su rostro en las esquinas de el pegue sus brazos abiertos con una manga de camisa blanca
In the center of SpongeBob's body, paste his face on the corners of him, paste his open arms with a white shirt sleeve.
En la parte de arriba de la piñata continúe colocando un alambre en el centro ,para que con el cuelguen la piñata ,dicho alambre lo forre con el mismo foamis color amarillo
At the top of the piñata continue placing a wire in the center, so that the piñata is hung from it, said wire is lined with the same yellow foamis
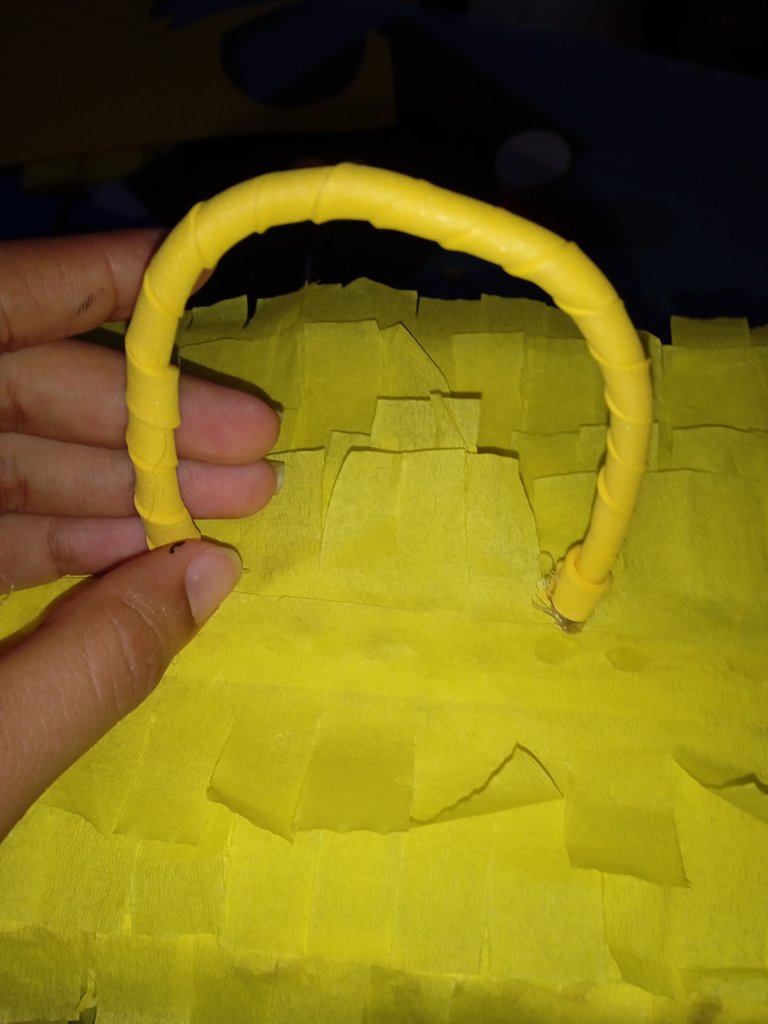
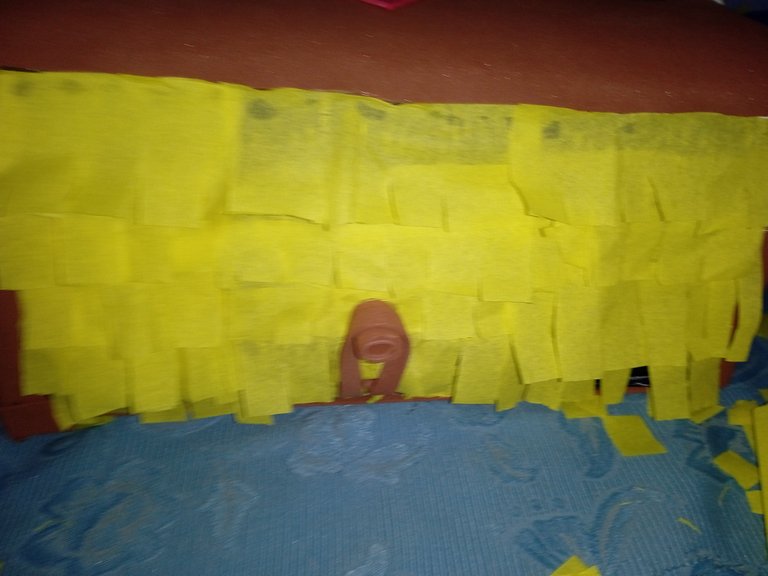
En vista que no me alcanzó el foamis marrón ,en la parte de abajo forre con el papel creppe amarillo ,para tener un broche para abrir y cerrar el orificio dónde irá resguardada la chuchería enrolle un recorte de foamis y pegue en la parte de arriba y le pegue una tira en la parte de abajo doble ,para que con esto pueda abrir y cerrar
Since the brown foam was not enough for me, I lined the bottom with the yellow crepe paper, to have a clasp to open and close the hole where the bauble will be stored, roll up a foam cutout and glue it to the top and I glued a strip on the double bottom, so that with this it can open and close
Por último pegue sus piernas y sus zapatos ,de esta manera realice mi linda piñata de Bob esponja ,espero les guste ,me siento feliz porque gracias a Dios y a hive pude descubrir mis habilidades en manualidad ,desde antes pensé que tenía talento pero jamás me imaginé que tanto ,me siento satisfecha con lo que hago
Finally I glued his legs and his shoes, in this way I made my cute spongebob piñata, I hope you like it, I feel happy because thanks to God I already hive I was able to discover my skills in crafts, from before I thought I had talent but I never imagined how much, I feel satisfied with what I do

Linda amiga y muy graciosa.
Gracias amiga
Thank you for sharing this amazing post on HIVE!
Your content got selected by our fellow curator @rezoanulvibes & you just received a little thank you via an upvote from our non-profit curation initiative!
You will be featured in one of our recurring curation compilations and on our pinterest boards! Both are aiming to offer you a stage to widen your audience within and outside of the DIY scene of hive.
Join the official DIYHub community on HIVE and show us more of your amazing work and feel free to connect with us and other DIYers via our discord server: https://discord.gg/mY5uCfQ !
If you want to support our goal to motivate other DIY/art/music/homesteading/... creators just delegate to us and earn 100% of your curation rewards!
Stay creative & hive on!