¡Bienvenidos a mi blog!
Welcome to my blog!
Buenas noches a todos los que forman parte de esta hermosa comunidad de #hivediy, tenía tiempo sin publicar en esta comunidad , anteriormente casi todos los días publicaba, no se que pasó que me alejé, pero vine para quedarme nuevamente.
Deseo que estén bien, hoy día Martes decretaron no laborable en mi ciudad de Carúpano, por cumplirse un año más de la muerte de Chávez. Igual se trabaja demasiado en su casa, pero es mejor que salir. Muchas bendiciones.
¡Manos a la obra!
Good evening to all who are part of this beautiful community of #hivediy, I had some time without posting in this community, previously almost every day I posted, I do not know what happened that I moved away, but I came to stay again.
I wish you all well, today, Tuesday, they decreed no workday in my city of Carúpano, for the one year anniversary of Chávez' death. You still work too much at home, but it is better than going out. Many blessings.
Let's get to work!
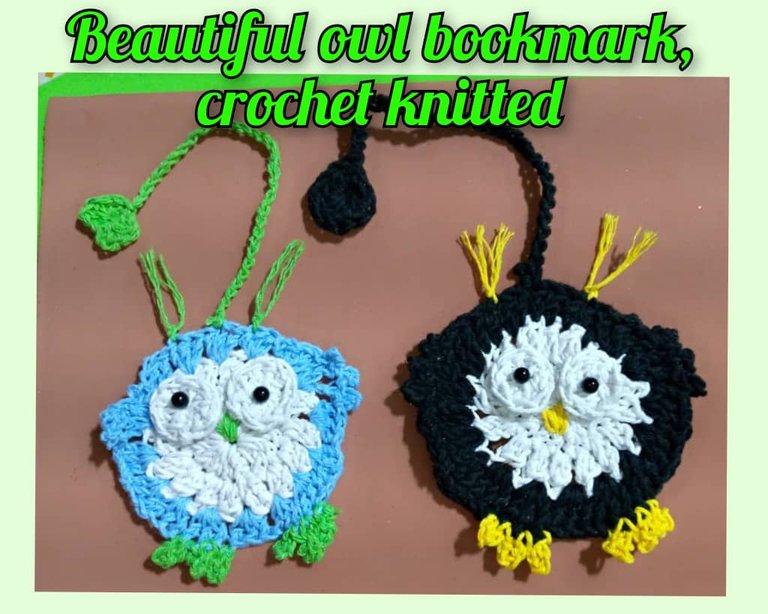
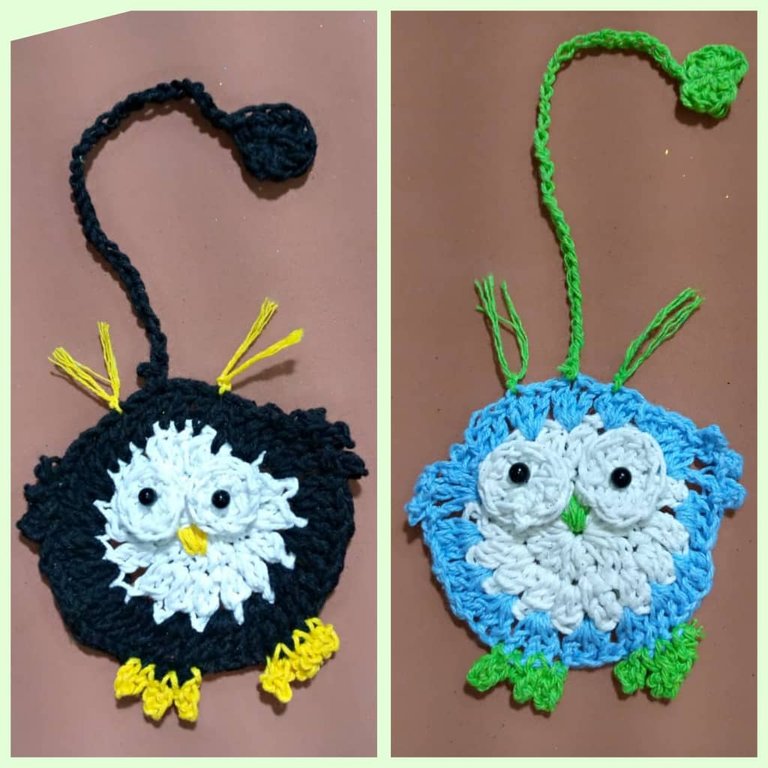
Hoy quiero mostrar como realizar un proyecto tejido a crochet, que se ha convertido en unos de mis pasiones: Hermosos marca libros en forma de Búho.Los marca libros , nos ayudan a marcar la página en donde estamos leyendo y cuando volvamos a leer ir con facilidad para seguir con la lectura. En esta oportunidad estos búho siempre van a estar recordando por donde vamos en la lectura.
Today I want to show you how to make a crochet project, which has become one of my passions: Beautiful bookmarks in the shape of Owl.The bookmarks , help us to mark the page where we are reading and when we return to read go with ease to continue reading. In this opportunity these owls will always be reminding us where we are reading.
Los materiales que necesitamos para la realización del tejido de los Búhos:
- Hilos de tejer de los siguientes colores: negro, amarillo, azul, verde y blanco.
- Tijera.
- Silicona líquida.
- 4 mostacillas negras para los ojos.
- Aguja lanera.
- Aguja de tejer n
- Número 3.
The materials we need for the realization of the weaving of the Owls:
- Knitting yarns of the following colors: black, yellow, blue, green and white.
- Scissors.
- Liquid silicone.
- 4 black beads for the eyes.
- Wool needle.
- Knitting needle n
- Number 3.

Paso a paso para la realización de los marca libros en forma de Búho:
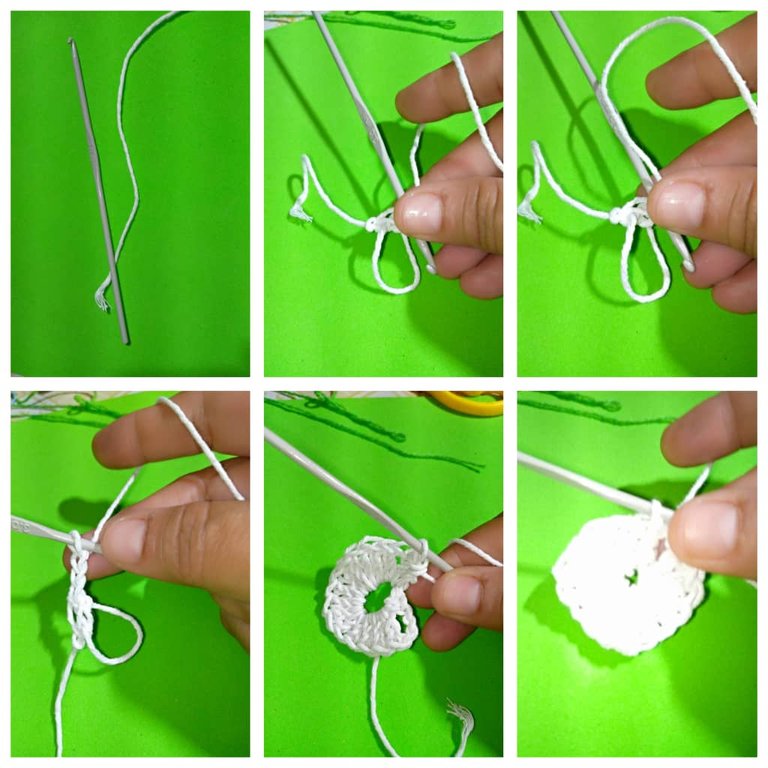
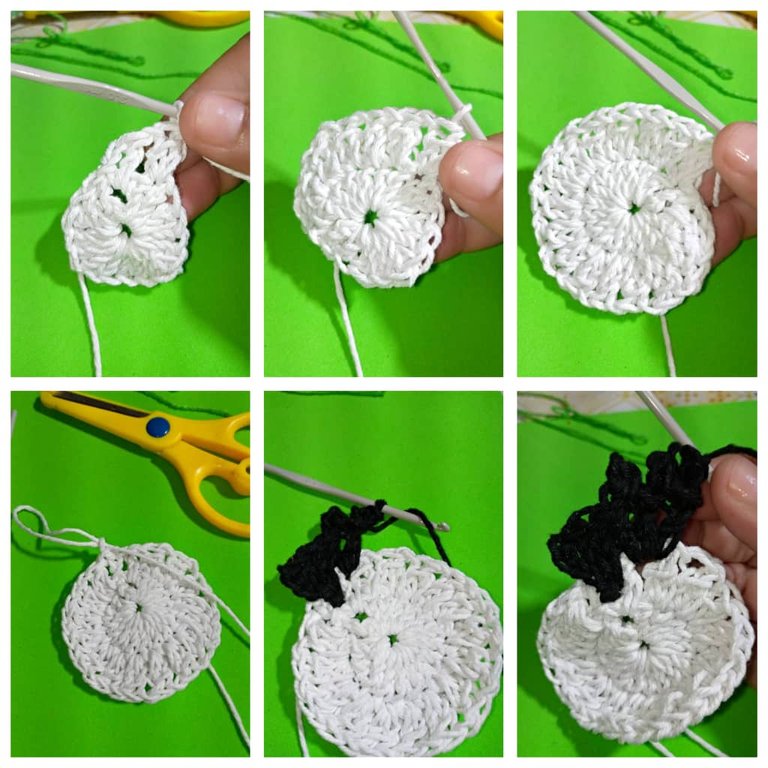
- Lo primero que se debe hacer es, tomar el hilo con la aguja , luego comenzar a realizar un anillo mágico , dentro del anillo mágico levantar una cadena de tres, luego meter dentro del anillo 15 puntos altos.
- Cuando se tengan los 15 puntos altos, cerrar con punto deslizado.Este sería la primera vuelta.
Step by step for the realization of the bookmarks in the shape of an owl:
- The first thing to do is, take the yarn with the needle , then start making a magic ring , inside the magic ring pick up a chain of three, then put inside the ring 15 high stitches.
- When you have the 15 high stitches, close with slipped stitch, this would be the first round.
- Para la segunda vuelta levantar una cadena de 3 , luego en el mismo punto hacer un punto alto , para el punto siguiente hacemos un punto alto sin terminar , hacemos otro punto alto y terminamos los dos al mismo tiempo en el mismo espacio.
- Hacemos una cadena , otro punto alto sin terminar y lo terminamos con el siguiente punto alto.
- Así vamos a continuar hasta llegar al final de la vuelta.
- al llegar al final de la vuelta terminar con un punto deslizado y cortar el hilo con una tijera.
- Ya para este motivo utilizamos el hilo blanco , ahora tomamos otro hilo en este caso sería el negro.
- Para la tercera vuelta ,metemos el hilo negro dentro del motivo , levantamos una cadena de 3 y el mismo espacio hacemos dos puntos altos más, serían un total de 3 puntos altos.
- Para hacer las manitas del búho, hacemos un punto alto en el punto siguiente , luego levantamos 4 cadena y metemos la aguja en el punto 1 de la cadena , allí cerramos con un punto deslizado, hacemos lo mismo hasta completar 3 manitas.
- Seguimos en los siguientes puntos en donde dejamos una cadena , metiendo y haciendo tres puntos altos , cuando lleguemos al punto número 11 , hacemos el mismo procedimiento para hacer la manitas y terminamos toda la vuelta
- For the second round pick up a chain of 3, then in the same stitch make a double crochet, for the next stitch make an unfinished double crochet, make another double crochet and finish both at the same time in the same space.
- We make a chain, another high stitch without finishing and we finish it with the next high stitch.
- We will continue in this way until we reach the end of the row.
- When you reach the end of the row, finish with a slip stitch and cut the yarn with scissors.
- For this motif we already used the white yarn, now we take another yarn, in this case the black one.
- For the third row, we put the black yarn inside the motif, we pick up a chain of 3 and in the same space we make two more double crochet stitches, that would be a total of 3 double crochet stitches.
- To make the owl's little hands, we knit a double crochet in the next stitch, then we pick up 4 chains and put the needle in stitch 1 of the chain, there we close with a slip stitch, we do the same until we complete 3 little hands.
- We continue in the following stitches where we leave a chain, putting in and making three high stitches, when we get to stitch number 11, we do the same procedure to make the hand stitch and we finish the whole round.
- Para hacer los ajos , hacemos un anillo mágico y dentro del anillo metemos 8 puntos alto , cerramos con un punto deslizado, recortamos el excedente de hilo con las tijera y pegamos los ajos con silicona líquida.
- To make the garlic, we make a magic ring and inside the ring we put 8 high stitches, we close with a slipped stitch, we cut the excess thread with the scissors and we glue the garlic with liquid silicone.
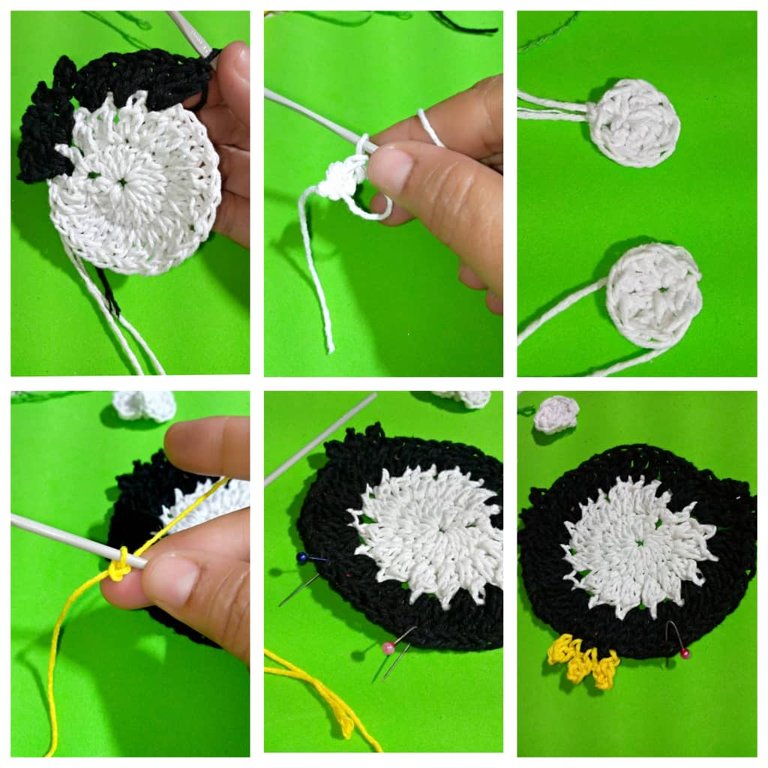
- Para hacer las patitas, tomamos hilo de color amarillo levantamos una cadena de 4 metemos la aguja por la cadena 1 y cerramos con un punto deslizado, en el otro espacio metemos levantamos una cadena de 4, luego metemos por el punto 1 y así haremos hasta completar la otra patita , son 3 de cada lado.
- Luego hacemos otro anillo mágico y metemos 8 puntos altos, cerramos con punto deslizado, levantamos una cadena de 28 puntos y lo pegamos a l motivo de búho.Ya tenemos listo uno , de la misma manera haremos el otro .
- To make the legs, we take yellow yarn, we pick up a chain of 4, we put the needle through chain 1 and close with a slip stitch, in the other space we pick up a chain of 4, then we put it through stitch 1 and so on until the other leg is completed, there are 3 on each side.
- Then we make another magic ring and put in 8 high stitches, we close with a slip stitch, we pick up a chain of 28 stitches and we glue it to the owl motif, we already have one ready, in the same way we will make the other one.
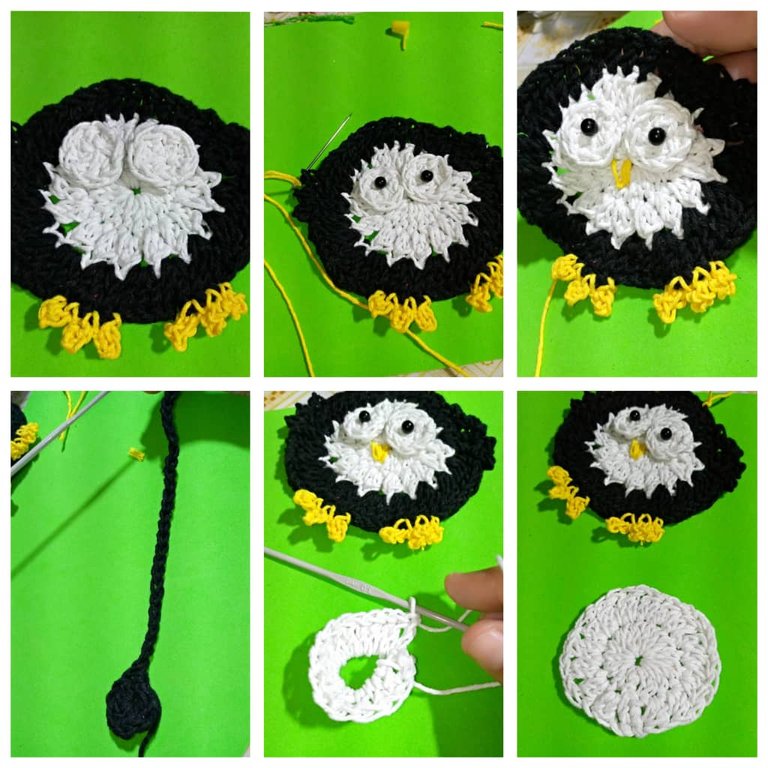
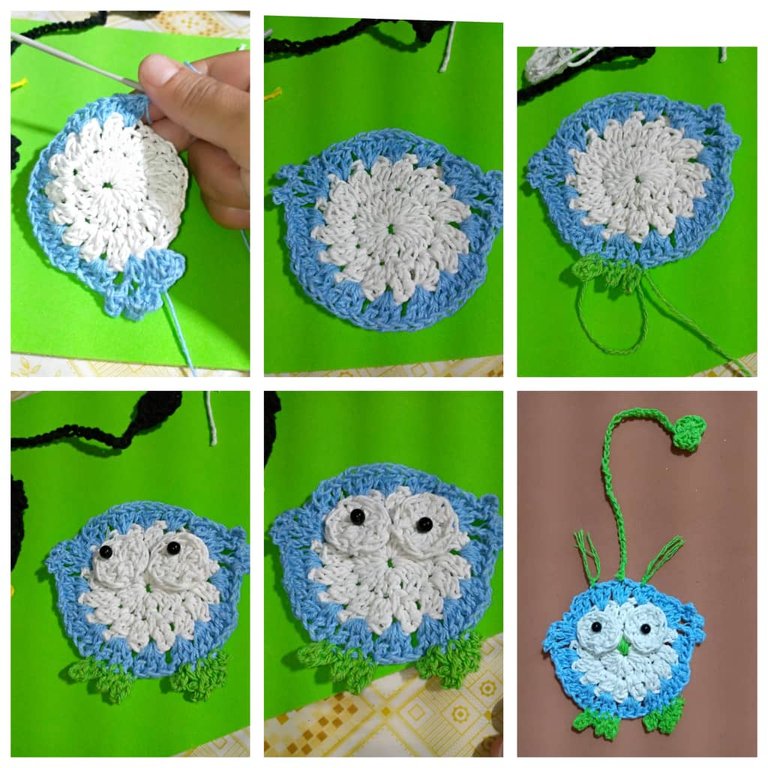
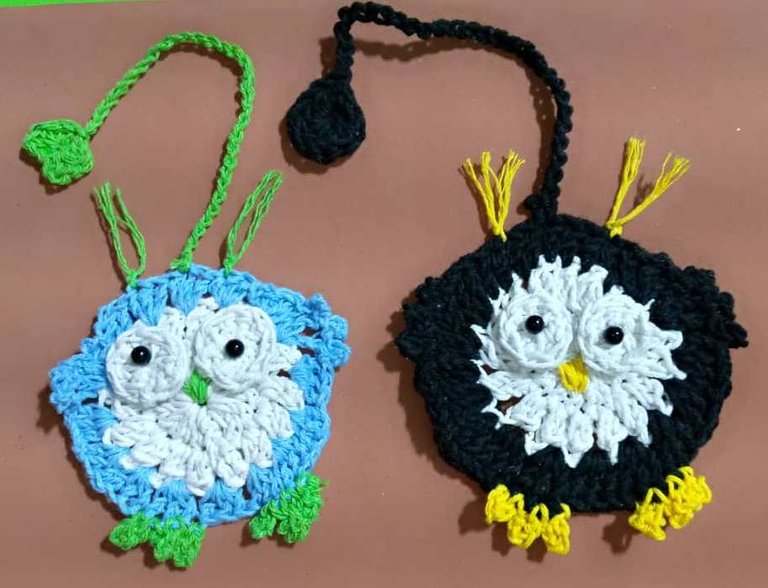
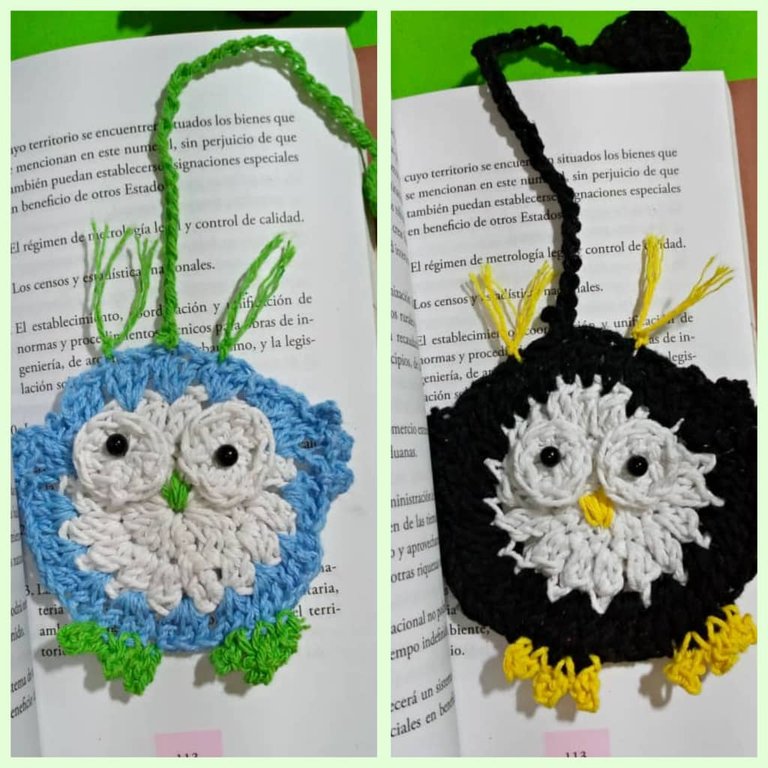
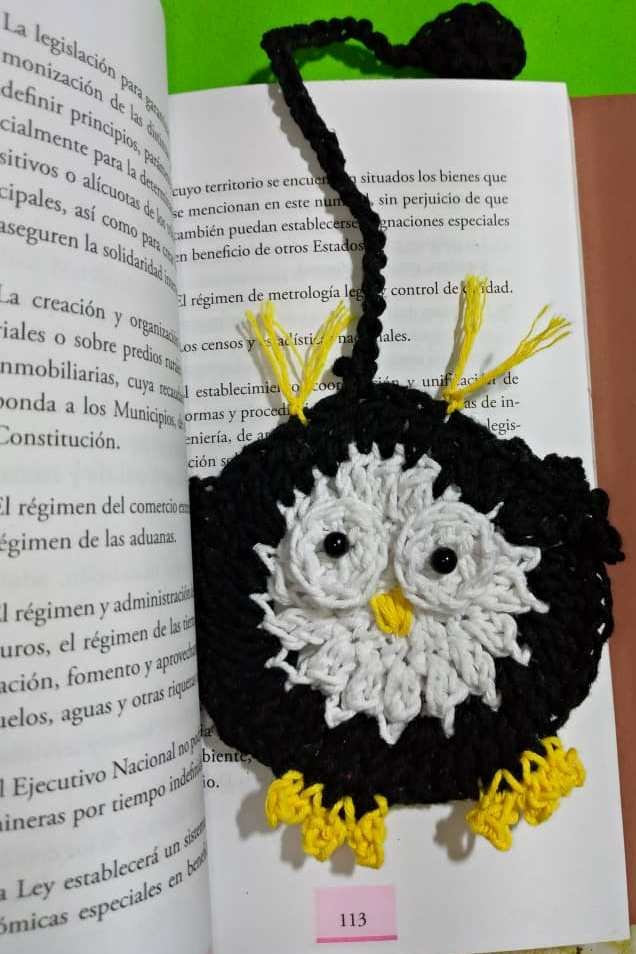
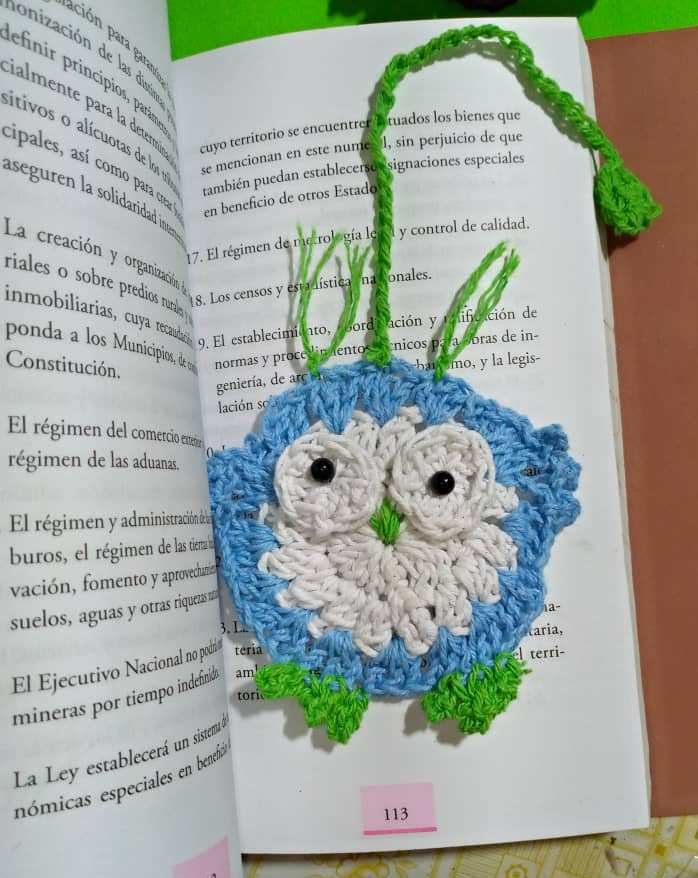
Aquí tenemos el resultado final del hermoso marca libros tejido en forma de Búho.
Here we have the final result of the beautiful bookmark knitted in the shape of an Owl.
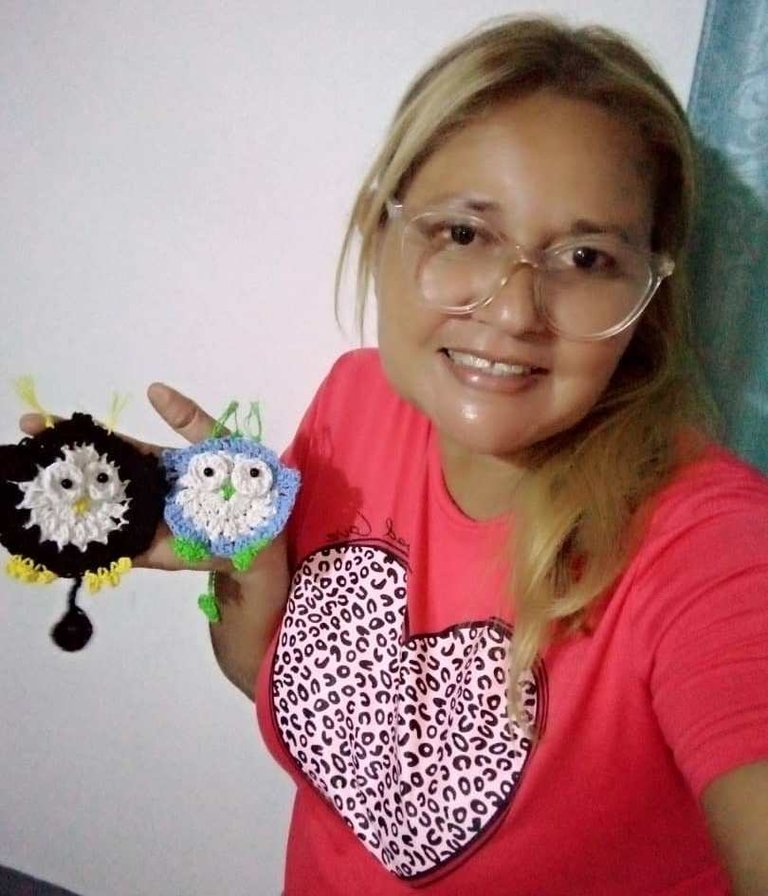
Gracias por leer y comentar mi post, realicé estos marca libros con todo el amor del mundo, tejer se ha convertido en unos de mis pasatiempo favorito , espero que sea de su agrado , muchas bendiciones y hasta la próxima.
Las fotos son de mi propiedad , tomadas con teléfono Infinix, editado con incollage y traducidos con DEEPL.
Thank you for reading and commenting on my post, I made these bookmarks with all the love in the world, knitting has become one of my favorite hobbies, I hope you like it, many blessings and until next time.
The photos are my property, taken with Infinix phone, edited with incollage and translated with DEEPL..
Que lindos buhitos, los amo, son preciosos 😍 bueno, mi nombre de usuario me delata jaja pero amo todo lo que sea hecho inspirado en buhitos ❤️
Te quedaron muy lindos amiga 🦉
Me alegra mucho que te agrade los búos tejido. Aunque se tu amor por ellos, gracias por comentar . Dios te bendiga
Gracias por el apoyo @rutablockchain . Saludos
Hola. Se ven muy lindos los separadores. Los búhos son una de las figuras más lindas para hacer en manualidades. ¿Ese hilo que usas es pabilo?
¡Felicitaciones!
Estás participando para optar a la mención especial que se efectuará el domingo 10 de marzo del 2024 a las 8:00 pm (hora de Venezuela), gracias a la cual el autor del artículo seleccionado recibirá la cantidad de 1 HIVE transferida a su cuenta.
¡También has recibido 1 ENTROKEN! El token del PROYECTO ENTROPÍA impulsado por la plataforma Steem-Engine.
1. Invierte en el PROYECTO ENTROPÍA y recibe ganancias semanalmente. Entra aquí para más información.
2. Contáctanos en Discord: https://discord.gg/hkCjFeb
3. Suscríbete a nuestra COMUNIDAD y apoya al trail de @Entropia y así podrás ganar recompensas de curación de forma automática. Entra aquí para más información sobre nuestro trail.
4. Visita nuestro canal de Youtube.
Atentamente
El equipo de curación del PROYECTO ENTROPÍA