Feliz dia mi gente bella de Hive Diy, bienvenidos a mi blog!!!
Happy day my beautiful people from Hive Diy, welcome to my blog!!!
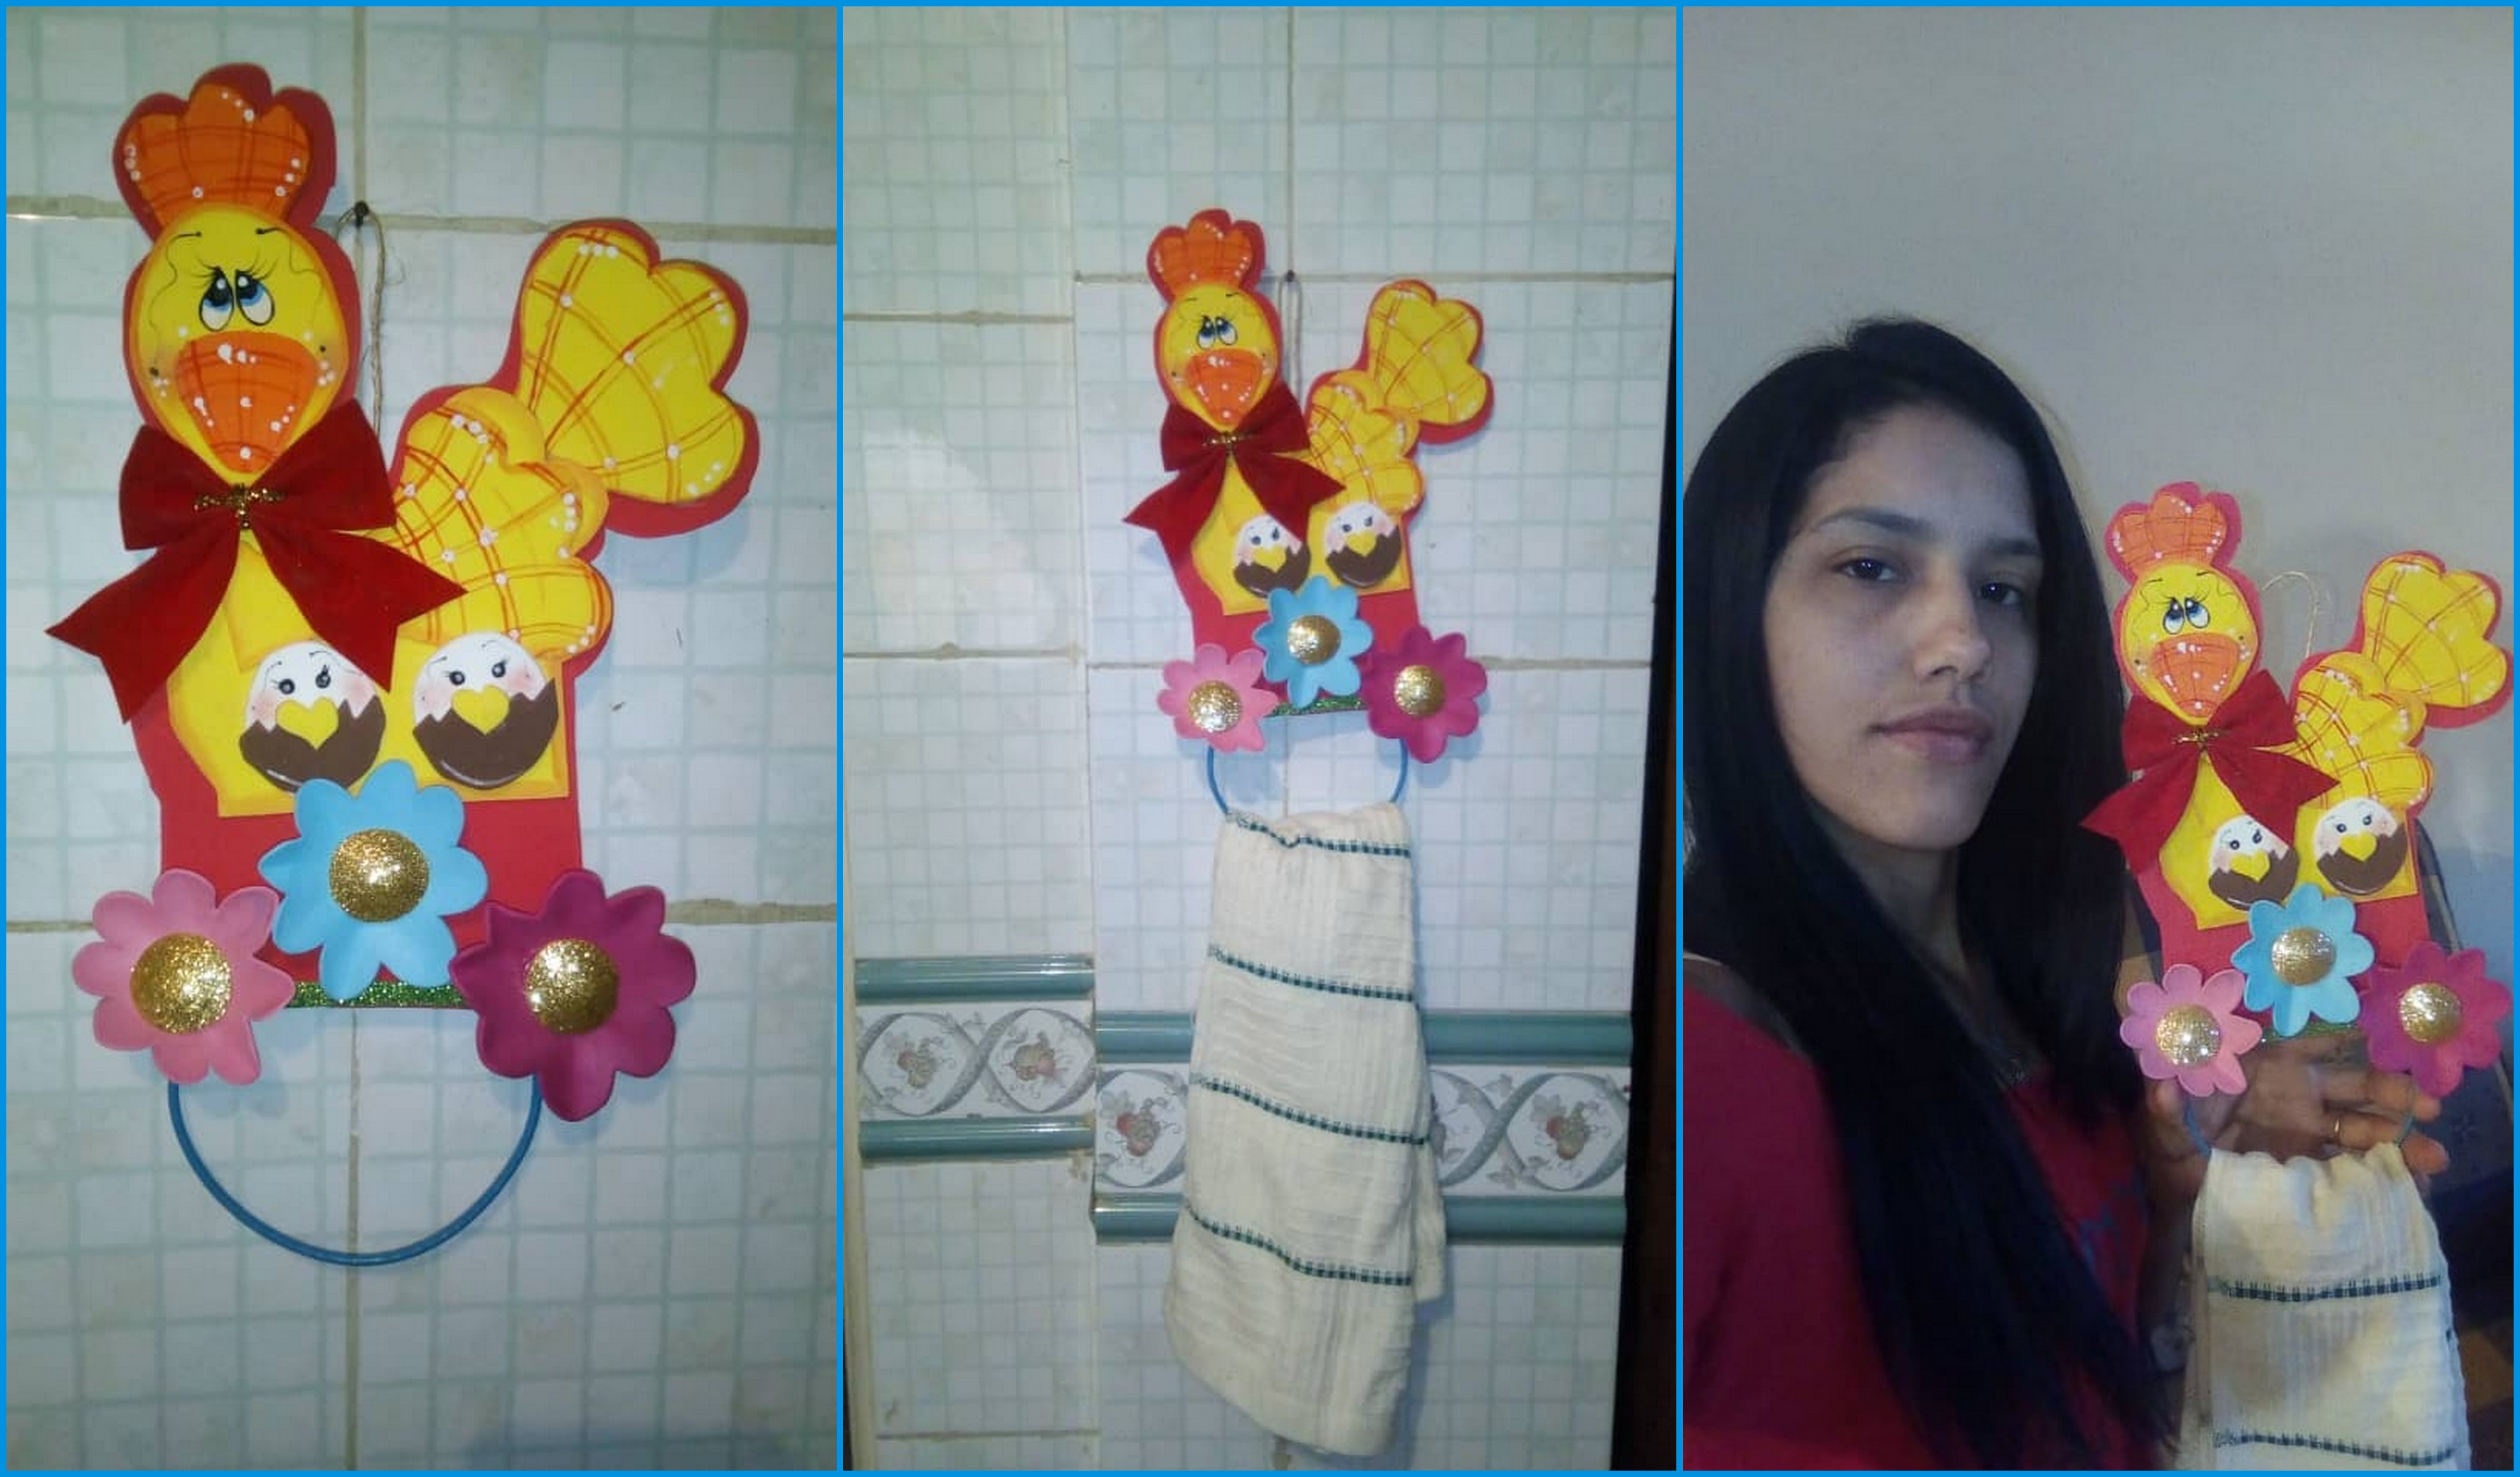
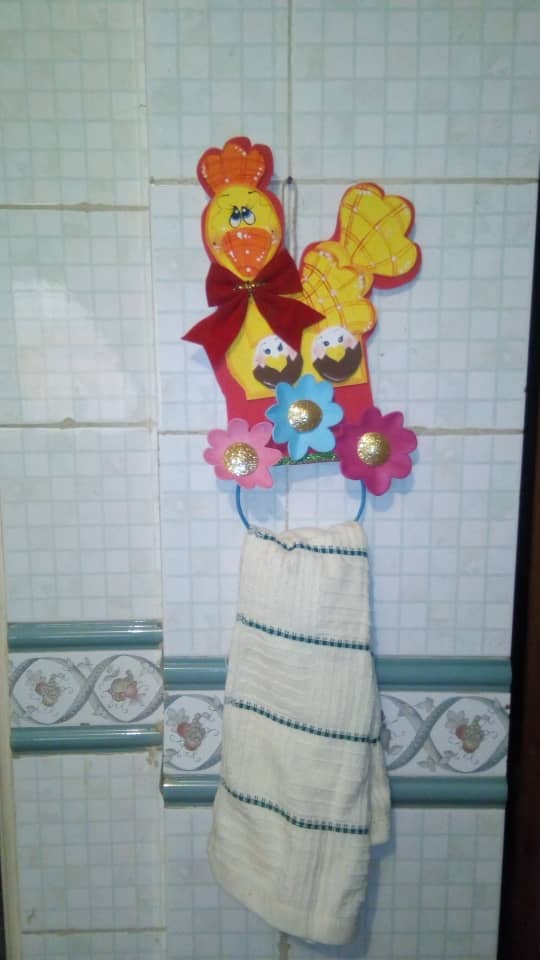
La cocina es el corazón de nuestro hogar, por eso siempre la queremos decorar, hacer miles de cositas lindas para que se vea cada día más bella por eso El dia de hoy quiero compartir con ustedes una linda gallinita, que la vamos usar en nuestra cocina como porta toallas, aprende a realizar este porta toallas paso a paso, para eso acompáñenme hasta el final.
The kitchen is the heart of our home, that's why we always want to decorate it, make thousands of cute little things so that it looks more beautiful every day, that's why Today I want to share with you a cute little hen, which we are going to use in our kitchen as a towel holder, learn how to make this towel holder step by step, for that, accompany me until the end.
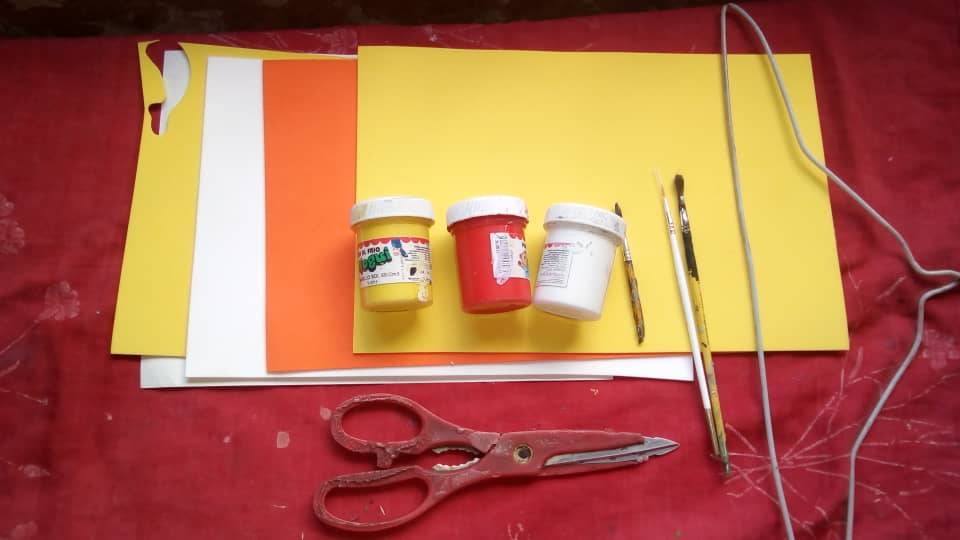
Materiales utilizados:
- Foamis de color amarillo, rojo, naranja, rosado, azul y blanco.
- Pinturas amarilla, roja y blanca.
- Tijeras.
- Gancho de ropa.
- Pinceles.
- 1 hoja de papel blanca.
Used materials:
- Foamis in yellow, red, orange, pink, blue and white.
- Yellow, red and white paints.
- Pair of scissors.
- Clothespin.
- Brushes.
- 1 sheet of white paper.
Paso a Paso:
Step by Step:
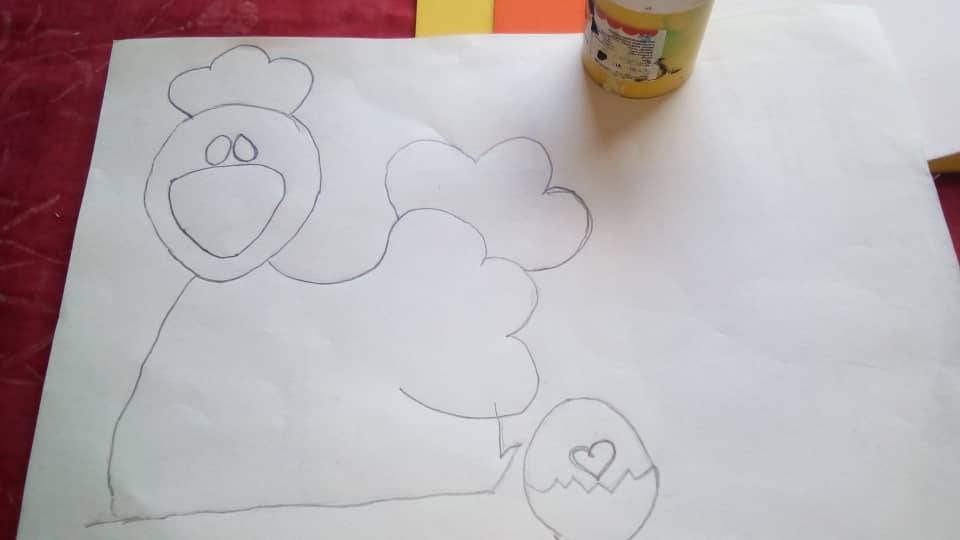
- Paso 1:
- Step 1:
Para iniciar nuestro porta toallas para la cocina, lo primero es hacer sobre la hoja de papel blanco es hacer el dibujo de la gallina que usaremos.
To start our kitchen towel holder, the first thing to do on the white sheet of paper is to draw the drawing of the chicken that we will use.
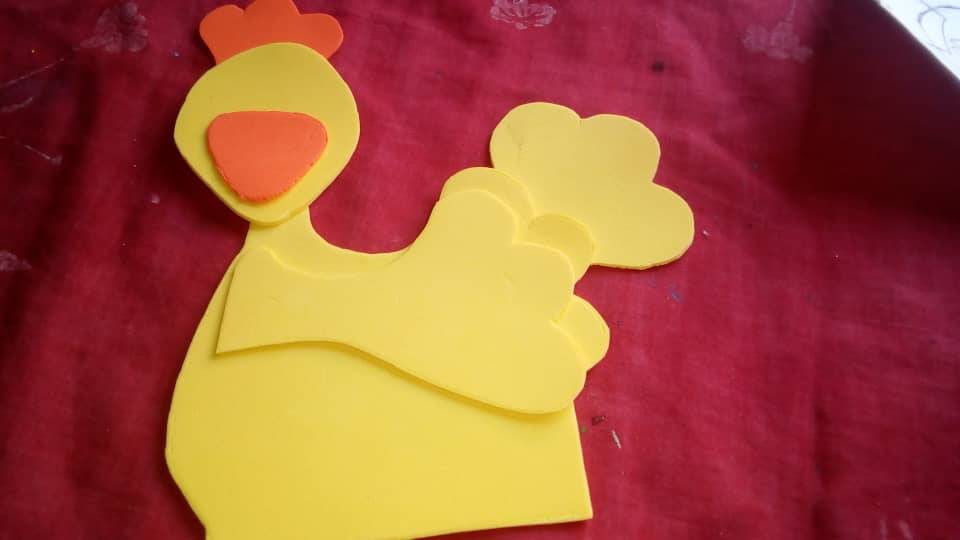
- Paso 2:
- Step 2:
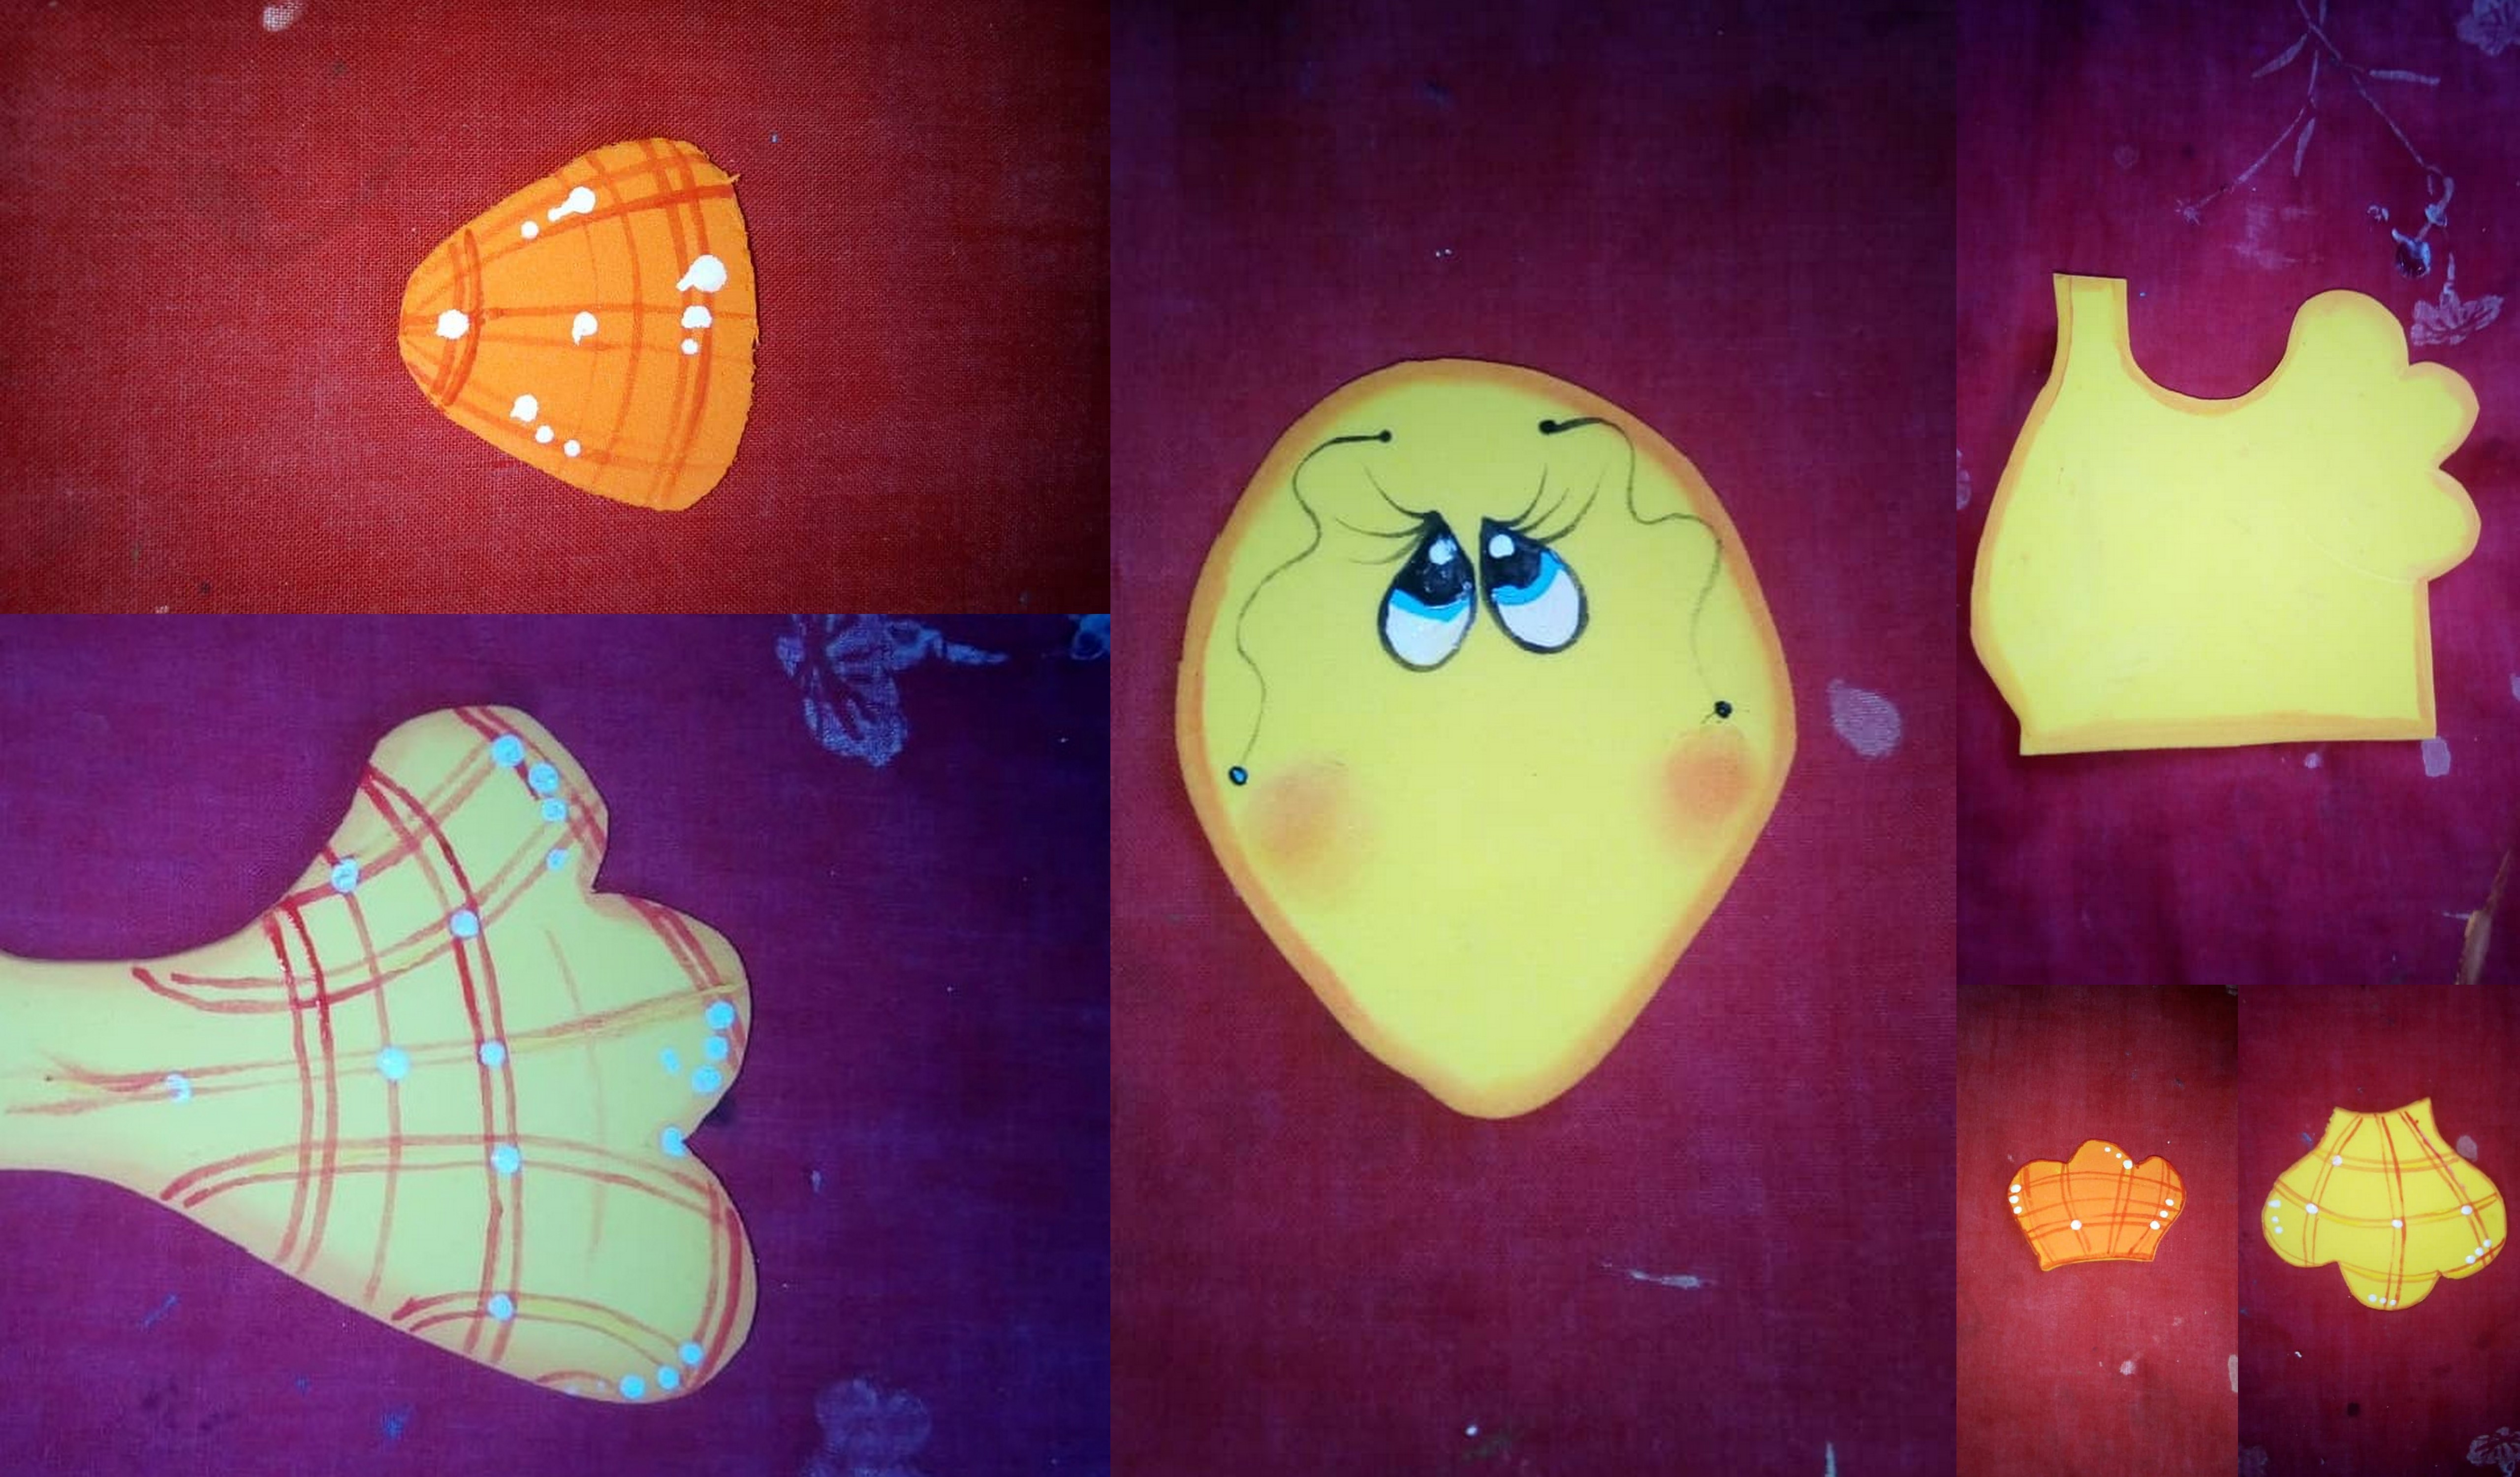
Luego lo que hacemos es transferir los moldes de nuestra gallina al foamy sacando las sus partes en foamy amarillo y naranja, como se muestra en la siguiente fotografía.
Then what we do is transfer the molds of our chicken to the foamy, taking out the yellow and orange foamy parts, as shown in the following photograph.
- Paso 3:
- Step 3:
Seguidamente el paso a seguir es pintar cada una de las partes del cuerpo de la gallinita, para eso utilizaremos un pincel muy fino y pintura roja, negra amarilla y blanca. Con pintura naranja sombreamos todo el contorno de todas las partes, luego con el pincel fino y pintura roja hacemos finas líneas en forma horizontal y vertical sobre las alas, la cresta y el pico, en su carita solo pintamos sus cejas y los ojos y con la pintura blanca le hacemos pintas, en la siguiente imagen pueden darse cuenta cómo pintar cada parte del cuerpo.
Next, the step to follow is to paint each of the parts of the body of the hen, for that we will use a very fine brush and red, black, yellow and white paint. With orange paint we shade the entire contour of all the parts, then with the fine brush and red paint we make fine lines horizontally and vertically on the wings, the crest and the beak, on his little face we only paint his eyebrows and eyes and with we paint the white paint, in the following image you can see how to paint each part of the body.
- Paso 4:
- Step 4:
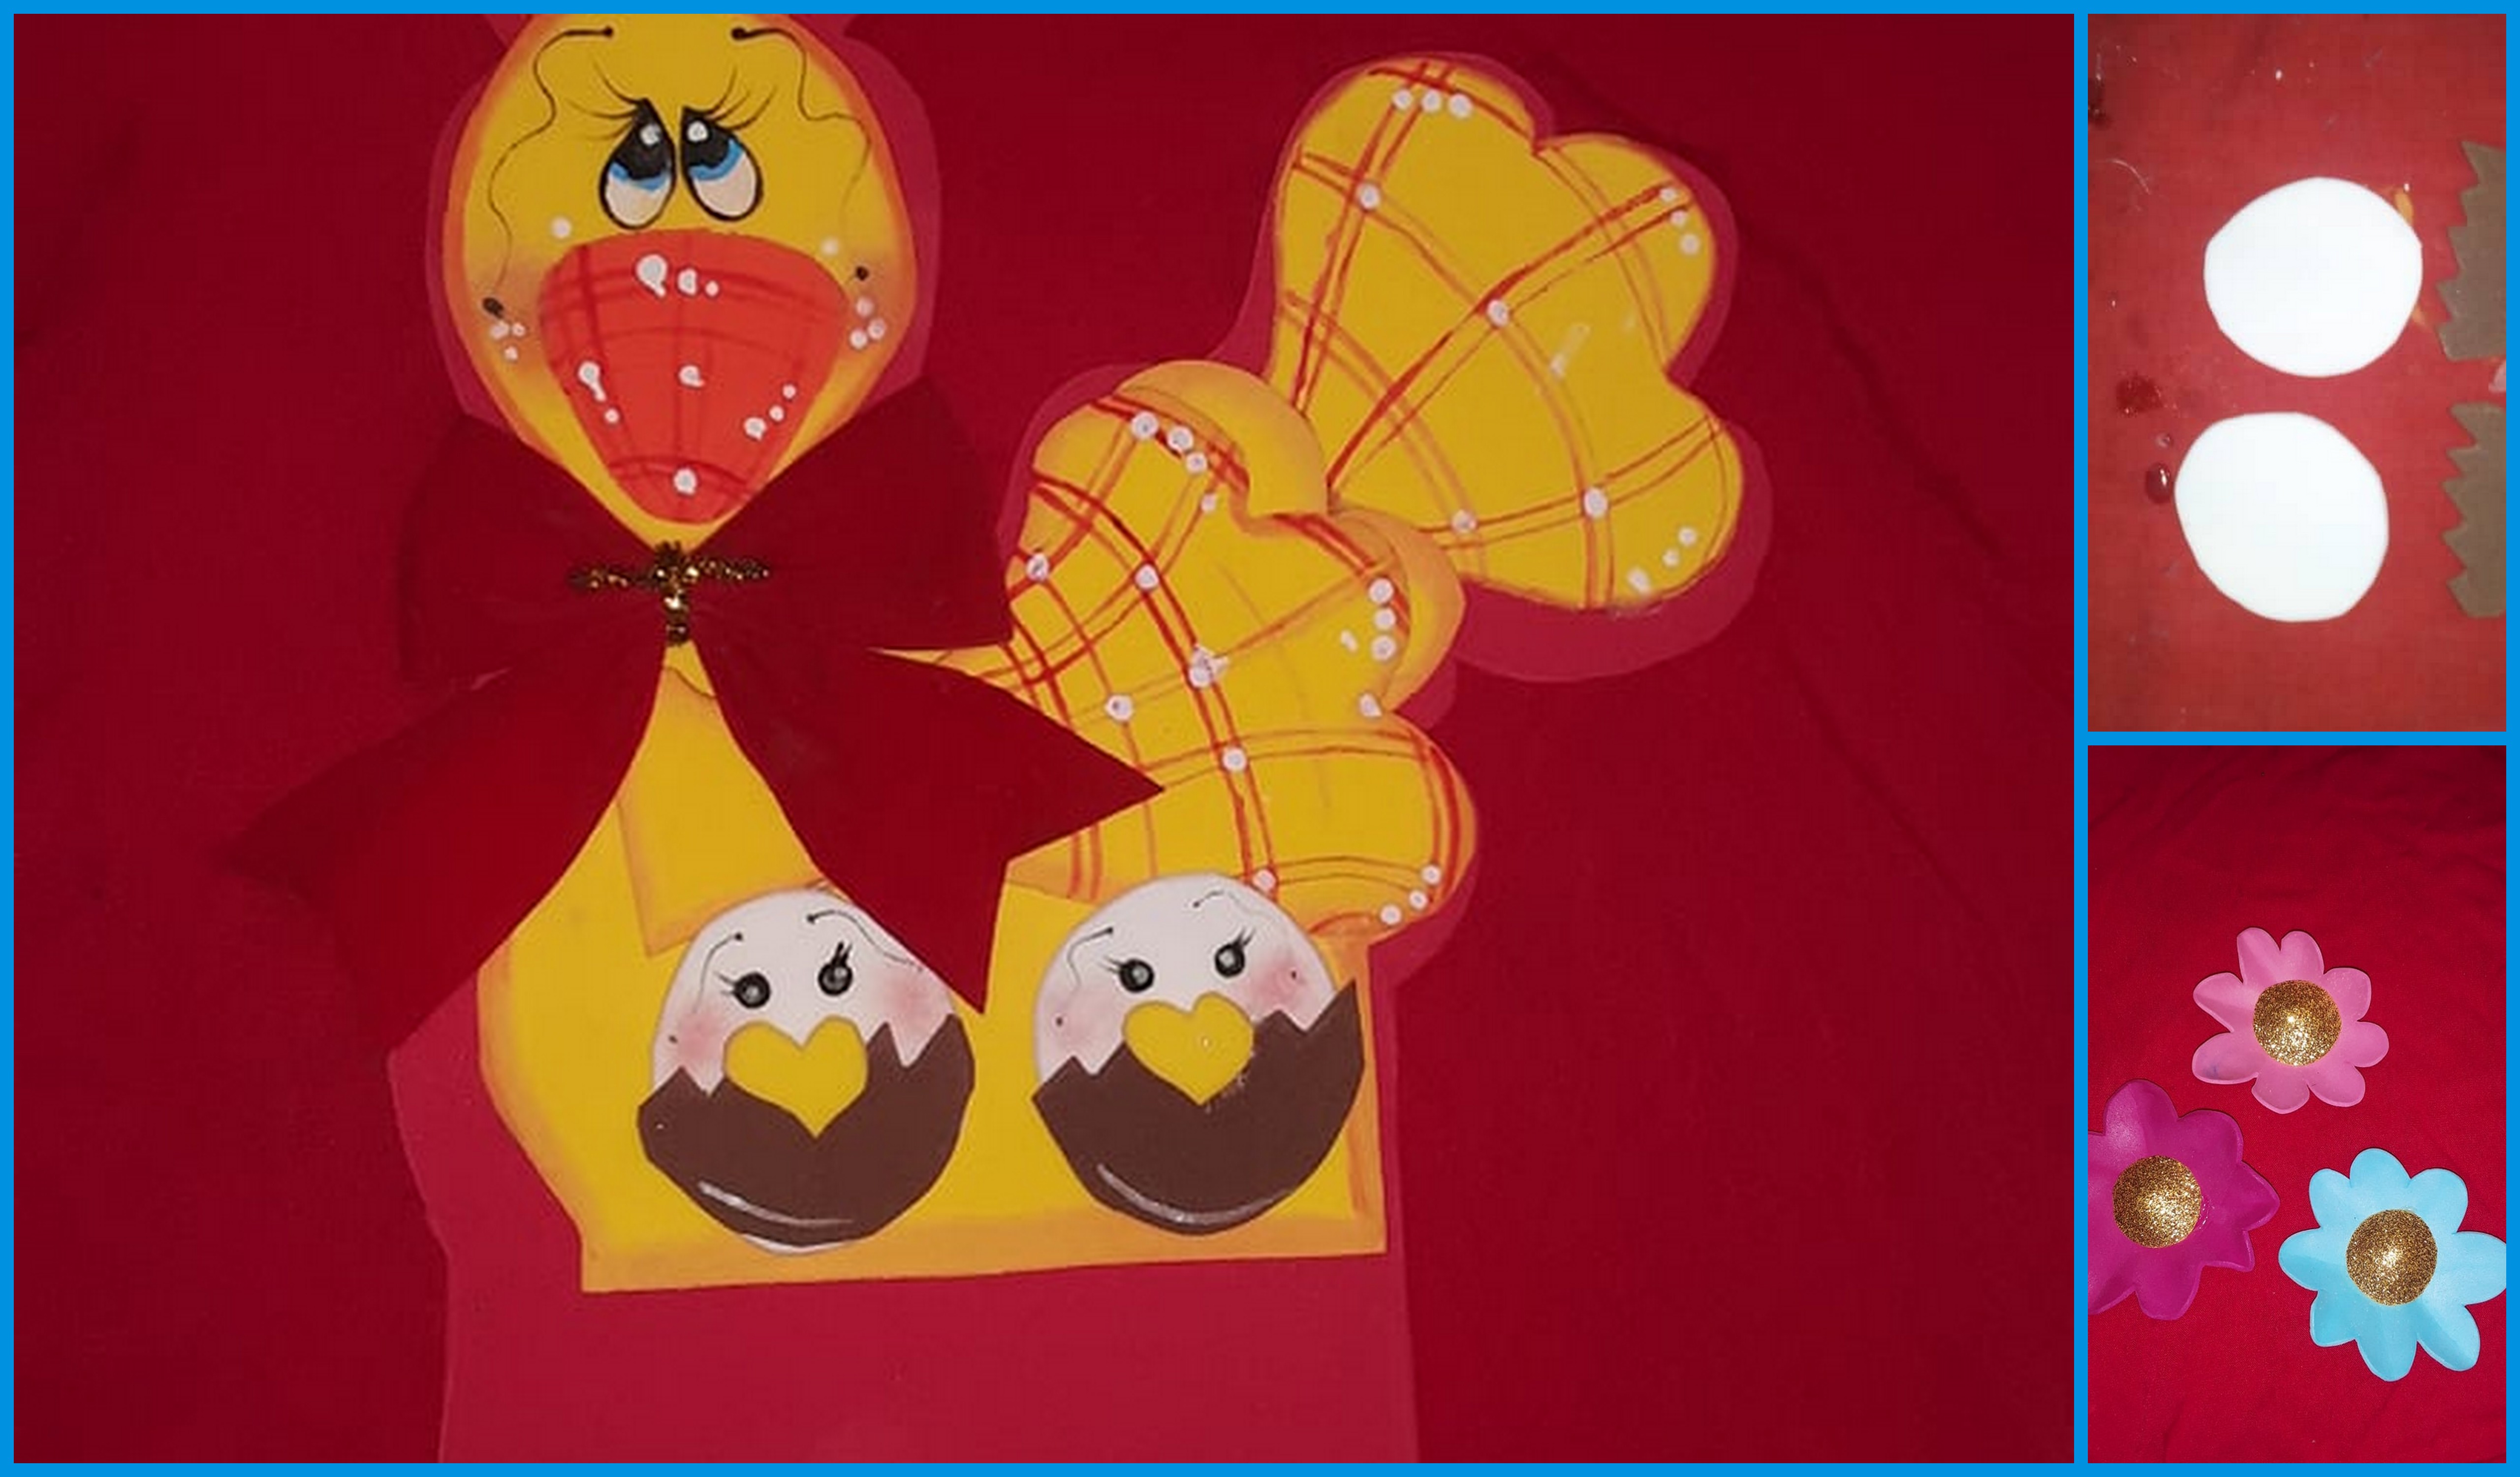
Ahora vamos con el armado de nuestra gallina, comenzamos pegando la cabeza, luego la cresta y por último las alas y en foamy rojo hacemos una base y montamos la gallinita sobre ella.
Now we go with the assembly of our chicken, we start by gluing the head, then the crest and finally the wings and in red foamy we make a base and mount the chicken on it.

- Paso 4:
- Step 4.
Para decorar nuestra gallinita hacemos dos huevos, en foami blanco y marrón, pintamos su cara y un corazoncito amarillo en el medio como detalle, de igual manera hacemos tres flores y las calentamos sobre una plancha de ropa y le damos una forma bonita.
To decorate our little chicken we make two eggs, in white and brown foami, we paint its face and a yellow heart in the middle as a detail, in the same way we make three flowers and heat them on a clothes iron and give it a beautiful shape.
- Paso 5:
- Step 5:
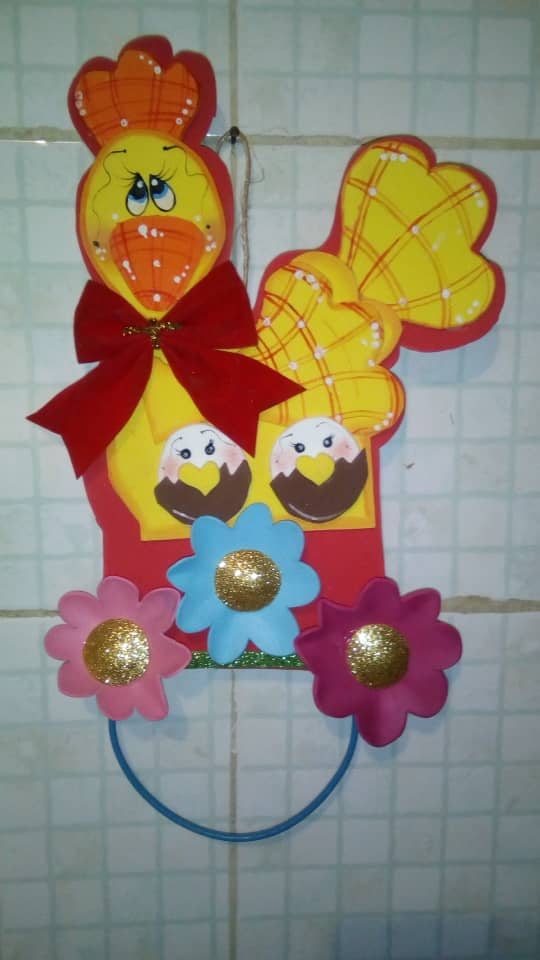
Con el gancho de ropa hacemos un aro de aproximadamente de 9 cm de diámetro, Volteamos nuestra gallina y por la parte de atrás pegamos el aro, por la parte de la cabeza hacemos un aro con hilo el cual pegaremos con silicon, será la parte por donde guindaremos el porta toallas.
With the clothes hook we make a ring of approximately 9 cm in diameter, we turn our hen and on the back we glue the ring, on the part of the head we make a ring with thread which we will paste with silicone, it will be the part for where we will hang the towel holder.

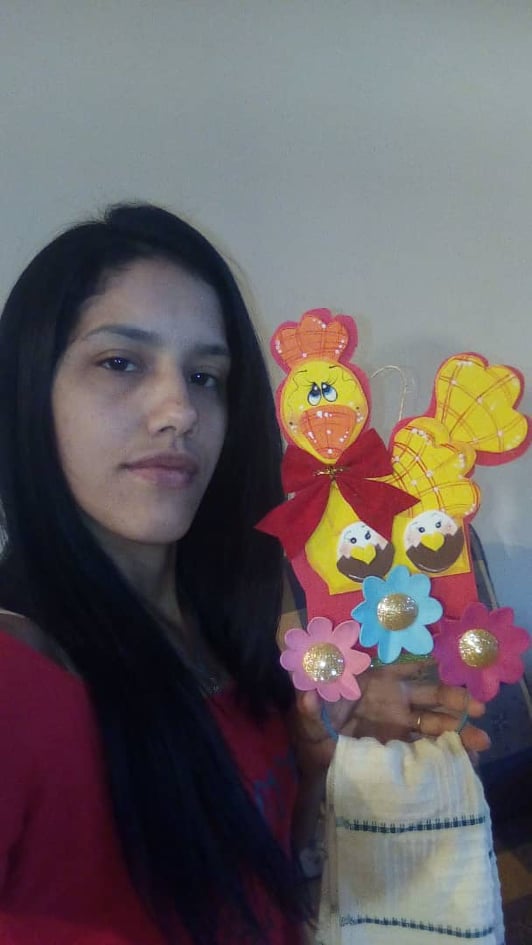
Y así quedó nuestra hermosa gallina porta toallas ideal para decorar nuestra cocina !!!
And this is how our beautiful towel holder chicken was, ideal to decorate our kitchen!!!
Gracias familia por su gran apoyo y por visitar mi blog, Dios nos de un dia exitoso a todos, besos!!!
Thank you family for your great support and for visiting my blog, God give us all a successful day, kisses!!!
Hasta mañana.
Until tomorrow.
Todas las fotos fueron tomadas por m, con la camara de mi telefono BLU ADVANCE A6, y editadas en mi computadora con la aplicación Picasa 3.
All photos were taken by me, with the camera of my BLU ADVANCE A6 phone, and edited on my computer with the Picasa 3 application.
¡Felicidades! Esta publicación obtuvo upvote y fue compartido por @la-colmena, un proyecto de Curación Manual para la comunidad hispana de Hive que cuenta con el respaldo de @curie.
Si te gusta el trabajo que hacemos, te invitamos a darle tu voto a este comentario y a votar como testigo por Curie.
Si quieres saber más sobre nuestro proyecto, acompáñanos en Discord: La Colmena.
Gracias @la-colmena, por su gran apoyo..!!!
¡Hola!. Tu post es muy bueno, te felicito, todo está bien explicado y es muy llamativo. Cabe destacar que tu destreza con las manualidades es impecable, me agrada ver que las personas pongan tanto cariño tanto a su trabajo como al post en general. Es la segunda vez que te visito y realmente me encanta...
Hola amigo, feliz dia!!!
Gracias por visitar mi post, en verdad me da mucha alegría que te guste mi forma de hacer mis obras creativas y la manera de explicar el paso a paso, saludos @jesuslnrs.