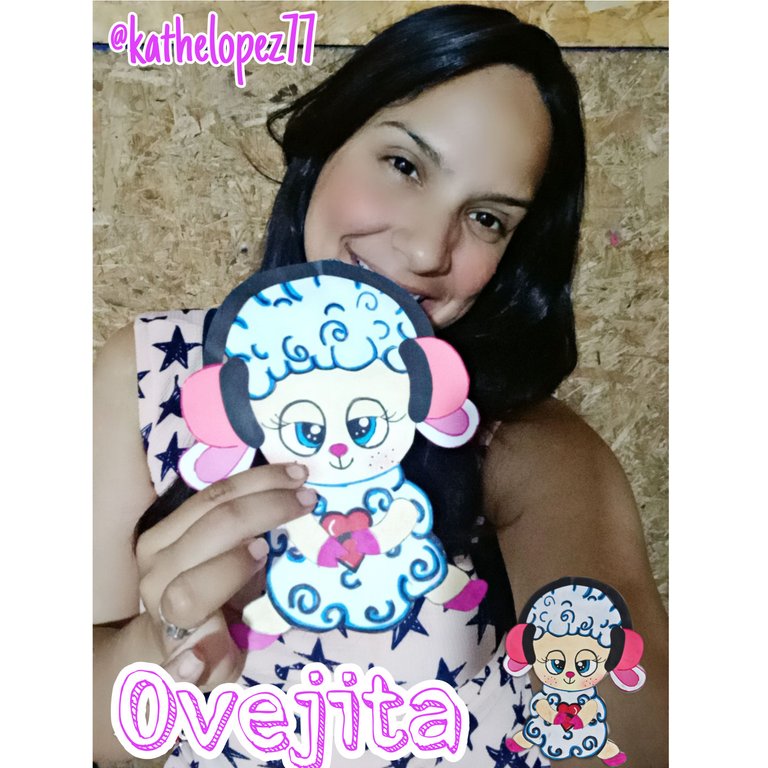
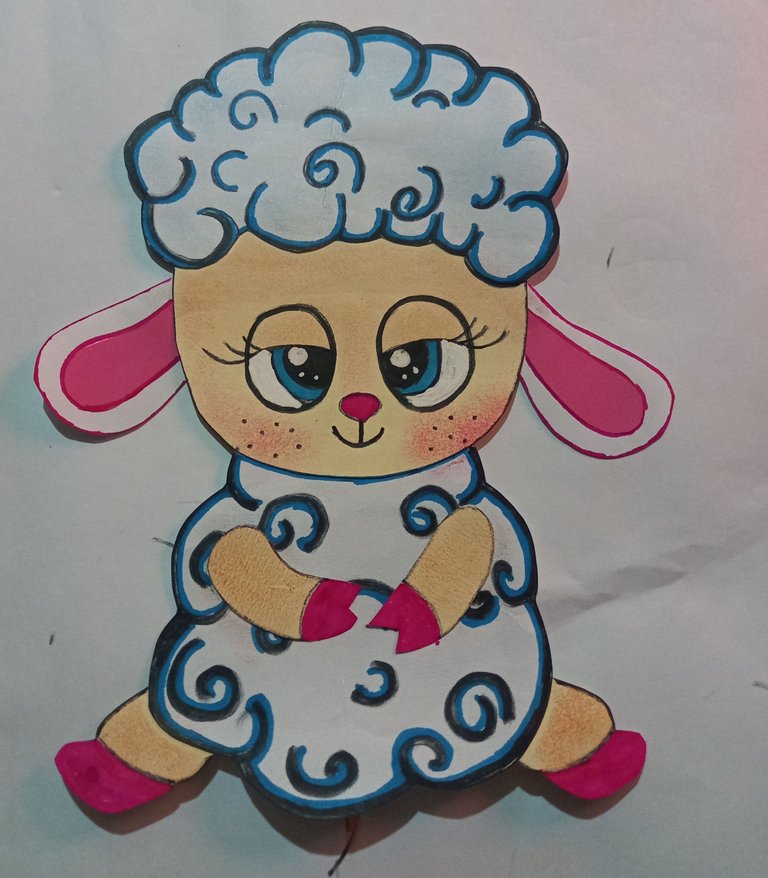
Bienvenidos a mi blog amigos artesanos, es un gusto volver a saludarlos y desearles un día lleno de mucho éxito, paz y mucha salud para ustedes y sus familias. Hoy les traigo un nuevo proyecto fabricado en papel y cartulina, se trata de una muy hermosa y relajada ovejita escuchando música, espero les guste.
Welcome to my blog craft friends, it is a pleasure to greet you again and wish you a day full of success, peace and good health for you and your families. Today I bring you a new project made of paper and cardboard, it is a very beautiful and relaxed sheep listening to music, I hope you like it.

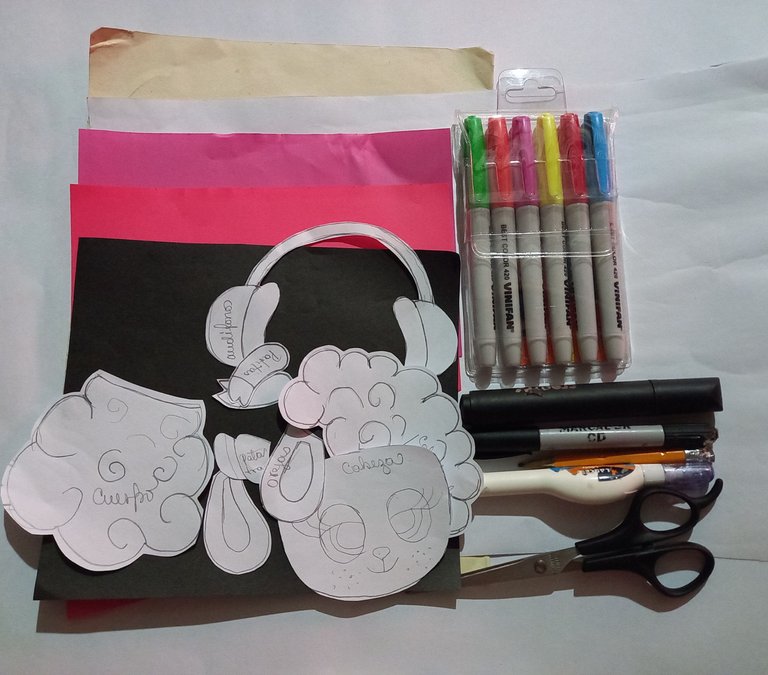
- Cartulina blanca.
- Papel fucsia, rosa neón, negro y beige.
- Patrones de la ovejita ( cabeza, orejas, cabello de lana, cuerpo, patas delanteras y traseras), audífonos.
- Marcadores.
- Corrector blanco.
- Pegamento en barra.
- Tijeras.
- Lápiz.
- White cardboard.
- Fuchsia, neon pink, black and beige paper.
- Patterns of the sheep (head, ears, wool hair, body, front and back legs), headphones.
- Marker pens.
- White corrector.
- Glue stick.
- Scissors.
- Pencil.

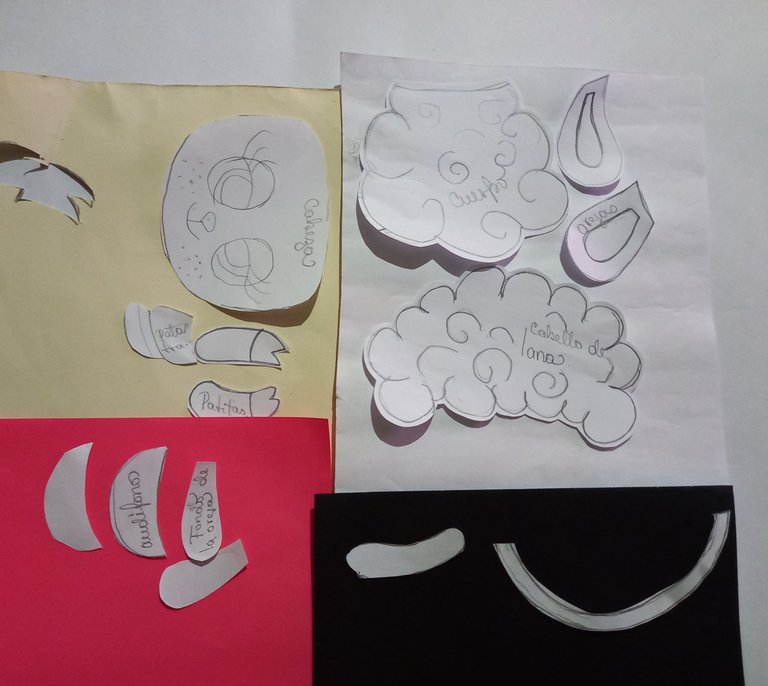
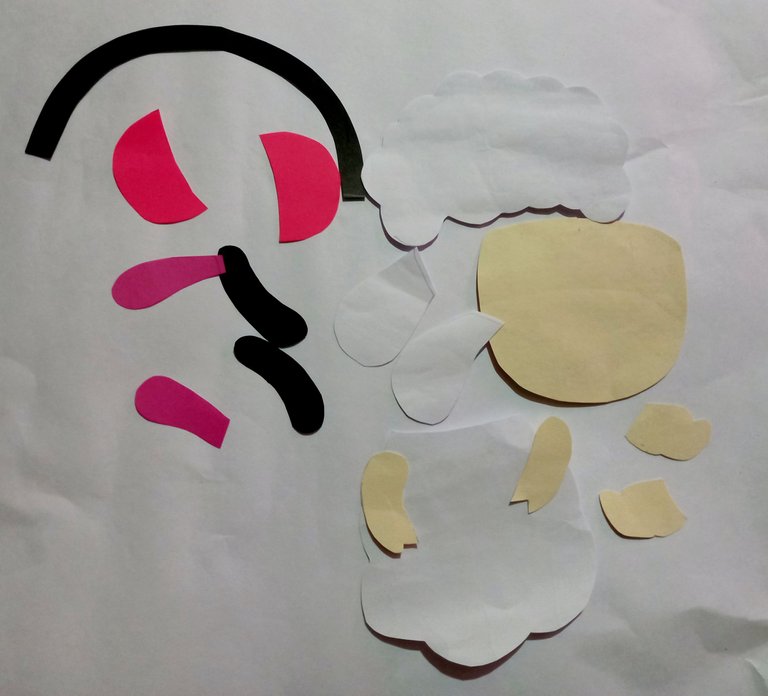
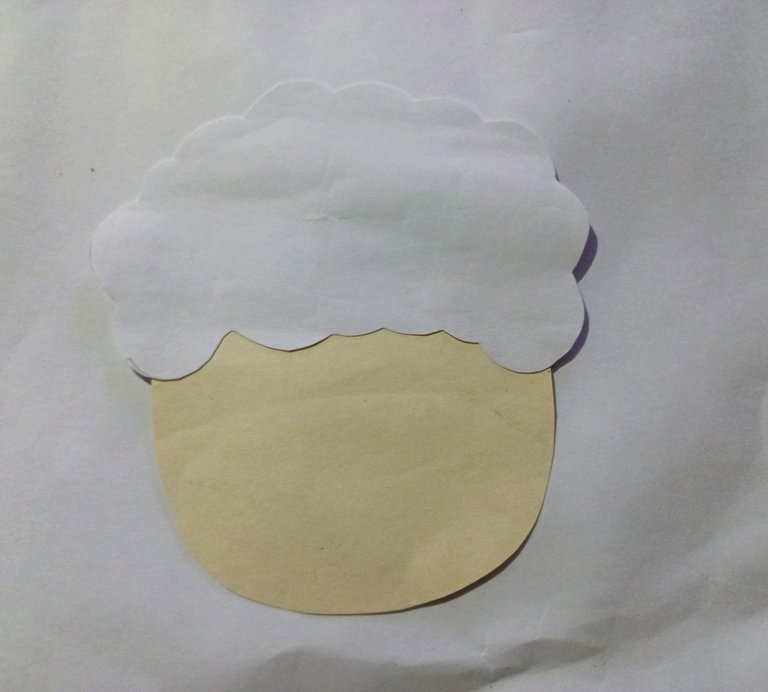
Lo primero que haremos es marcar y recortar todos los patrones colocándoles sobre el papel o cartulina que hayamos escogido para cada patrón, yo utilicé cartulina blanca para lo que es el cuerpo, las orejas y el cabello de lana, para las patas y la cabeza utilicé cartulina beige, para el fondo de las orejas utilicé papel fucsia y para los audífono utilices papel negro y rosa neón.
The first thing to do is to mark and cut out all the patterns by placing them on the paper or cardboard we have chosen for each pattern, I used white cardboard for the body, ears and wool hair, for the legs and head I used beige cardboard, for the bottom of the ears I used fuchsia paper and for the headphones I used black and neon pink paper.
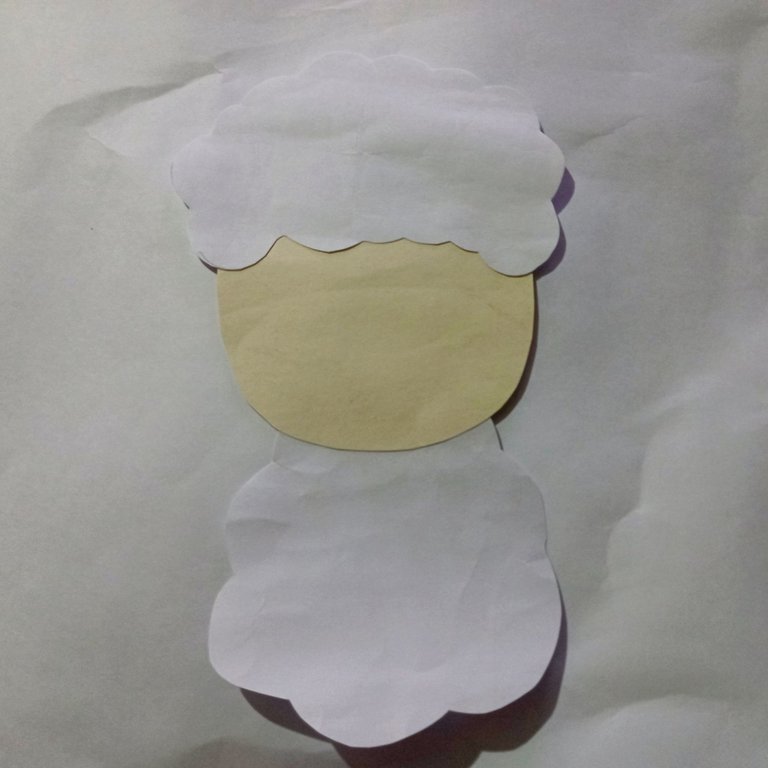
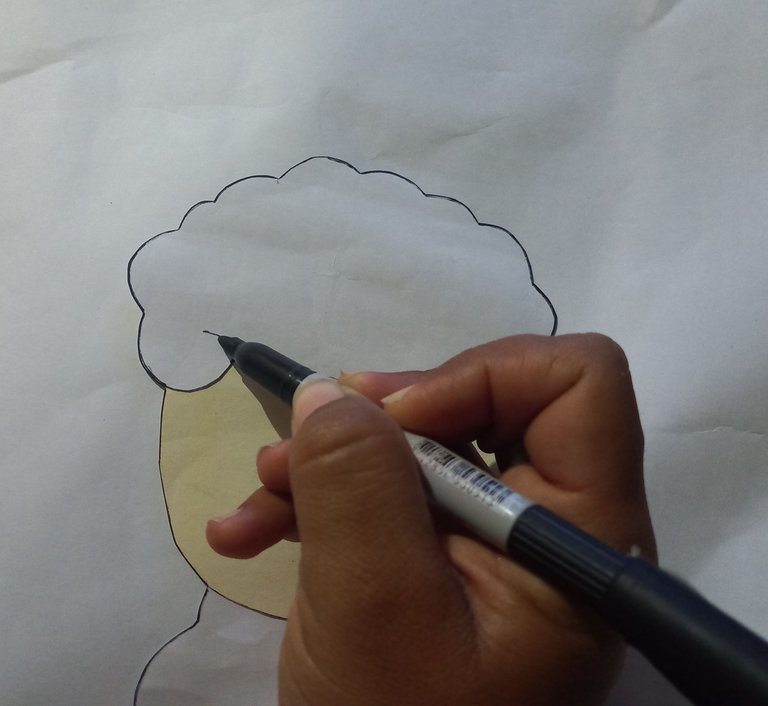
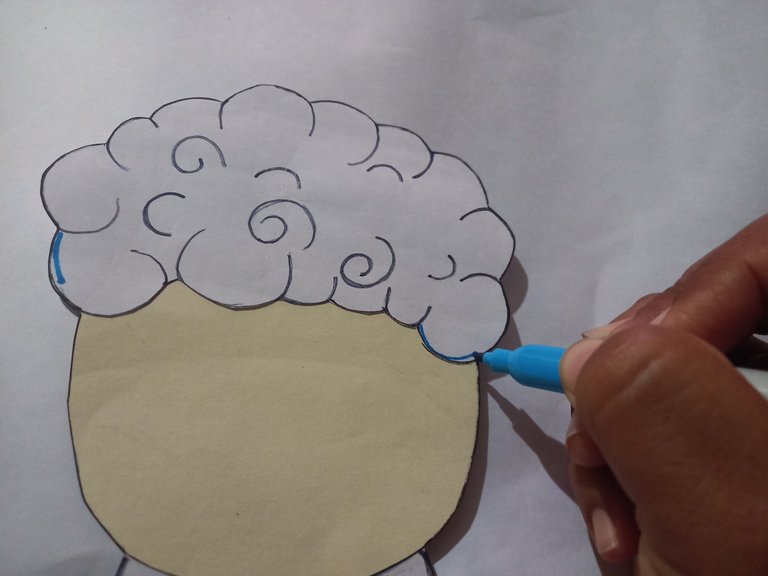
Después que tengamos todos los patrones recortados procedemos a pega el cabello de lana sobre la cabeza, unimos el cuerpo con la cabeza y marcamos todos sus bordes con marcador negro.
After we have all the patterns cut out we proceed to glue the wool hair on the head, join the body to the head and mark all the edges with black marker.
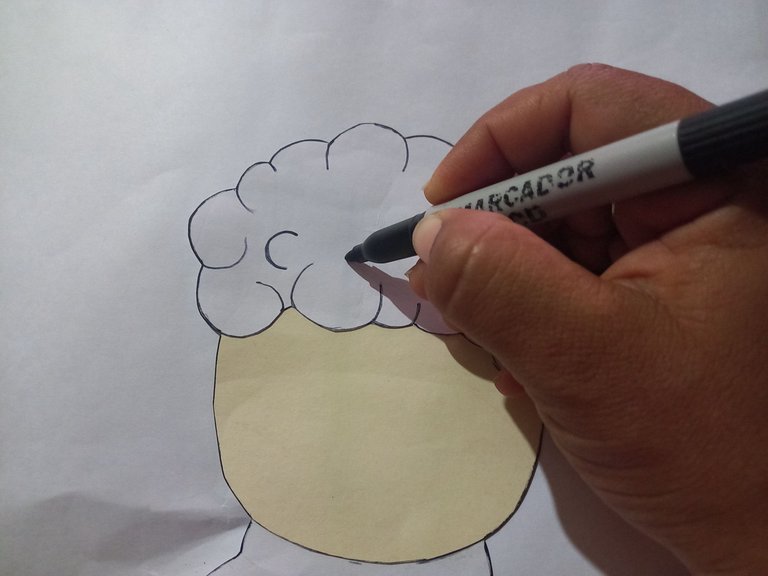
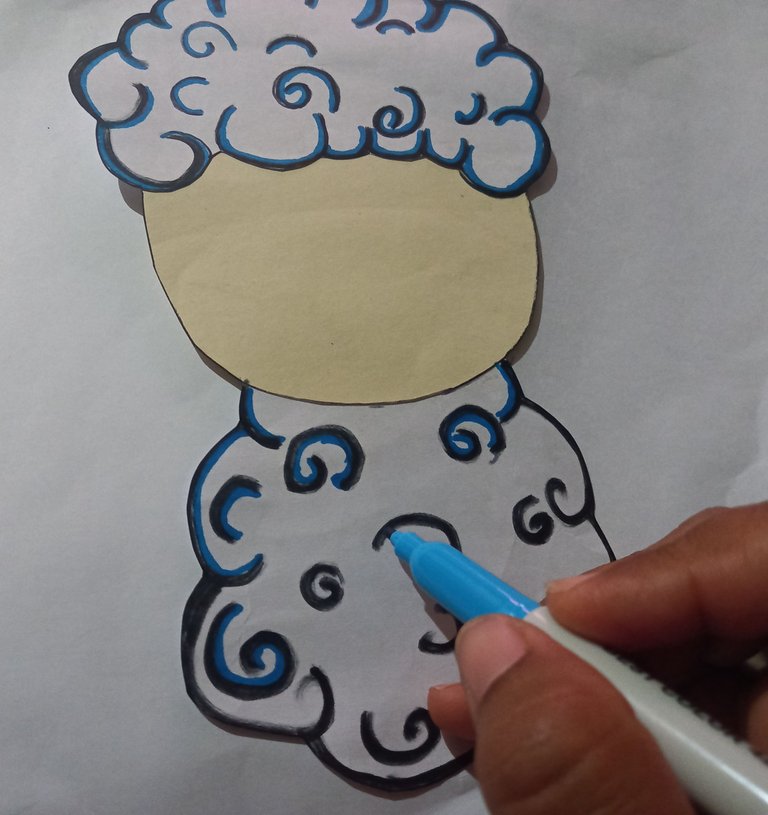
Seguidamente, dibujamos en todo el cabello y el cuerpo pequeños rollitos con marcador negro y marcador azul para simular la lana.
Next, we draw small rolls all over the hair and body with black marker and blue marker to simulate wool.
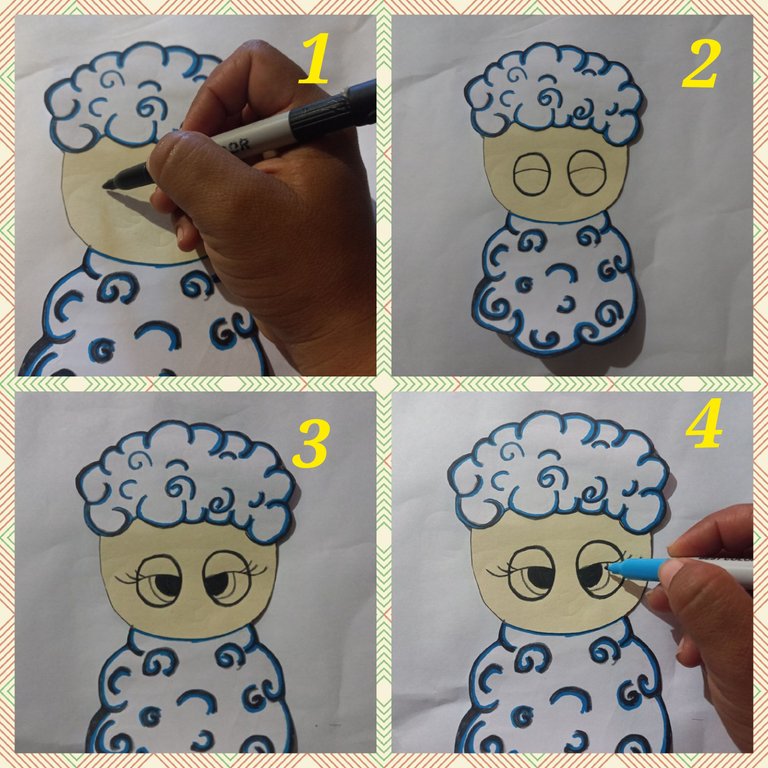
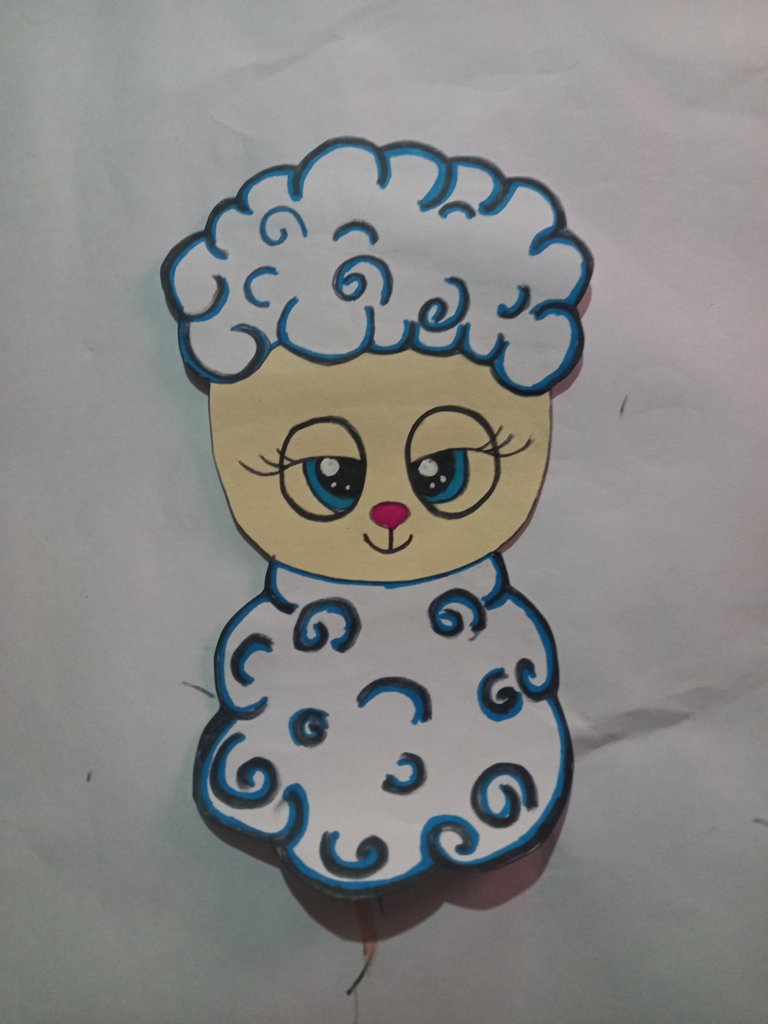
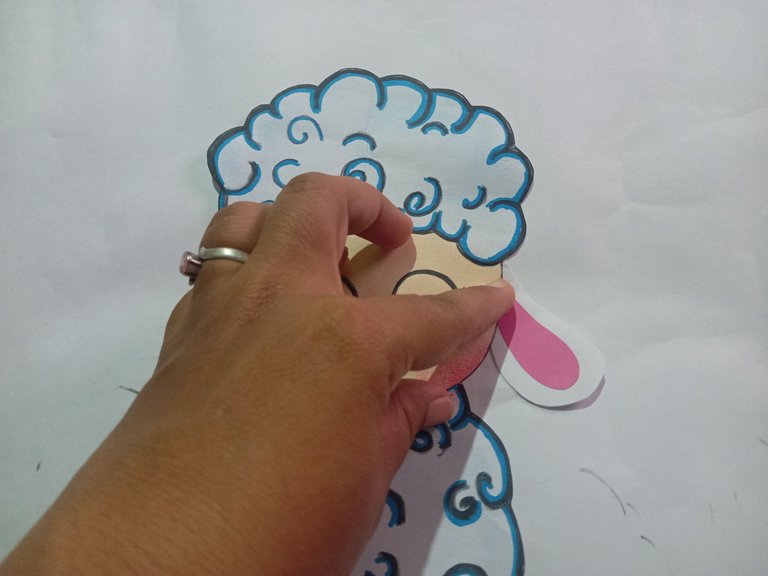
Luego dibujaremos los ojos con marcador negro y azul, dejando los párpados un poco caído para hacer un efecto relajado.
Then we will draw the eyes with black and blue marker, leaving the eyelids a little droopy for a relaxed effect.
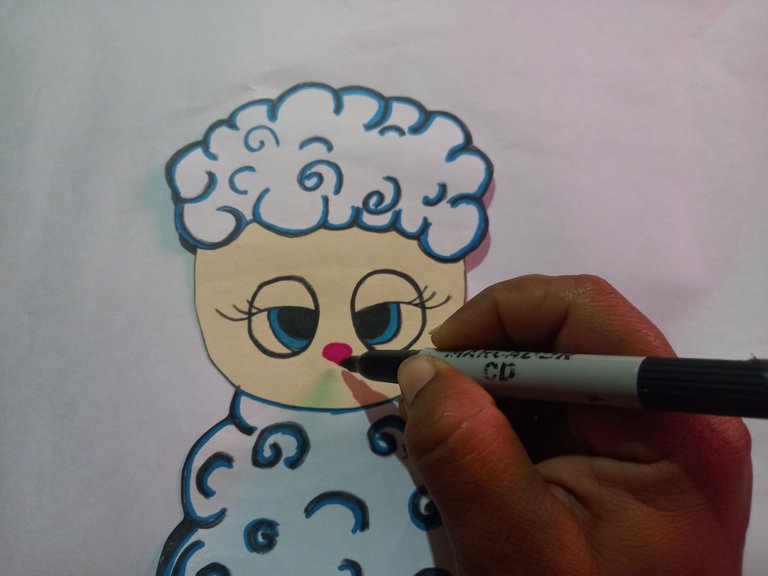
Después dibujamos la nariz con marcador fucsia y la boca con marcador negro, además agregamos unos puntos de brillo a los ojos utilizando corrector blanco.
Then we draw the nose with fuchsia marker and the mouth with black marker, and we add some glitter dots to the eyes using white concealer.
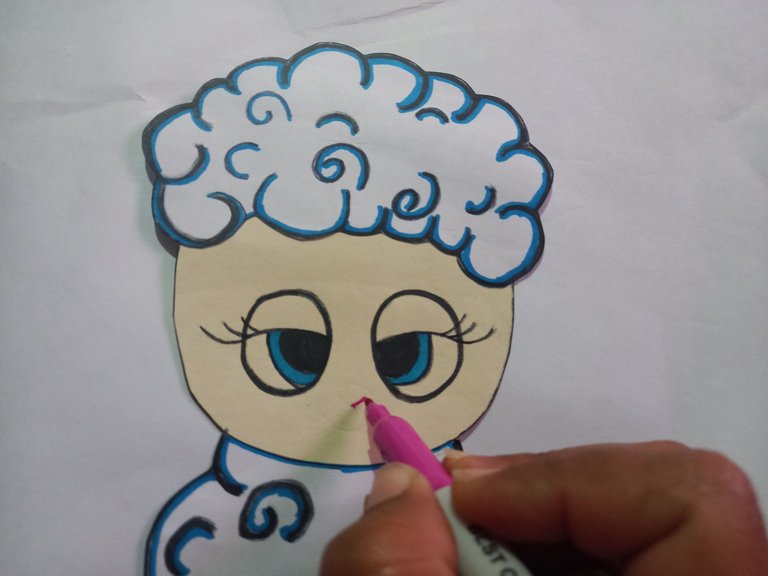
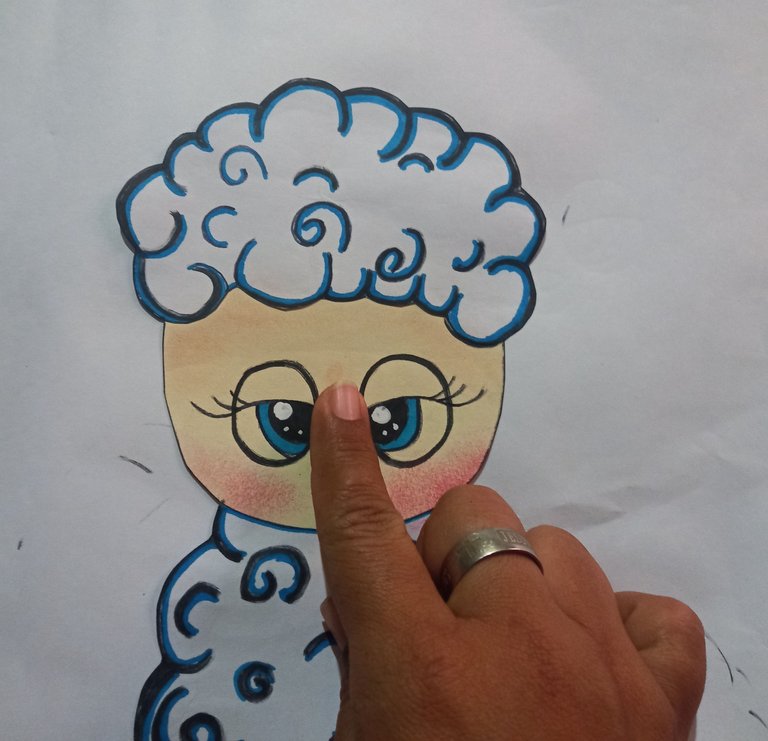
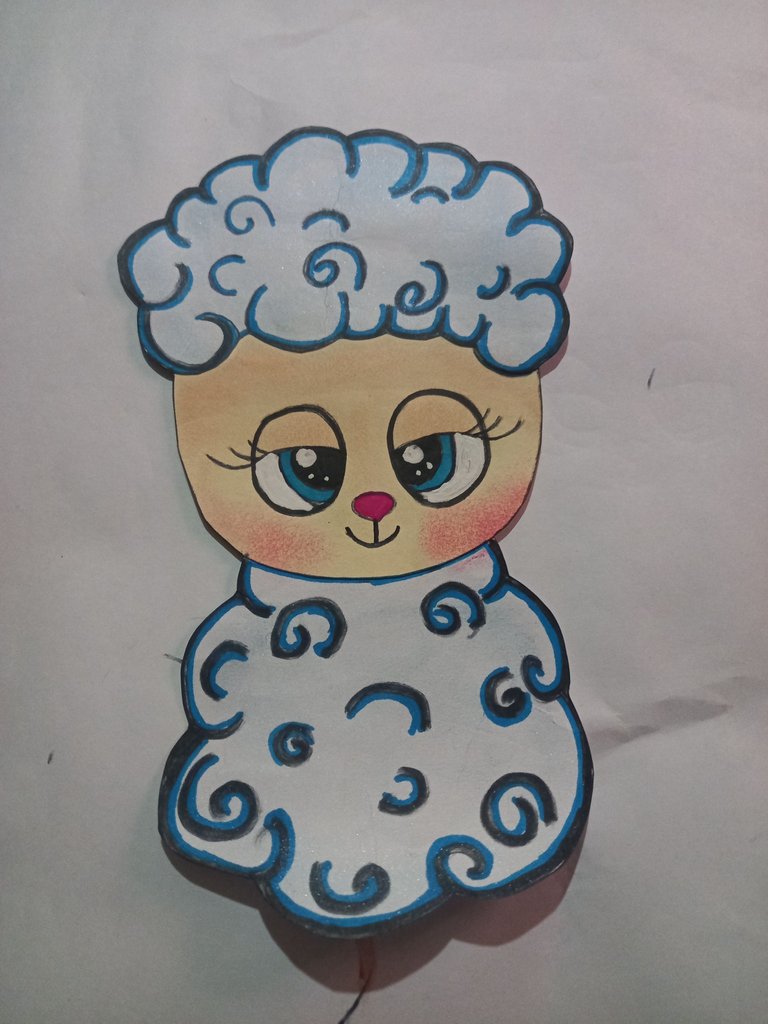
Para darle un poco de color a las mejillas y el resto de la cabeza utilizaremos rubor rojo e iremos difuminando con nuestros dedos.
To give a little color to the cheeks and the rest of the head we will use red blush and blend with our fingers.
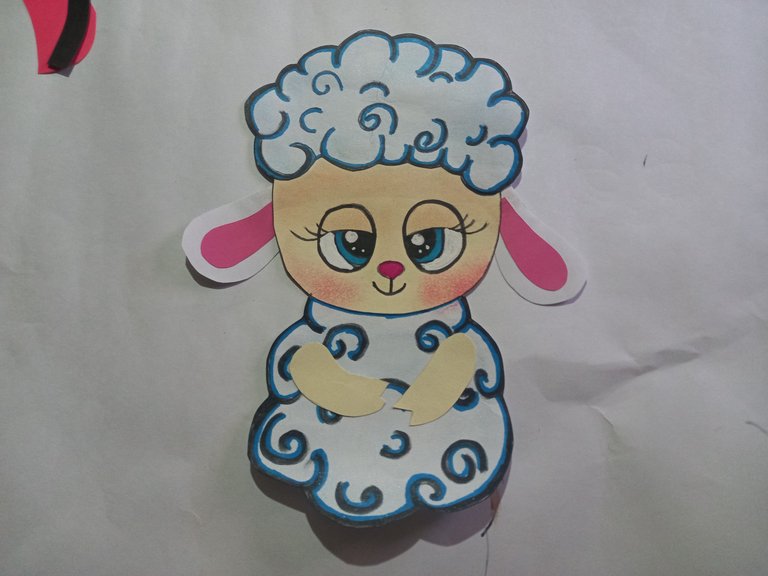
Luego pegaremos las orejas, las patitas delanteras y las patitas traseras, a estas últimas le pintaremos las pezuñas con marcador fucsia.
Then we will glue the ears, the front legs and the hind legs, the latter we will paint the hooves with fuchsia marker.
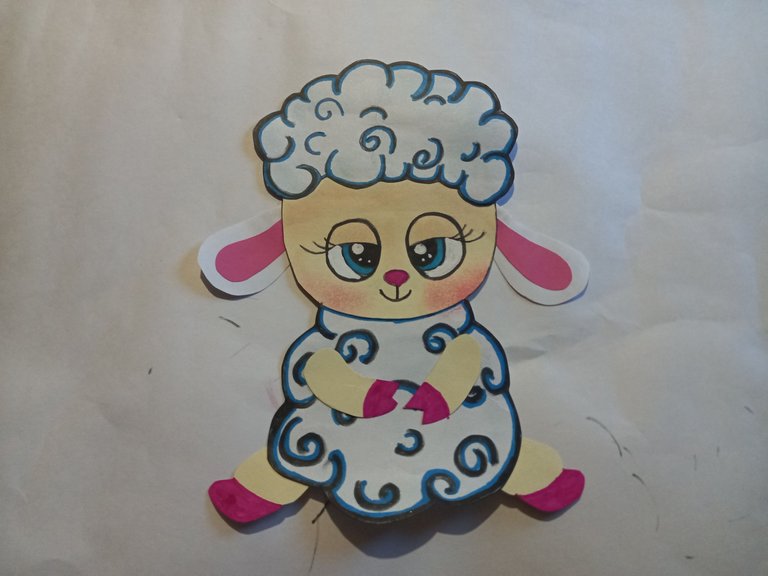
Cuando hayamos terminado de hacer los detalles de las patitas, le daremos un poco de color con rubor o sombra anaranjada.
When we have finished making the details of the legs, we will give a little color with blush or orange shadow.
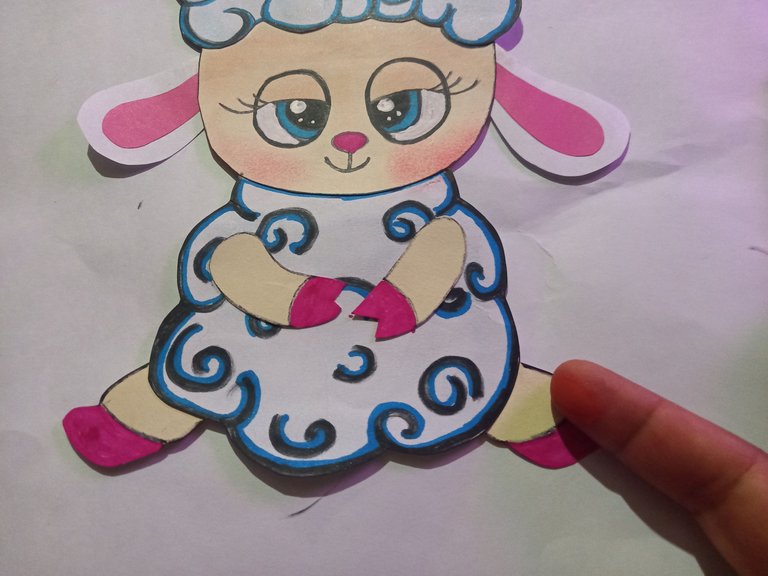
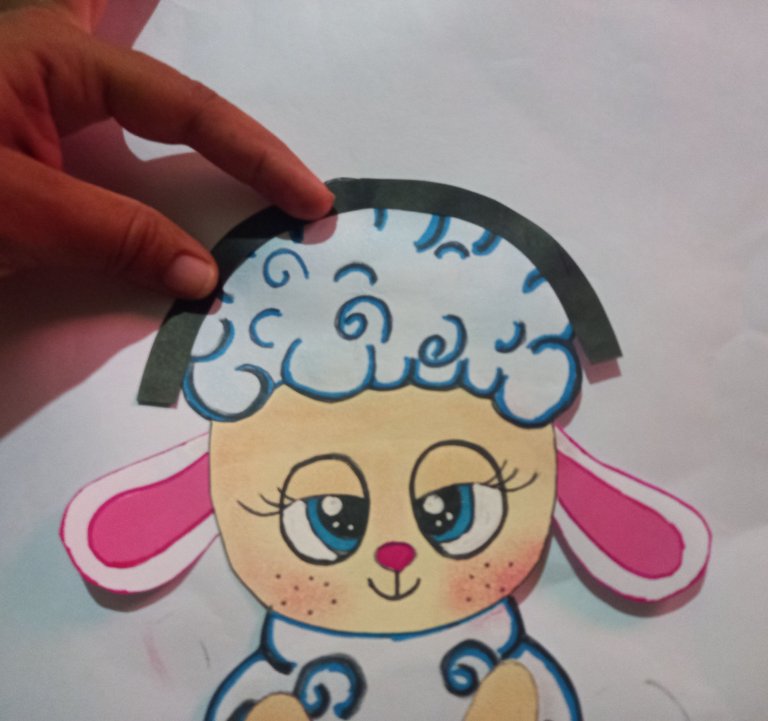
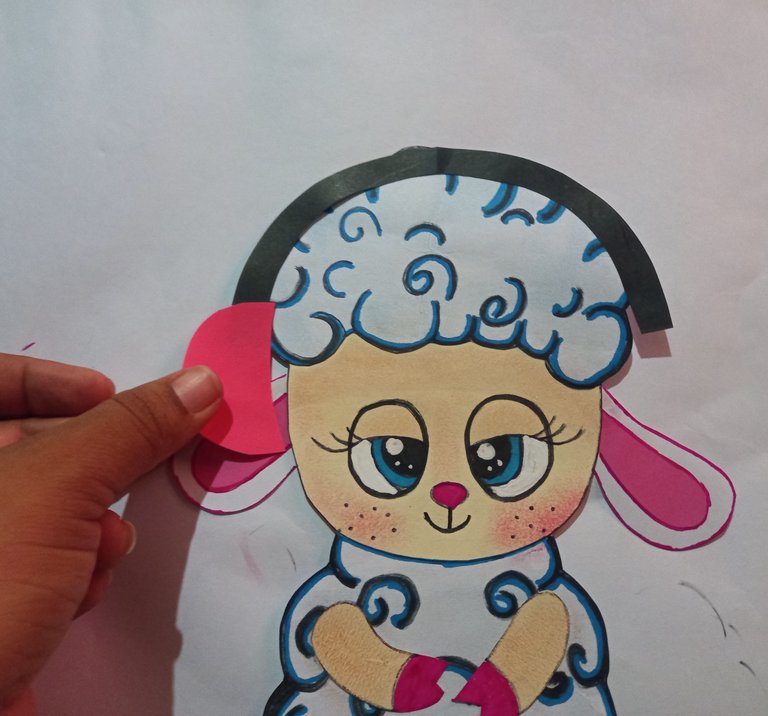
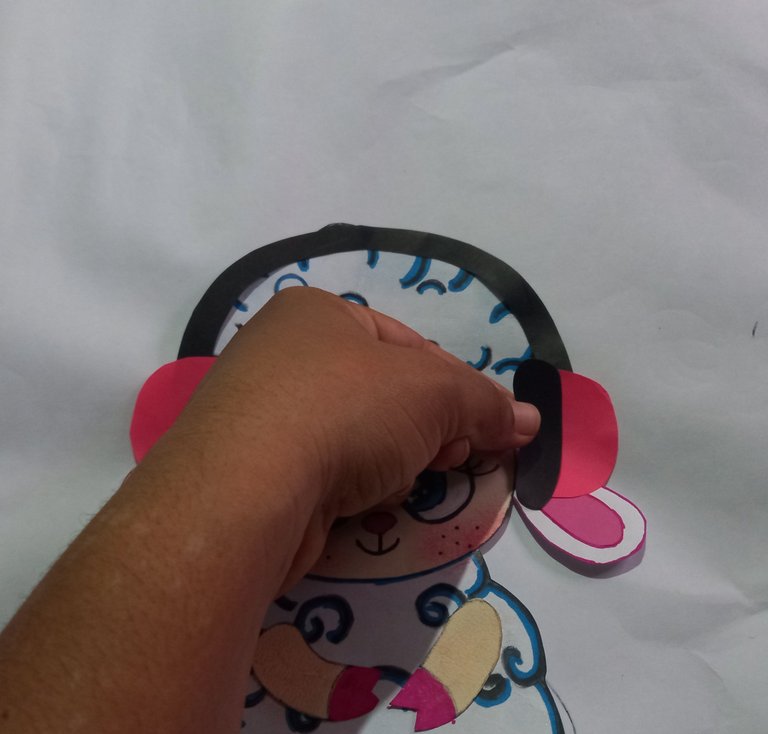
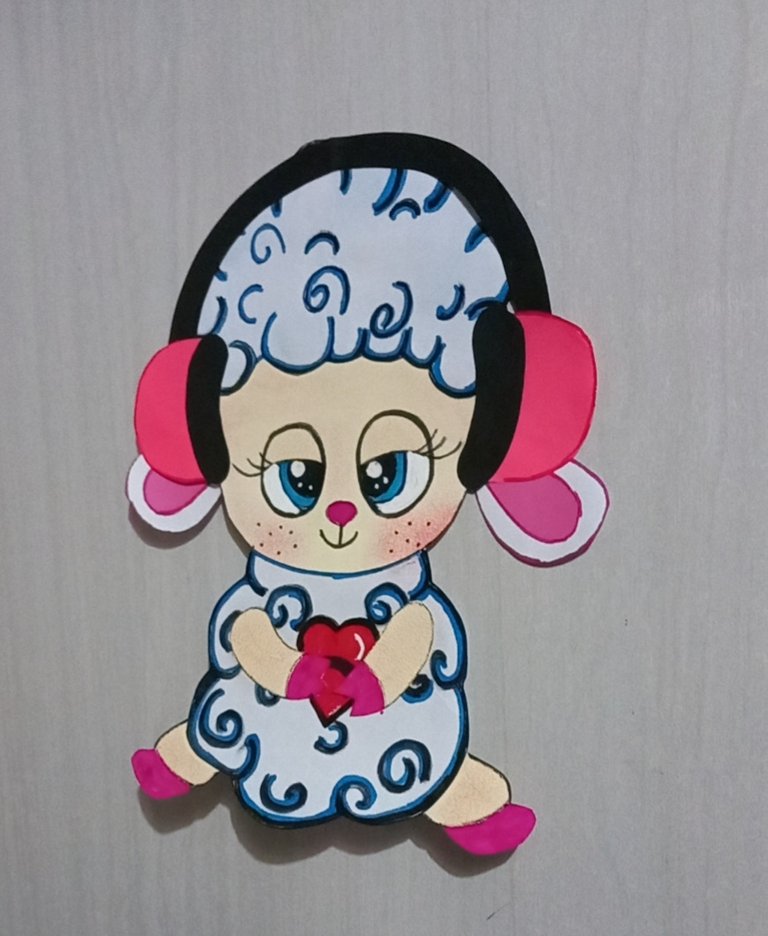
Finalmente iremos pegando pieza por pieza de los audífonos sobre la cabeza y las orejas de la ovejita.
Yo le agregué un detalle extra, pinté un corazón entre sus patitas superiores, lo puedes hacer así o dejarlo simplemente con las patitas libres.
Finally we will glue piece by piece the headphones on the head and ears of the sheep.
I added an extra detail, I painted a heart between its upper legs, you can do it like this or just leave it with the legs free.


Anímate a realizar esta hermosa ovejita desde la comodidad de tu hogar o si eres docente, hazla con tu alumnos , ya que no requiere de muchas herramientas que sean difíciles o peligrosas de usar, además son materiales fáciles de conseguir. Saludos y muchas bendiciones queridos amigos.
We encourage you to make this beautiful sheep from the comfort of your home or if you are a teacher, make it with your students, as it does not require many tools that are difficult or dangerous to use, plus they are easy to get materials. Greetings and many blessings dear friends.
Traducción: www.DeepL.com (versión gratuita).
Ediciones y barras: Picsar.
Fotos tomadas desde mi teléfono celular Samsung A12.
Traducción: www.DeepL.com (versión gratuita).
Ediciones y barras: Picsar.
Fotos tomadas desde mi teléfono celular Samsung A12.
Que hermosa ovejita amiga.
Gracias amiga @naty16, que tengas un lindo día
Thank you for sharing this amazing post on HIVE!
Your content got selected by our fellow curator @rezoanulvibes & you just received a little thank you via an upvote from our non-profit curation initiative!
You will be featured in one of our recurring curation compilations and on our pinterest boards! Both are aiming to offer you a stage to widen your audience within and outside of the DIY scene of hive.
Join the official DIYHub community on HIVE and show us more of your amazing work and feel free to connect with us and other DIYers via our discord server: https://discord.gg/mY5uCfQ !
If you want to support our goal to motivate other DIY/art/music/homesteading/... creators just delegate to us and earn 100% of your curation rewards!
Stay creative & hive on!
Saludos fraternales amigos de @diyhub y @rezoanulvibes, gracias por su valioso apoyo. Bendiciones 😊