Español
Hola mis estimados lectores ¿cómo están?...
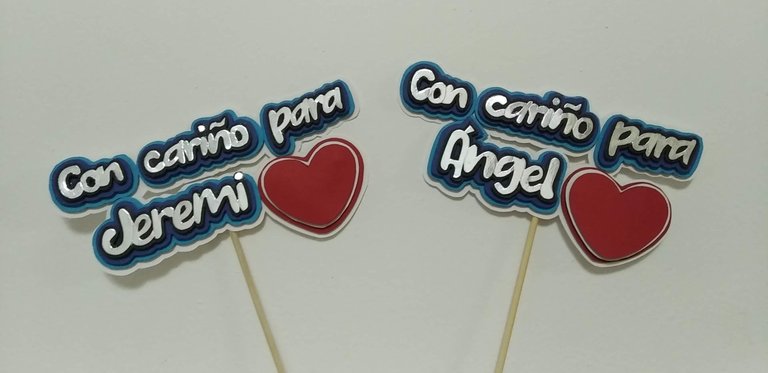
Amigos, ¿alguna vez les ha pasado que en su entorno (laboral, académico, familiar, comunitario, etc..) exista más de una persona que cumplan años el mismo día y que solo se tenga presupuesto para un pastel? jejeje. Este fue el caso de Ángel y Jeremi, compañeros de trabajo que nacieron el mismo día, pero sus amigos laborales no podrían cubrir sino solo un pastel, así que decidieron decorar con algo sencillo el pastel, para eso, recurrieron a mi para que les hiciera dos toppers personalizados con los nombre de los chicos y así una vez que se comieran el pastel pudiese cada uno su topper a modo de recuerdo.
Acepte la encomienda y en menos de 12 horas para hacerlos y entregarlos, cumplí el objetivo. El resultado para mi fue maravilloso, tomando en cuenta que todo mi proceso es artesanal y el tiempo para hacerlos fue muy corto.
Sin más, y esperando disfruten del trabajo realizado les dejo los materiales utilizados, el proceso y las imágenes del trabajo.
- Hoja blanca (puede ser reciclaje).
- Cartulina plateada tipo espejo.
- Cartulina color negra.
- Cartulina color azul marina.
- Cartulina color azul cielo.
- Cartulina color blanca.
- Cartulina de color roja.
- Foami plano blanco
- Silicón frío.
- Silicón Caliente.
- Palito de madera.
- Lápiz.
- Tijera.
English
Hello, my dear readers, how are you?
Friends, has it ever happened to you that in your environment (work, academic, family, community, etc...) there is more than one person with the same birthday and you only have the budget for one cake? hehehehe. This was the case of Angel and Jeremi, coworkers who were born on the same day, but their work friends could not cover only one cake, so they decided to decorate the cake with something simple, for that, they turned to me to make them two personalized toppers with the names of the boys so that once they ate the cake they could each have their own topper as a souvenir.
I accepted the request and in less than 12 hours to make and deliver them, I accomplished my goal. The result for me was wonderful, taking into account that my whole process is handmade and the time to make them was very short.
Without further ado, and hoping you enjoy the work done, I leave you the materials used, the process and the images of the work.
- White sheet (can be recycled).
- Silver mirror cardboard.
- Black cardboard.
- Navy blue cardboard.
- Cardboard blue sky color.
- White cardboard.
- Red color cardboard.
- Flat white Foami
- Cold silicone.
- Hot Silicone.
- Wooden stick.
- Pencil.
- Scissors.
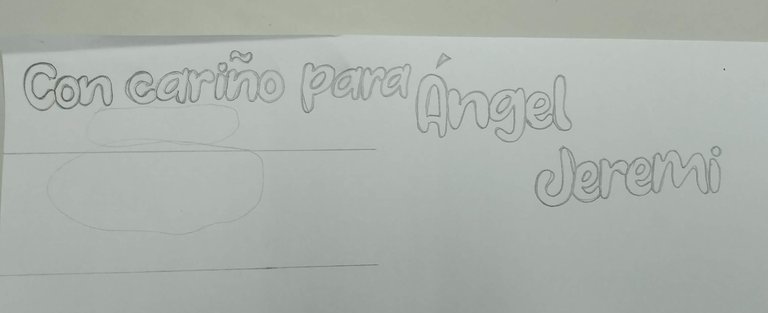
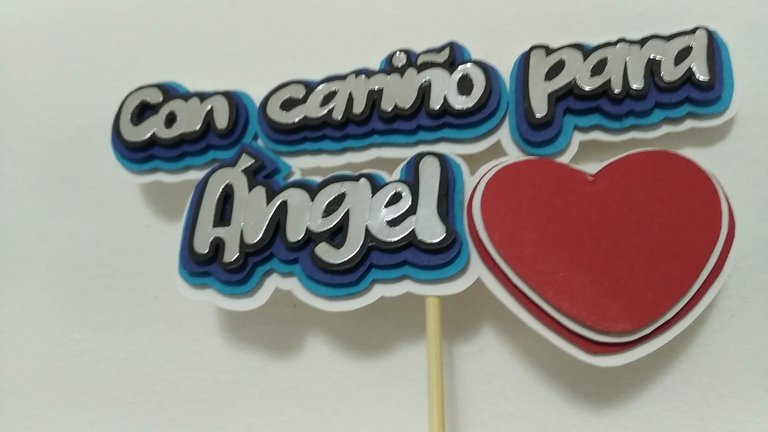
1.- En una hoja blanca escribir de acuerdo al tamaño deseado (alto y ancho) la frase a escribir, en este caso se escribió: “Con cariño para, Jeremi y Ángel”.
1.- On a white sheet of paper write according to the desired size (height and width) the phrase to be written, in this case we wrote: "With love to Jeremi and Angel".
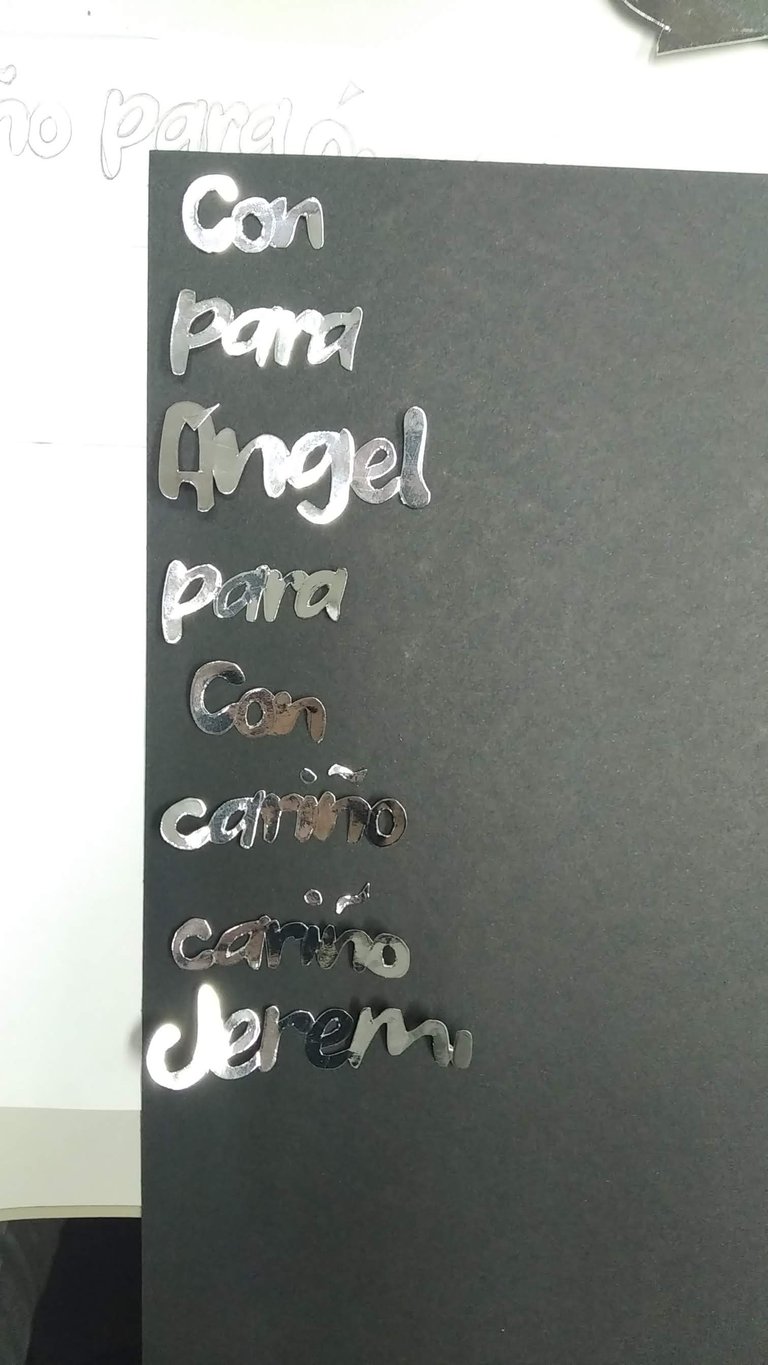
2.- Una vez diseñado en la hoja la frase y el nombre a escribir, remarcar sobre la cartulina plateada tipo espejo. Como son dos toppers deberán marcarse doble la frase.
2.- Once the phrase and the name to be written have been designed on the sheet, mark it on the silver mirror cardboard. As there are two toppers, the phrase should be marked twice.
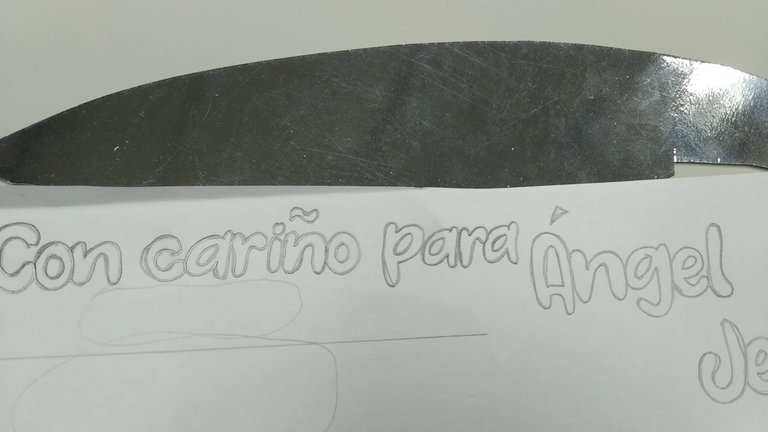
3.- Recortar las frases y los nombres con cuidado ya que la cartulina plateada es delicada y se marca de nada.
3.- Cut out the phrases and names carefully, as the silver cardboard is delicate and will get marked in no time.
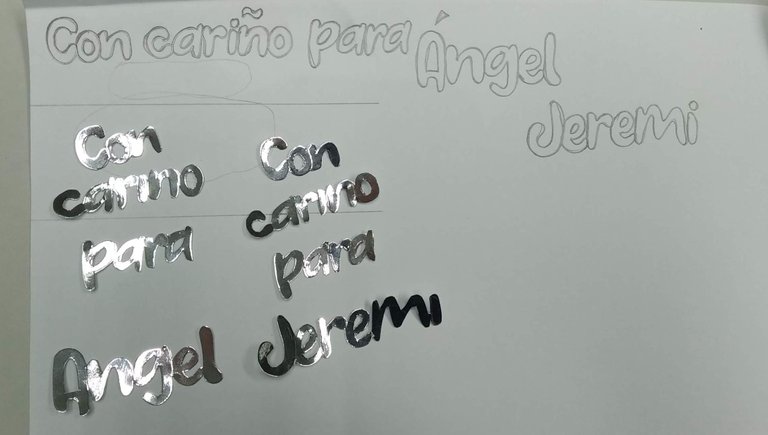
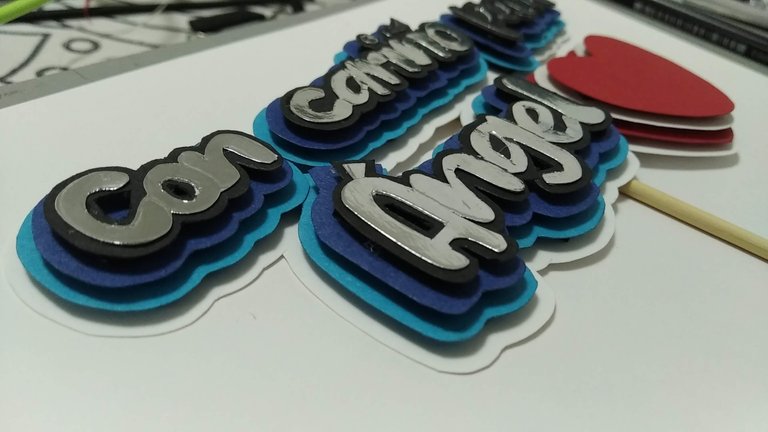
4.- Una vez recortada todas las palabras, pegar sobre la cartulina negra y recortar dejando un pequeño borde sobresaliente para lograr el efecto en capas.
4.- Once all the words have been cut out, glue them onto the black cardboard and cut them out leaving a small overhanging border to achieve the layered effect.
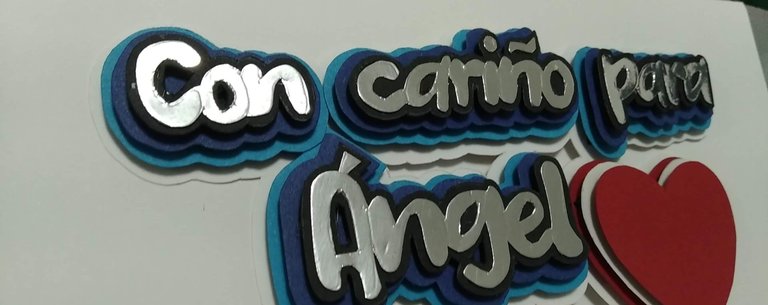
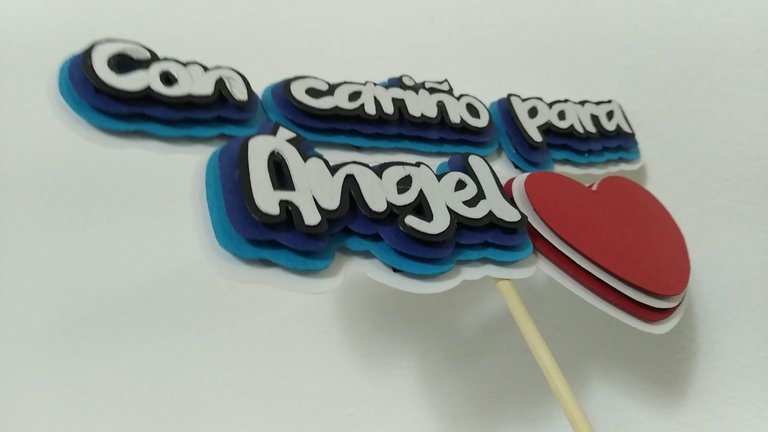
5.- Luego de tener las palabras pegadas a la base negra, utilizar ésta como patrón para marcar sobre la cartulina azul marino y recortar cuidando de dejar un borde que sobresalga. Repetir lo mismo con las cartulinas azul cielo y blanca, lo importante a recordar es que cada color es el patrón para el siguiente.
Luego que todas las capas estén listas, pegar con silicón frío, por la parte posterior de las mismas, tiras de foami plano para darle el relieve correspondiente.
5.- After having the words glued to the black base, use the black base as a pattern to mark on the navy blue cardboard and cut out, taking care to leave a border that sticks out. Repeat the same with the sky blue and white cardboard, the important thing to remember is that each color is the pattern for the next.
After all the layers are ready, glue with cold silicone, on the back of the layers, strips of flat foami to give the corresponding relief.
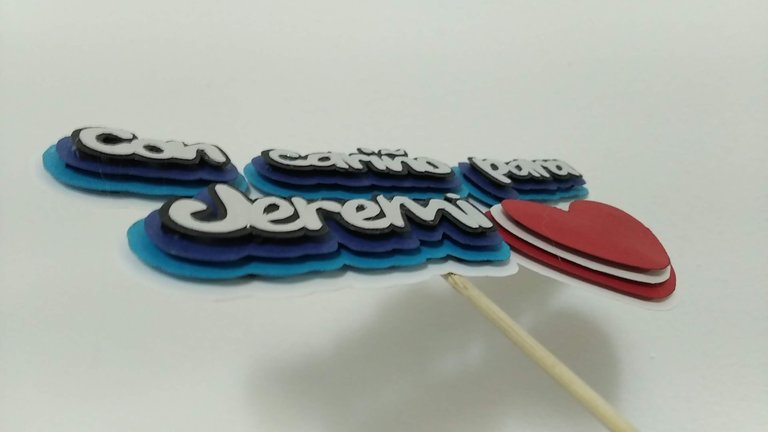
6.- Pegar con silicón caliente el palito de madera por la parte posterior y listo, topper hermoso, sencillo y fácil.
6.- Glue the wooden stick on the back with hot silicone and that's it, beautiful, simple and easy topper.
Espero les haya gustado y sobre todo se entusiasmen a crear algo parecido para sorprender a familiares y amigos.
I hope you liked it and, above all, I hope you get excited to create something similar to surprise your family and friends.
SALUDOS / REGARDS
Todas las Fotos fueron tomadas con mi teléfono Redmi 7A.
Contenido original de @keco (fotos y texto) - Todos los derechos reservados Publicado en HIVE así como en mi instagram : http://instagram.com/carton_pintura_algo_mas
All Photos were taken with my Redmi 7A phone.
Original content from @keco (photos and text) - All rights reserved Posted on HIVE as well as on my instagram: http://instagram.com/carton_pintura_algo_mas
Felicidades Keco...cada día demuestras lo hábil que eres con las manos
Thank you for sharing this amazing post on HIVE!
non-profit curation initiative!Your content got selected by our fellow curator @rezoanulvibes & you just received a little thank you via an upvote from our
You will be featured in one of our recurring curation compilations and on our pinterest boards! Both are aiming to offer you a stage to widen your audience within and outside of the DIY scene of hive.
Join the official DIYHub community on HIVE and show us more of your amazing work and feel free to connect with us and other DIYers via our discord server: https://discord.gg/mY5uCfQ !
If you want to support our goal to motivate other DIY/art/music/homesteading/... creators just delegate to us and earn 100% of your curation rewards!
Stay creative & hive on!
Congratulations @keco! You have completed the following achievement on the Hive blockchain and have been rewarded with new badge(s):
Your next target is to reach 13000 upvotes.
You can view your badges on your board and compare yourself to others in the Ranking
If you no longer want to receive notifications, reply to this comment with the word
STOP