Español
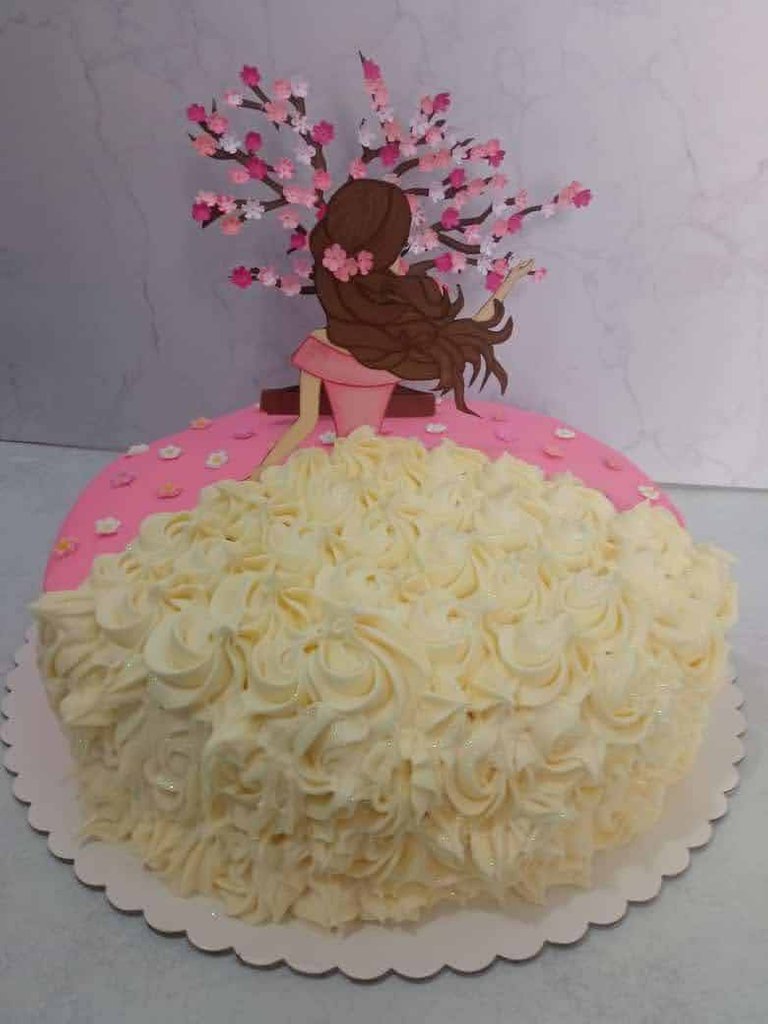
Celebrar la vida es algo que considero sagrado, por eso amo realizar decoraciones para pasteles. Esta decoración que hoy les muestro, es súper especial porque no solo es para celebrar un año más de vida, sino que además, los árboles de Cerezo tiene un significado simbólico que se asocia a la temporalidad de las cosas, de los años y de lo importante de valorar cada día las transformaciones que esta implica...
Celebrar la vida será siempre motivo de orgullo, por eso les invito a que revisen este topper realizado con amor y se animen a crear algo parecido.
Sin más, y esperando disfruten del trabajo realizado les dejo los materiales utilizados, el proceso y las imágenes del trabajo.
- Cartulina de Colores: Marrón, rosado, fucsia, blanca, negra, crema.
- Marcadores de Colores.
- Hoja Blanca.
- Puntero redondo de metal (o plástico).
- Foami (un trozo para dar forma a las flores).
- Silicón frio.
- Silicón caliente.
- Tijera.
- Lápiz.
- Cutter.
English
Celebrating life is something I consider sacred, that's why I love to make decorations for cakes. This decoration that I show you today, is super special because it is not only to celebrate one more year of life, but also, cherry trees have a symbolic meaning that is associated with the temporality of things, of the years and the importance of valuing every day the transformations that this implies...
Celebrating life will always be a source of pride, so I invite you to review this topper made with love and encourage you to create something similar.
Without further ado, and hoping you enjoy the work done, I leave you the materials used, the process and the images of the work.
- Colored cardstock: brown, pink, fuchsia, white, black, cream.
- Color markers.
- White sheet.
- Round metal (or plastic) pointer.
- Foami (a piece to shape the flowers).
- Cold silicone.
- Hot Silicone.
- Scissors.
- Pencil.
- Cutter.
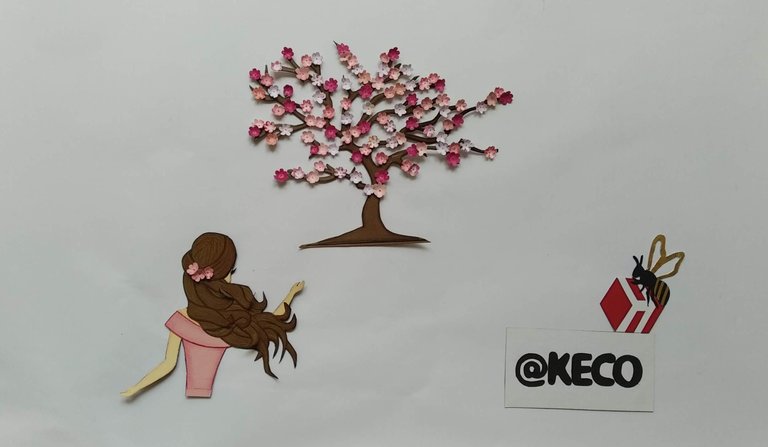
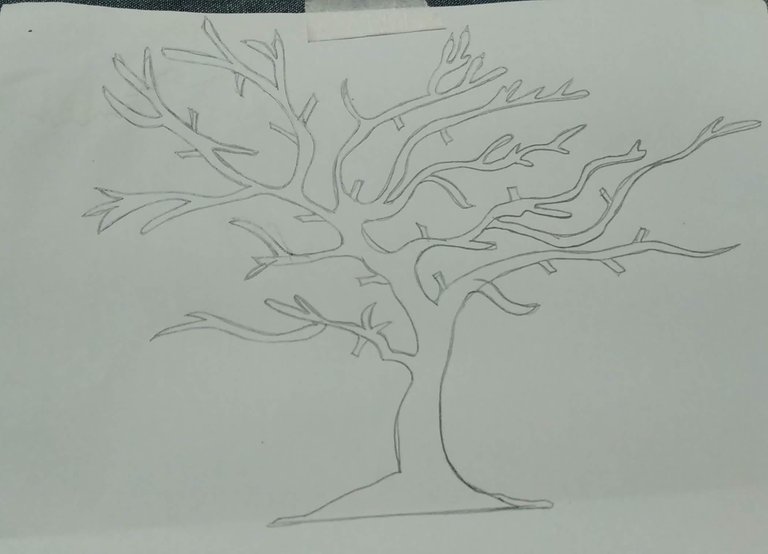
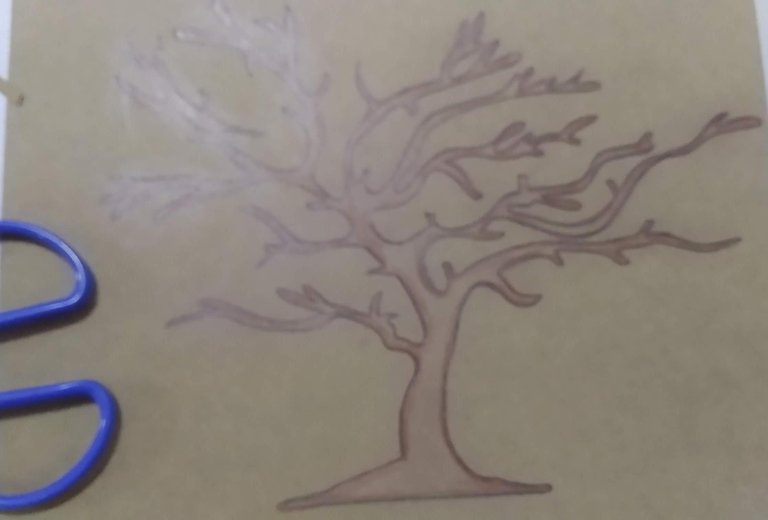
1.- De acuerdo al diámetro del pastel a decorar, diseñar en las hojas blancas la forma de una mujer de espalda y la forma de un árbol de cerezos (solo tronco y ramas).
1.- According to the diameter of the cake to be decorated, design on the white leaves the shape of a woman on her back and the shape of a cherry tree (trunk and branches only).
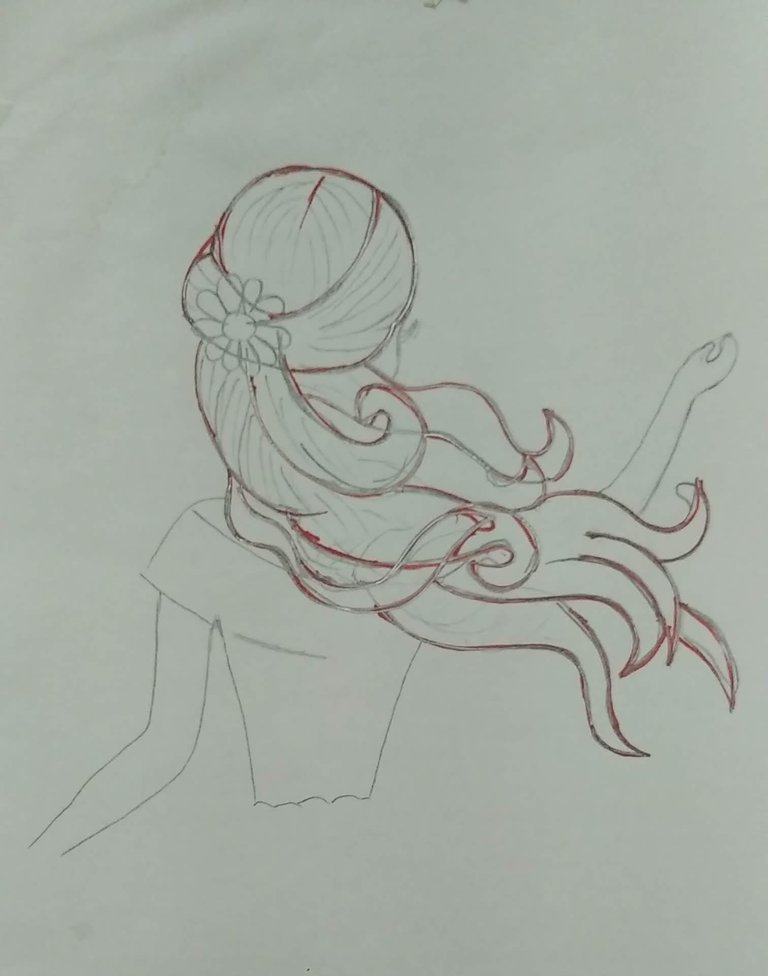
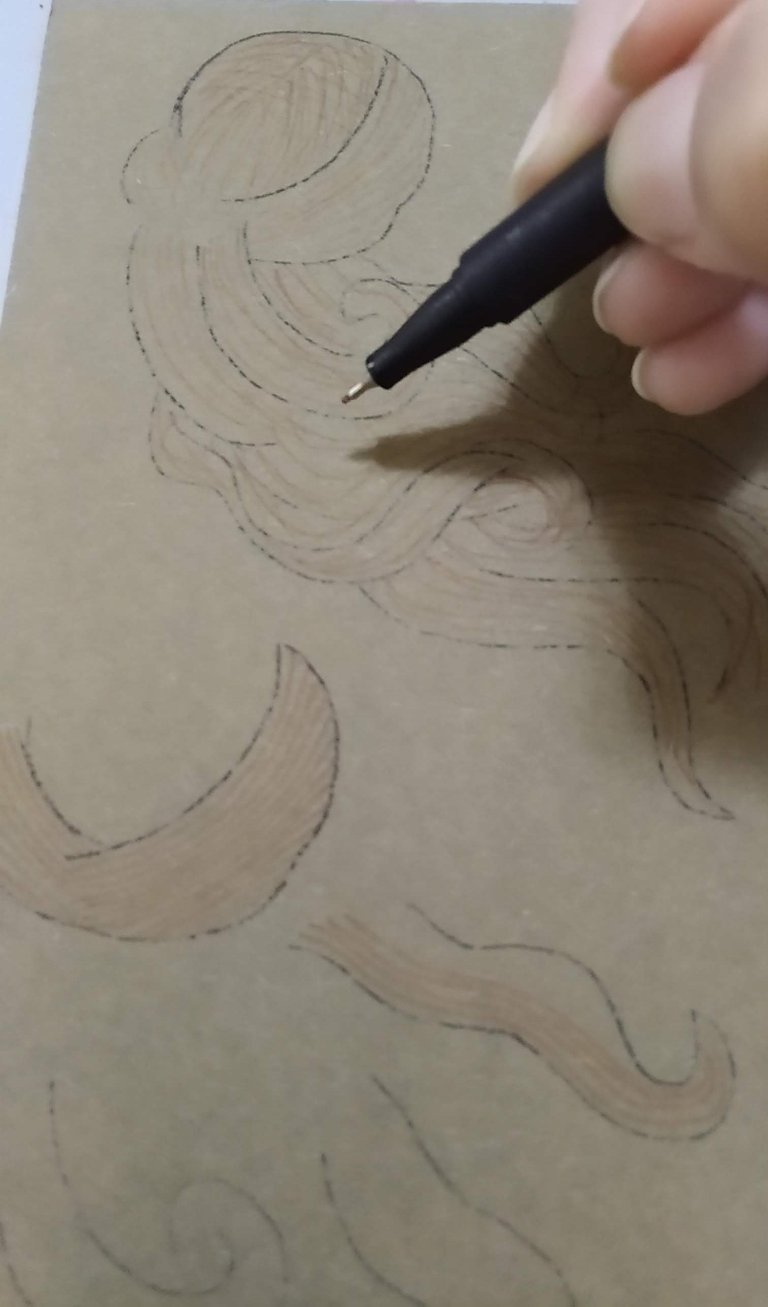
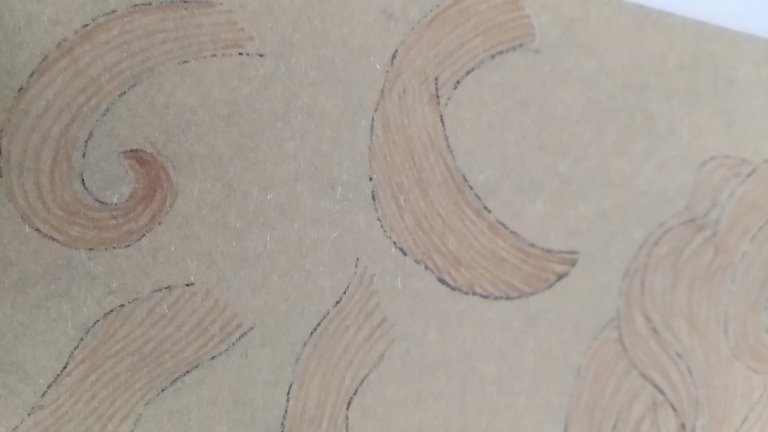
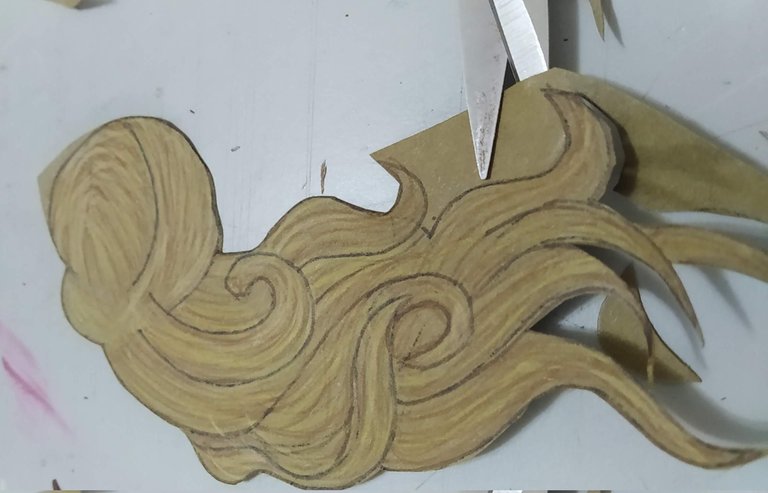
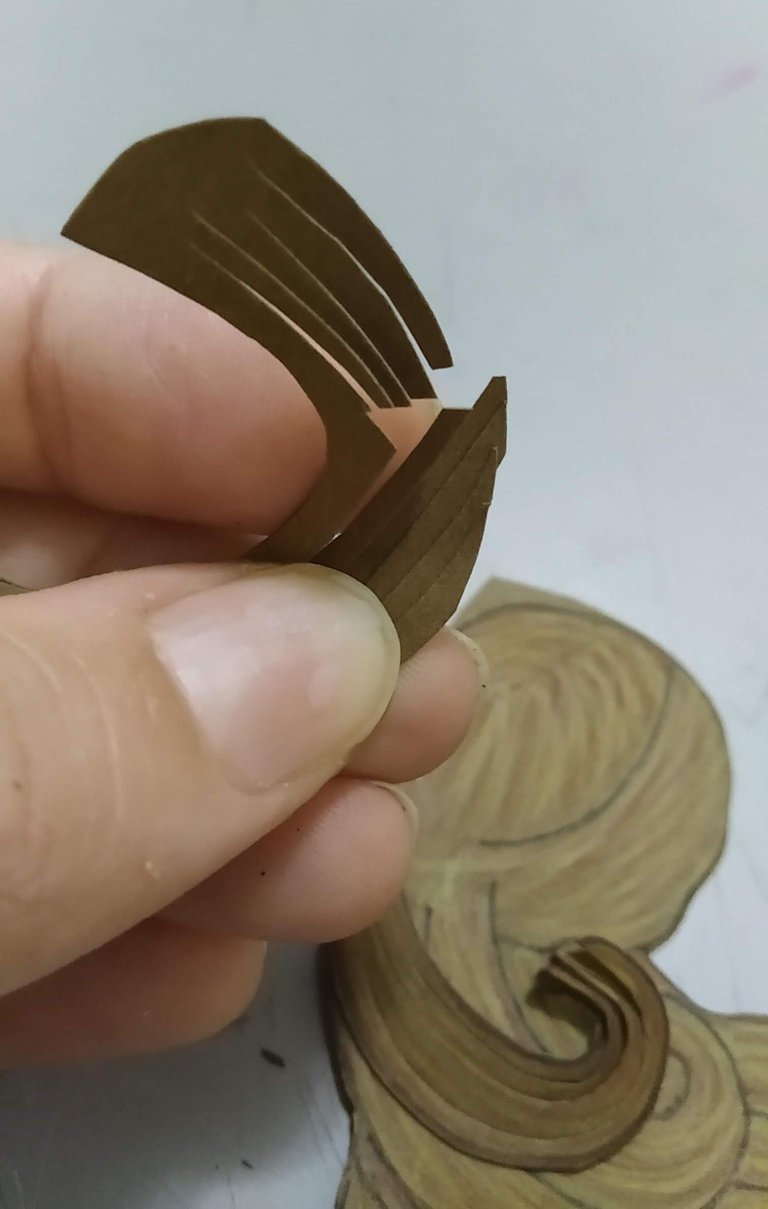
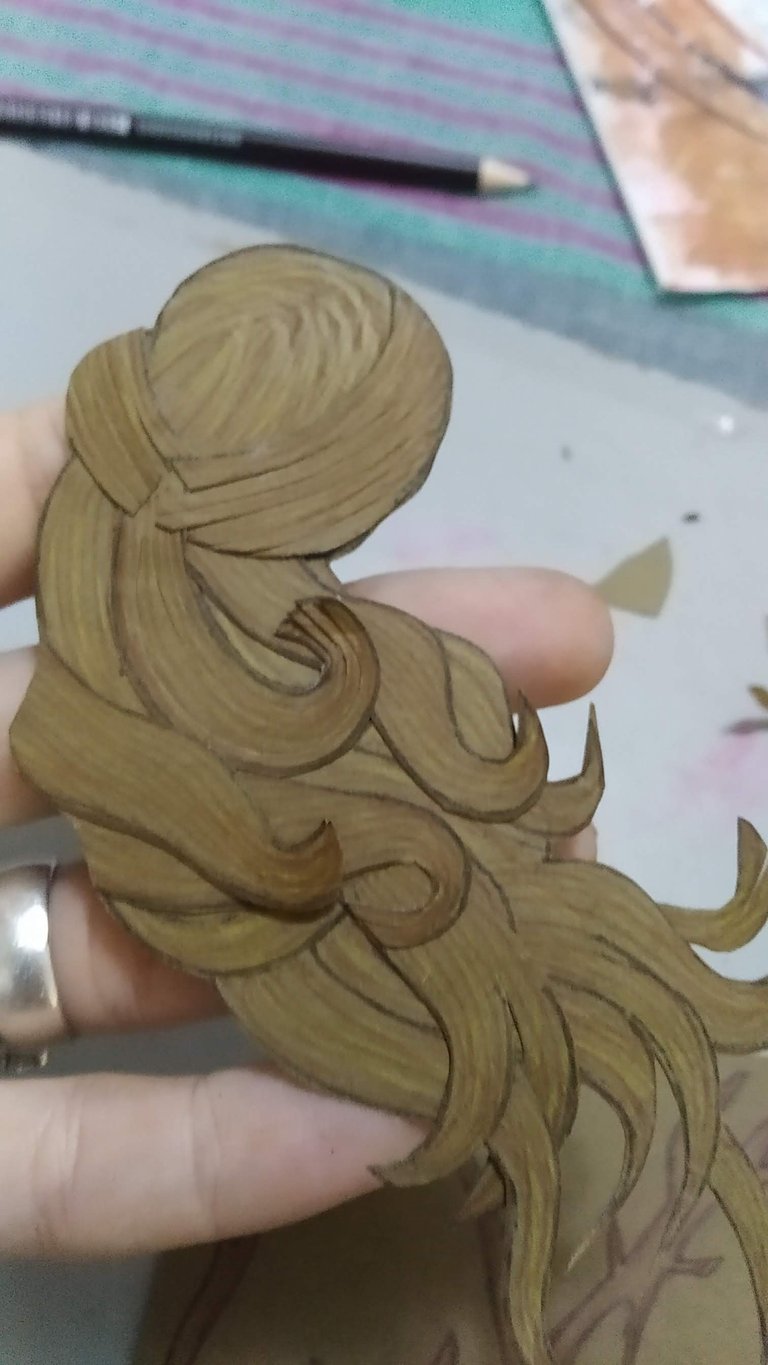
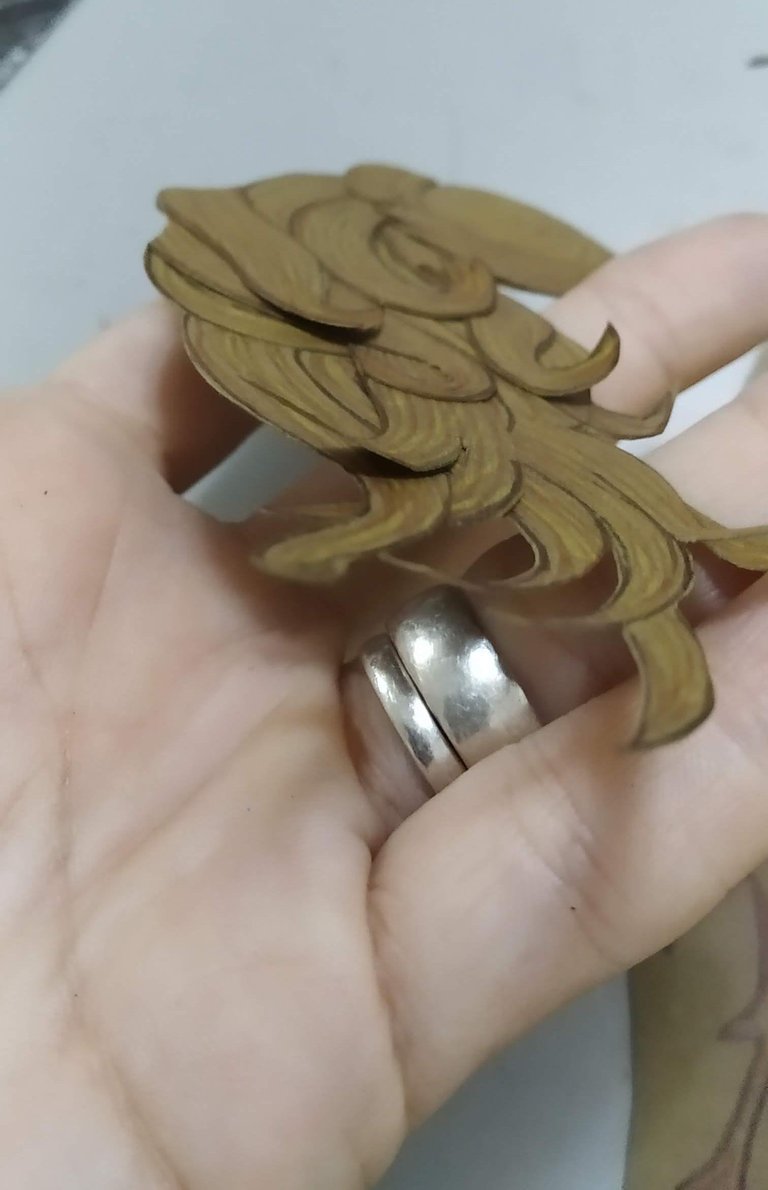
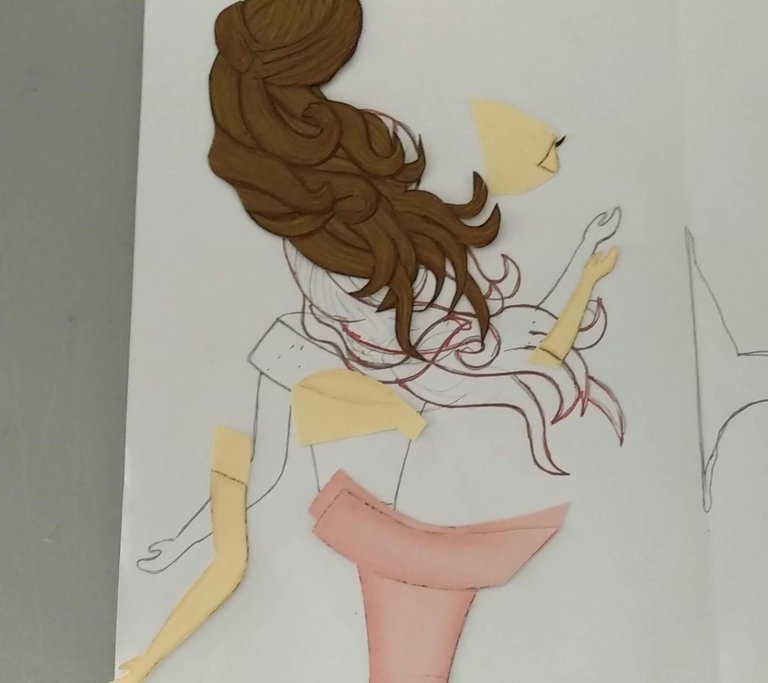
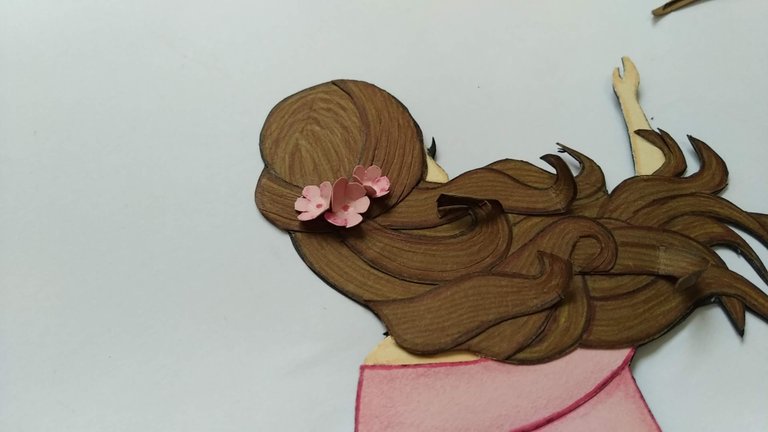
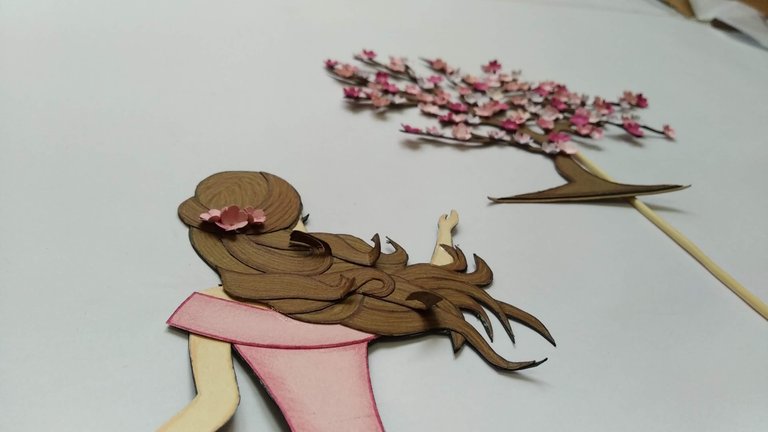
2.- Siguiendo el diseño creado, marcar sobre la cartulina de color marrón la pieza correspondiente al cabello, y con la ayuda de los marcadores de colores pintar para simular las hebras naturales de cabello. Luego recortar, y pegar las mismas siguiendo el patrón para simular las capas y darle así relieve haciéndole visualmente más atractivo.
2.- Following the design created, mark on the brown cardboard the piece corresponding to the hair, and with the help of the color markers paint to simulate the natural strands of hair. Then cut out and glue them following the pattern to simulate the layers and give it relief, making it visually more attractive.
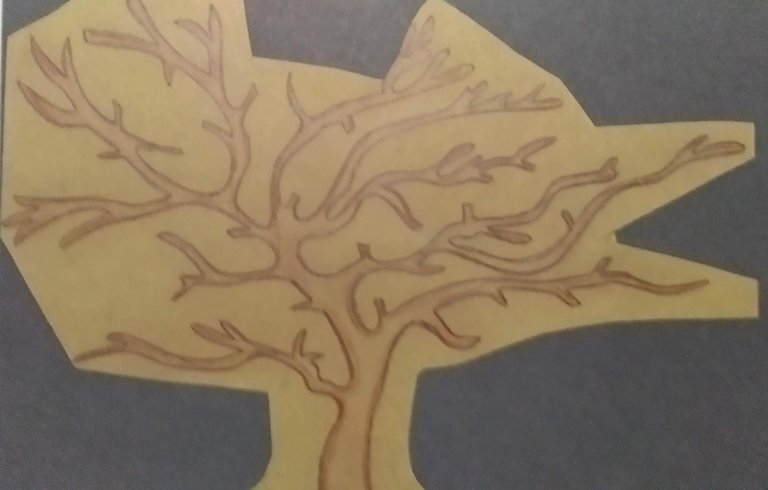
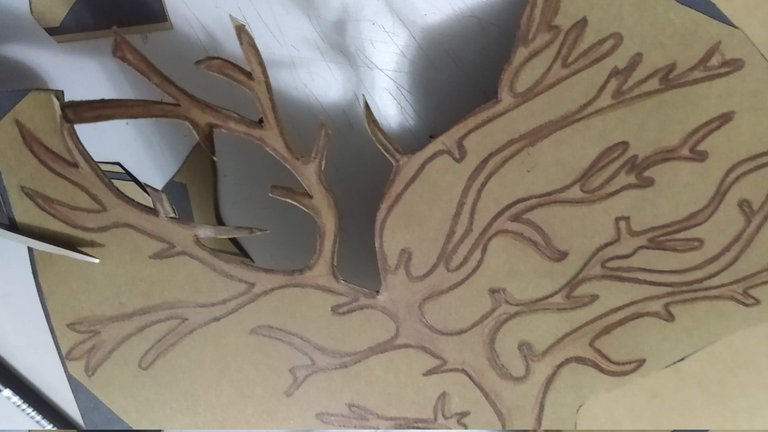
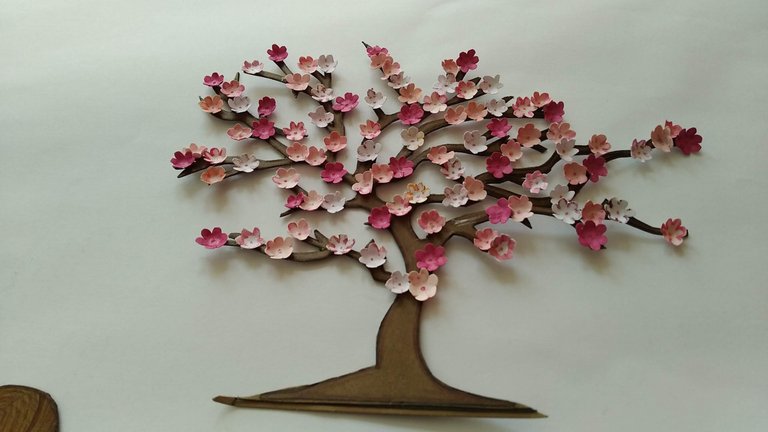
3.- Siguiendo el diseño creado, marcar sobre la cartulina de color marrón la pieza correspondiente al Árbol, antes de recortar remarcar sus bordes con marcador de color para darle profundidad.
3.- Following the design created, mark the piece corresponding to the tree on the brown cardboard, before cutting out the edges with a colored marker to give it depth.
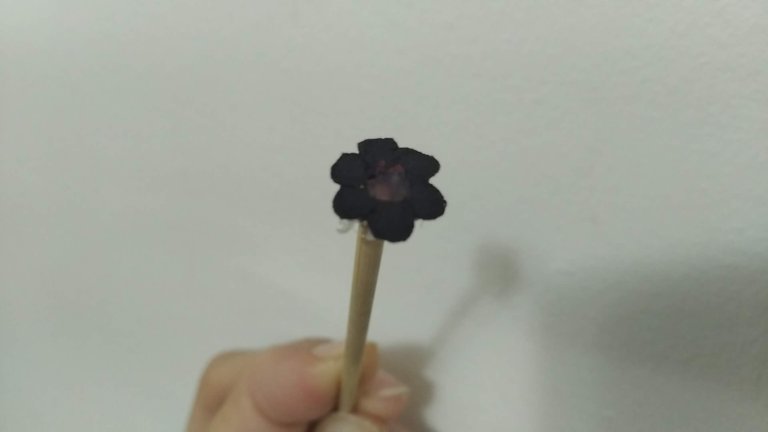
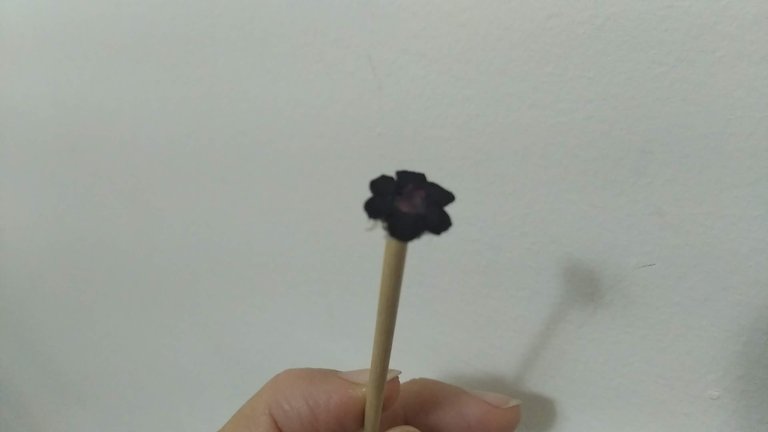
4.- Para crear las flores de cerezo, primero se deberá hacer una especie de un sello artesanal y así garantizar todas las flores queden muy parecidas en forma y tamaño. Para lograr esto, crear la forma de la flor en foami y luego esa forma pegarla a un palito de altura.
4.- To create the cherry blossoms, you must first make a kind of handmade stamp to ensure that all the blossoms are very similar in shape and size. To achieve this, create the shape of the flower in foami and then glue that shape to a tall stick.
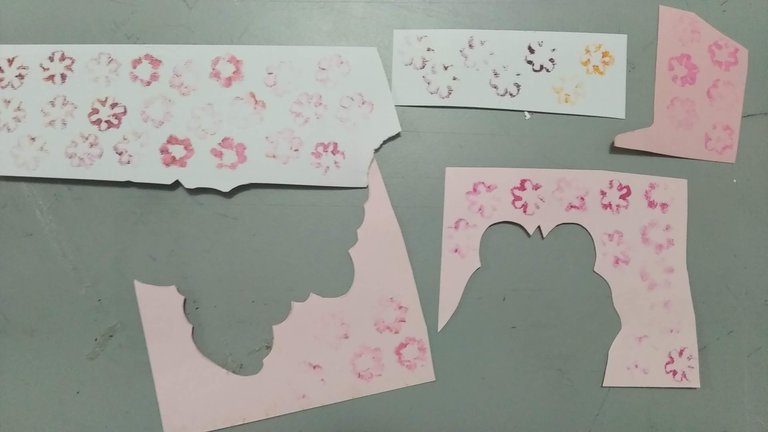
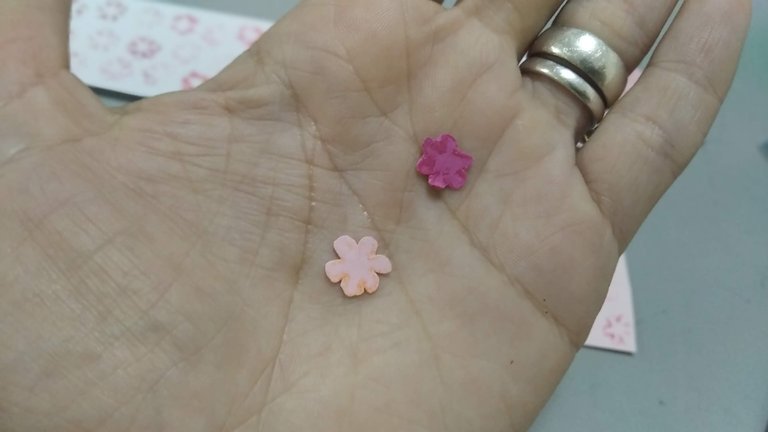
5.- El sello creado debe humedecerse con marcador de color y ponerse sobre las cartulinas rosada y blanca, ejerciendo un poco de presión para marcar las formas. Para estas flores usé use colores diversos para darle tonalidades distintas. La cantidad de flores a realizar dependerá del gusto personal.
5.- The stamp created should be moistened with colored marker and placed on the pink and white cardstock, exerting a little pressure to mark the shapes. For these flowers I used different colors to give them different shades. The number of flowers to be made will depend on personal taste.
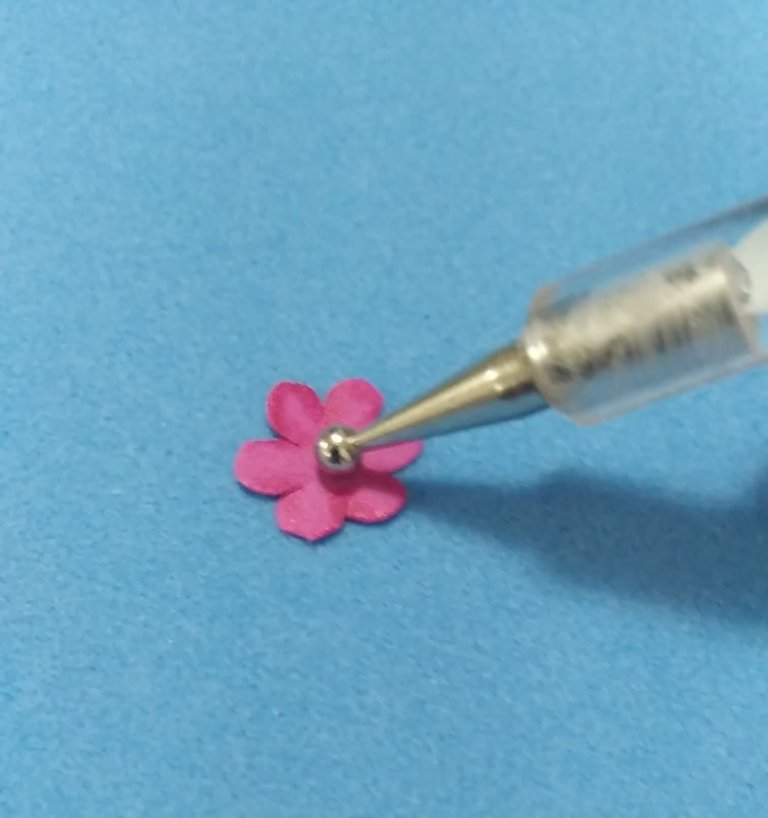
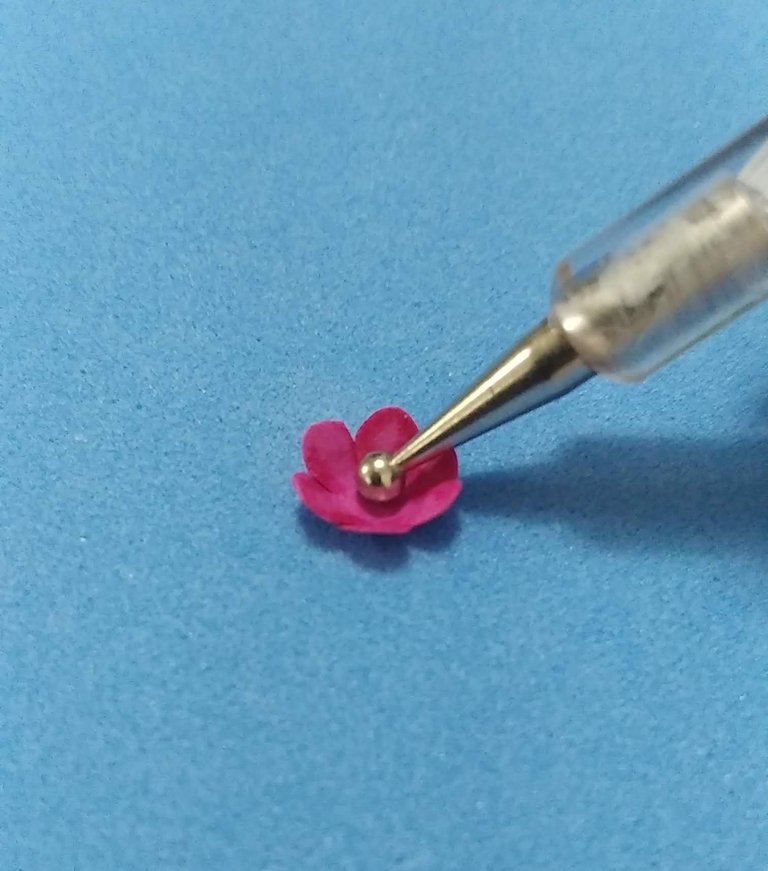
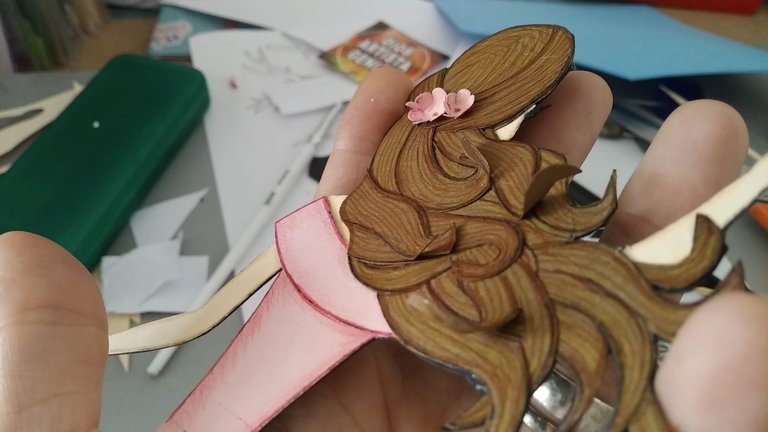
6.- Recortar todas las flores y con la ayuda del puntero redondo (decorador redondo) darle forma a todas las flores, para ello, se coloca cada flor sobre un trozo de foami plano y con el puntero, dándole movimientos circulares se obtiene curvar las flores.
6.- Cut out all the flowers and with the help of the round pointer (round decorator) shape all the flowers. To do this, place each flower on a flat piece of foami and with the pointer, using circular movements, bend the flowers.
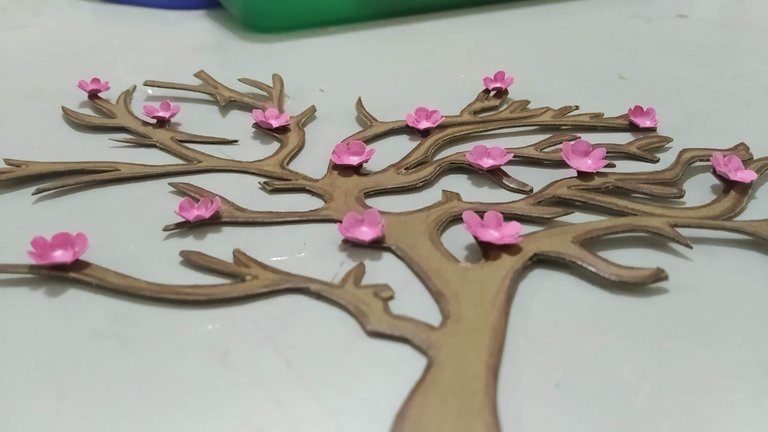
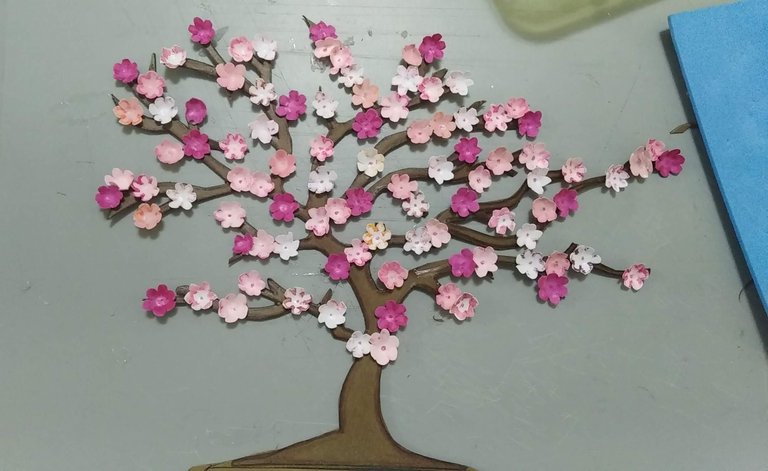
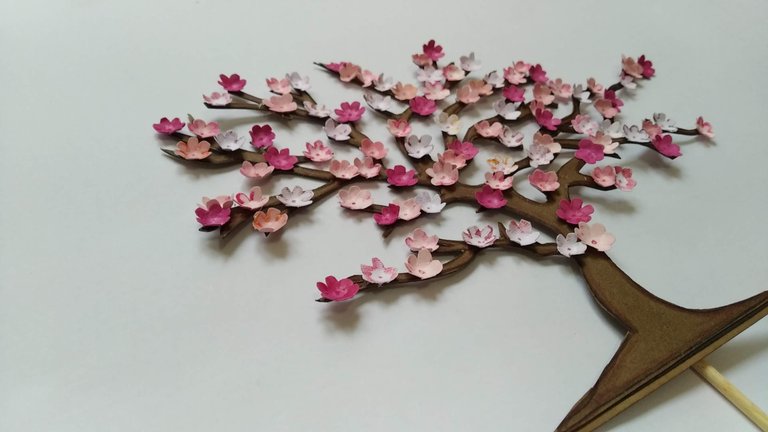
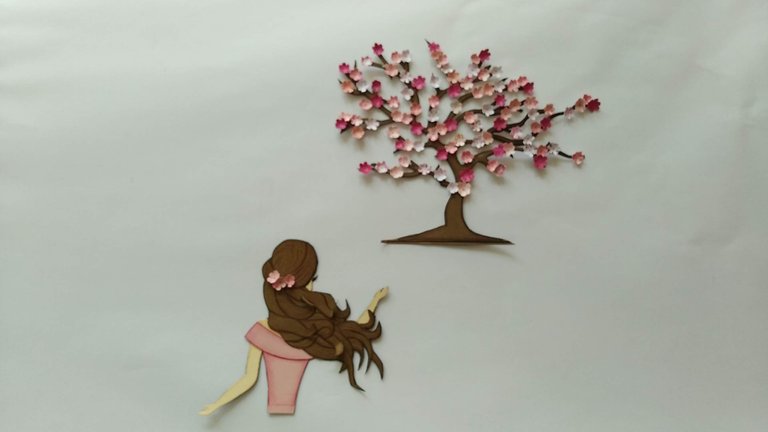
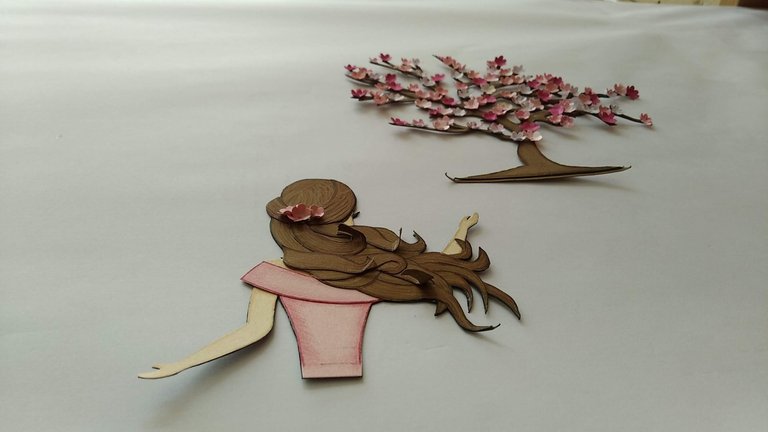
7.- Una vez estén listas todas las flores, comenzar a pegar una a una, con silicón frío sobre la estructura del árbol. Como hay variedad de colores, distribuir de forma homogénea por todas las ramas para que se vea el contraste de colores.
7.- Once all the flowers are ready, start gluing one by one with cold silicone on the tree structure. As there is a variety of colors, distribute evenly throughout the branches to show the contrast of colors.

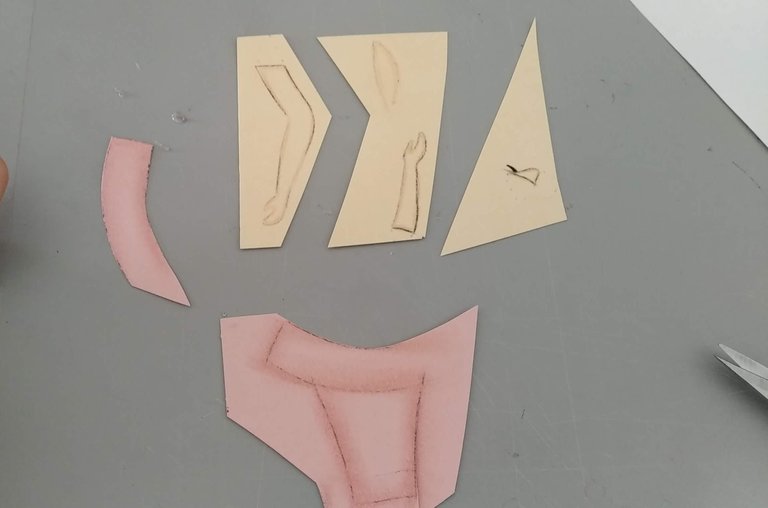
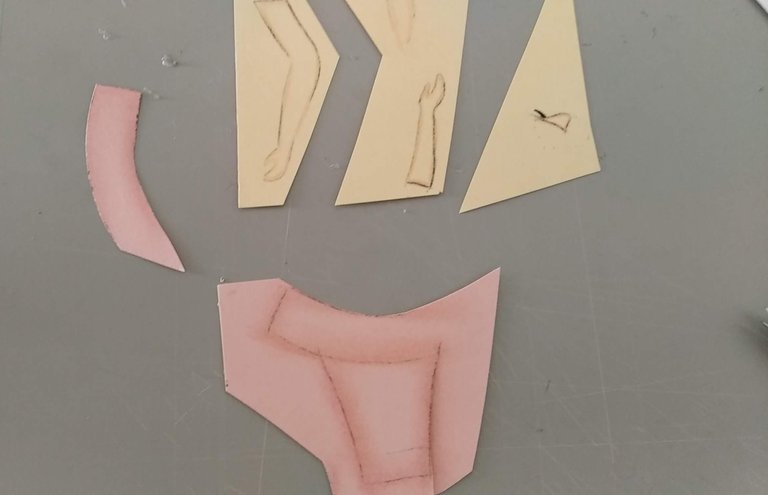
8.- Siguiendo nuevamente el patrón de la chica, marcar y recortar las piezas correspondiente al torso, cara y brazos. Antes de recortar darle sombras con los marcadores de colores.
8.- Following again the pattern of the girl, mark and cut out the pieces corresponding to the torso, face and arms. Before cutting out, give them shadows with the colored markers.
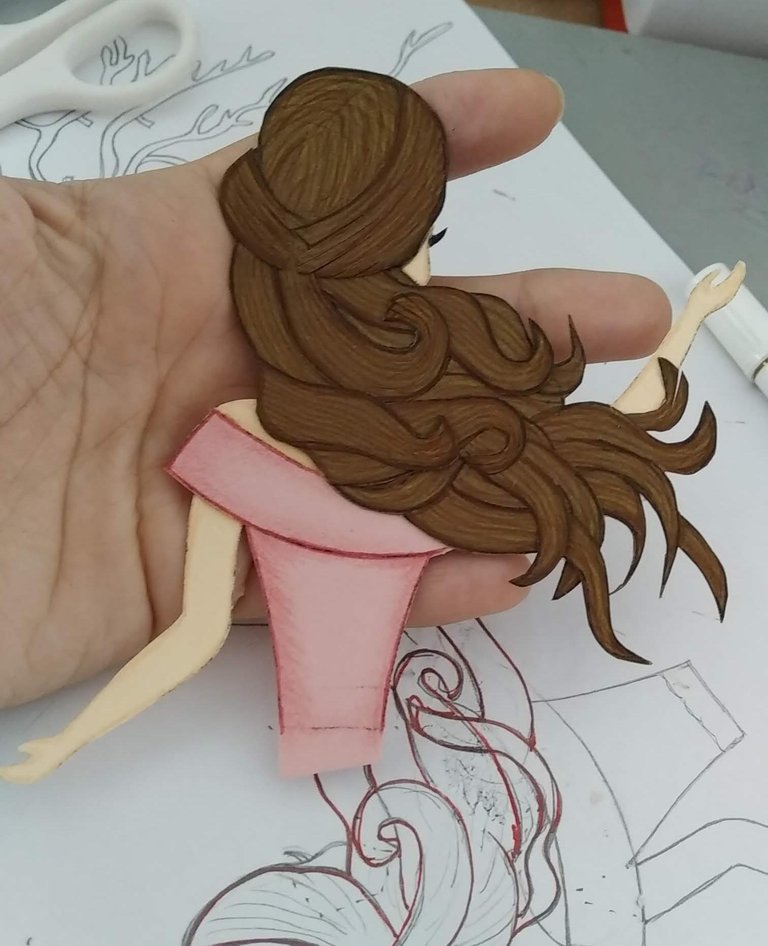
9.- Ensamblar las piezas de la chica, utilizando silicón frío, y terminar de decorar y aplicar los detalles con marcadores de colores. Para darle color uniforme por la parte posterior pegar sobre cartulina negra y recortar al ras de la silueta.
9.- Assemble the pieces of the girl, using cold silicone, and finish decorating and applying the details with colored markers. To give uniform color on the back side, glue on black cardboard and cut out flush with the silhouette.
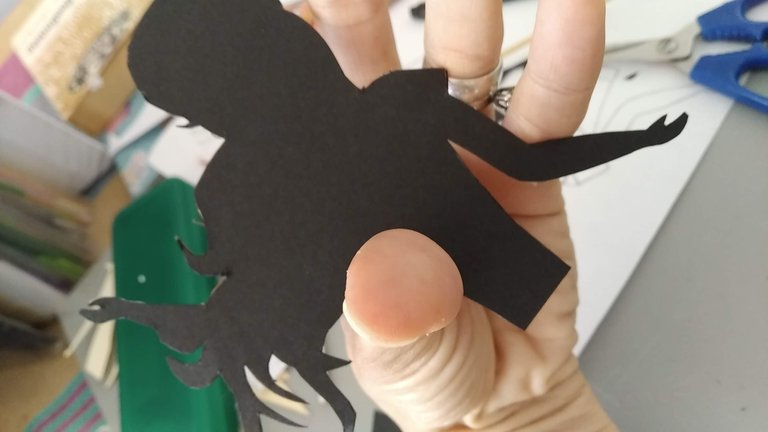
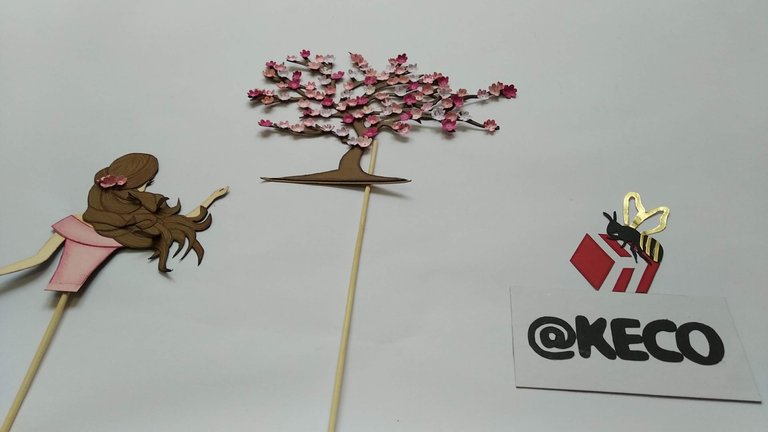
10.- Pegar los palitos de madera en la parte posterior de ambas piezas y listo disfrutar de lo creado.
10,- Glue the wooden sticks on the back of both pieces and you are ready to enjoy what you have created.
Espero les haya gustado y sobre todo se entusiasmen a crear algo parecido para sorprender a familiares y amigos.
I hope you liked it and, above all, I hope you get excited to create something similar to surprise your family and friends.
SALUDOS / REGARDS
Todas las Fotos fueron tomadas con mi teléfono Redmi 7A.
Contenido original de @keco (fotos y texto) - Todos los derechos reservados Publicado en HIVE así como en mi instagram : http://instagram.com/carton_pintura_algo_mas
All Photos were taken with my Redmi 7A phone.
Original content from @keco (photos and text) - All rights reserved Posted on HIVE as well as on my instagram: http://instagram.com/carton_pintura_algo_mas
Te quedó muy hermoso te felicito
Gracias @jorgelissanchez por tu apreciación, me alegra te haya gustado. Un fuerte abrazo.
Saludos, bendiciones y éxitos.
Se ve hermoso ese arreglo en tu pastel. Saludos @keco
Gracias @lisbethseijas por tu valoración al trabajo realizado. Un fuerte abrazo .
Saludos, bendiciones y éxitos.
Bellísimo como los trabajos que sueles hacer, cada vez te superas más, tu dedicación es mucha para cada pieza que trabajas. Felicitaciones, mucho éxito!
Gracias @valthy siempre es bueno leerles por acá... un fuerte abrazo.
Saludos, bendiciones y éxitos.
super hermosa te quedo te felicito que tengas feliz semana
Gracias @sarix, me alegra te haya gustado. Deseo también tengas feliz y bendecida semana.
Saludos.