
Español
Este post va dedicado a Máximo, el sobrino que me dio la vida y al cual adoro muchísimo porque su luz impregna de amor a todo aquel que le conoce.
En noviembre 2021, Máximo cumplió tres años y quise sorprenderlo con un detalle que estaba segura le iba a encartar, ¡un dinosaurio!. A él le encantan los dinosaurios y su mamá le haría una decoración con este motivo. Puse manos a la obra y le realicé una decoración que le sirviera como decoración para la fiesta y que luego le sirviera para decorar su área de juego o su cuarto.
Me sentí genial regalando este lindo dinosaurio y lo mejor de todo fue que a él y a su mami les gustó.
Sin más, y esperando disfruten del trabajo realizado les dejo los materiales utilizados, el proceso y las imágenes del trabajo.
- Plantilla del dibujo a realizar.
- Cartón grueso.
- Cartulinas de colores de acuerdo al diseño: Azul, verde, amarilla, gris, rosada, lila y negra.
- Cartulina plateada tipo espejo.
- Silicón frio.
- Marcadores de colores
- Tiza de colores.
- Cinta morada.
- Alfileres de cabeza.
- Tijera.
- Cutter.
- Lápiz.
English
This post is dedicated to Máximo, the nephew who gave me life and whom I adore very much because his light impregnates with love everyone who meets him.
In November 2021, Maximo turned three years old and I wanted to surprise him with a detail that I was sure he would love, a dinosaur! He loves dinosaurs and his mom would make him a decoration with this motif. I got to work and made him a decoration that would serve as a decoration for the party and then serve to decorate his play area or his room.
I felt great giving him this cute dinosaur as a gift and the best part was that he and his mommy loved it.
Without further ado, and hoping you enjoy the work done, here are the materials used, the process and the pictures of the work.
- Template of the drawing to be made.
- Thick cardboard.
- Color cardboard according to the design: blue, green, yellow, gray, pink, purple and black.
- Silver mirror cardboard.
- Cold silicone.
- Colored markers.
- Colored chalk.
- Purple ribbon.
- Head pins.
- Scissors.
- Cutter.
- Pencil.
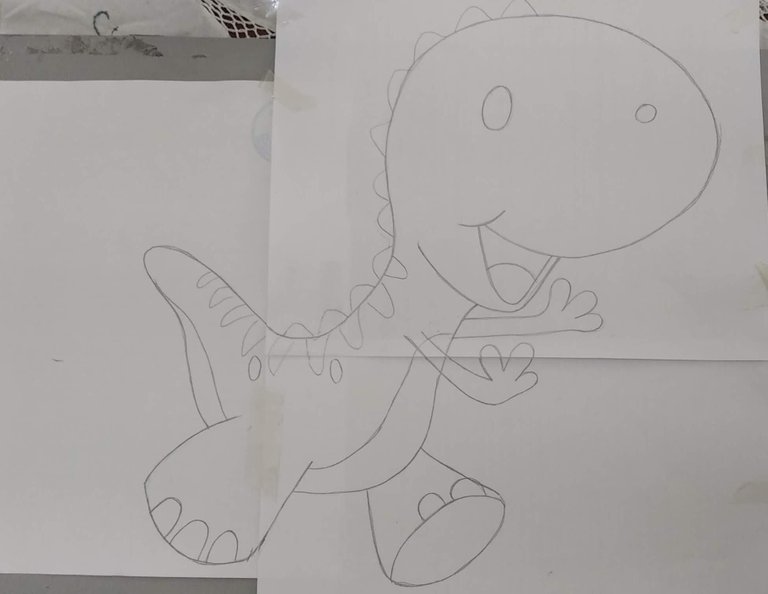
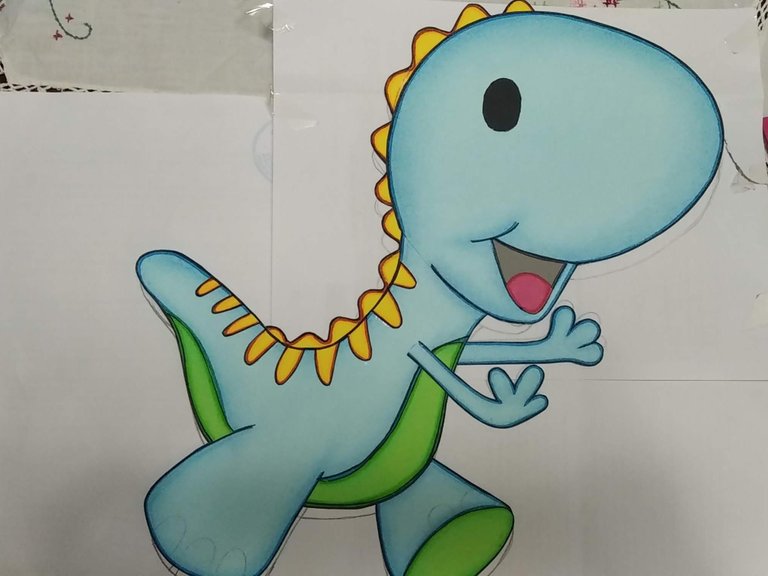
1.- Lo primero a realizar es marcar sobre papel blanco (reciclado de preferencia) el diseño a utilizar. Este diseño midió aproximadamente 50 cm de alto.
1.- The first thing to do is to mark on white paper (preferably recycled) the design to be used. This design measured approximately 50 cm high.
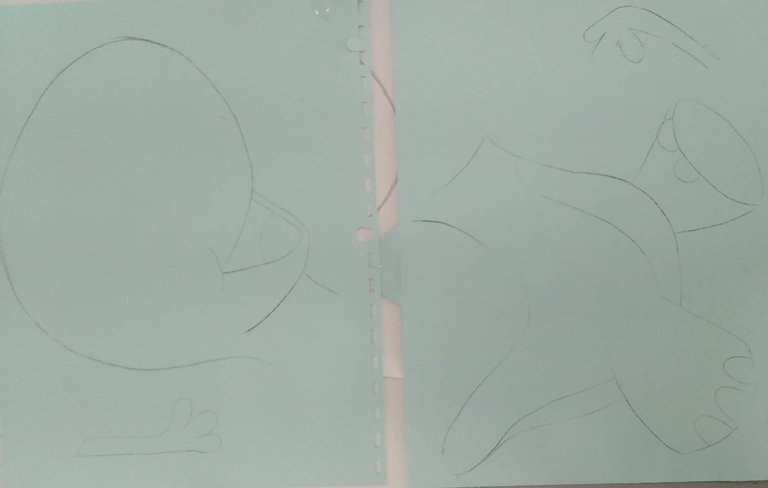
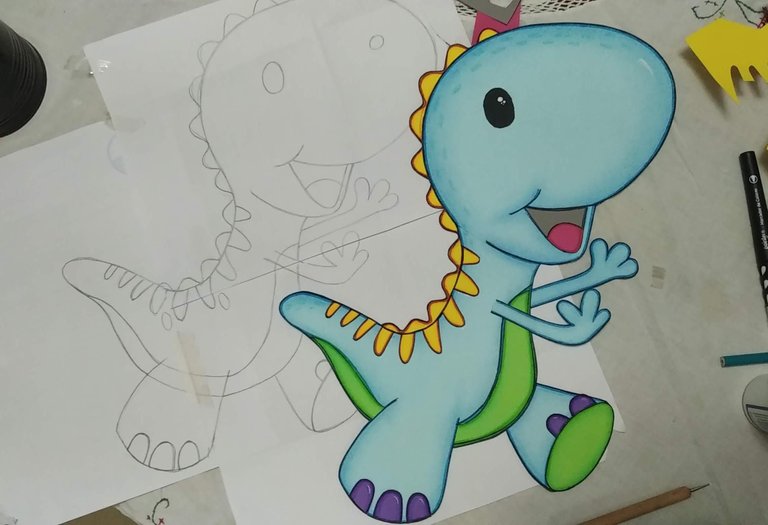
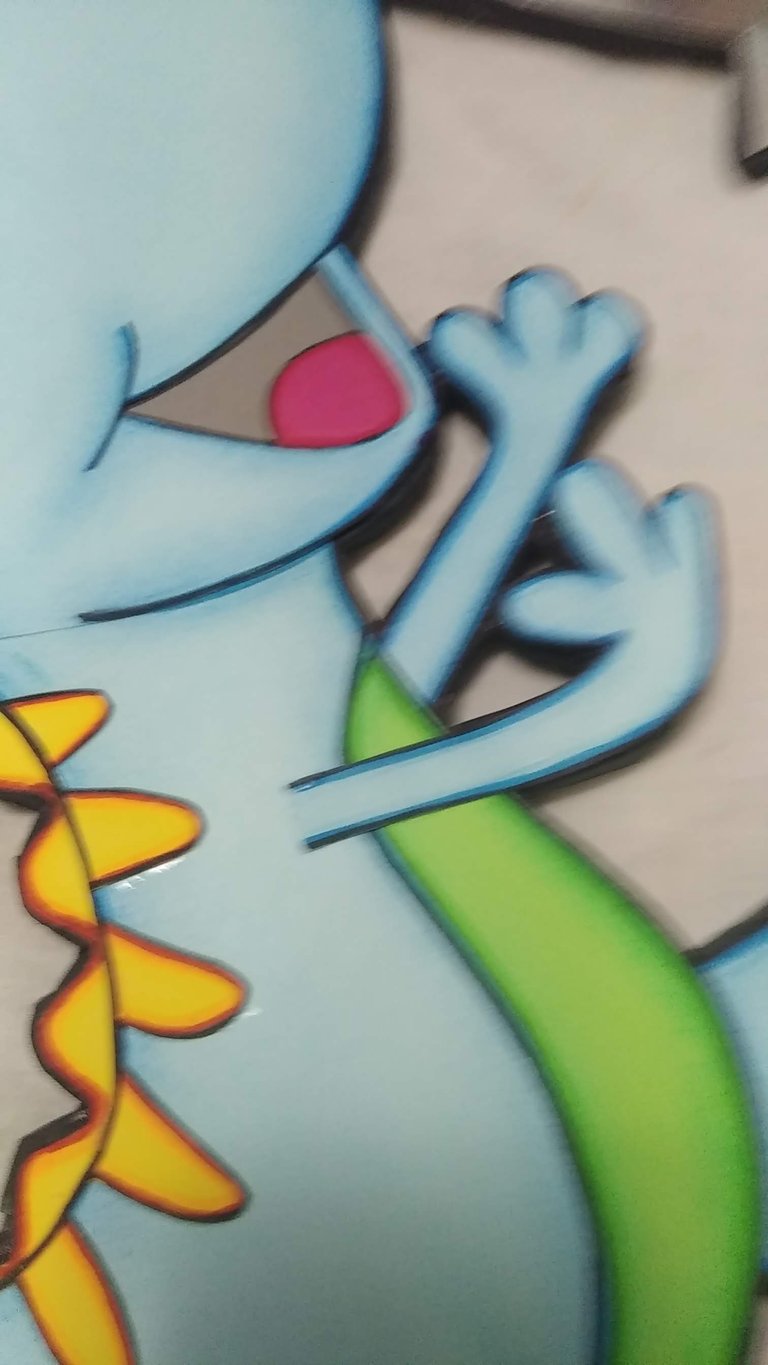
2.- De acuerdo al diseño planteado, marcamos las partes en las cartulinas de colores que deseamos tenga el muñeco, mejoramos la estética con el uso tizas y marcadores de colores para darle profundidad y luego ensamblamos las piezas según el diseño original. El pegado de las piezas debe hacerse con silicón frío, cuidando de no aplicar demasiado.
2.- According to the proposed design, we mark the parts on the colored cardboard we want the doll to have, we improve the aesthetics with the use of chalk and colored markers to give it depth and then we assemble the pieces according to the original design. The gluing of the pieces should be done with cold silicone, taking care not to apply too much.
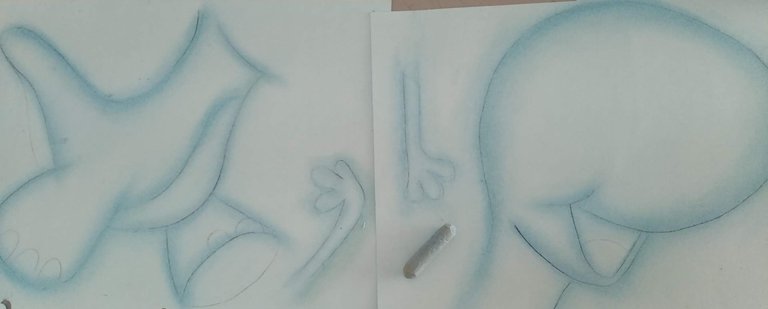
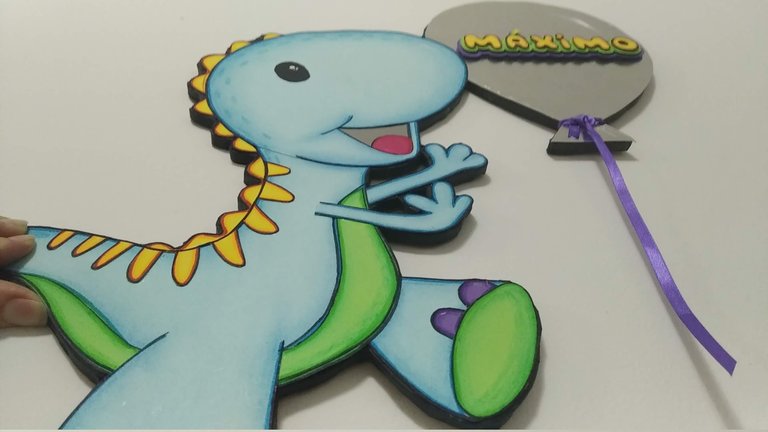
3.- Una vez ensamblado todas las partes, terminar de aplicar los retoques necesarios, como ojo y bordes de color.
3.- Once all the parts are assembled, finish applying the necessary touch-ups, such as eye and color borders.
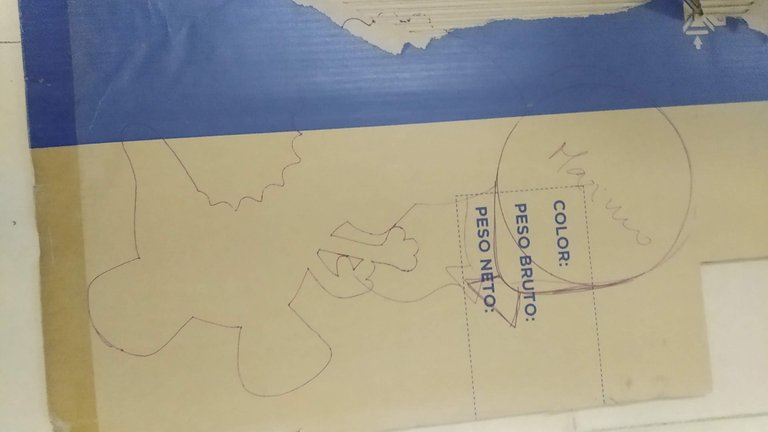
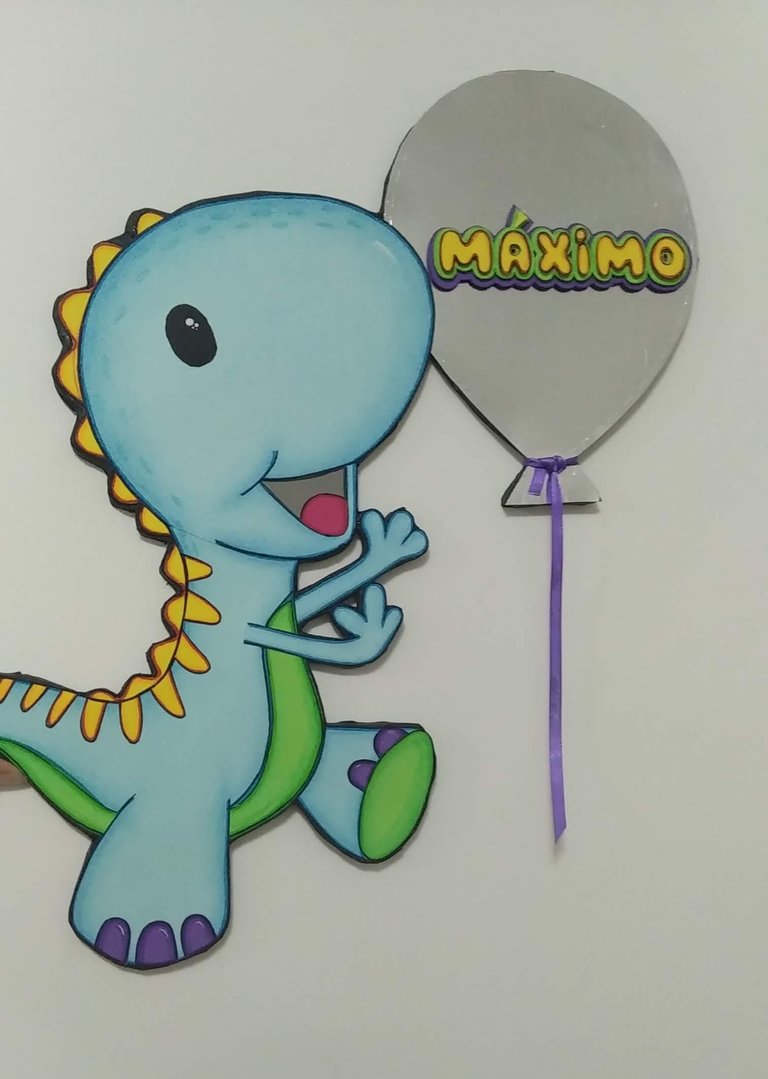
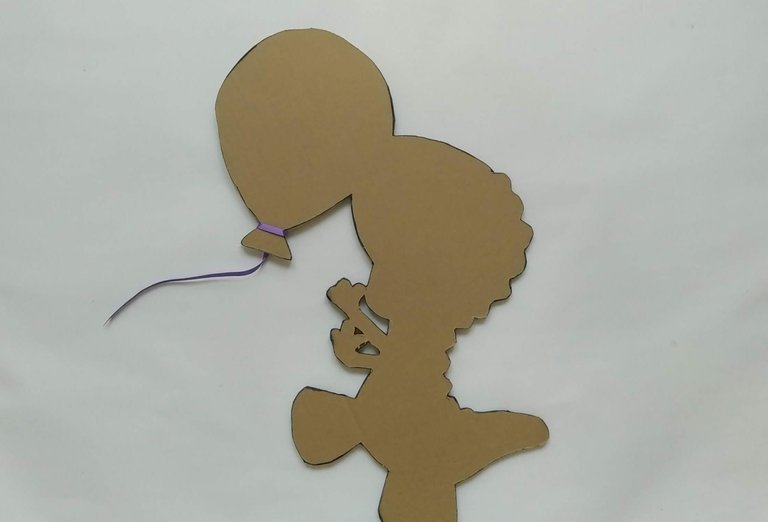
4.- Con el dinosaurio ya ensamblado, se monta sobre el cartón grueso y se marca toda la silueta del mismo , se incluye en el cartón la forma de un globo al lado de dinosaurio para completar el diseño. Se corta delicadamente toda la silueta con el uso de un cutter para una mejor precisión.
4.- With the dinosaur already assembled, mount it on the thick cardboard and mark the entire silhouette of the dinosaur, including the shape of a balloon next to the dinosaur on the cardboard to complete the design. The whole silhouette is delicately cut with the use of a cutter for better precision.
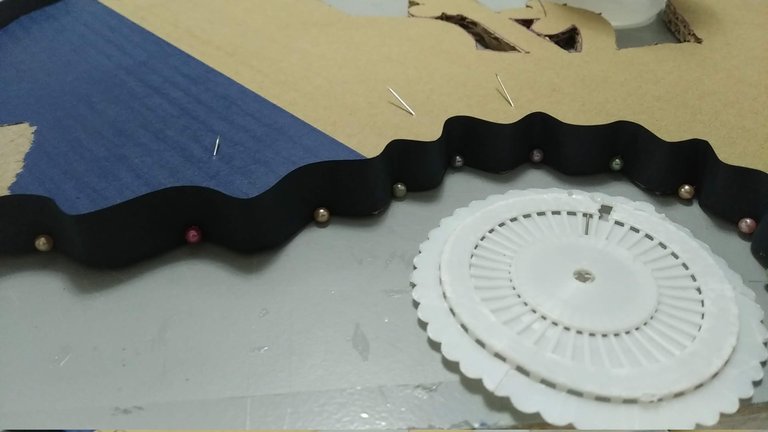
5.- Tomar la cartulina negra y recortar tiras rectangulares (el ancho dependerá del grueso del cartón utilizado) que permitan cubrir el borden el cartón y así mejorar la estética del trabajo. Se debe cuidar de que el ancho de la tira sea más gruesa que el cartón para poder luego doblar hacia el lado donde se pegará el dinosaurio.
5.- Take the black cardboard and cut rectangular strips (the width will depend on the thickness of the cardboard used) to cover the cardboard and thus improve the aesthetics of the work. Make sure that the width of the strip is thicker than the cardboard so that it can be folded to the side where the dinosaur will be glued.
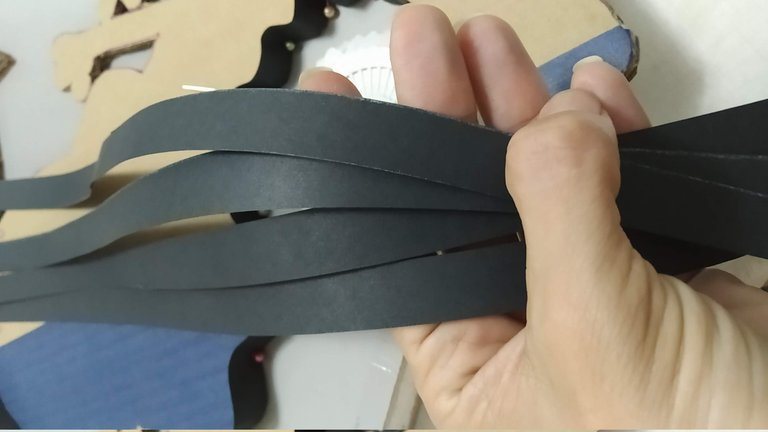
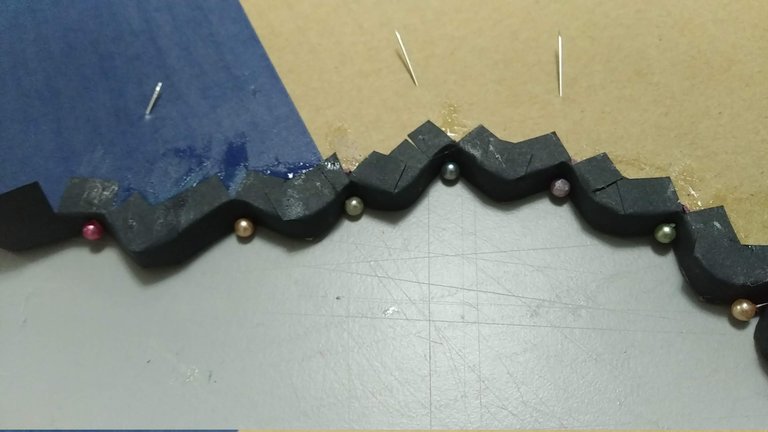
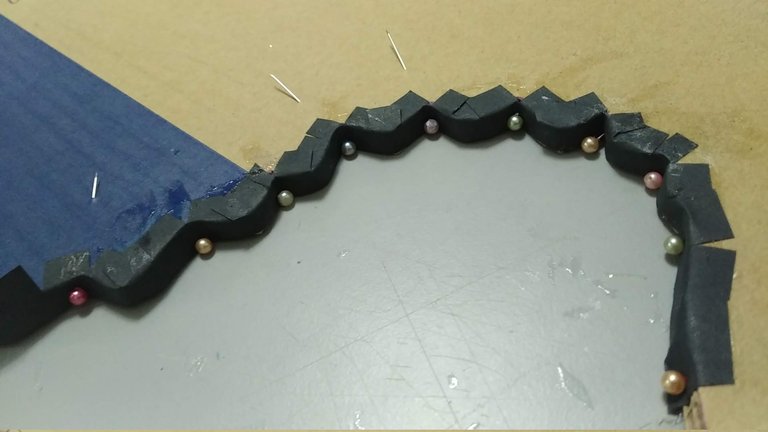
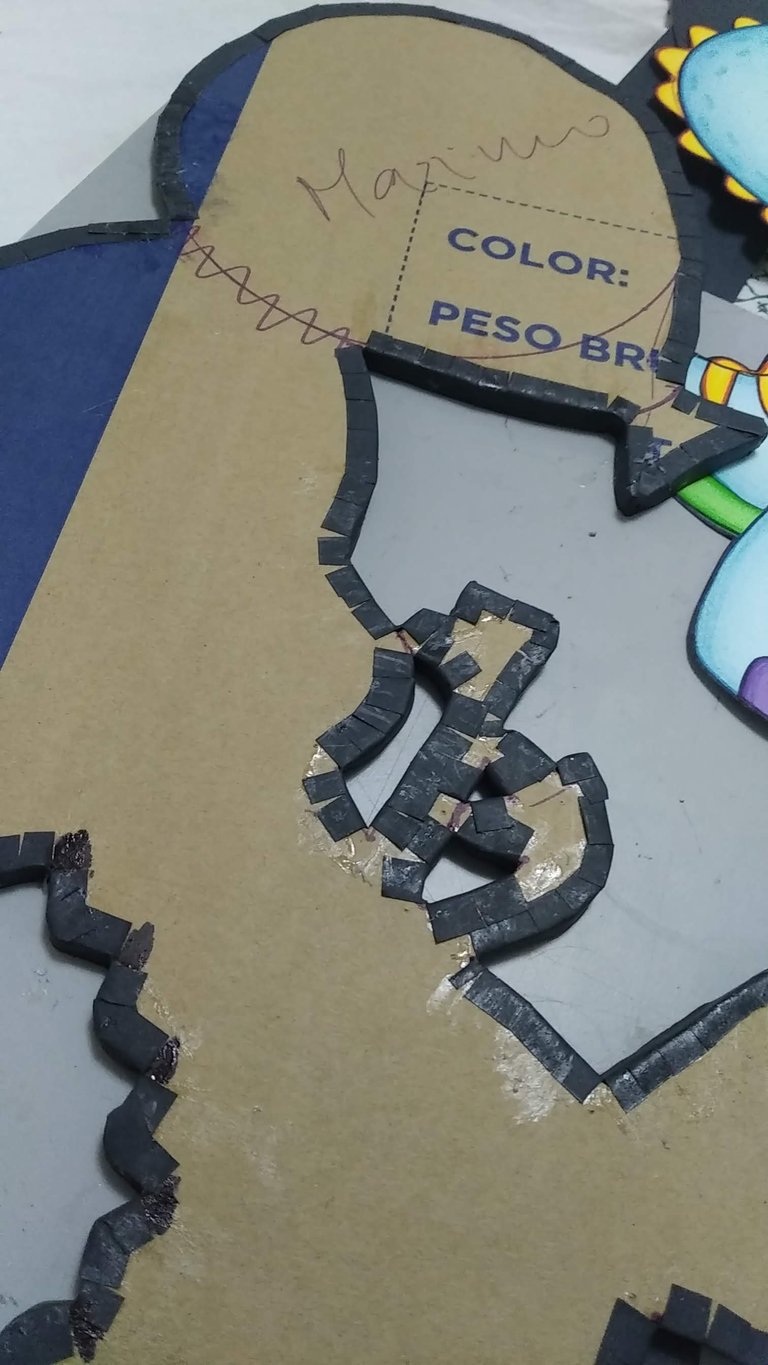
6.- Tomar las tiras de cartulina negra y pegar por todo el borde respetando la silueta trazada. Para pegarlas utilizar silicón frío y ayudarse con los alfileres de cabeza para evitar que la cartulina se mueva mientras se manipula la forma. La parte de la tira que se doblará debe ir hacia la parte donde se pegara la silueta ensamblada del dinosaurio.
6.- Take the strips of black cardboard and glue all around the edge respecting the traced silhouette. To glue them, use cold silicone and help yourself with the head pins to prevent the cardboard from moving while manipulating the shape. The part of the strip that will be folded should go towards the part where the assembled silhouette of the dinosaur will be glued.
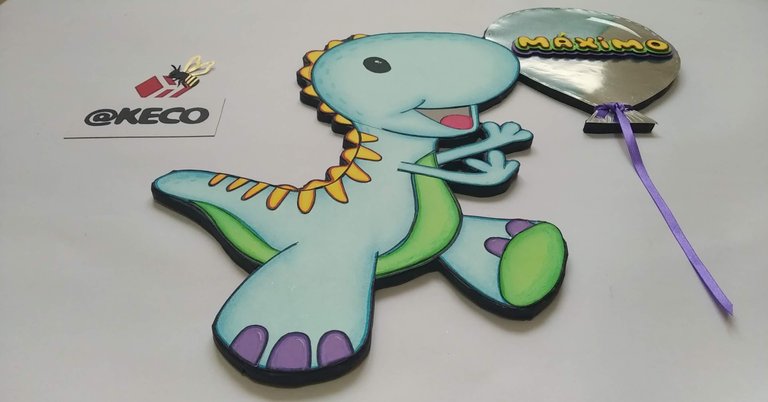
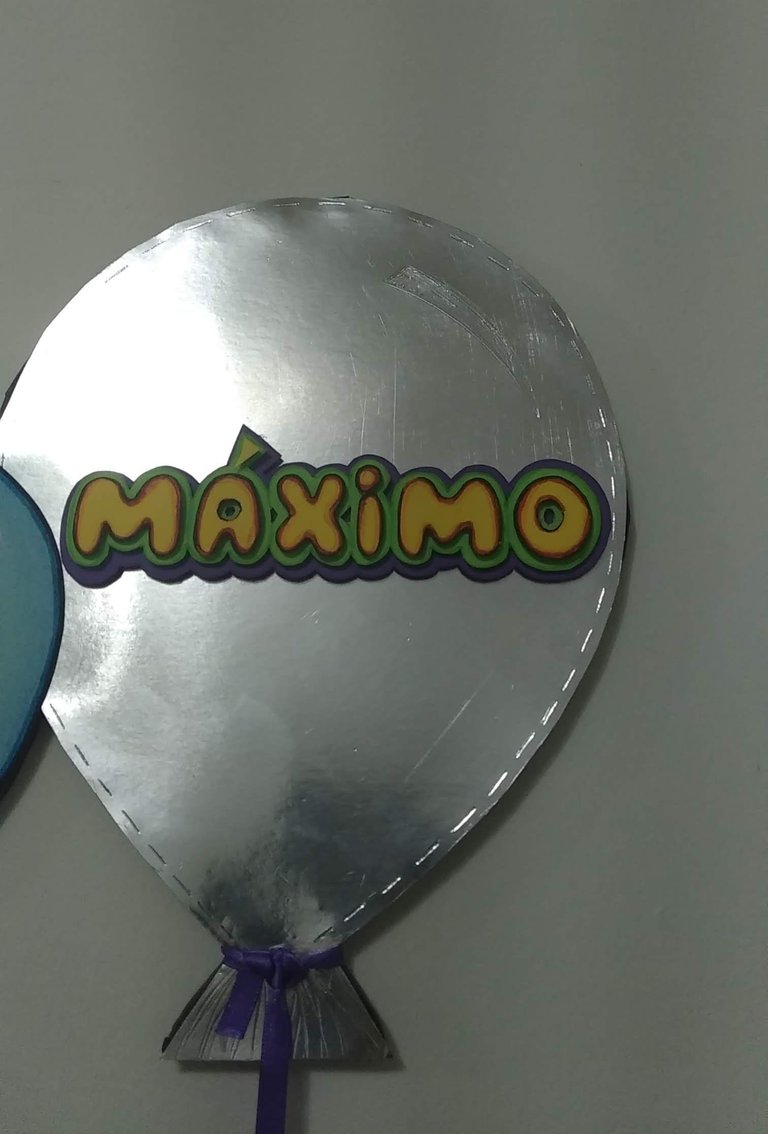
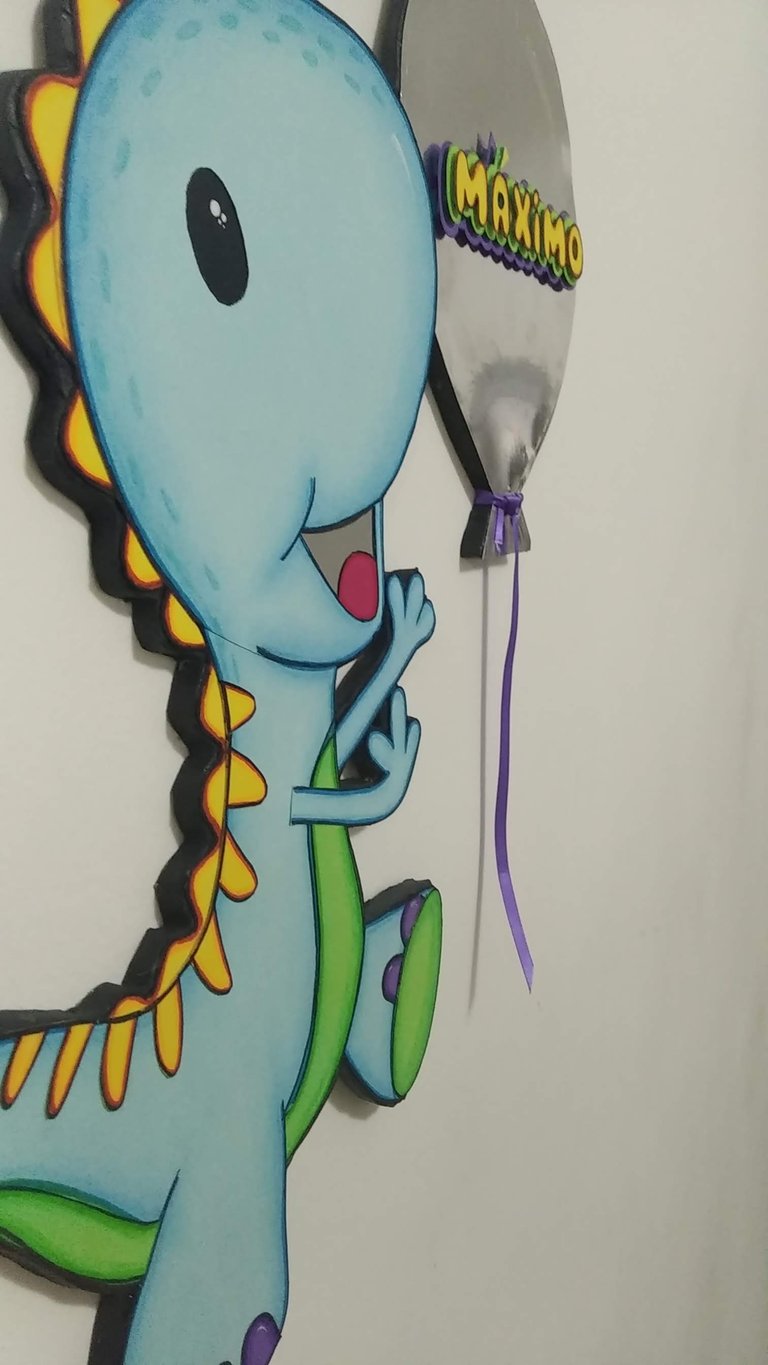
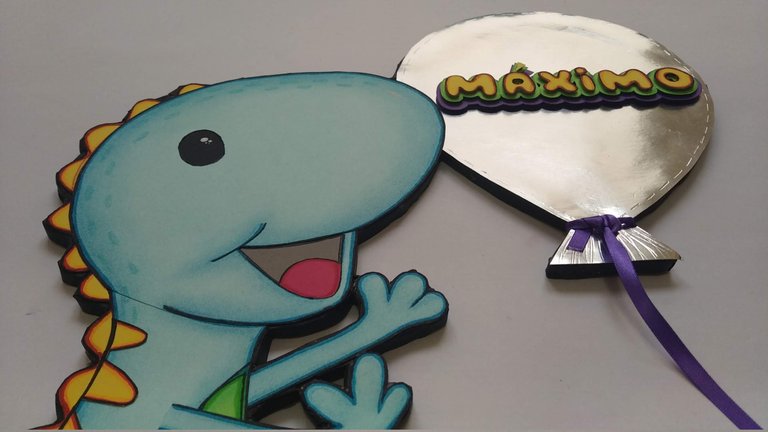
7.- Una vez cubierto todo el borde con tiras negras, recortar la forma del globo en cartulina plateada y pegar con silicón frío; luego pegar la silueta del dinosaurio. En este caso la nariz del dinosaurio queda sobre el globo.
7.- Once the entire border is covered with black strips, cut out the shape of the balloon in silver cardboard and glue with cold silicone; then glue the silhouette of the dinosaur. In this case, the dinosaur's nose is on the balloon.
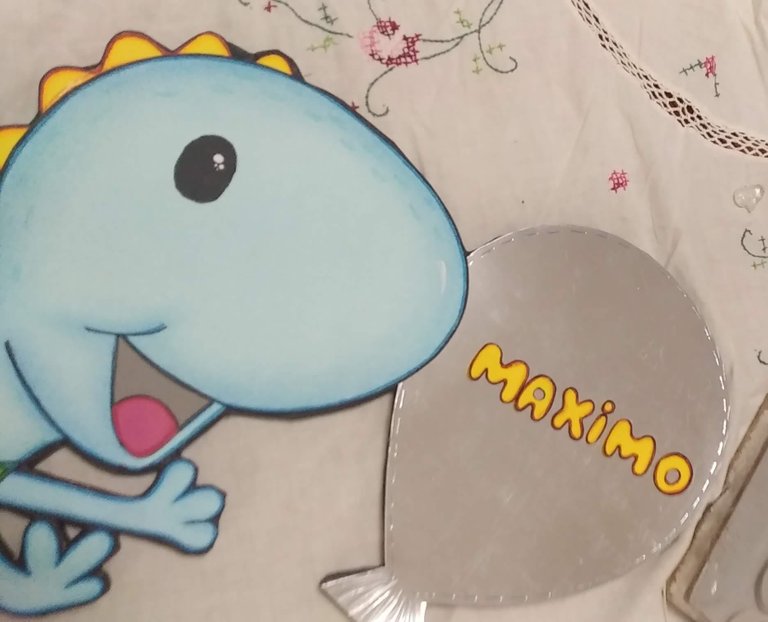
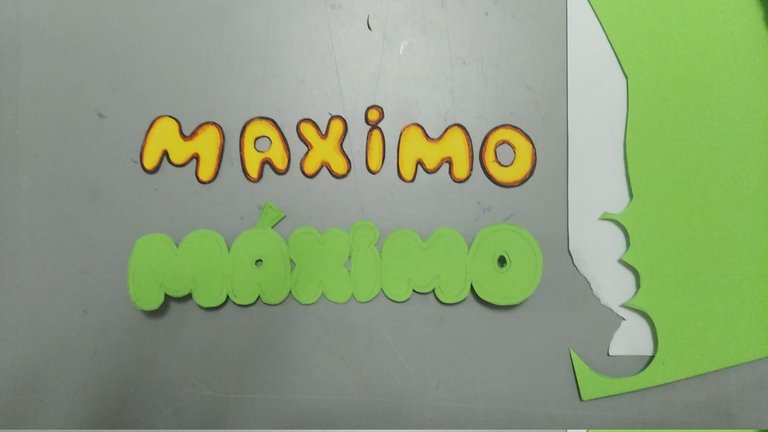
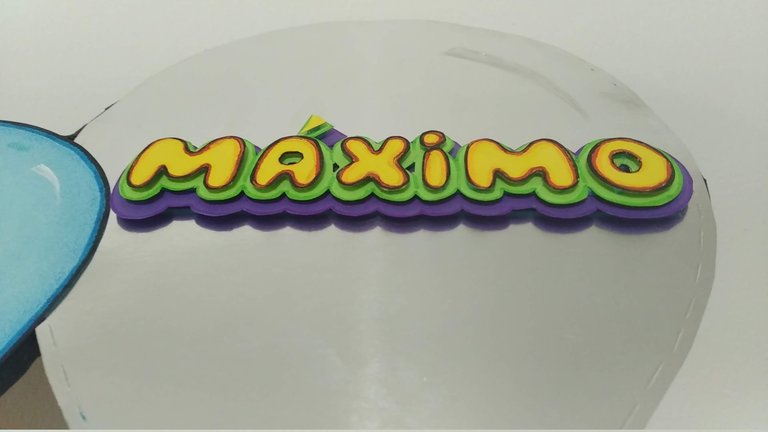
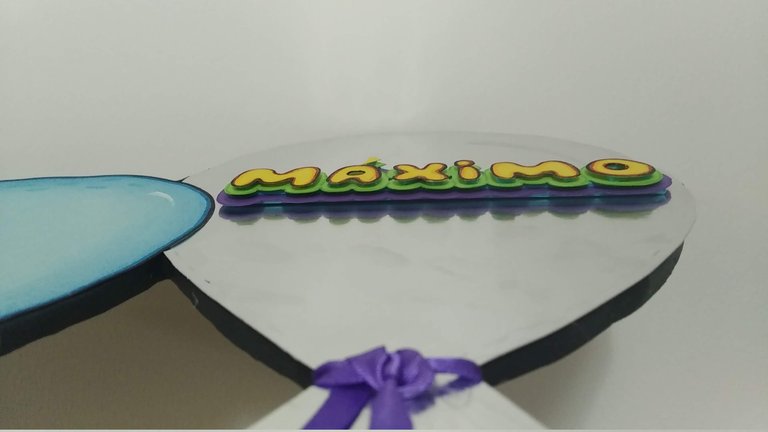
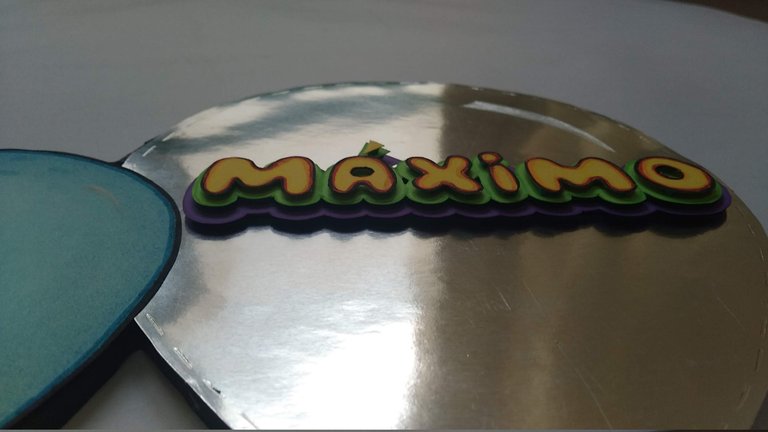
8.- Se diseña el nombre en cartulina de colores, haciéndola a capas para un mejor acabado y se pega sobre el globo plateado. Para terminar la decoración del globo se me pega un trozo de cinta a la base del globo.
8.- The name is designed on colored cardboard, making it in layers for a better finish and glued on the silver balloon. To finish the balloon decoration, a piece of ribbon is glued to the base of the balloon.
9.- Listo, a disfrutar de la magia de crear en casa.
9.- Ready, enjoy the magic of creating at home.

Espero les haya gustado y sobre todo se entusiasmen a crear algo parecido para sorprender a familiares y amigos.
I hope you liked it and, above all, I hope you get excited to create something similar to surprise your family and friends.
Fuente
SALUDOS / REGARDS
Todas las Fotos fueron tomadas con mi teléfono Redmi 7A.
Contenido original de @keco (fotos y texto) - Todos los derechos reservados Publicado en HIVE así como en mi instagram : http://instagram.com/carton_pintura_algo_mas
All Photos were taken with my Redmi 7A phone.
Original content from @keco (photos and text) - All rights reserved Posted on HIVE as well as on my instagram: http://instagram.com/carton_pintura_algo_mas
Quedó muy lindo amiga @keco, me gustó, 😊
Congratulations, your post has been upvoted by @dsc-r2cornell, which is the curating account for @R2cornell's Discord Community.