Hola mis amiguitos de
#hive como la están pasando, les mando un fuerte abrazo, y una lluvia de bendiciones de parte de esta abuelita que quiere compartir con ustedes sus creaciones, yo realmente estoy bien agradecida por el recibimiento sobretodo el apoyo que he sentido dentro de esta comunidad tan maravillosa, una comunidad que está abierta a la creatividad y a las arte manuales.
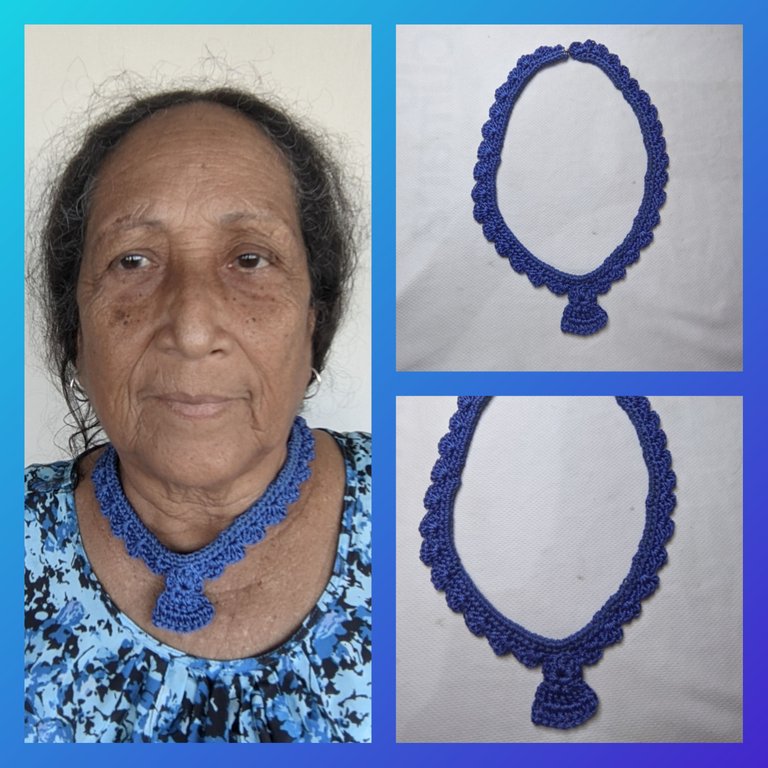
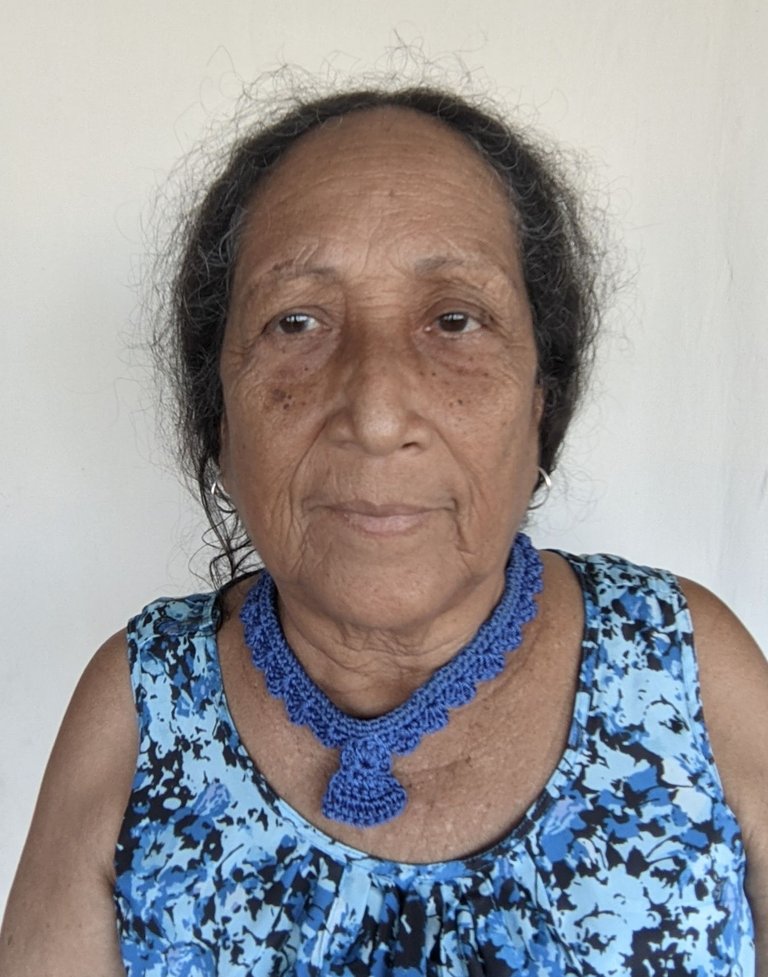
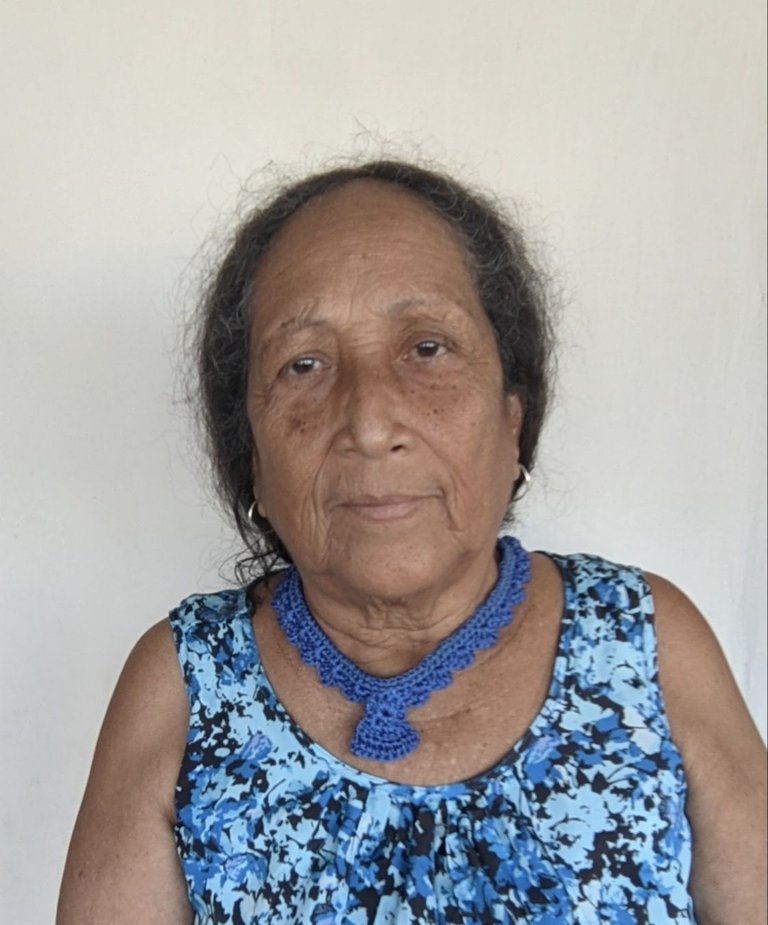
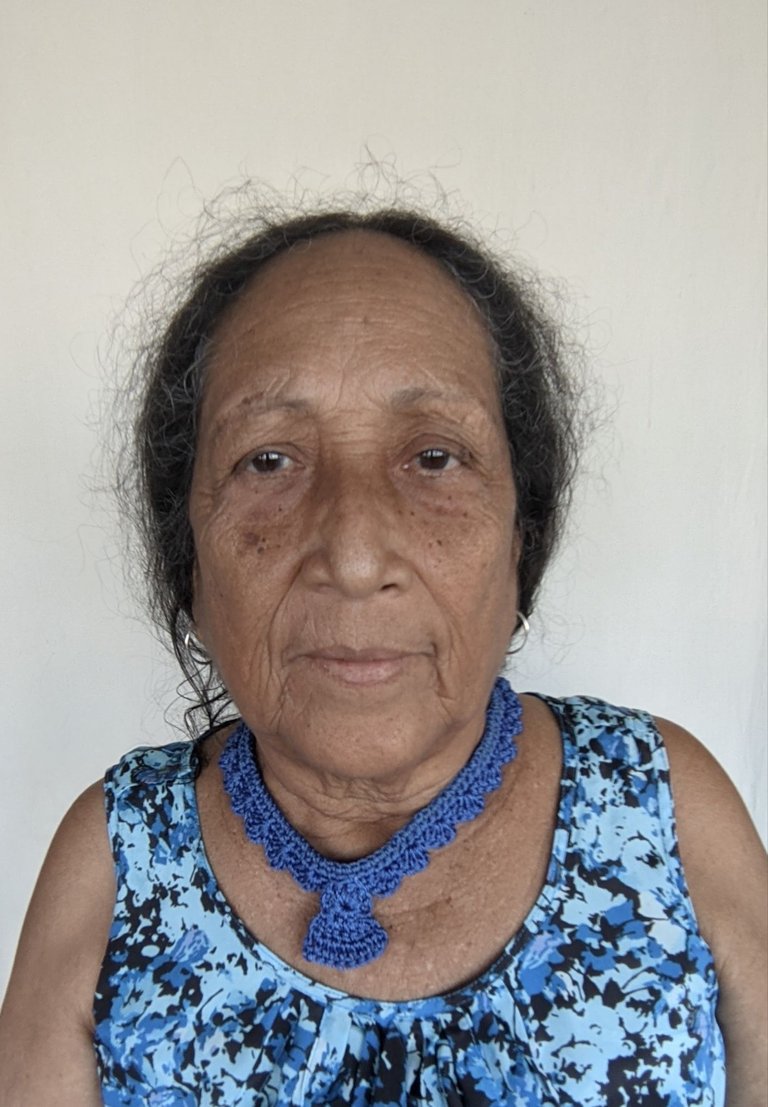
Hoy regreso al tejido, luego de un tiempo sin hacerlo, si amiguitas aquí le traje el día de hoy un post bien entretenido de cómo podemos elaborar una linda gargantilla elaborada en hilo nylon, un detalle bien coqueto, que espero les guste.
🪡MATERIALES🪡
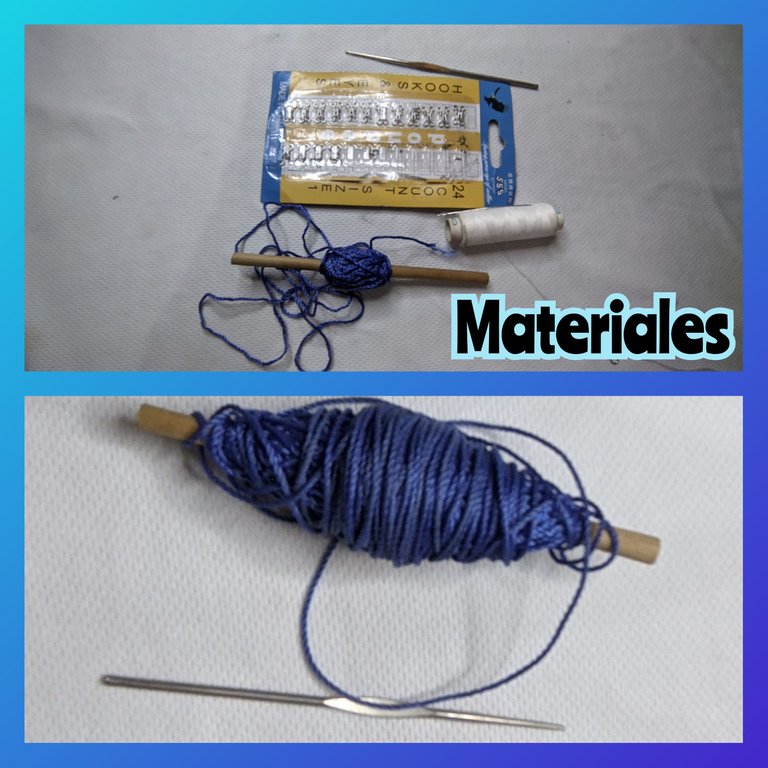
🧵 Hilo nylon azul.
🪡 Agua de tejer.
🧵 Gafete.
🪡 Aguja.
🧵 Hilo.
🪡 Yesquero.
🧵 Tijera.
🪡 Paso a paso 🧵
🧵Paso 1:
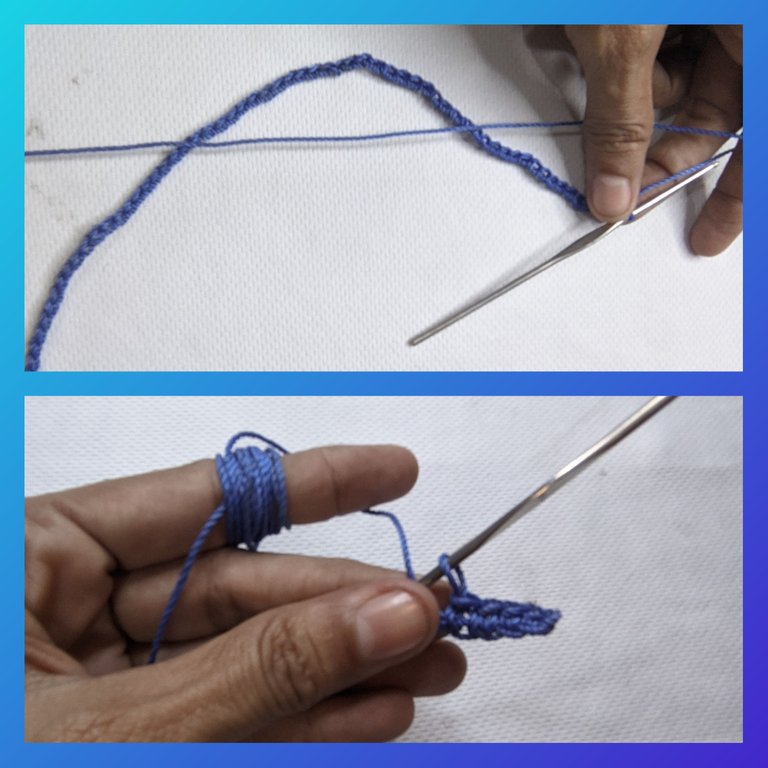
Primero que nada hicimos una cadete de unos 130 puntos de largo, claro esto depende del largo que se quiera hacer la gargantilla, para eso es bueno medir el cuello de la persona e ir realizando las cadenetas y midiendo hasta lograr tener el largo deseado.
Luego inicie con una vuelta de puntos bajo, hasta llegar al otro extremo.
🪡 Paso 2:
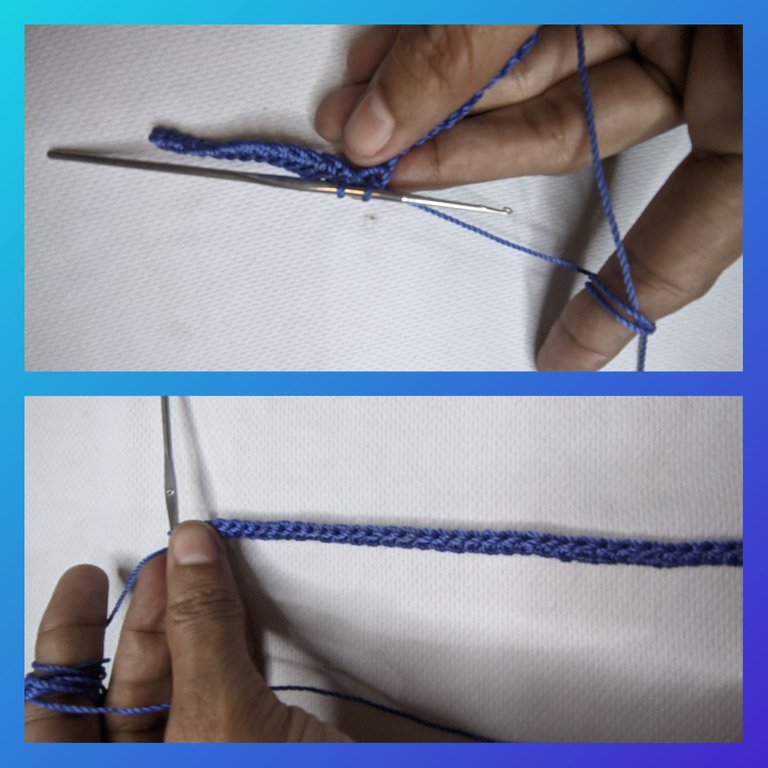
Cuando llegó al final de la línea de puntos bajos, me devuelvo haciendo nuevamente otra línea de puntos bajos.
🧵Paso 3:
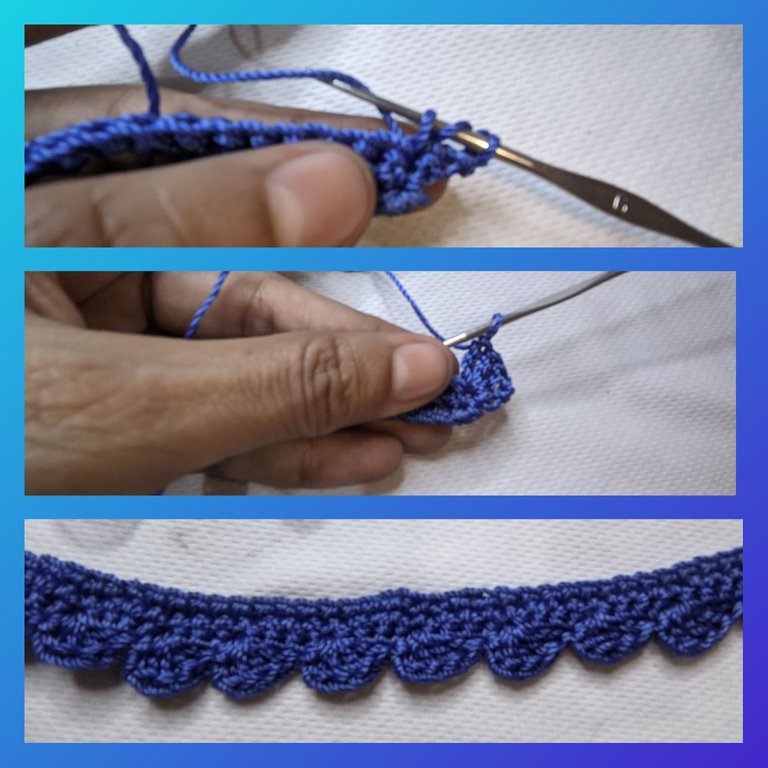
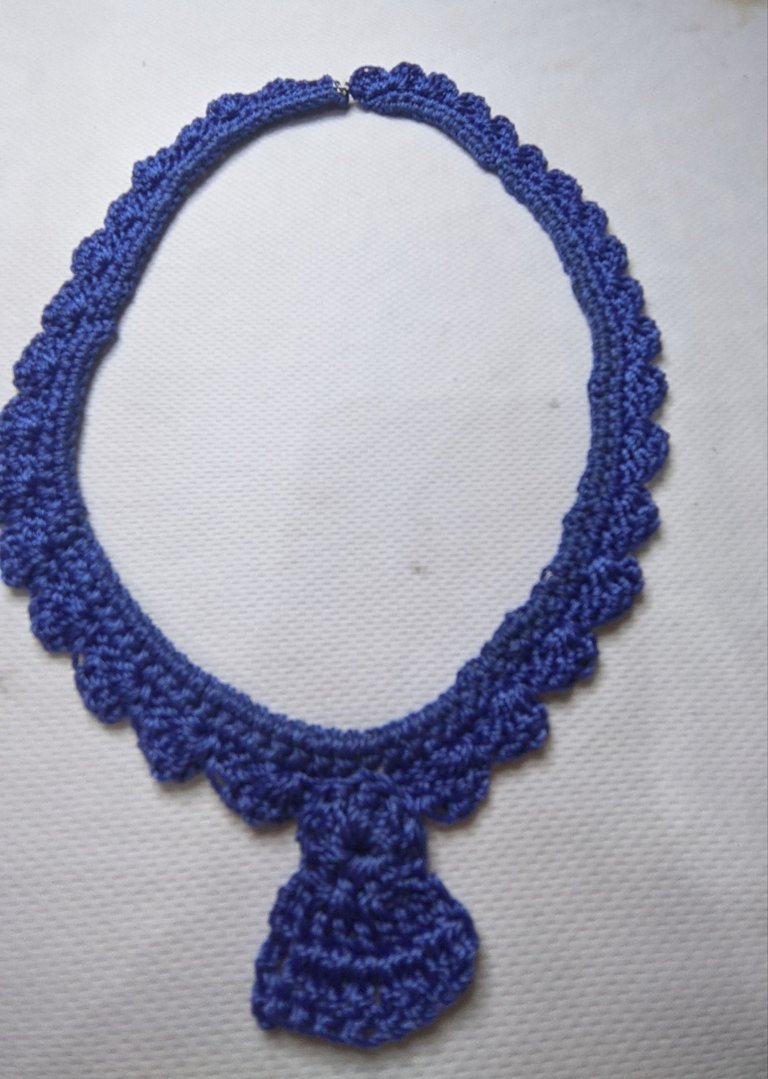
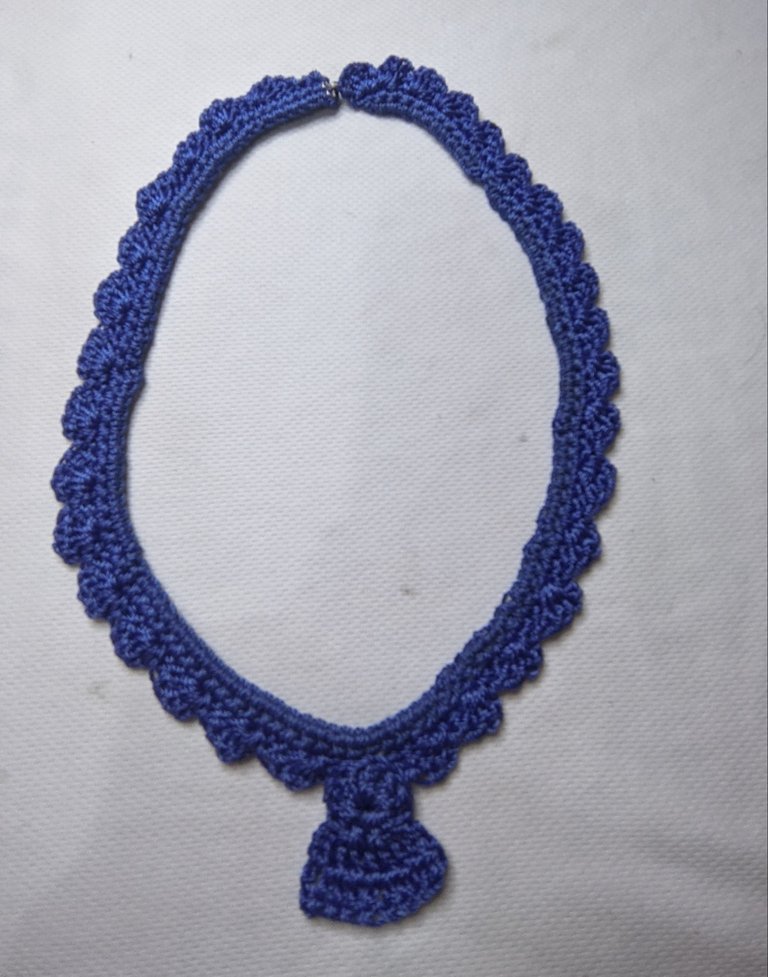
Cuando ya están las dos líneas de puntos bajos inicie a tejer los puntos altos, cuatro para ser más específica y los fui metiendo en el mismo huequito todos, hasta formar una conchita, este paso lo repetí hasta llegar al final de la línea.
🪡 Paso 4:
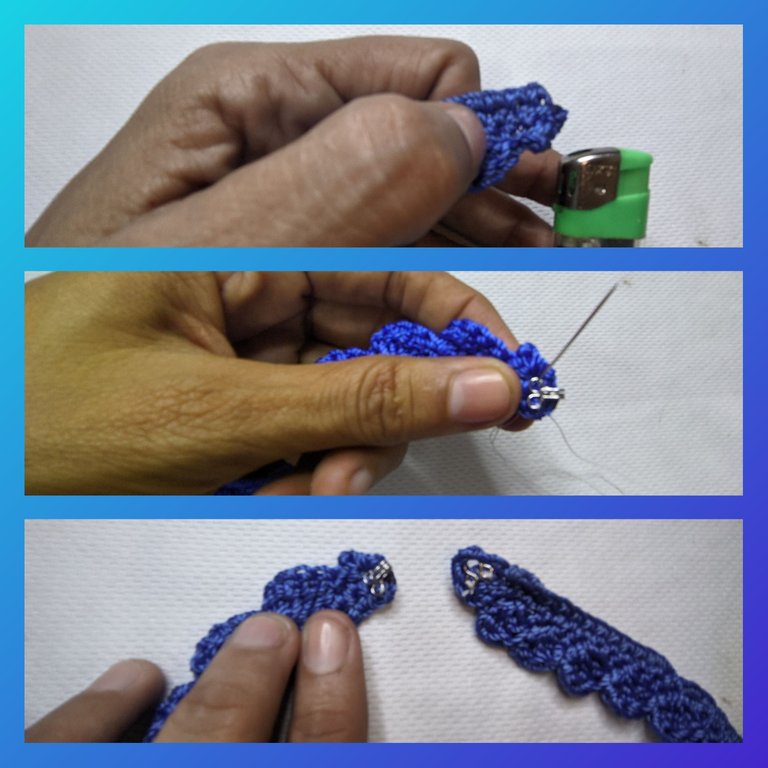
Ahora cuando terminé, corté el hilo con la tijera, y con ayuda de un pesquero, queme un poquito la punta sobrante para sellar el hilo.
Luego tomé el gafete y con ayuda del hilo y la aguja, pegamos al tejido.
🧵 Paso 5:
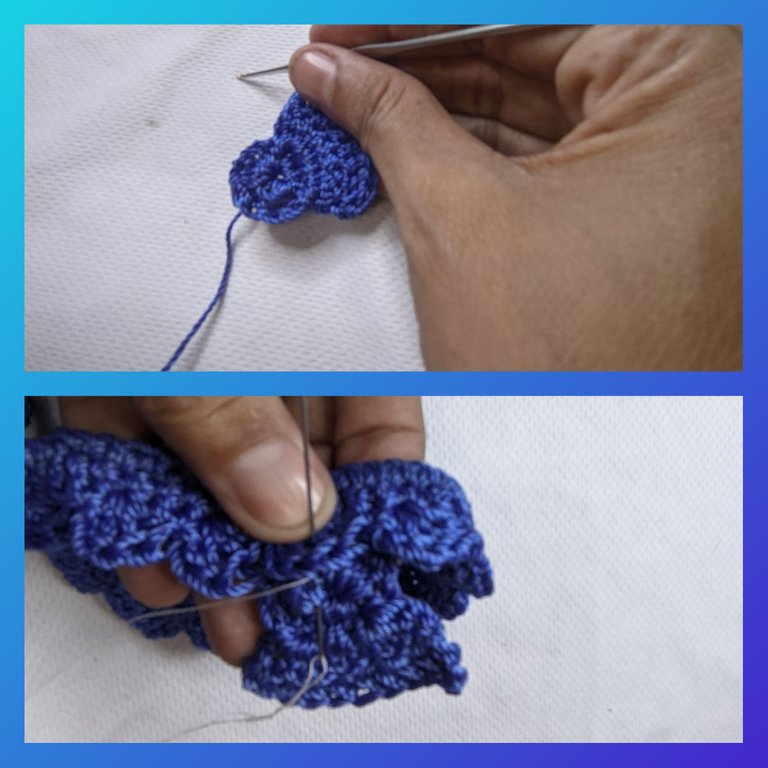
Luego tejimos una pequeña pieza hecha de puro puntos altos, que luego pegamos al tejido y listo terminamos.
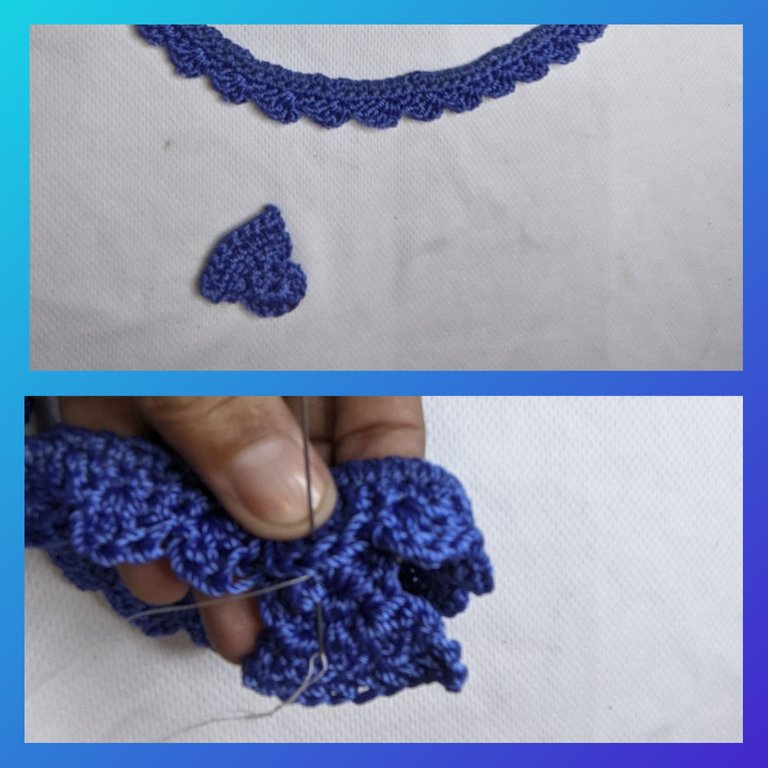
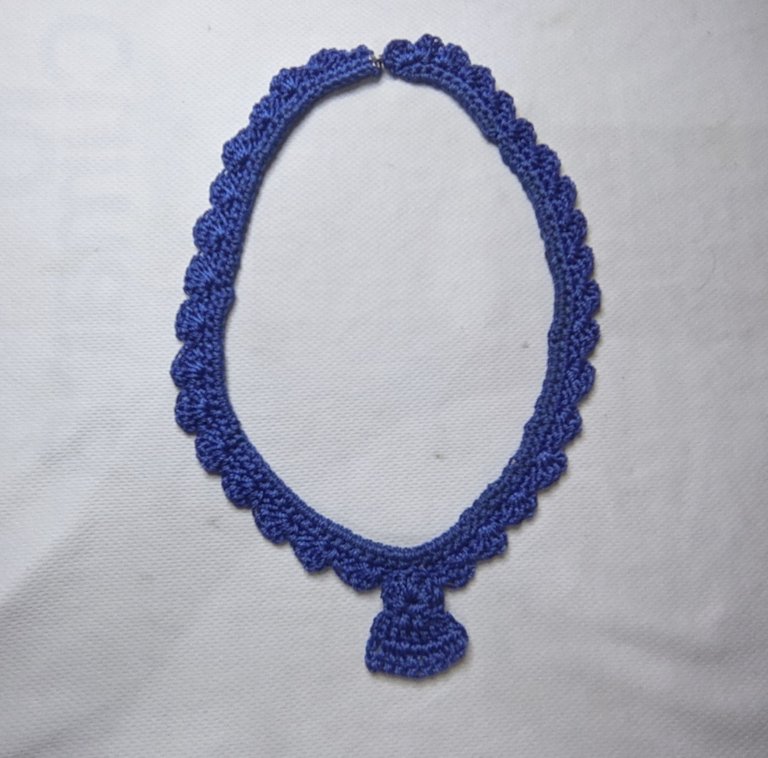
🪡 Resultado final 🧵
Para este post utilice el programa polish y el traductor deepl versión gratis.
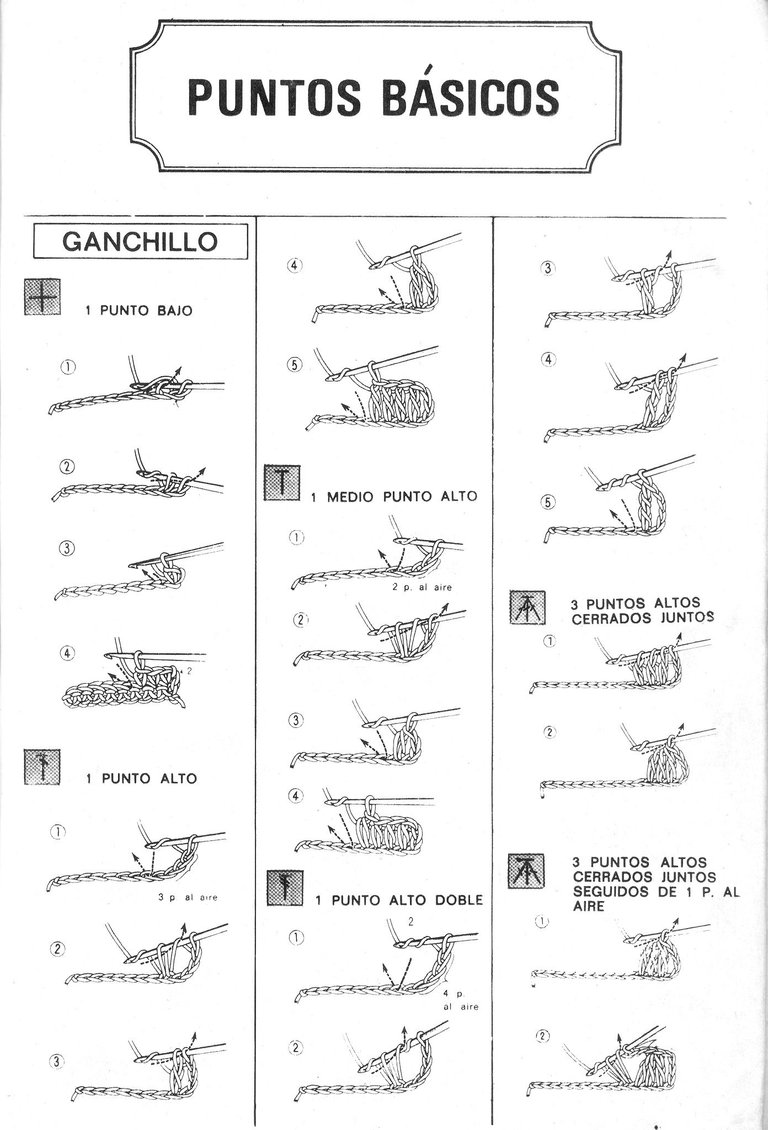
Aquí una guía de los puntos básicos.
Fuente

ENGLISH
Hello my
#hive friends how are you doing, I send you a big hug, and a shower of blessings from this grandmother who wants to share with you her creations, I am really grateful for the reception especially the support I have felt in this wonderful community, a community that is open to creativity and manual arts.
Today I'm back to knitting, after a while without doing it, yes friends here I brought you today a very entertaining post on how we can make a nice choker made in nylon thread, a very cute detail, I hope you like it.
🪡MATERIALS🪡
🪡MATERIALS🪡
🧵 Blue nylon thread.
🧵 Knitting water.
🧵 Badge.
🪡 Needle.
🧵 Yarn.
🪡 Tinder.
🧵 Scissors.
🪡 Step by step 🧵
🧵Step 1:
First of all we made a cadet of about 130 stitches long, of course this depends on the length you want to make the choker, for that it is good to measure the neck of the person and go making the chains and measuring until you get the desired length.
Then start with a row of single crochet, until you reach the other end.
🪡 Step 2:
When it reached the end of the low dotted line, I go back by doing another low dotted line again.
🧵Step 3:
When the two lines of low stitches are already knitted, I started to knit the high stitches, four to be more specific and I put them all in the same hole, until I formed a little shell, I repeated this step until I reached the end of the line.
🪡 Step 4:
Now when I was done, I cut the thread with the scissors, and with the help of a fisherman, I burned a little bit of the excess end to seal the thread.
Then I took the badge and with the help of the thread and the needle, we glued it to the fabric.
🧵 Step 5:
We then knitted a small piece made of pure garter stitch, which we then glued to the fabric and we're done.
🪡 Final result 🧵
For this post I used polish and the free version of deepl translator.
Here's a guide to the basics.
Source
~~~ embed:1752700495008018477?t=imt_kaUcZ_VP1K93Pk1b5Q&s=19 twitter metadata:TWF5ZWxpbjIwMjF8fGh0dHBzOi8vdHdpdHRlci5jb20vTWF5ZWxpbjIwMjEvc3RhdHVzLzE3NTI3MDA0OTUwMDgwMTg0Nzd8 ~~~
WOW! It is beautiful and elegant. Impressive! Nice work! Keep it up!
Gracias
Gracias
¡Qué hermoso! Mi abuela me hizo uno similar cuando era pequeña, saludos Dios bendiga esas manos.✨
Que bueno que te gustó y que te trajo gratos recuerdos hijita, Dios te bendiga
Hola amiguita¡¡te quedo muy bonita y me encanta el color, gracias por compartir. Un abrazo.
Muchísimas gracias mi vida y que Dios te bendiga
Congratulations @laabuelita! You have completed the following achievement on the Hive blockchain And have been rewarded with New badge(s)
Your next target is to reach 900 replies.
You can view your badges on your board and compare yourself to others in the Ranking
If you no longer want to receive notifications, reply to this comment with the word
STOPCheck out our last posts: