
Hola mis nietitos de #hive espero que estén muy bien, todos ustedes, ayer descansé porque esta abuelita no tiene la misma agilidad que muchos de este ecosistema, pero aquí estoy dispuesta a seguir aprendiendo todos los días algo nuevo.
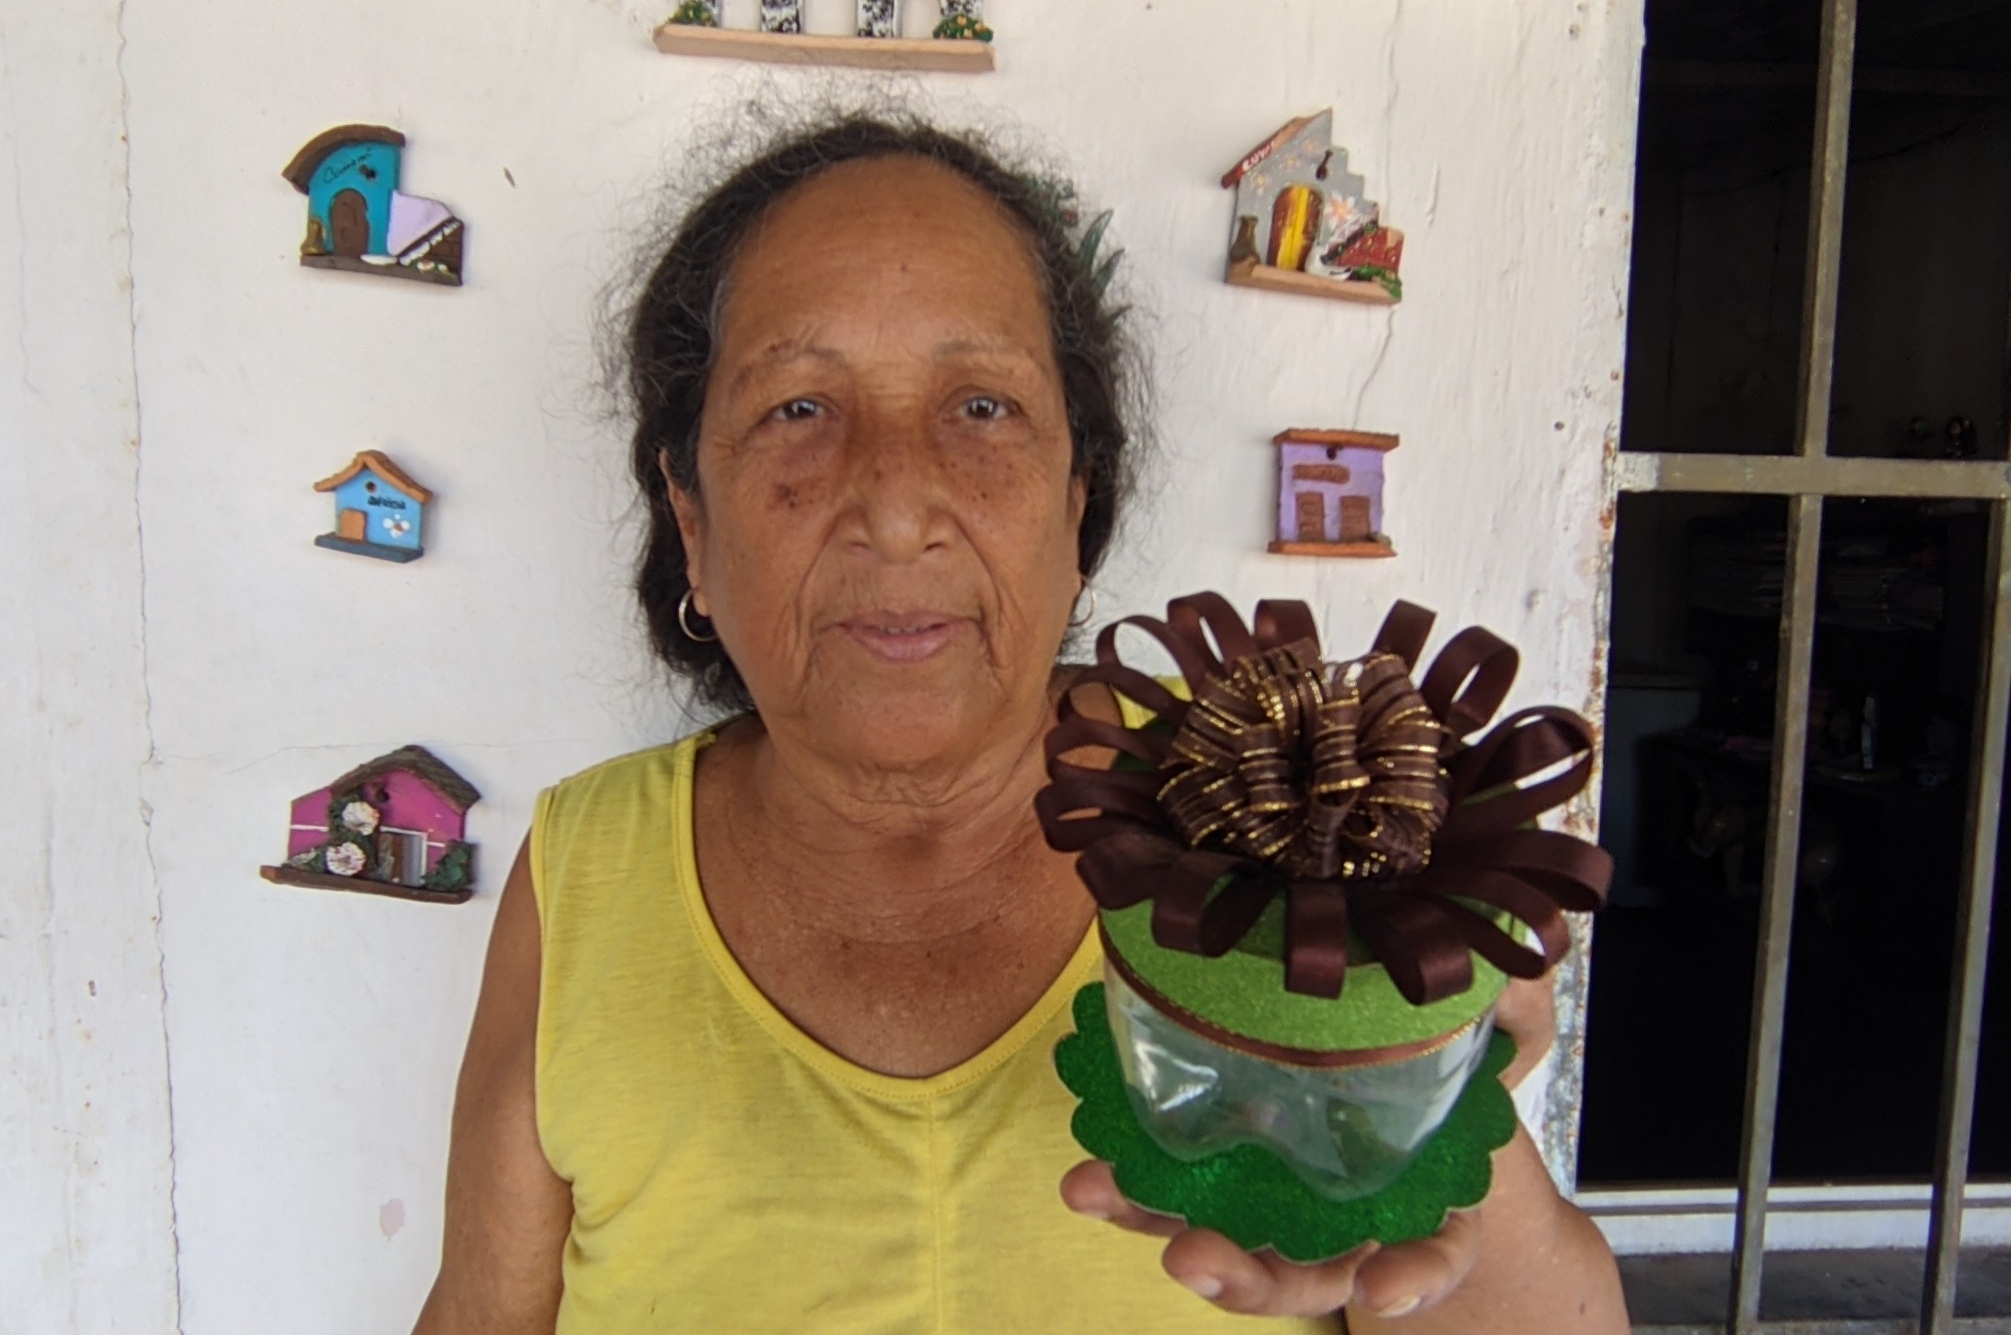
Hoy les traje un tutorial de un lindo detalle para obsequiar en cualquier ocasión, puede servirte de joyero, puede servirte para regalar chucherías, o cualquier otro detalle que desees, sigo haciendo el post solo con fotos, porque aún me cuesta mucho aprender a subir los videos, pero ya pronto lo haré.
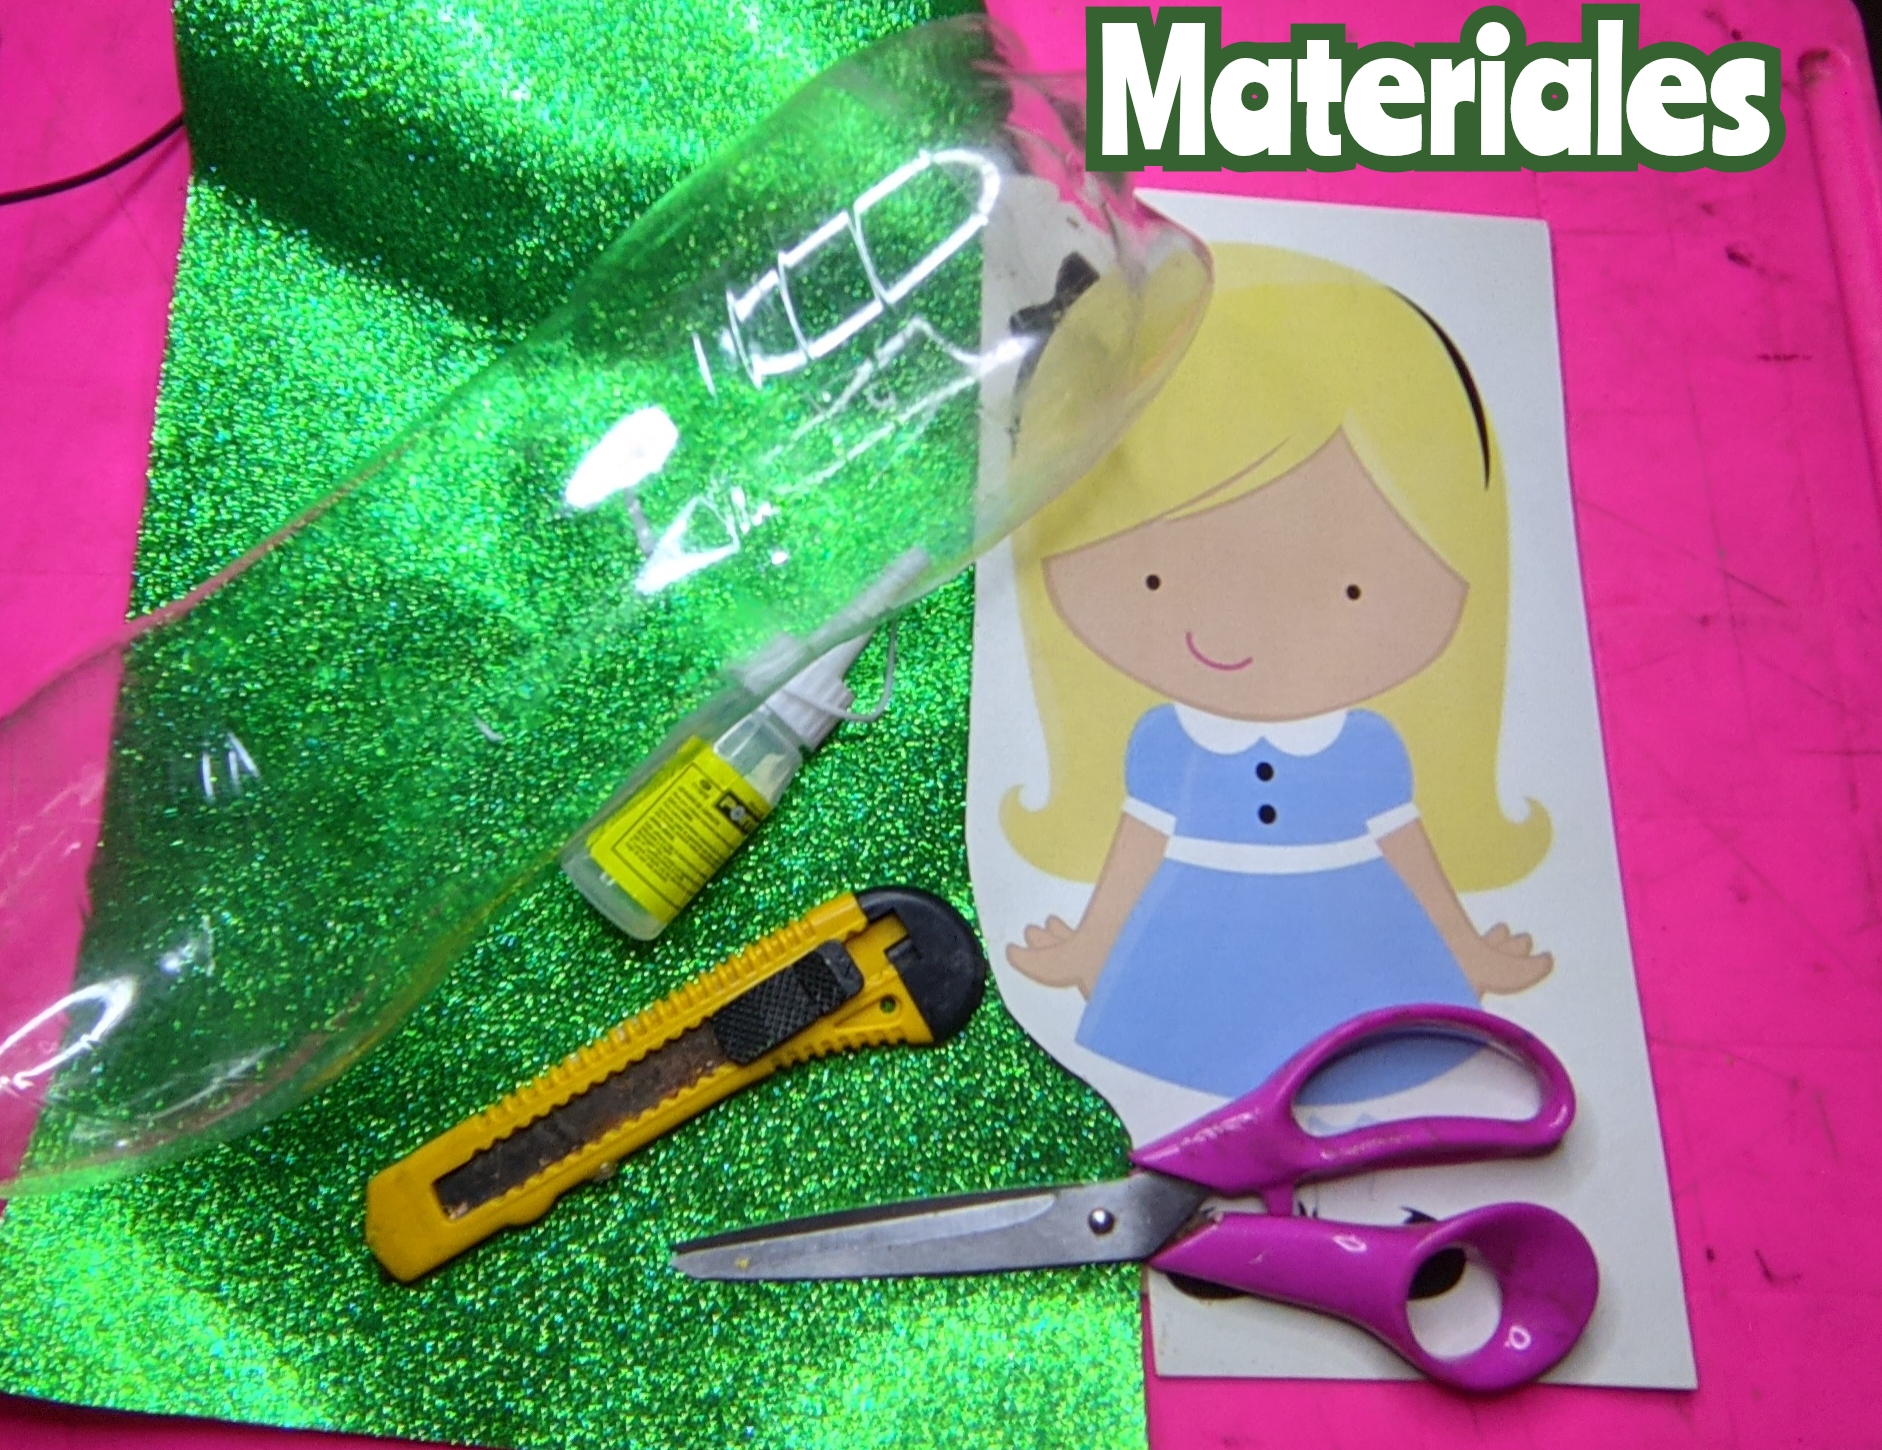
🎁Que use:🎁
🎁 Foami de color verde manzana.
🎁 Lazo de cinta de raso.
🎁 Silicón líquido.
🎁 Botella de refresco de plástico.
🎁40 cm de cinta de raso delgada.
🎁 Tijera.
🎁 Cuchilla.
🎁 Cartón de reciclaje, sirve de cualquier caja.
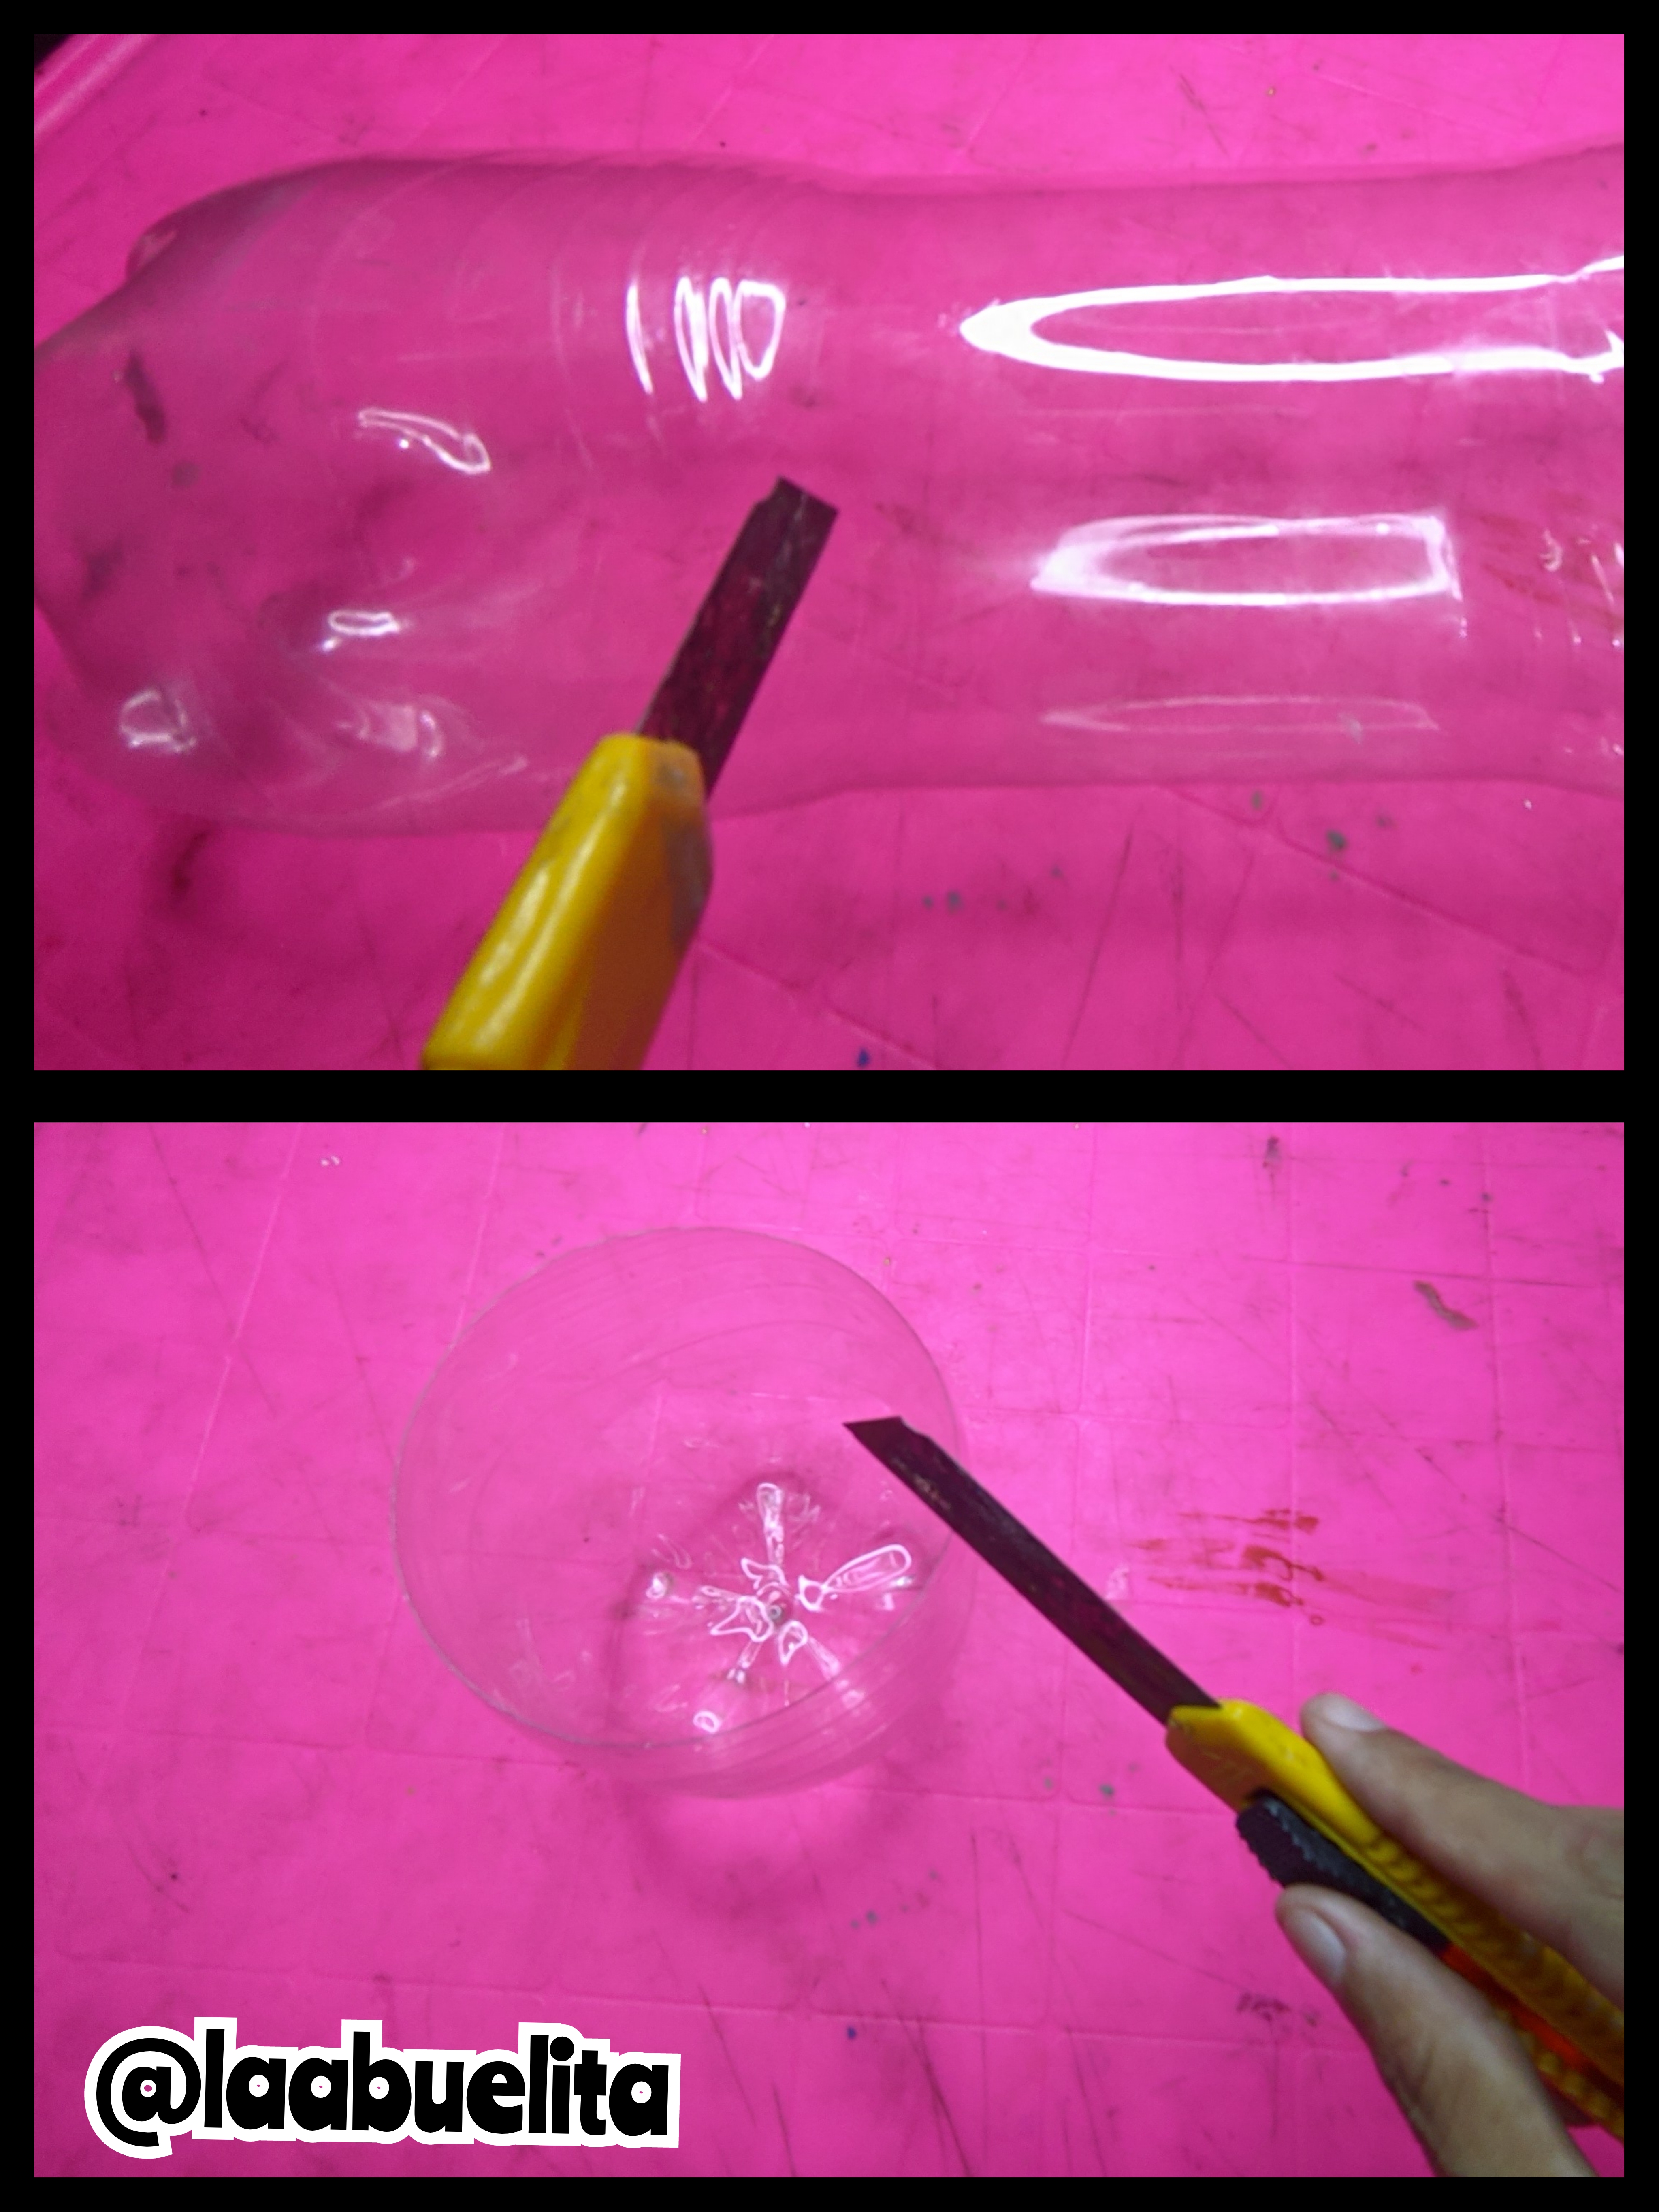
🎁 Paso 1
Primero lave bien la botella de refresco, después la seque, cuando ya esté lista, agarre la cinta métrica y medimos unos 12 cm y marcamos en la parte de abajo de la botella, luego con la cuchilla recorte, y finalmente con la tijera quite los bordes y empareje.
🎁 Paso 2
Agarre el cartón de reciclaje y dibuje un círculo, tiene que ser del tamaño de la base que sacamos de la botella de refresco.

🎁 Paso 3
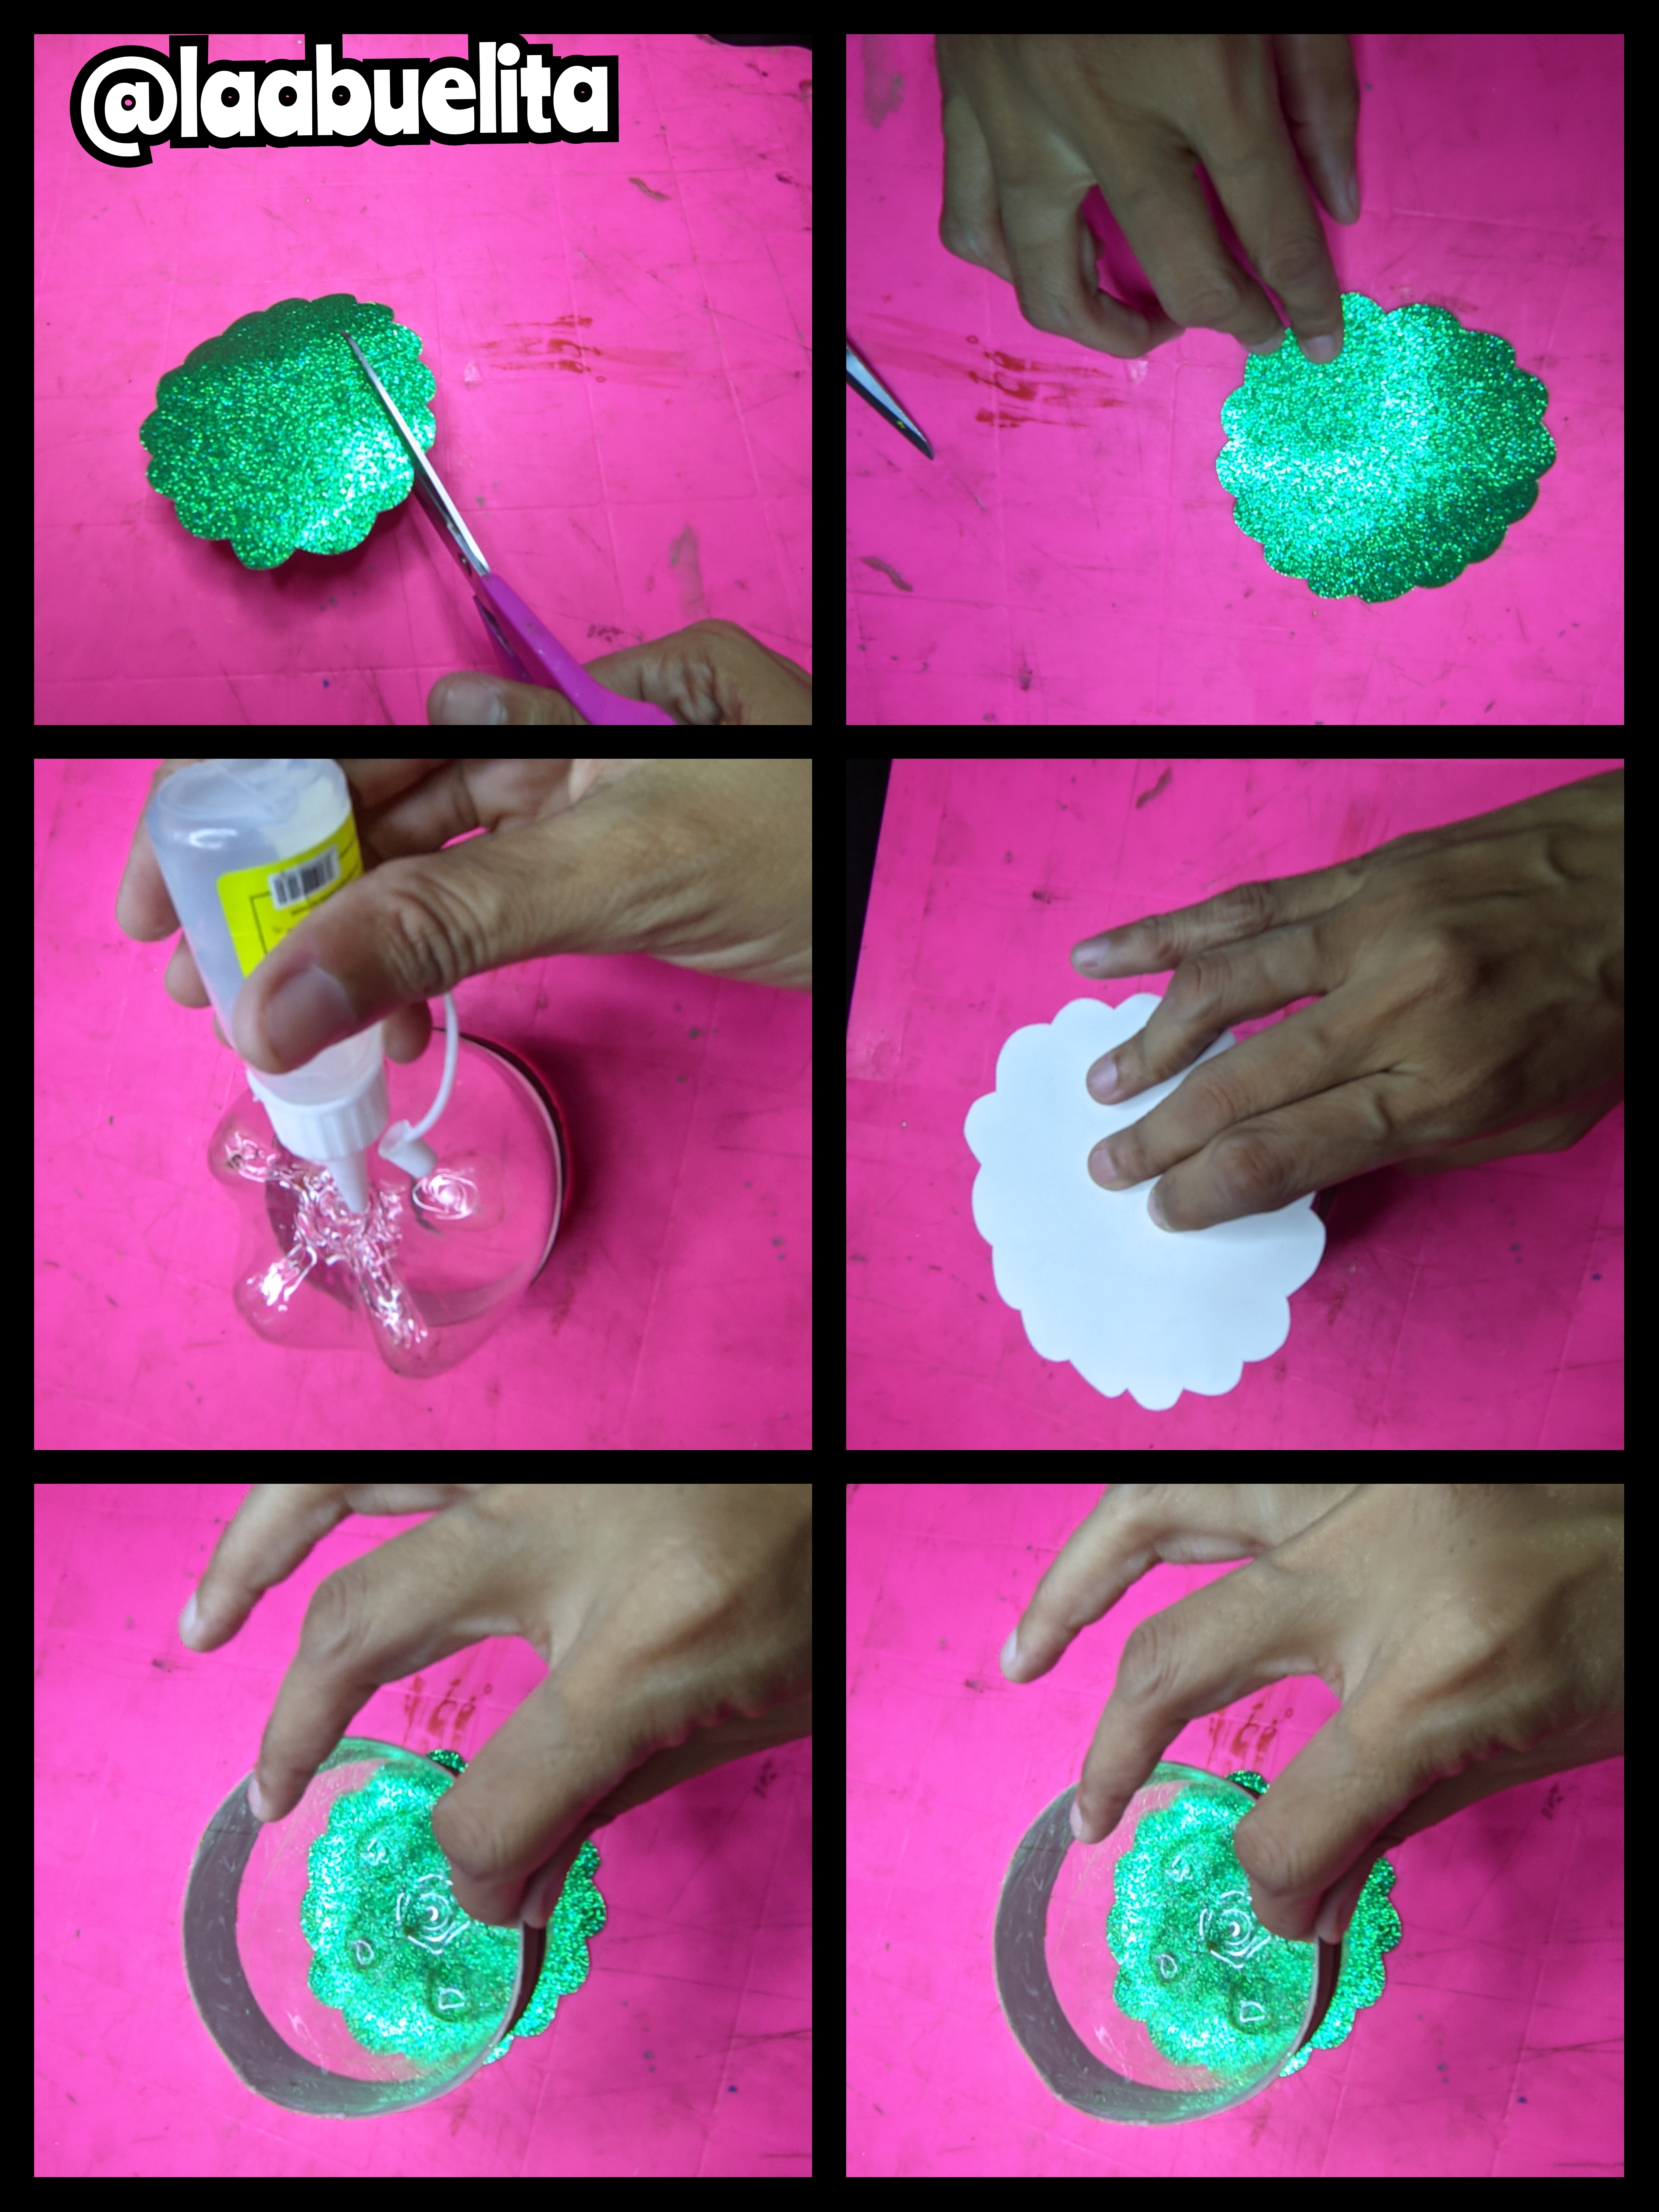
Después en el foami verde puse la tapita de cartón de recorte y marcó dos piezas redondas, y dos tiras de 39 cm de largo y 3 cm de ancho.

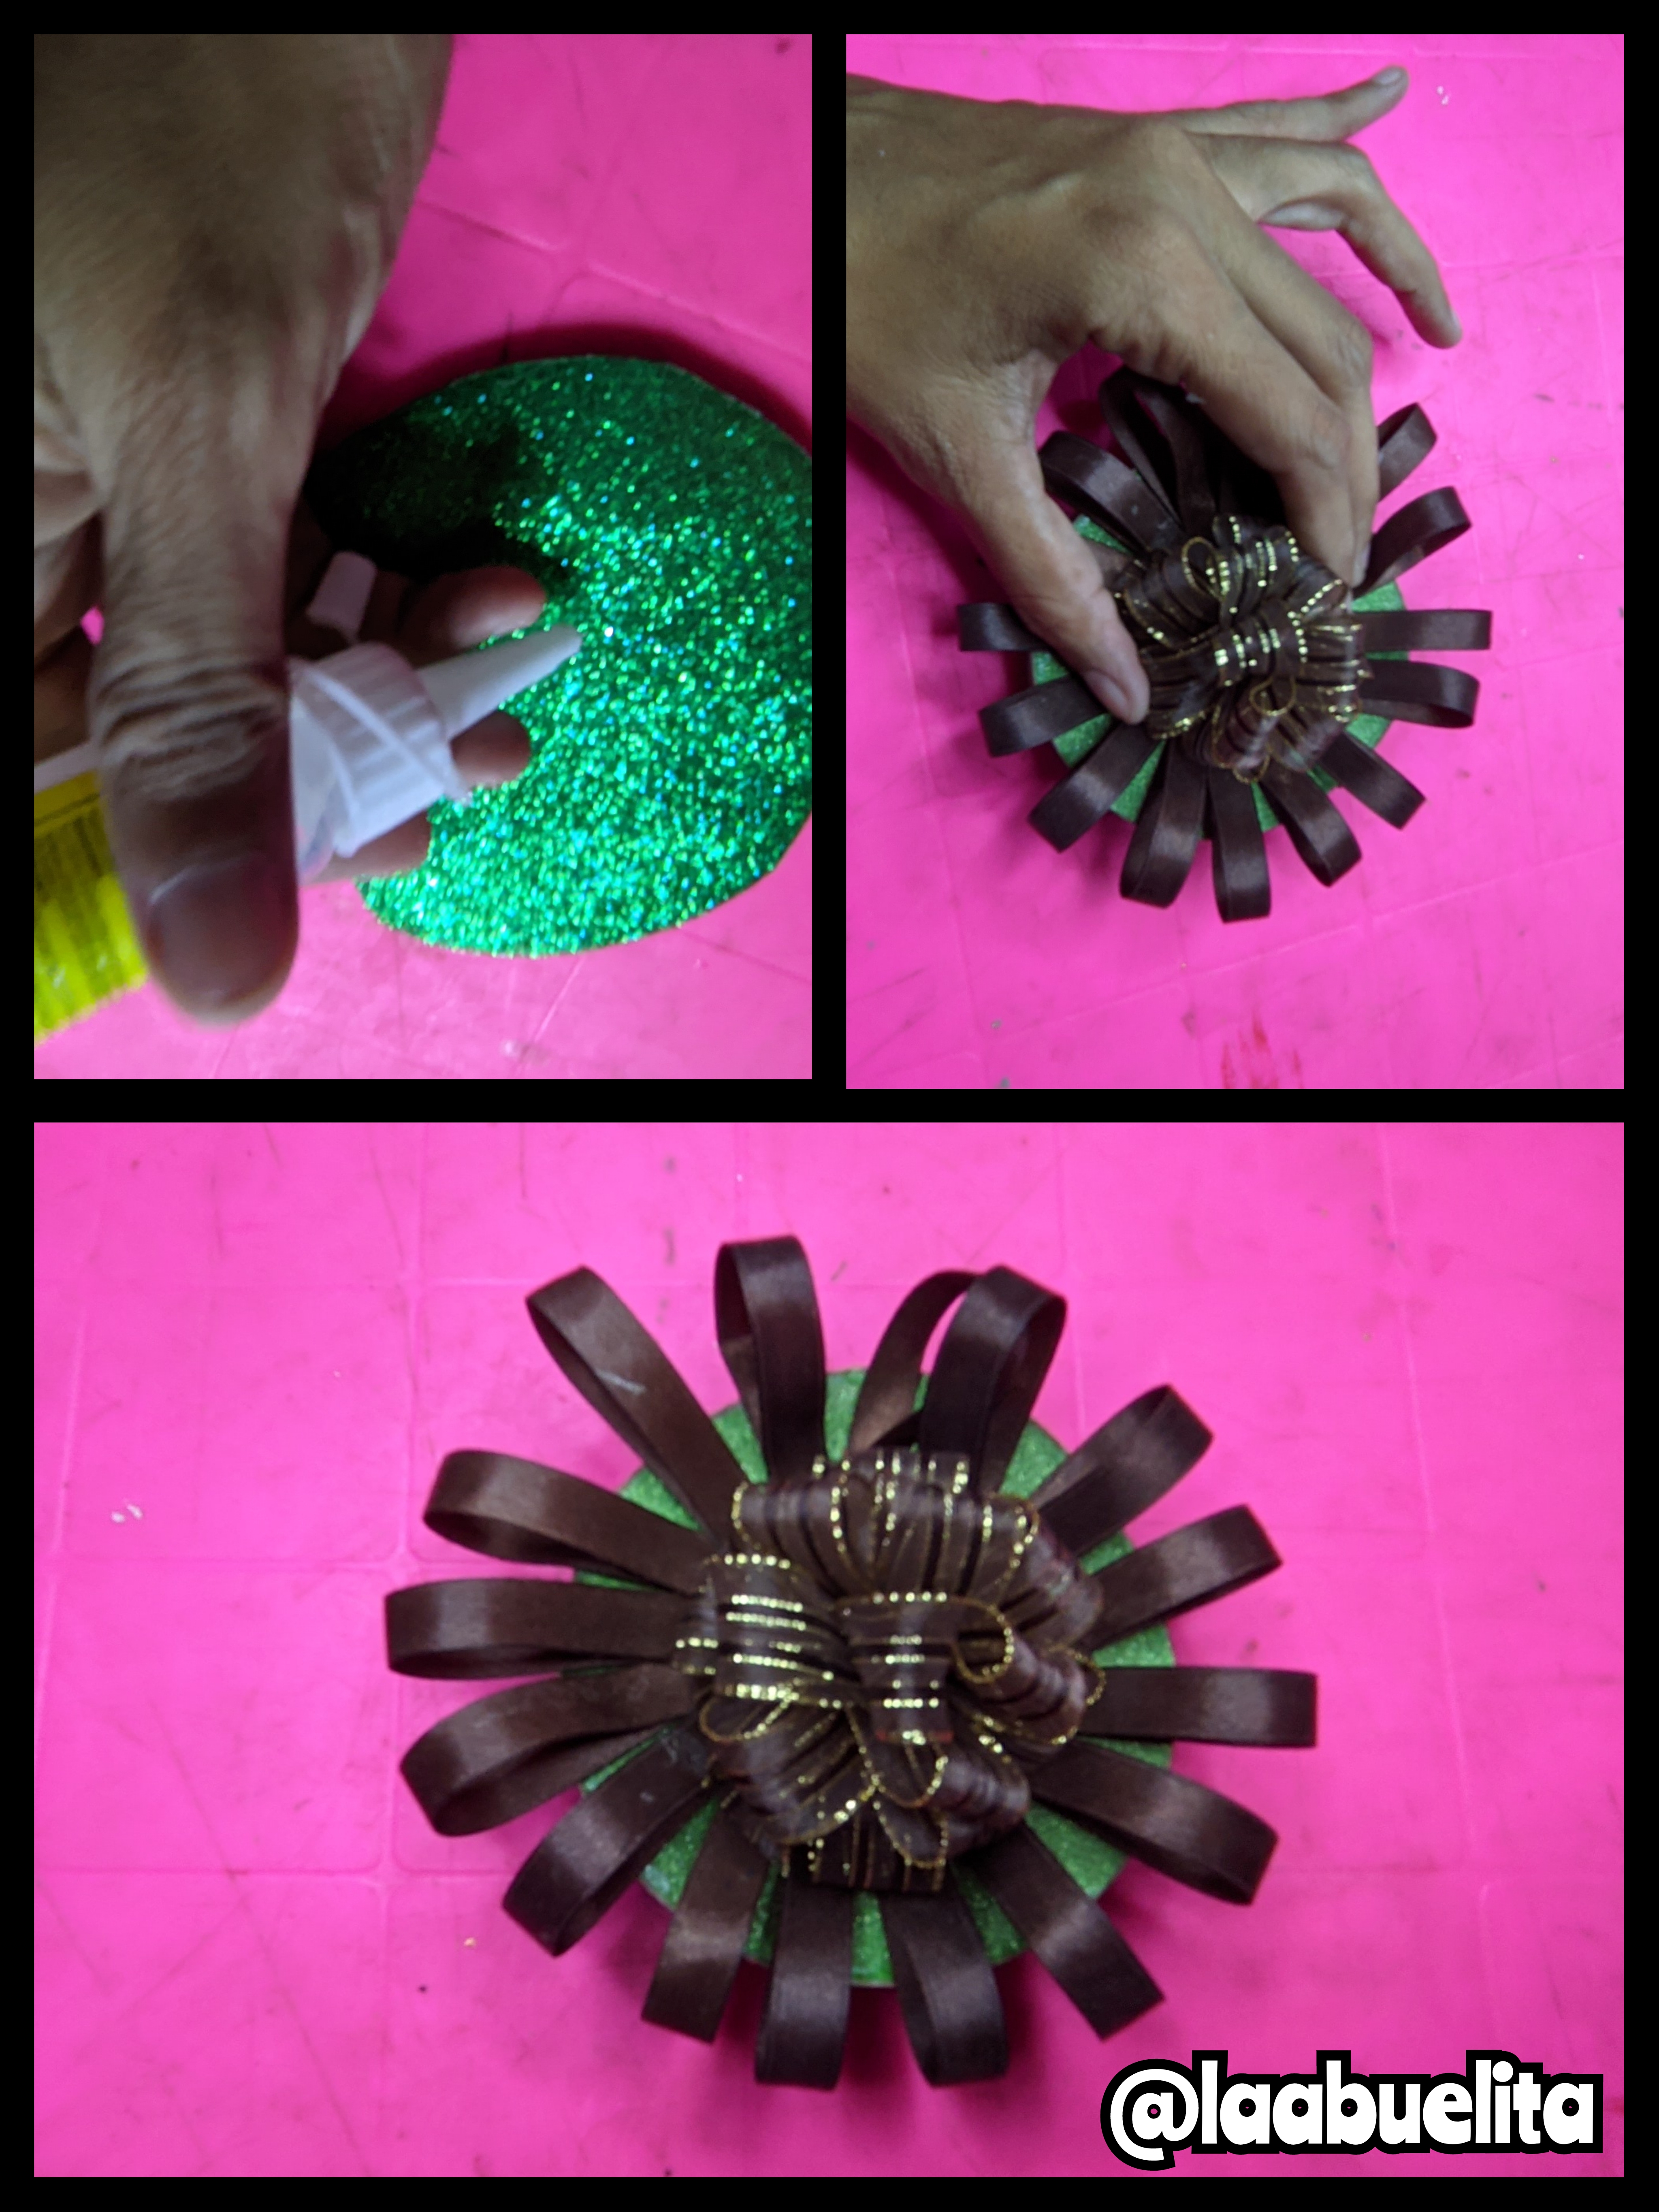
🎁Paso 4
Cómo ya sacamos las piezas que voy a usar vamos a comenzar, agarre la tapa de cartón y le puse silicón líquido, luego lo cubrí con una de las piezas de foami verde, y apretamos para que se pegue bien, después le puse silicón líquido por todo el borde y pegue la tira larga que ya había recortado, lo vamos presionando para que se pegue todo.

🎁 Paso 5
Ahora le echamos un poco de silicón líquido en la parte de arriba y pegamos el lazo de cinta de raso que usaremos para decorar, y dejamos secar bien, de esta manera ya está lista la tapa.
🎁 Paso 6
Ahora voy a trabajar con la parte de abajo, entonces le echamos silicón líquido por todo el borde y comenzamos a pegar la otra tira que nos quedó del foami verde, de nuevo le puse silicón líquido pero ahora por el borde del foami y allí pegue la cinta.

🎁Paso 7
Ahora agarre el otro círculo de foami y lo recorte como se ve en la imagen, también le puse silicón líquido por la parte de abajo y pegó en el foami, dejamos secar y listo hemos terminado.
📷 Fotos del trabajo listo 📷
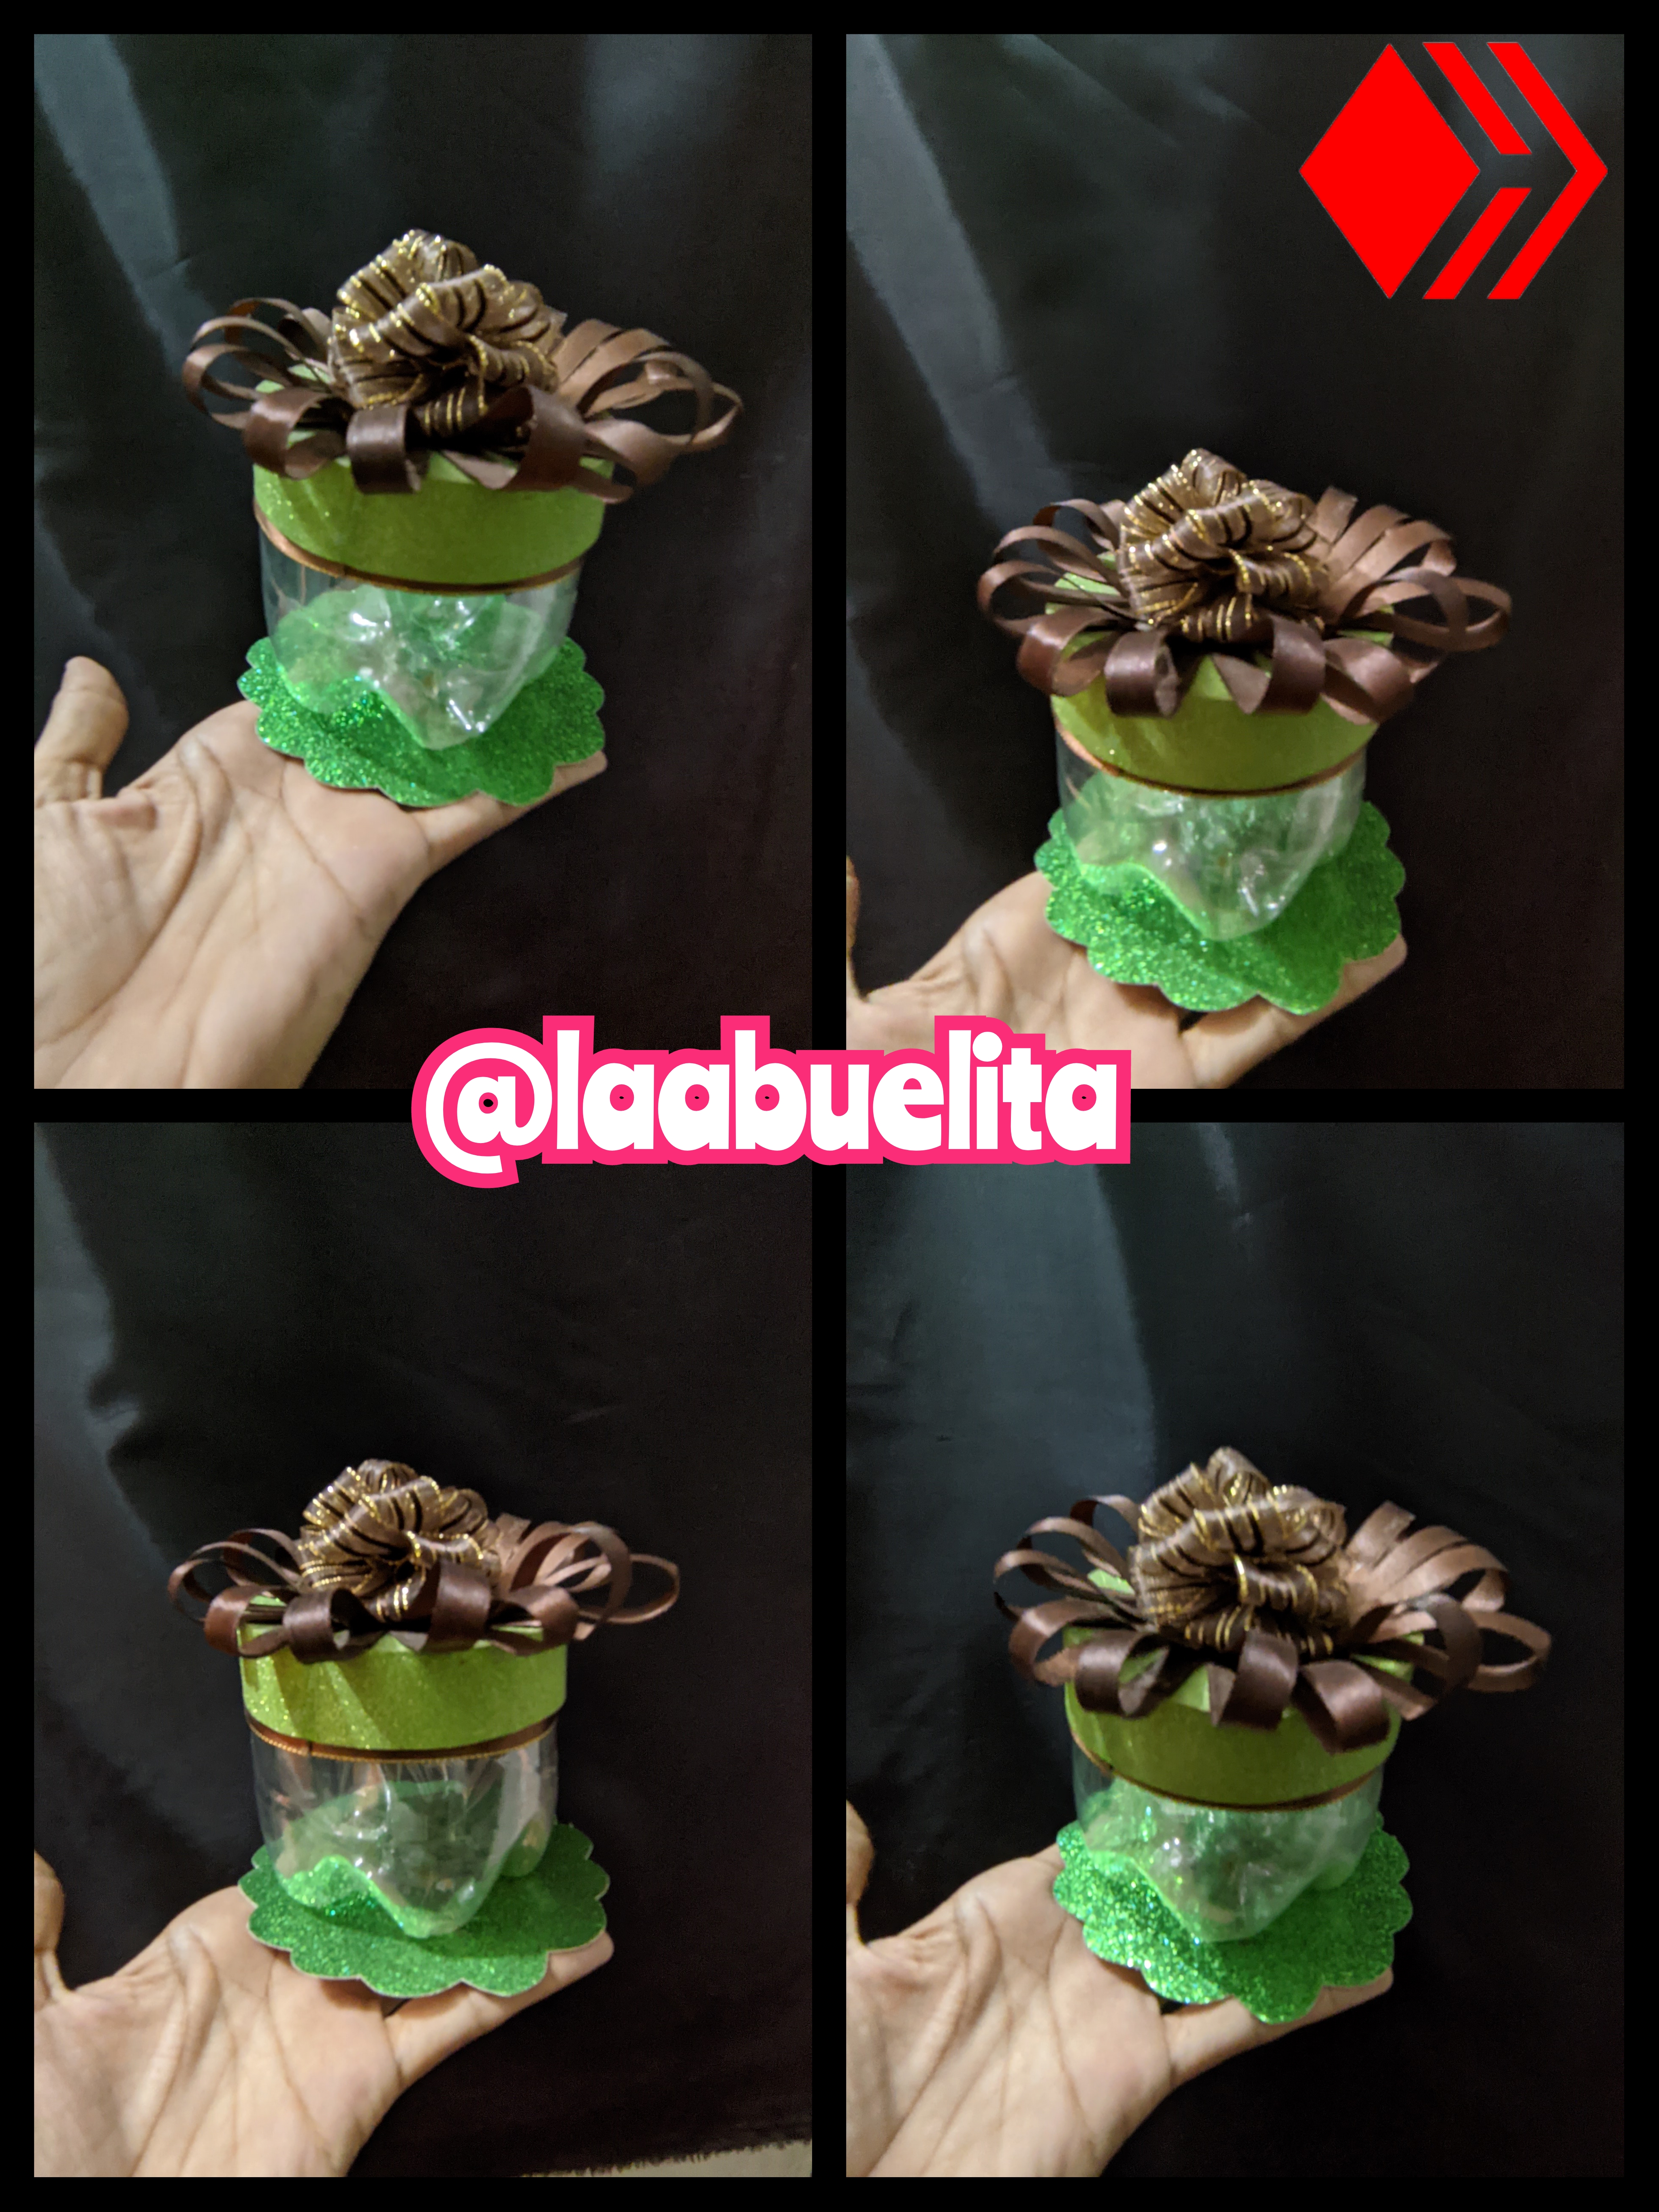


Yo use los materiales de color verde manzana y marrón para que quedara una combinación bonita y porque me gustan mucho estamos colores, pero ustedes pueden utilizar cualquier color que deseen, yo hice unos una vez para una fiesta y los elabore de diferentes colores y quedaron muy bonitos, además de esta manera le damos uso a esa botellas que tenemos y que solo botamos a la basura, otra idea es que en lugar de ponerle un lazo le podemos poner algunas flores y también queda muy lindo, todo es cuestión de tener creatividad.
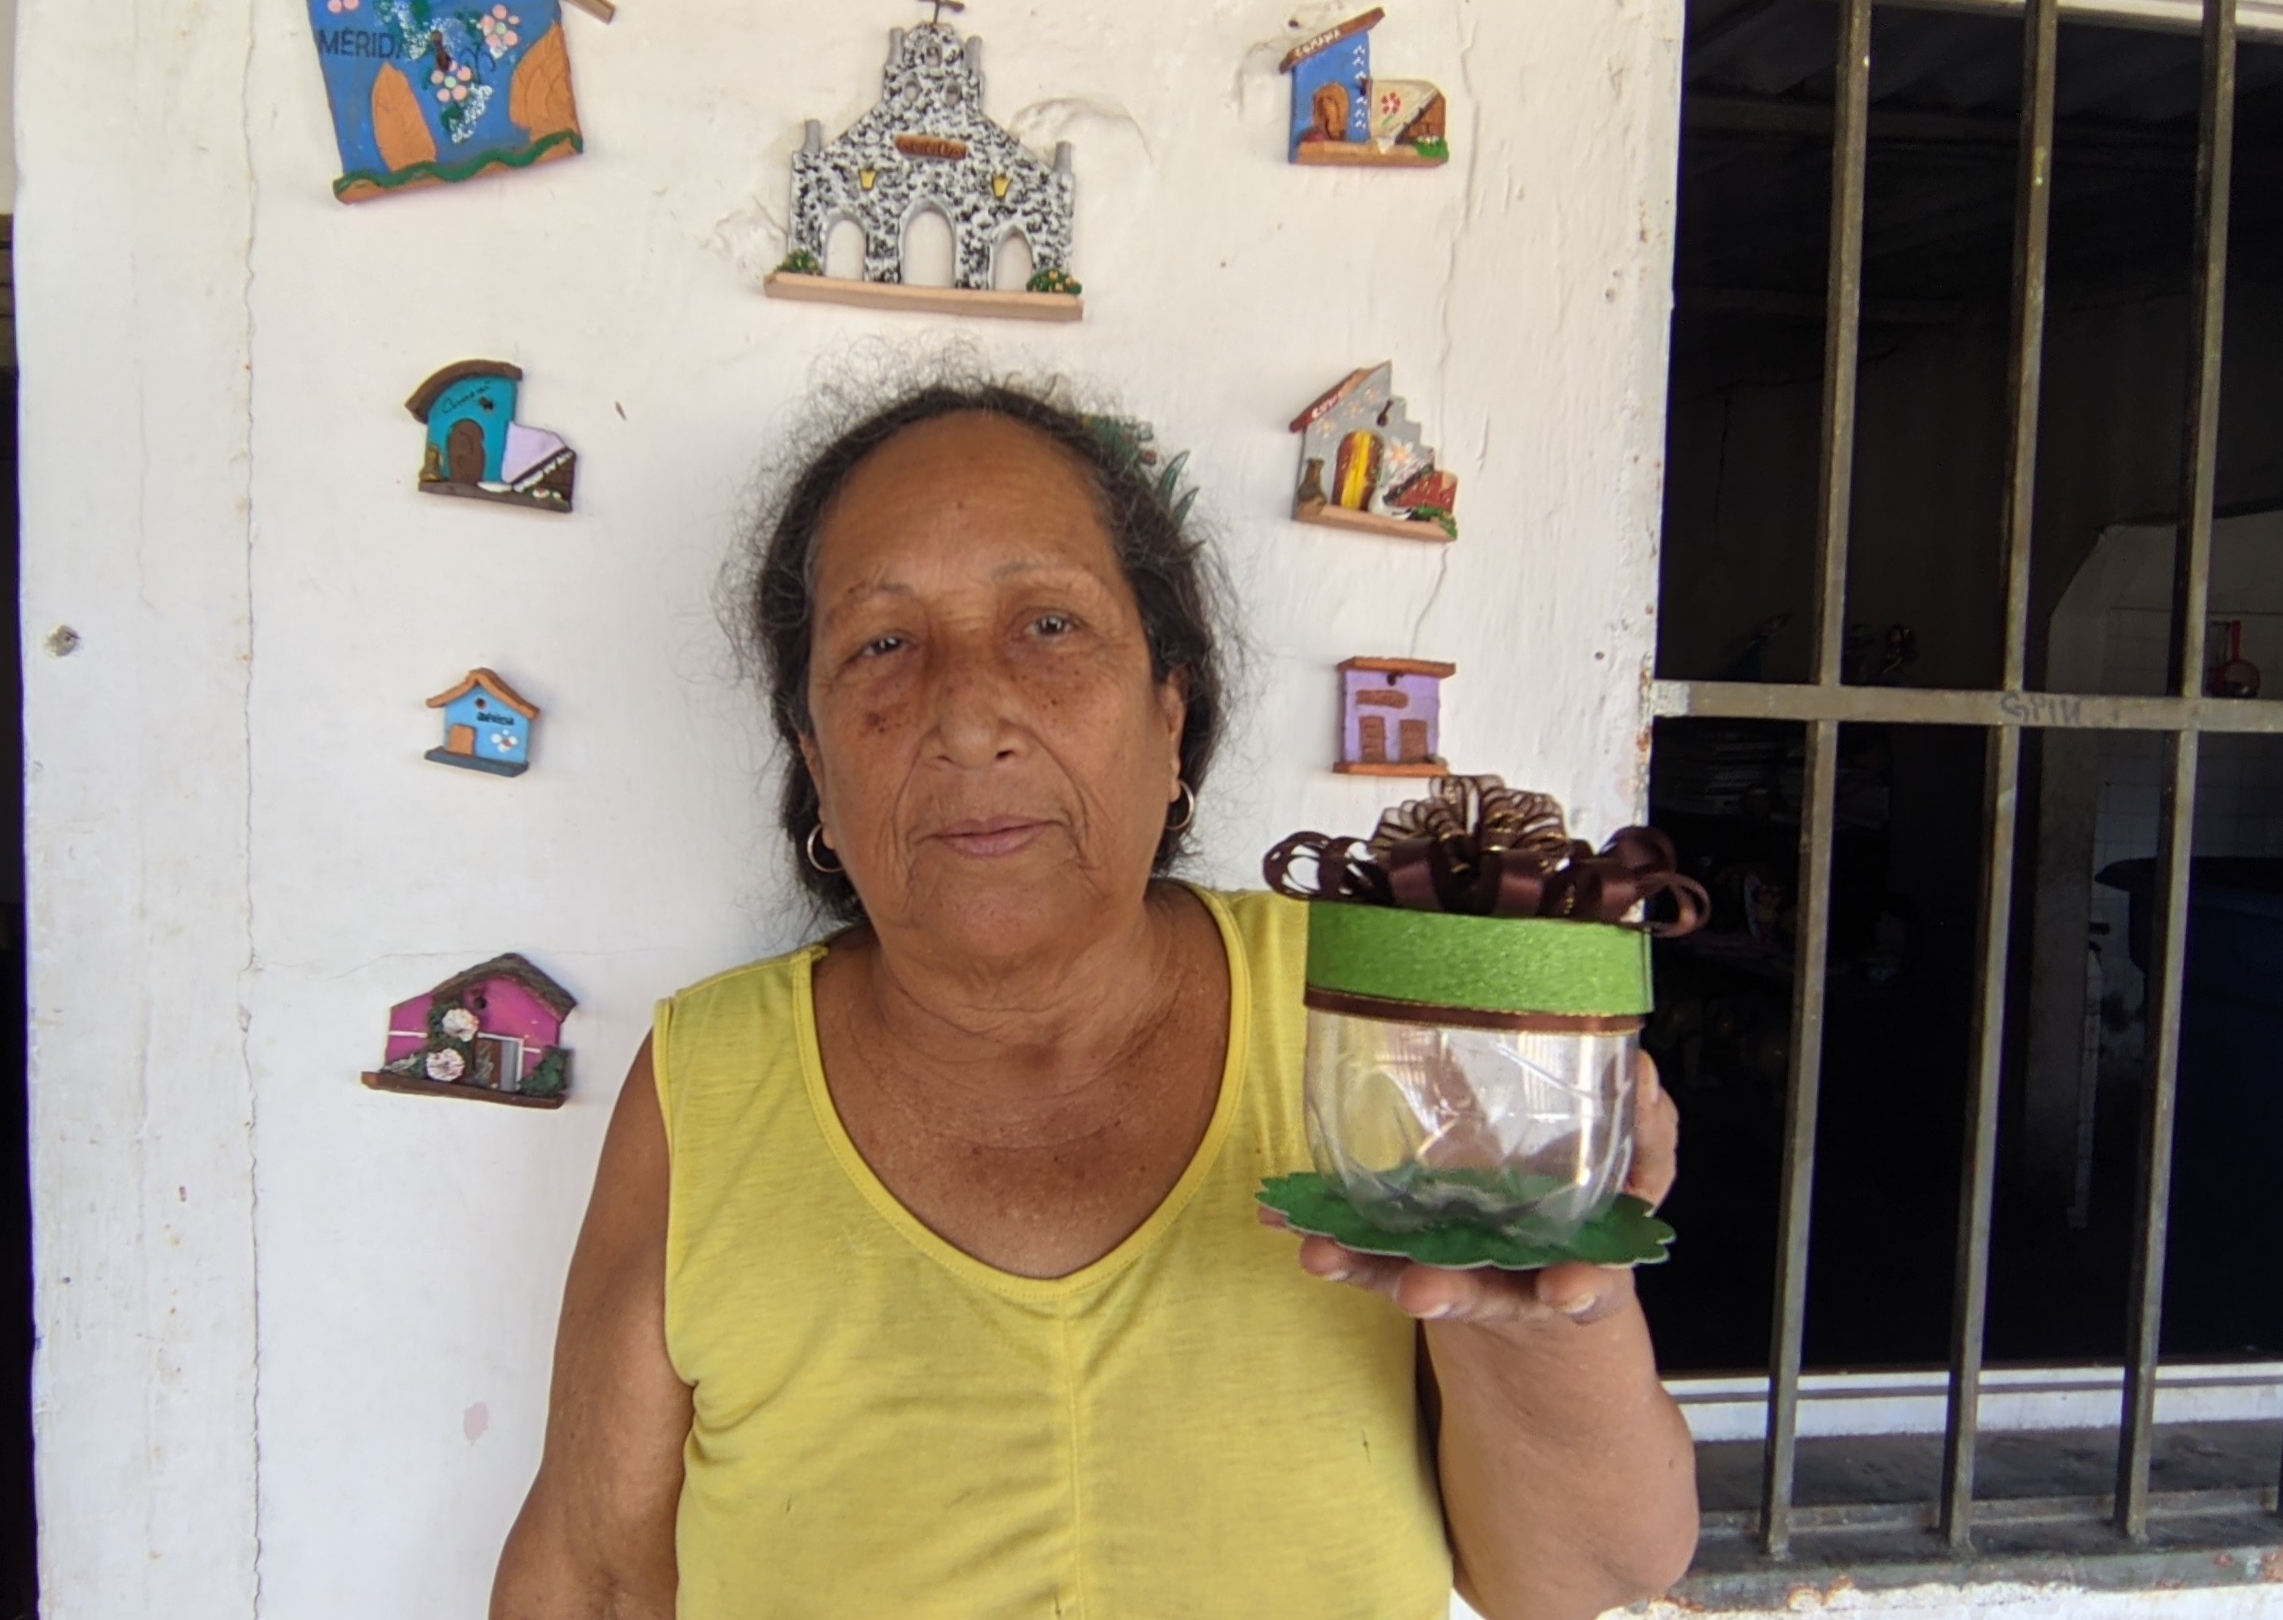
Bueno mis hijos esto fue todo por el día de hoy, les mando la bendición a todos para que les vaya bonito y les mando un abrazo fuerte, me despido esperando que este trabajo les guste, y que lo hagan porque tiene las tres (b) bueno, bonito y barato, yo use el traductor deepl la versión gratis y el programa polish y canvas, las fotos las tomó mi Lupita con mi teléfono Xiaomi redmi y son mías.
Gracias.

ENGLISH
Hello my #hive grandchildren I hope you are very well, all of you, yesterday I rested because this granny does not have the same agility as many of this ecosystem, but here I am ready to continue learning every day something new.
Today I brought you a tutorial of a nice detail to give as a gift for any occasion, it can serve as a jewelry box, it can serve as a gift of sweets, or any other detail you want, I'm still doing the post only with photos, because I still struggle to learn to upload videos, but I will soon.
🎁What to use:🎁
🎁 Apple green foami.
🎁 Satin ribbon bow.
🎁 Liquid silicone.
🎁 Plastic soda bottle.
🎁40 cm thin satin ribbon.
🎁 Scissors.
🎁 Blade.
🎁 Recycling cardboard, fits from any box.
🎁 Step 1
First wash the soda bottle well, then dry it, when it is ready, grab the tape measure and we measure about 12 cm and mark on the bottom of the bottle, then with the blade trim, and finally with the scissors remove the edges and even it out.
🎁 Step 2
Grasp the recycling cardboard and draw a circle, it has to be the size of the base we took out of the soda bottle.
🎁 Step 3
Then on the green foami I put the cardboard cutout top and marked two round pieces, and two strips of 39 cm long and 3 cm wide.
🎁Step 4
As we already took out the pieces I'm going to use let's start, I grabbed the cardboard lid and put liquid silicone on it, then I covered it with one of the pieces of green foami, and we pressed it so that it sticks well, then I put liquid silicone all around the edge and glued the long strip that I had already cut out, we will press it so that everything sticks together.
🎁 Step 5
Now we put some liquid silicone on the top and glue the satin ribbon bow that we will use to decorate, and let it dry well, this way the lid is ready.
🎁 Step 6
Now I'm going to work with the bottom part, so we put liquid silicone all around the edge and start gluing the other strip that we had left of the green foami, again I put liquid silicone but now along the edge of the foami and there I glued the ribbon.
🎁Step 7
Now take the other circle of foami and cut it out as shown in the picture, I also put liquid silicone on the bottom and glued it to the foami, let it dry and that's it, we are done.
📷 Photos of the finished work 📷
I used apple green and brown materials for a nice combination and because I really like these colors, but you can use any color you want, I made some once for a party and I made them in different colors and they were very nice, also this way we give use to those bottles we have and we just throw them away, another idea is that instead of putting a bow we can put some flowers and it also looks very nice, it's all about having creativity.
Bueno my children this was all for today, I send my blessing to all of you to go well and I send you a big hug, I say goodbye hoping you like this work, and that you do it because it has the three (b) good, nice and cheap, I used the translator deepl the free version and the polish and canvas program, the photos were taken by my Lupita with my Xiaomi redmi phone and they are mine.
Thank you.
fuente del separador de imagen
Such a beautiful and thougful thing to do granny. A box perfects for sweet and storing other stuff. Well done
How nice, it makes me happy to know that you liked this work, how nice that you appreciate the work done by this grandmother who is full of love, thank you.
Congratulations @laabuelita! You have completed the following achievement on the Hive blockchain And have been rewarded with New badge(s)
Your next target is to reach 2250 upvotes.
You can view your badges on your board and compare yourself to others in the Ranking
If you no longer want to receive notifications, reply to this comment with the word
STOPCheck out our last posts:
Muchas gracias
¡Eso es genial @laabuelita! ¡Estamos emocionados de ver tus logros en Hive! ¡Seguiremos apoyándote para lograr tus próximas metas!
Muy linda está idea para reciclar, ♻️.
Gracias por compartir con todos. Saludos.
Muchas gracias hijita 🎁🎁🎁
Que esperas para unirte a nuestro trail de curación y formar parte del "proyecto CAPYBARAEXCHANGE", tu casa de cambio, rápida, confiable y segura