

Saludos amigos y reciban todos una grata bienvenida a mi publicación.
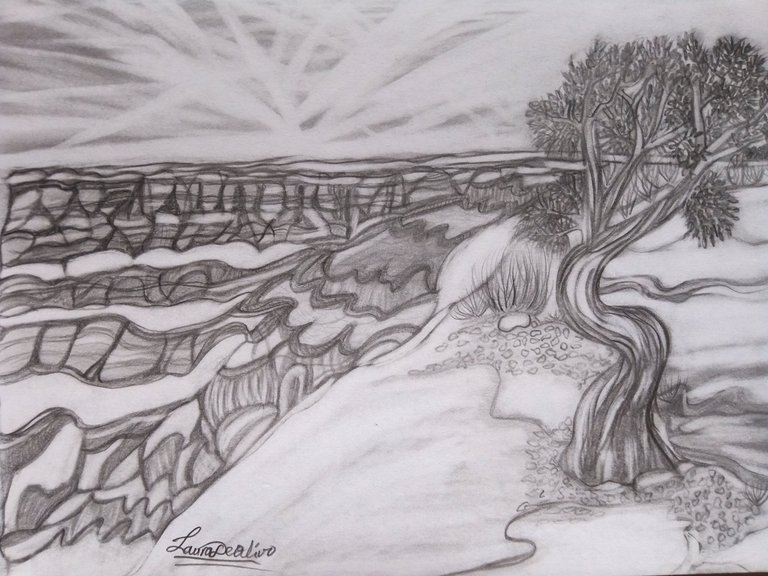
Hoy te vengo a presentar un hermoso dibujo que he hecho de estilo blanco y negro con lápices de dibujo, se trata de un hermoso paisaje de relieves indefinidos, de rocas desgastadas por el azote del viento donde la zona está semi desértica, este tipo de arte me llama mucho la atención, ya que transmite muchas emociones que inspiran soledad y esperanza.
Use una imagen de referencia para inspirarme, puesto que siempre hago que mis dibujos sean totalmente distintos a las que uso como imagen de referencia.
Al final de la publicación les estaré mencionando los materiales que utilice para poder crear este hermoso dibujo.
Las fotografías que verán a continuación, fueron tomadas con mi teléfono modelo Alcatel_5044R.
A continuación, les presentaré el proceso de elaboración que implemente para realizar este dibujo.

Greetings friends and welcome to my publication.
Today I come to present you a beautiful drawing that I have done in black and white style with drawing pencils, it is a beautiful landscape of undefined reliefs, rocks worn by the scourge of the wind where the area is semi-desert, this type of art draws my attention, as it conveys many emotions that inspire loneliness and hope.
I used a reference image for inspiration, since I always make my drawings totally different from the ones I use as reference image.
At the end of the publication I will be mentioning the materials I used to create this beautiful drawing.
The pictures you will see below were taken with my Alcatel_5044R phone.
Next, I will show you the elaboration process that I implemented to make this drawing.

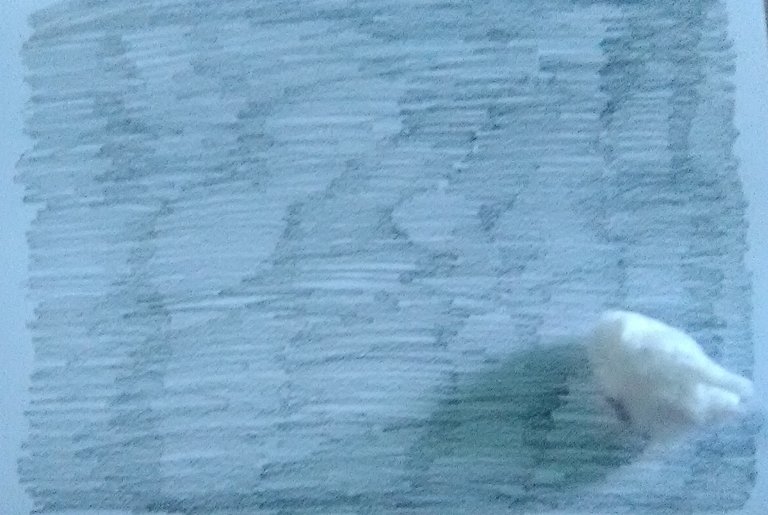

Paso 1
Para empezar a realizar este dibujo debí oscurecer la hoja con el lápiz de dibujo 6B, En este estilo de dibujo primero se comienza con el fondo, el cual es de un color gris claro.
Después frote un algodón por el área que utilice para que mi color base que esté bien uniforme, a partir de aquí comienza mi viaje por el hermoso paisaje de relieve indefinido de rocas desgastadas por el azote del viento donde la zona esta semi desértica en desgaste, lo que hace un paisaje transformado con el tiempo y el suave roce de los fenómenos meteorológicos.
Para lograr el color base de este dibujo, agregue una primera capa de color negro, luego frote con un trozo de algodón y note que no fue suficiente porque note un tono muy claro, por lo que opte agregar una segunda capa de color y frotar nuevamente la mota de algodón con movimientos suaves y circulares, de esta forma pude lograr el tono que necesitaba para dar inicio a este paisaje que aparentemente se nota sencilla, pero es de muchos detalles donde se admira un sutil y encantador esmero creativo.
Dadas todas estas inspiraciones comienzo a dibujar una línea horizontal que separa el cielo del suelo y una línea vertical que define dos tipos de suelo, una de rocas desgastadas y el otro de rocas como cálidas, estas líneas las realice con el lápiz de dibujo 6B.
Step 1.
To start making this drawing I had to darken the sheet with the 6B drawing pencil, In this style of drawing I first start with the background, which is a light gray color.
Then rub a cotton by the area that I used so that my base color is well uniform, from here begins my journey through the beautiful landscape of undefined relief of rocks worn by the scourge of the wind where the area is semi-desert in wear, which makes a landscape transformed with time and the gentle touch of weather phenomena.
To achieve the base color of this drawing, add a first layer of black color, then rub with a piece of cotton and note that it was not enough because I noticed a very light tone, so I chose to add a second layer of color and rub again the cotton ball with soft and circular movements, so I could achieve the tone I needed to start this landscape that apparently looks simple, but is of many details where you can admire a subtle and charming creative care.
Given all these inspirations I begin to draw a horizontal line that separates the sky from the ground and a vertical line that defines two types of soil, one of worn rocks and the other of rocks as warm, these lines were made with the drawing pencil 6B.


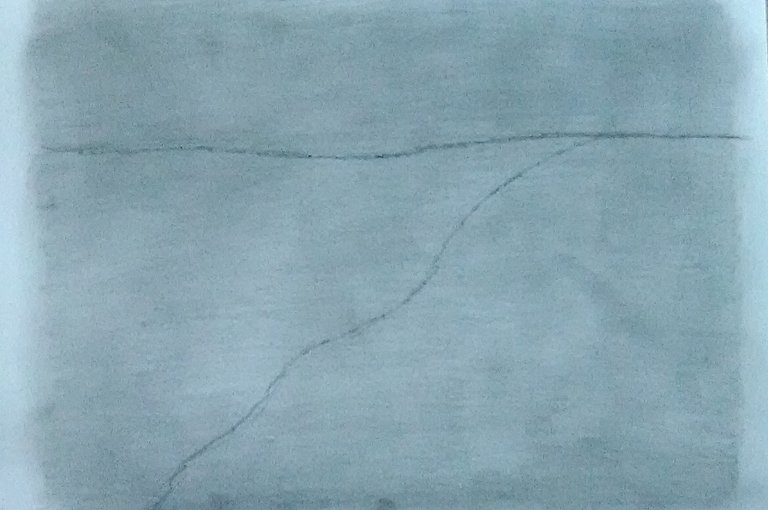
PASO 2
Luego de dibujar etas dos líneas, dibuje el tronco del árbol que está semi inclinado con unas torceduras como un bonsái.
Después de dibujar el tronco del árbol, dibujé las rocas de este cambien, realizando líneas entre lazadas y cruzadas, realizando líneas de profundidad.
También cree la separación o el borde donde comienza el cielo y termina el suelo, para crear una profundidad muy llamativa, la verdad es que esta parte del dibujo me encanto, hay momentos del dibujante que sienta una satisfacción con el proceder de nuestros dibujos, porque a esto se le llama inspiración.
STEP 2.
After drawing these two lines, draw the trunk of the tree which is semi inclined with some twists like a bonsai.
After drawing the trunk of the tree, I drew the rocks of the tree change, making lines between loops and crosses, making lines of depth.
I also created the separation or the border where the sky begins and the ground ends, to create a very striking depth, the truth is that this part of the drawing enchanted me, there are moments of the draftsman who feels a satisfaction with the proceeding of our drawings, because this is called inspiration.


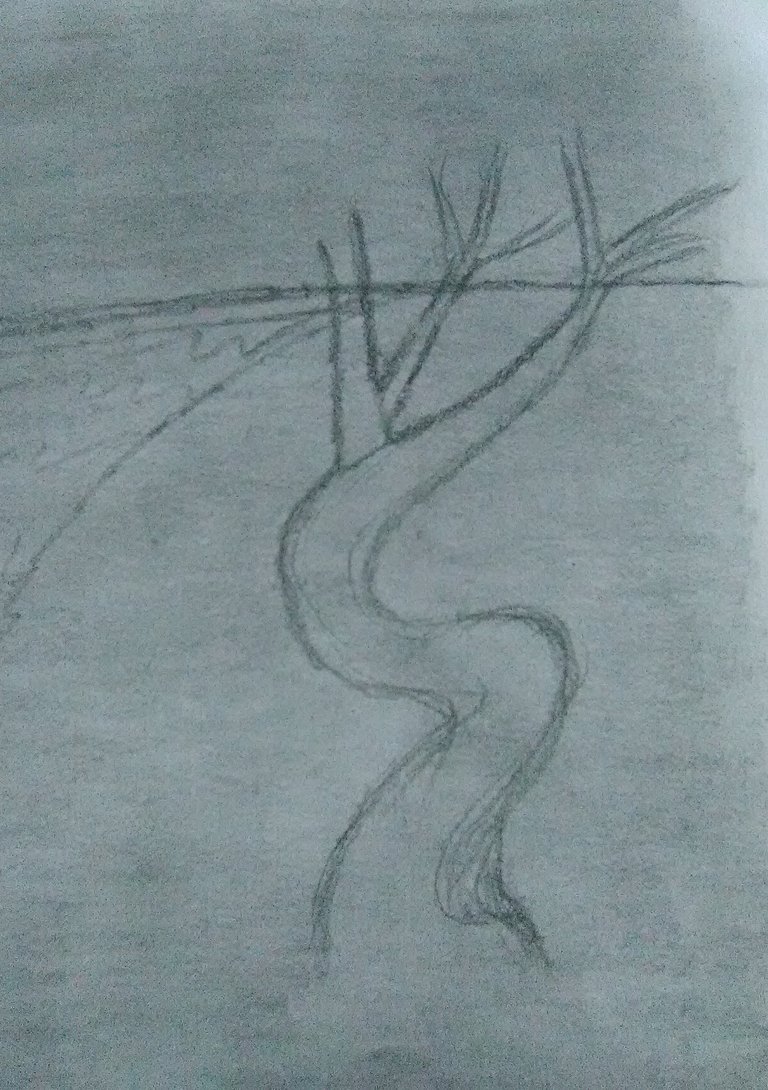
PASO 3
Al culminar con esta primera parte del dibujo, comencé a remarcar y darle una capa extra a todas las partes de profundidad donde se encuentra la parte izquierda del árbol, en las partes donde hay más oscuridad es en donde le di más profundidad al dibujo, pasándole más color a estas partes donde culminan cada una de las rocas.
En el árbol comencé a remarcar cada una de las líneas que anteriormente había creado cuando hice este hermoso árbol, por lo que también hice líneas curvadas para simular la corteza de estas.
Seguidamente, comencé a crea algunas gramas que están al borde de cada una de las rocas que casi se notan en donde se encuentra este hermoso árbol, después con la ayuda de un borrador comencé a borrar un poco los lugares donde se encuentran las ramas del árbol.
STEP 3
At the end of this first part of the drawing, I began to highlight and give an extra layer to all the parts of depth where the left part of the tree is, in the parts where there is more darkness is where I gave more depth to the drawing, passing more color to these parts where each of the rocks culminate.
In the tree I began to highlight each of the lines that I had previously created when I made this beautiful tree, so I also made curved lines to simulate the bark of these.
Next, I began to create some grasses that are at the edge of each of the rocks that are almost noticeable where this beautiful tree is located, then with the help of an eraser I began to erase a little bit the places where the branches of the tree are located.


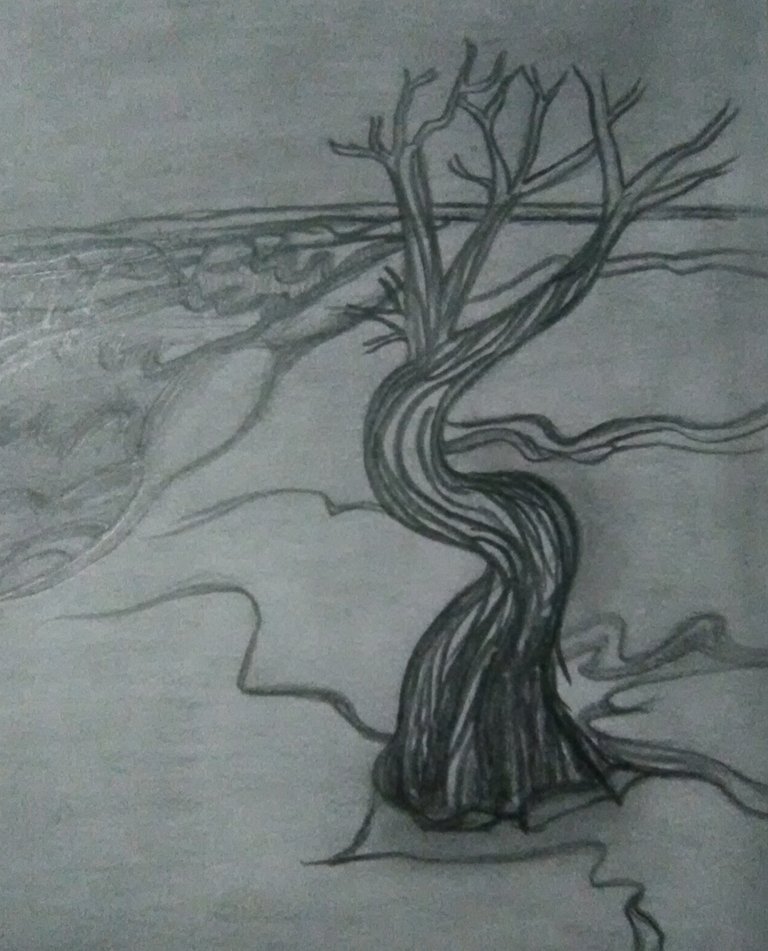
PASO 4
Estas partes del árbol que había borrado anteriormente donde se encuentran las ramas, fue para poder agregar una pequeña iluminación a las hojas que comencé agregarle, dándole un poco más de belleza a este árbol, para darle un toque más llamativo al dibujo, coloque varias hojas secas en el suelo para así embellecer aún más mi dibujo.
En cada orilla de cada una de las rocas, con la ayuda de un borrador, comencé a borrar cada una de ellas para así darle brillo de los reflejos del sol, de esta manera se puede apreciar que el dibujo está quedando muy hermoso, la verdad que me siento muy contenta y sorprendida con la experiencia que he adquirido gracias a la práctica.
Por último, con el mismo borrador, comencé a crear destellos de iluminación del sol con el cielo, creando trazos largos y dejando pequeños espacios en negro para si simular también las nubes del cielo.
De esta manera pude culminar mi dibujo, la verdad que me encanto y estoy contenta con los resultados, puedo notar que de verdad la práctica hace al maestro.
Materiales:
Lápiz de dibujo 6B.
Bloc de dibujo.
Pañuelo.
Algodón.
Sacapuntas.
Pinceles.
Borrador.
El pañuelo lo usé para limpiar los residuos de grafito y borrador de la hoja de trabajo, los pinceles también los usé como el algodón para crear un difuminado más claro que el de los algodones.
De esta manera concluyo la publicación de hoy amigos, espero que te haya gustado este dibujo.
Nos veremos en otra publicación basada en el hermoso mundo del arte y manualidades.
STEP 4
These parts of the tree that I had previously erased where the branches are, was to add a little illumination to the leaves that I began to add, giving a little more beauty to this tree, to give a more striking touch to the drawing, I placed several dry leaves on the ground to further embellish my drawing.
On each edge of each of the rocks, with the help of an eraser, I began to erase each one of them to give it shine from the reflections of the sun, in this way you can see that the drawing is becoming very beautiful, the truth is that I feel very happy and surprised with the experience I have gained through practice.
Finally, with the same eraser, I began to create flashes of illumination of the sun with the sky, creating long strokes and leaving small spaces in black to also simulate the clouds in the sky.
In this way I was able to finish my drawing, the truth is that I loved it and I am happy with the results, I can notice that indeed practice makes perfect.
Materials:
6B drawing pencil.
Drawing pad.
Handkerchief.
Cotton.
Pencil sharpener.
Brushes.
Eraser.
I used the handkerchief to clean the graphite and eraser residues from the worksheet, I used the brushes as well as the cotton to create a lighter blur than the cottons.
This way I conclude today's publication friends, I hope you liked this drawing.
See you in another publication based on the beautiful world of art and crafts.

social networks / redes sociales
![]()
![]()
Traductor Deepl
Translated Deepl
Ediciones Canva
Editions Canva


el dibujo te quedo bastante genial, aplicaste bien los degradados con el grafito, tu dibujo si se parece bastante a la imagen de referencia, explicaste bastante bien el paso a paso de la creación de tu dibujo excelente publicación