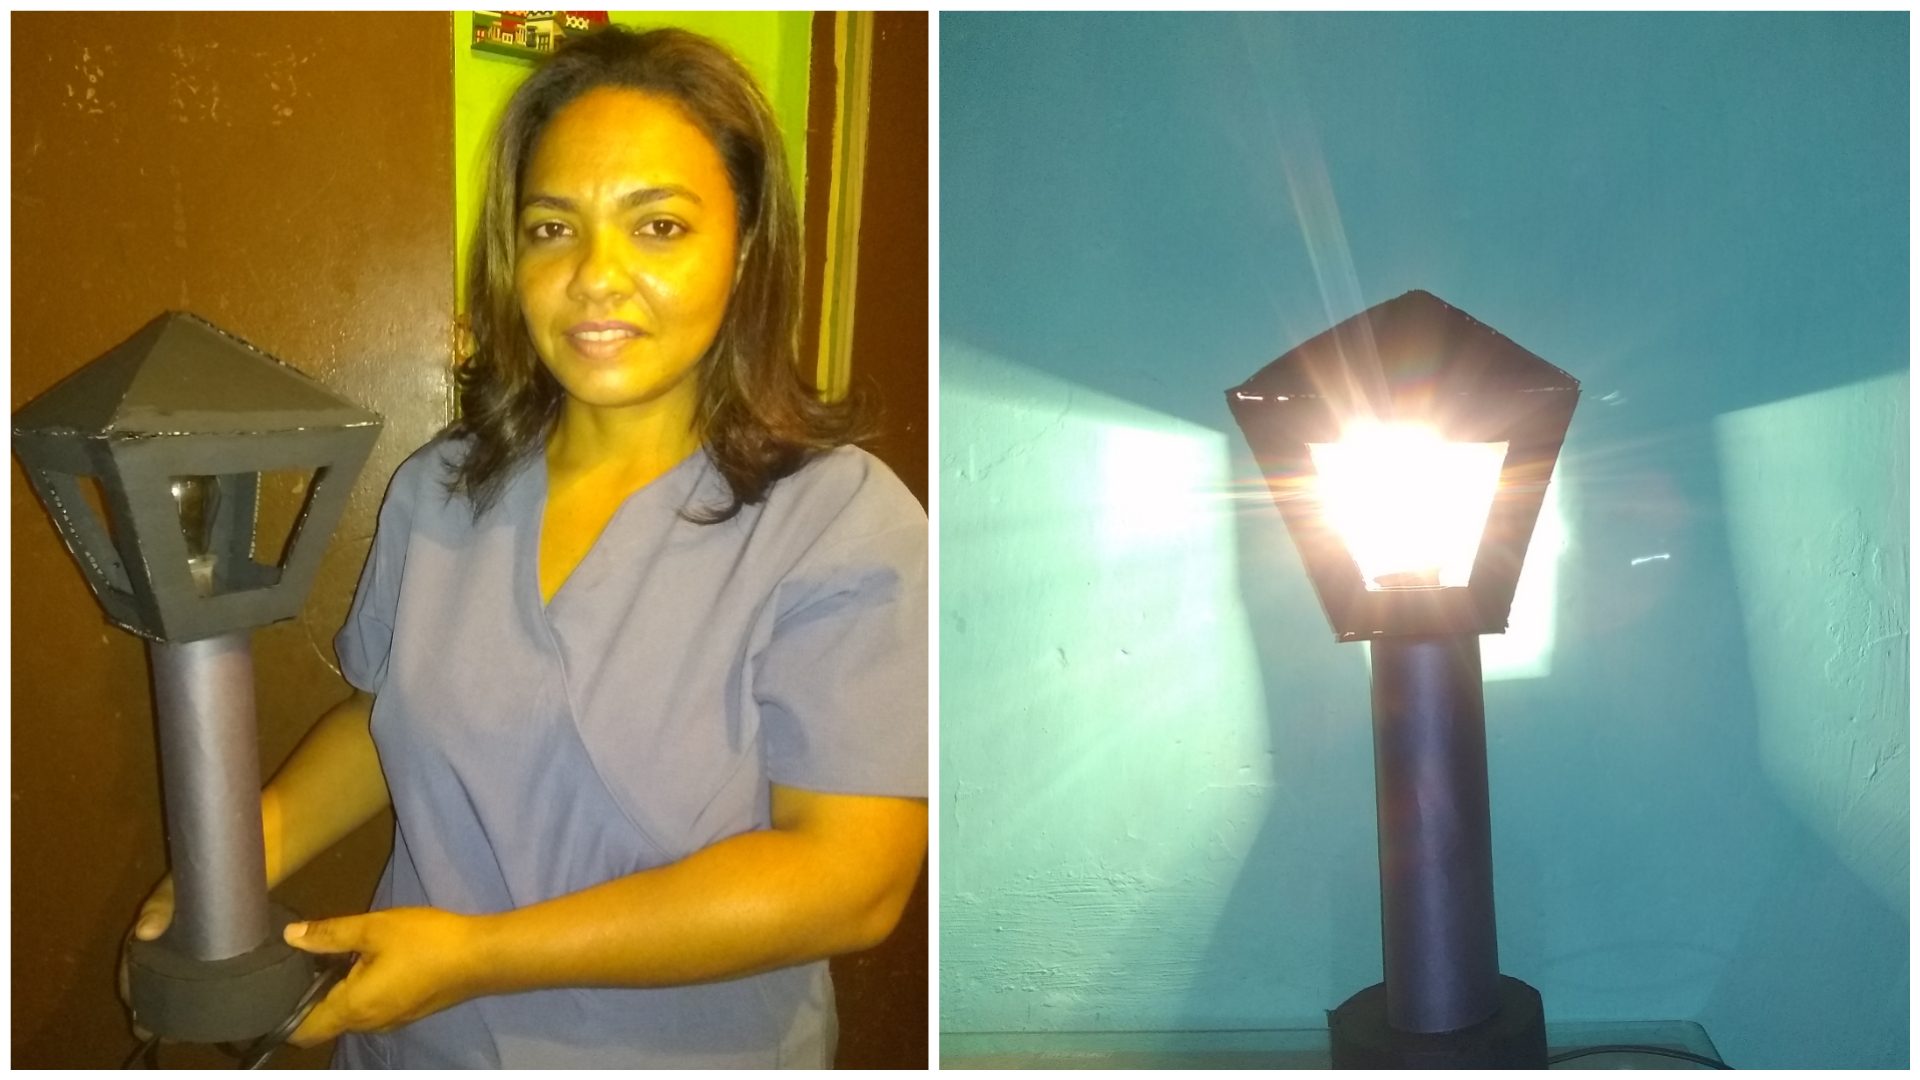
Hello my people of all the communities in this opportunity I bring you one of my creative activities that I elaborated and that I like to do with much affection for you so that you learn by doing it yourselves today I will teach you how to make a lantern of light made with useful materials. To use in our room or anywhere in the house.
Hola mi gente de todas las comunidades en esta oportunidad les traigo una de mis actividades creativas que elaboré y que me gusta hacer con mucho cariño para ustedes para que aprendan haciéndolo ustedes mismos hoy les enseñaré como hacer un farol de luz hecho con materiales de provechos. Para usar en nuestra habitación o en cualquier parte de la casa.
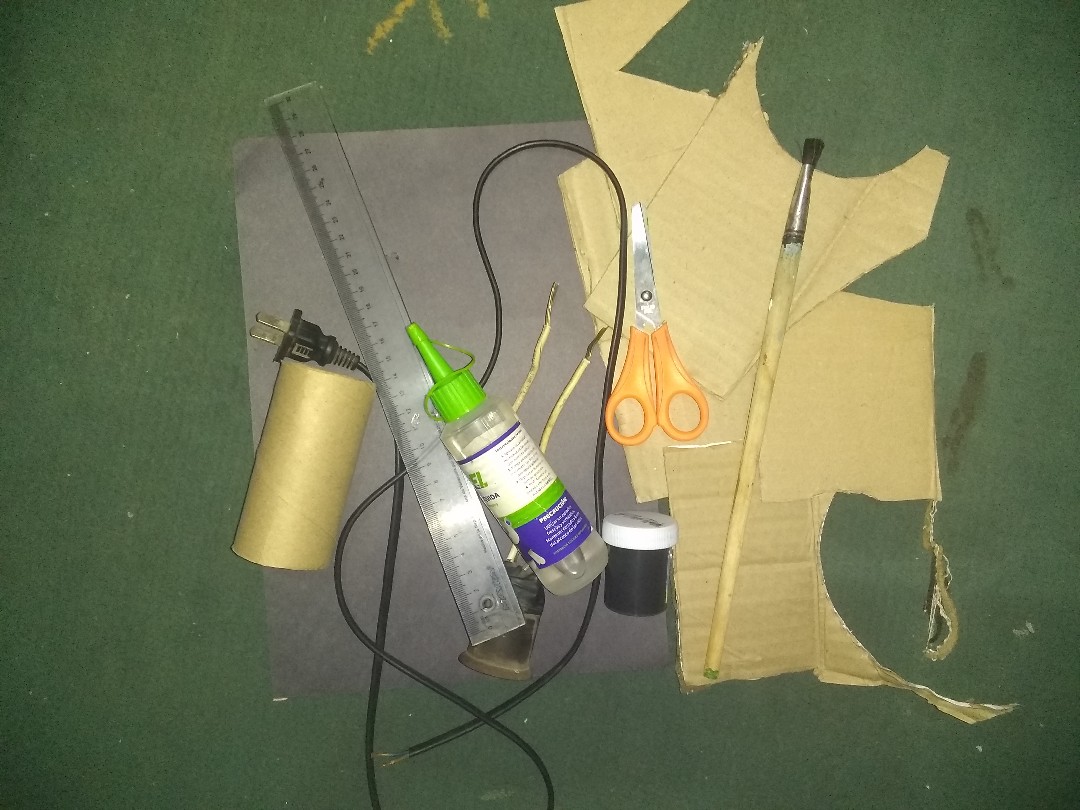
Materials.
Materiales.
- Cardboard
- paint
- silicone
- scissors
- ruler
- pencil
-brush - power socket
- bra or socket
- adhesive tape
- 2 cardboard tubes
- polishing paper
- light bulb
- Cartón
- pintura
- silicón
- tijera
- regla
- lápiz
-pincel - toma de corriente
- sostén o socate
- cinta adhesiva
- 2 tubo de cartón
- papel de lustrillo
- bombilla
Step by step.
Paso a paso.
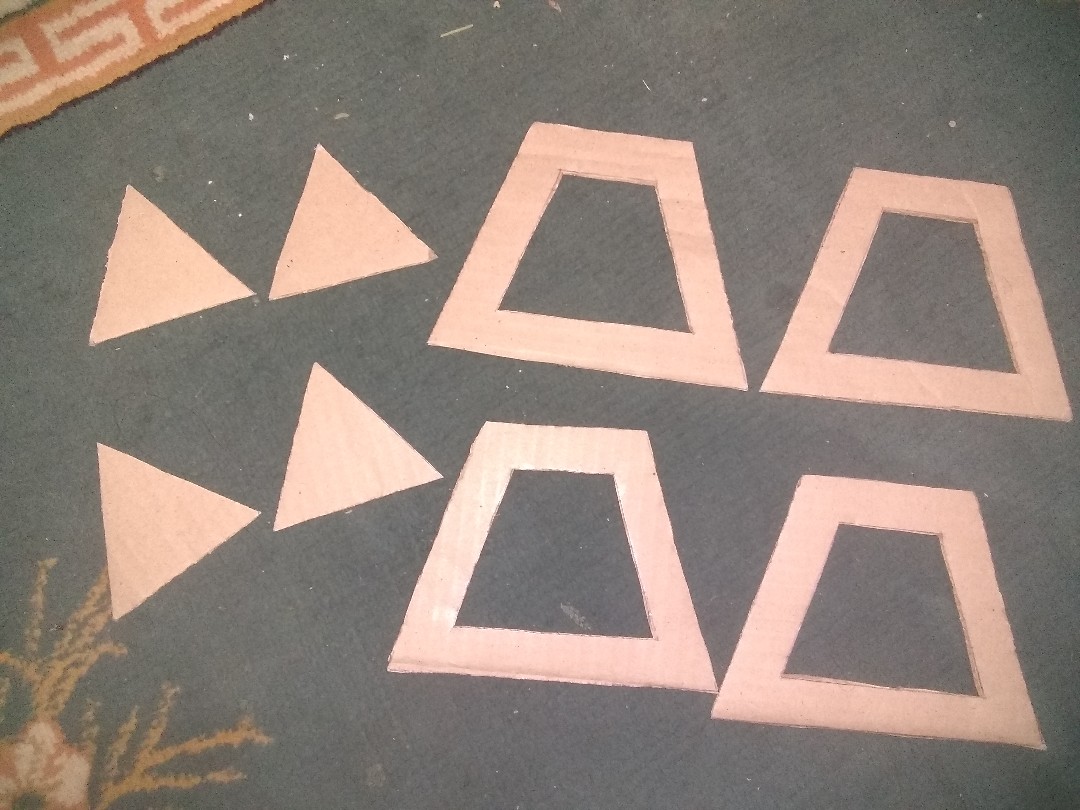
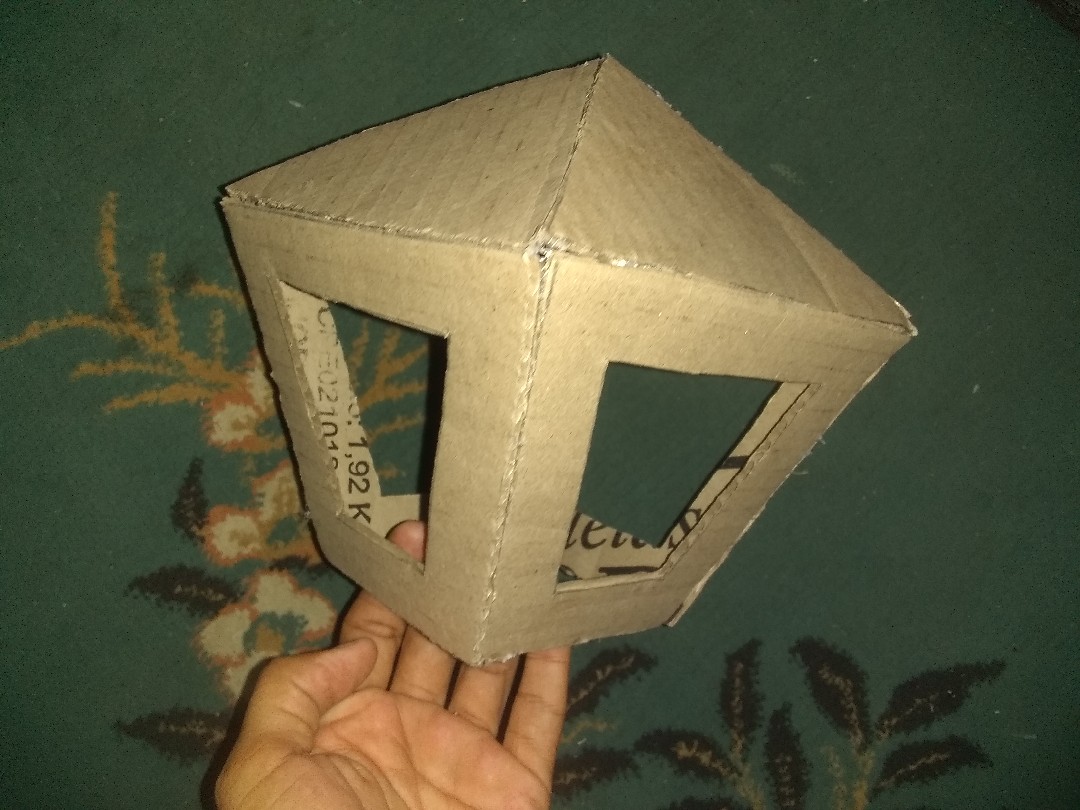
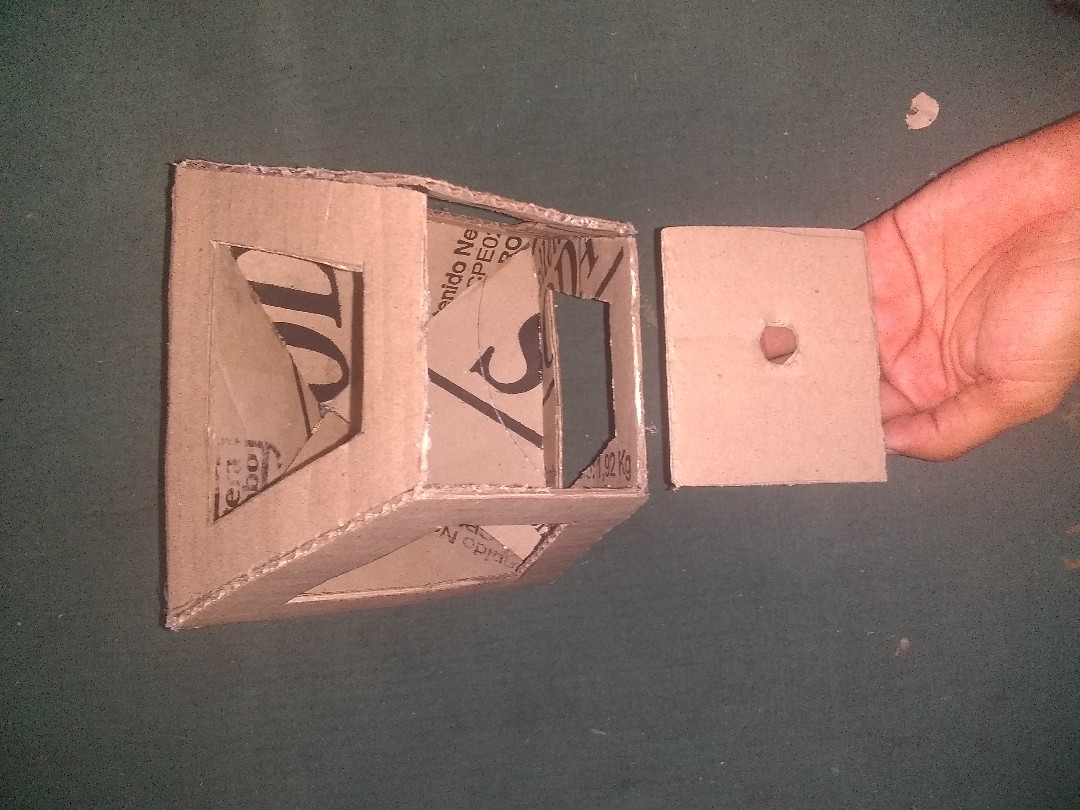
The first thing I did was with the cardboard 4 triangle and 4 sides for the lamp as seen in the photo I used 14x 12 cm, for the sides and triangles 14 x 8 cm and proceeded to glue all the pieces.
Lo primero que hice fue con el cartón 4 triángulo y 4 lados para la lámpara como se ve en la foto utilice 14x 12 cm , para los lados y los triángulos 14 x 8 cm y procedí a pegar todas las piezas.
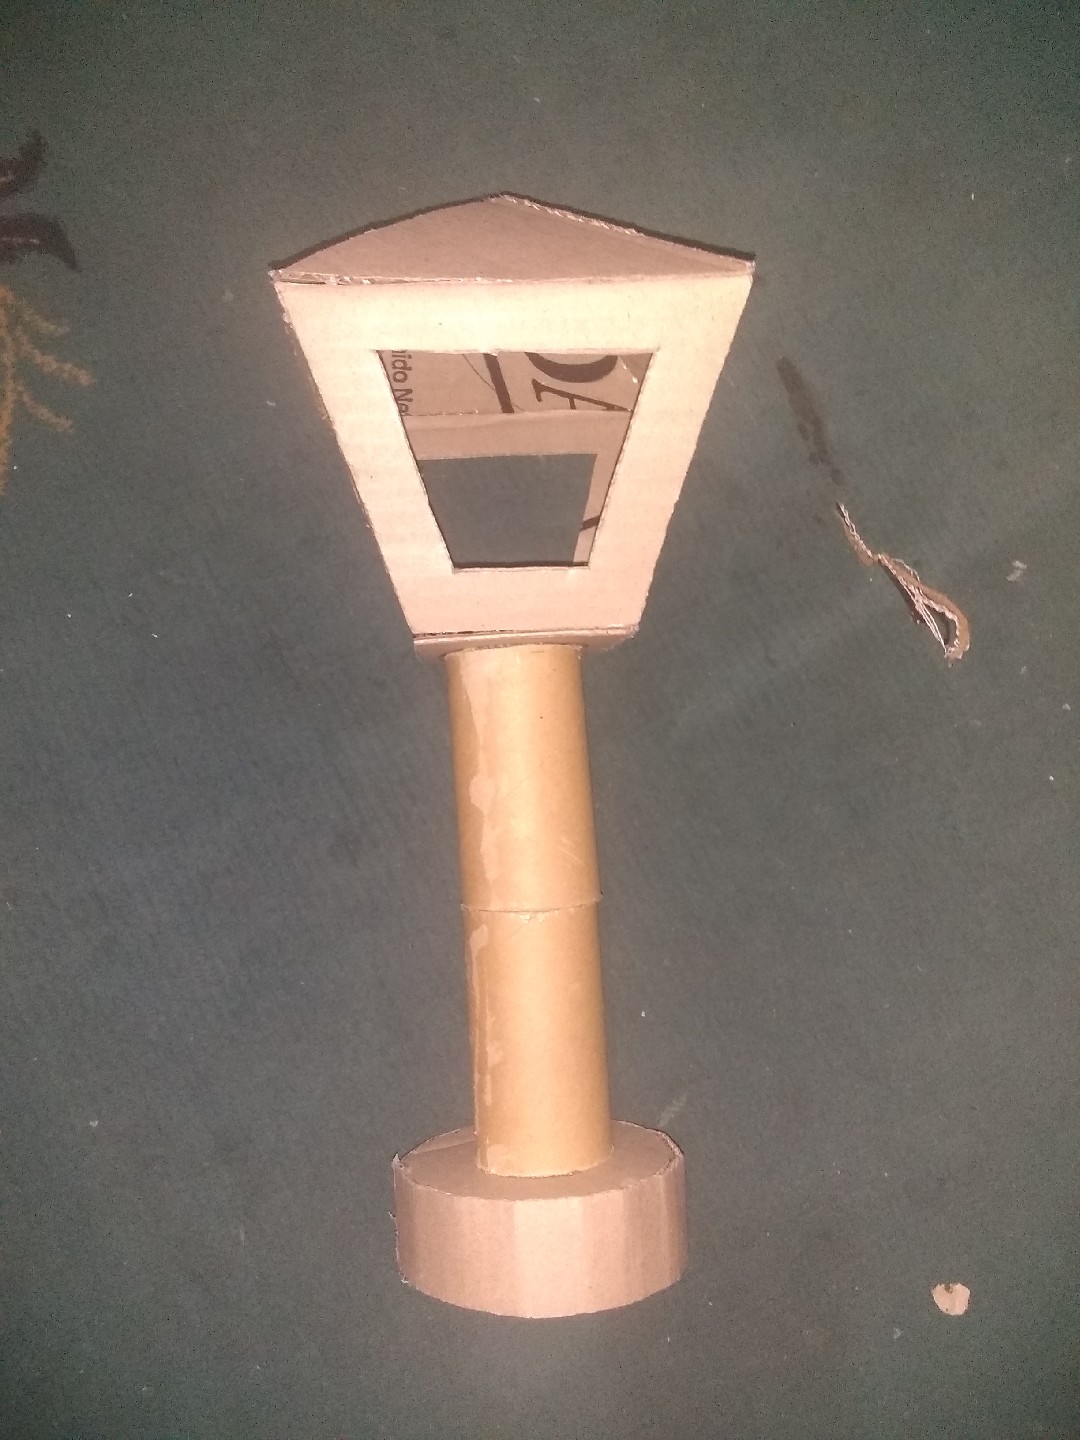
For the base make a square of 12x 12 cm and make a hole to insert the socket. For the other base make two circles and a 4 cm wide strip and glue around it. And make a hole in the center of the circle for the socket. Then glue the cardboard tube with the circle.
Para la base haz un cuadrado de 12x 12 cm y haz un agujero para introducir el toma de corriente. Para la otra base haremos dos círculos y una tira de 4 cm de ancho y pega alrededor. Y haz ajugero en el centro del círculo para el toma de corriente Luego pega el tubo de cartón con el círculo.

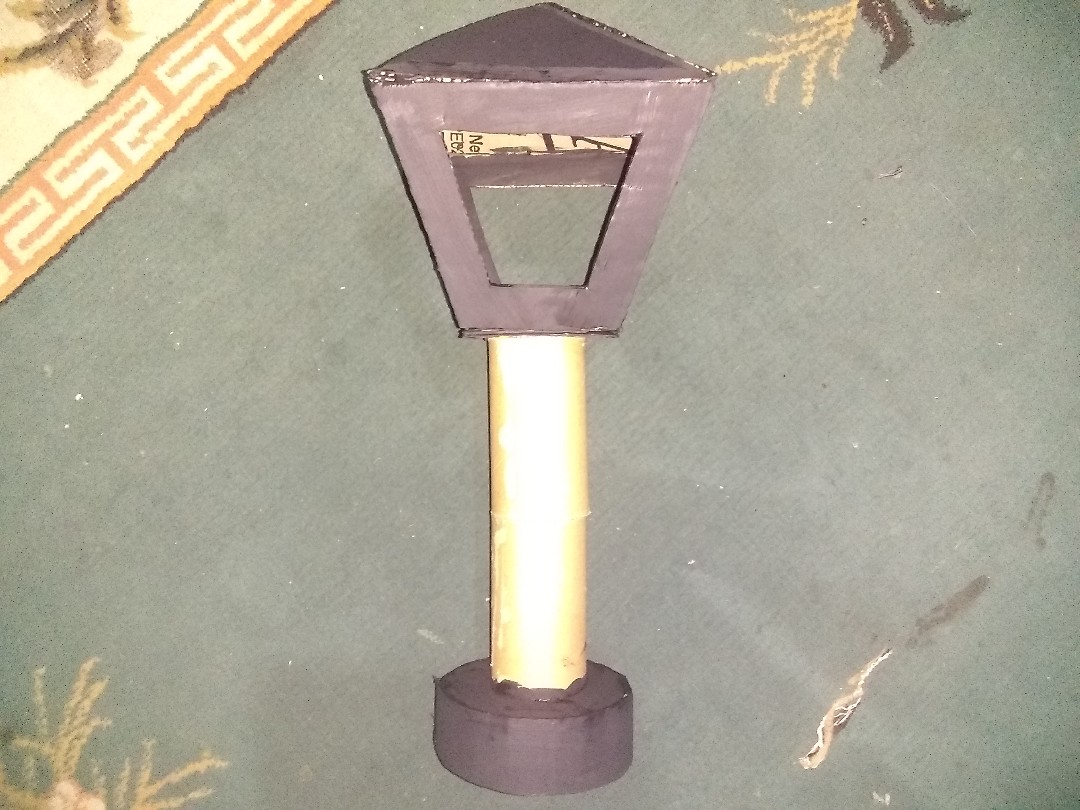
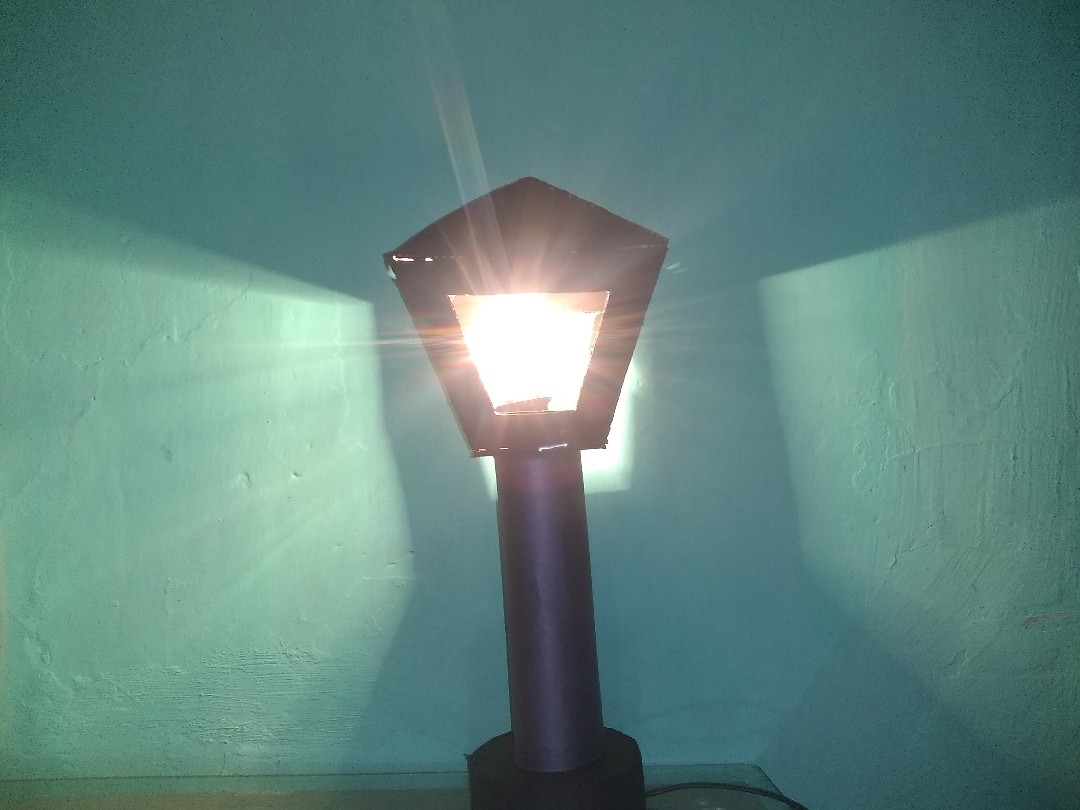
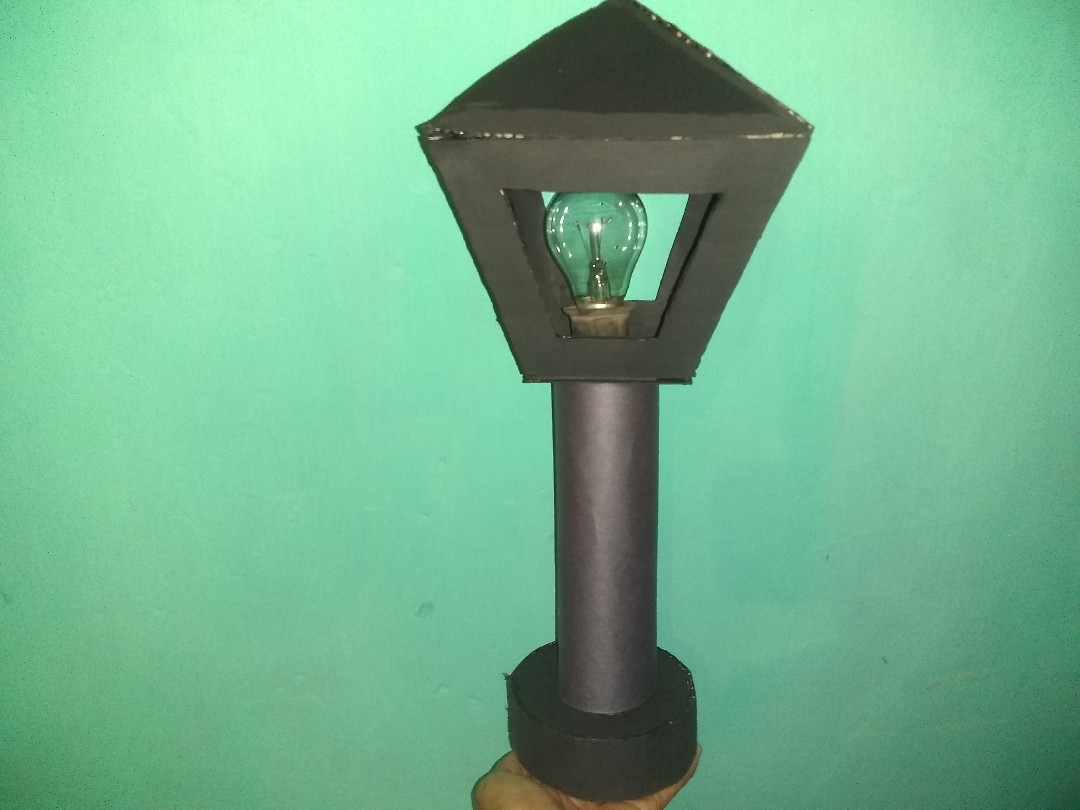
And glue the lamp and paint the color you like lining the tube with the lustrillo paper or paint. Once dry we introduce the socket through the holes and place the bulb and ready to use in our room or anywhere in the house.
Y pega la lámpara y pinta del color que más le guste forrar el tubo con el papel lustrillo o pinta. Una vez seco introducimos el toma corriente por los agujeros y colocar la bombilla y listo para usar en nuestra habitación o en cualquier parte de la casa.
Final result. // Resultado final.
The rewards earned on this comment will go directly to the person sharing the post on Twitter as long as they are registered with @poshtoken. Sign up at https://hiveposh.com.
Congratulations @lexim! You have completed the following achievement on the Hive blockchain and have been rewarded with new badge(s) :
Your next target is to reach 4250 upvotes.
Your next payout target is 1000 HP.
The unit is Hive Power equivalent because your rewards can be split into HP and HBD
You can view your badges on your board and compare yourself to others in the Ranking
If you no longer want to receive notifications, reply to this comment with the word
STOPTo support your work, I also upvoted your post!
Congratulations, your post has been upvoted by @dsc-r2cornell, which is the curating account for @R2cornell's Discord Community.
Enhorabuena, su "post" ha sido "up-voted" por @dsc-r2cornell, que es la "cuenta curating" de la Comunidad de la Discordia de @R2cornell.