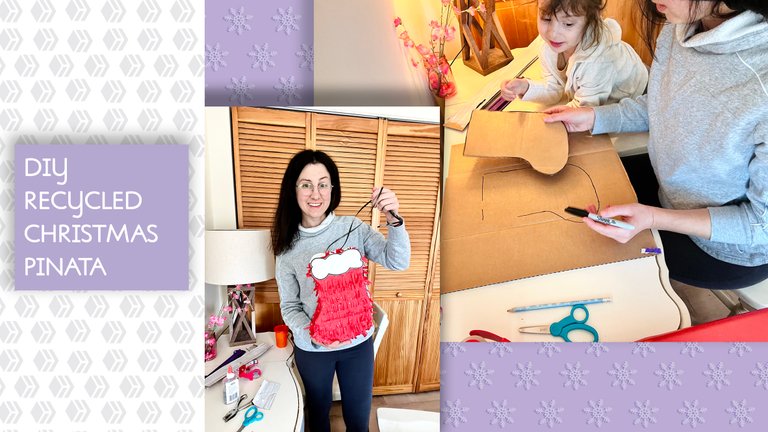
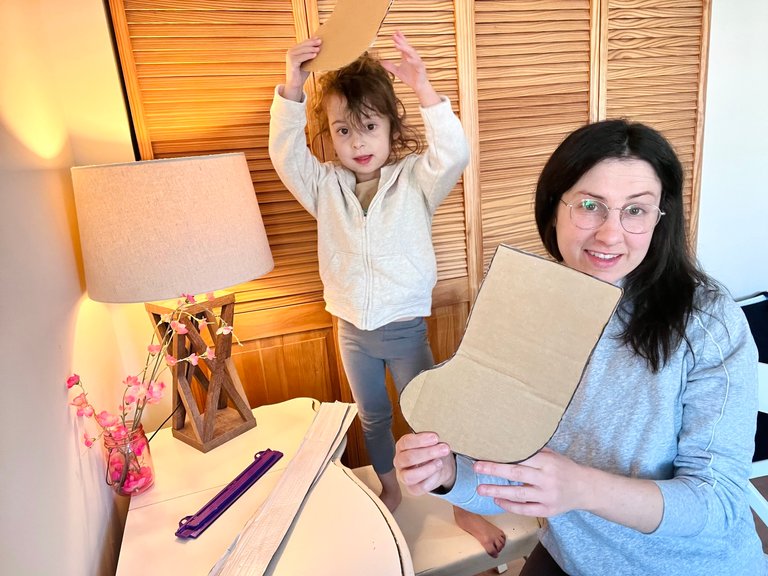
Another sick day, another DIY project. Right as Thanksgiving break came to an end, Gabby became sick and has been home from school the last few days. Today, we found out her test results came back RSV positive. It's been quite a hectic week, but she was in good spirits today.
We couldn't go anywhere, since RSV is super contagious, and it was very cold out today. So, it was time for another DIY project. I had the idea of creating a Christmas stocking piñata that I thought would make for a fun Christmas day activity. It could be a fun new tradition for us to do. I also think I will make this for friends with kids for Christmas this year, too. Check out the steps below to see how I made it ⬇️
Materials:
- Cardboard
- 3"-4" strip(s) of thin bendable cardboard or poster board paper
- Red tissue paper
- White sheet foam or cardstock
- Pencil
- Black Marker
- Scissors
- Glue
- Hot glue gun
- White/Red paint
- Tape
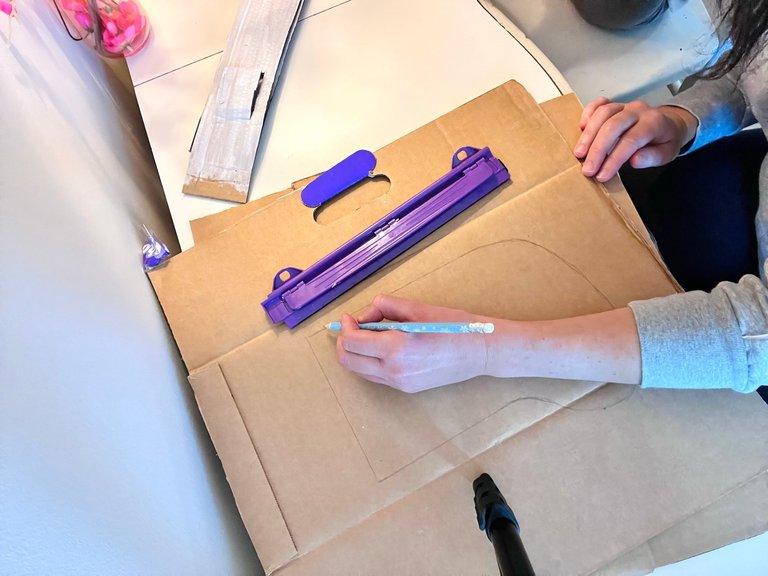
1.) I drew a stocking shape with a pencil
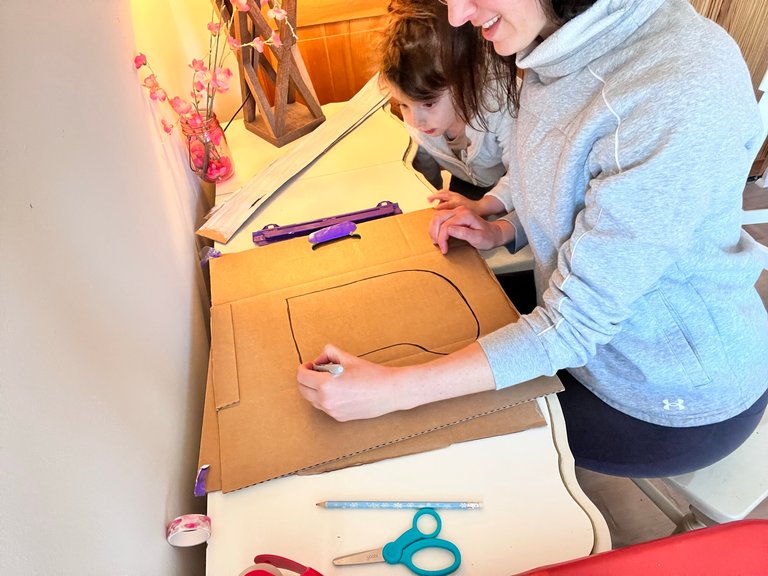
2.) I traced the stocking shape with black marker.
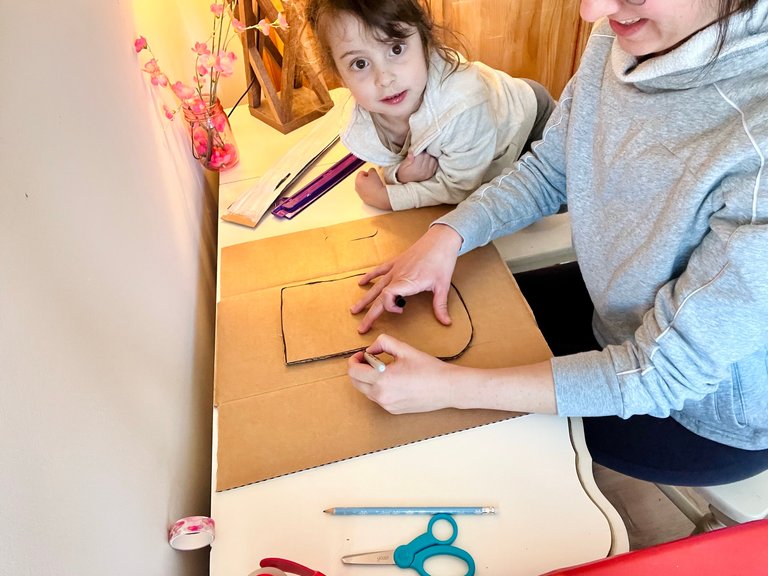
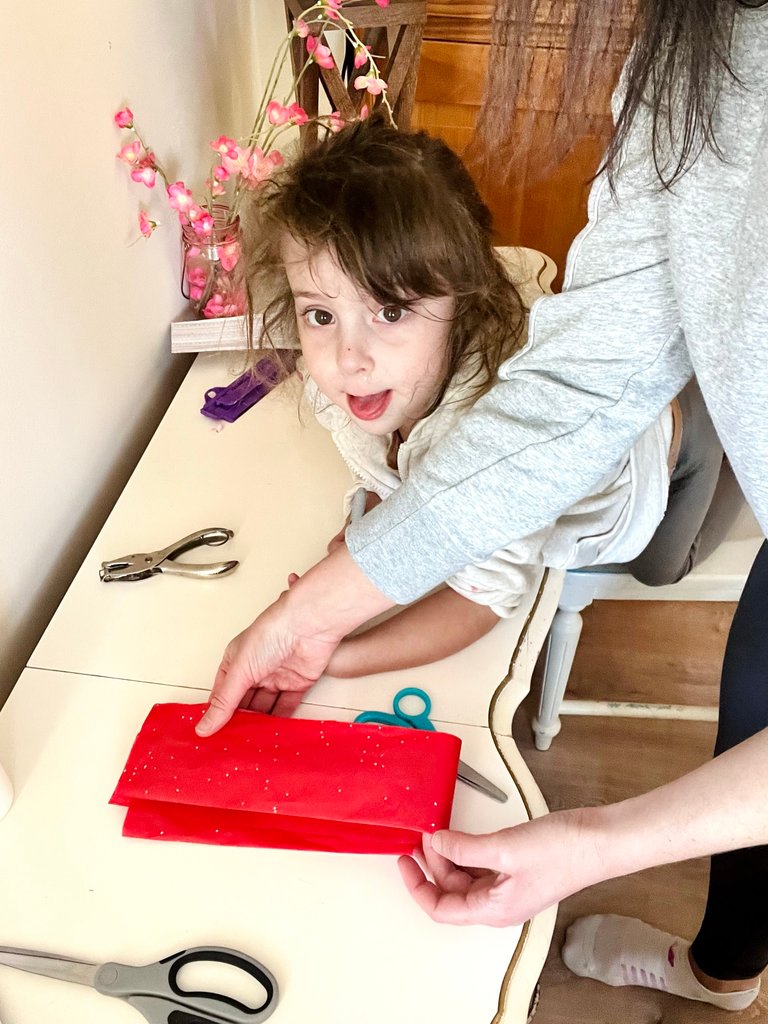
3.) I cut it out and traced it on another piece of cardboard to create a second one.
Now we have two stocking shapes!
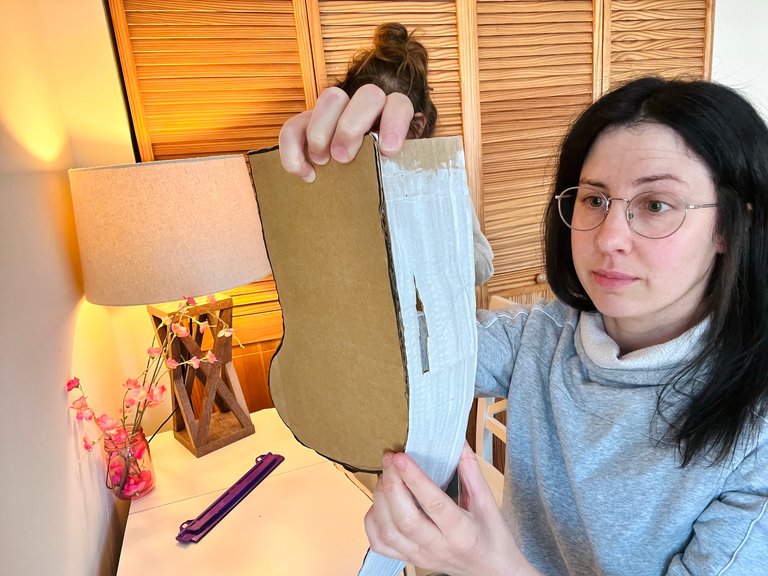
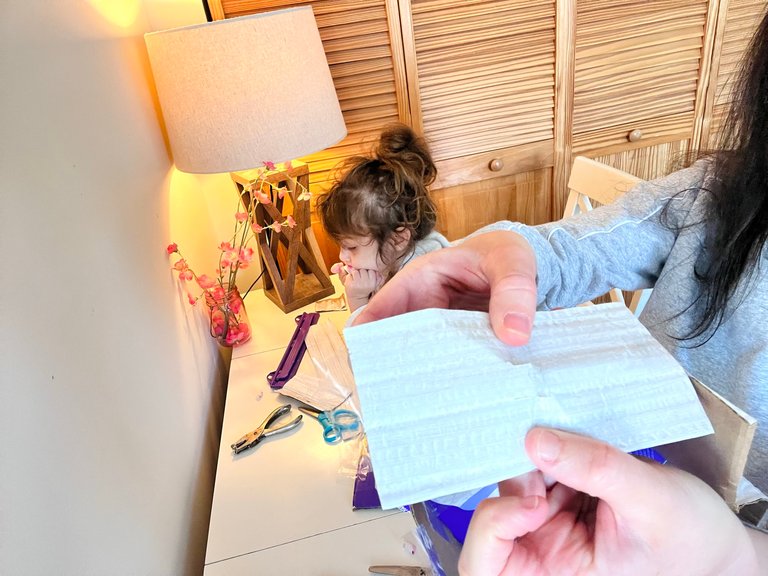
4.) I took a strip of the softer cardboard and started taping it around the perimeter. (I often use poster board for this step, but didn't have any around the house this time).
I typically use washi tape for the previous step, but since the strip of cardboard is sturdier than poster board, I used something stronger. You want it to be strong enough to hold the piñata together, but weak enough so that the piñata breaks when it's hit with a baseball bat.

5.) I taped it all around the whole shape of the stocking, bending it to create the curves.
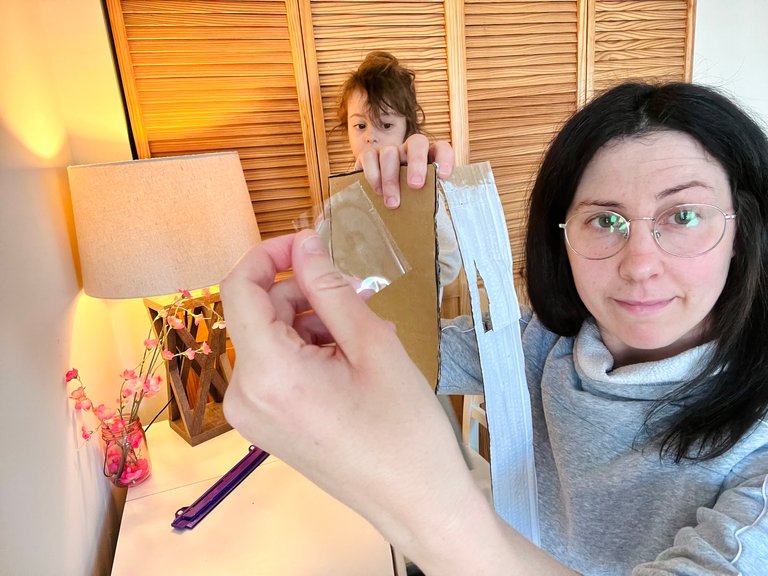
I realized before the next step that I needed to have two small slits/holes in the top of the stocking to string through a ribbon. This will be for hanging the piñata.
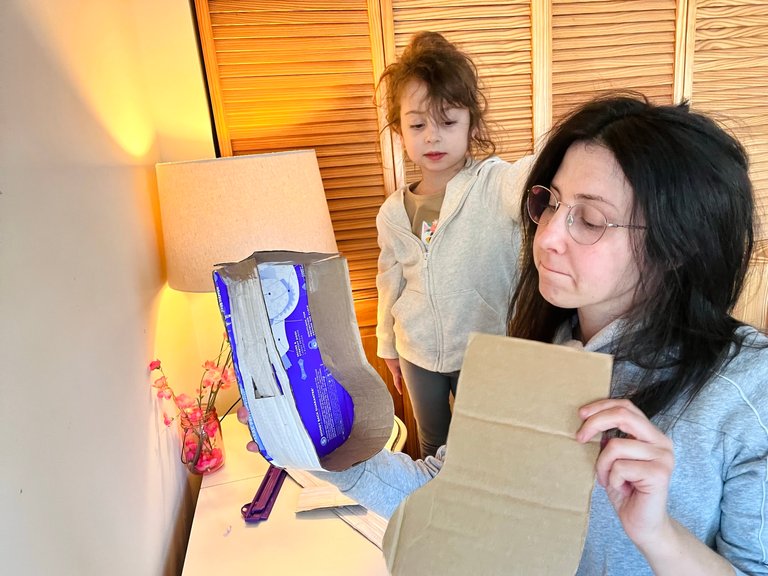
6.) Then I taped the other stocking shape cut-out to the other side.
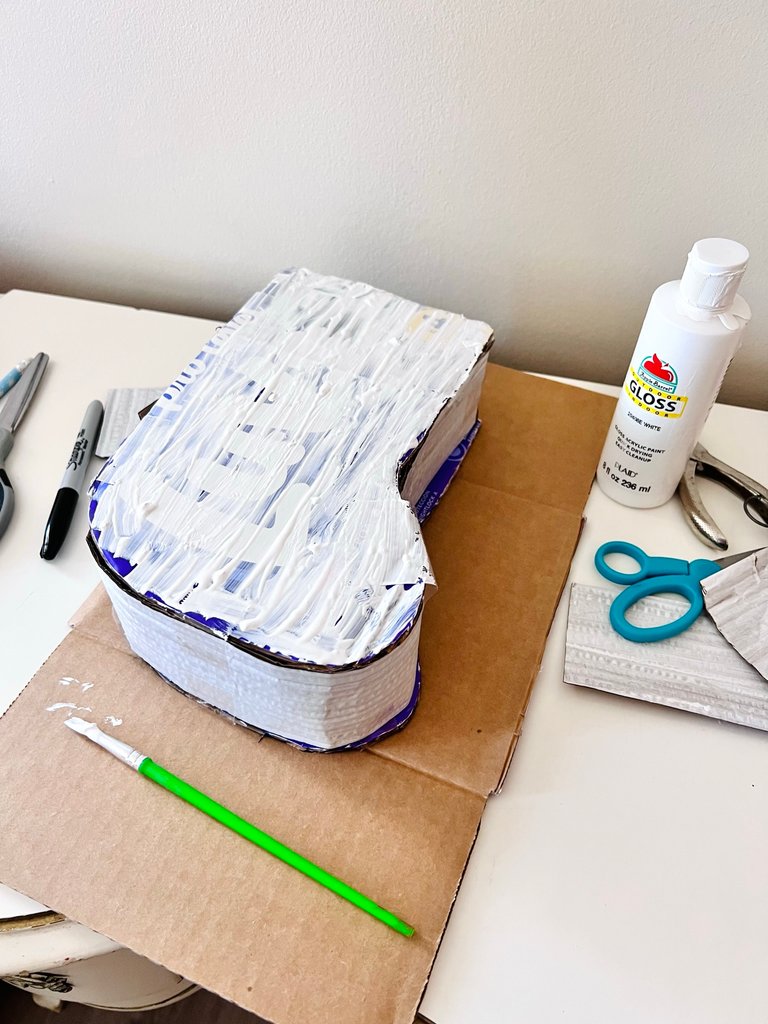
7.) I painted the colorful side white.
8.) I cut horizontally across the bottom so the fringe wouldn't be conjoined.
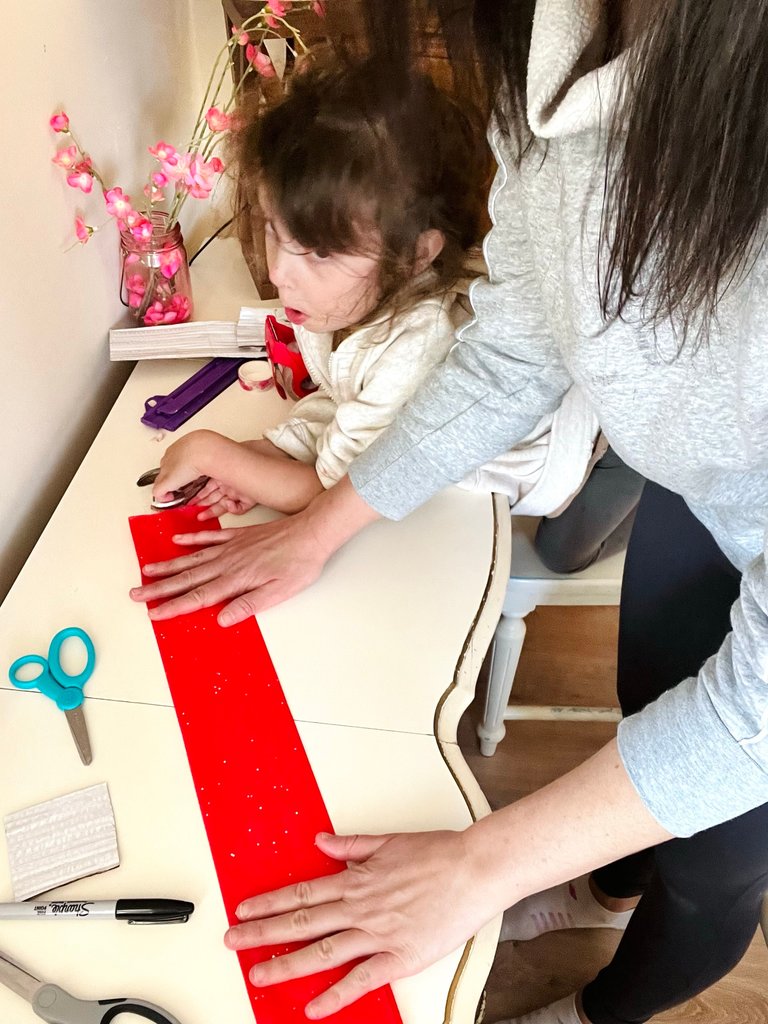
9.) I folded the tissue paper vertically to cut the fringe.

Cutting the fringe

Cutting across the top so that it creates individual strips.
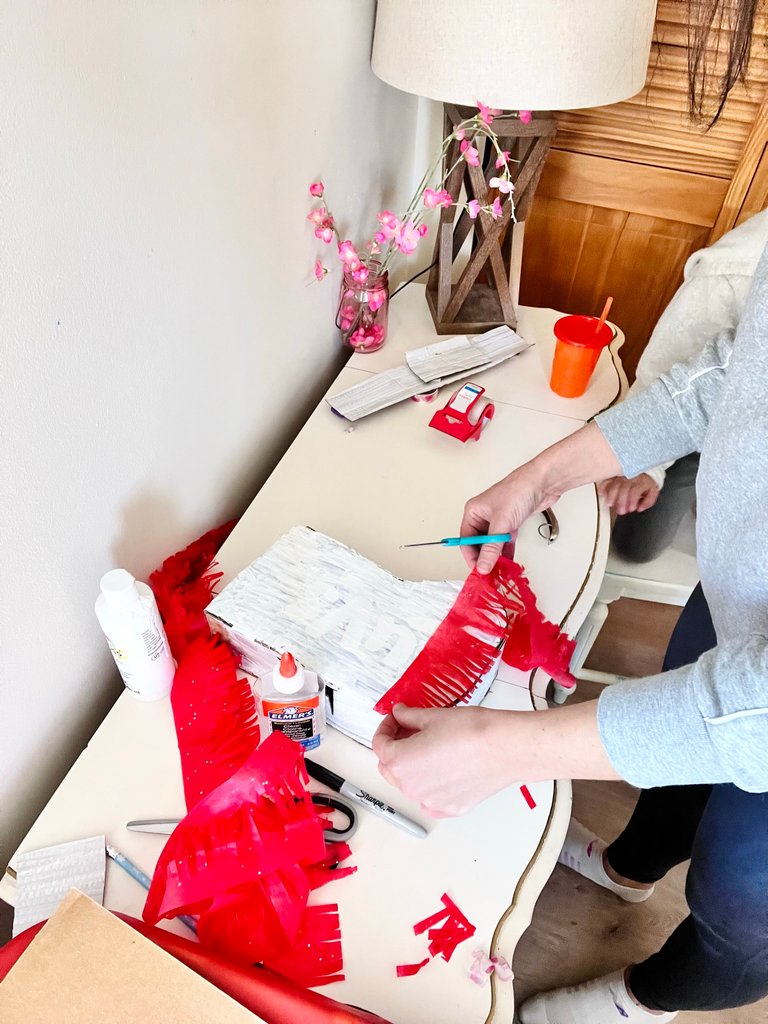
10.) I measured and cut a piece of fringe, using the cardboard shape as a guide. Then I started pasting from the bottom.
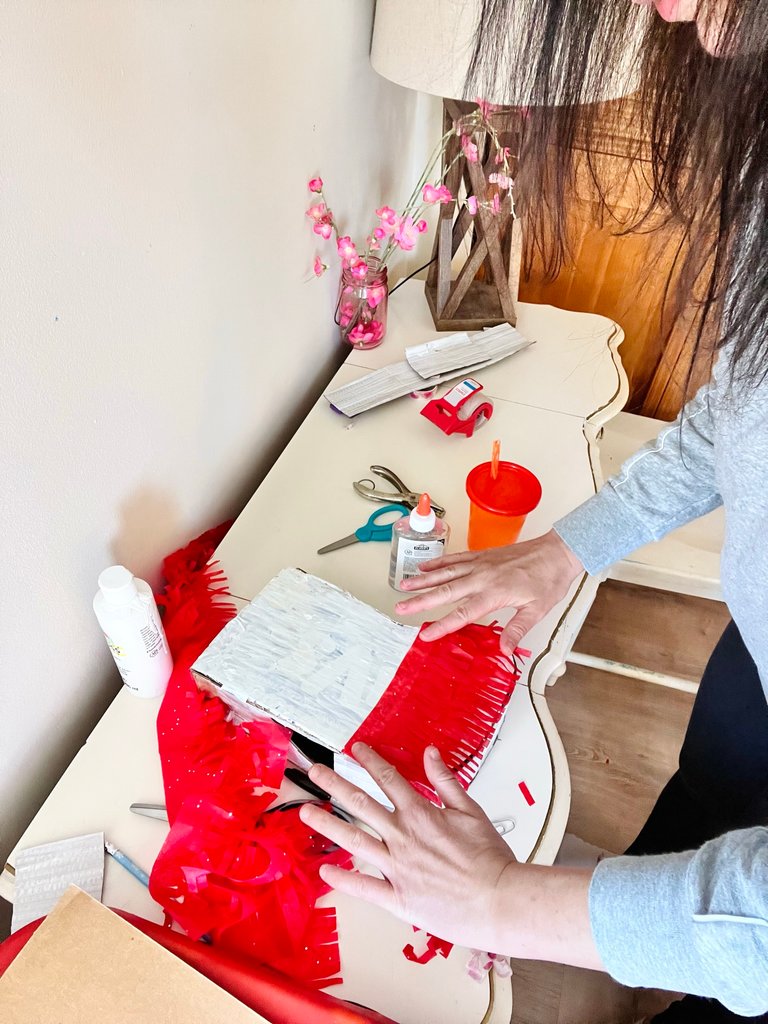
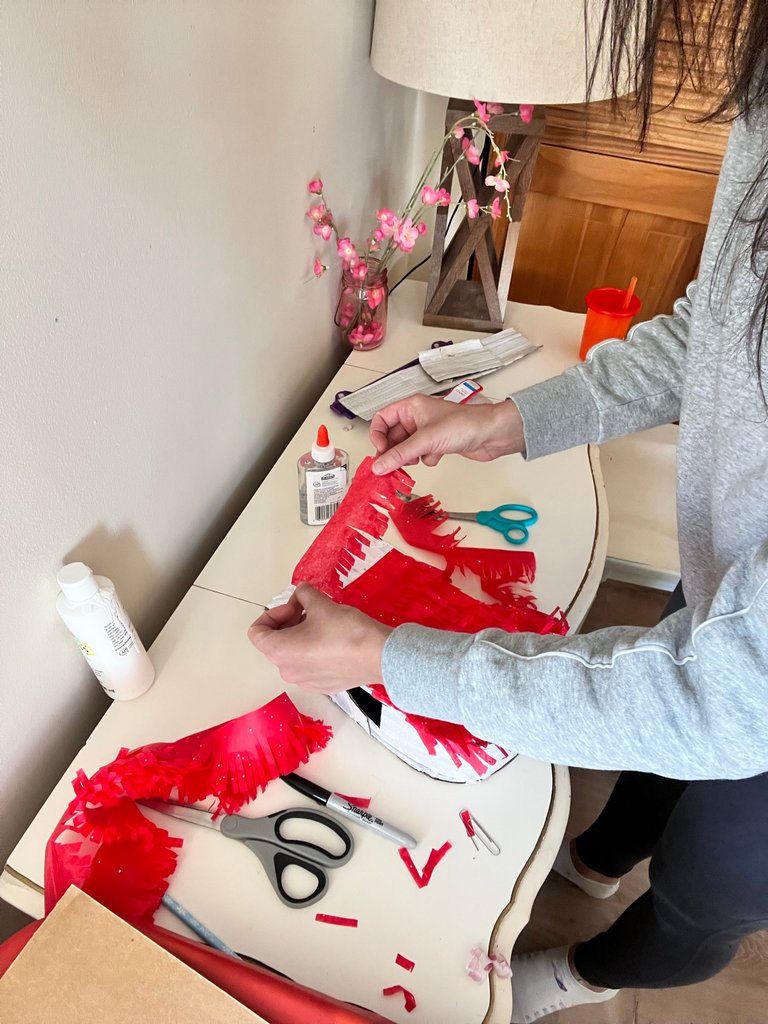

11.) I glued the fringe horizontally along the side, making sure to maintain access to the candy slot.
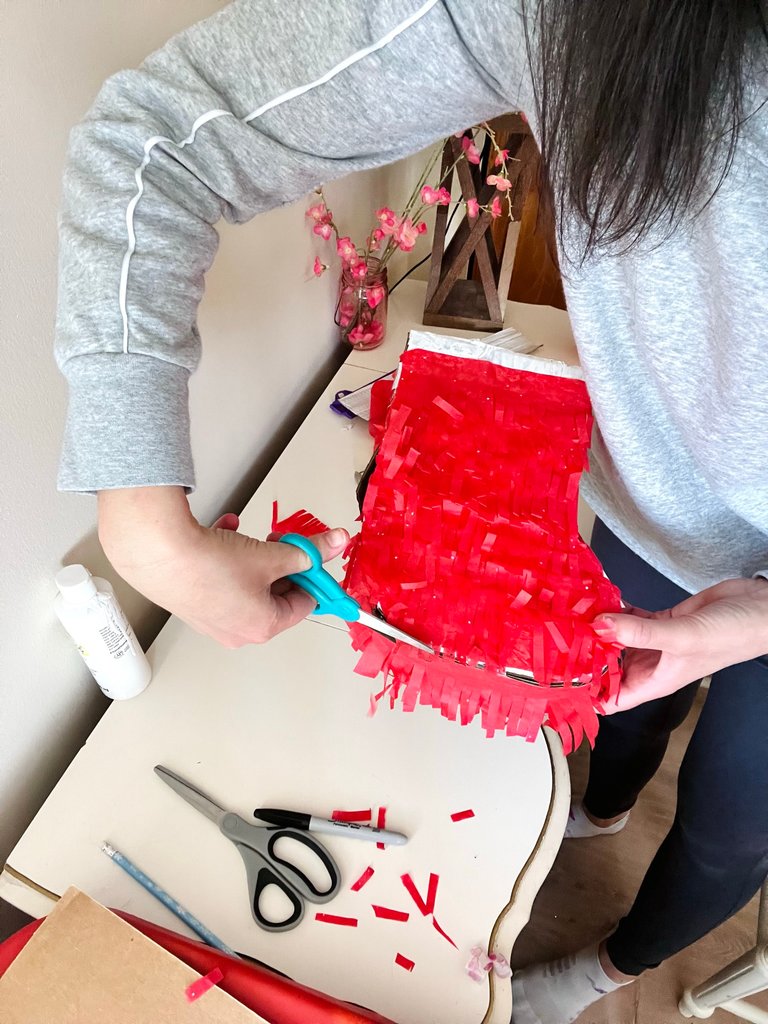
12.) I trimmed the fringe in some areas to enhance the shape of the stocking.
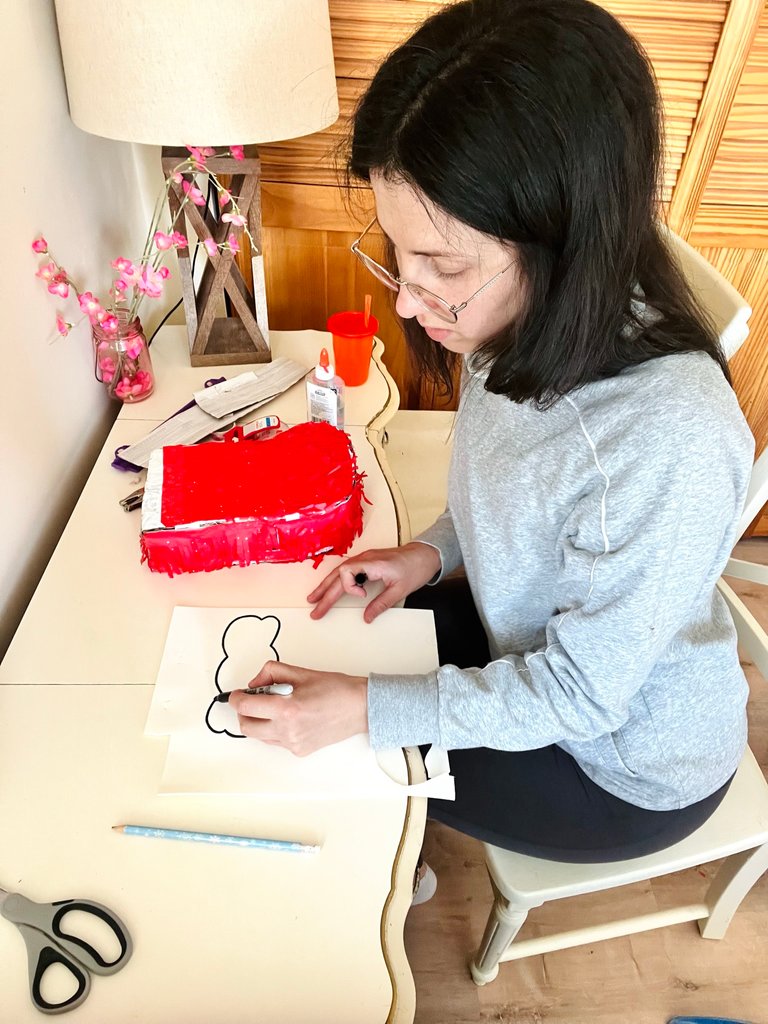
13.) I used a white foam sheet to draw a stocking fluff shape.

14.) I cut out the first stocking fluff shape and used it to trace one for the other side.
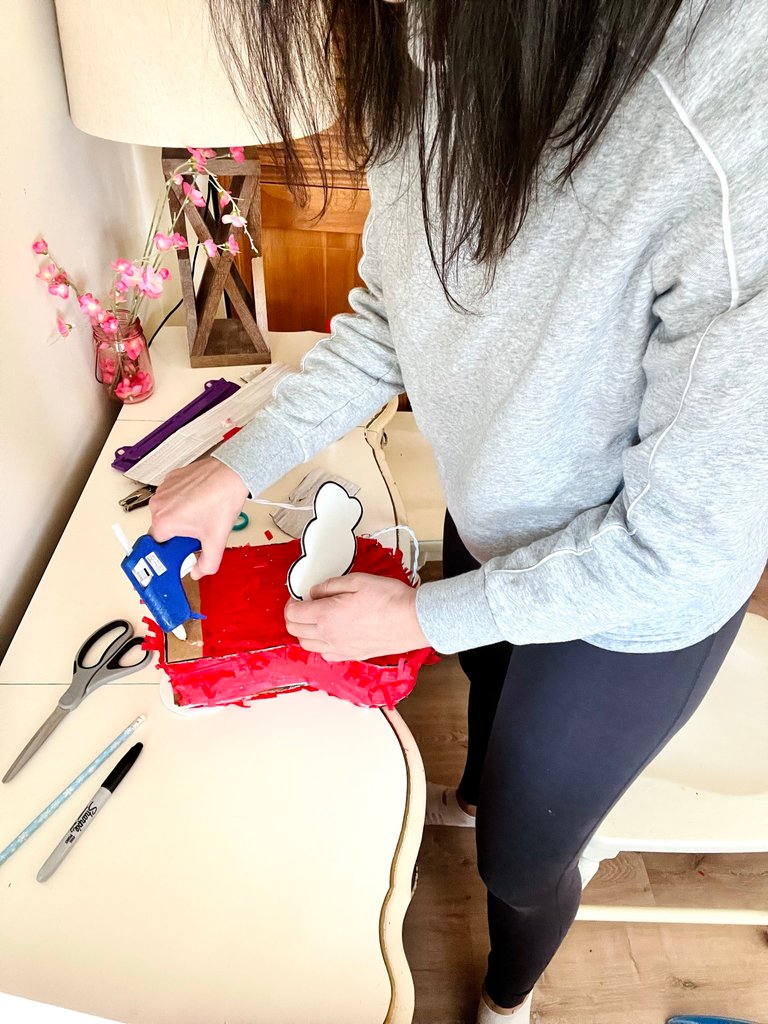
15.) I hot-glued the fluff shapes to the top of the stocking.
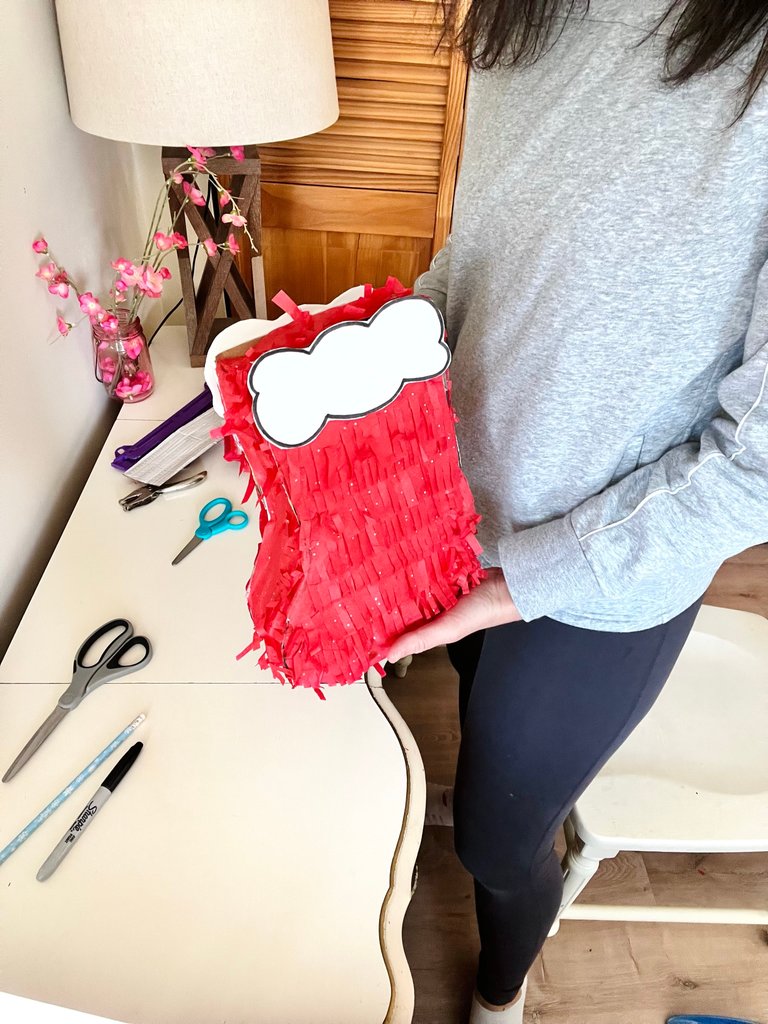
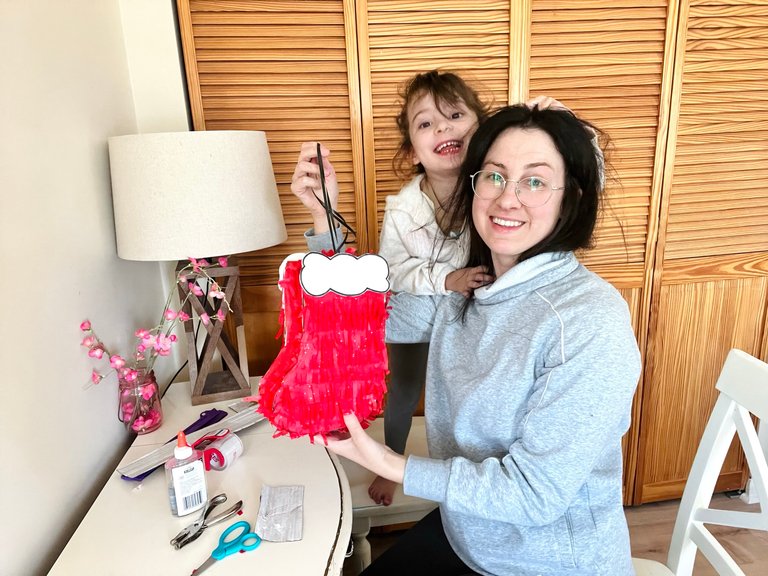
All done!
Thanks for reading my DIY blog ✂ _ _ _ _ _ _ _ _ _ _ _ _ _ _ _
- Laura
It looks amazing. It is good to see how you made this. Every material can be useful in some way. Well done!
This piñata made with recycled materials looks just great. Wonderful work!
I think anything creative or handmade so to speak can be therapeutic for the mind, so this is lovely to see:)
!DIY
You can query your personal balance by
!DIYSTATSWhat a beautiful friend you got your piñata is a pity to break it hahaha blessings.