Good morning, friends of Hive DIY, I hope you are feeling wonderful, today I bring you this wind pendant that I made this morning, I personally called them "angel caller" because that's how I know the ones sold in stores and are decorative, beautiful and so on. There are wooden ones, with bells, with metal sticks that make harmonic sounds, stones, and other recycled ones, as in my case. I wanted to make it handmade and recycled. But I have also decided that I will add things to it and I will tell you how I did it and what will happen.
VERSION EN ESPAÑOL (click aquí!)
Buen mediodía, amigos de Hive DIY, espero que se encuentren de maravilla, hoy les traigo este colgante de viento que hice esta mañana, yo en lo personal los llamaba “llamador de ángeles” porque así conozco a los que venden en los comercios y son decorativos, bonitos y tal. Existen de madera, con cascabeles, con palillos metálicos que hacen sonidos armónicos, piedras, y otros reciclados, como en mi caso. Yo quería hacerlo artesanal y reciclado. Pero también he decidido que le iré agregando cosas y ya mismo te cuento cómo lo hice y qué pasará.
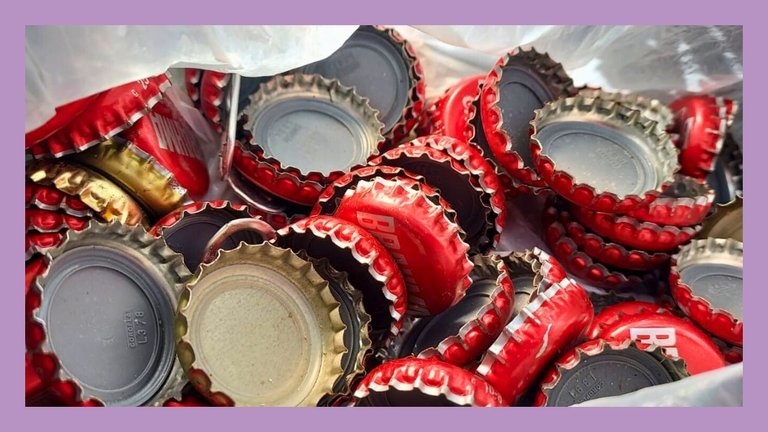
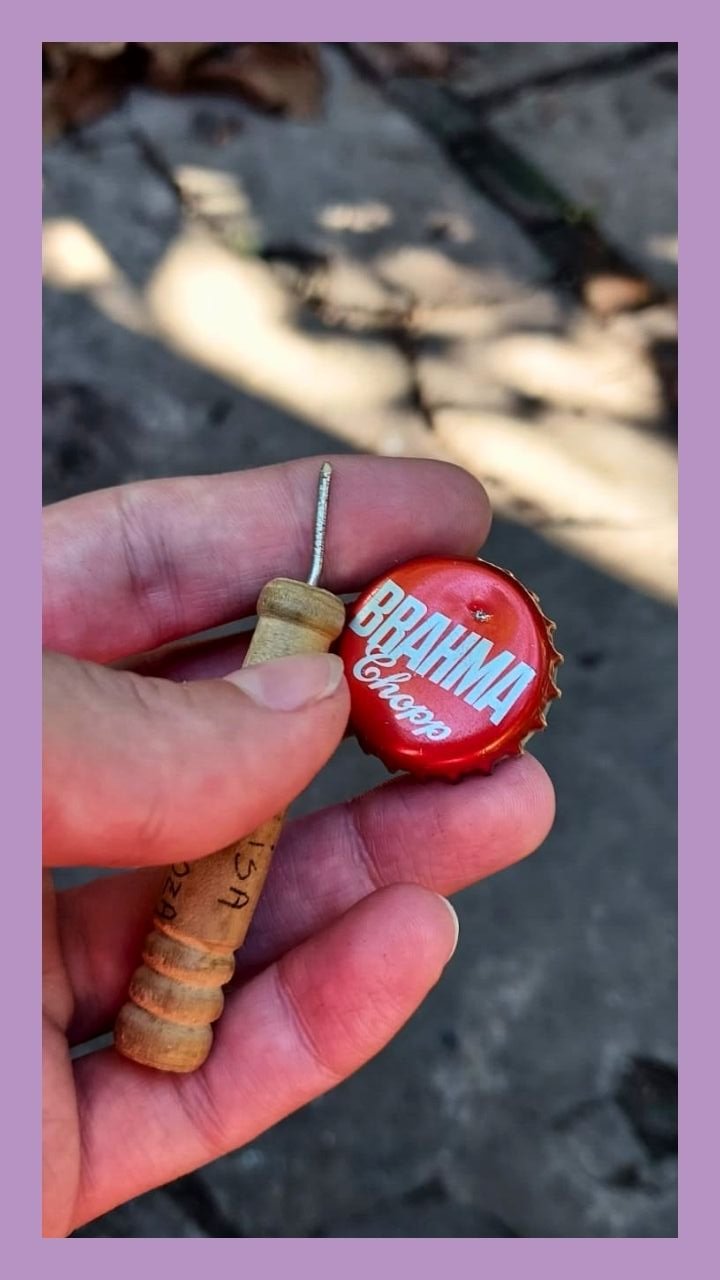
To begin with, I have a lot of these little plates that a friend gave me, and I had already said "I will invent something, I will come up with something" And although many ideas appeared before me, I decided to start with this, to make a test and see how to manipulate these metal caps. The first thing I tried was to make holes with an awl, it didn't work well, this little thing is made to punch on paper and there I went, wanting to punch a hole in a lid, big mistake.
VERSION EN ESPAÑOL (click aquí!)
Para comenzar, tengo muchas de estas chapitas que me regaló un amigo, y ya había dicho “algo voy a inventar, algo se me va a ocurrir” Y aunque muchas ideas aparecieron ante mí, decidí comenzar con esto, para hacer una prueba y ver cómo manipular estas tapitas metálicas. Lo primero que probé fue hacerle agujeritos con un punzón, no funcionó nada bien, este cosito está hecho para pinchar sobre papel y ahí iba yo, queriendo agujerear una tapita, grave error.
 | 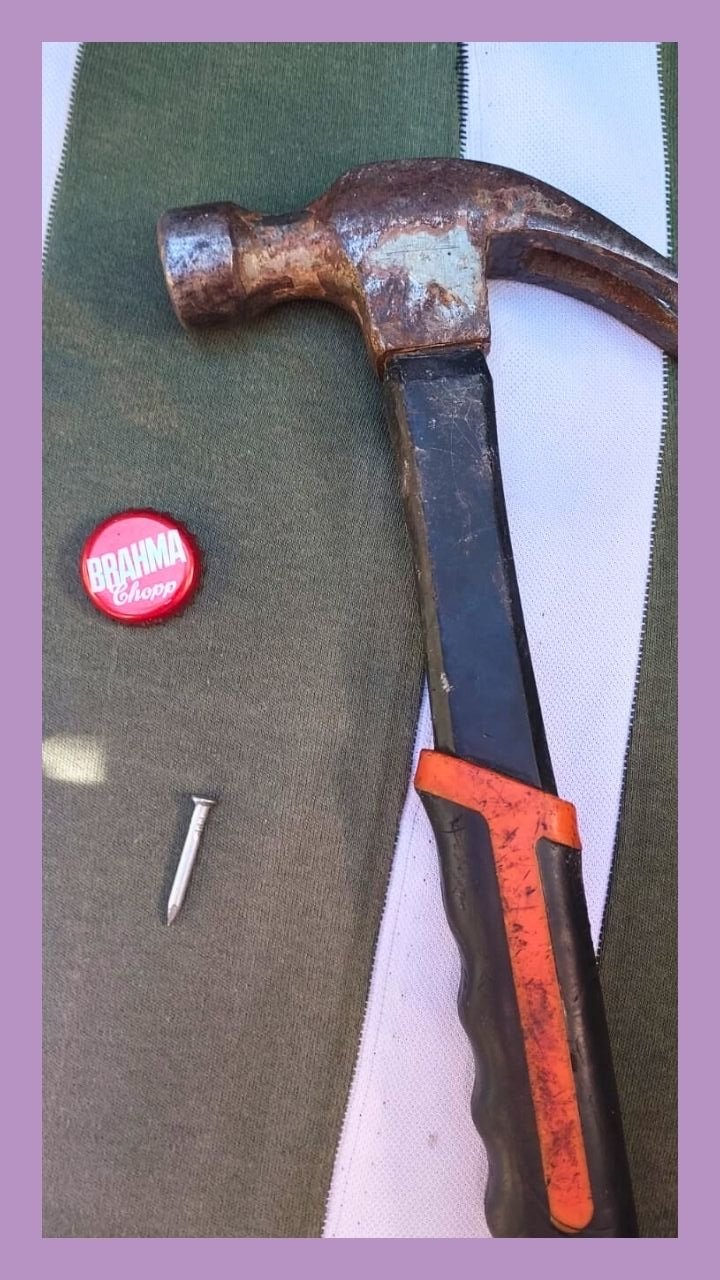 |
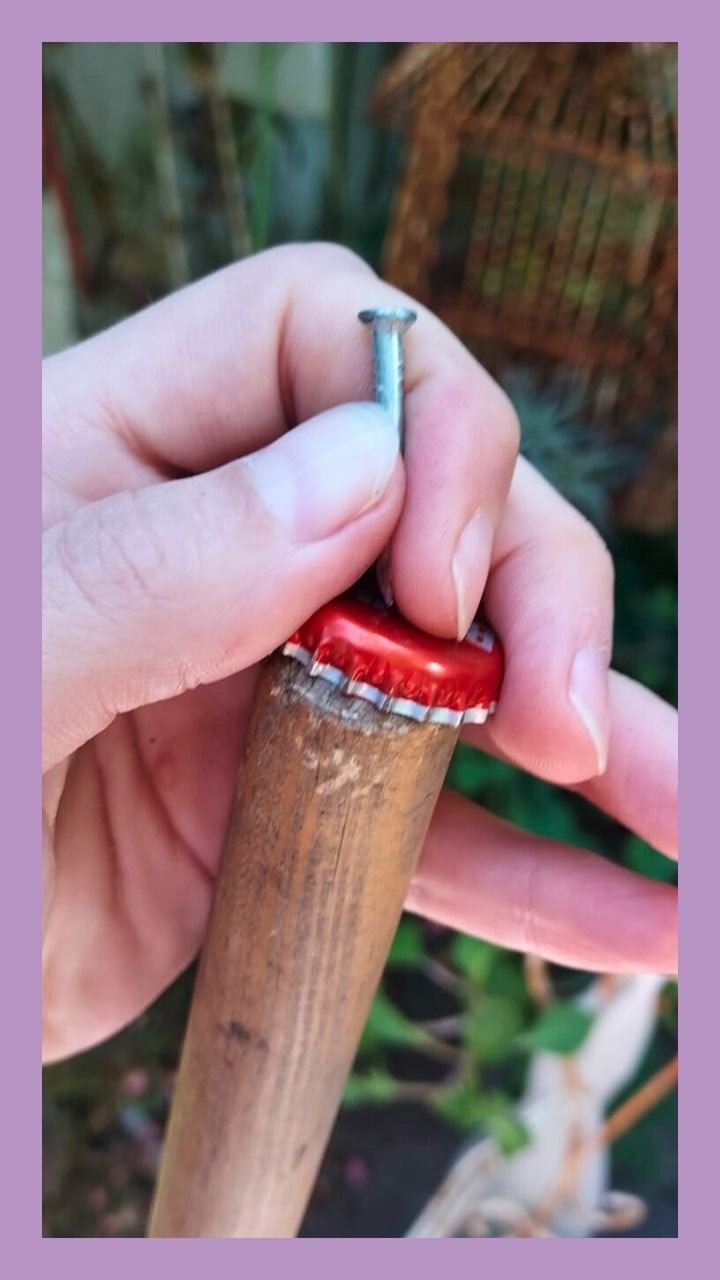
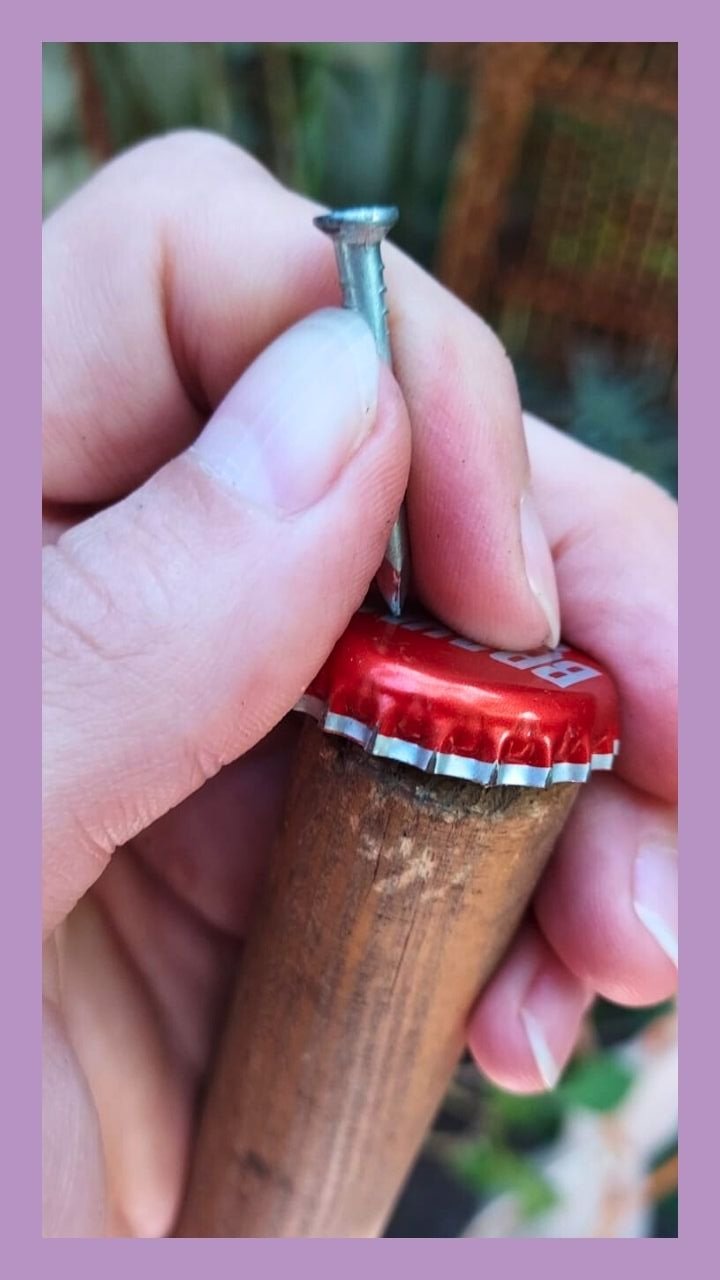
Then with a nail and a hammer I was able to pierce them with two or three soft taps. I used the wood from the broom underneath the cap, to prevent it from bending or warping. Yes, this complicated the task a bit because everything was moving haha, but the truth is that it was easier than it looks and I had quickly drilled about 20 holes. I thought "to start with they are more than enough" and I put everything away.
VERSION EN ESPAÑOL (click aquí!)
Luego con un clavo y el martillo logré mi cometido y pude agujerearlas con unos dos o tres golpecitos suaves. Usé la madera de la escoba debajo de la tapita, para evitar que se doble o se deforme. Sí, esto complicó un poco la tarea porque todo se movía jaja, pero la verdad es que fue más fácil de lo que parece y rápidamente había agujereado unas 20. Pensé “para comenzar son más que suficientes” y guardé todo.
 |  |
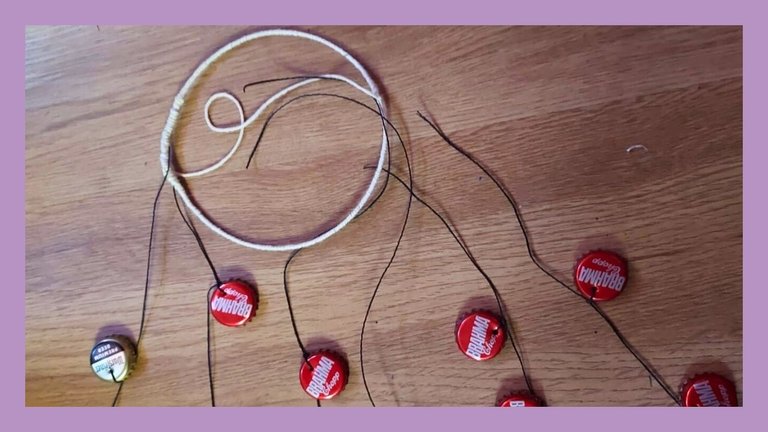
Once in the exploratory room to shape the creation, I thought about painting them, and then I was convinced that the best thing to do would be to test the device and then give it color and shape. Doing things in an orderly fashion. And I searched among my threads for those that were resistant and that could hold without taking away the sound of the little plates.
VERSION EN ESPAÑOL (click aquí!)
Una vez en la sala exploratoria para darle forma a la creación, pensé en pintarlas, y luego me convencí que lo mejor sería probar el aparatito y luego darle color y forma. Hacer las cosas ordenadamente. Y busqué entre mis hilos aquellos que fueran resistentes y que pudieran sostener sin quitarle el sonido a las chapitas.
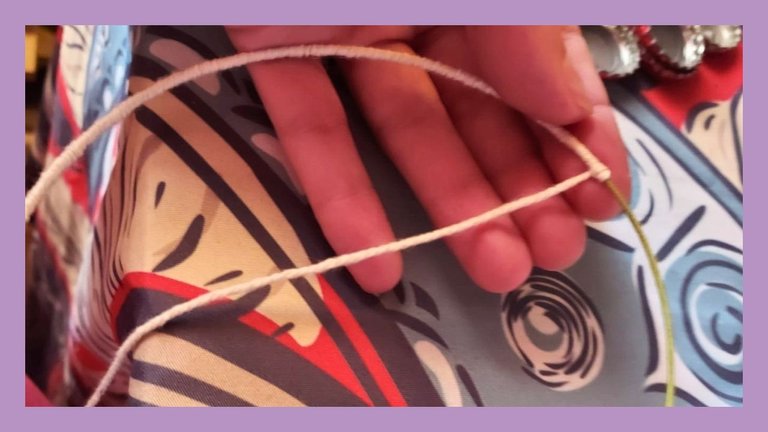
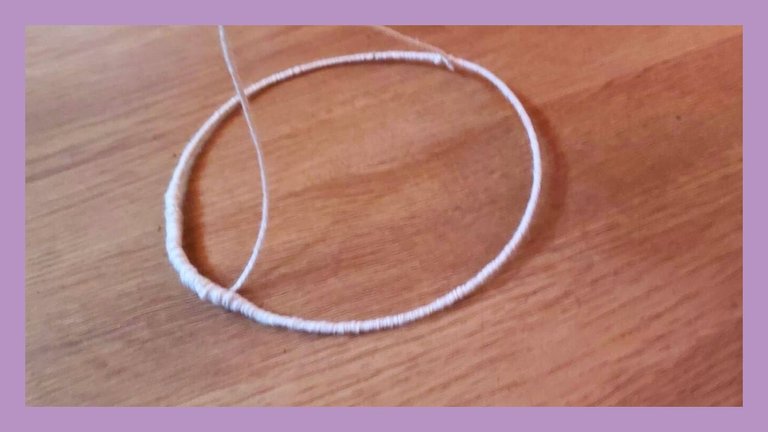
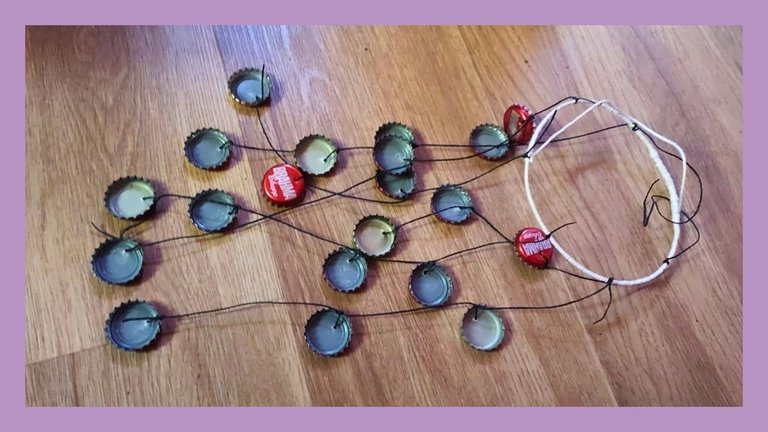
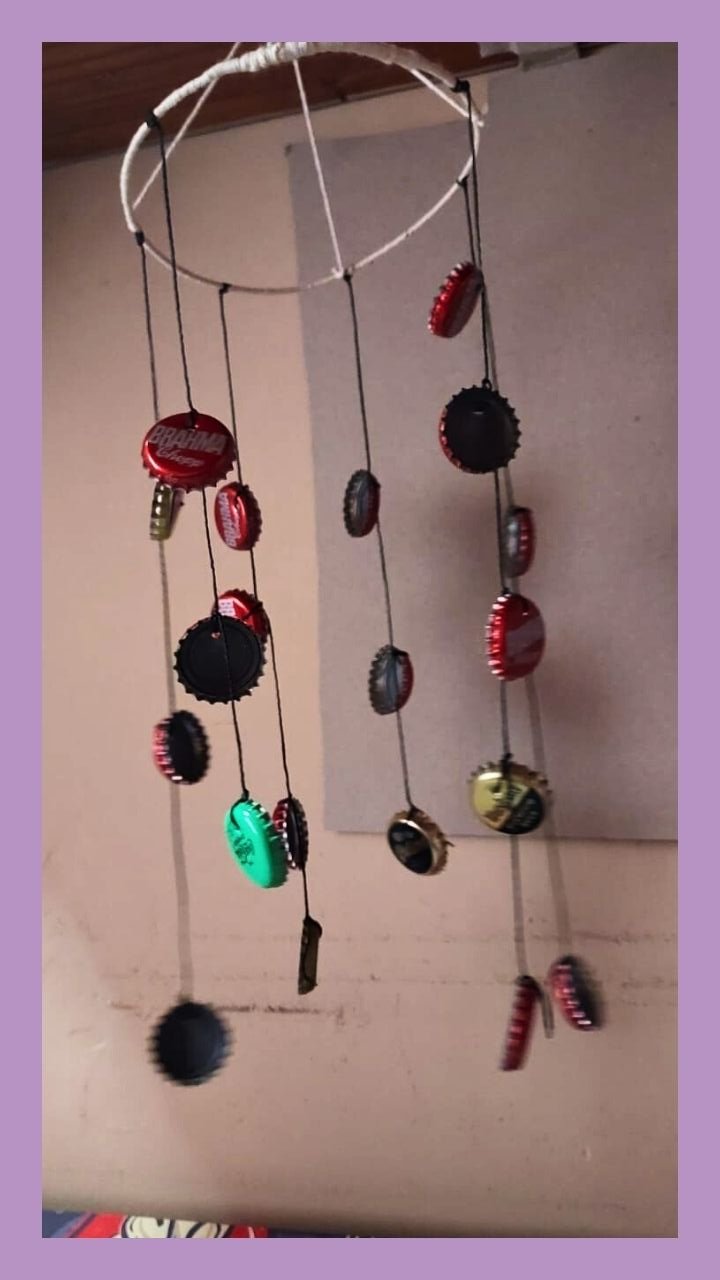
I was arranging and knotting the strips at different heights, testing and placing the strips with three or four strips each, to see the disposition. All this considering that it would be knotted to the wire circle that I had previously reinforced with wool as well. Everything was on track and I think it will have a lovely result.
VERSION EN ESPAÑOL (click aquí!)
Fui acomodando y anudando las chapitas a distintas alturas, probando y colocando las tiritas con tres o cuatro chapitas cada una, para ver la disposición. Todo esto considerando que iría anudado al círculo de alambre que previamente reforcé con lana también. Todo iba encaminado y creo que tendrá un resultado encantador.
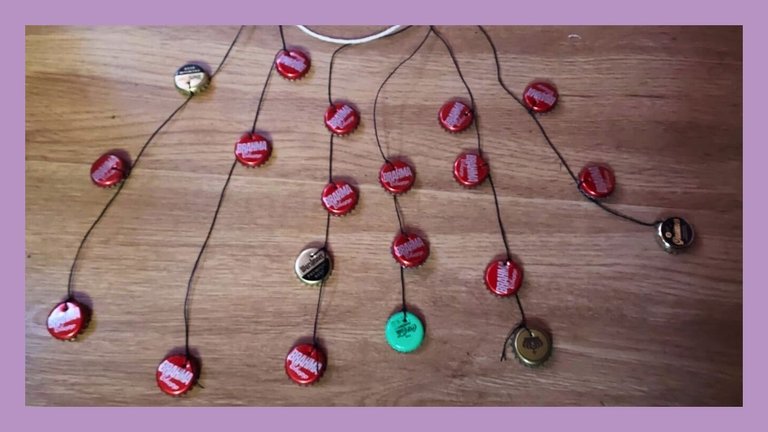
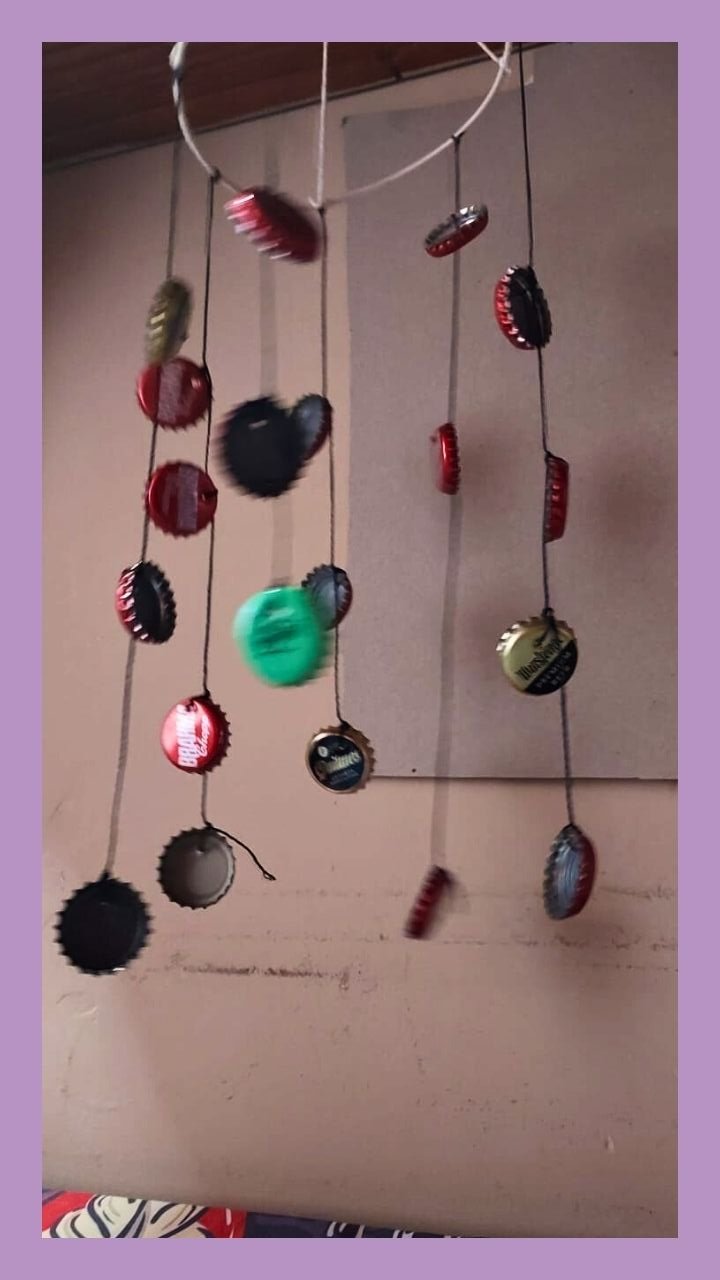
The truth is that it was a little difficult to tie each one, to see if the place was right, to understand if they would sound or not. I knotted, reinforced, trimmed the leftovers and tested it. It was unstable, so I had to put another thread to make it more resistant. It immediately took the firmness I was looking for. I wanted it to stay in place and I could turn it, so when the wind hits it, I could wait for the sound.
VERSION EN ESPAÑOL (click aquí!)
La verdad es que fue algo difícil irlas atando cada una, ver si el lugar era correcto, entender si sonarían o no. Anudé, reforcé, recorté los sobrantes y lo probé. Se movía como inestable, así que tuve que colocar otro hilo para que resista mejor. Enseguida tomó la firmeza que yo buscaba. Quedó quiero y se podía girar, entonces cuando el viento le dé, queda esperar por su sonido.
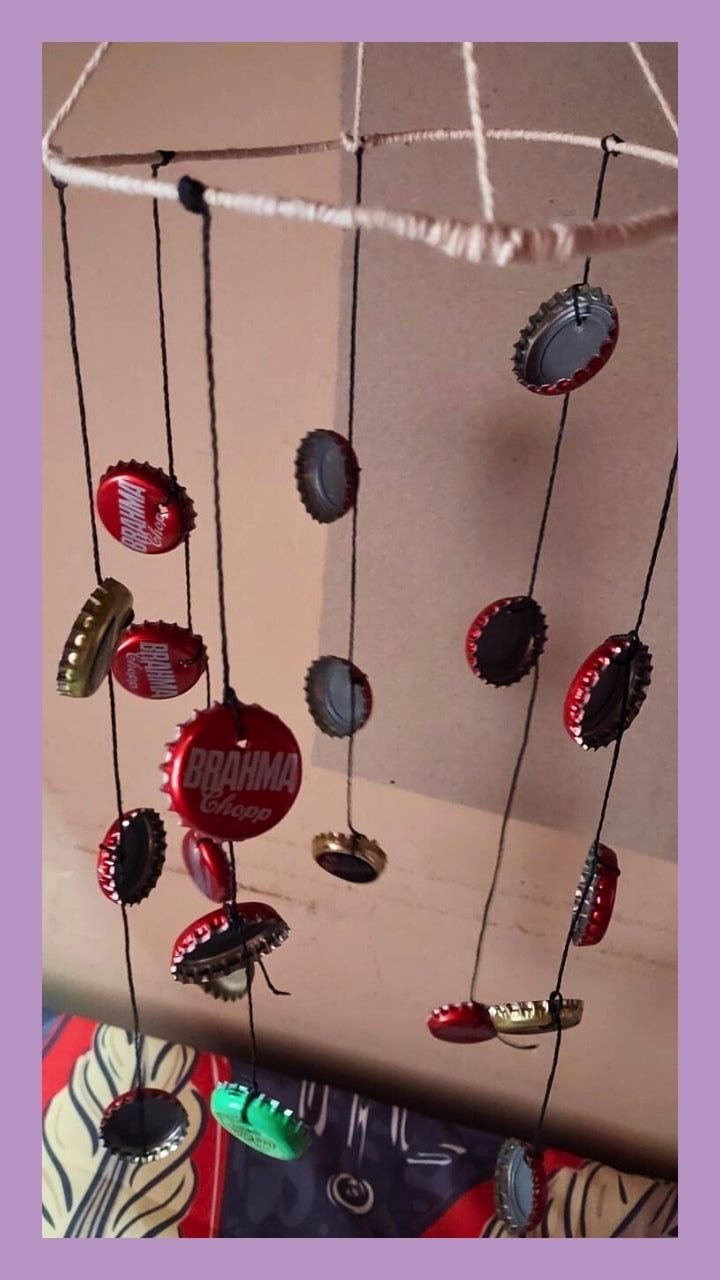
Although I also tried to see if they collided and how it sounded, I was not completely satisfied. Now my next task is to paint and decorate a little the mobile, maybe hanging some other strip with another material, some other metal, or wood and see if it sounds better. Anyway, as decoration and recycling, I was satisfied! A great achievement and maybe a gift in the future for my friends' backyards!
Thanks for reading and joining me in this recycled and fun DIY, I send you a huge kiss!
VERSION EN ESPAÑOL (click aquí!)
Aunque también intenté ver si chocaban y que tal sonaba, no quedé del todo conforme. Ahora mi próxima tarea es pintar y decorar un poco el móvil, quizás colgando alguna otra tirita con otro material, algún otro metal, o madera y ver si suena mejor. De todos modos, como decoración y reciclado, quedé conforme! ¡Un gran logro y quizás un regalo en el futuro para los patios de mis amigos!
Gracias por leerme y acompañarme en este DIY reciclado y divertido. ¡Les mando un beso enorme!
 |  |  |
Thanks for reading me, Kiki✨
Gracias por leerme, Kiki ✨

I own the rights to all the photos I used in this post Soy la propietaria de todas las fotos que he usado hoy Pictures taken with a Samsung A42 & Nikon D3200📷 Traducido con DeepLearning Let's talk on Discord: littlesorceress #8877 Imágenes editadas con Canva

click on the banner to join the community
👏 Keep Up the good work on Hive ♦️ 👏
❤️ @equipodelta suggested sagarkothari88 to upvote your post ❤️
🙏 Don't forget to Support Back 🙏
Excelente creatividad amigo lo felicito
Muchas gracias, ya lo estuve pintando un poco y está quedando super bonito! Te mando un abrazo!