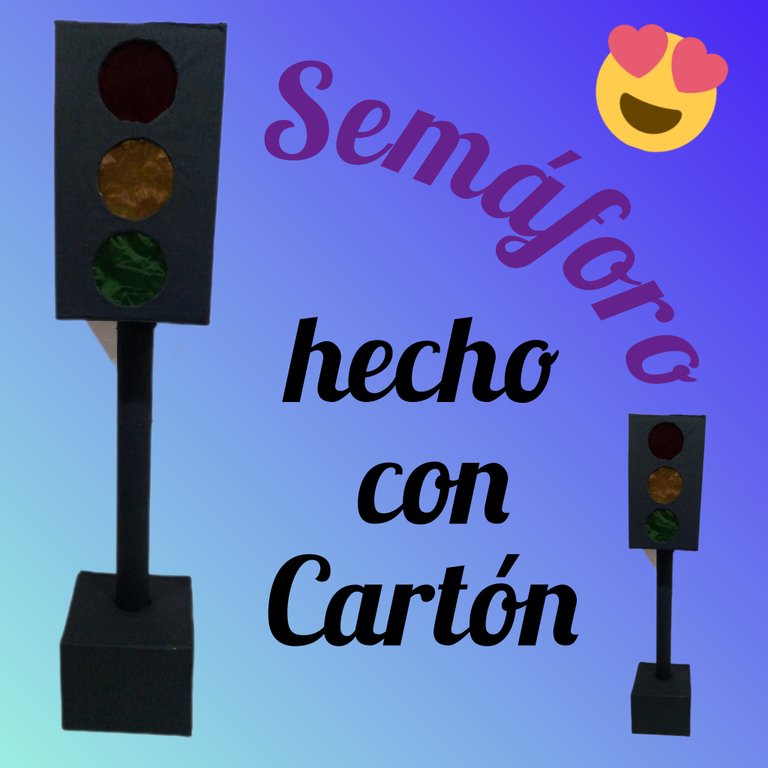
Hola a todos mis queridos amigos de la comunidad creativa de Hive diy, espero esten pasando un excelente y maravilloso día, hoy les quiero mostrar como realice un semáforo con carton para el cierre de proyecto de mi hija.
Comencemos...
Hello to all my dear friends from the Hive DIY creative community, I hope you are having an excellent and wonderful day, today I want to show you how I made a traffic light with cardboard for the closing of my daughter's project.
Let's start...
| Materiales | Materials |
|---|---|
 | |
| 2 cajas de cartón | 2 cardboard boxes |
| 1 tubo de cartón | 1 cardboard tube |
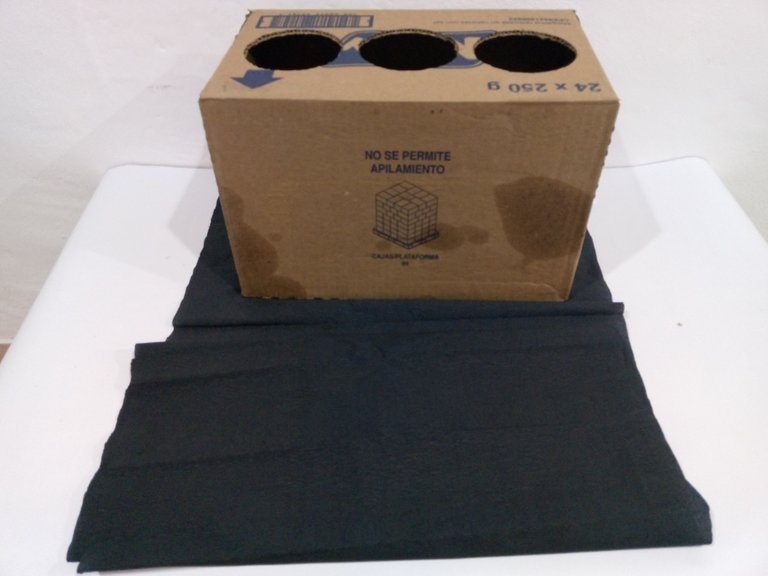
| Papel crepe negro | Black crepe paper |
| Papel celofán rojo, amarillo y verde | Red, yellow and green cellophane paper |
| Silicon frío | Cold sylicon |
| Pega en barra | Stick on stick |
| Regla | Ruler |
| Lapiz y marcador | Pencil and marker |
| Cinta de embalar | Duct tape |
| Tijeras | Scissors |
| Cúter | Cutter |
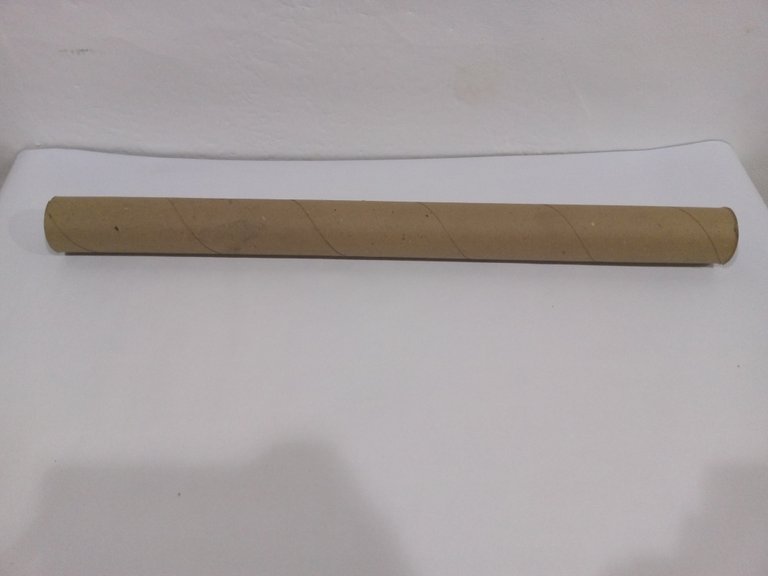
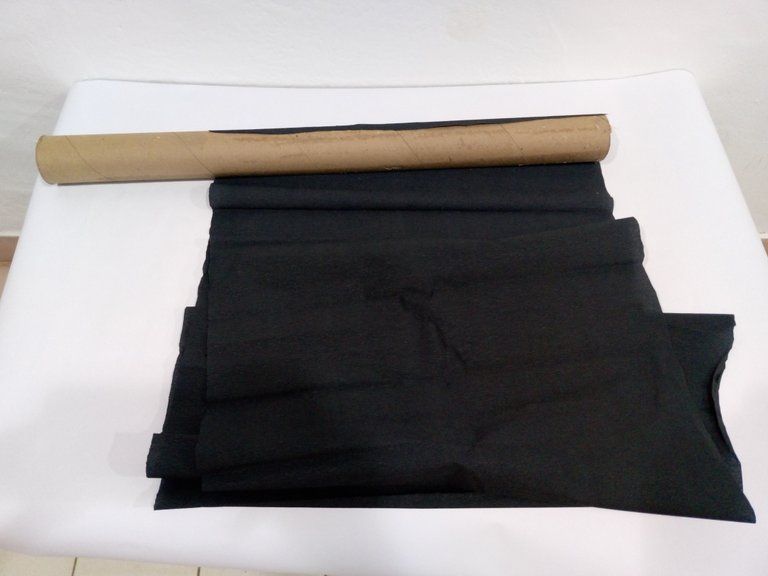
| Paso 1 | Step 1 |
|---|---|
 |  |
 |  |
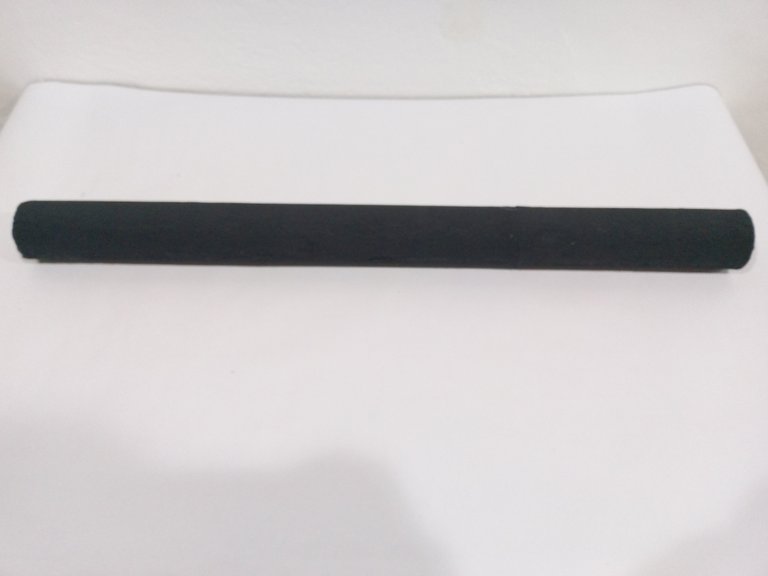 |
Paso 1: Lo primero que hice fue medir el tubo de carton a la medida que necesitaba (70 cm) y recorte. Con el papel crepe negro forre todo el tubo de cartón asi como les muestro en las imágenes cubriendo todo los espacios y sin hechar mucho silicón para que no quede feo.
Step 1: The first thing I did was measure the cardboard tube to the size I needed (70 cm) and cut it out. With black crepe paper I lined the entire cardboard tube as I show you in the images, covering all the spaces and without using too much silicone so that it doesn't look ugly.
| Paso 2 | Step 2 |
|---|---|
 |  |
 |  |
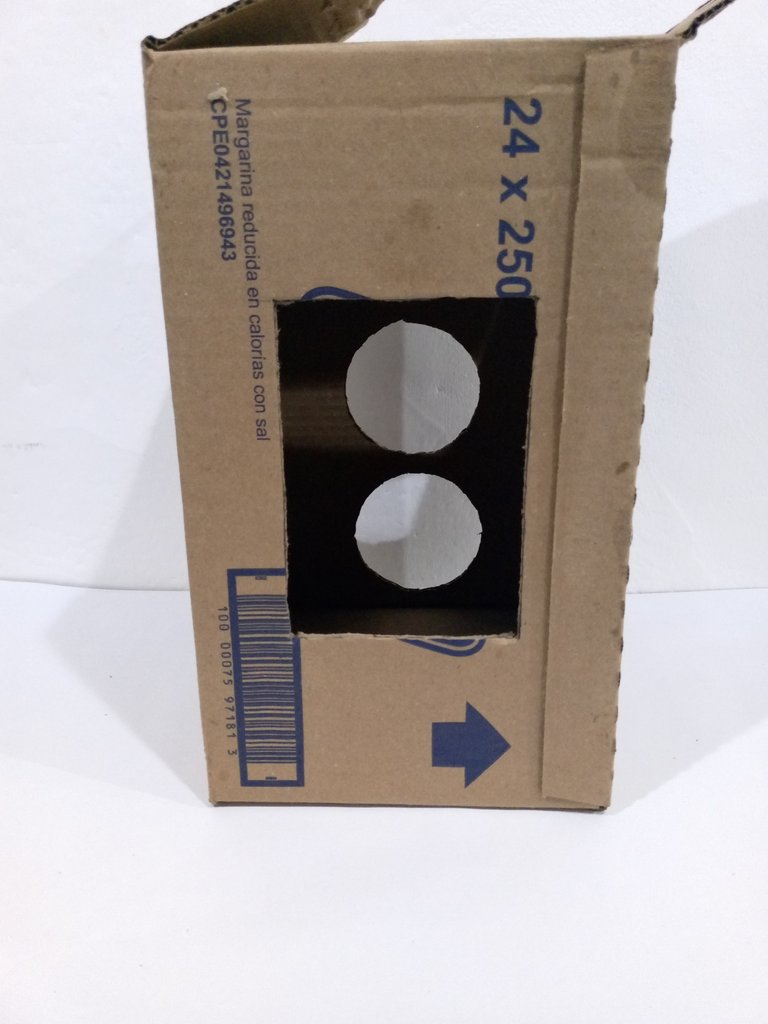 |  |
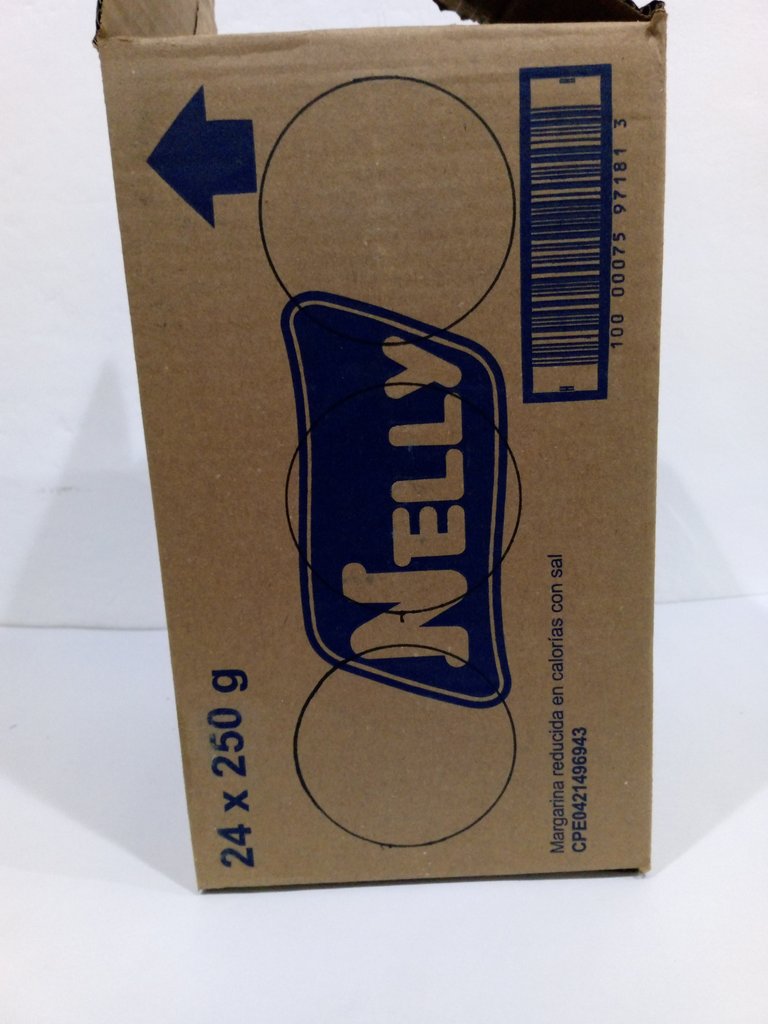
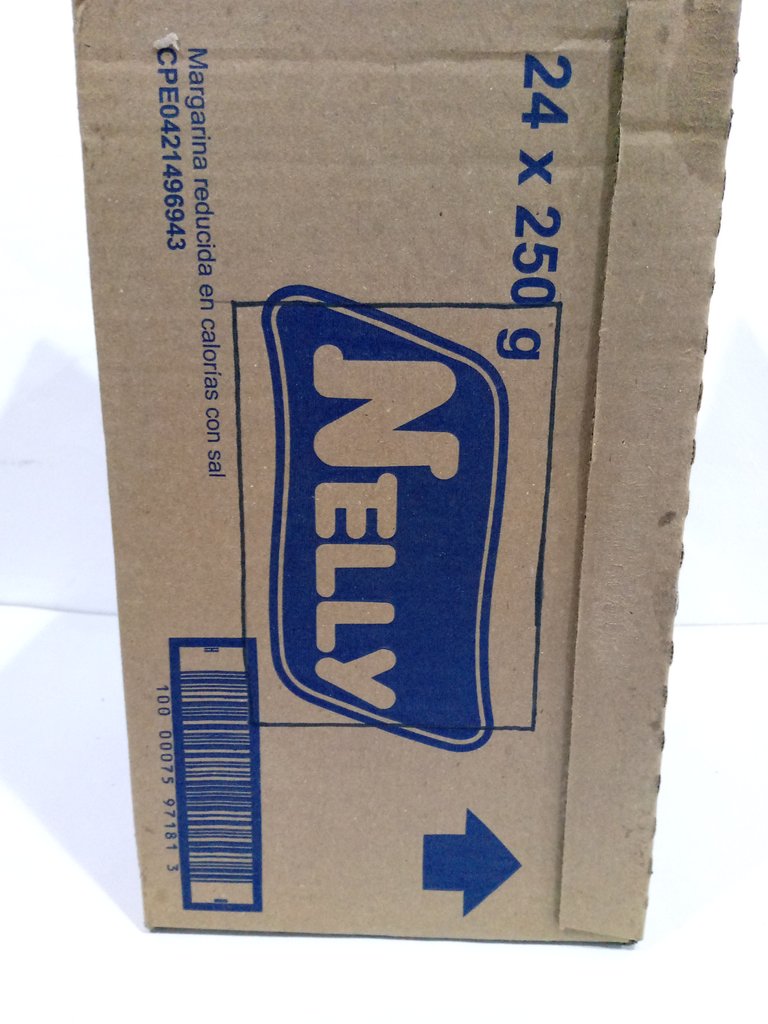
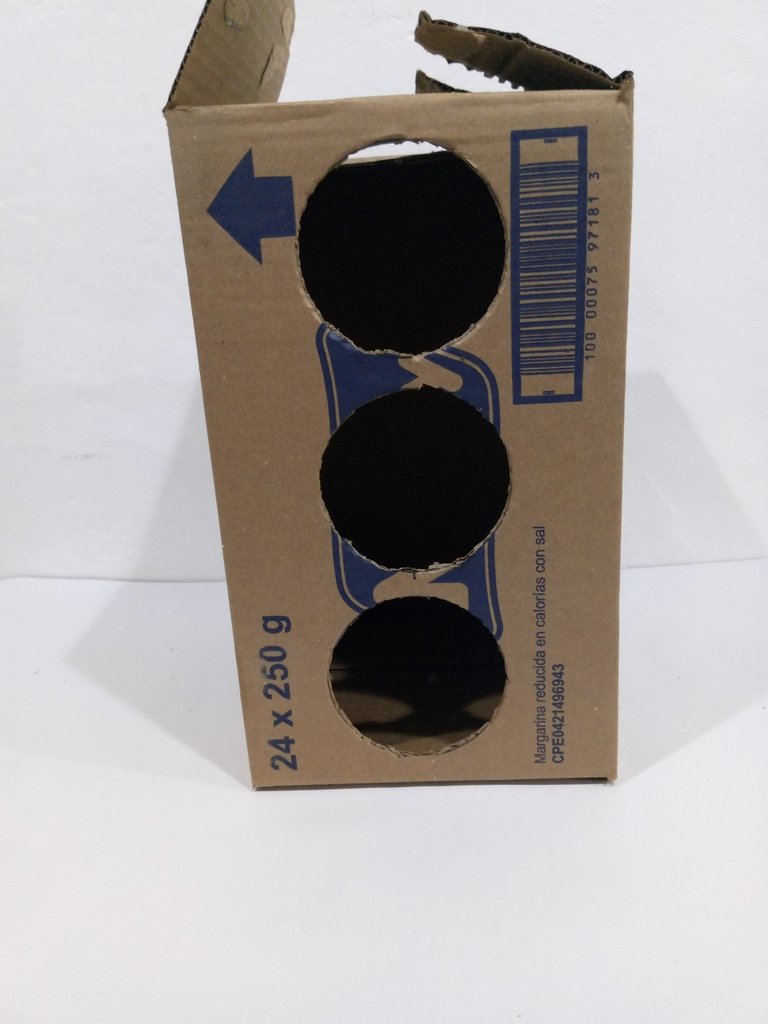
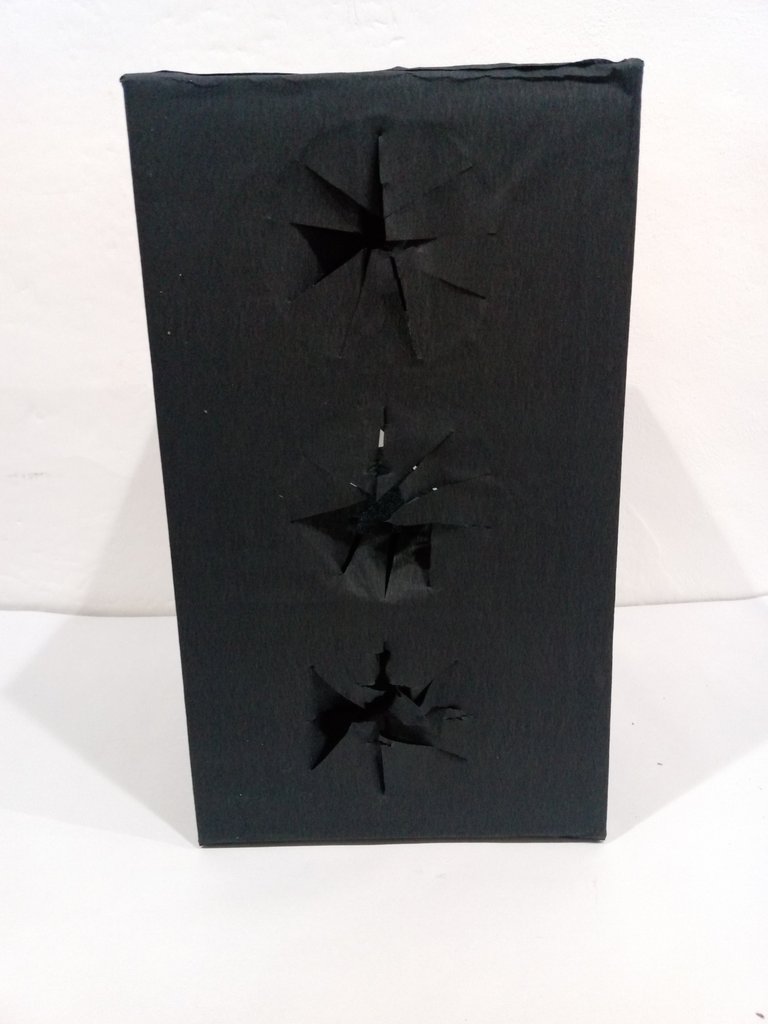
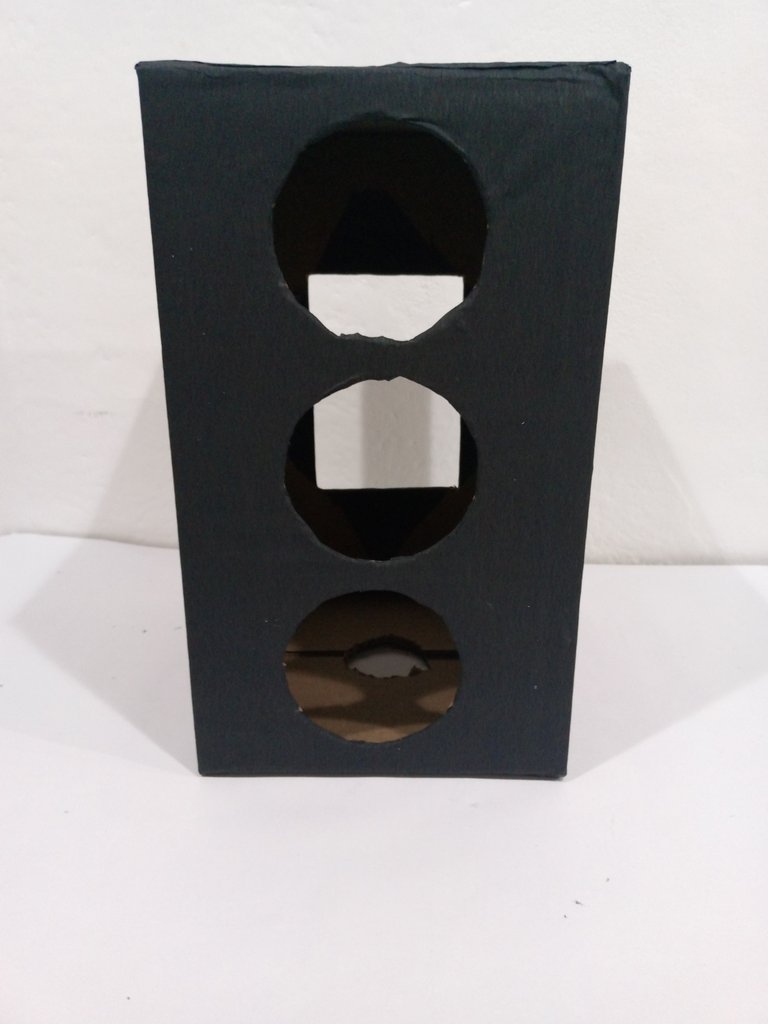
Paso 2: Tome la caja de cartón mas grande y por uno de los lados le marque 3 círculos con la ayuda de un objeto redondo, por el otro lado marque un rectángulo y en la parte de abajo un círculo del tamaño del tubo y con ayuda del cúter recorte cada una de las marcas.
Step 2: Take the largest cardboard box and on one side mark 3 circles with the help of a round object, on the other side mark a rectangle and on the bottom a circle the size of the tube and with help From the cutter cut out each of the marks.
| Paso 3 | Step 3 |
|---|---|
 |  |
 |  |
 | 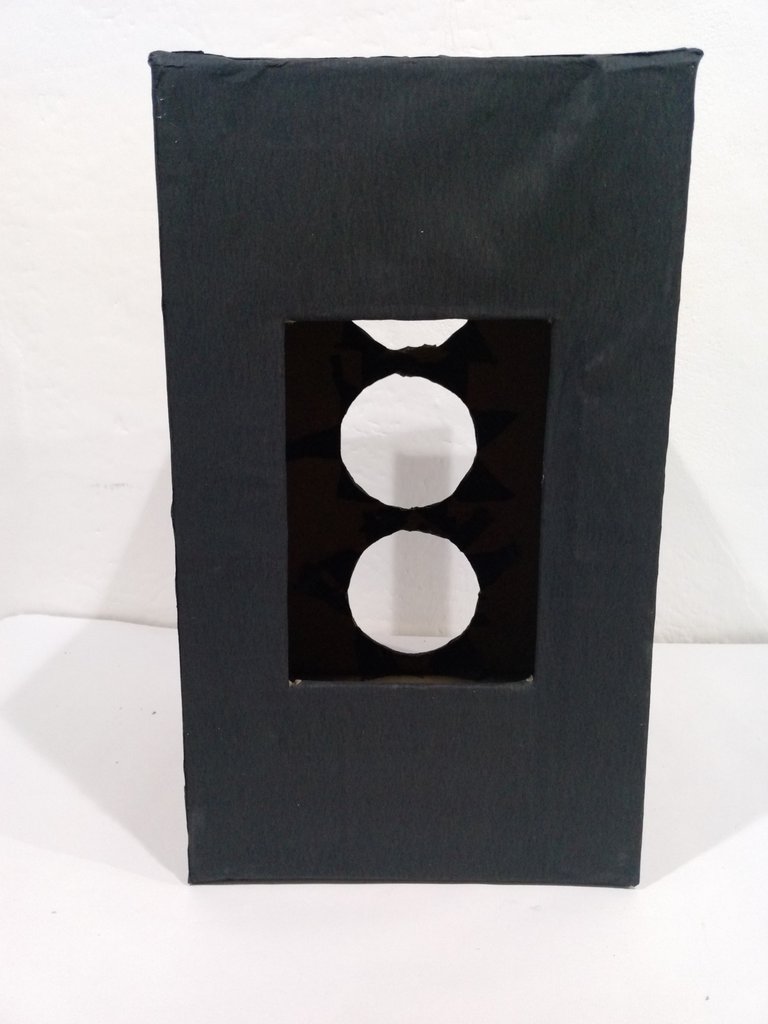 |
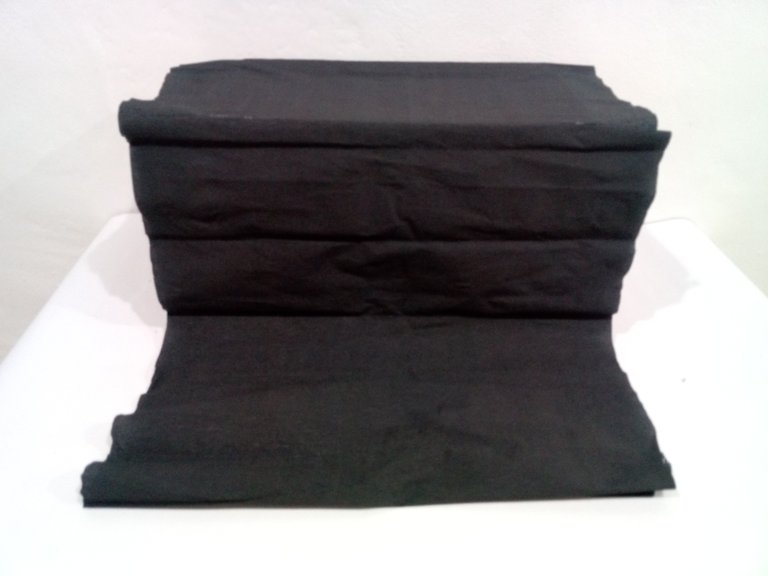
Paso 3: Una vez que recorté todos los orificios que necesitaba procedí a forrar como hice con el tubo de cartón y para un mejor acabado en la parte donde hice los orificios recorte con mucho cuidado haciendo especie de unas pestañas que con ayuda de la pega en barra las pegue hacia dentro.
Step 3: Once I had cut out all the holes I needed, I proceeded to line them as I did with the cardboard tube and for a better finish in the part where I made the holes, cut out very carefully making some sort of tabs that with the help of the glue on bar stick them inwards.
| Paso 4 | Step 4 |
|---|---|
 |  |
 |
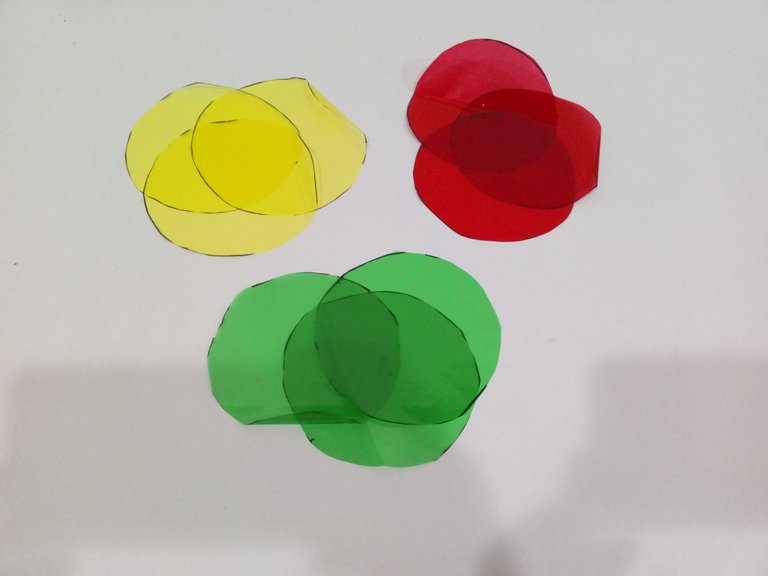
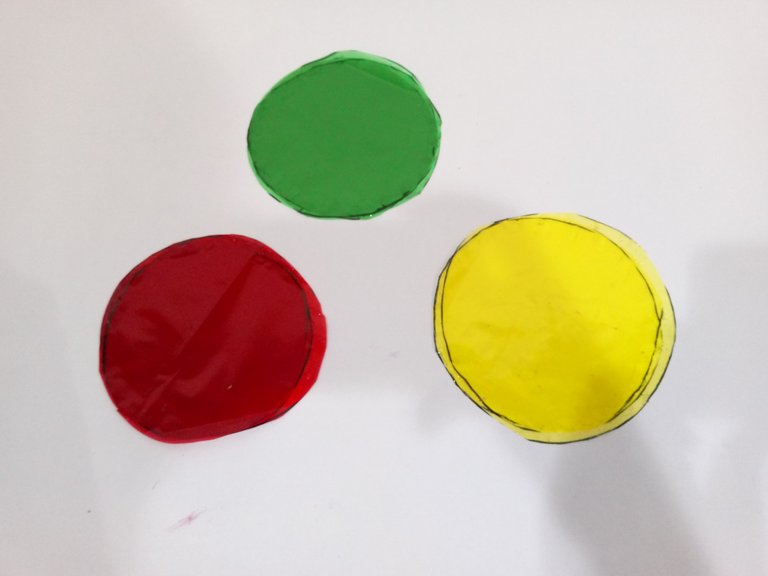
Paso 4: Recorte 3 círculos en el papel celofán de cada color rojo, amarillo y verde y los pegue entre sí, para formar un círculo de cada color mas oscuro y los pegué por la parte de adentro de la caja que forre anteriormente para formar el semáforo.
Step 4: Cut out 3 circles in the cellophane paper of each red, yellow and green color and glue them together, to form a circle of each darker color and glue them on the inside of the box that I lined previously to form the traffic light.
| Paso 5 | Step 5 |
|---|---|
 |  |
Paso 5: Con la otra caja, hice una caja mas pequeña para que me quedara cuadrada y le puse cinta de embalar para reforzarla y la forre con el papel crepe de igual manera que hice con la otra.
Step 5: With the other box, I made a smaller box so that it would be square and I put packing tape to reinforce it and lined it with crepe paper in the same way as I did with the other one.
| Paso 6 | Step 6 |
|---|---|
 |
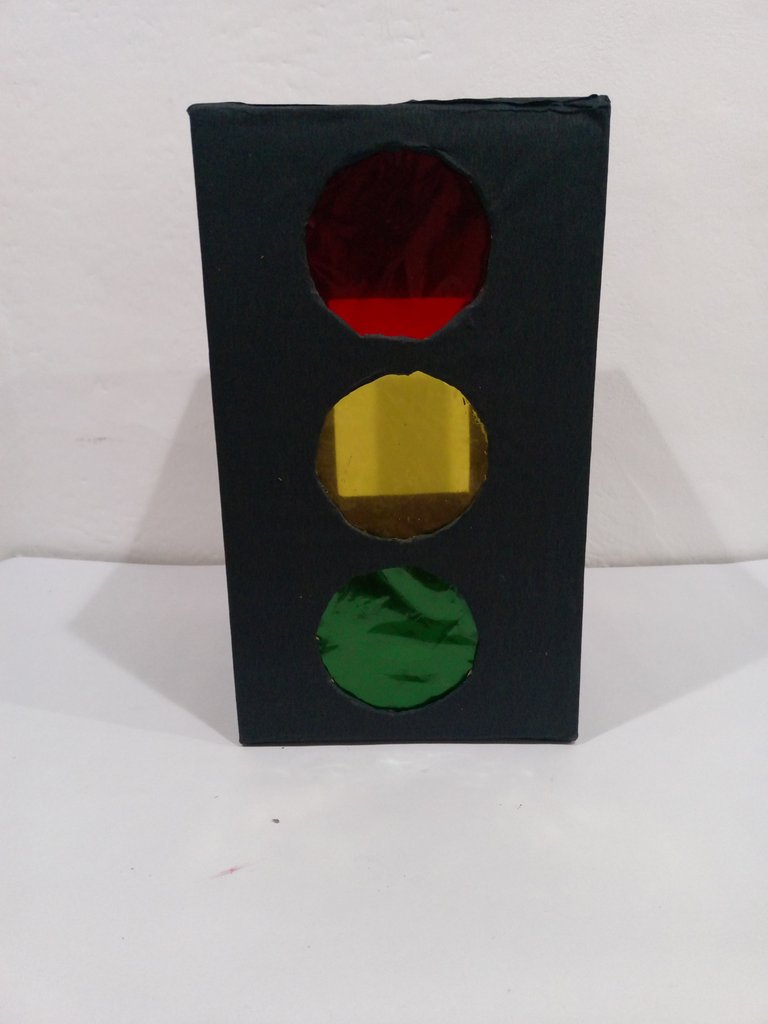
Paso 6: Ya con todas las piezas listas, introduje el tubo de cartón ya forrado por el orificio de la parte de abajo del semáforo y en el orificio de la caja mas pequeña.
Step 6: With all the pieces ready, I inserted the already lined cardboard tube through the hole at the bottom of the traffic light and into the hole of the smallest box.

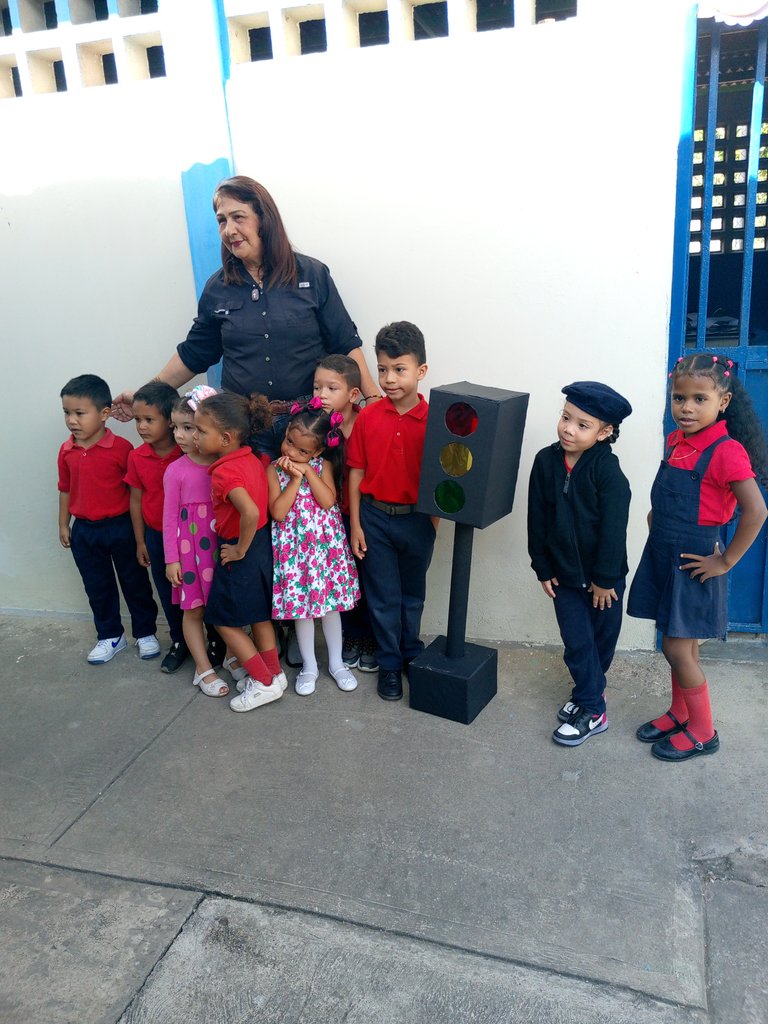
Y asi se ve el semáforo al lado de mi hija, su maestra y sus compañeros de clases.
Espero que les haya gustado y les sirva de algo 😉. Muchas gracias por leer, nos vemos en mi siguiente post ❤️.
And this is what the traffic light looks like next to my daughter, her teacher and her classmates.
I hope you liked it and it's useful to you 😉. Thank you very much for reading, see you in my next post ❤️.