Hello to everyone in the #hivediy community! Today I want to share with you an idea to create a homemade waterproofing using gasoline and styrofoam. But before I begin, I would like to emphasize the importance of taking precautions when handling these materials and remind you that the use of gasoline can be dangerous if not handled with care. It is always essential to work in a well-ventilated area and to use proper protective equipment such as gloves and safety glasses.
¡Hola a todos en la comunidad de #hivediy! Hoy quiero compartir con ustedes una idea para crear un impermeabilizante casero utilizando gasolina y anime. Pero antes de comenzar, me gustaría enfatizar la importancia de tomar precauciones al manipular estos materiales y recordarles que el uso de gasolina puede ser peligroso si no se maneja con cuidado. Siempre es esencial trabajar en un área bien ventilada y utilizar equipo de protección adecuado, como guantes y gafas de seguridad.
Now, let's dive into the process of creating this homemade waterproofing. Here are the steps you need to follow:
Ahora, vamos a sumergirnos en el proceso de creación de este impermeabilizante casero. Aquí están los pasos que debes seguir:
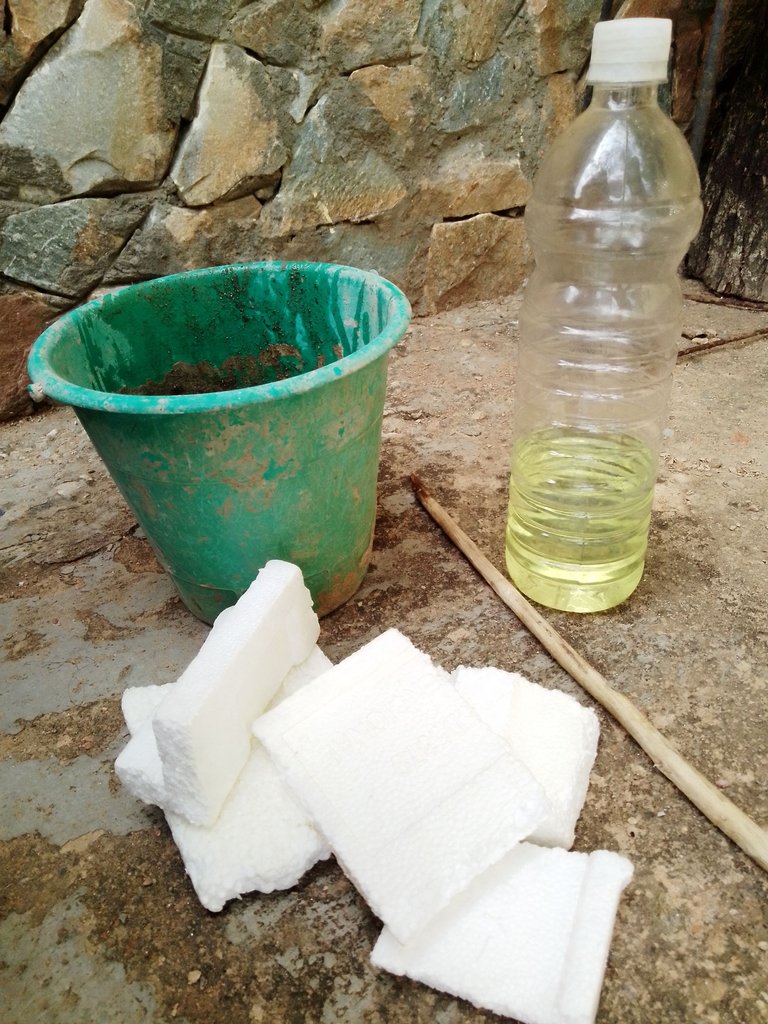
Step 1: Gather the materials
- Gasoline: make sure you have enough to cover the area you want to waterproof.
- Styrofoam: (EPS or Expanded Polystyrene) this material is used to give body and consistency to the mixture. It is also known as Telgopor, Anime, Tecnopor, Unicel, Espuma-flex, among other names.
- Sturdy container: you will need a suitable container to mix the materials.
- Mixer: you can use a spatula or a stick to mix the ingredients.
- Brush or roller: you will need a tool to apply the mixture on the surface (I used a brush).
Paso 1: Reúne los materiales
- Gasolina: asegúrate de tener suficiente para cubrir el área que deseas impermeabilizar.
- Anime: (EPS o Poliestireno expandido) este material se utiliza para darle cuerpo y consistencia a la mezcla. También es conocido como Telgopor, Estereofón (Styrofoam), Tecnopor, Unicel, Espuma-flex, entre otros nombres.
- Recipiente resistente: necesitarás un recipiente adecuado para mezclar los materiales.
- Mezclador: puedes usar una espátula o una varilla para mezclar los ingredientes.
- Brocha o rodillo: necesitarás una herramienta para aplicar la mezcla en la superficie (yo utilice un cepillo).
 |  |
|---|
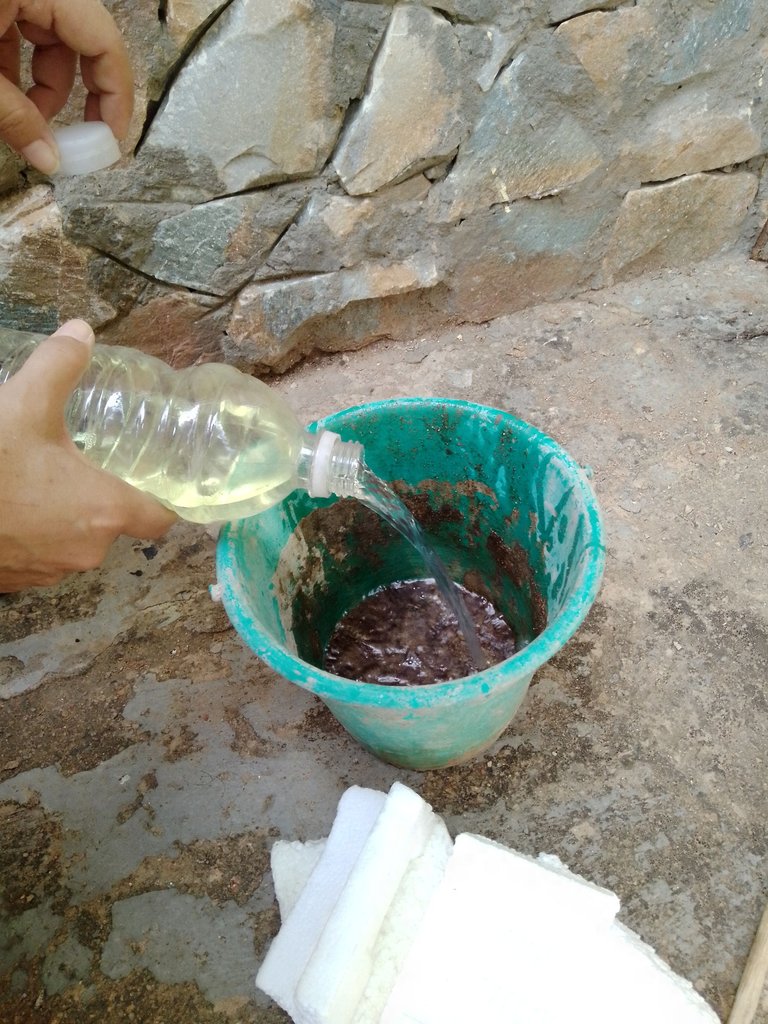
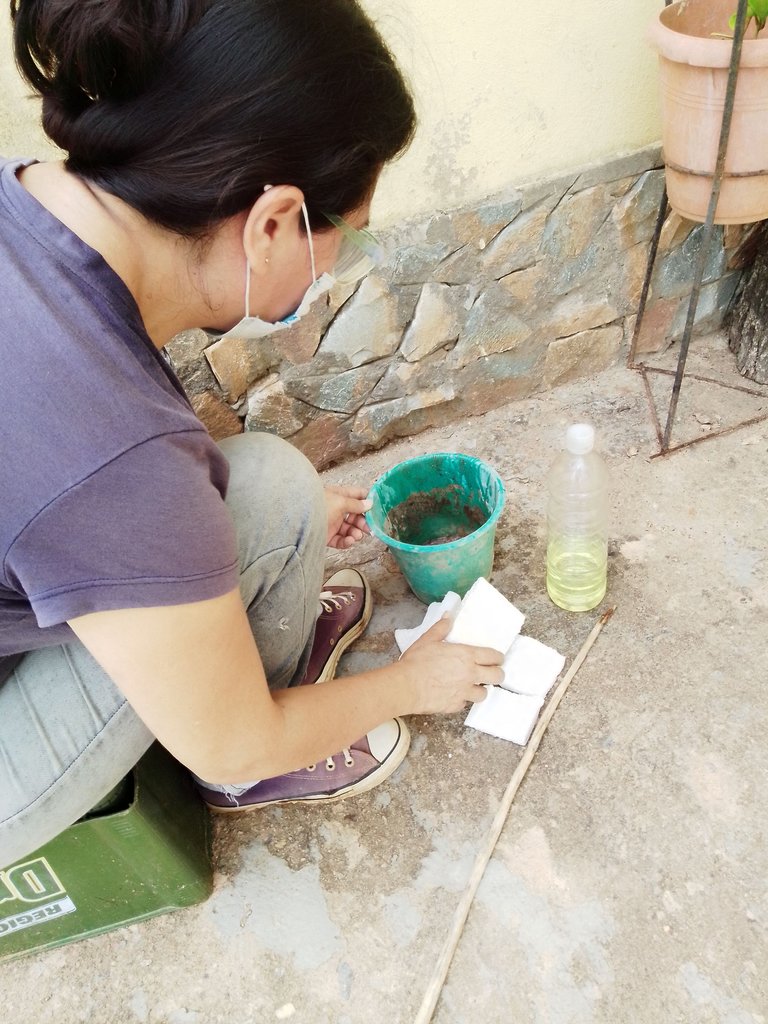
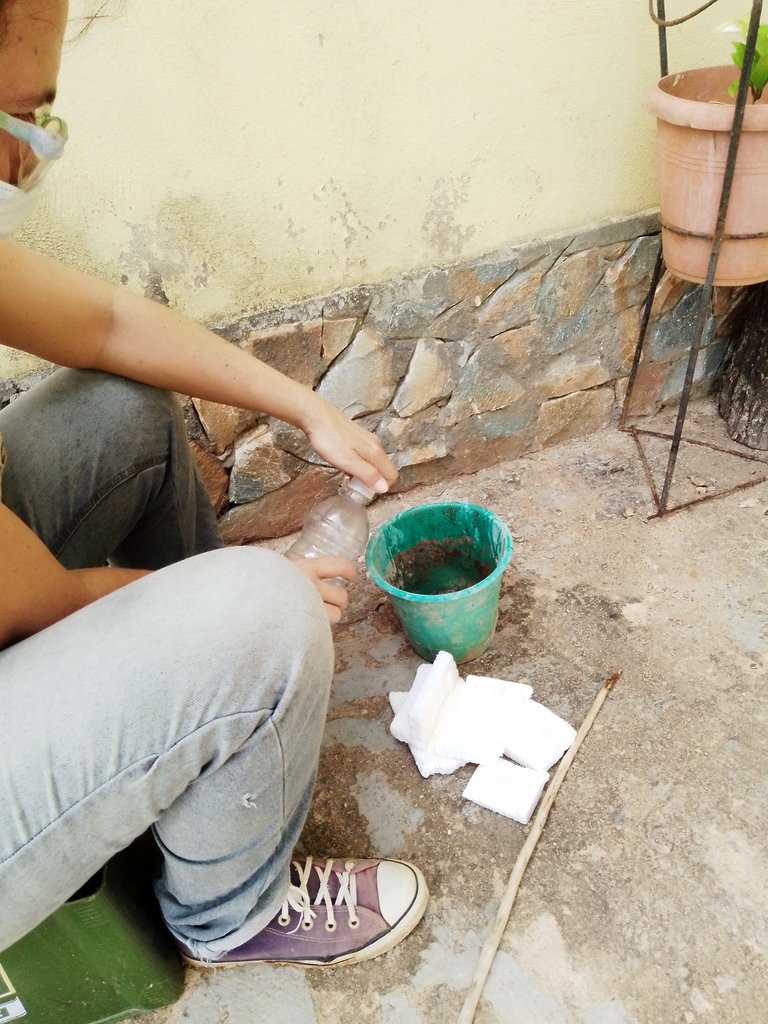
Step 2: Preparation of the mixture
- Pour the gasoline into the resistant container.
Paso 2: Preparación de la mezcla
- Vierte la gasolina en el recipiente resistente.
 |  |  |
|---|

 |  |
|---|
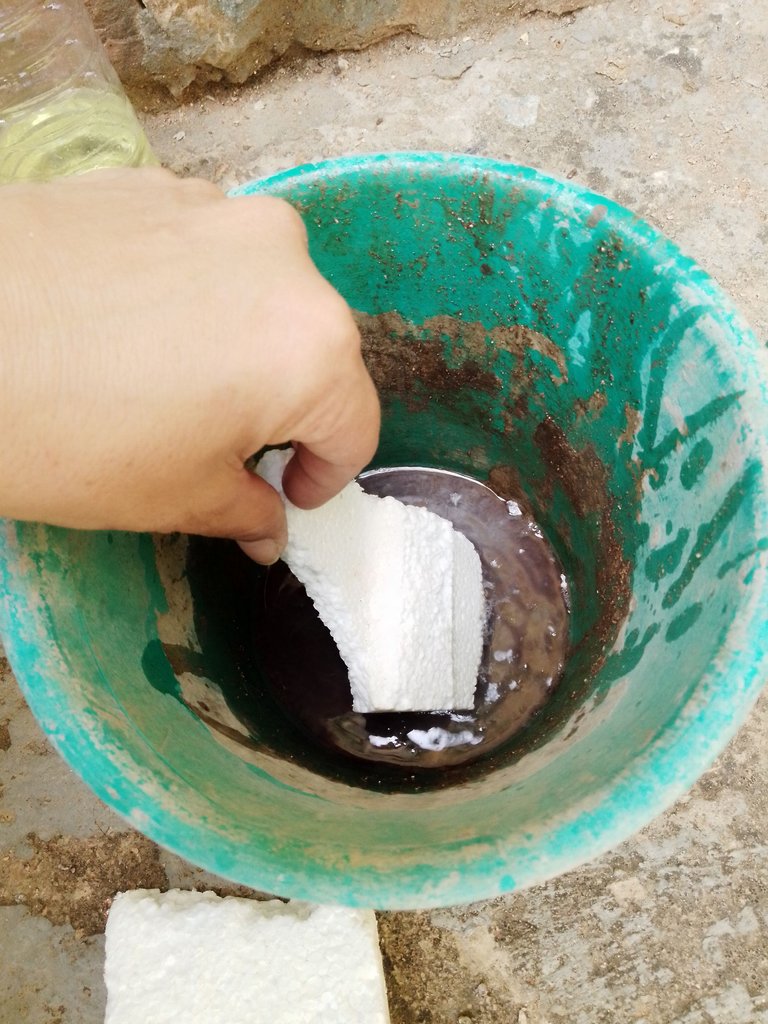
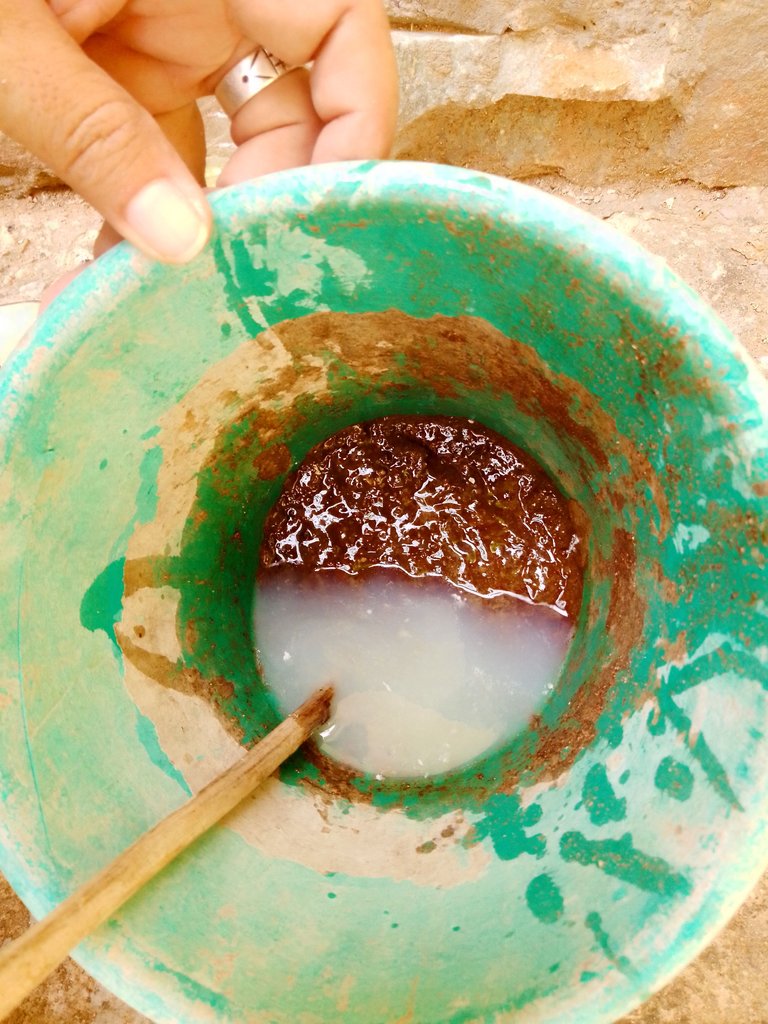
- Add the styrofoam gradually while stirring with the mixer. Make sure to obtain a homogeneous consistency without lumps. The amount of styrofoam will depend on the amount of gasoline you use, so keep adding until you obtain the desired consistency.
- Agrega el anime gradualmente mientras revuelves con el mezclador. Asegúrate de obtener una consistencia homogénea y sin grumos. La cantidad de anime dependerá de la cantidad de gasolina que utilices, así que ve añadiendo hasta obtener la consistencia deseada.

Step 3: Caution when mixing
It is important to note that gasoline is highly flammable and should be handled with care. Avoid any sparks or nearby heat sources during the entire process. Keep materials away from open flames and be sure to work in a well-ventilated area to avoid the accumulation of fumes.
Paso 3: Precaución al mezclar
Es importante tener en cuenta que la gasolina es altamente inflamable y debe ser manipulada con cuidado. Evita cualquier chispa o fuente de calor cercana durante todo el proceso. Mantén los materiales alejados de llamas abiertas y asegúrate de trabajar en un área bien ventilada para evitar la acumulación de gases.
 |  |
|---|
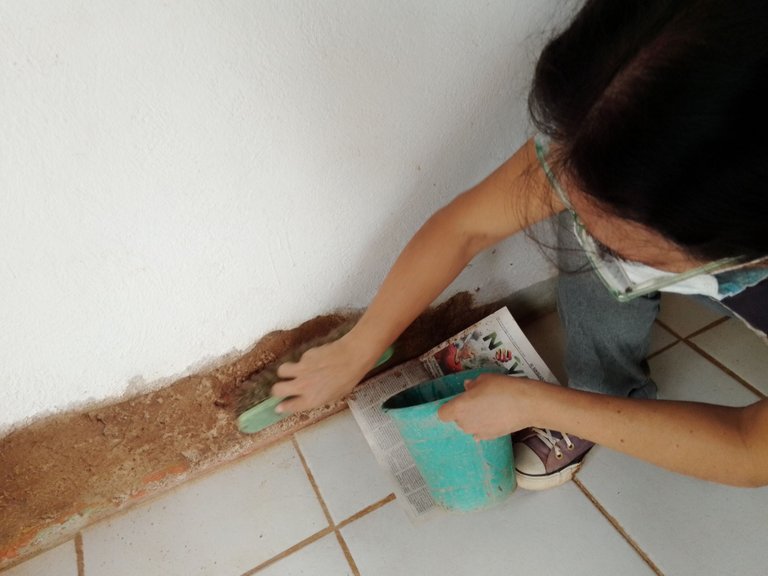
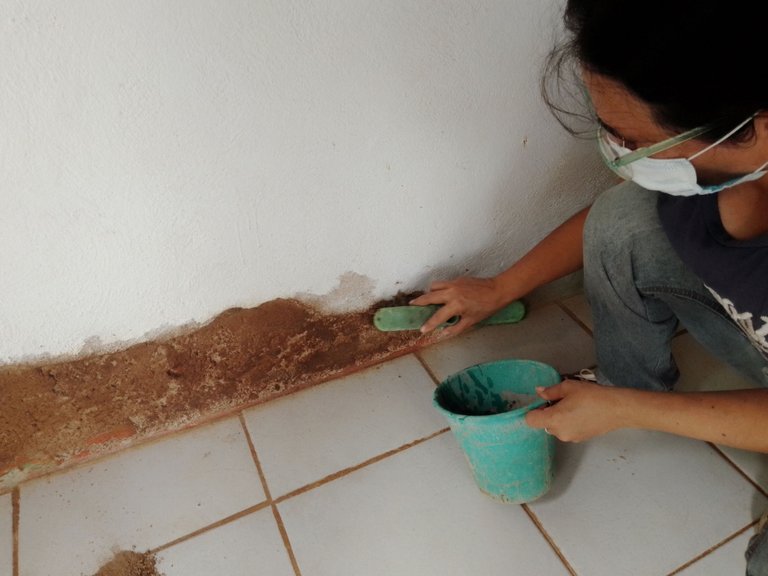
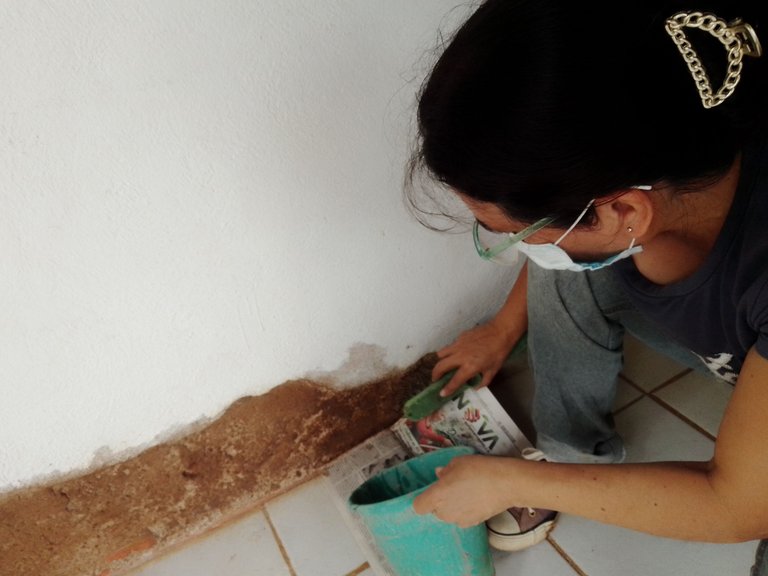
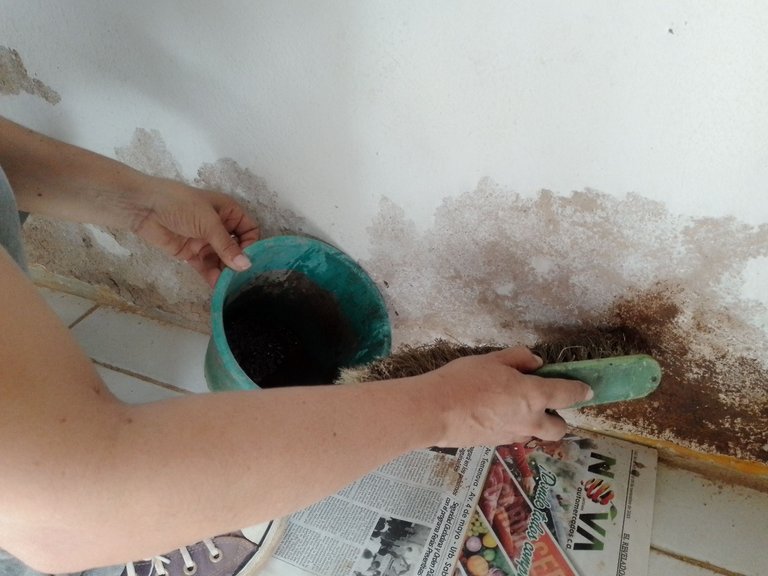
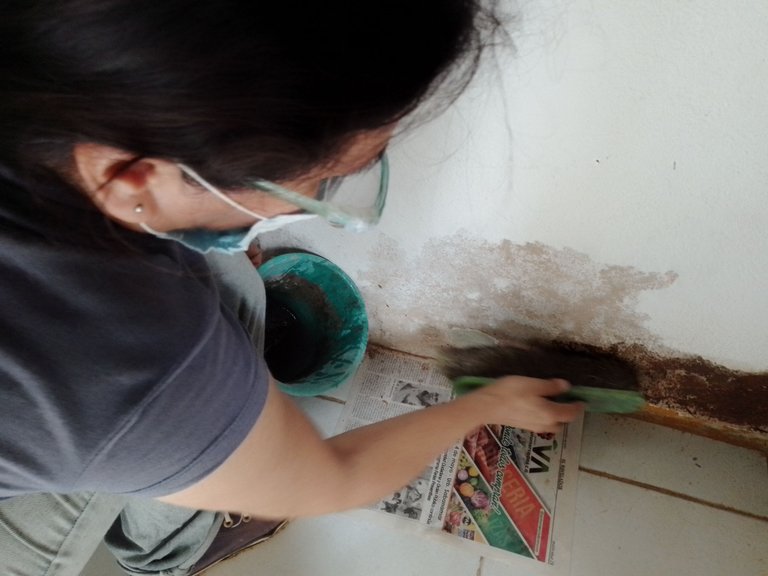
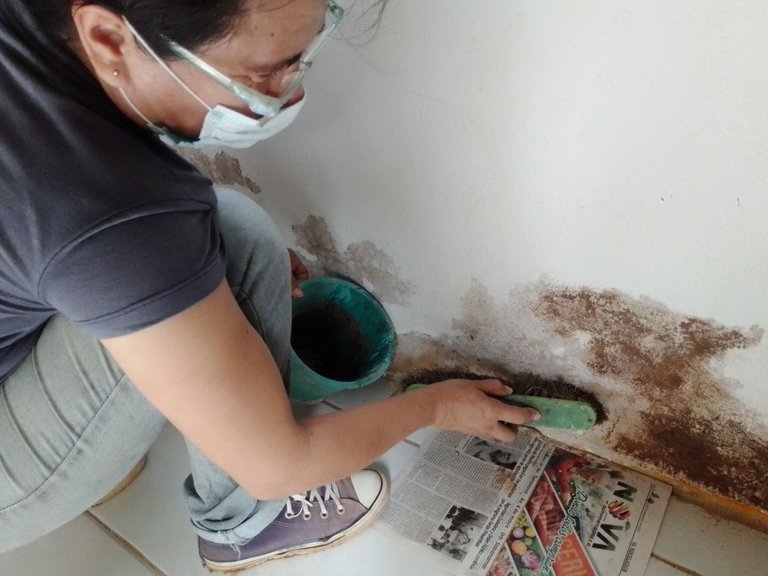
Step 4: Applying the mixture
- Before applying the mixture, make sure the surface is clean and free of any dirt or moisture.
- Use a brush or roller to apply the mixture to the wall. Be sure to cover the entire area you want to waterproof evenly.
Paso 4: Aplicando la mezcla
- Antes de aplicar la mezcla, asegúrate de que la superficie esté limpia y libre de cualquier suciedad o humedad.
- Utiliza una brocha o rodillo para aplicar la mezcla en la pared. Asegúrate de cubrir toda el área que deseas impermeabilizar de manera uniforme.
 |  |
|---|
- Allow the mixture to dry completely before applying a second coat, if necessary. This will help reinforce the waterproofing and ensure a long-lasting result.
- Deja que la mezcla se seque completamente antes de aplicar una segunda capa, si es necesario. Esto ayudará a reforzar la impermeabilización y garantizará un resultado duradero.
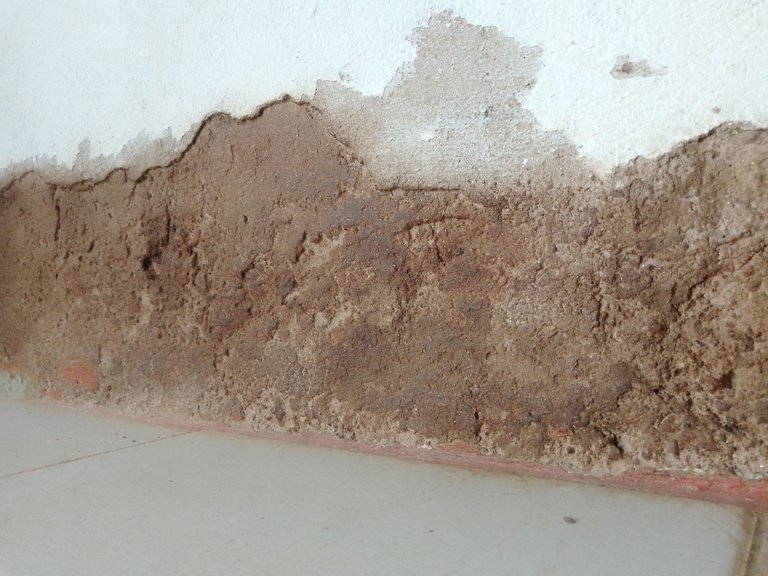
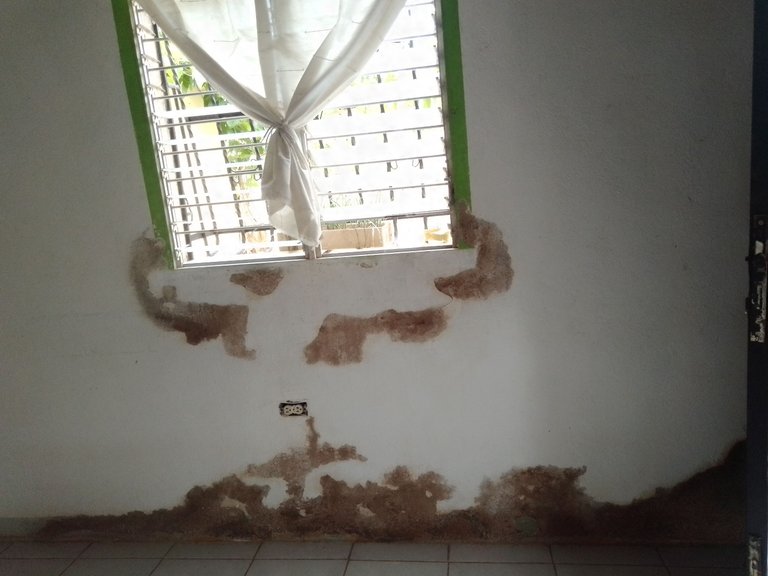
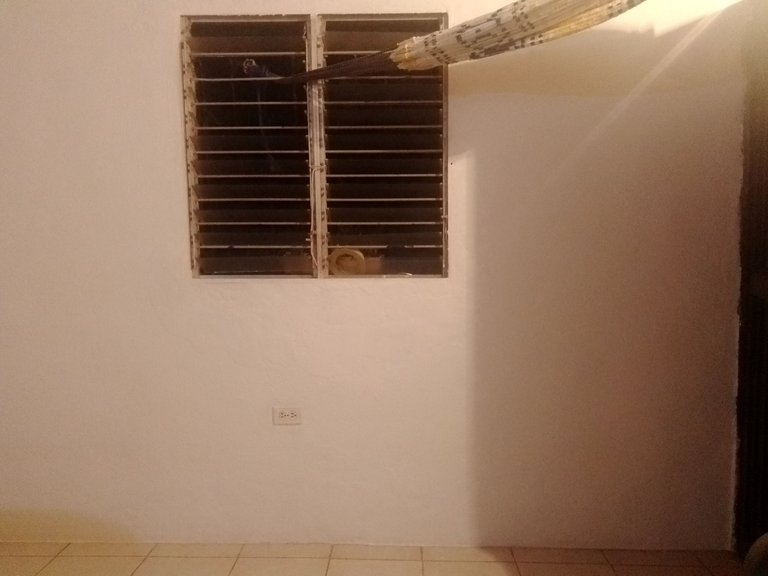
Finally, I want to show you the result of applying this mixture to a wall that had been peeled with a putty knife due to water seepage. Notice how the application of the homemade waterproofing has protected the wall from future leaks and restored its original appearance.
Por último, quiero mostrarles el resultado de aplicar esta mezcla en una pared que había sido pelada con una espátula debido a filtraciones de agua. Observen cómo la aplicación del impermeabilizante casero ha logrado proteger la pared de futuras filtraciones y ha restaurado su apariencia original.
Of course, after applying the mixture, I made a frieze with cement and sand to the wall (which I will show you in a future publication) and then I finished it with paint.
Por supuesto, luego de aplicar la mezcla, a la pared le realicé un friso con cemento y arena (cosa que les mostraré en una futura publicación) para luego finalizar el acabado con pintura.
Remember that recycling is an important practice and, instead of throwing away materials such as gasoline and anime, we can use them in creative and useful ways.
I hope you found this post useful and feel inspired to try this homemade waterproofing method, and don't forget to share your results and experiences with the #Hive community.
Recuerden que el reciclaje es una práctica importante y, en lugar de desechar materiales como la gasolina y el anime, podemos aprovecharlos de manera creativa y útil.
Espero que esta publicación les haya sido útil y que se sientan inspirados para probar este método de impermeabilización casera. ¡No olviden compartir sus resultados y experiencias con la comunidad de #Hive.
Wishing that everything flows in harmony in your life. See you in a future publication.
Namaste! 🙏
Deseando que todo fluya en armonía en tu vida. Nos encontramos en una próxima publicación.
¡Namasté!🙏
📷All photos are my authorship, taken with Alcatel1SE phone. Translated with DEEPL. Graphic compositions made through Canva.
📷Todas las fotos son de mi autoría, tomadas con el teléfono Alcatel1SE. Traducido con DEEPL. Composiciones gráficas realizadas a través de Canva.
Post manually reviewed. 😊
Thank you! 😊
Yay! 🤗
Your content has been boosted with Ecency Points, by @lyamalfonzo23.
Use Ecency daily to boost your growth on platform!
Support Ecency
Vote for new Proposal
Delegate HP and earn more
Thank you! 😊
Congratulations @lyamalfonzo23! You have completed the following achievement on the Hive blockchain And have been rewarded with New badge(s)
Your next target is to reach 10000 upvotes.
You can view your badges on your board and compare yourself to others in the Ranking
If you no longer want to receive notifications, reply to this comment with the word
STOPExcelente!!
👍😁