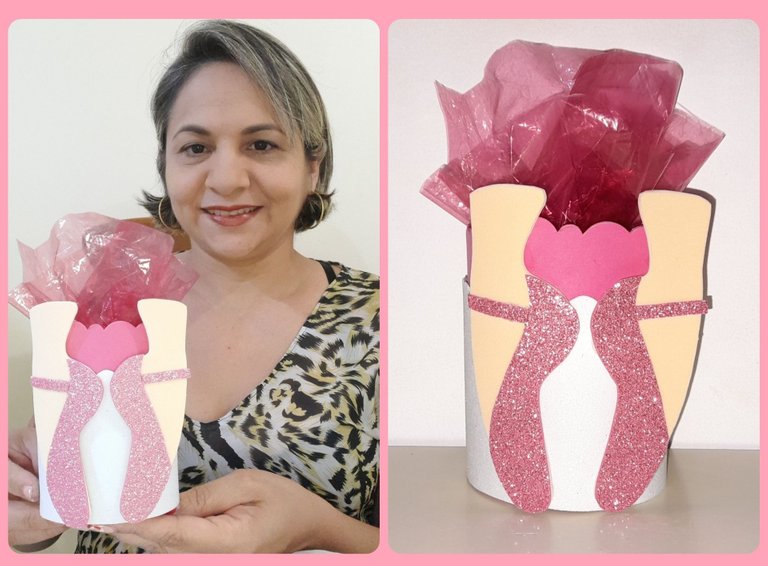
Saludos amigos de #hivediy, empezando la semana con mucho optimismo y fe para lograr todas nuestras metas y objetivos. Hoy les traigo un proyecto que me encanta, pues una pequeña amiguita me pidió el favor de que le hiciera un cotillón para llevárselo a su maestra de ballet como regalo de cumpleaños. Así que pensé en un elemento que la identificara y que fuera acorde con la disciplina, por ello mi proyecto de hoy consiste en Cómo elaborar un cotillón con temática de bailarina. El resultado final es muy bello y delicado, por lo que te invito a seguir leyendo y ver lo fácil, rápido y sencillo que es elaborarlo.
Greetings friends from #hivediy, starting the week with a lot of optimism and faith to achieve all our goals and objectives. Today I bring you a project that I love, because a little friend asked me to make her a party favor to take to her ballet teacher as her birthday present. So I thought of an element that would identify her and be consistent with the discipline, which is why my project today is How to make a ballerina-themed cotillion. The final result is very beautiful and delicate, so I invite you to continue reading and see how easy, fast and simple it is to make it.
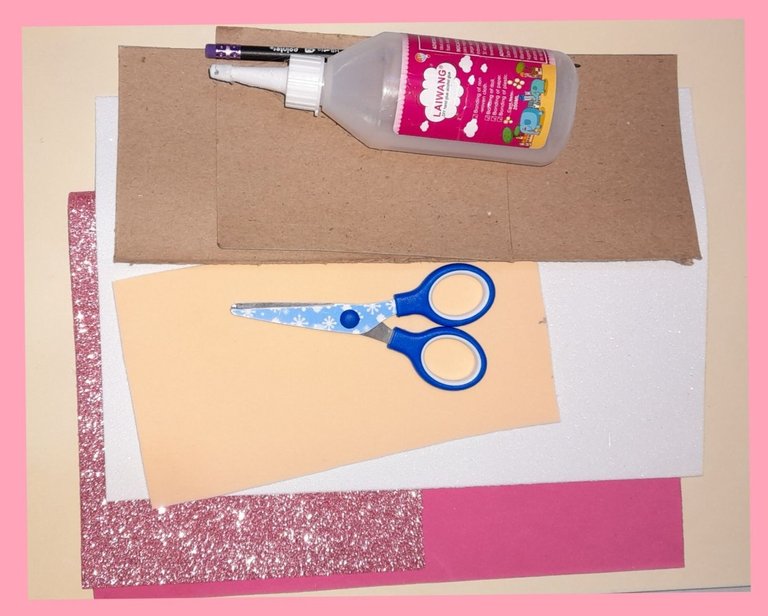
Materiales:
- Foami blanco, rosado, piel.
- Cartón.
- Silicón frío.
- Lápiz.
- Tijeras.
Materials:
- Foami white, pink, skin.
- Paperboard.
- Cold sylicon.
- Pencil.
- Pair of scissors.
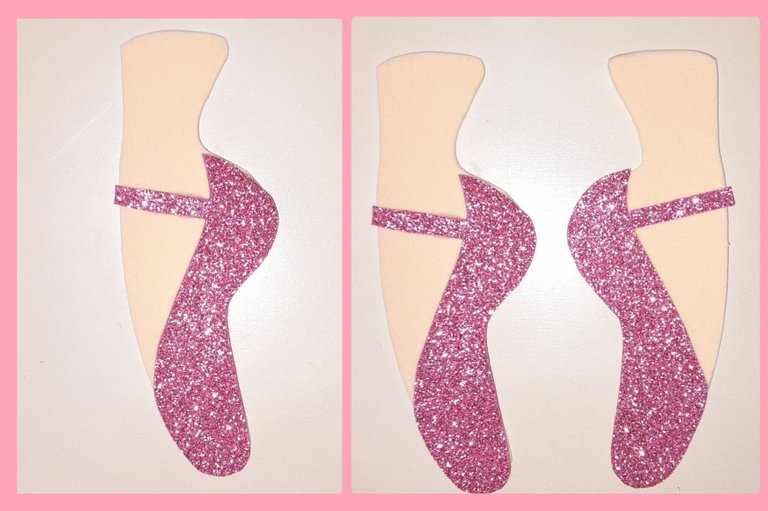
Recortamos y trasladamos al foami la forma de los pies y zapatillas de la bailarina.
We cut out and transferred to the foami the shape of the dancer's feet and slippers.

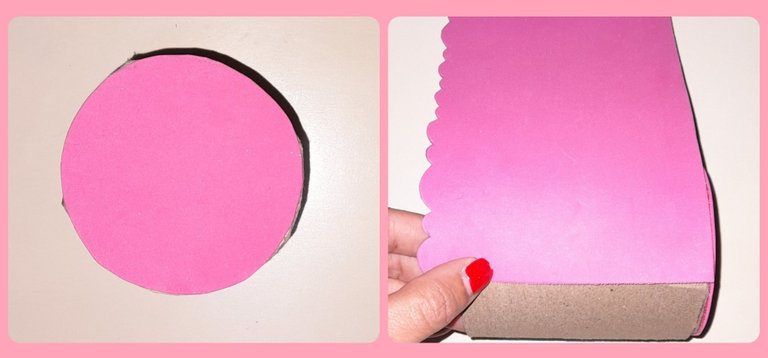
En este paso vamos a elaborar en cartón el envase del cotillón, para esto recortamos un cartón con la medidas 26cm de largo x 11cm de ancho.
In this step we are going to make the cotillion container in cardboard, for this we cut a cardboard with the measures 26cm long x 11cm wide.

En el cartón recortado dejamos de espacio 1cm, hacemos pequeños cortes y luego unimos ambos extremos para formar un cilindro.
In the cut cardboard we leave 1cm space, we make small cuts and then we join both ends to form a cylinder.
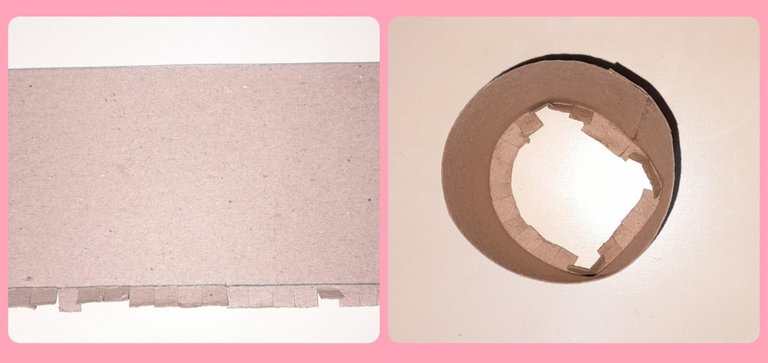
Luego recortamos un círculo y pegamos al cilindro tal como lo indica la figura.
Then we cut out a circle and glued to the cylinder as indicated in the figure.

En este paso recortamos dos tiras de foami, del rosado con medidas 30cm largo x 12cm de alto y del blanco 30cm de largo por 9,5cm de alto. Para decorarlos hacerlos pequeños arabescos por toda la orilla del foami.
In this step we cut two strips of foami, the pink one with measures 30cm long x 12cm high and the white one 30cm long by 9.5cm high. To decorate them, make small arabesques all over the edge of the foami.
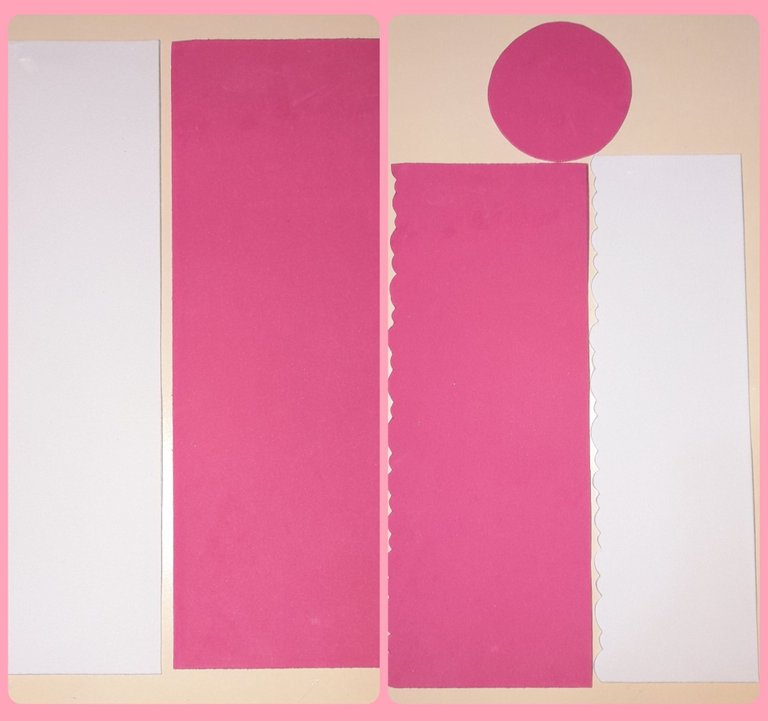
Luego forramos el cilindro con el foami rosado y encima de este pegamos el foami blanco.
Then we line the cylinder with the pink foami and on top of it we glue the white foami.

Luego pegamos la zapatillas y la cinta a los pies de la bailarina.
Then we glue the slippers and the ribbon to the dancer's feet.
Por último pegamos los pies de bailarina al cilindro decorado y para que en el cotillón no se vea ningún detalle pegamos las zapatilla en el lado donde se unen los foami en el cilindro. y de esta manera, fácil, rápida y sencilla tenemos listo un hermoso cotillón de bailarina.
Finally we glue the ballerina's feet to the decorated cylinder and so that no detail can be seen in the cotillion we glue the slippers on the side where the foami are attached to the cylinder. and in this easy, quick and simple way we have a beautiful ballerina party favors ready.
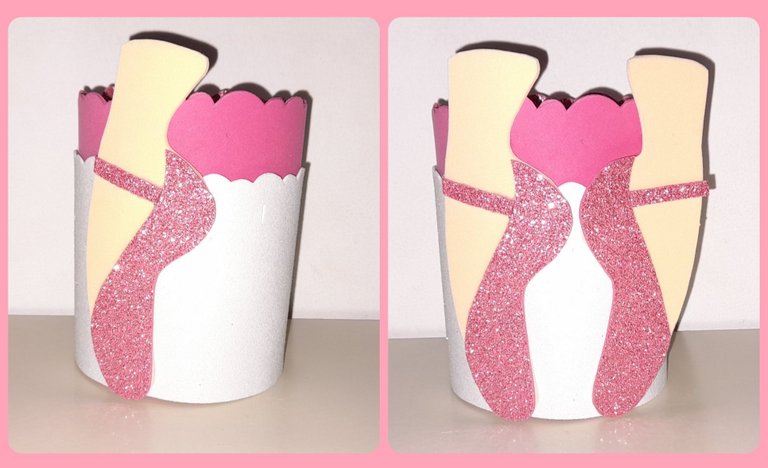
Imagen de referencia:

- Las fotos son de mi propiedad, tomadas con un Samsung A21S,cámara de 48MP.
- Para la traduccion Google Traductor.
- The photos are my property, taken with a Samsung A21S, 48MP camera.
- For the translation Google Translator.
Thank you for sharing this amazing post on HIVE!
Your content got selected by our fellow curator @rezoanulvibes & you just received a little thank you via an upvote from our non-profit curation initiative!
You will be featured in one of our recurring curation compilations and on our pinterest boards! Both are aiming to offer you a stage to widen your audience within and outside of the DIY scene of hive.
Join the official DIYHub community on HIVE and show us more of your amazing work and feel free to connect with us and other DIYers via our discord server: https://discord.gg/mY5uCfQ !
If you want to support our goal to motivate other DIY/art/music/homesteading/... creators just delegate to us and earn 100% of your curation rewards!
Stay creative & hive on!