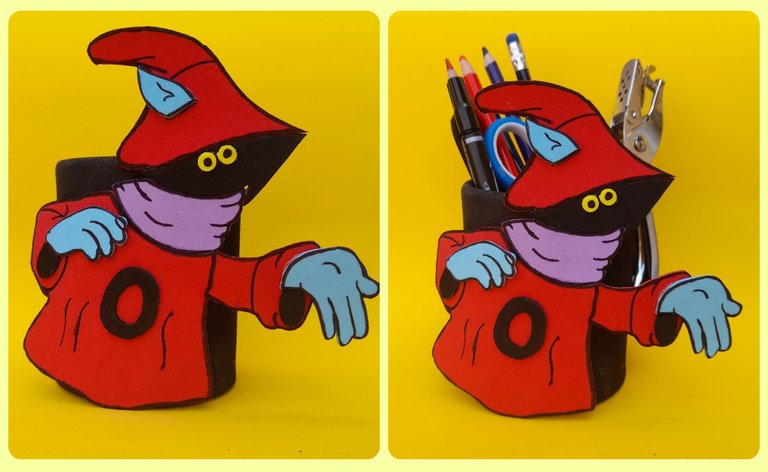
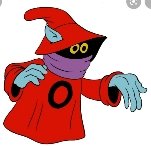
Hola amigos de #hivediy. Feliz jueves, espero que todos se encuentren bien. Mi proyecto de hoy consiste en Cómo elaborar un organizador con la figura de "Orko", muchos se preguntarán quien es Orko, bueno para los que no lo conocen este es una famoso personaje de los años 80 que aparece en la serie de cómic He-Man y los amos del universo, es un hechicero que muy pocas veces acertaba en sus hechizos y de vez en cuando terminaba metido en problemas, amigo personal del príncipe Adam y uno de los pocos que conocían su secreto. En lo particular me encantaba este comic y Orko era uno de mis personaje favorito, por esto quise recrearlo en mi proyecto de hoy. Te invito a seguir este paso a paso para que veas lo fácil, rápido y sencillo que es elaborarlo.
Hello friends of #hivediy. Happy Thursday, I hope everyone is well. My project today consists of How to make an organizer with the figure of "Orko", many will wonder who Orko is, well for those who do not know him, this is a famous character from the 80s that appears in the comic series He-Man and the Masters of the Universe, is a sorcerer who very rarely succeeded in his spells and occasionally ended up in trouble, a personal friend of Prince Adam and one of the few who knew his secret. In particular, I loved this comic and Orko was one of my favorite characters, so I wanted to recreate him in my project today. I invite you to follow this step by step so you can see how easy, fast and simple it is to make it.
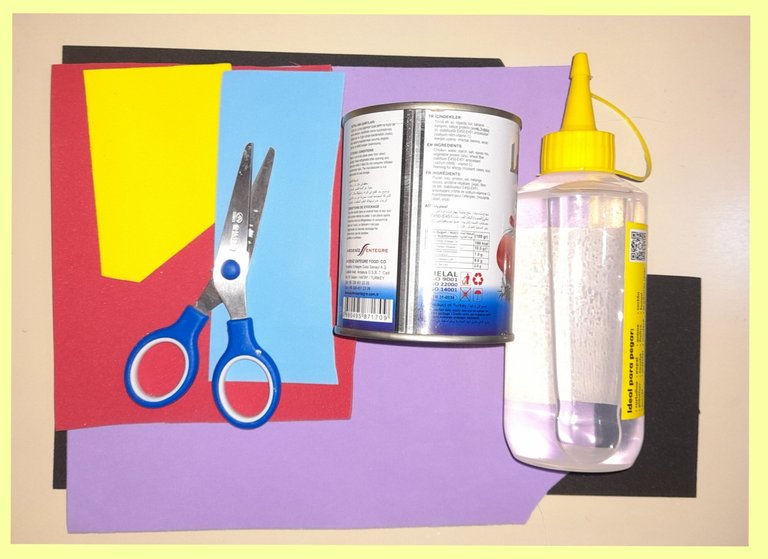
Materiales:
- Foami de los colores: rojo, negro, azul claro, morado, amarillo.
- Envase de aluminio.
- Silicón frío.
- Marcador negro.
- Tijeras.
Materials:
- Foami in the colors: red, black, light blue, purple, yellow.
- Aluminum container.
- Cold sylicon.
- Black marker.
- Pair of scissors.
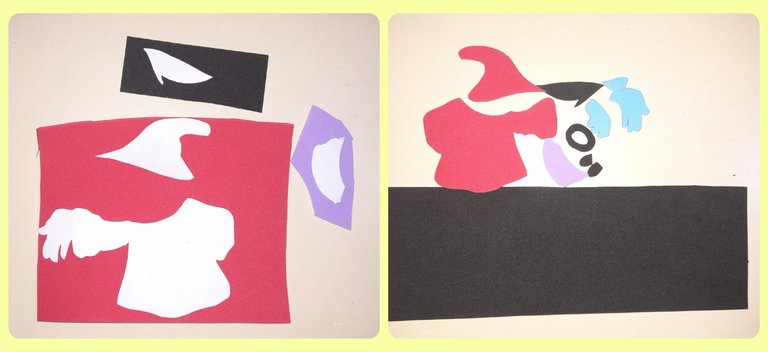
Paso a paso:
Dibujamos y recortanos los patrones de "Orko" y los trasladamos al foami ubicandolo en el color del foami que corresponde.
Step by Step:
We draw and cut out the "Orko" patterns and transfer them to the foami, placing it in the corresponding color of the foami.
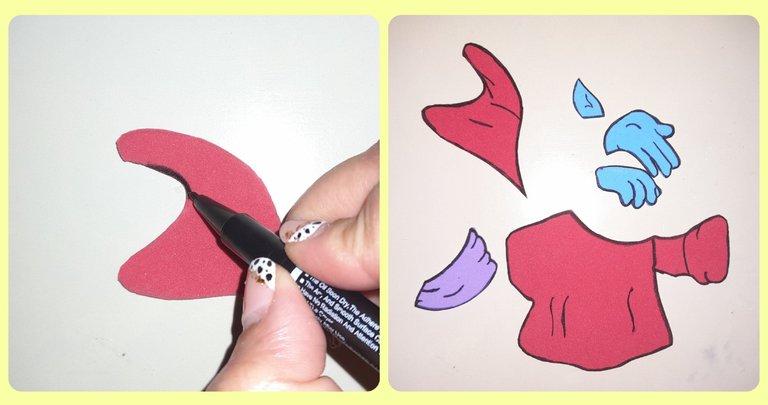
En este paso con el marcador negro sombreamos todas los bordes de las piezas y le damos formas a las manos, orejas, bufanda y movimiento al vestido.
In this step with the black marker we shade all the edges of the pieces and give shapes to the hands, ears, scarf and movement to the dress.
Luego con el silicón vamos uniendo cada una de las piezas que conforman la figura, empezamos pegando la oreja al sombrero, la cara y la bufanda.
Then with the silicone we join each of the pieces that make up the figure, we start by gluing the ear to the hat, the face and the scarf.

Continuamos pegando las piezas en este paso pegamos el vestido, las manos y las sombras negras que van debajo de las manos.
We continue gluing the pieces in this step we glue the dress, the hands and the black shadows that go under the hands.
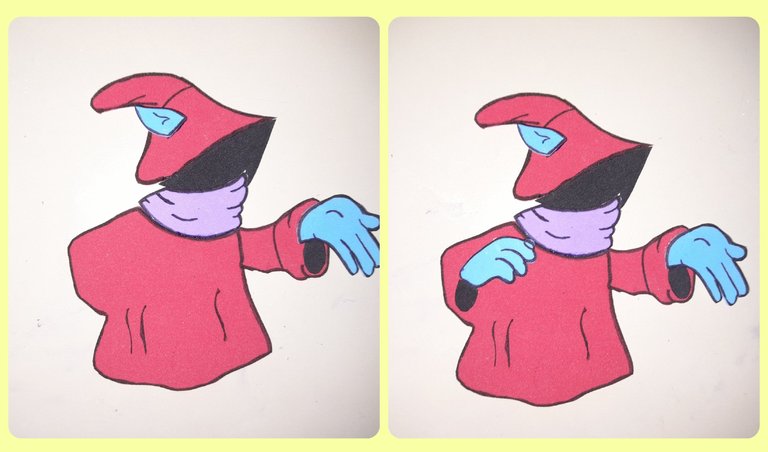
En este paso finalizamos la figura, pegando los ojos que son dos círculos amarillo y en el centro tienen dos puntos negros que pintamos con el marcador negro y por último pegamos la "O" en el centro del vestido.
In this step we finish the figure, gluing the eyes that are two yellow circles and in the center they have two black dots that we paint with the black marker and finally we paste the "O" in the center of the dress.

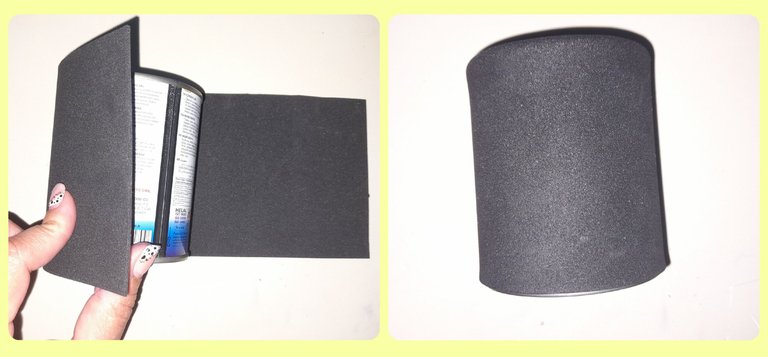
Luego forramos el envase de aluminio con el foami negro y pegamos con el silicón.
Then we line the aluminum container with the black foami and stick with the silicone.
Por último pegamos la figura de "Orko" al envase de aluminio forrado y de esta manera fácil, rápido y sencilla tenemos lista este lindo organizador.
Finally we glue the figure of "Orko" to the lined aluminum container and in this easy, fast and simple way we have this nice organizer ready.

-Las fotos son de mi propiedad, tomadas un Samsung A21S,cámara de 48MP.
-Para la traduccion Google Traductor.
-The photos are my property, taken with a Samsung A21S, 48MP camera.
-For Google Translate translation.
[Imagen de referencial]

Thank you for sharing this amazing post on HIVE!
Your content got selected by our fellow curator @stevenson7 & you just received a little thank you via an upvote from our non-profit curation initiative!
You will be featured in one of our recurring curation compilations and on our pinterest boards! Both are aiming to offer you a stage to widen your audience within and outside of the DIY scene of hive.
Join the official DIYHub community on HIVE and show us more of your amazing work and feel free to connect with us and other DIYers via our discord server: https://discord.gg/mY5uCfQ !
If you want to support our goal to motivate other DIY/art/music/homesteading/... creators just delegate to us and earn 100% of your curation rewards!
Stay creative & hive on!
You have been manually curated by Brotherhood Community for sharing this awesome work.
Brotherhood community will support 5 bloggers on daily basis.
For more information about how to get curated by Brotherhood Community, check this Hive Blog.
Delegate your Hive Power to @brotherhood for supporting more such blogs and also receive curation rewards.