(ESP-ENG)TUTORIAL: Tapa para olla reutilizada para hacer un rayador de cocina /Reused pot lid to make a kitchen grater
Hola querida comunidad de HIVE espero que tengan una linda noche en esta oportunidad les estaré comentando en este sencillo tutorial como hacer un rayador fino para cebollas u otro vegetales y también sirve para rayar verduras y lo hice solo con una tapa de olla que ya no utilizaba espero que les guste y que ponga en practica esta técnica porque todo en la cocina es posible.
Hello dear community of HIVE I hope you have a nice night this time I will be telling you in this simple tutorial how to make a fine grater for onions or other vegetables and it also serves to scratch vegetables and I did it only with a pot lid that I no longer used I hope you like it and that you put this technique into practice because everything in the kitchen is possible.
para realizar este rayador necesite los siguientes materiales:
To make this scratcher you will need the following materials:
MATERIALES:
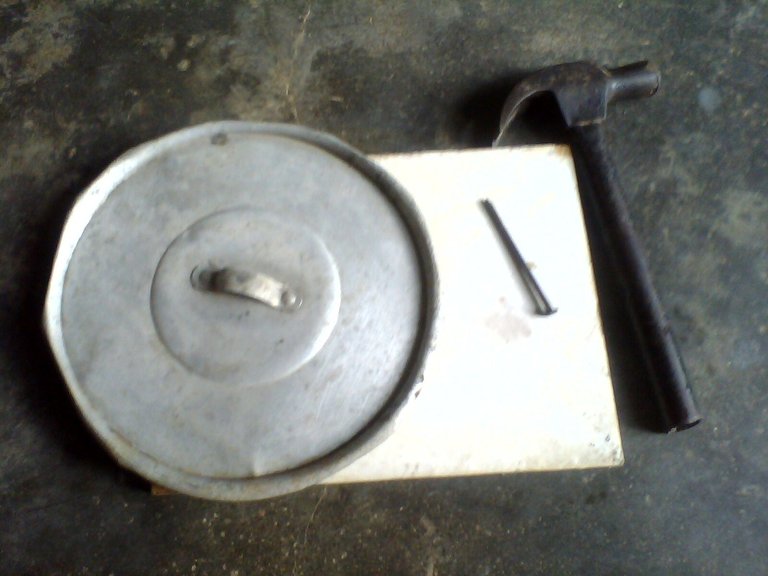
🍆tapa para olla
🍆martillo
🍆clavo de acero grande
🍆cuadro de madera como soporte.
MATERIALS:
Pot lid
Hammer
🍆large steel nail
🍆 wooden frame as a support.
PASO 1
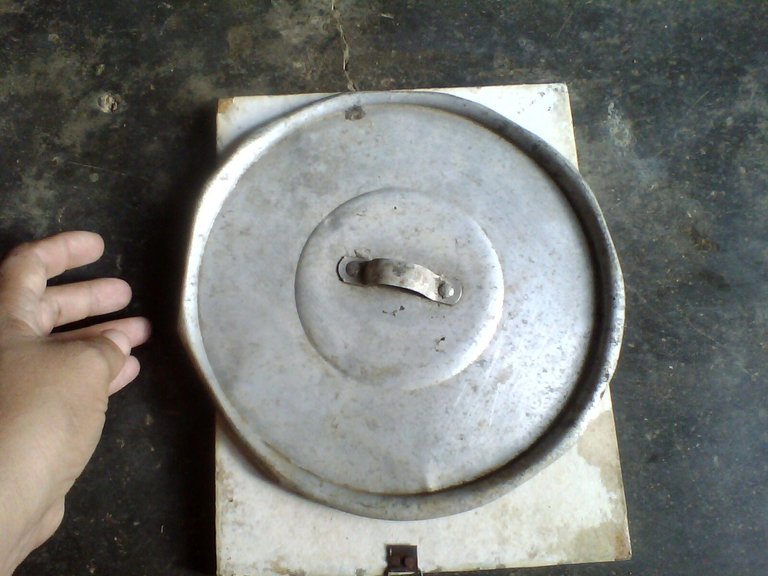
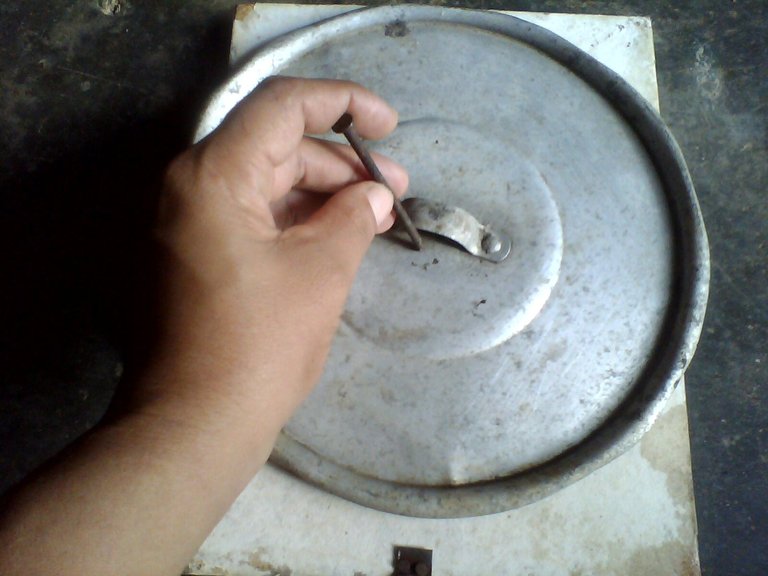
Para comenzar a realizar este practico y necesario rayador debemos comenzar por colocar la tapa en el cuadro de madera para asi comenzar a realizarles los hueco con el clavo y el martillo
STEP 1
To begin to carry out this practical and necessary scratcher we must begin by placing the lid on the wooden box in order to begin to make the holes with the nail and the hammer.
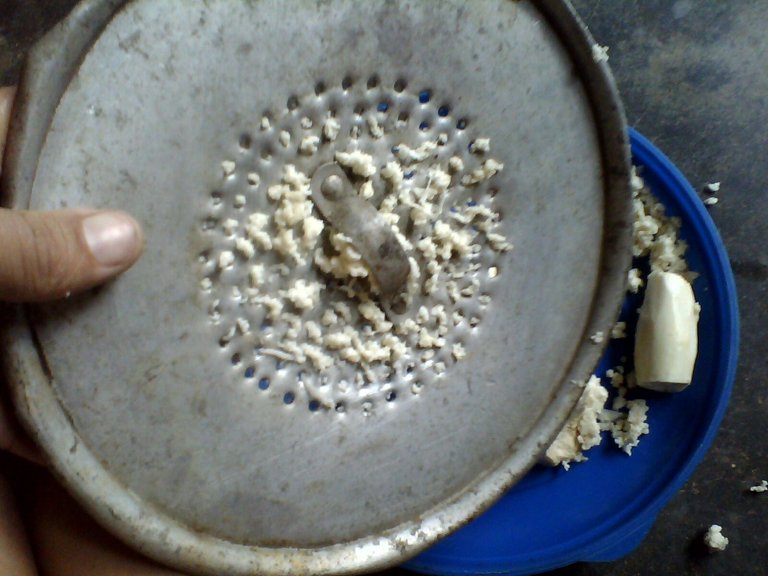
PASO 2
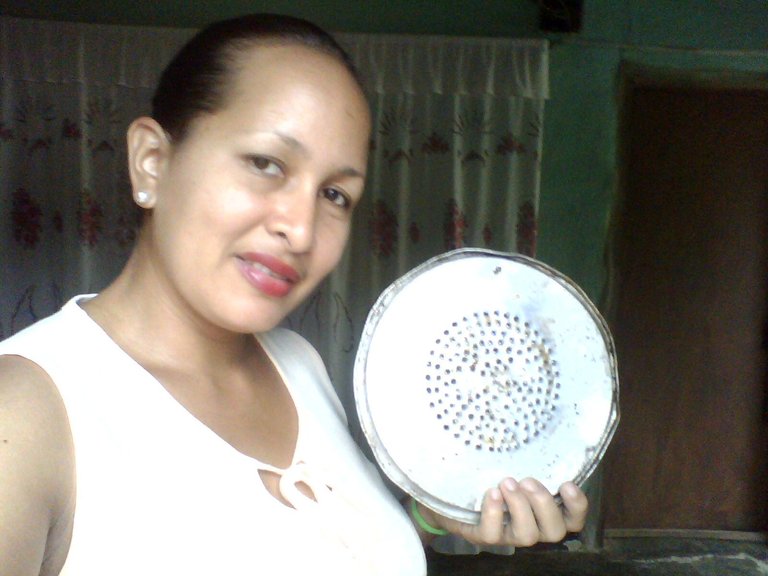
y asi se pueden ir viendo como va quedando los agujeros que estamos haciendo con el clavo y si el tamaño esta bien, luego terminamos de hacer todos los agujeros y así quedo
STEP 2
And so you can see how the holes that we are making with the nail are left and if the size is right, then we finish making all the holes and so it is
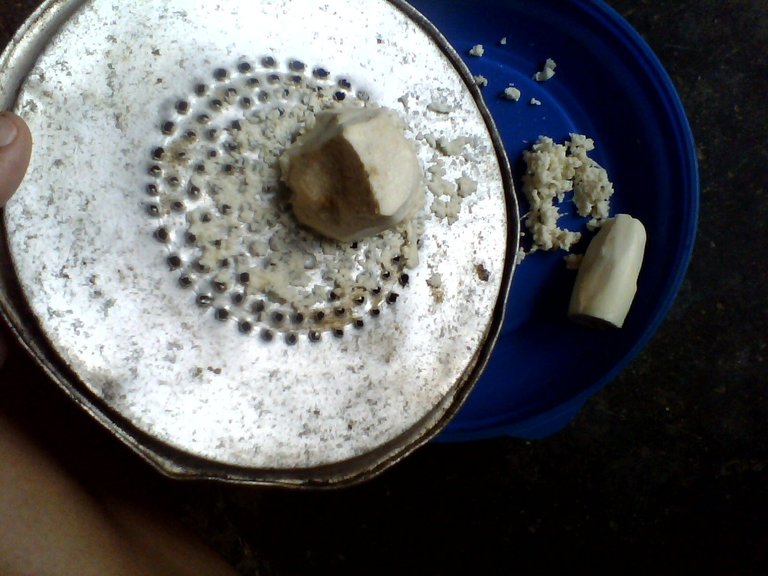
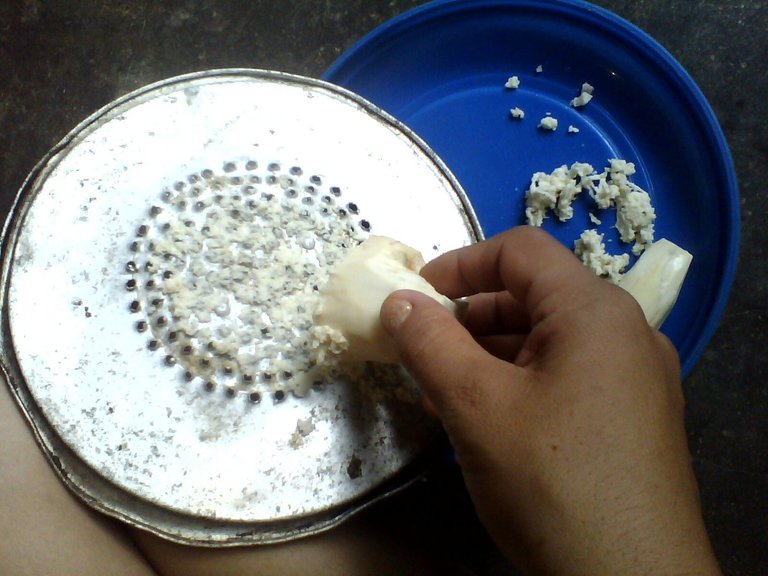
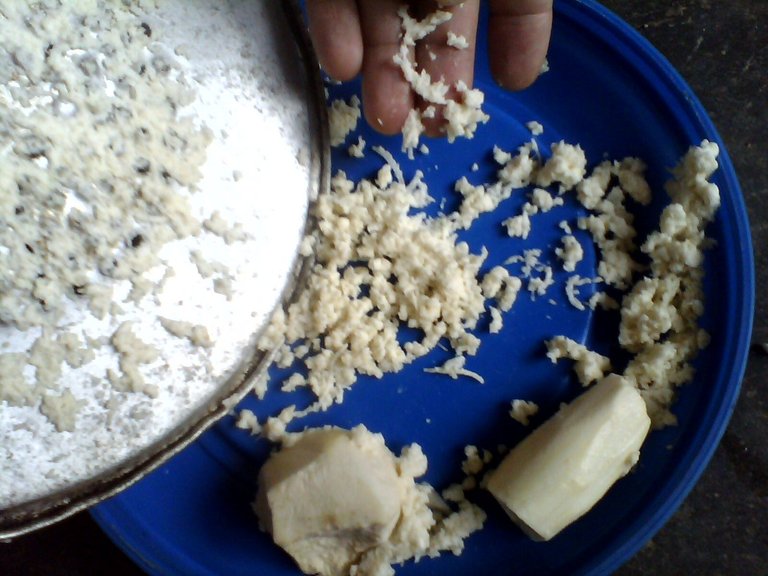
PASO 3
Ya por ultimo quise hacerle una demostración para que vean que si funciona esta técnica y para ello utilice un pedazo de yuca pelada y comencé a rayar y miren como quedo
STEP 3
Finally, I wanted to give you a demonstration so that you can see that if this technique works and for this I use a piece of peeled yucca and I began to scratch and see how it looks.
Espero que les haya gustado esta forma de hacer utensilios para la cocina con nuestras propias manos y con materiales que ya no utilices hasta la próxima. feliz noche
I hope you liked this way of making kitchen utensils with our own hands and with materials that you no longer use until next time. good night
***@mariaj131505 **