¡Saludos Comunidad Creativa! | ¡Greetings Creative Community!
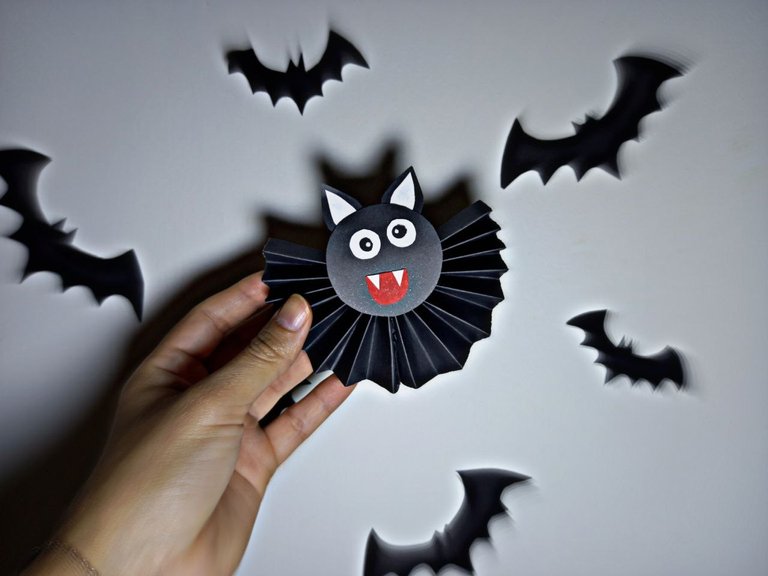
¡Feliz domingo! Por acá seguimos con las manualidades para Halloween y el día de hoy les traigo una muy linda y creativa, se trata de un lindo murciélago elaborado a partir de un rosetón de cartulina, admito que no da miedo pero si es muy tierno, espero que les guste y lo puedan elaborar en casa, sin más, ¡manos a la obra!
¡Happy Sunday! Here we continue with the crafts for Halloween and today I bring you a very nice and creative one, it is a cute bat made from a cardboard rosette, I admit that it is not scary but it is very cute , I hope you like it and can make it at home, without further ado, ¡let's get to work!

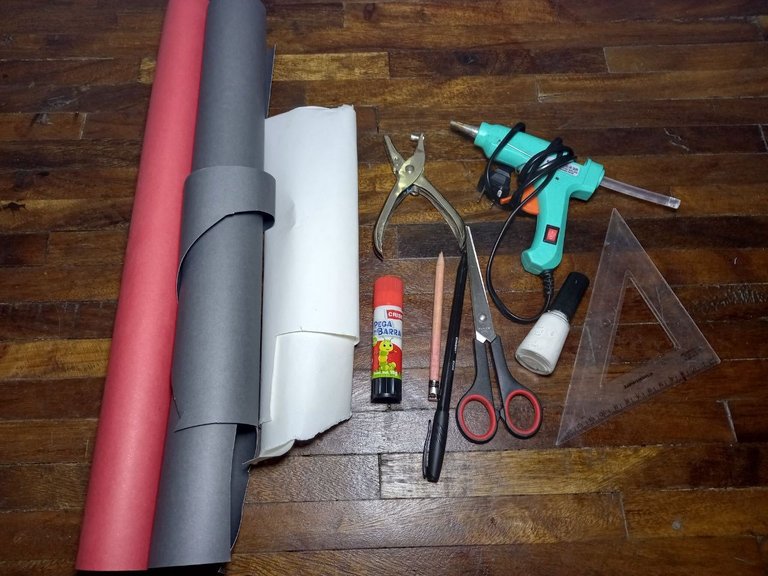
🦇 Cartulina escolar negra, blanca y roja.
🦇 Silicón caliente.
🦇 Regla.
🦇 Lápiz.
🦇 Tijeras.
🦇 Pega en barra.
🦇 Pintura blanca.
🦇 Abre huecos.
🦇 Objeto circular.
🦇 Black, white and red school cardboard.
🦇 Hot silicone.
🦇 Rule.
🦇 Pencil.
🦇 Scissors.
🦇 Paste in bar.
🦇 White paint.
🦇 Open gaps.
🦇 Circular object.

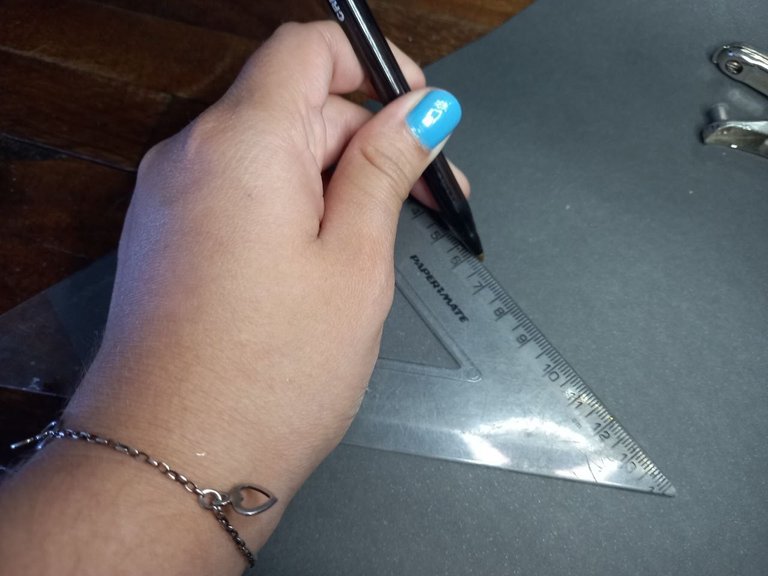
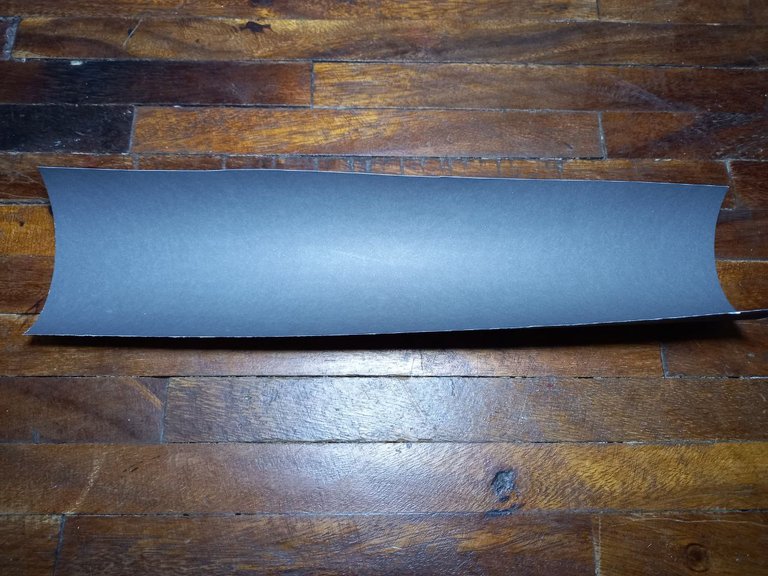
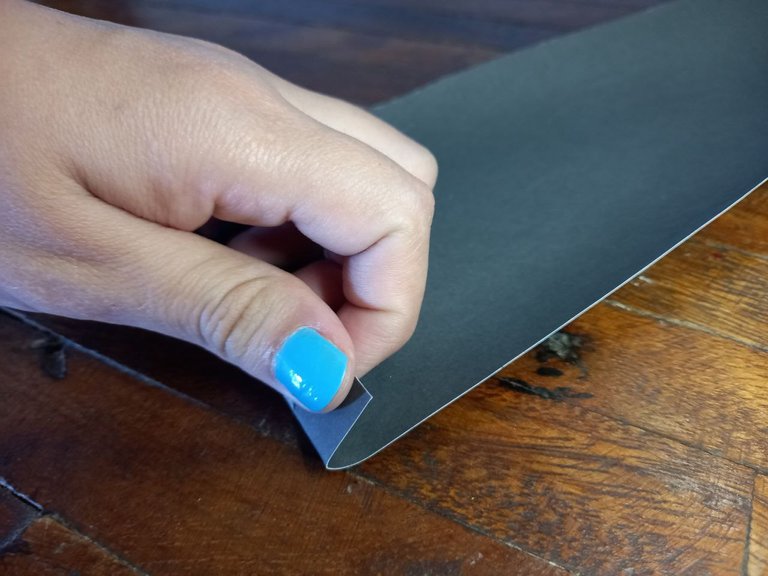
🦇 PASO 1. Primero procedemos a elaborar el rosetón, para ello con ayuda de la regla mediremos una pieza de cartulina escolar negra de unos 12 cm de ancho y unos 25 cm de largo, luego recortamos la pieza.
🦇 STEP 1. First we proceed to make the rose window, to do this with the help of the ruler we will measure a piece of black school cardboard about 12 cm wide and about 25 cm long, then we cut the piece.

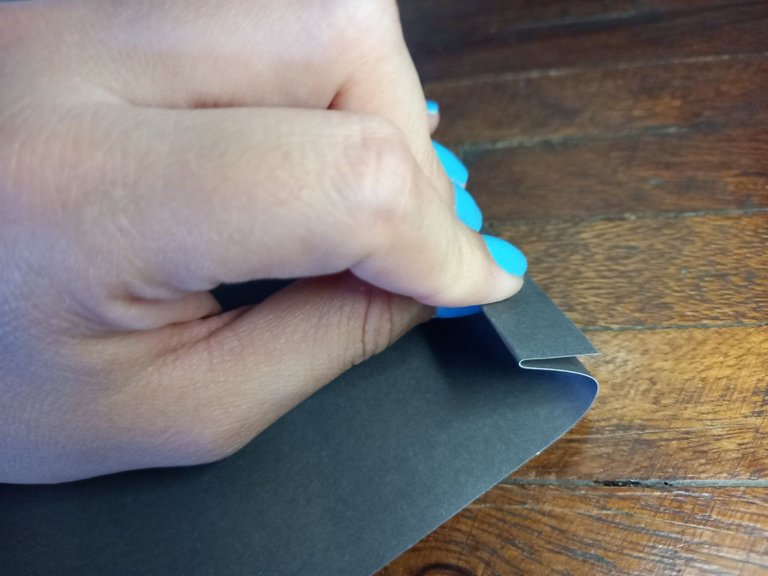
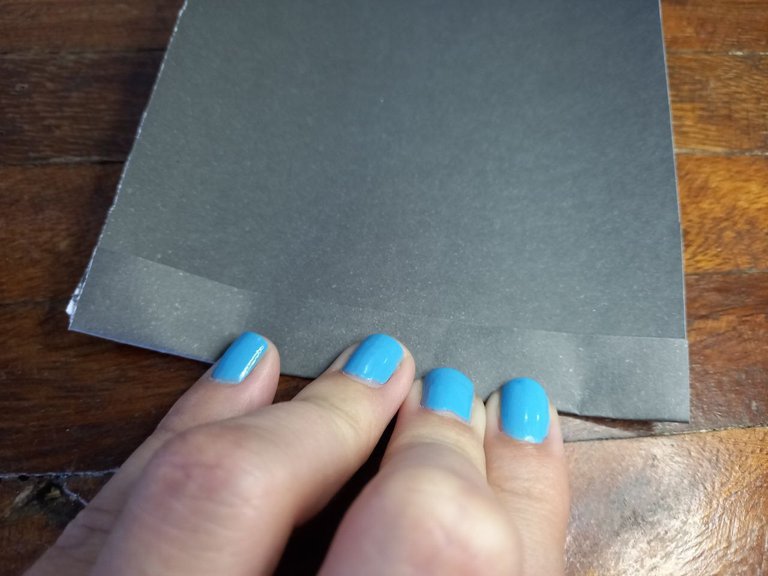
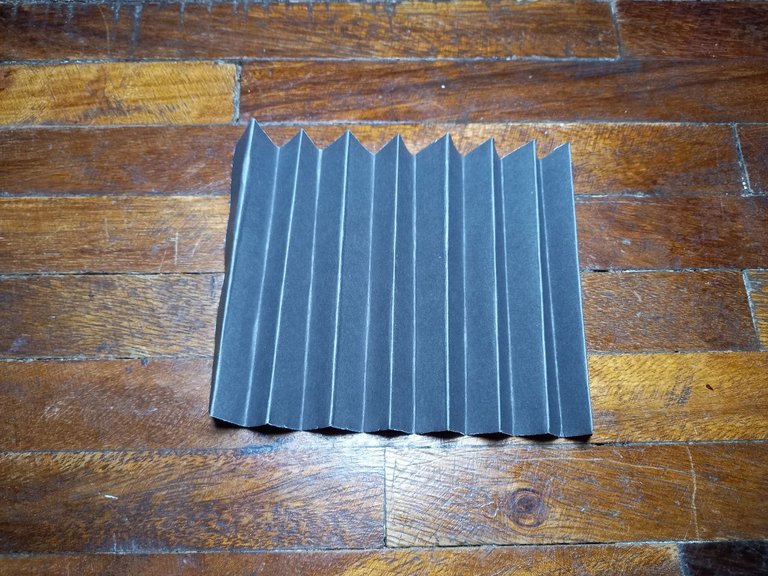
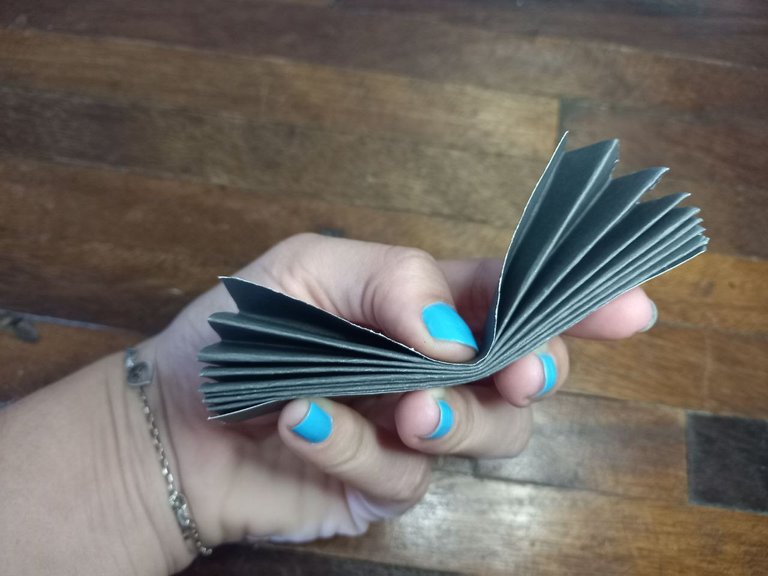
🦇 PASO 2. Comenzamos a doblar la pieza de cartulina por la parte ancha, es decir, la más corta, doblamos aproximadamente 1.5 cm, luego doblamos hacia el otro lado y repetimos hasta terminar con toda la cartulina y obtener forma de abanico.
🦇 STEP 2. We begin to fold the piece of cardboard from the wide part, that is, the shortest, we fold approximately 1.5 cm, then we fold to the other side and repeat until we finish with all the cardboard and obtain the shape of hand fan.
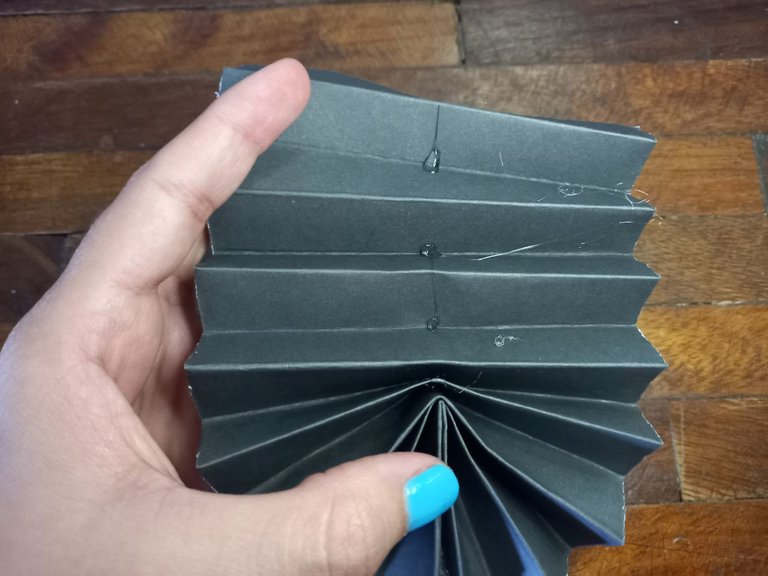
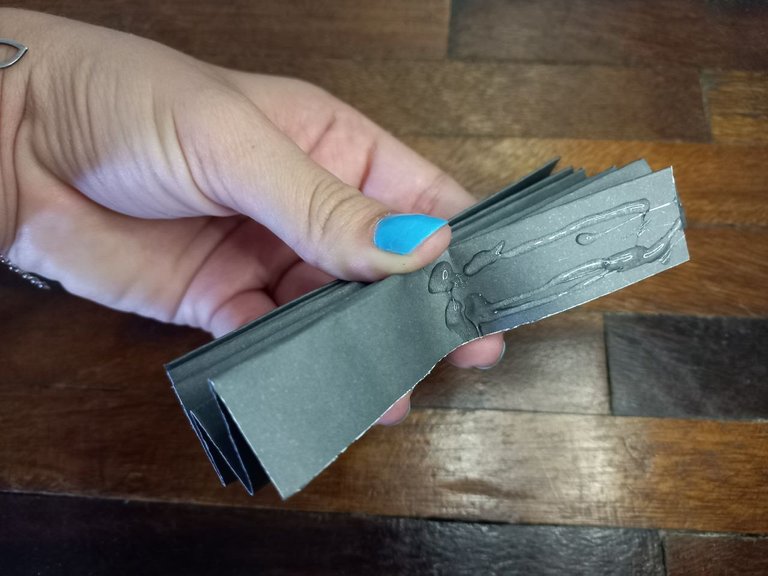
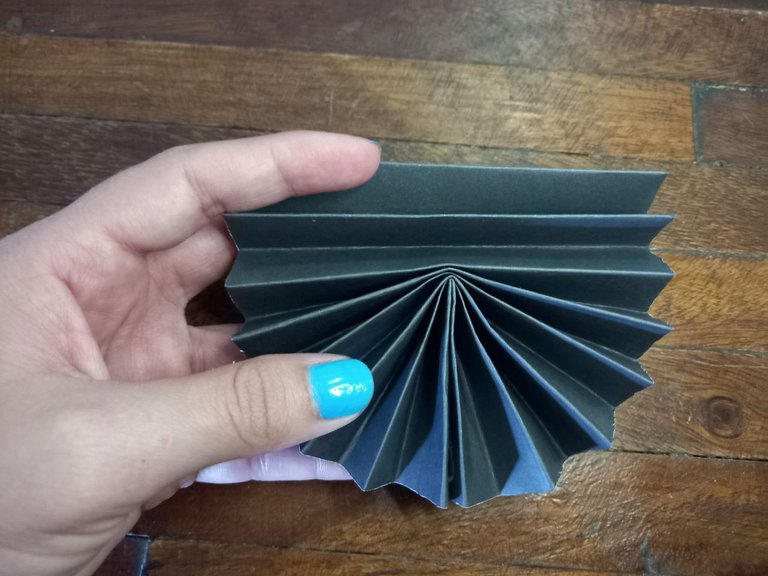
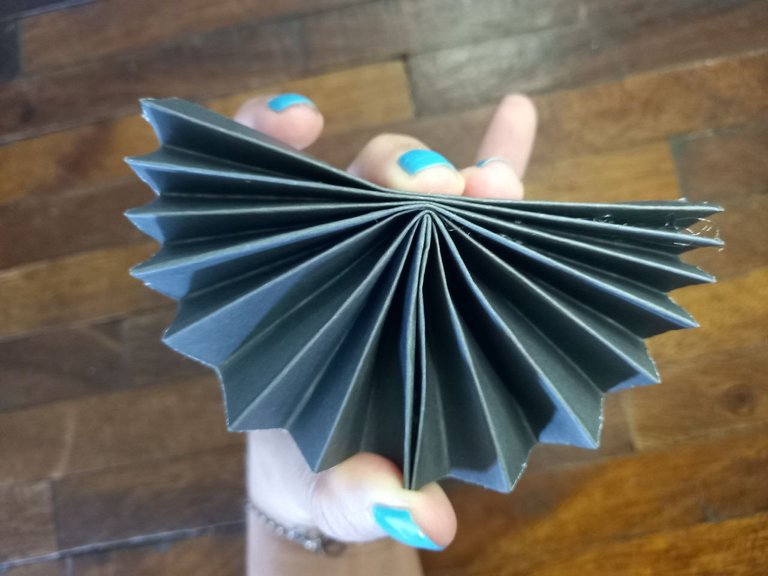
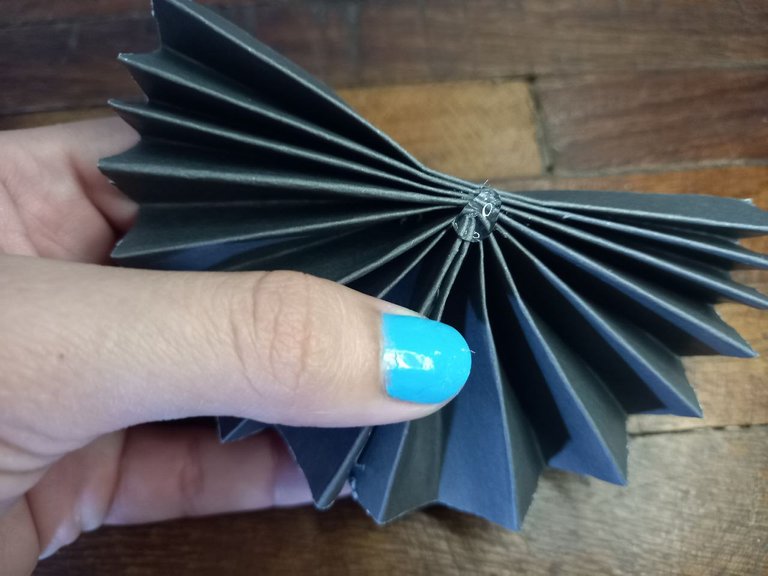
🦇 PASO 3. Cerramos la pieza de cartulina y la doblamos a la mitad, luego con silicón caliente unimos ambos extremos de ese lado que doblamos, luego vamos a aplicar silicón en las divisiones del centro de la cartulina y vamos haciendo presión para que se sostenga hasta pegar el último, debe quedarnos con la forma de un rosetón a la mitad, como se los muestro acá:
🦇 STEP 3. We close the piece of cardboard and fold it in half, then with hot silicone we join both ends of that side that we fold, then we are going to apply silicone to the divisions in the center of the cardboard and press so that it is sustained until the last one is glued, it should be left with the shape of a rosette in the middle, as I show it here:
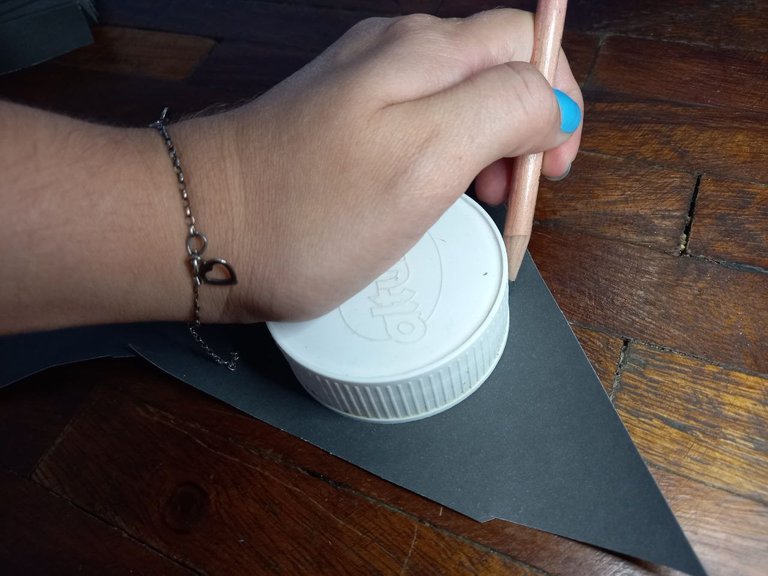
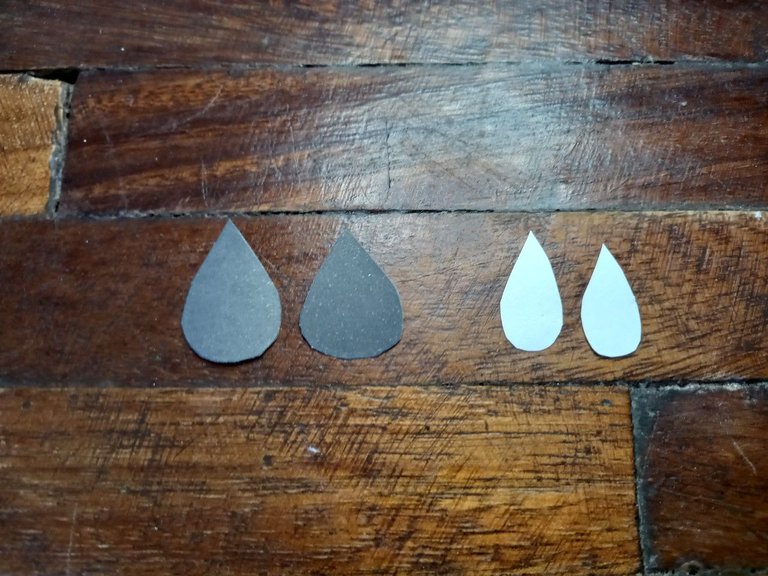
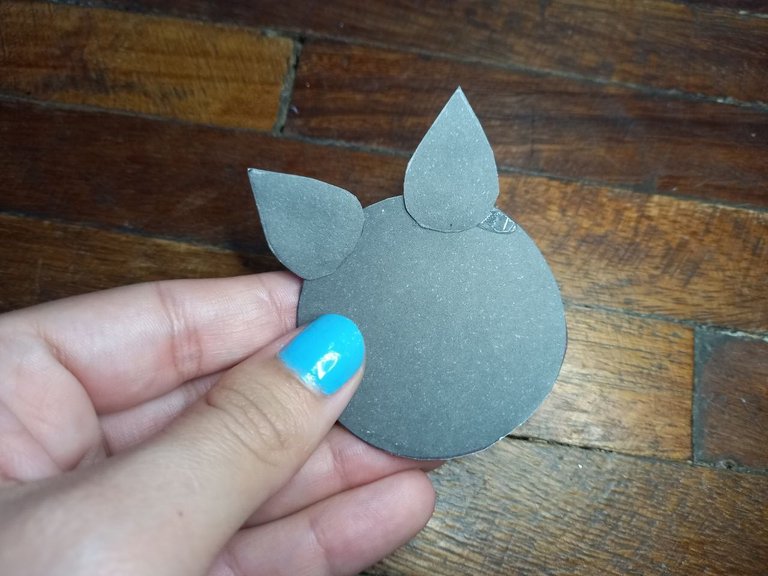
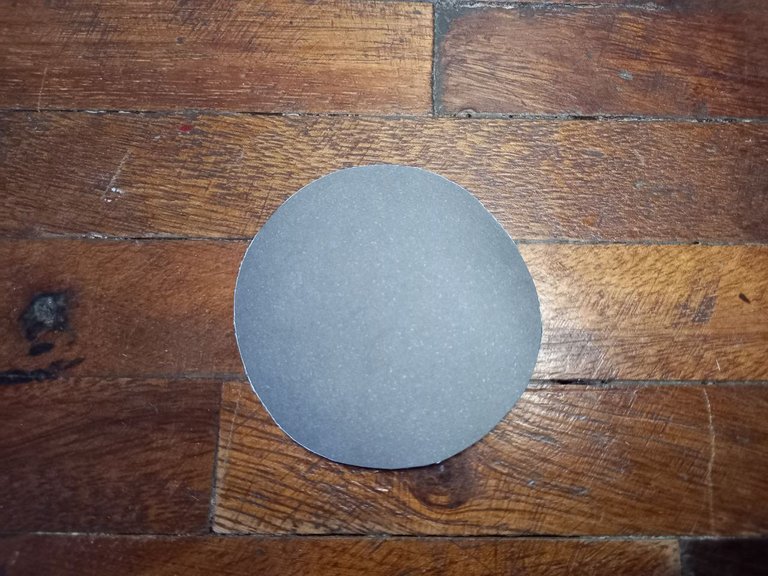
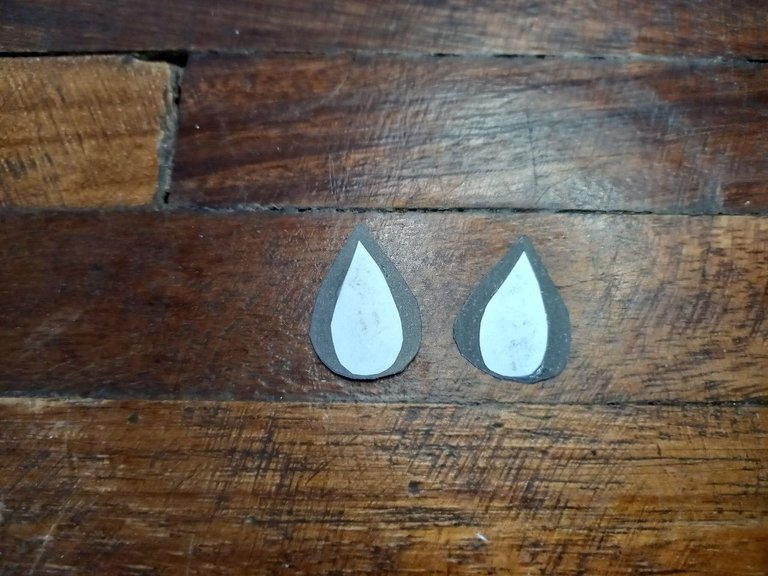
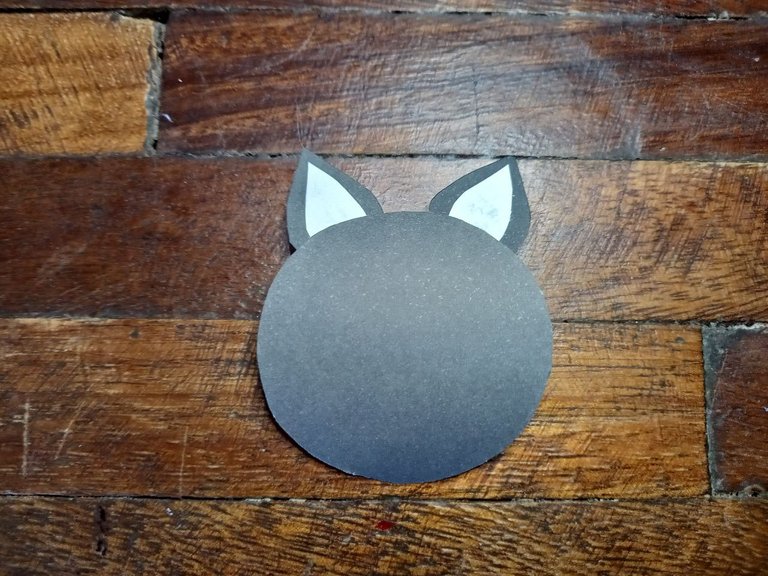
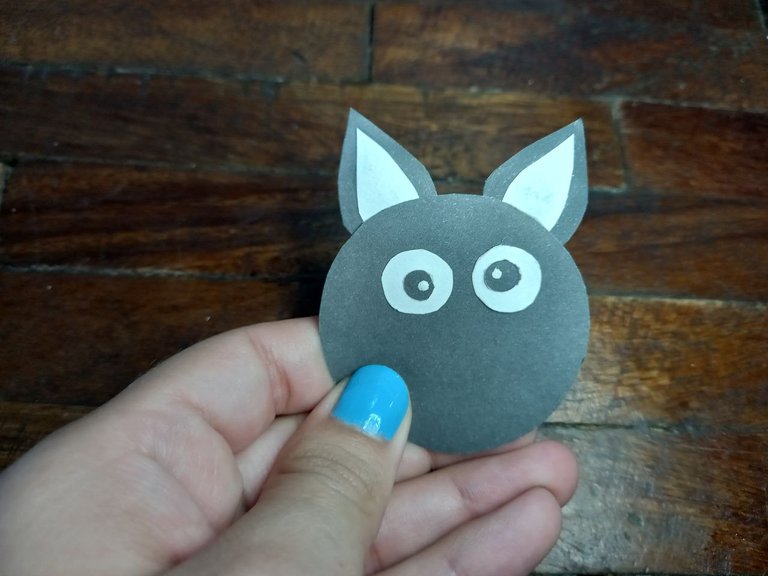
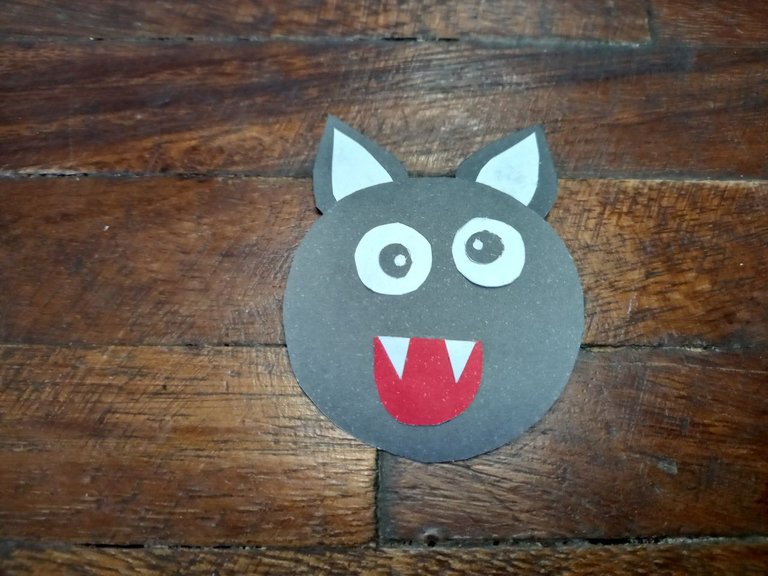
🦇 PASO 4. Con ayuda del objeto circular hacemos un circulo de cartulina escolar negra, debemos asegurarnos que tenga el tamaño adecuado con respecto al tamaño del rosetón de cartulina ya que esta será la cabeza del murciélago, luego hacemos la forma de las orejas en cartulina negra y 2 piezas iguales en cartulina blanca pero un poco más pequeñas, recortamos, pegamos con pega en barra las piezas blancas sobre las piezas negras y luego las pegamos en la parte superior trasera del circulo de cartulina negra, así ya tendremos la cabeza con sus orejas.
🦇 STEP 4. With the help of the circular object we make a circle of black school cardboard, we must make sure that it has the right size with respect to the size of the cardboard rosette since this will be the head of the bat, then we make the shape of the ears in black cardboard and 2 equal pieces in white cardboard but a little smaller, we cut, we stick the white pieces on the black pieces with glue stick and then we paste them in the upper back part of the circle of black cardboard, so we will have the head with its ears.
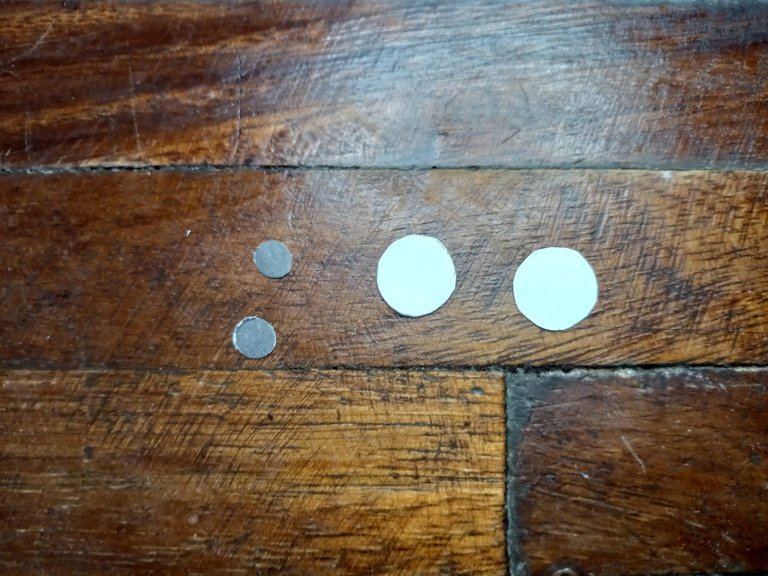
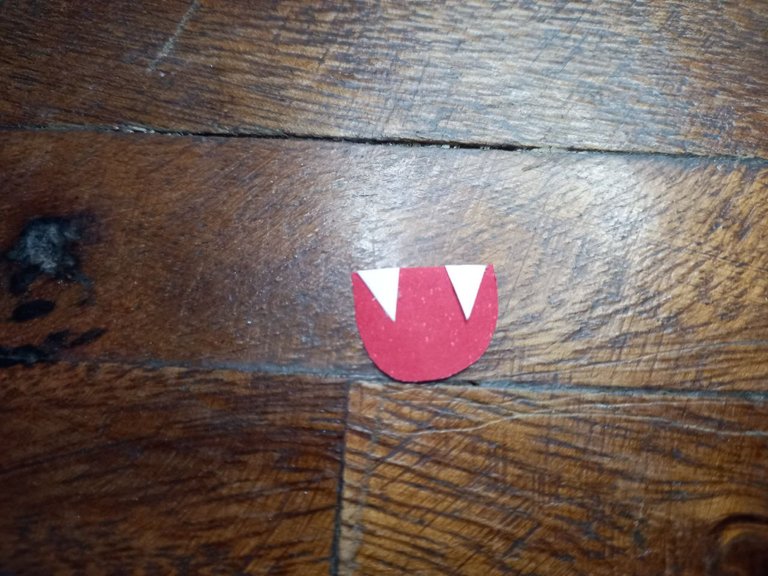
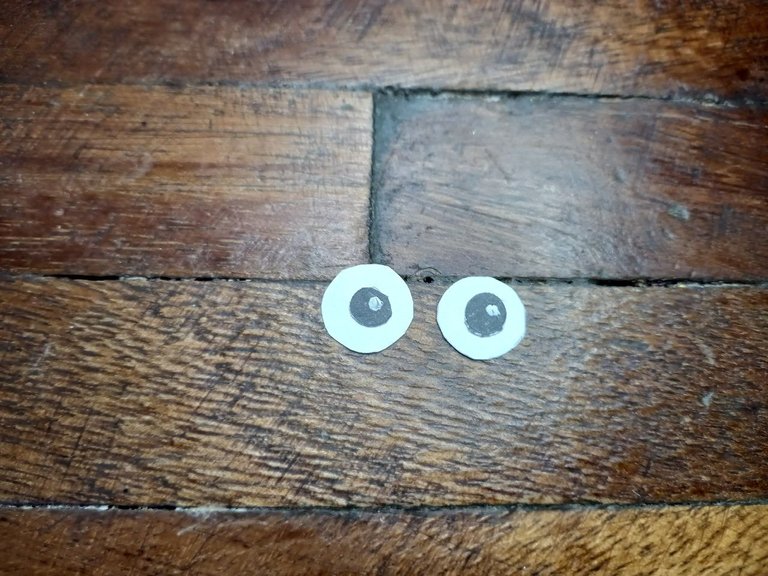
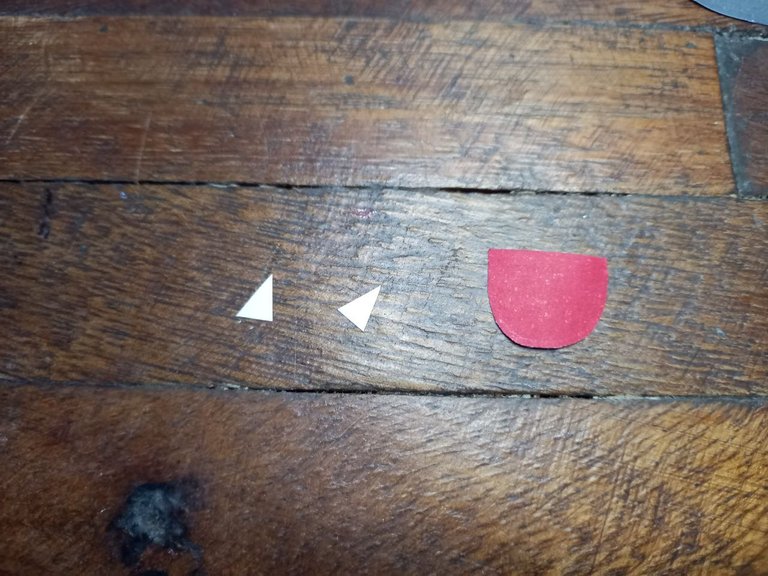
🦇 PASO 5. Recortamos 2 círculos medianos de cartulina blanca, luego hacemos 2 círculos más pequeños de cartulina negra con el abre huecos, pegamos los círculos negros sobre los blancos con la pega en barra y le dibujamos un puntito con la pintura blanca, estos son los ojos, luego los pegamos en la pieza de la cabeza a una altura y separación adecuada, recortamos una pieza de cartulina roja con la forma de la boca y recortamos también 2 triángulos pequeños de cartulina blanca que serán los colmillos, pegamos un triángulo en cada extremo de la pieza roja (la boca) con pega en parra y pegamos la boca debajo de los ojos.
🦇 STEP 5. We cut out 2 medium circles of white cardboard, then we make 2 smaller circles of black cardboard with the gap opener, we stick the black circles on the white ones with the stick glue and we draw a dot with the paint white, these are the eyes, then we glue them on the head piece at a suitable height and separation, we cut out a piece of red cardboard in the shape of the mouth and we also cut out 2 small triangles of white cardboard that will be the fangs, we glue a triangle at each end of the red piece (the mouth) with glue on the vine and glue the mouth under the eyes.
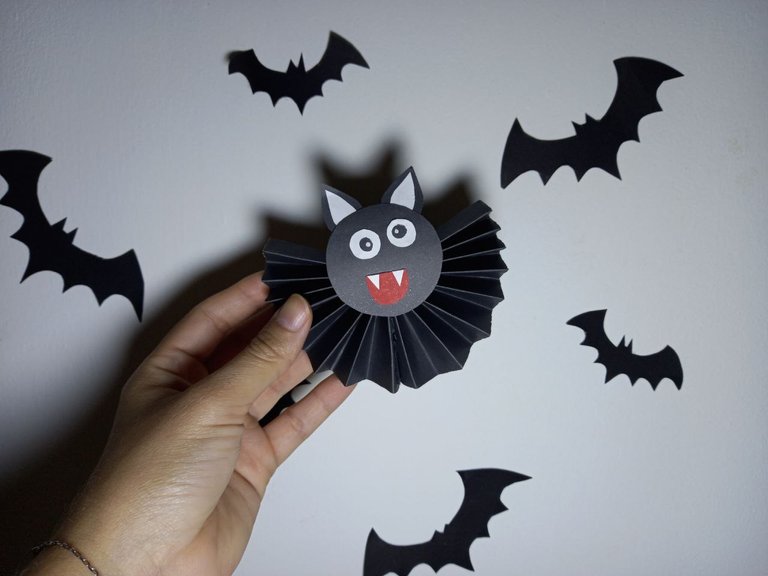
🦇 PASO 6.Como último paso aplicamos silicón caliente en el centro del rosetón de cartulina y sobre ella pegamos la cabeza, quedando el rosetón como el cuerpo, o mejor dicho, las alas.
🦇 STEP 6.As a last step we apply hot silicone in the center of the cardboard rosette and on it we glue the head, leaving the rosette as the body, or rather, the wings.
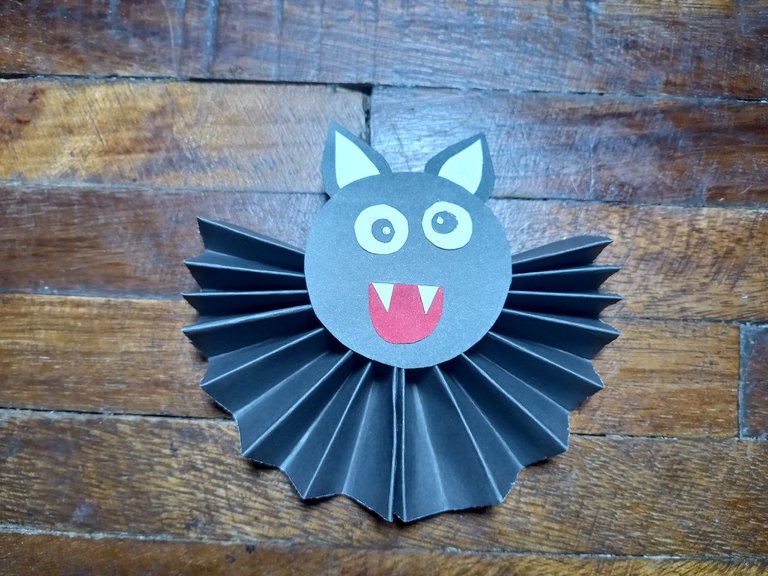
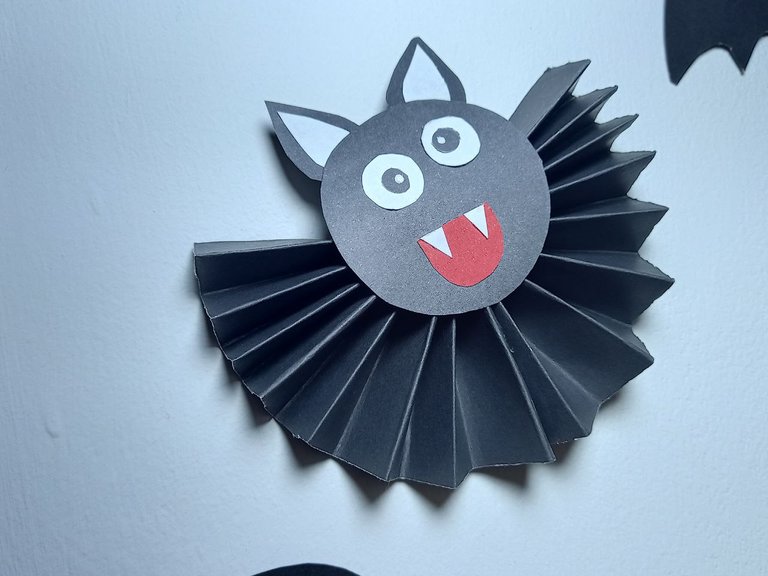
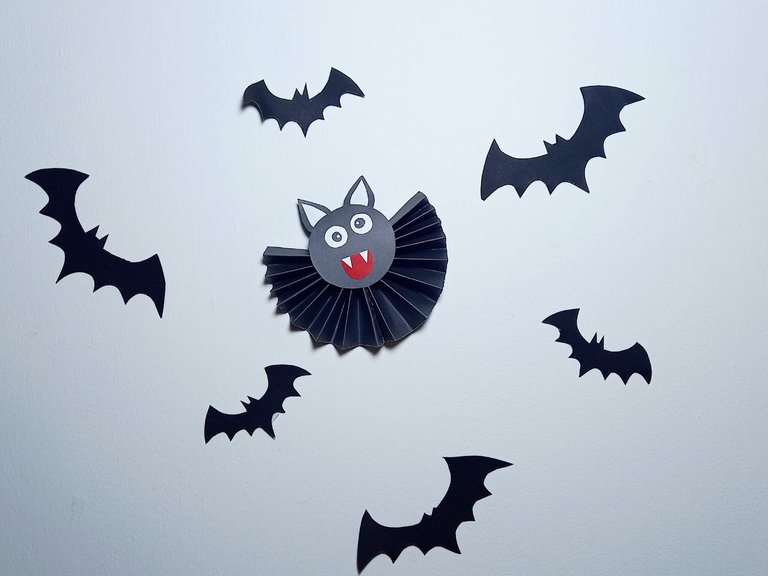
¡Y listo! De esta sencilla manera hemos elaborado un lindo murciélago de cartulina ideal para decorar en estas fechas, como habrán notado su elaboración es muy fácil y apenas requiere de unos pocos materiales para obtener como resultado un lindo adorno diferente y original para Halloween, espero que les haya gustado este tutorial, nos vemos pronto con una nueva idea creativa.
¡And ready! In this simple way we have made a cute cardboard bat ideal for decorating on these dates, as you may have noticed, its preparation is very easy and it only requires a few materials to obtain as a result a nice different and original decoration for Halloween, I hope you liked this tutorial, see you soon with a new creative idea.


Todas las fotografías son de mi propiedad.
Fotografías capturadas con mi Samsung Galaxy A12
Separador de texto elaborado en Canva.
Nos vemos en mi próxima publicación.
¡Tengan un feliz día!
All photographs are my property.
Photos captured with my Samsung Galaxy A12
Text separator made in Canva.
See you in my next post.
¡Have a happy day!
~~~ embed:1576686973326340096 twitter metadata:eW9saW1hcmFnfHxodHRwczovL3R3aXR0ZXIuY29tL3lvbGltYXJhZy9zdGF0dXMvMTU3NjY4Njk3MzMyNjM0MDA5Nnw= ~~~
The rewards earned on this comment will go directly to the people( @yolimarag ) sharing the post on Twitter as long as they are registered with @poshtoken. Sign up at https://hiveposh.com.
Has sido curado por @visualblock / You've been curated by @visualblock
Bienvenidas delegaciones / Delegations welcome
Encuentra nuestra comunidad aquí / Find our community here
Trail de Curación / Curation Trail
Muchas gracias por el apoyo 🤩
Excelente tutorial para este murciélago tan simpático.
Muchas gracias, me alegra que les guste 😄
Me encantan las decoraciones de Halloween, que murciélago más adorable, me gusta la figura redonda que tiene. Hermoso trabajo, gracias por compartir.🌹
Hola linda ♥️ a mi me encantó como quedó, no me gusto mucho como quedaron los ojos porque no soy muy buena haciendo expresiones faciales jaja pero en general si quedó muy lindo y me gusta que se le pueden mover las alas 🥰 me alegra saber que te gustó amiga, un abrazo! ♥️
Me encantó ese murciélago se ve muy original y cuchi, que linda manualidad amiga.
Gracias amiga ♥️ que bueno saber que te gustó, un abrazo y gracias por tu apoyo compartiendo mi publicación 🥰
Recién había visto uno de estos en Pinterest y quedé encantada, te me adelantaste jajs!
Muy lindo murciélago, ideal para decorar y/o pegar a los dulceros para niños..
Gracias por compartir amiga💜✨
Amigaaa jajaj pues tienes que ponerte las pilas, ya quiero ver lo que nos vas a compartir para estas fechas, me alegra saber que te gustó lo que hice, poco a poco iré haciendo y cuando llegue la fecha decoraré con todo lo que tenga y regalaré los dulceros 😊 ese es el plan, gracias por tu visita, besos 💖💖💖
Pues me encanta tu plan a decir verdad.. 🦇💕
Vamos a ver que me ingenio jaja..
Ya quiero verrrr 🔥
Congratulations @mariajcastro28! You have completed the following achievement on the Hive blockchain and have been rewarded with new badge(s):
Your next target is to reach 4500 replies.
You can view your badges on your board and compare yourself to others in the Ranking
If you no longer want to receive notifications, reply to this comment with the word
STOPCheck out the last post from @hivebuzz:
Wooouw amiga ese murcielago te quedo espectacular , me gustaria uno para decorar mi cuarto . :0
Hola me alegra saber que te ha gustado, queda bien para decorar cualquier espacio, seguro en tu cuarto quedaría muy bien 😊
Thank you for sharing this amazing post on HIVE!
Your content got selected by our fellow curator tibfox & you just received a little thank you upvote from our non-profit curation initiative!
You will be featured in one of our recurring curation compilations which is aiming to offer you a stage to widen your audience within the DIY scene of Hive.
Make sure to always post / cross-post your creations within the DIYHub community on HIVE so we never miss your content. We also have a discord server where you can connect with us and other DIYers. If you want to support our goal to motivate other DIY/art/music/gardening/... creators just delegate to us and earn 100% of your curation rewards!
Stay creative & hive on!
Thank you very much for the support, I really appreciate it 💖