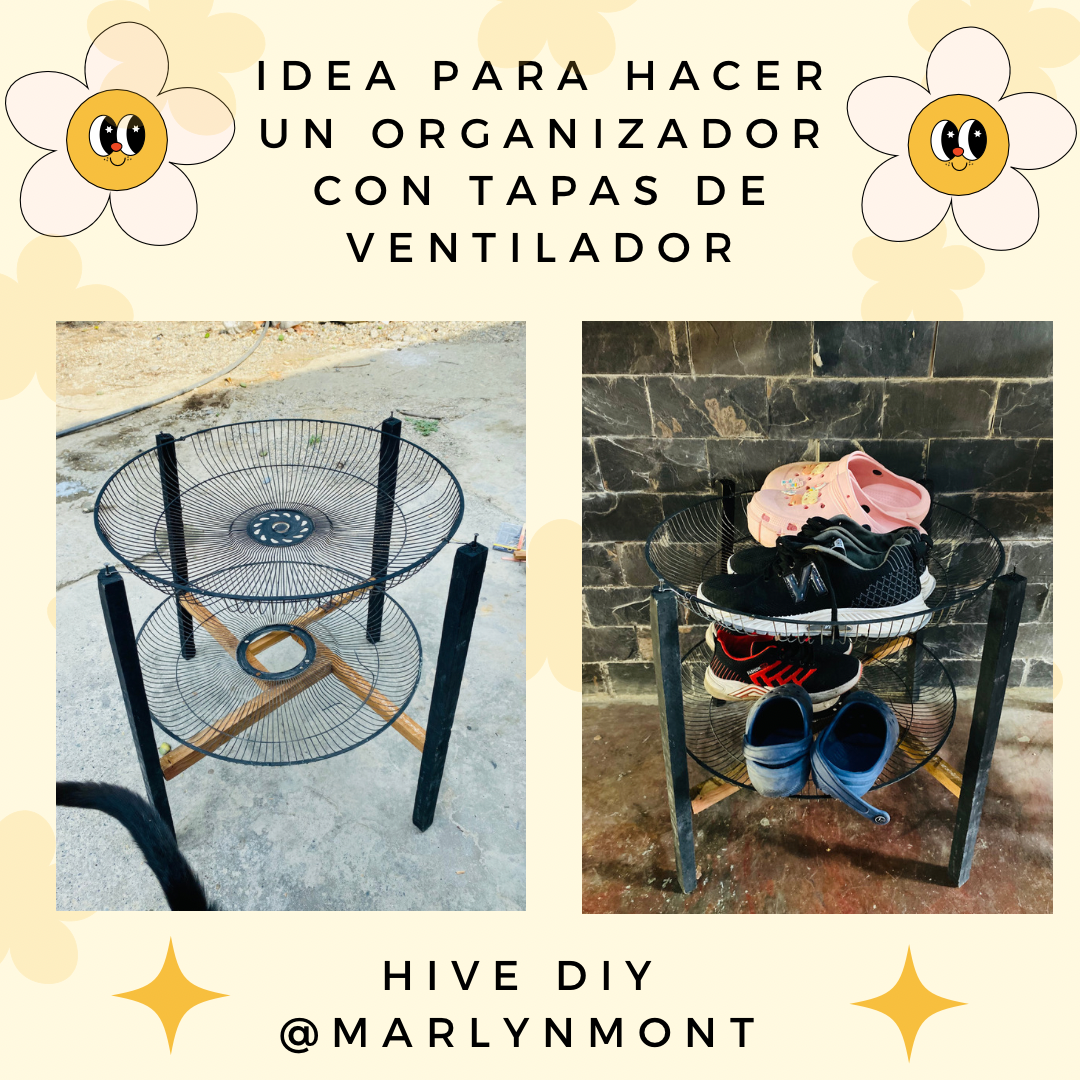
Feliz día amigos de Hive Diy, deseo que hoy tengan un día maravilloso! 🔨🪚❤️
Las que nos gustan las manualidades y reciclar siempre aprovechamos esos objetos que se nos dañan, en este caso los ventiladores, en casa se nos han dañado varios ventiladores y repararlos sale mas costoso que comprar uno nuevo, así que puedo disponer de ellos para hacer mis trabajos y hoy quiero mostrarles una idea para reutilizar las tapas y crear un lindo organizador.
Happy day Hive Diy friends, I hope you have a wonderful day today! 🔨🪚❤️
Those of us who like crafts and recycling always take advantage of those objects that are damaged, in this case the fans, at home we have had several fans damaged and repairing them is more expensive than buying a new one, so I can use them to make my works and today I want to show you an idea to reuse the lids and create a nice organizer.
➰➰➰➰🪚🔨➰➰➰➰
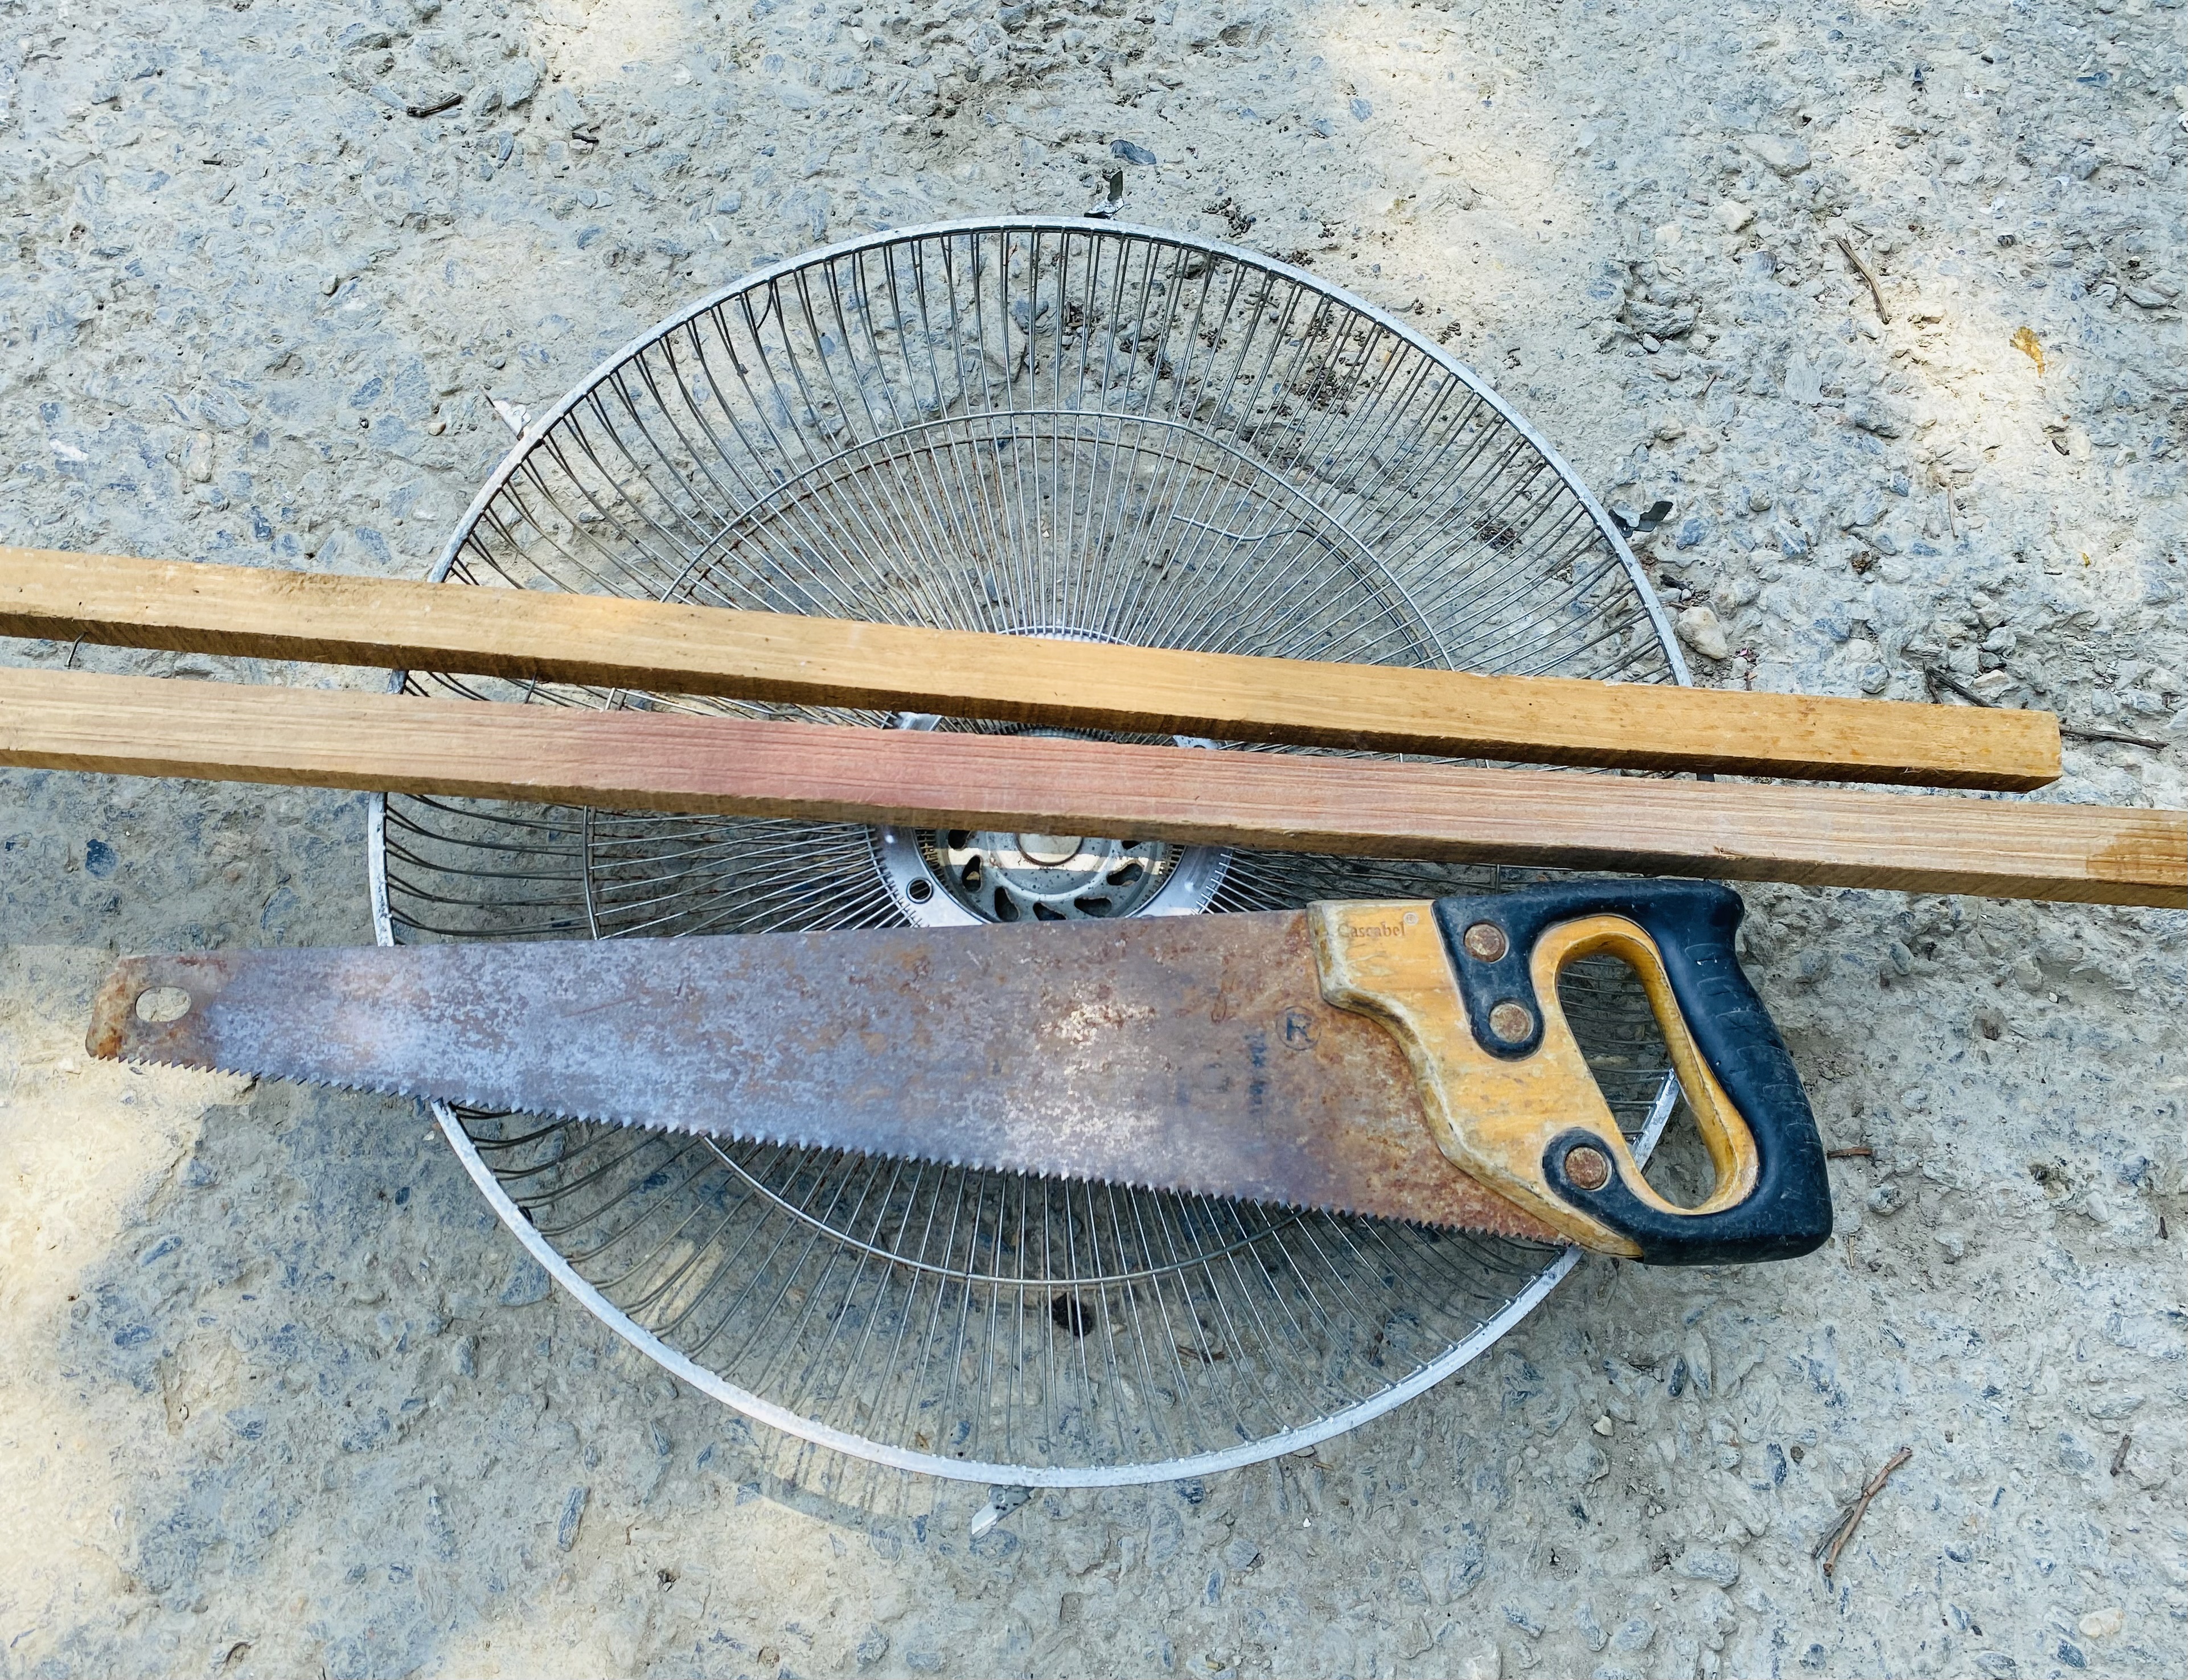
MATERIALES
MATERIALS
Las tapas de ventilador tienen infinidades de uso para reciclarlas y aprovecharlas, para este trabajo tuve varias ideas para hacer un organizador, pero en esto no siempre nos salen bien las cosas, al principio quise hacerlo de 3 patas y no resultó, compre unas argollas tipo tornillo y resultaron ser de muy mala calidad y se me partieron, hasta que decidí hacerlo como una base que hice para mis macetas, solo le calculé las medidas y que me quedase bien, aquí te dejo la lista de materiales que utilice:
- Listones de madera
- tapas de ventilador
- clavos
- martillo
- cinta métrica
- pintura al frio
- serrucho
The fan covers have infinite uses to recycle and take advantage of them, for this job I had several ideas to make an organizer, but things don't always turn out well for us, at first I wanted to make it with 3 legs and it didn't work out, I bought some type rings screw and they turned out to be of very poor quality and they broke, until I decided to do it as a base that I made for my pots, I just calculated the measurements and that it would fit me well, here is the list of materials that I used:
- Wood Ribbons
- fan covers
- nails
- hammer
- measuring tape
- Cold paint
- saw
➰➰➰➰🪚🔨➰➰➰➰
PASO A PASO
STEP BY STEP
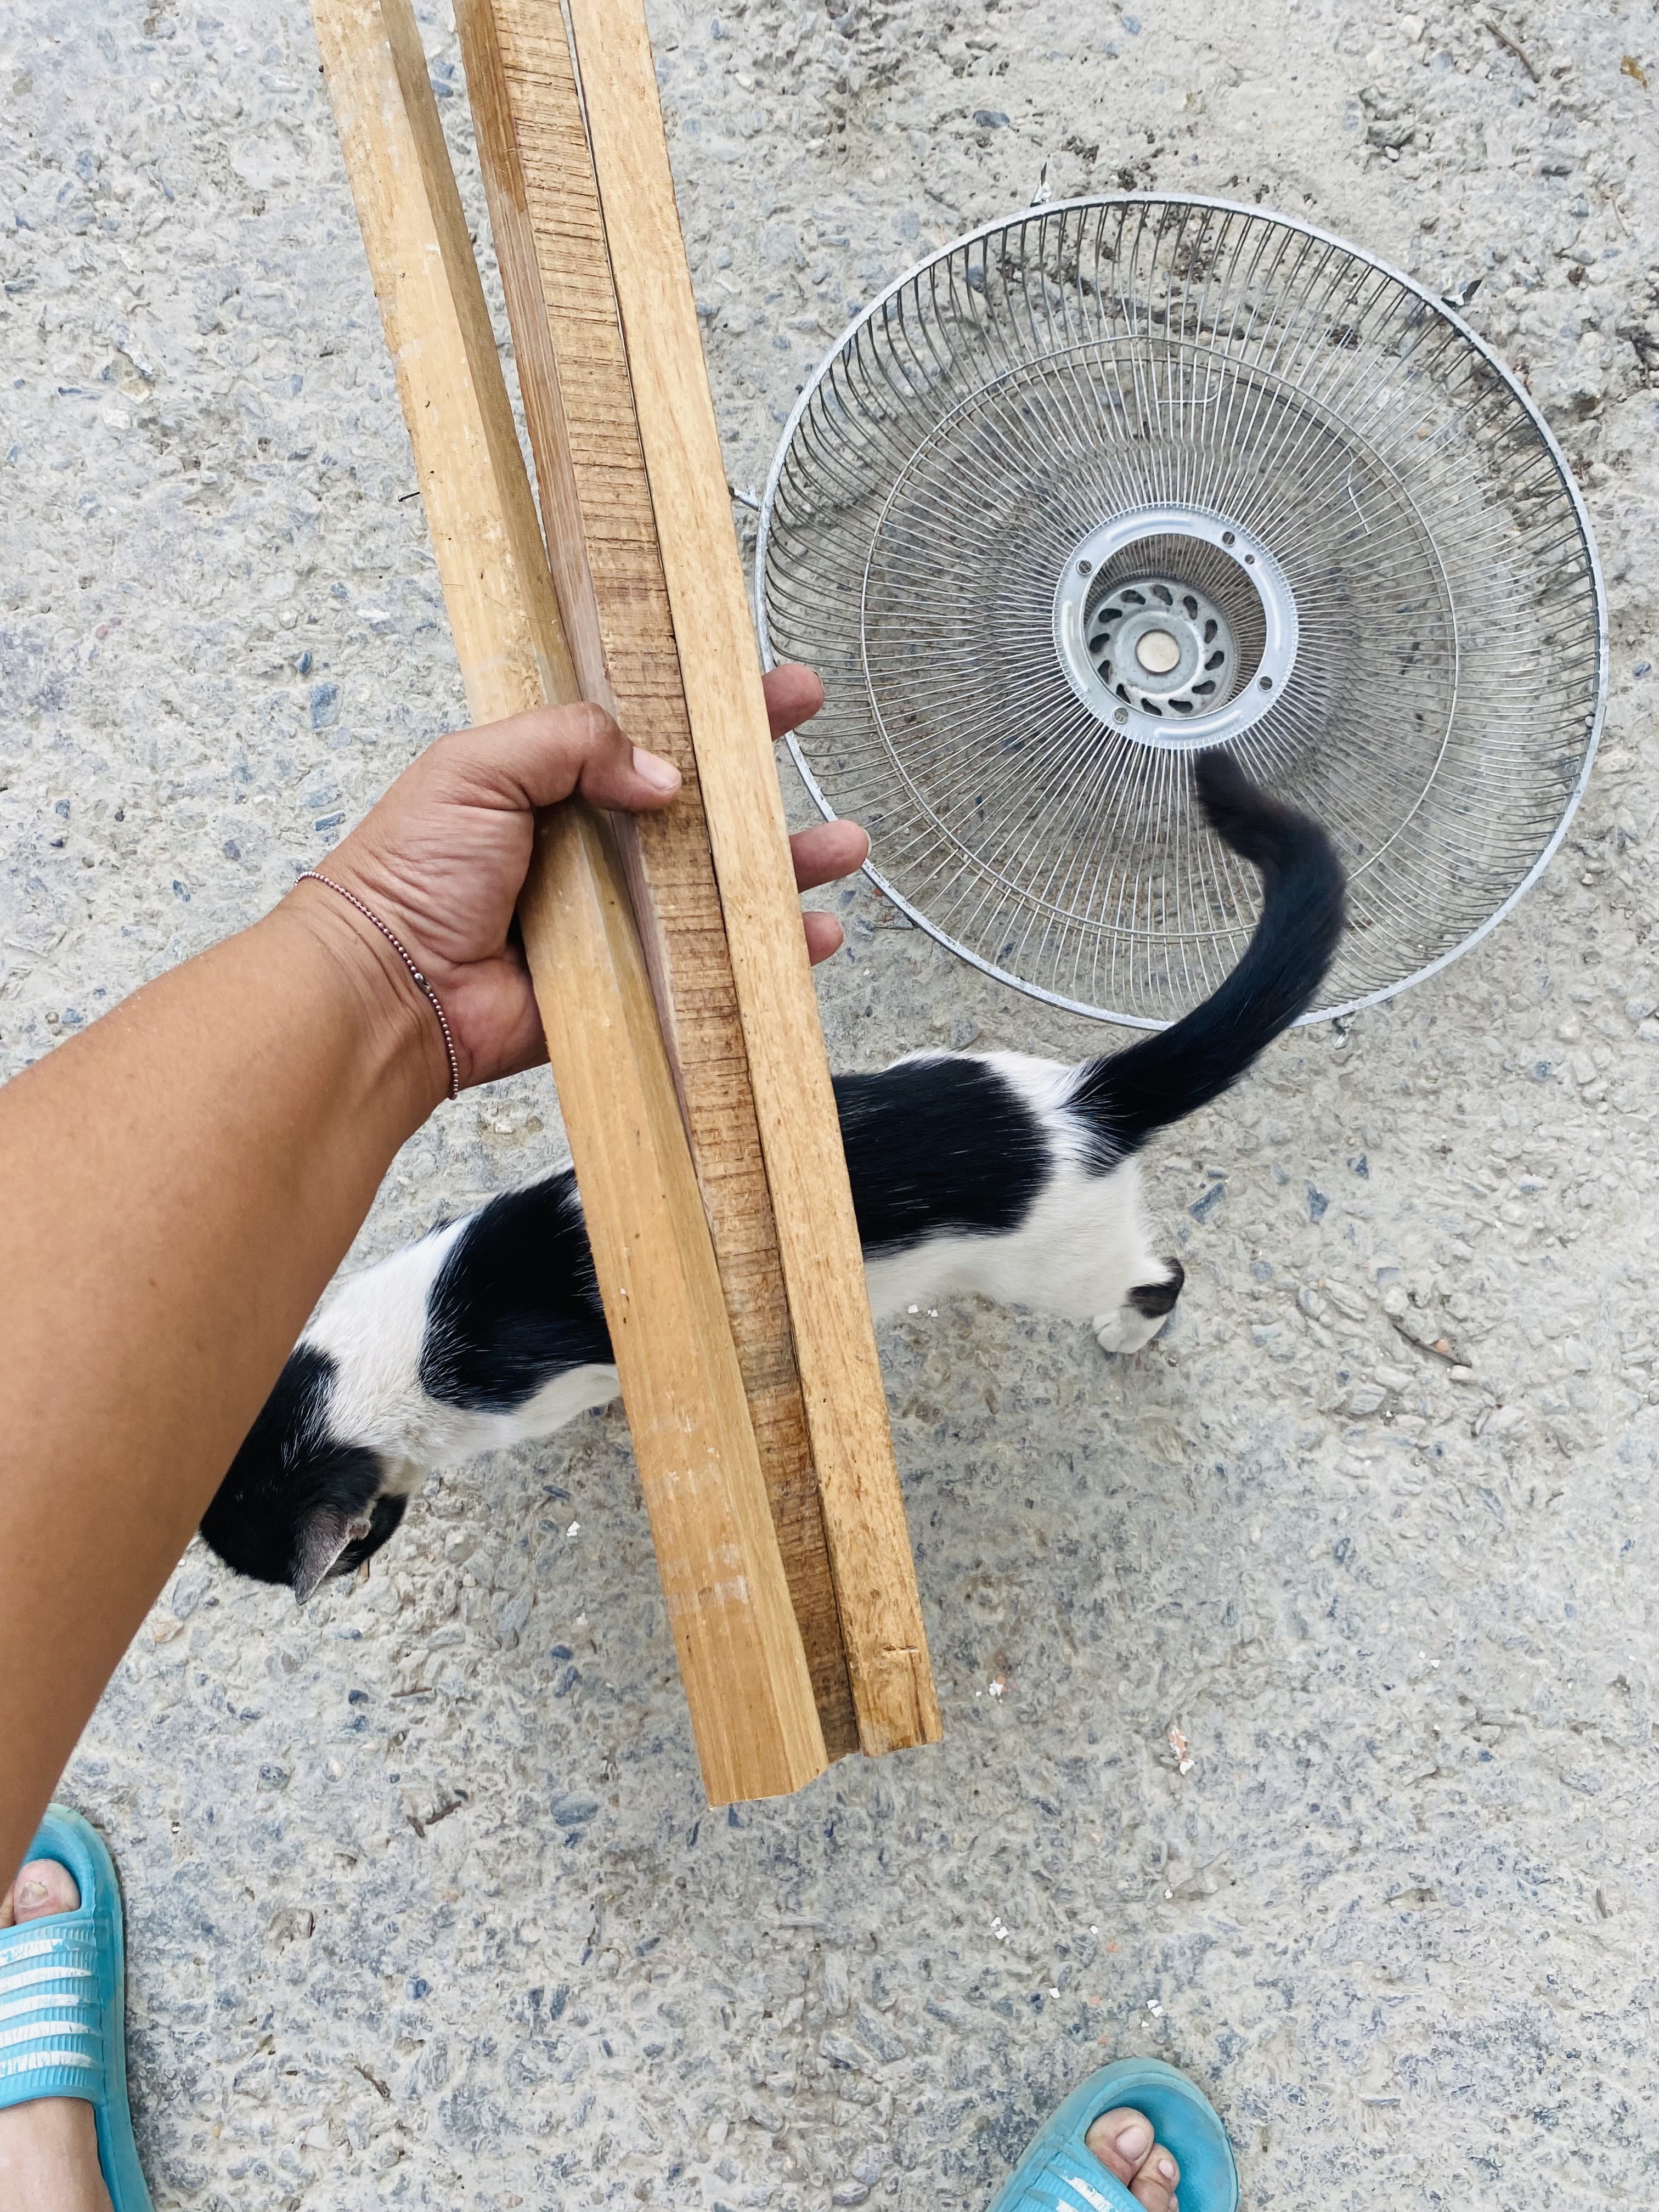
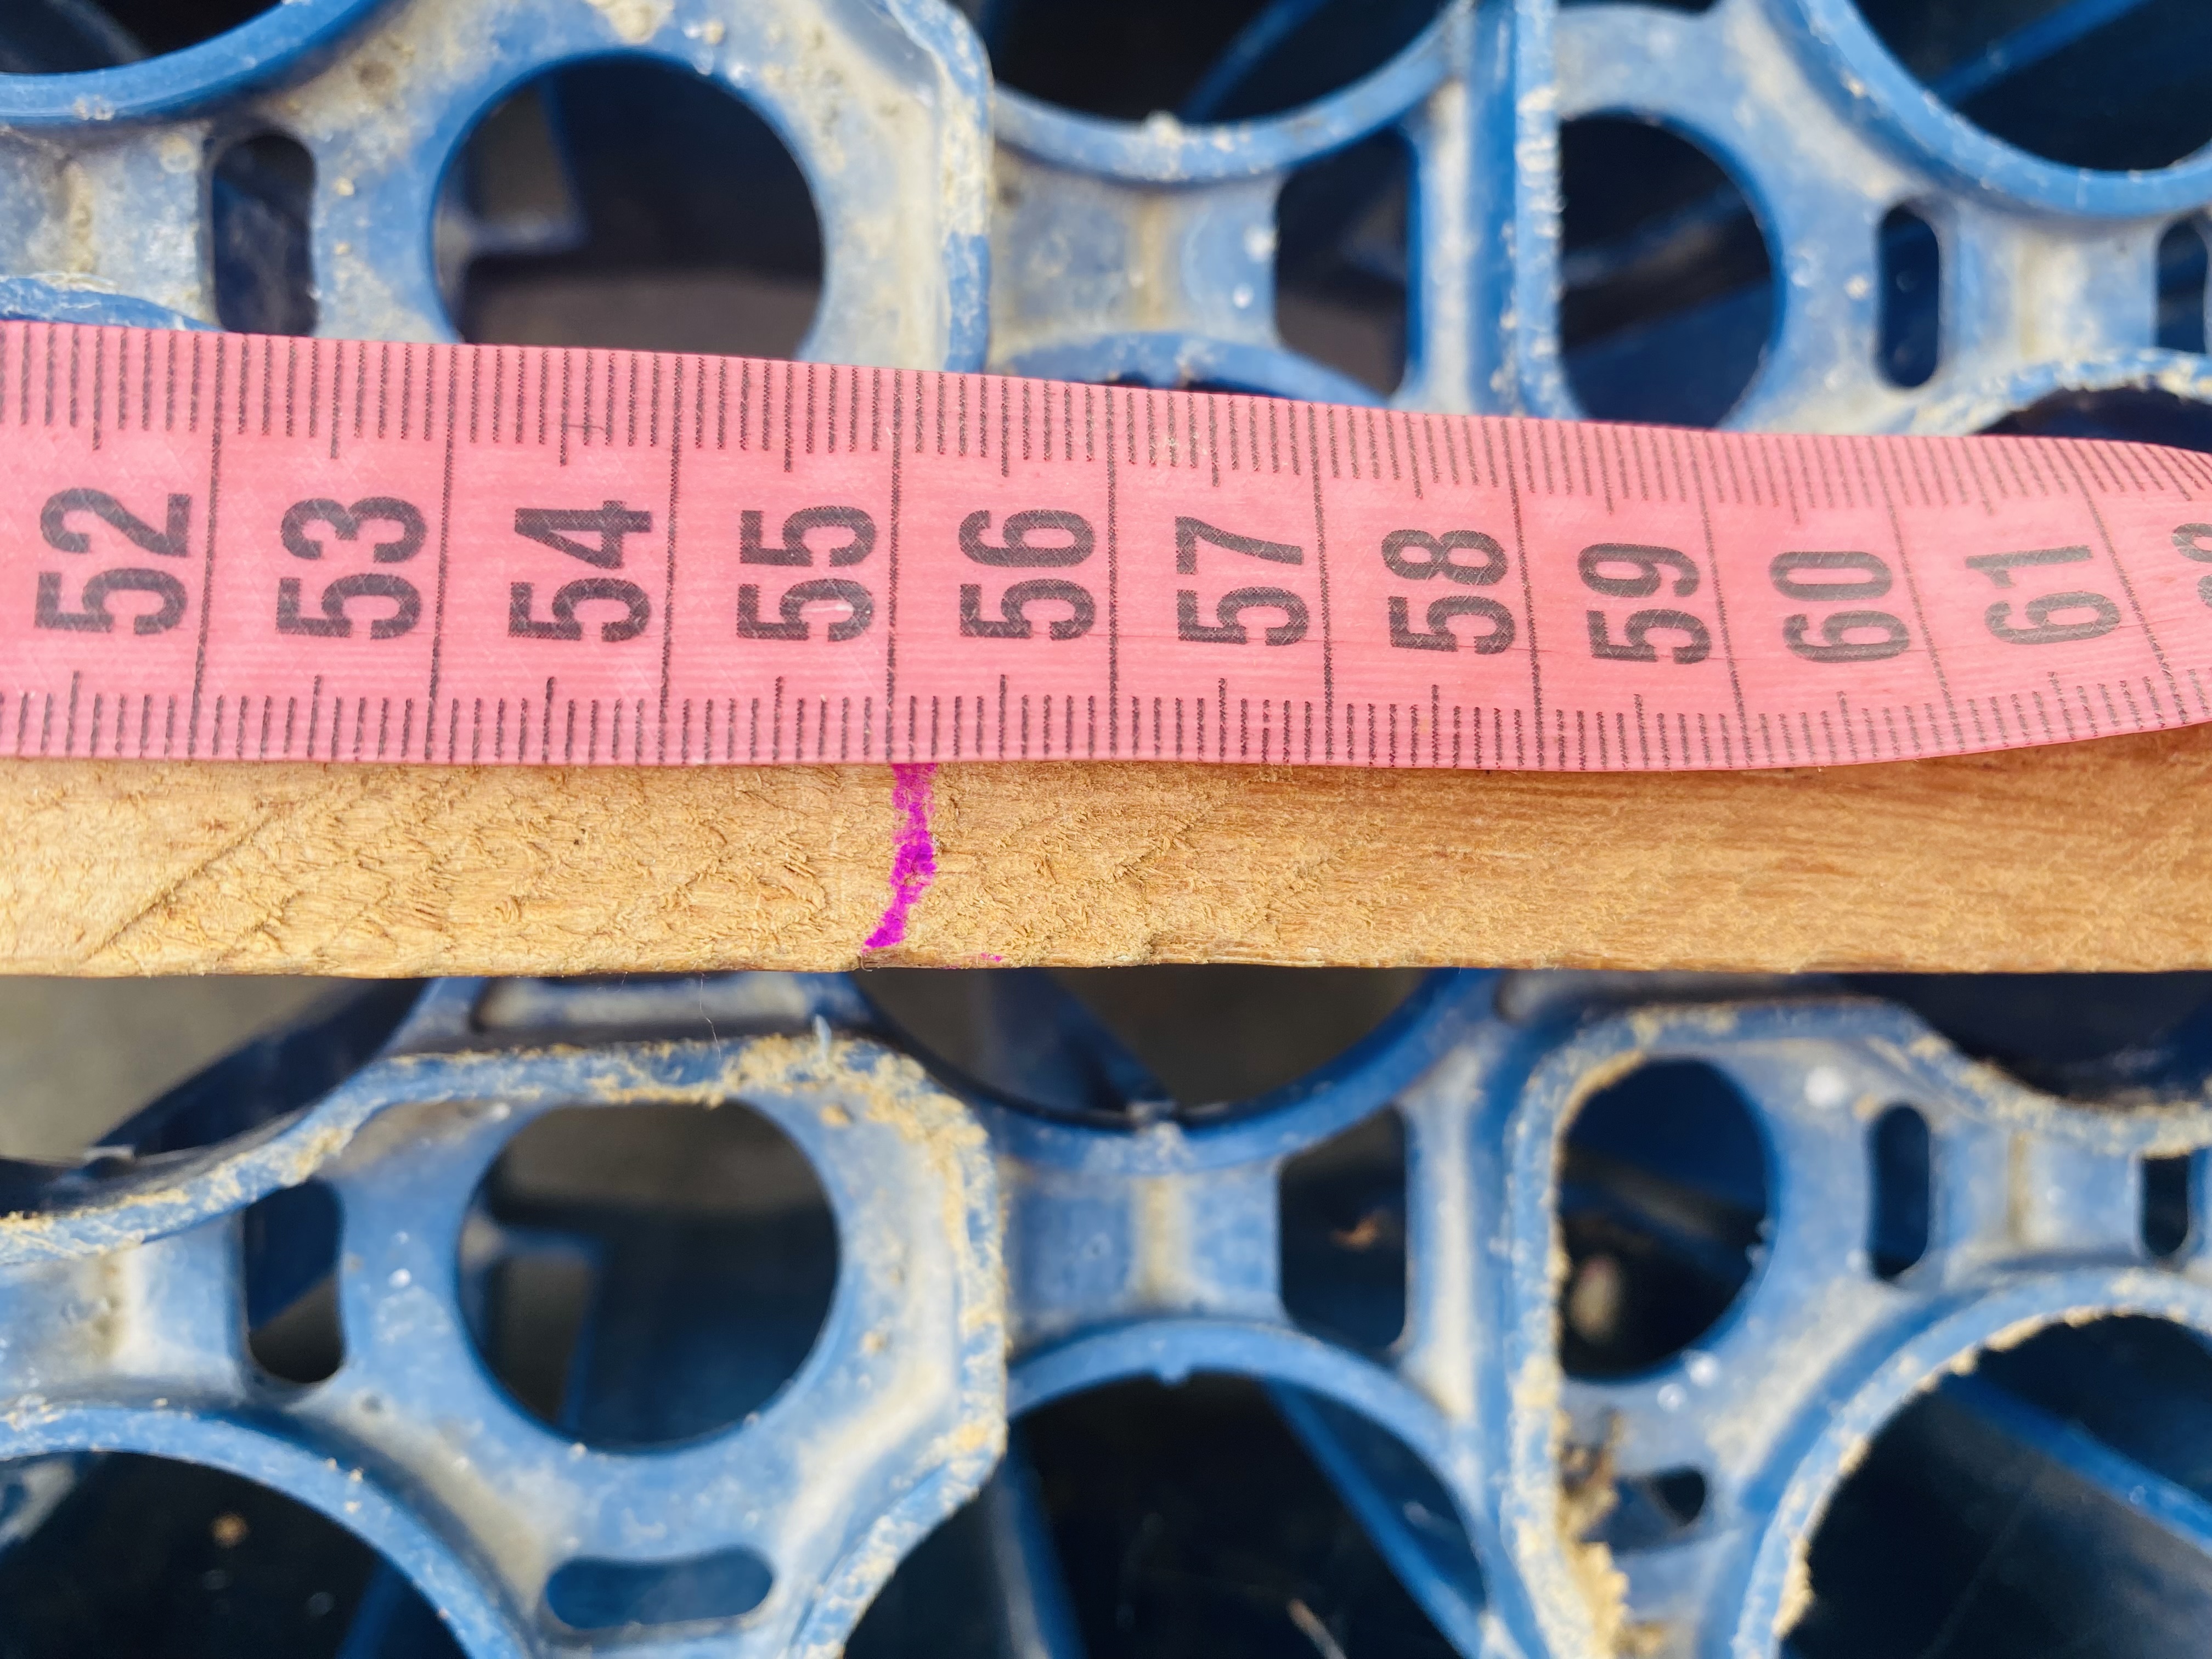
Para este trabajo puedes utilizar listones de madera o palo de escoba 🧹 , vamos a cortar 4 piezas de aproximadamente 55 cm de altura, yo utilizaré un serrucho para cortarlos puedes utilizar una sierra o algún instrumento que tengas a la mano que te pueda servir.
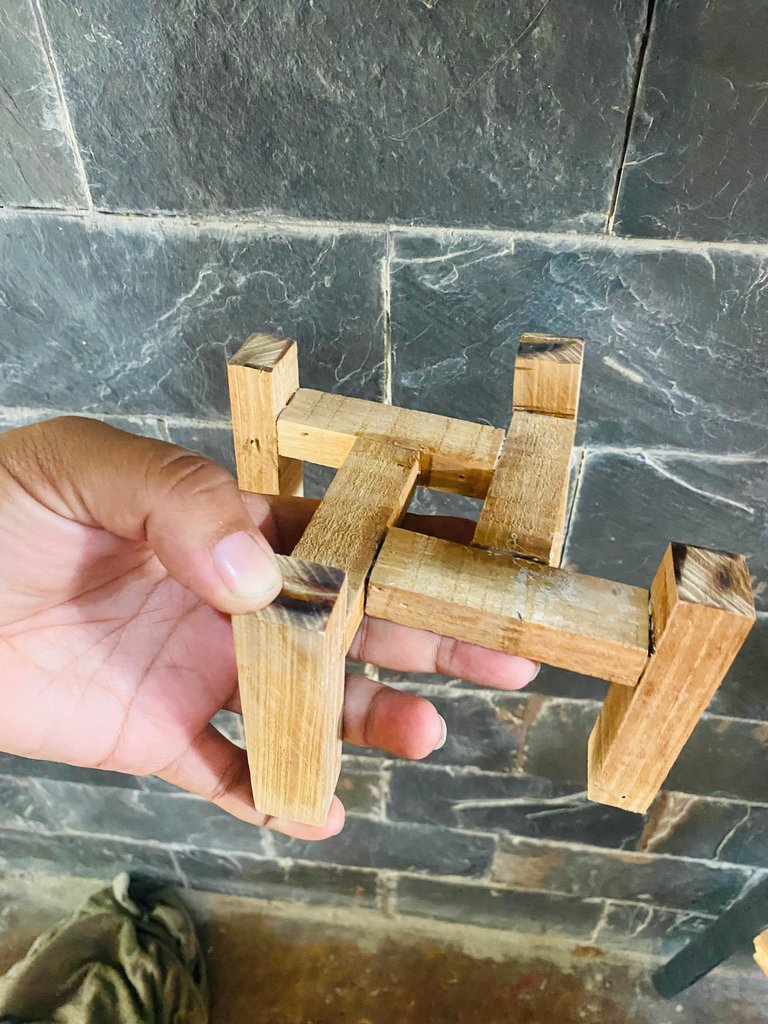
Para las piezas que van en el centro cortaremos 4 piezas de 33 cm de larga, esto fue calculando el tamaño de la tapa de ventilador.
For this job you can use wooden slats or a broomstick 🧹, we are going to cut 4 pieces approximately 55 cm high, I will use a saw to cut them, you can use a saw or some instrument that you have on hand that can help you.
For the pieces that go in the center I cut four pieces 33 cm long, this was calculating the size of the fan cover
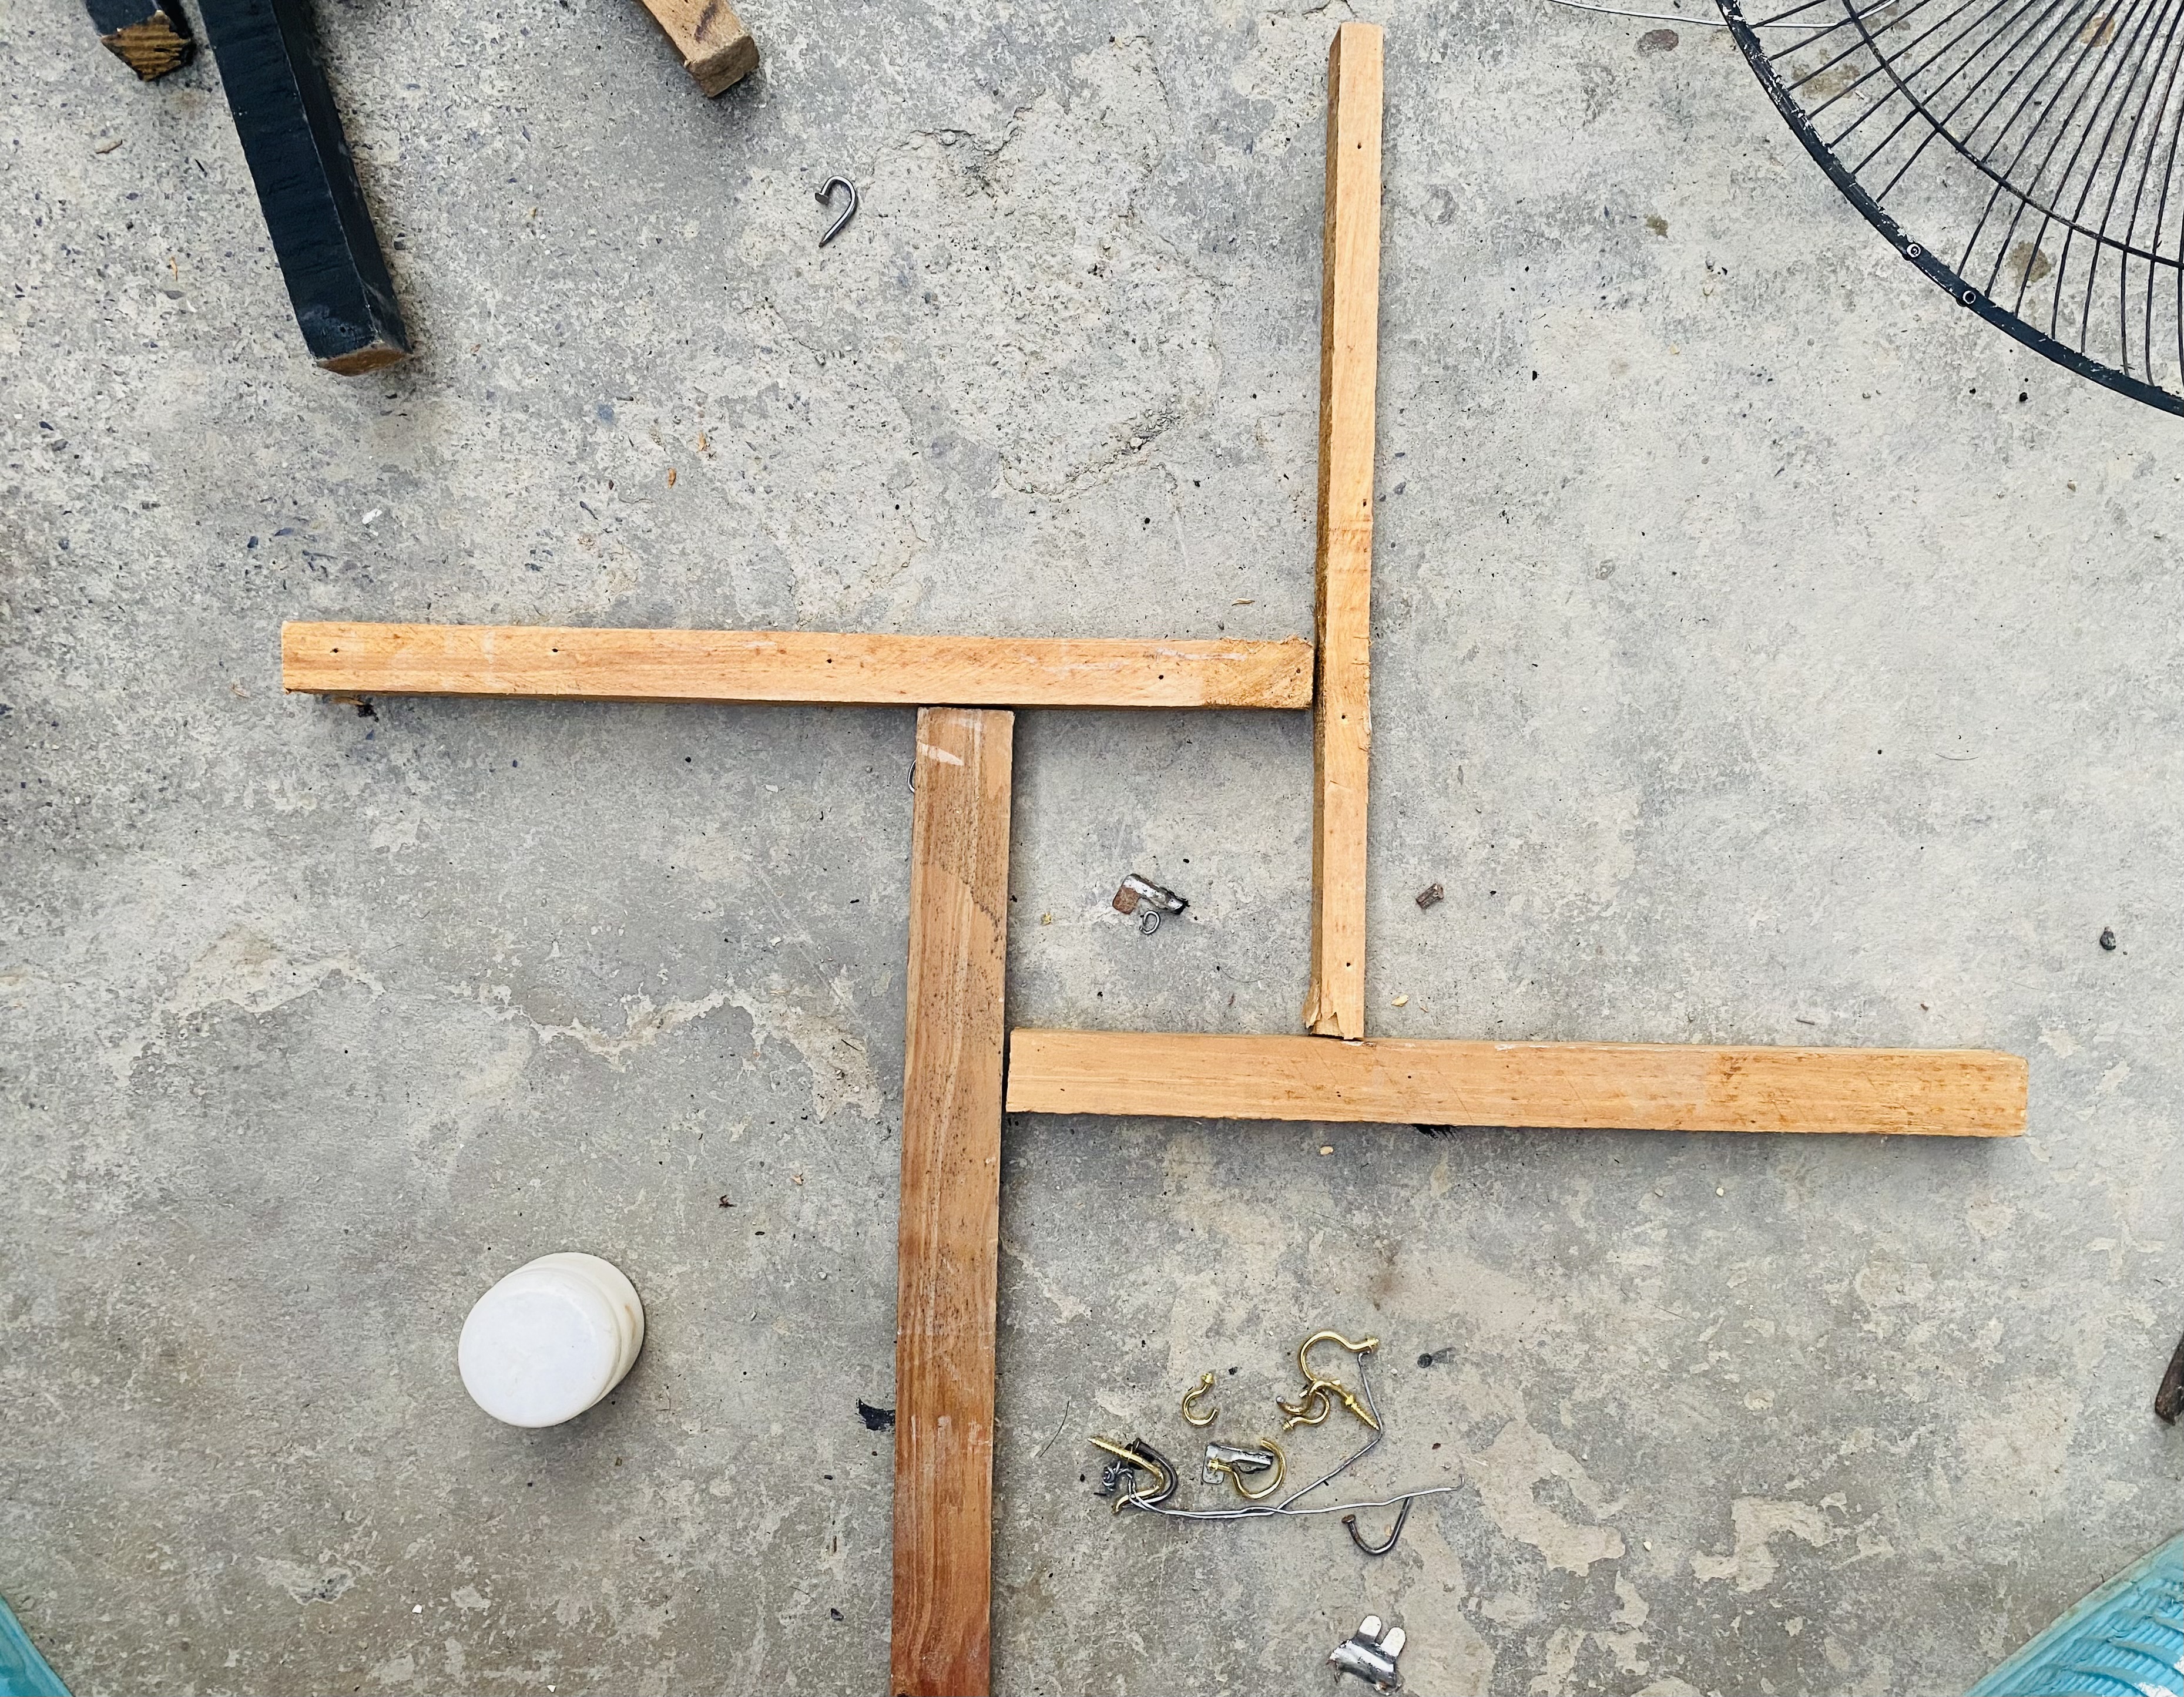
Para el siguiente paso vamos a unir las cuatro piezas que cortamos de 33 cm, estas son las que van en el centro, dejaremos una distancia de 10 cm para unir cada madera y les daremos la forma como les muestro en mi imagen, para unir yo les coloqué pega de madera y clavitos para sostenerlas
For the next step we are going to join the four pieces that we cut of 33 cm, these are the ones that go in the center, we will leave a distance of 10 cm to join each wood and we will give them the shape as I show you in my image, to join I I placed wooden glue and nails to hold them.
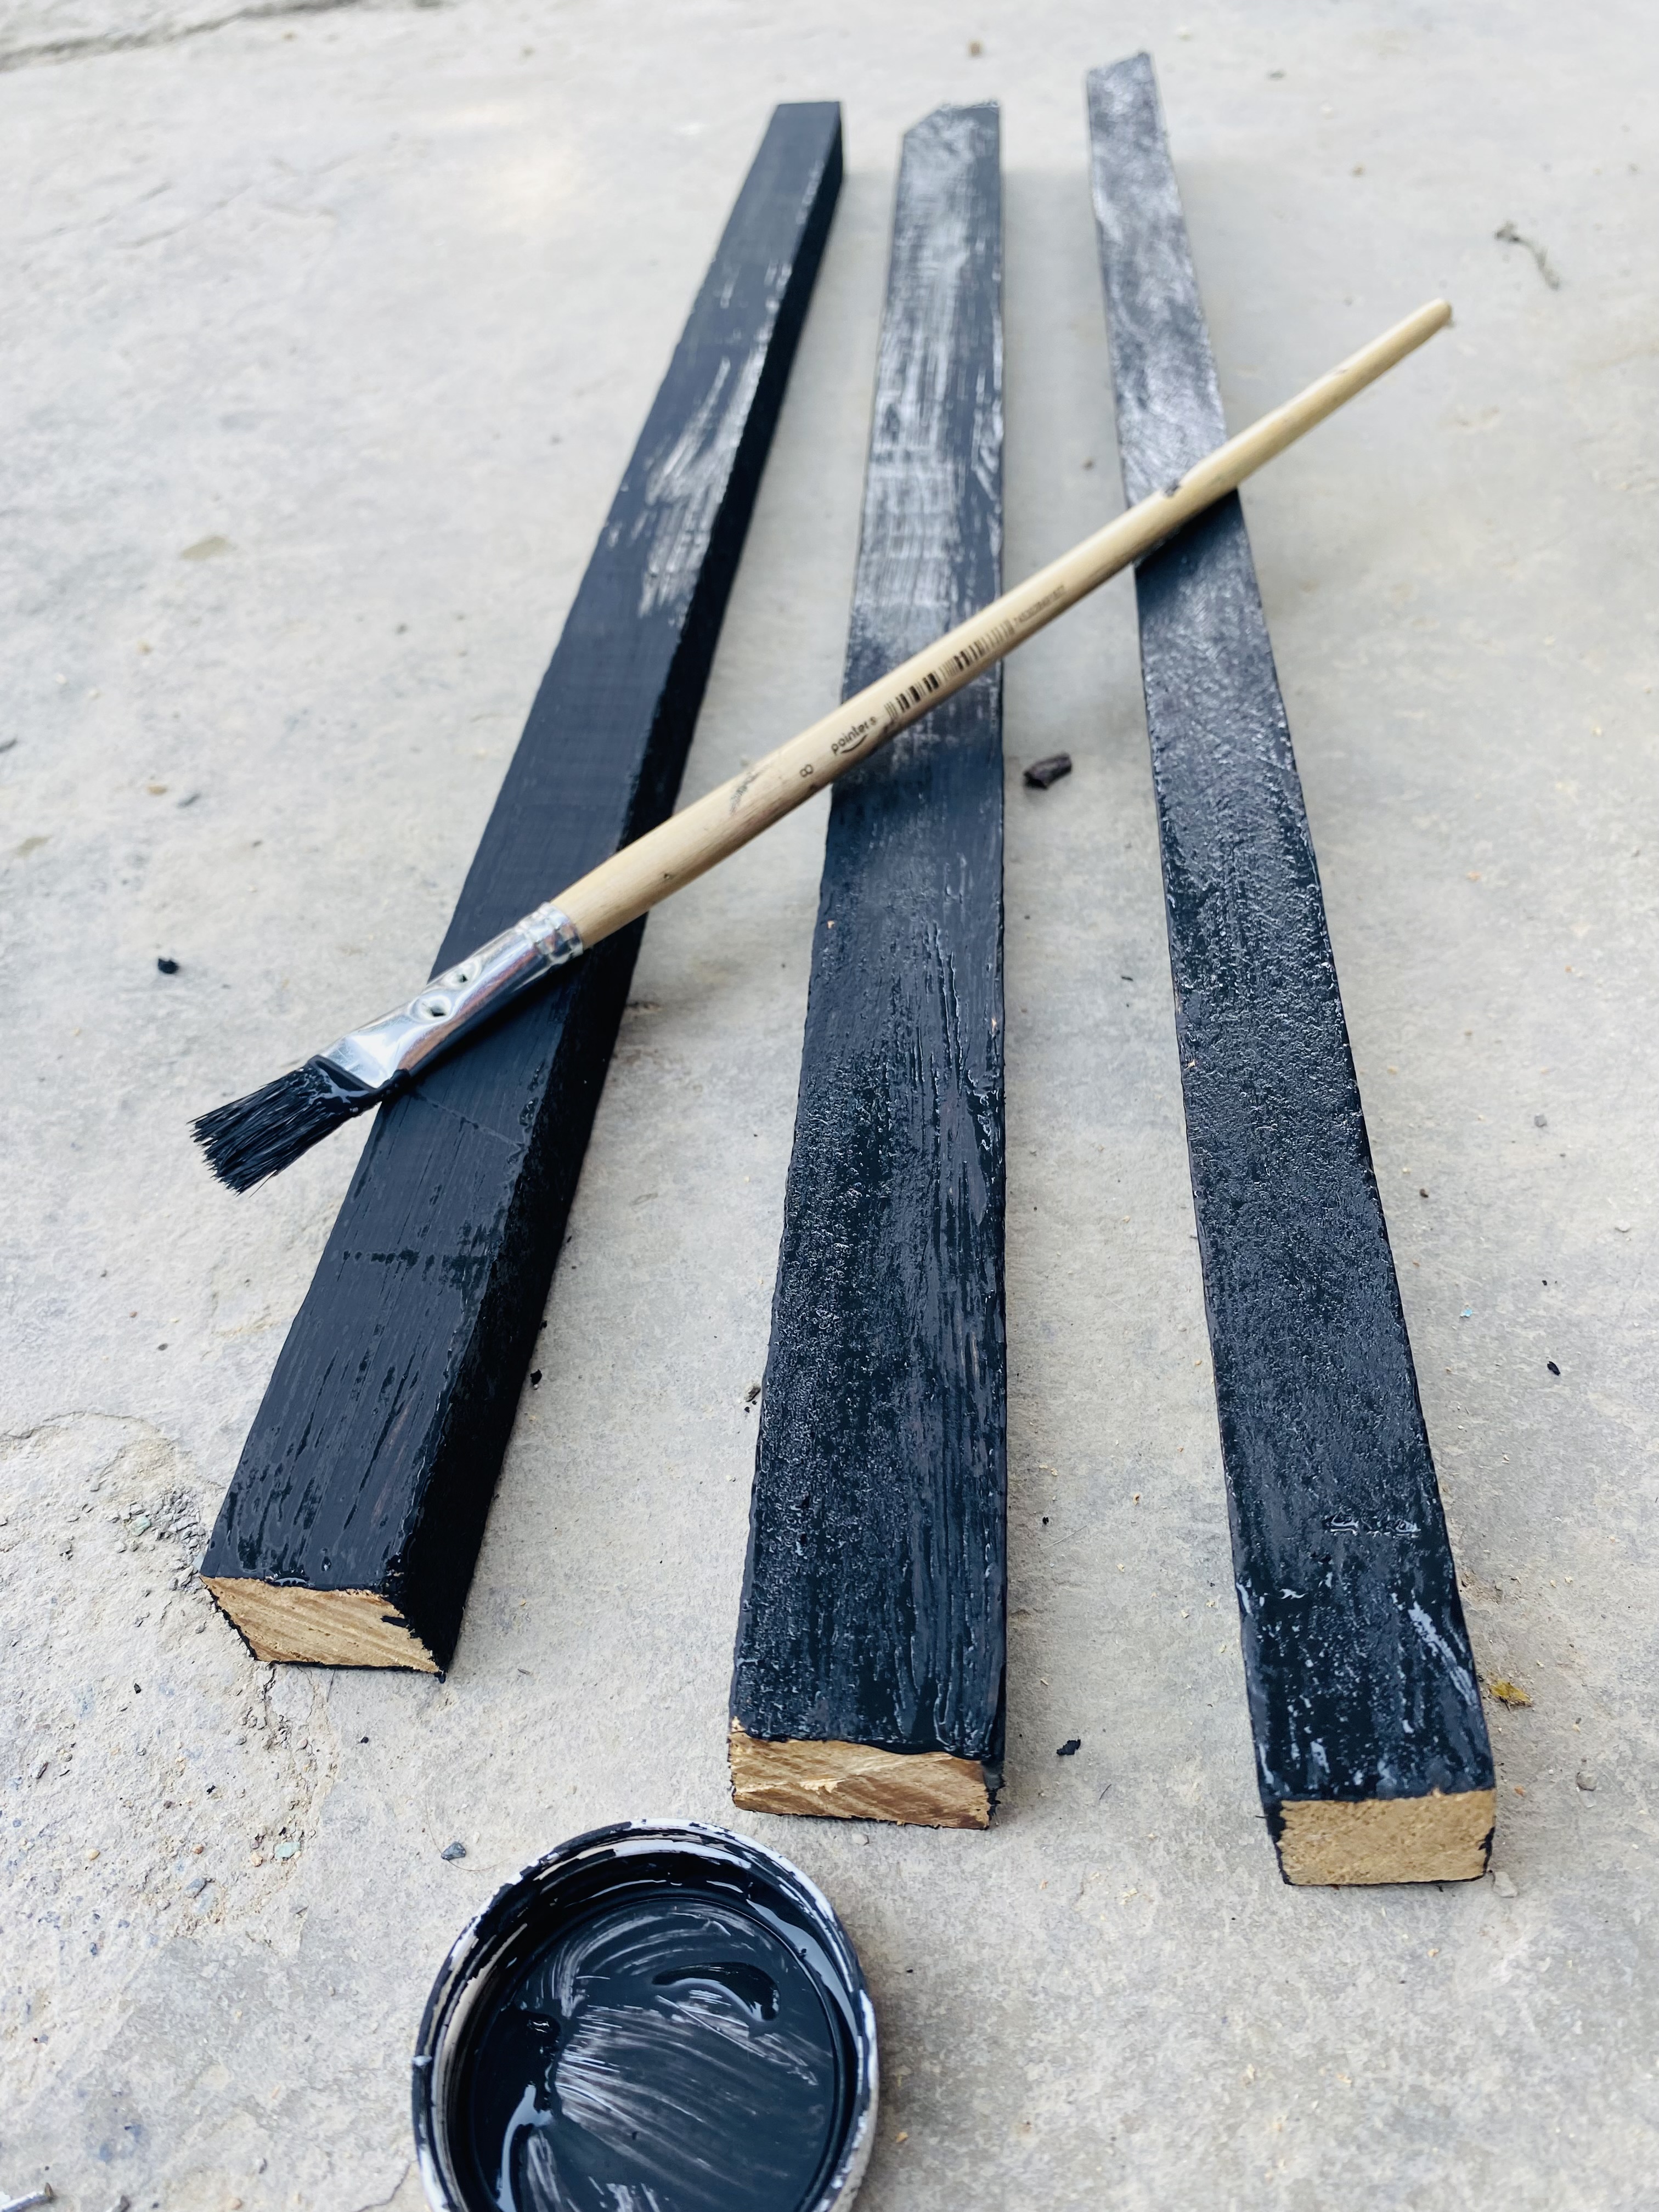
Para el siguiente paso vamos a pintar nuestras piezas de madera, yo las quise pintar de color negro ya que está muy de moda y también me gusta mucho los objetos en este color, pero lo puedes hacer del color que desees o dejarlas del color natural que también queda bonito.
Comencé pintando los listones que van como patas del organizador, también pinté las rejillas de ventilador, me quedaba poca pintura, así que la parte del Centro la dejaré sin pintar
For the next step we are going to paint our wooden pieces, I wanted to paint them black since it is very fashionable and I also really liked the objects in this color, but you can do it any color you want or leave them the natural color you want. It also looks pretty.
I started by painting the slats that serve as legs of the organizer, I also painted the fan grilles, I had little paint left, so I will leave the center part unpainted
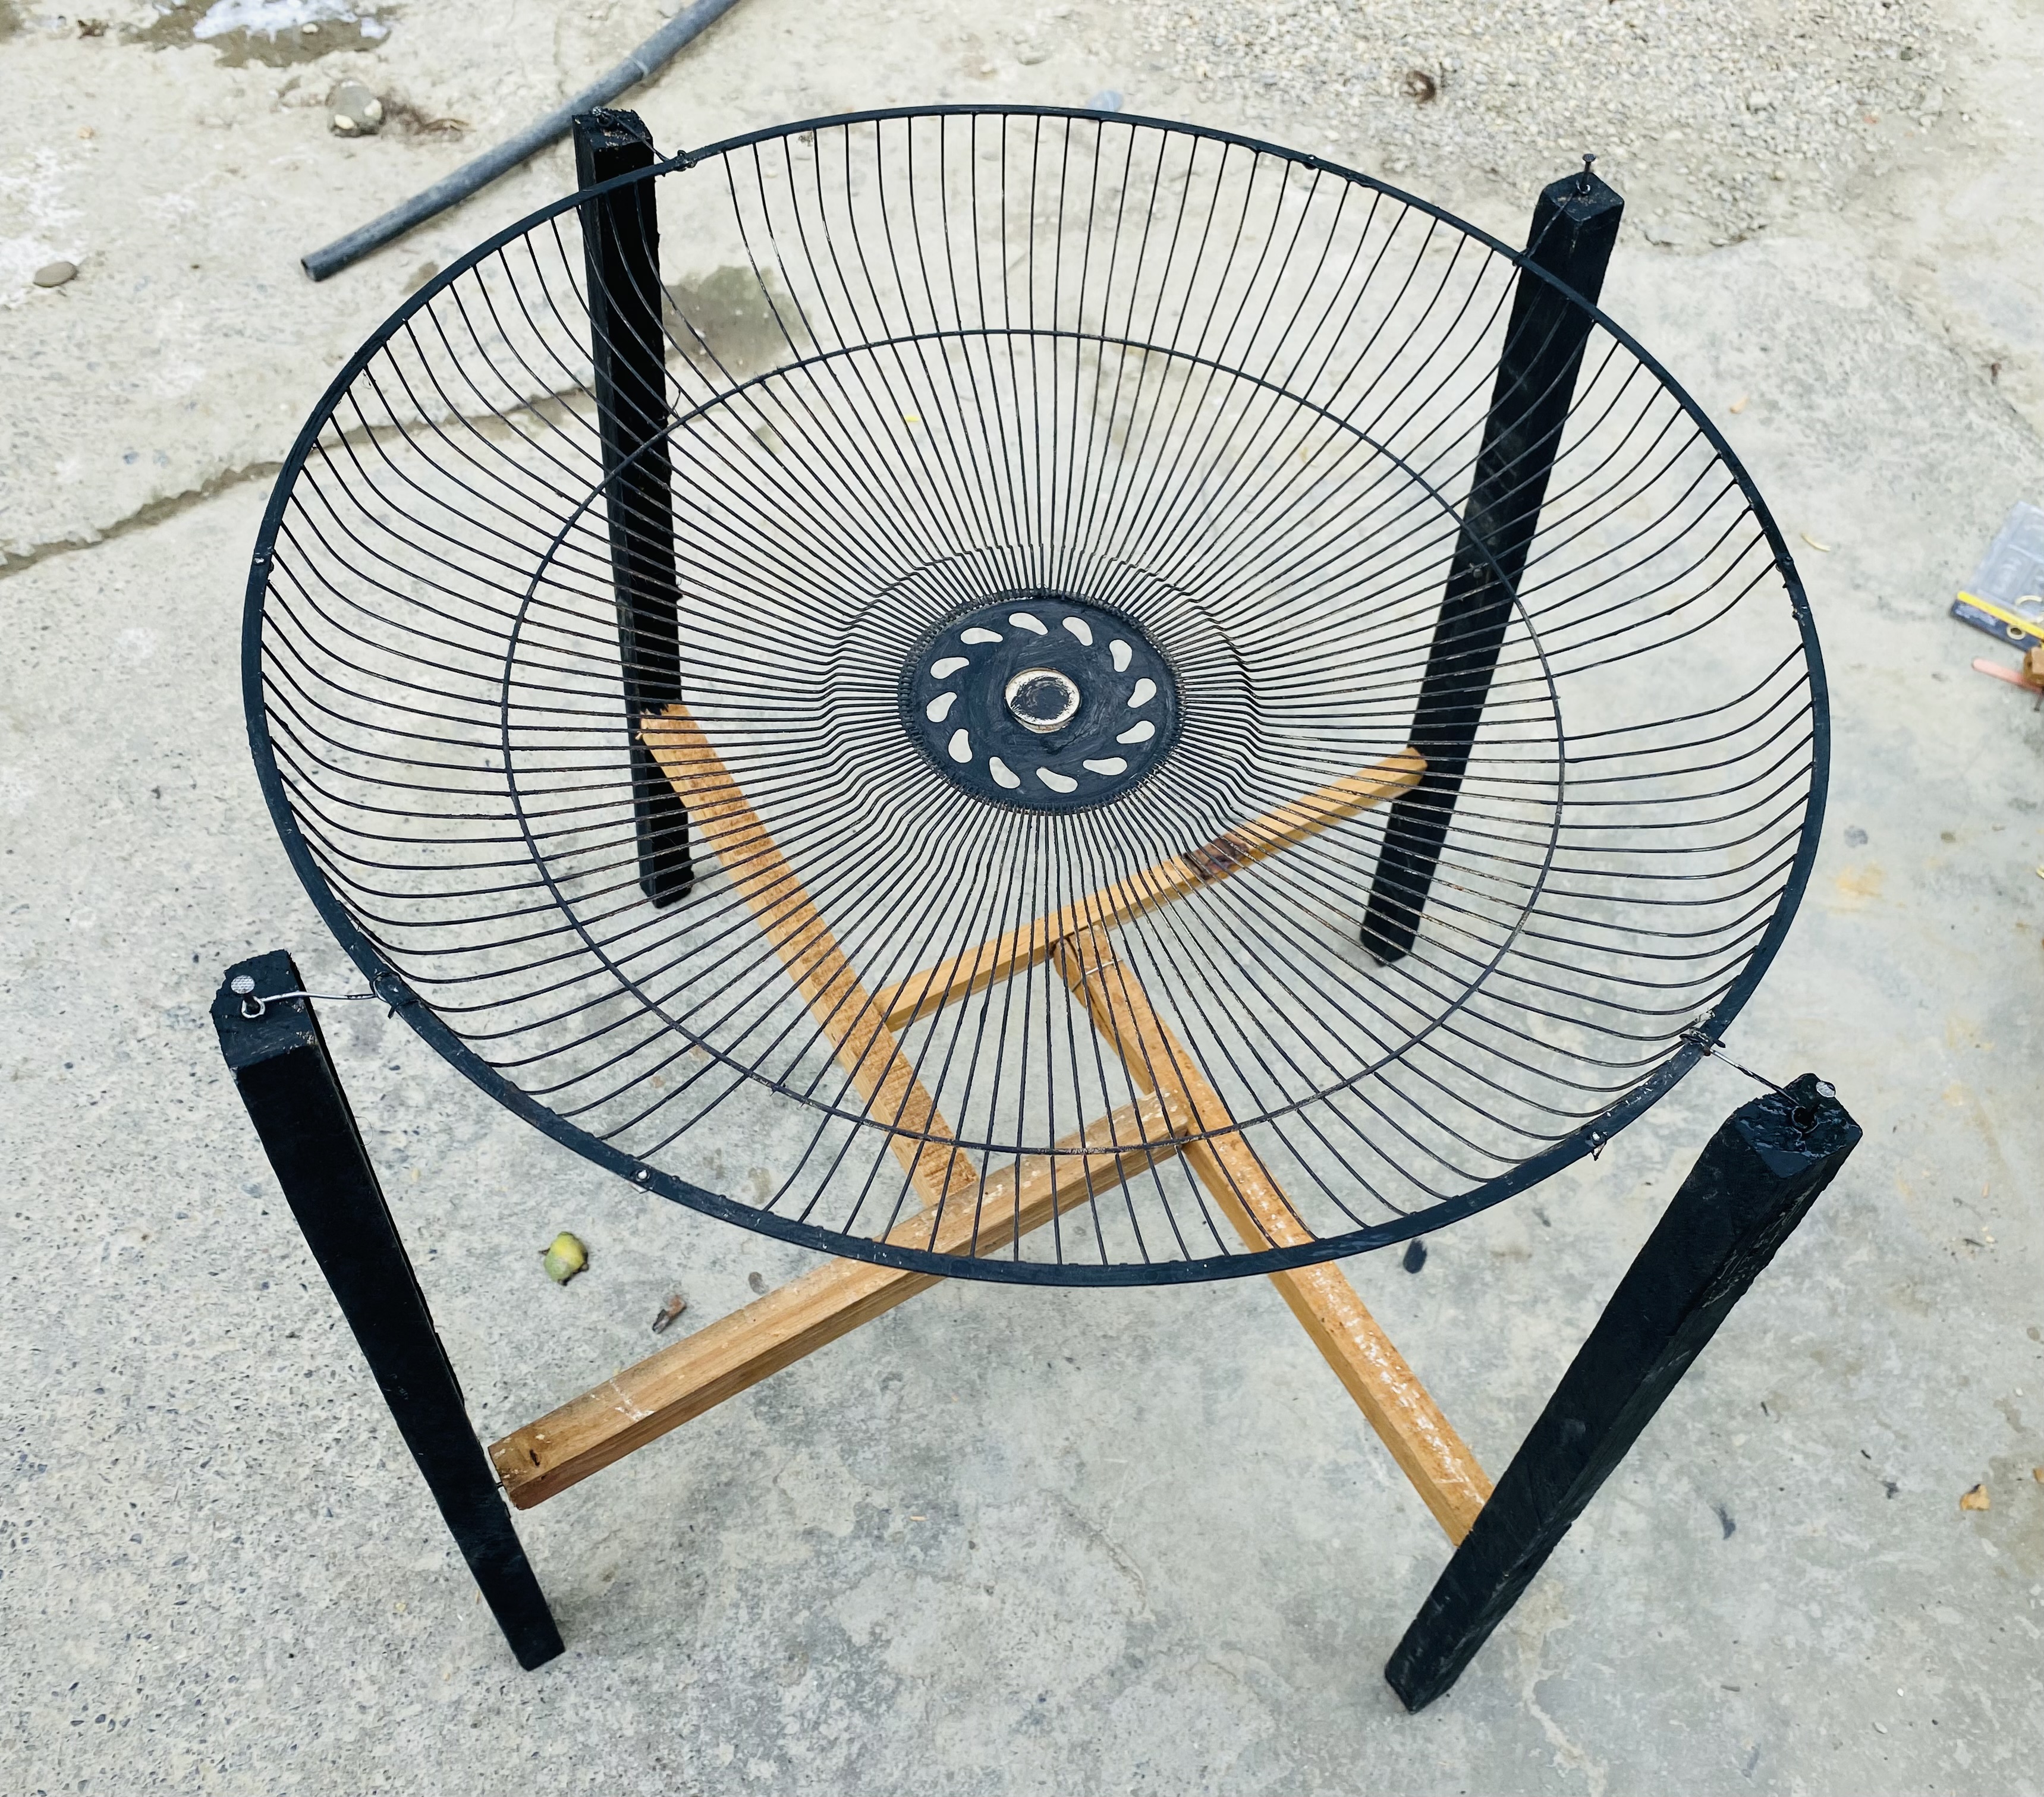
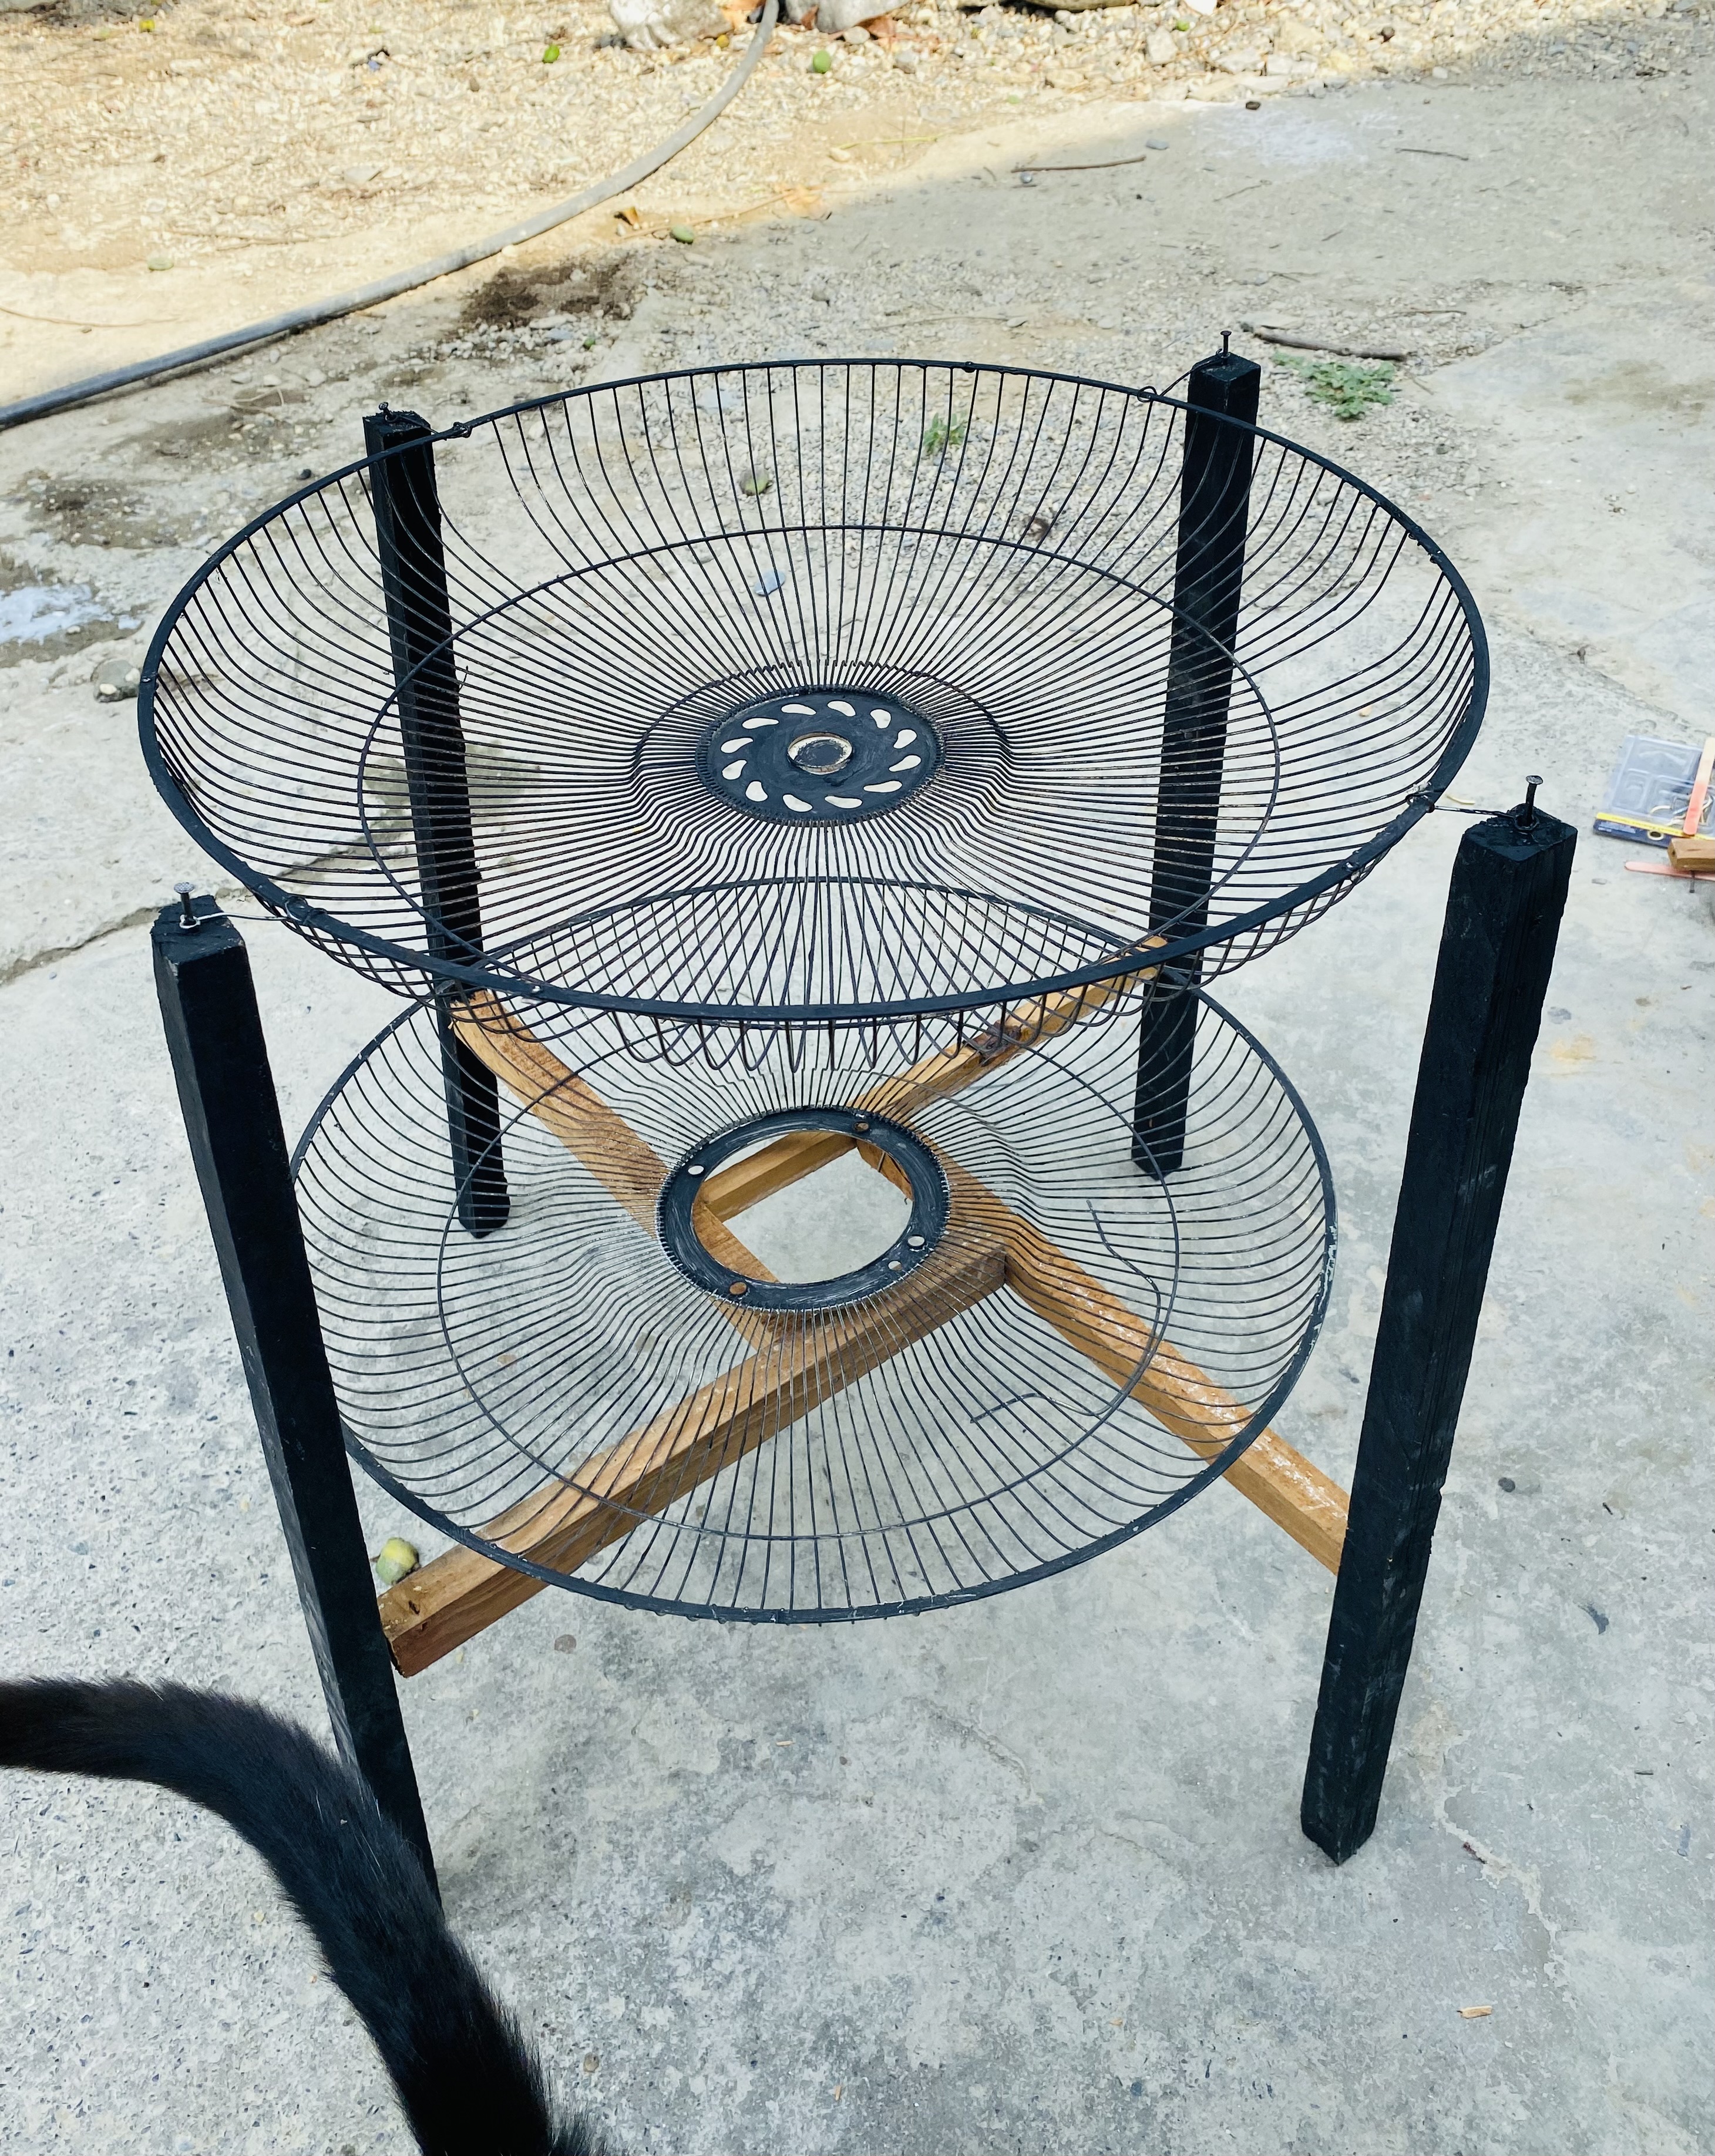
En este paso vamos a armar las patas de nuestro organizador, con cuidado vamos a ir uniendo con clavos en cada punta así hasta unir las cuatro piezas.
Luego de armarlo me di cuenta de qué me quedó un poco grande con respecto a la medida de la tapa del ventilador pero esto no es tan importante.
La rejilla de la parte superior la voy a amarrar colocando clavitos en cada listón y un pequeño trozo de alambre, sé que no es muy estético pero luego buscaré la forma de que se vea mejor.
In this step we are going to assemble the legs of our organizer, carefully we are going to join each end with nails until the four pieces are joined.
After putting it together I realized that it was a little big compared to the size of the fan cover but this is not that important.
I am going to tie the grille at the top by placing nails in each slat and a small piece of wire, I know it is not very aesthetic but then I will find a way to make it look better.

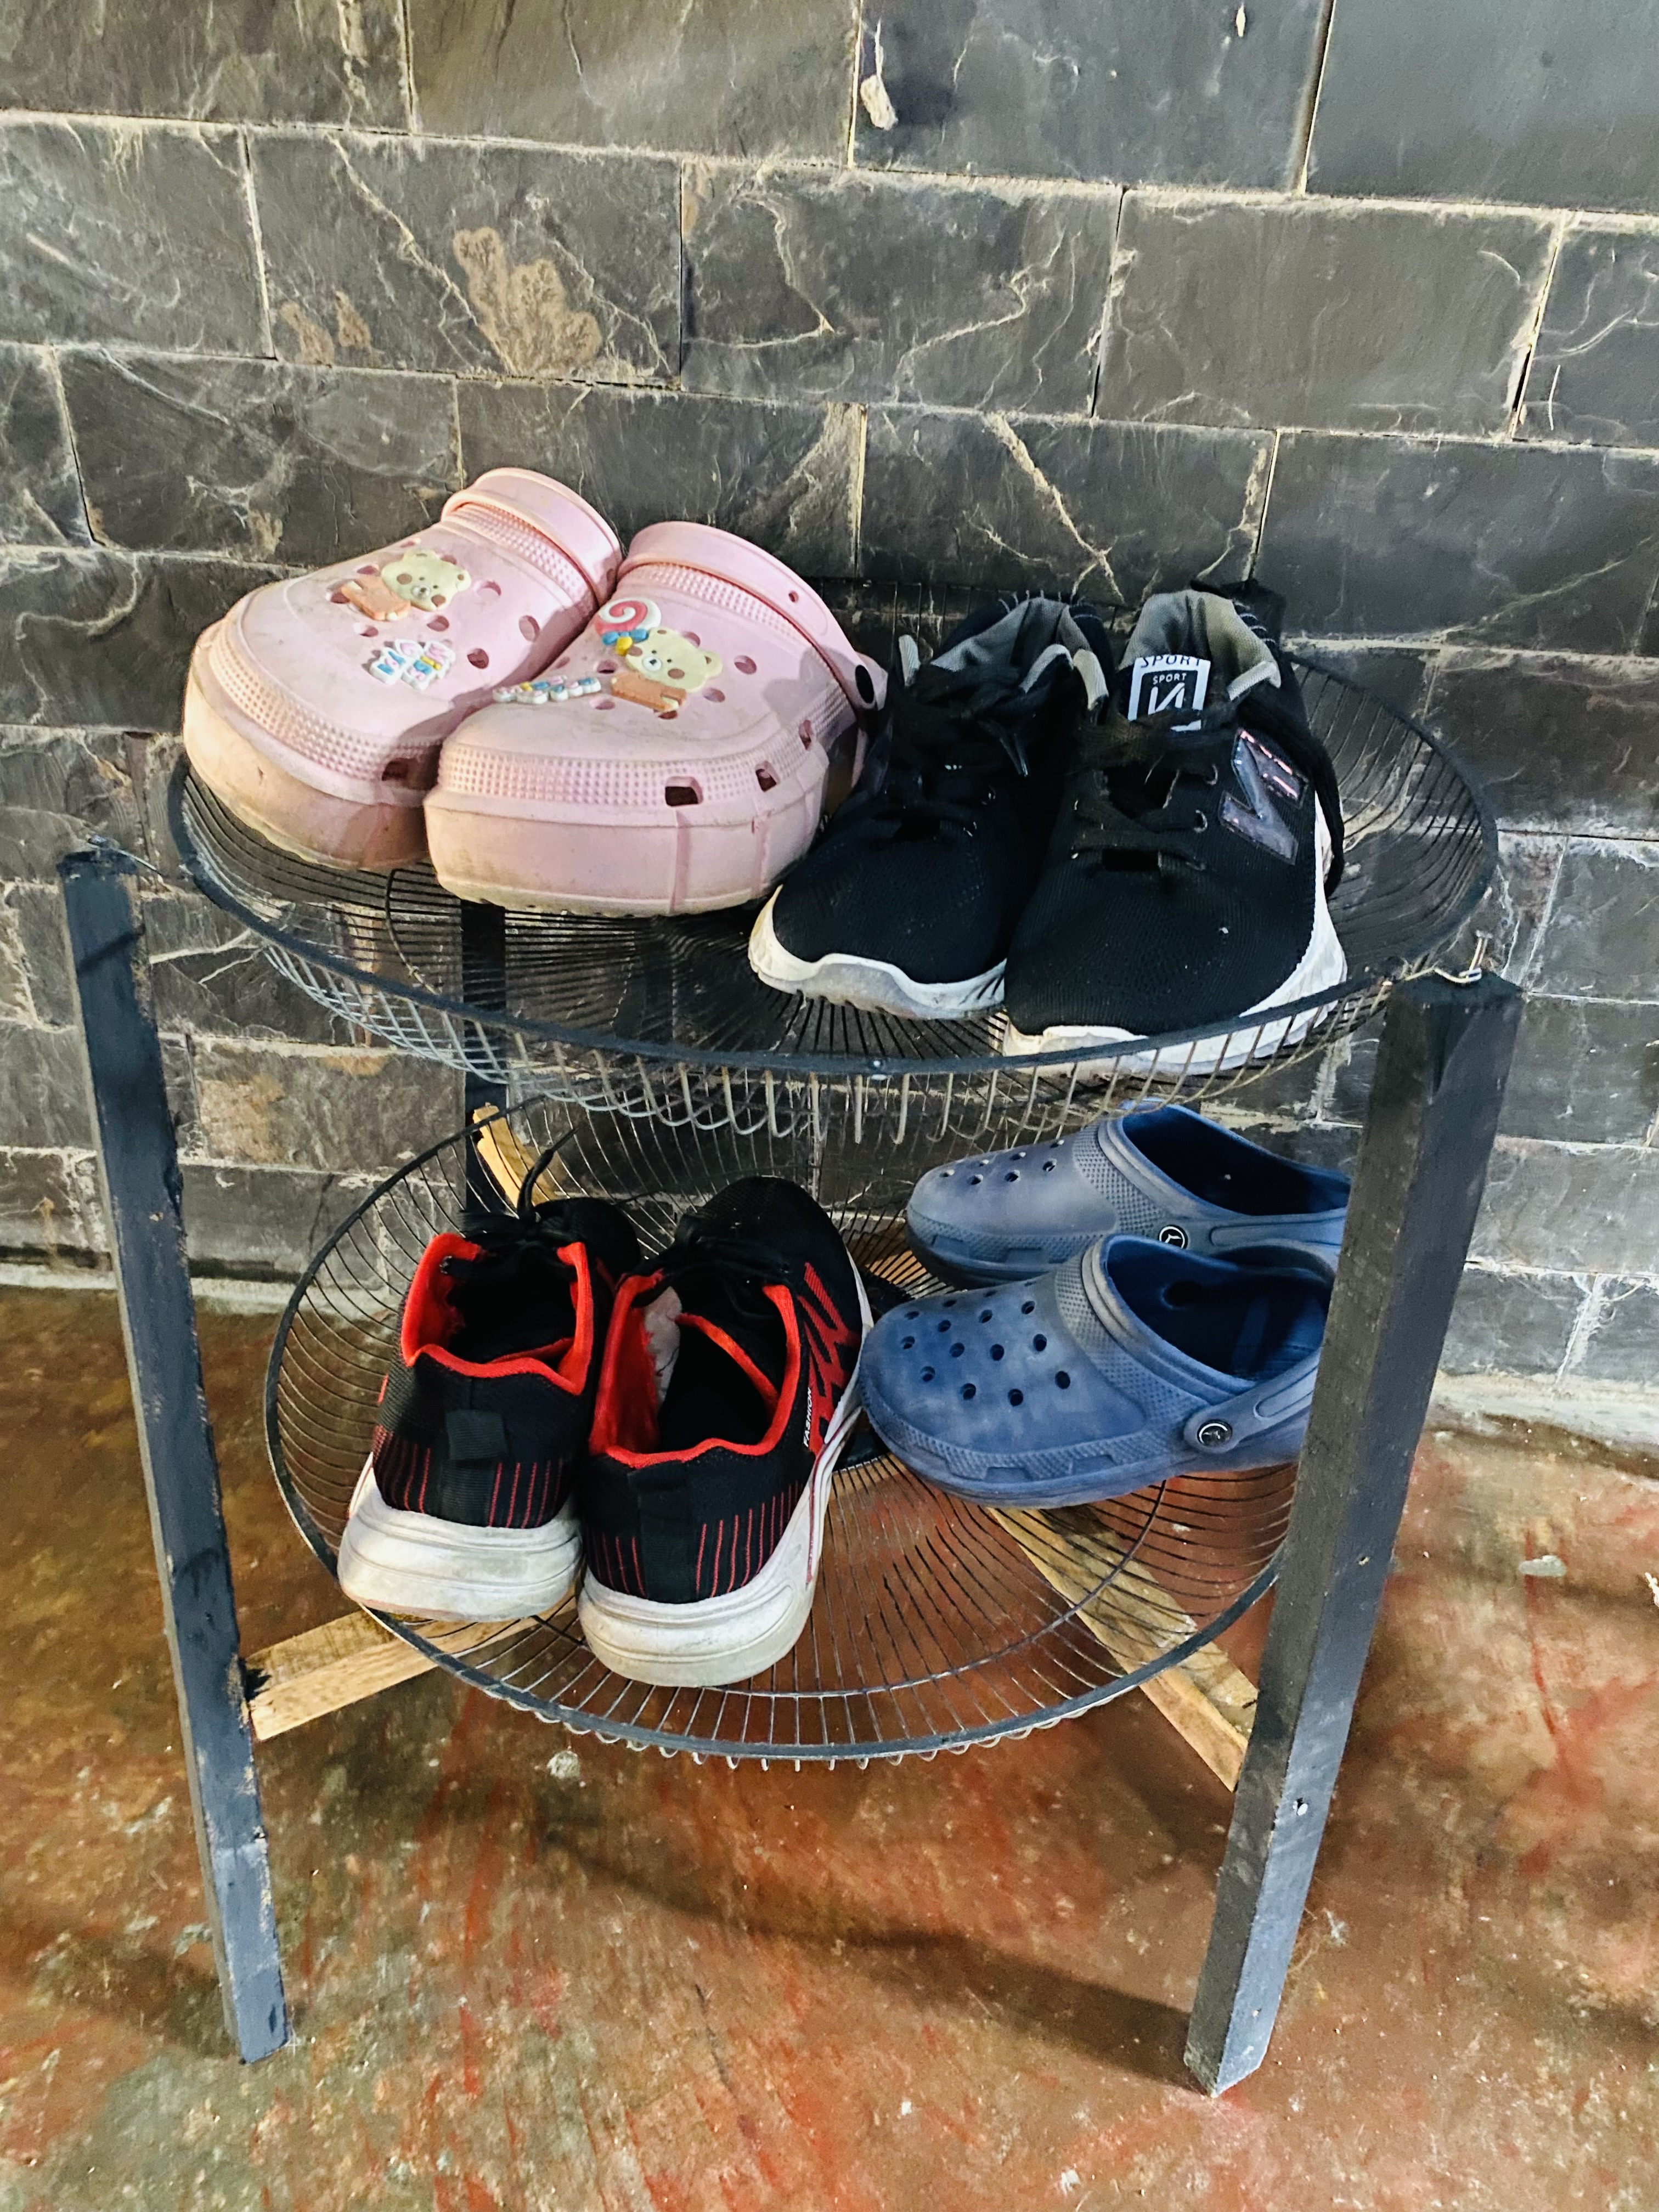
Para la rejilla de abajo solamente la vamos a poner en nuestra base, y así ya tendremos listo nuestro organizador, este puede servir para exteriores y colocar tus macetas, también lo puedes utilizar en tu hogar para organizar zapatos o lo que desees, espero les haya gustado
For the bottom rack we are only going to put it on our base, and then we will have our organizer ready, this can be used outdoors and place your pots, you can also use it in your home to organize shoes or whatever you want, I hope you found it liked
Reciclando podemos crear increíbles cosas y decorar nuestro hogar de una forma económica, este organizador me encantó y lo utilizaré para mis zapatos espero les sirva de guía para que hagan sus organizadores, me despido deseándoles un día lleno de éxitos y energías para lograr todos sus proyectos, agradecida por visitar mi publicación, hasta otra oportunidad
By recycling we can create incredible things and decorate our home in an economical way. I loved this organizer and I will use it for my shoes. I hope it will serve as a guide for you to make your organizers. I say goodbye wishing you a day full of success and energy to achieve all your projects. , grateful for visiting my publication, until another opportunity
👏 Keep Up the good work on Hive ♦️ 👏
🙏 Don't forget to Support Back 🙏
Wow amiga estupenda idea, hiciste un arduo trabajo, bastante útil, incluso como un accesorio para uso en la cocina como para colocar frutas y verduras, por aquí tengo varias tapas de esas ahora ya tengo una buena idea para darles un buen uso. Gracias por compartir 🤗
Quedaría chevere en la cocina también amiga, me contenta mucho que le haya gustado, gracias por comentar, saludos 🥰
Hola amiga está muy ingeniosa tu idea, además muy creativa es una buena opción para darle otra vida útil a algo que ha sido desechado
Gracias amiga me alegra mucho que le guste, saludos 🥰
Está genial la idea para reciclar!. Gracias por compartir.
Gracias 😊
Wow, demasiado original !
Thanks ☺️
¡¡¡Buen trabajo!!! Gracias por publicar tu excelente contenido en Hive Diy, qué prácticos y útiles son, tengo muchas de esas en mi casa, ya que sí pueden resultarme útiles.
Tu comunidad artesana ahora es testigo

Gracias 🥰
Congratulations @marlynmont! You have completed the following achievement on the Hive blockchain And have been rewarded with New badge(s)
Your next target is to reach 30000 upvotes.
You can view your badges on your board and compare yourself to others in the Ranking
If you no longer want to receive notifications, reply to this comment with the word
STOP