Saludos amigos de Hive, espero estéis disfrutando de un día maravilloso 😊💖
Las tarjetas del banco siempre se me pierde o así estoy en mi cartera me cuesta conseguirlas, entonces pensé una idea para tenerlas todas juntas y organizadas, y quiero compartir con ustedes para que también puedan tener su propio tarjetero y no vuelvas a preocuparte por perder alguna de ellas, acompáñame a hacer este lindo tarjetero o porta tarjeta en plástico transparente, así te dejo el paso a paso:
Greetings, Hive friends, I hope you're enjoying a wonderful day 😊💖
I always lose my bank cards, or they're always in my wallet, and I have a hard time finding them. So, I thought of an idea to keep them all together and organized. I want to share it with you so you can also make your own card holder and never worry about losing one again. Join me to make this cute clear plastic card holder. Here's the step-by-step instructions:
MATERIALES
MATERIALS
El plástico transparente es un material muy útil, aparte de qué lo puedes conseguir a precios muy económicos, con este podemos darle infinitas utilidades, como hacer bolsos, cartucheras, organizadores y esta vez quise hacer este porta tarjetas en este tipo de material, ya que así las tenemos más a la vista y al momento de utilizarlas las podemos escoger con más facilidad, éste porta tarjetas te puede servir también para tus documentos personales, como lo es, la licencia de conducir, la cédula de identidad, entre otros, aquí te dejo la lista de materiales para realizar tu tarjetero:
- Plástico transparente
- Una hoja blanca
- Lápiz
- Regla
- Tijeras
- Exacto de precisión
- hilo
- máquina de coser
Clear plastic is a very useful material. Besides being affordable, it can be used for endless uses, such as making bags, pencil cases, and organizers. This time, I wanted to make this card holder out of this material, as it makes it easier to see the cards and pick them up when needed. This card holder can also be used for your personal documents, such as your driver's license and ID card. Here's the list of materials to make your card holder:
- Clear plastic
- A sheet of white paper
- Pencil
- Ruler
- Scissors
- Precision scissors
- Thread
- Sewing machine

PASO A PASO
STEP BY STEP
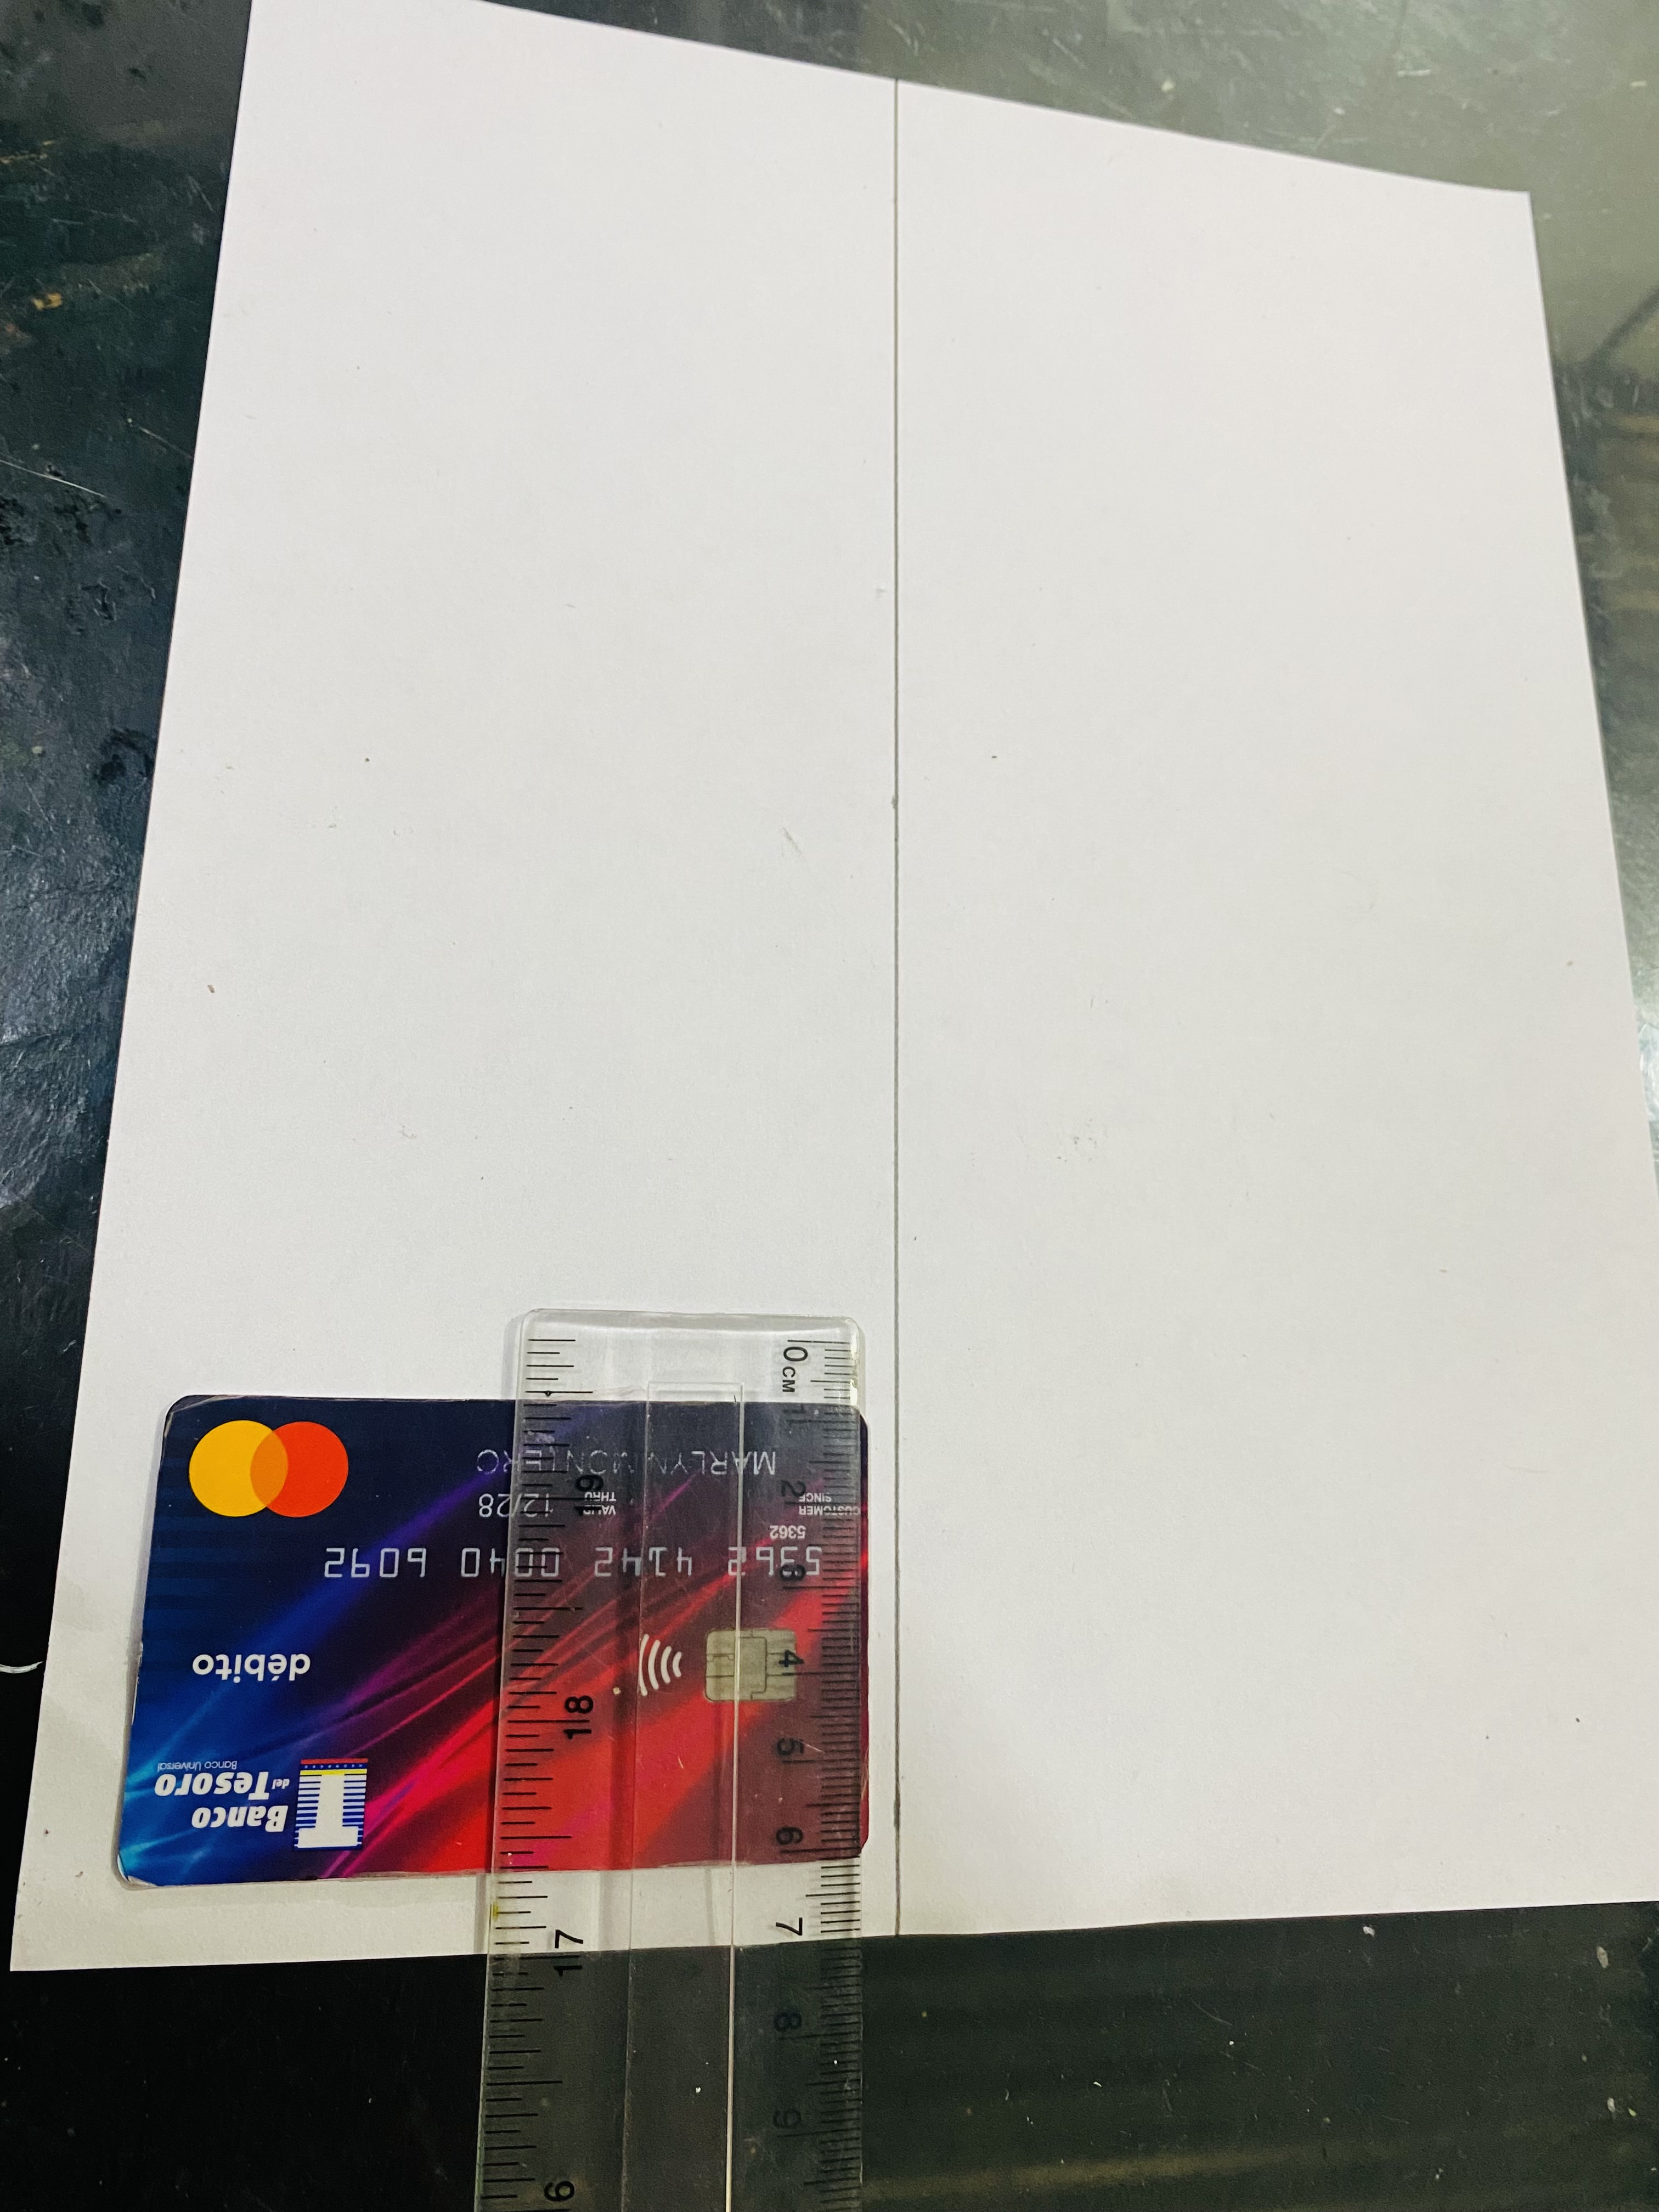
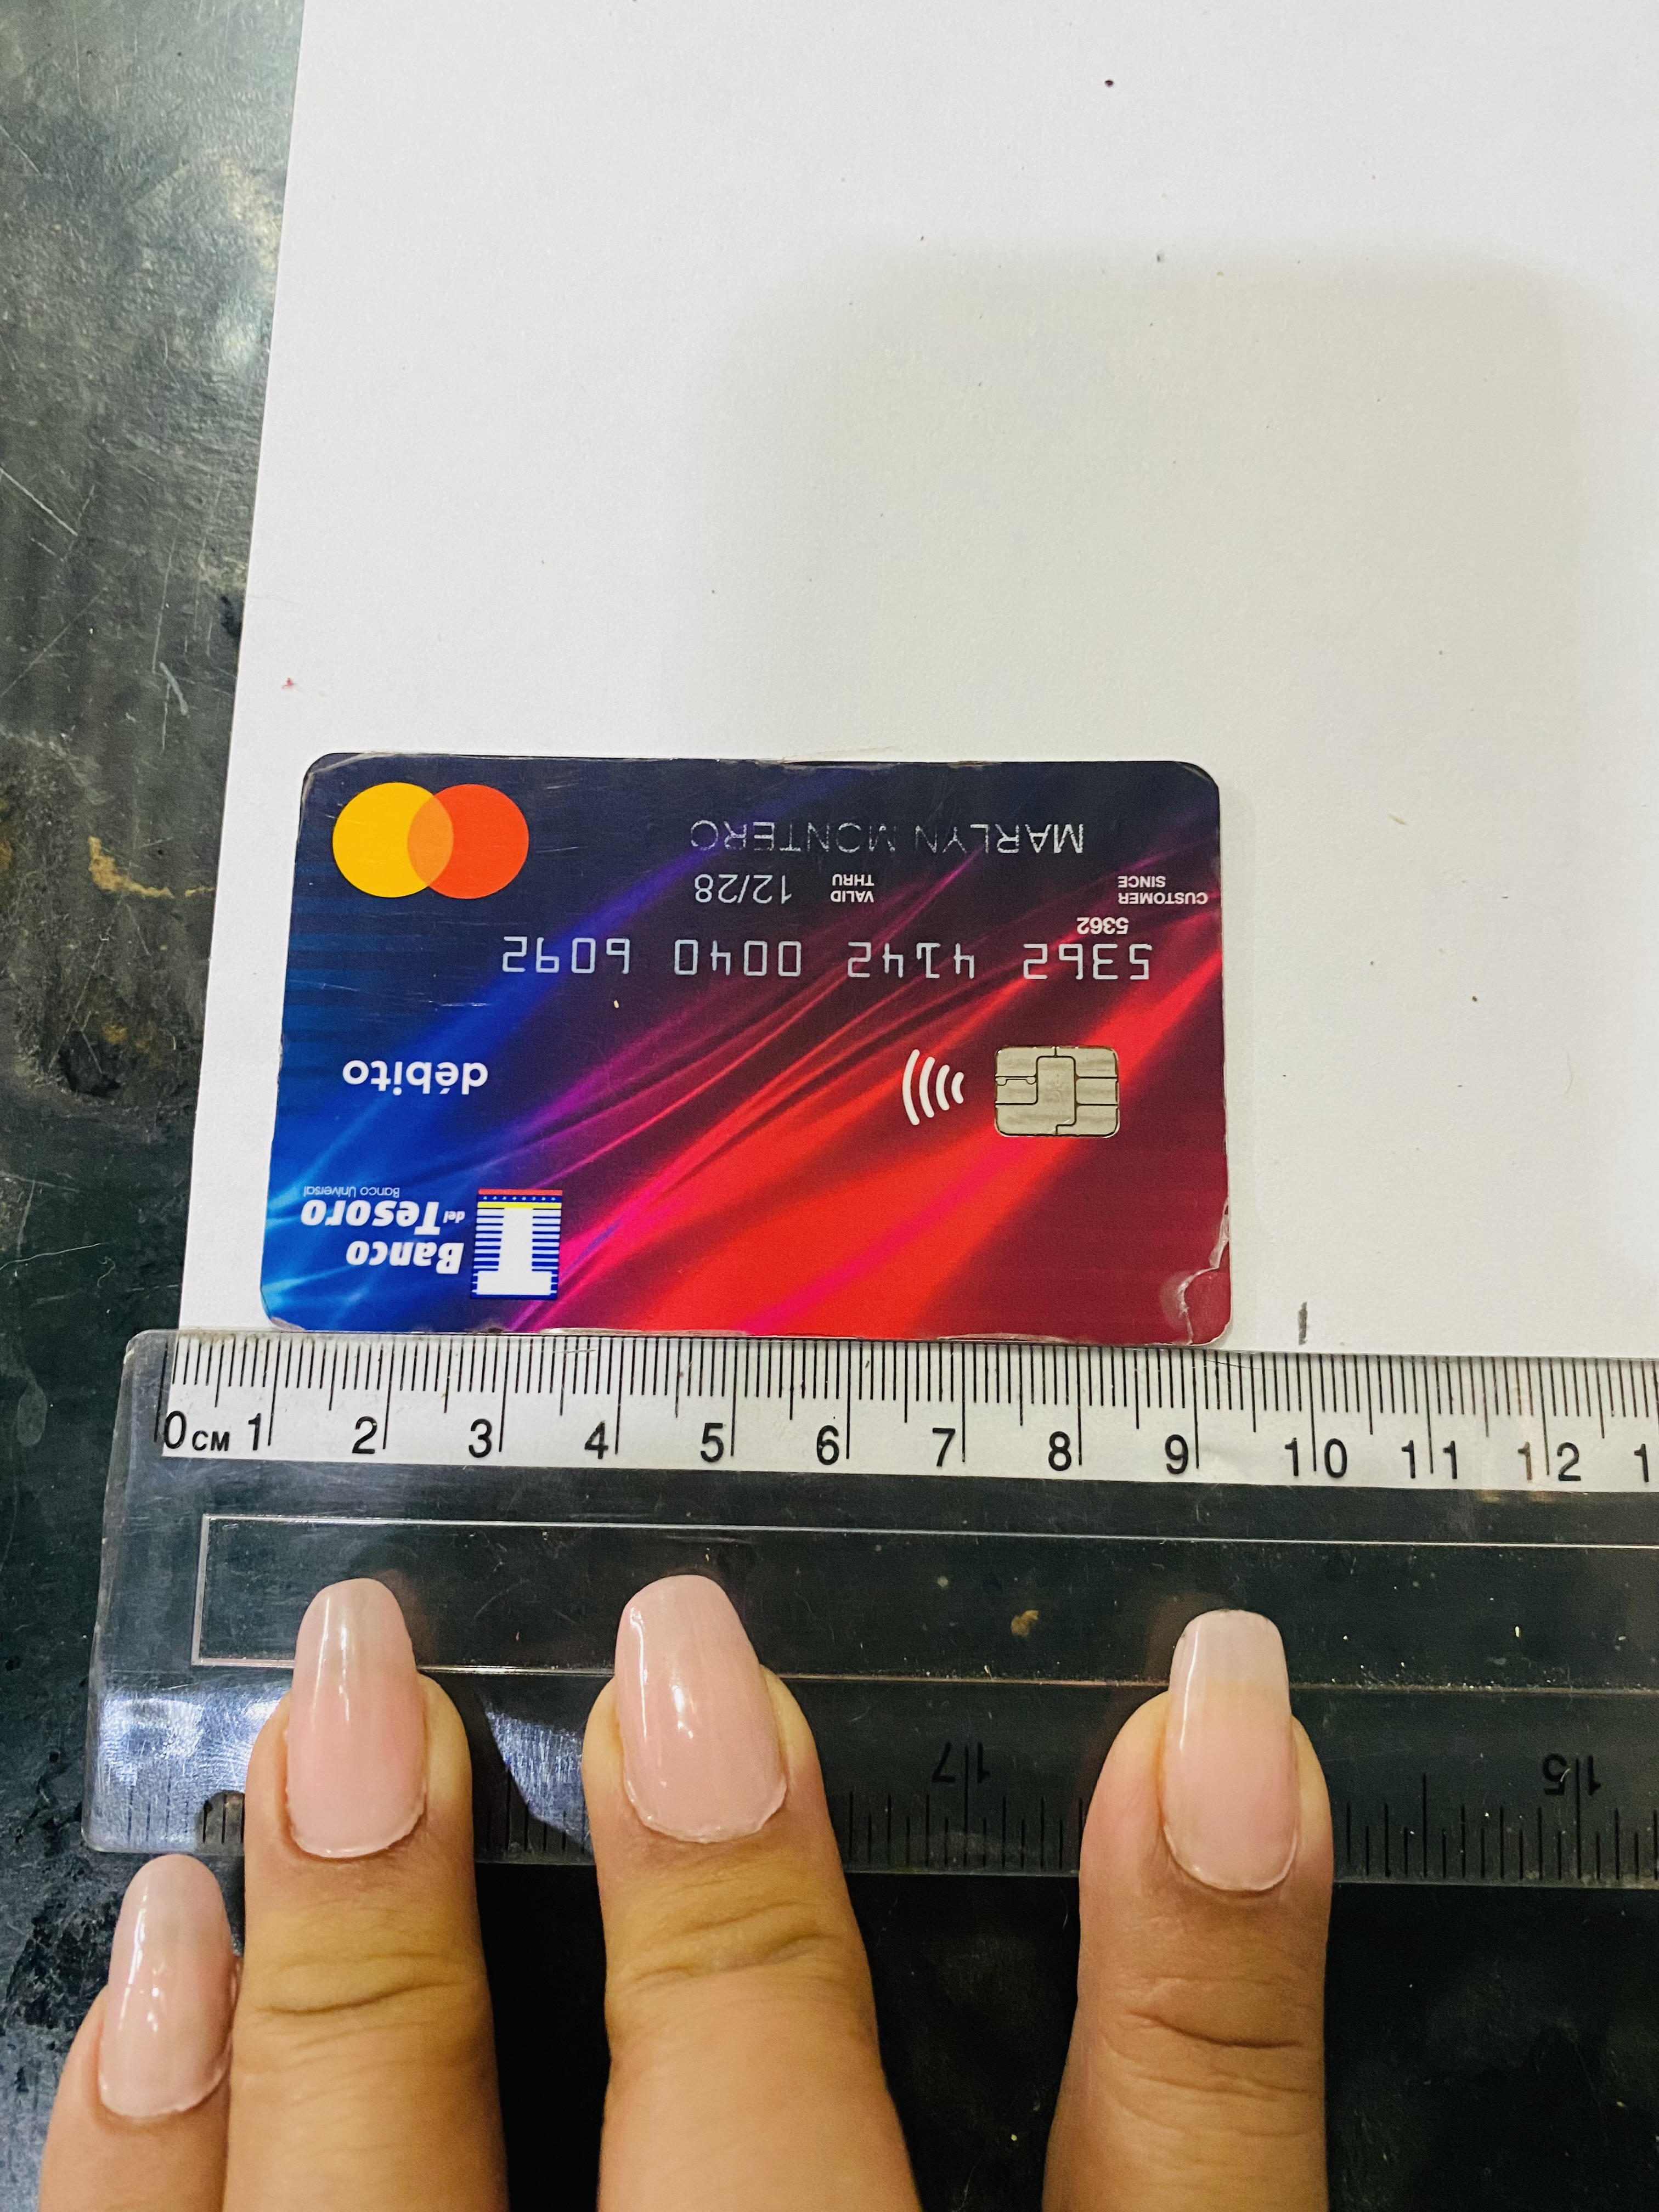
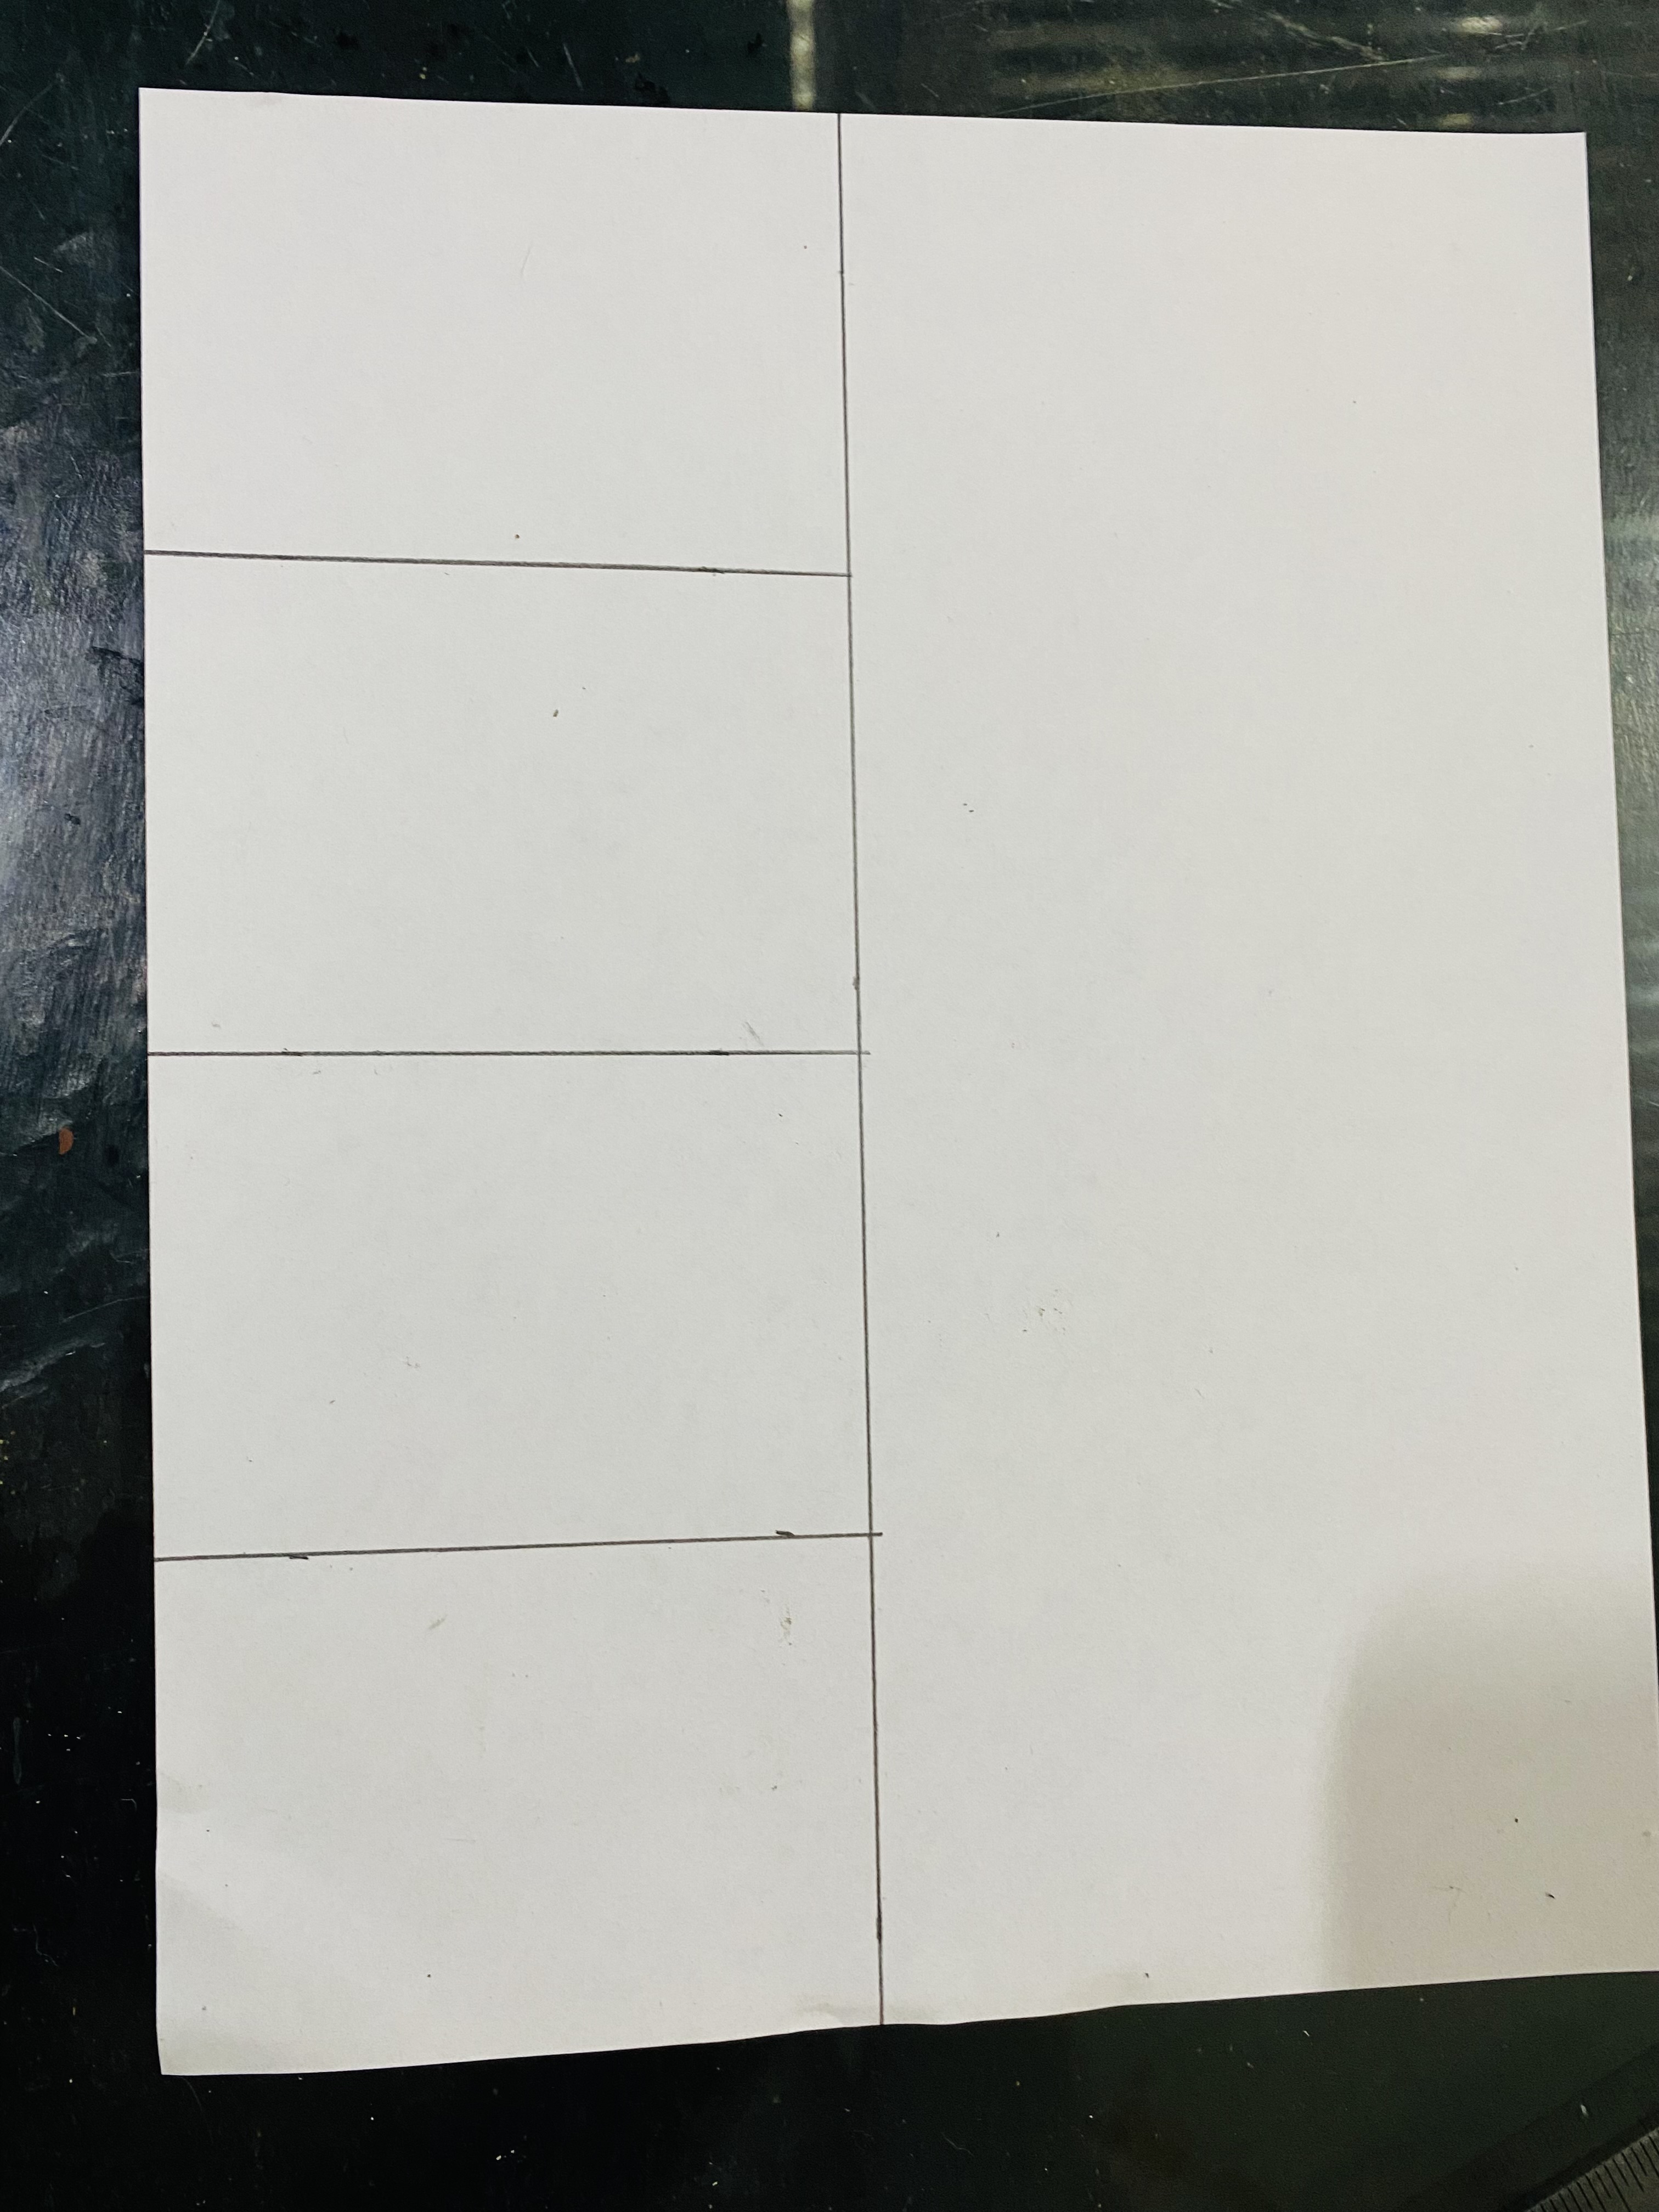
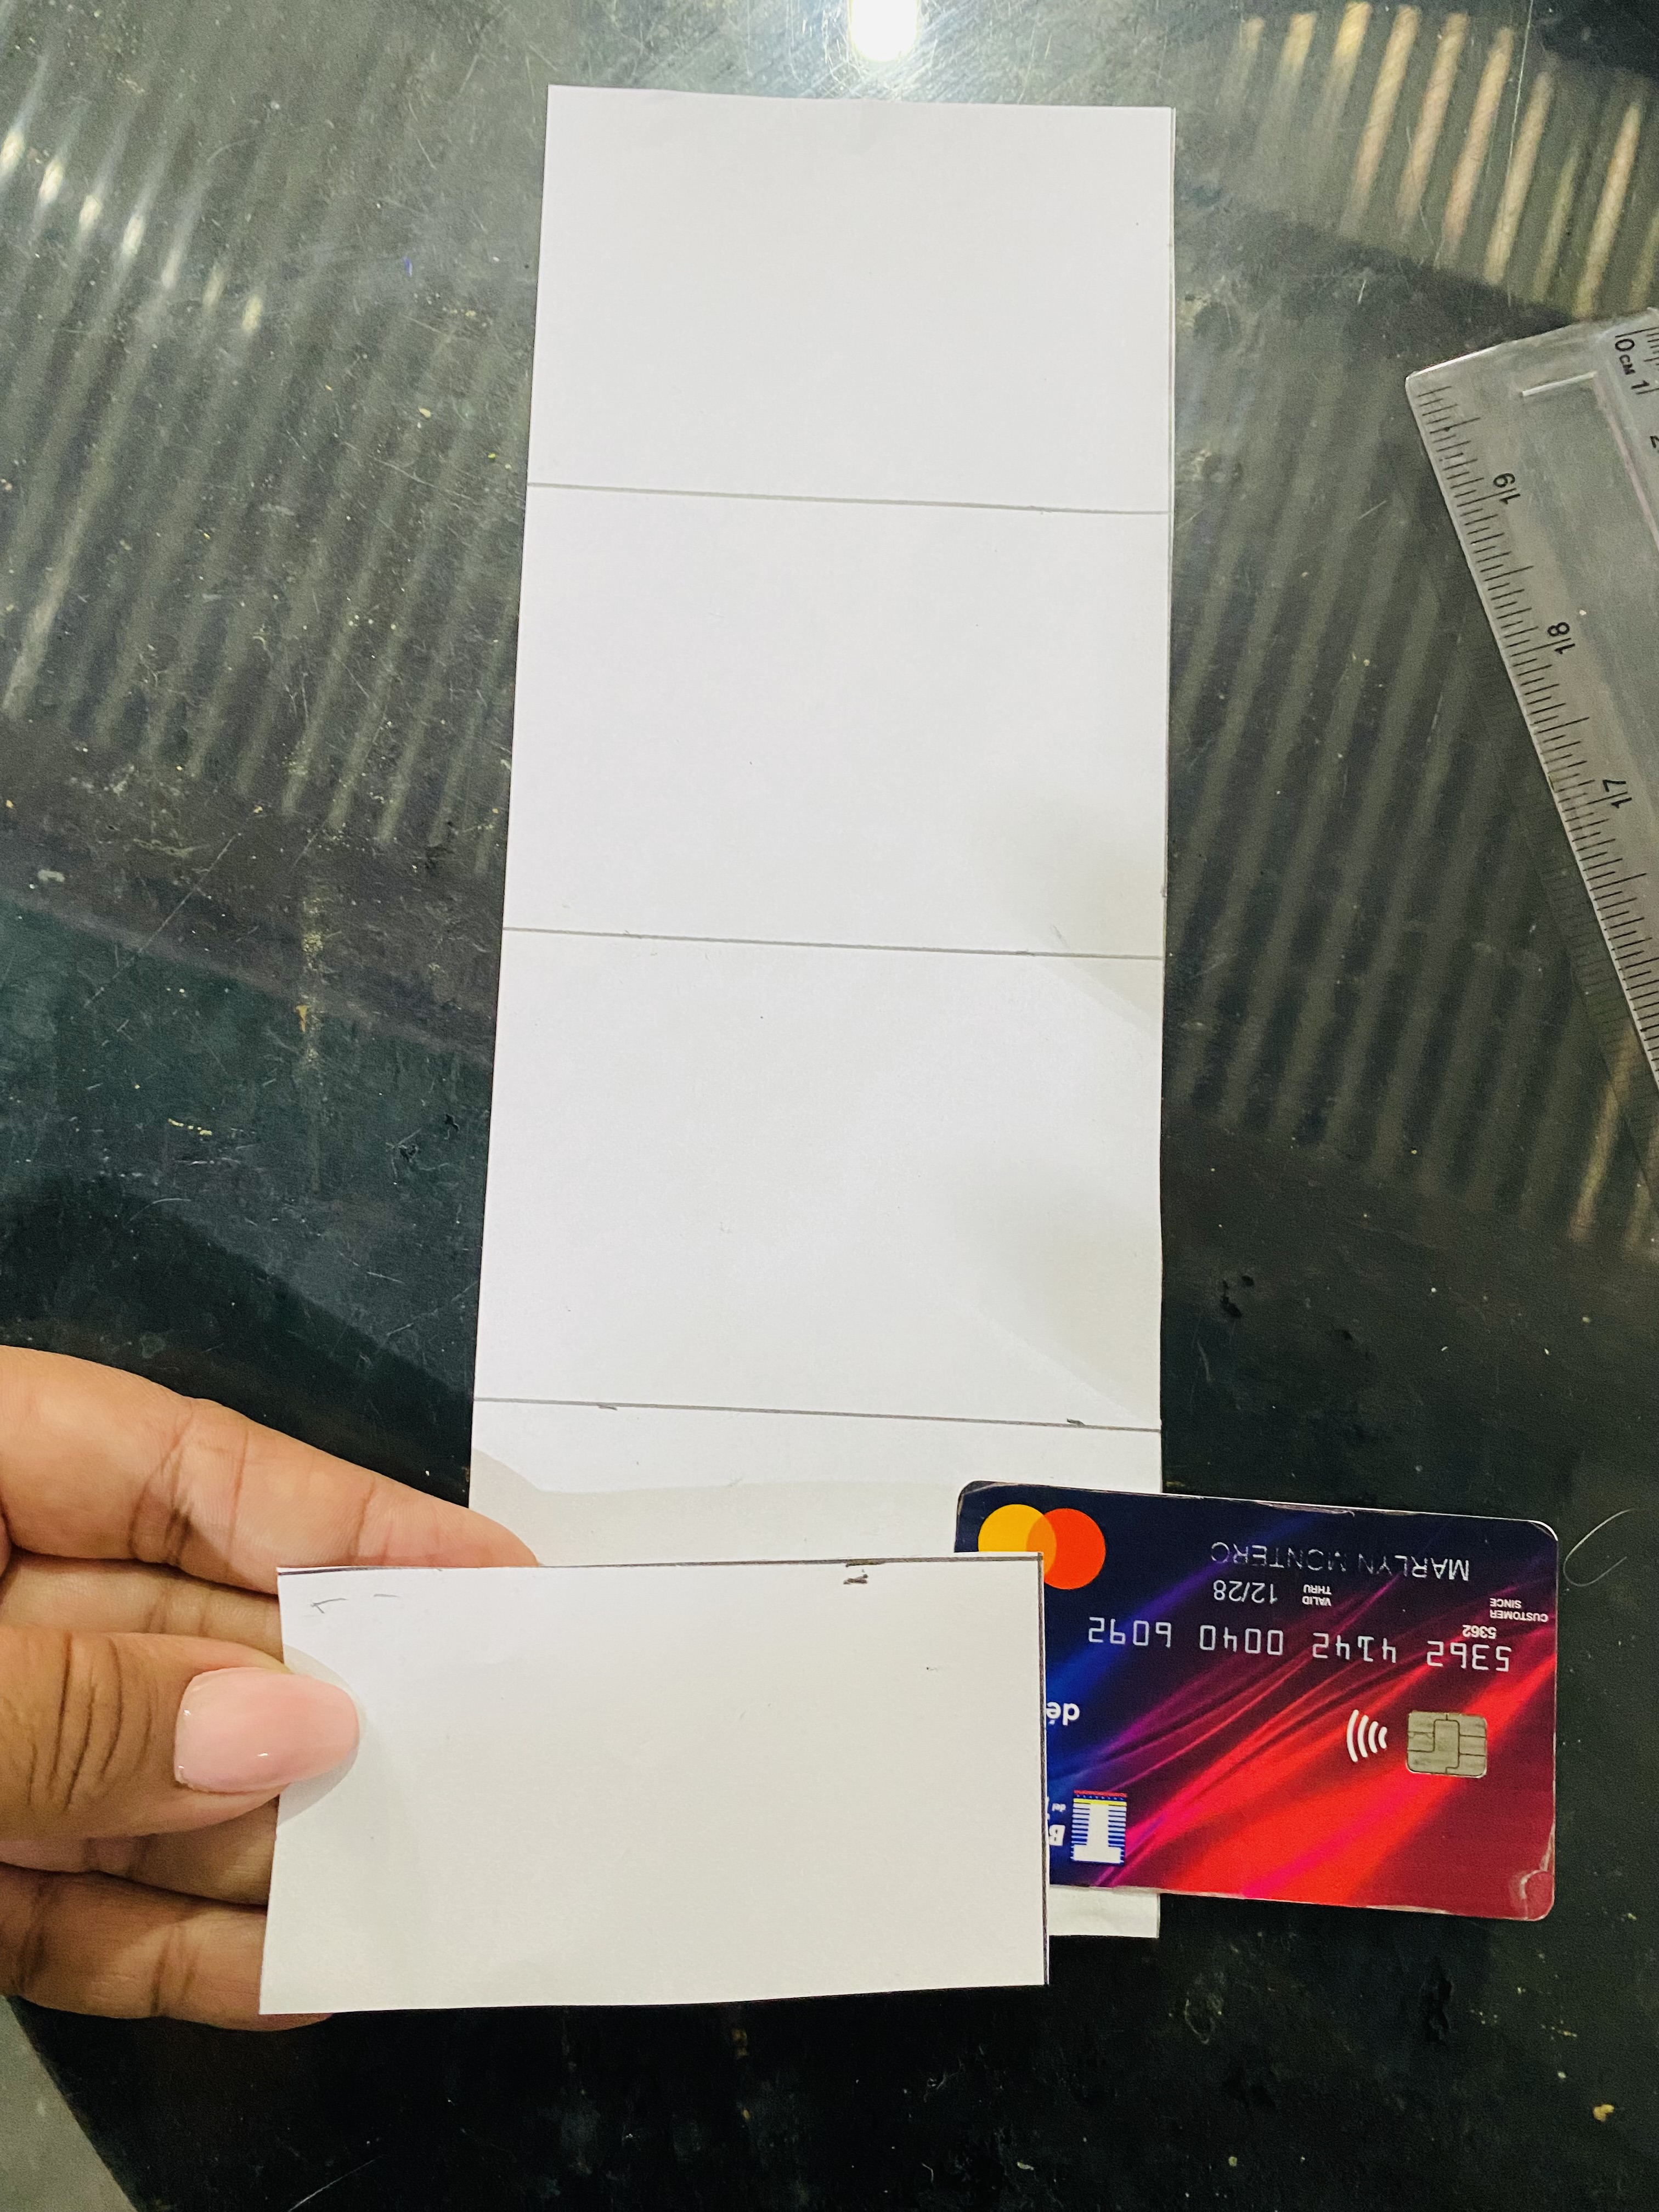
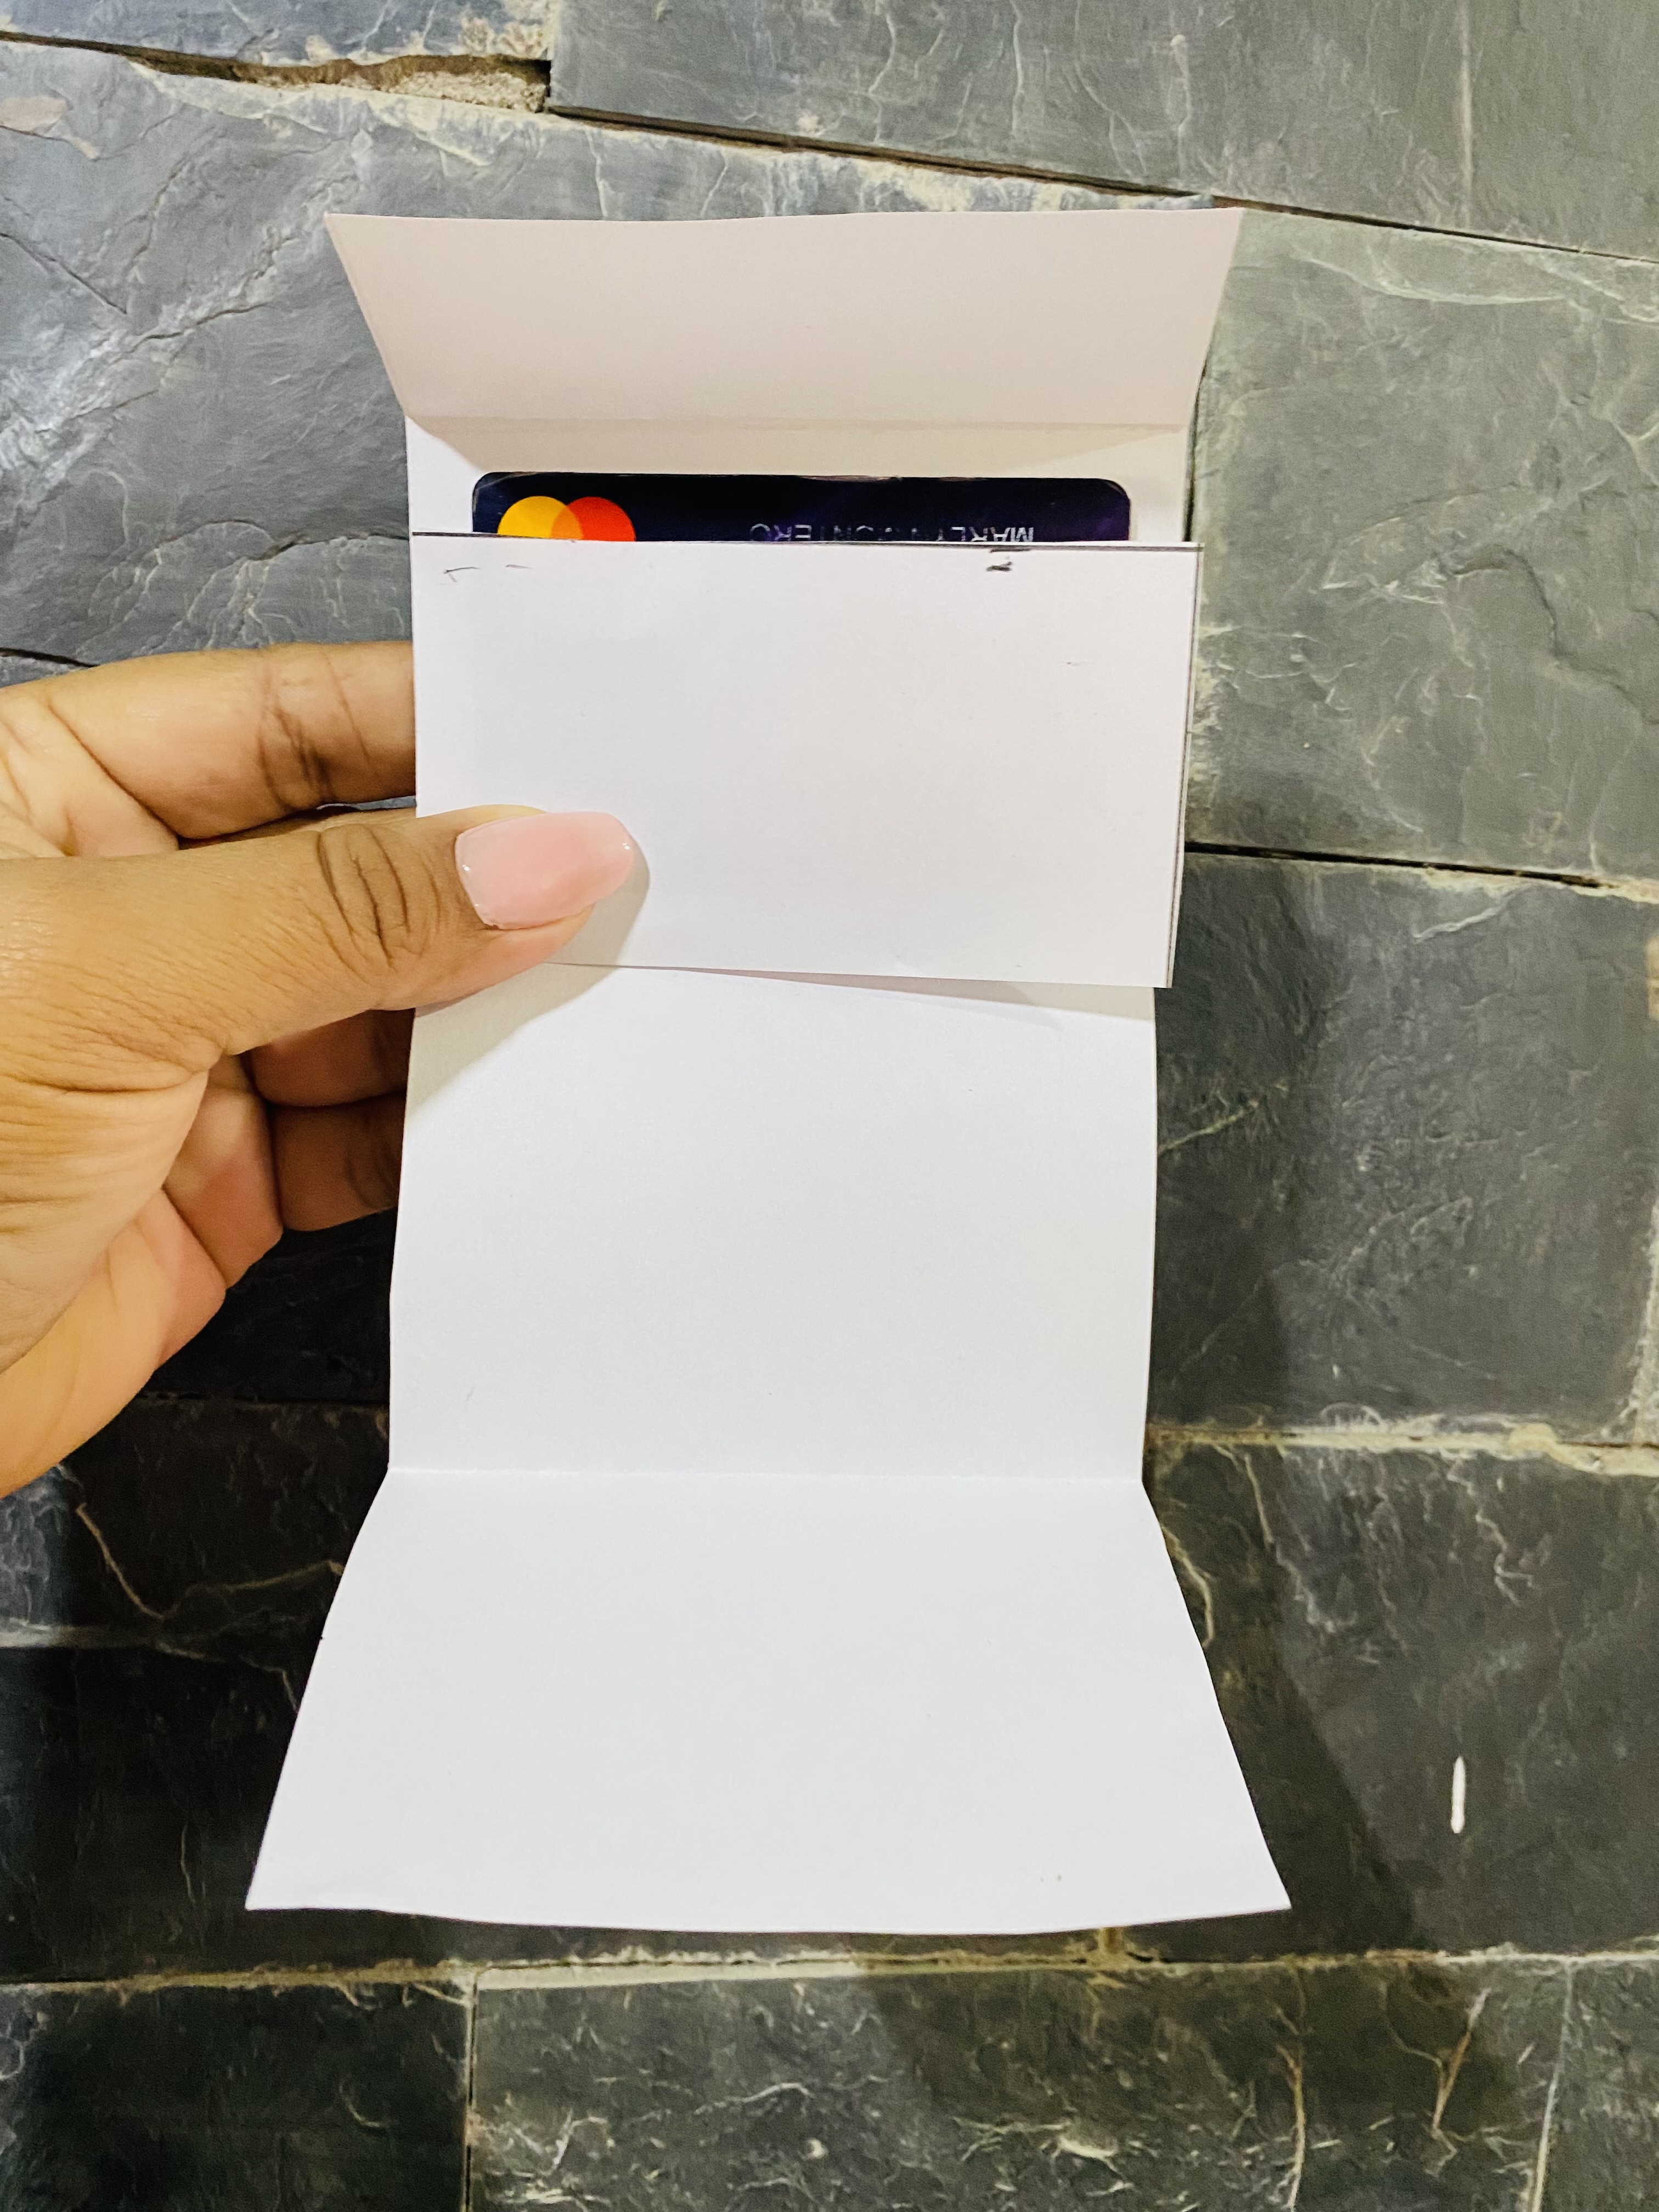
Lo primero que vamos a hacer es el modelo de nuestro tarjetero, lo dibujaremos en la hoja blanca, es importante que lo hagamos ya que el plástico al marcarlo no se puede borrar y luego quedará con esas marcas y lo ideal es que no tenga ningún tipo de marca, tomaremos las medidas de nuestra tarjeta para utilizarla como guía, le aumentamos algunos milímetros a cada lado y lo podemos hacer de varios niveles para el espacio de varias tarjetas, en mi caso lo voy a hacer de 3 niveles.
Las medidas del tarjetero serán: 10 cm de ancho por 7 cm de alto, esto para cada nivel que le pongamos, en este caso serán 3 medidas iguales, aparte vamos a cortar otra pieza de 5.5 cm de alto , por 10 cm de ancho, esta pieza nos debe quedar un poco más pequeña que la tarjeta para que la podamos sacar con facilidad, y en la parte superior de nuestro molde vamos a dejar una pestaña puede ser de tres o 4 cm, en mis imágenes les muestro como debe quedar:
The first thing we're going to do is the model of our card holder. We'll draw it on the white sheet of paper. It's important to do this because the plastic, once marked, can't be erased and will then be left with those marks. Ideally, it shouldn't have any marks at all. We'll take the measurements of our card to use as a guide, adding a few millimeters on each side, and we can make it multi-level to accommodate several cards. In my case, I'm going to make it 3 levels.
The measurements of the card holder will be: 10 cm wide by 7 cm high, for each level we add. In this case, there will be 3 equal measurements. Separately, we'll cut another piece 5.5 cm high by 10 cm wide. This piece should be slightly smaller than the card so we can easily remove it. At the top of our template, we'll leave a tab, maybe 3 or 4 cm. I show you how it should look in my images:
 |  |
|---|---|
 |  |
| --- | --- |
 |  |
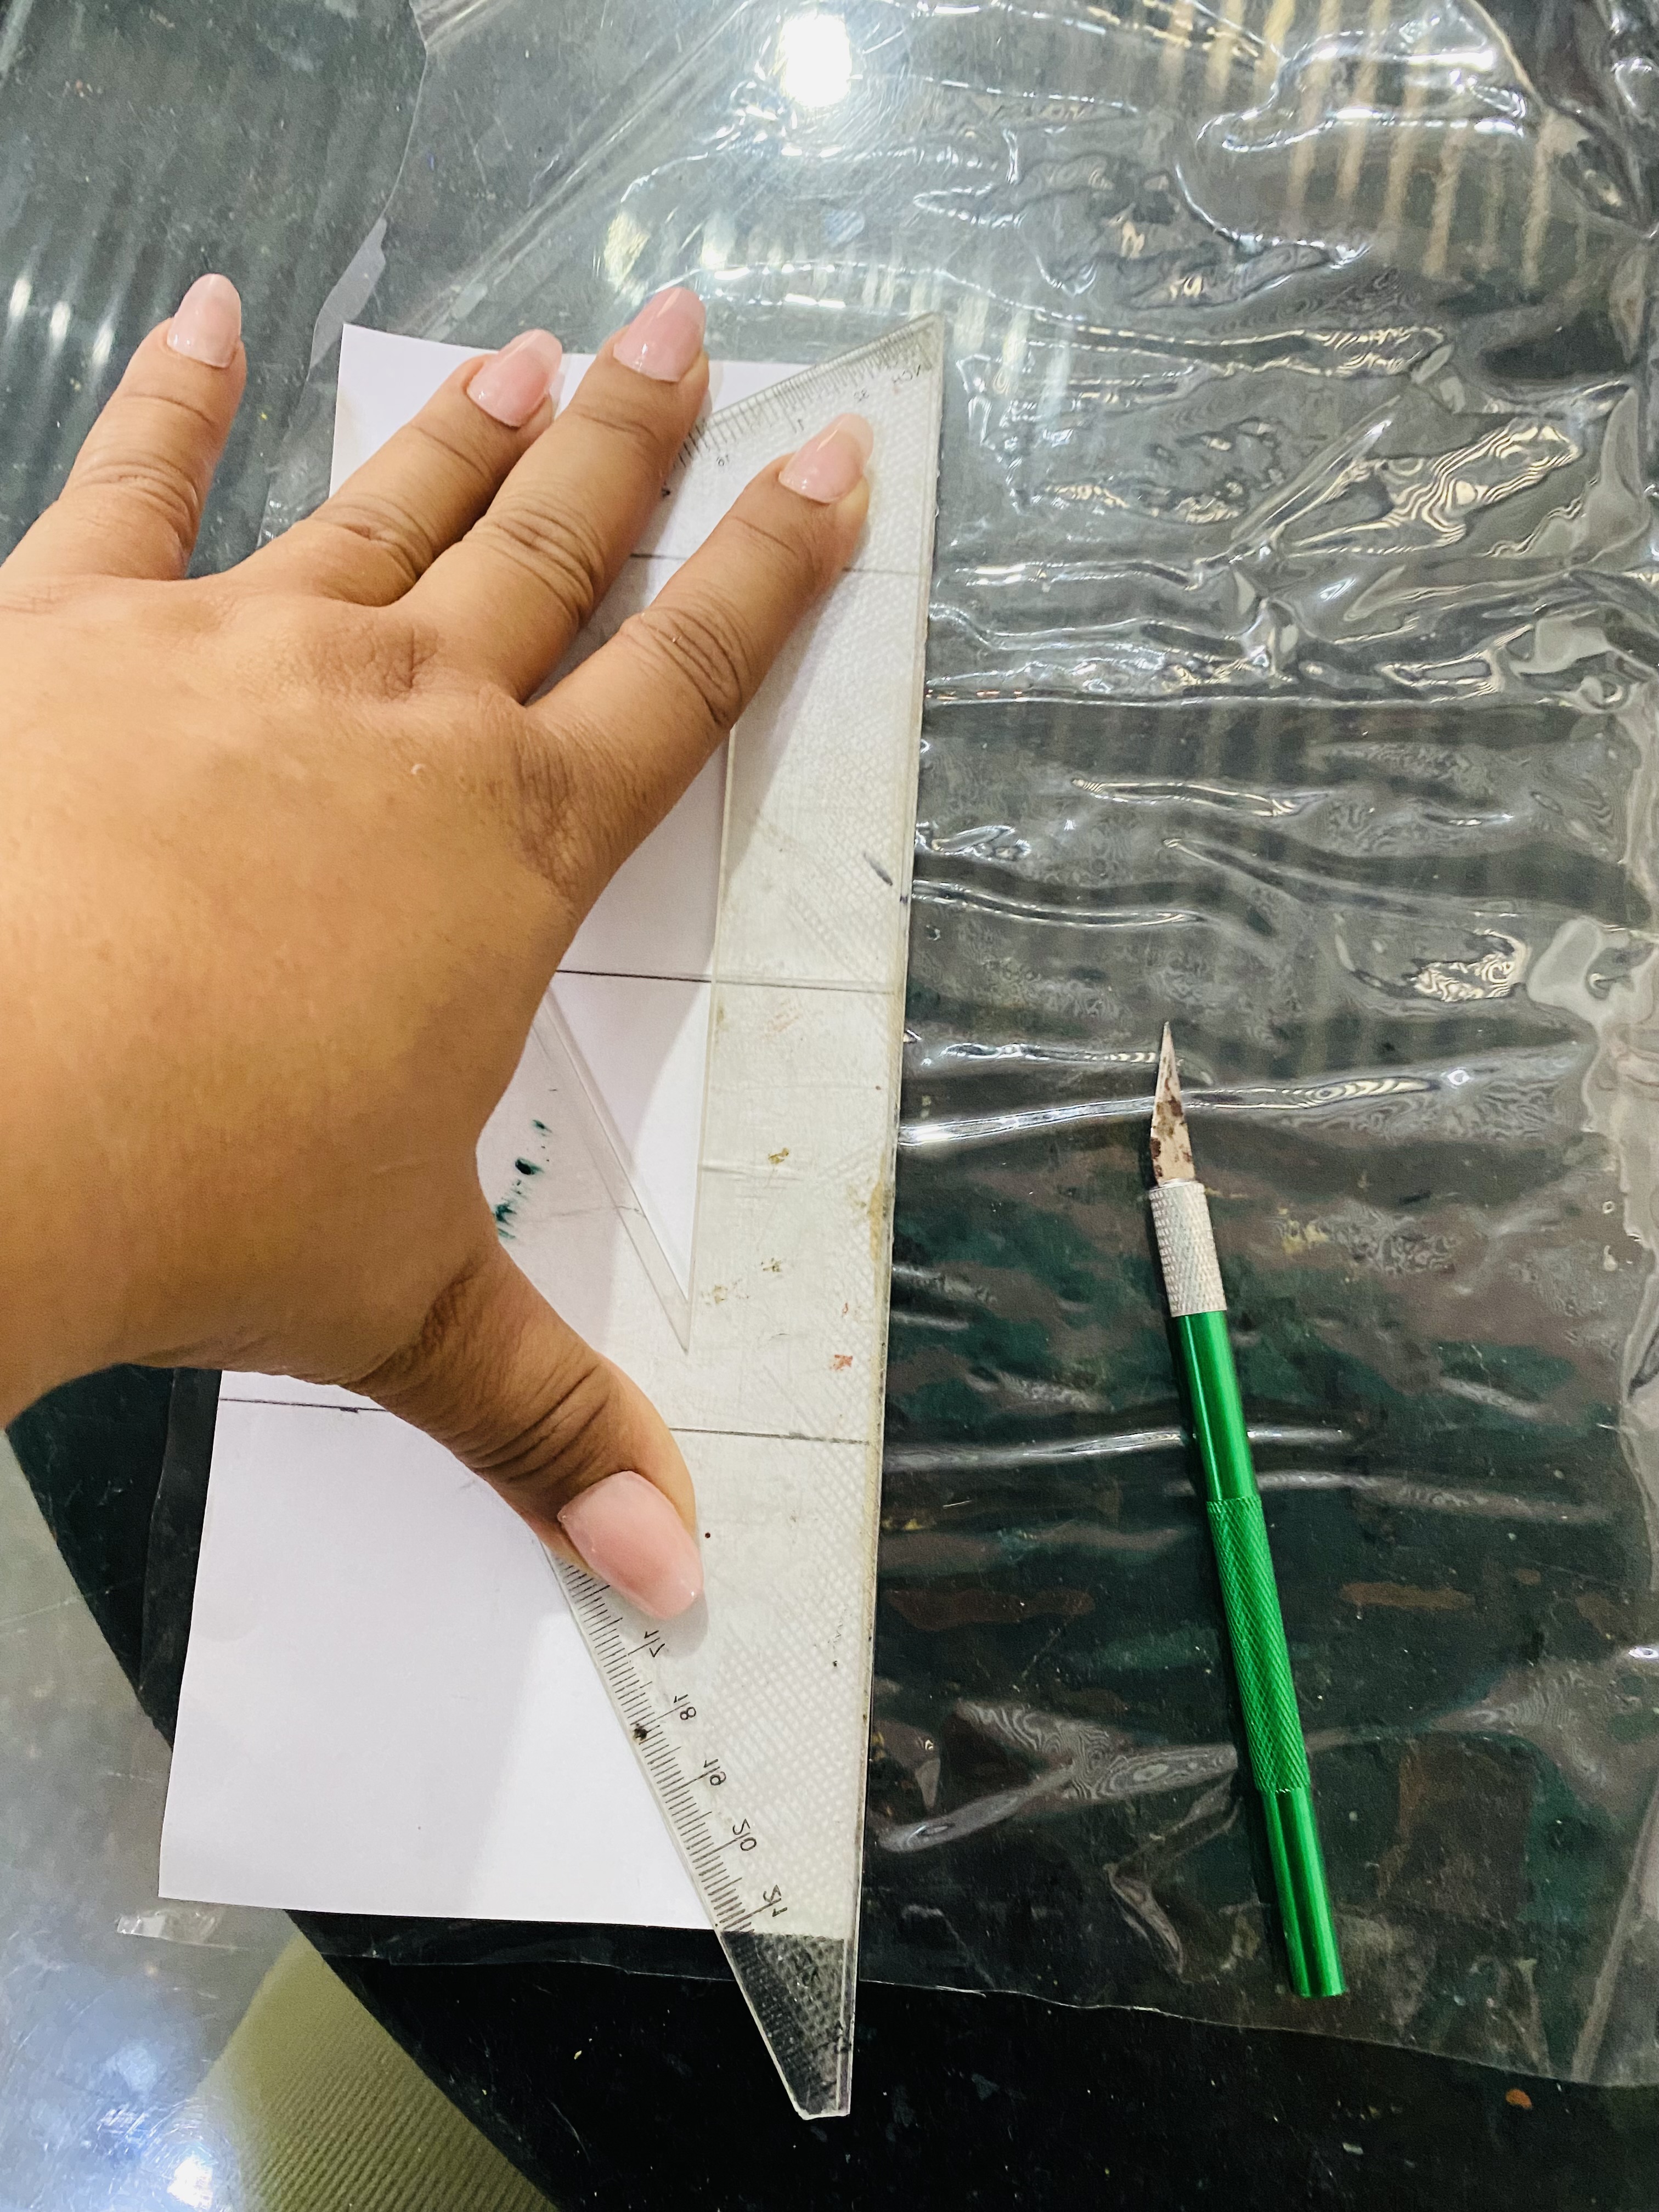
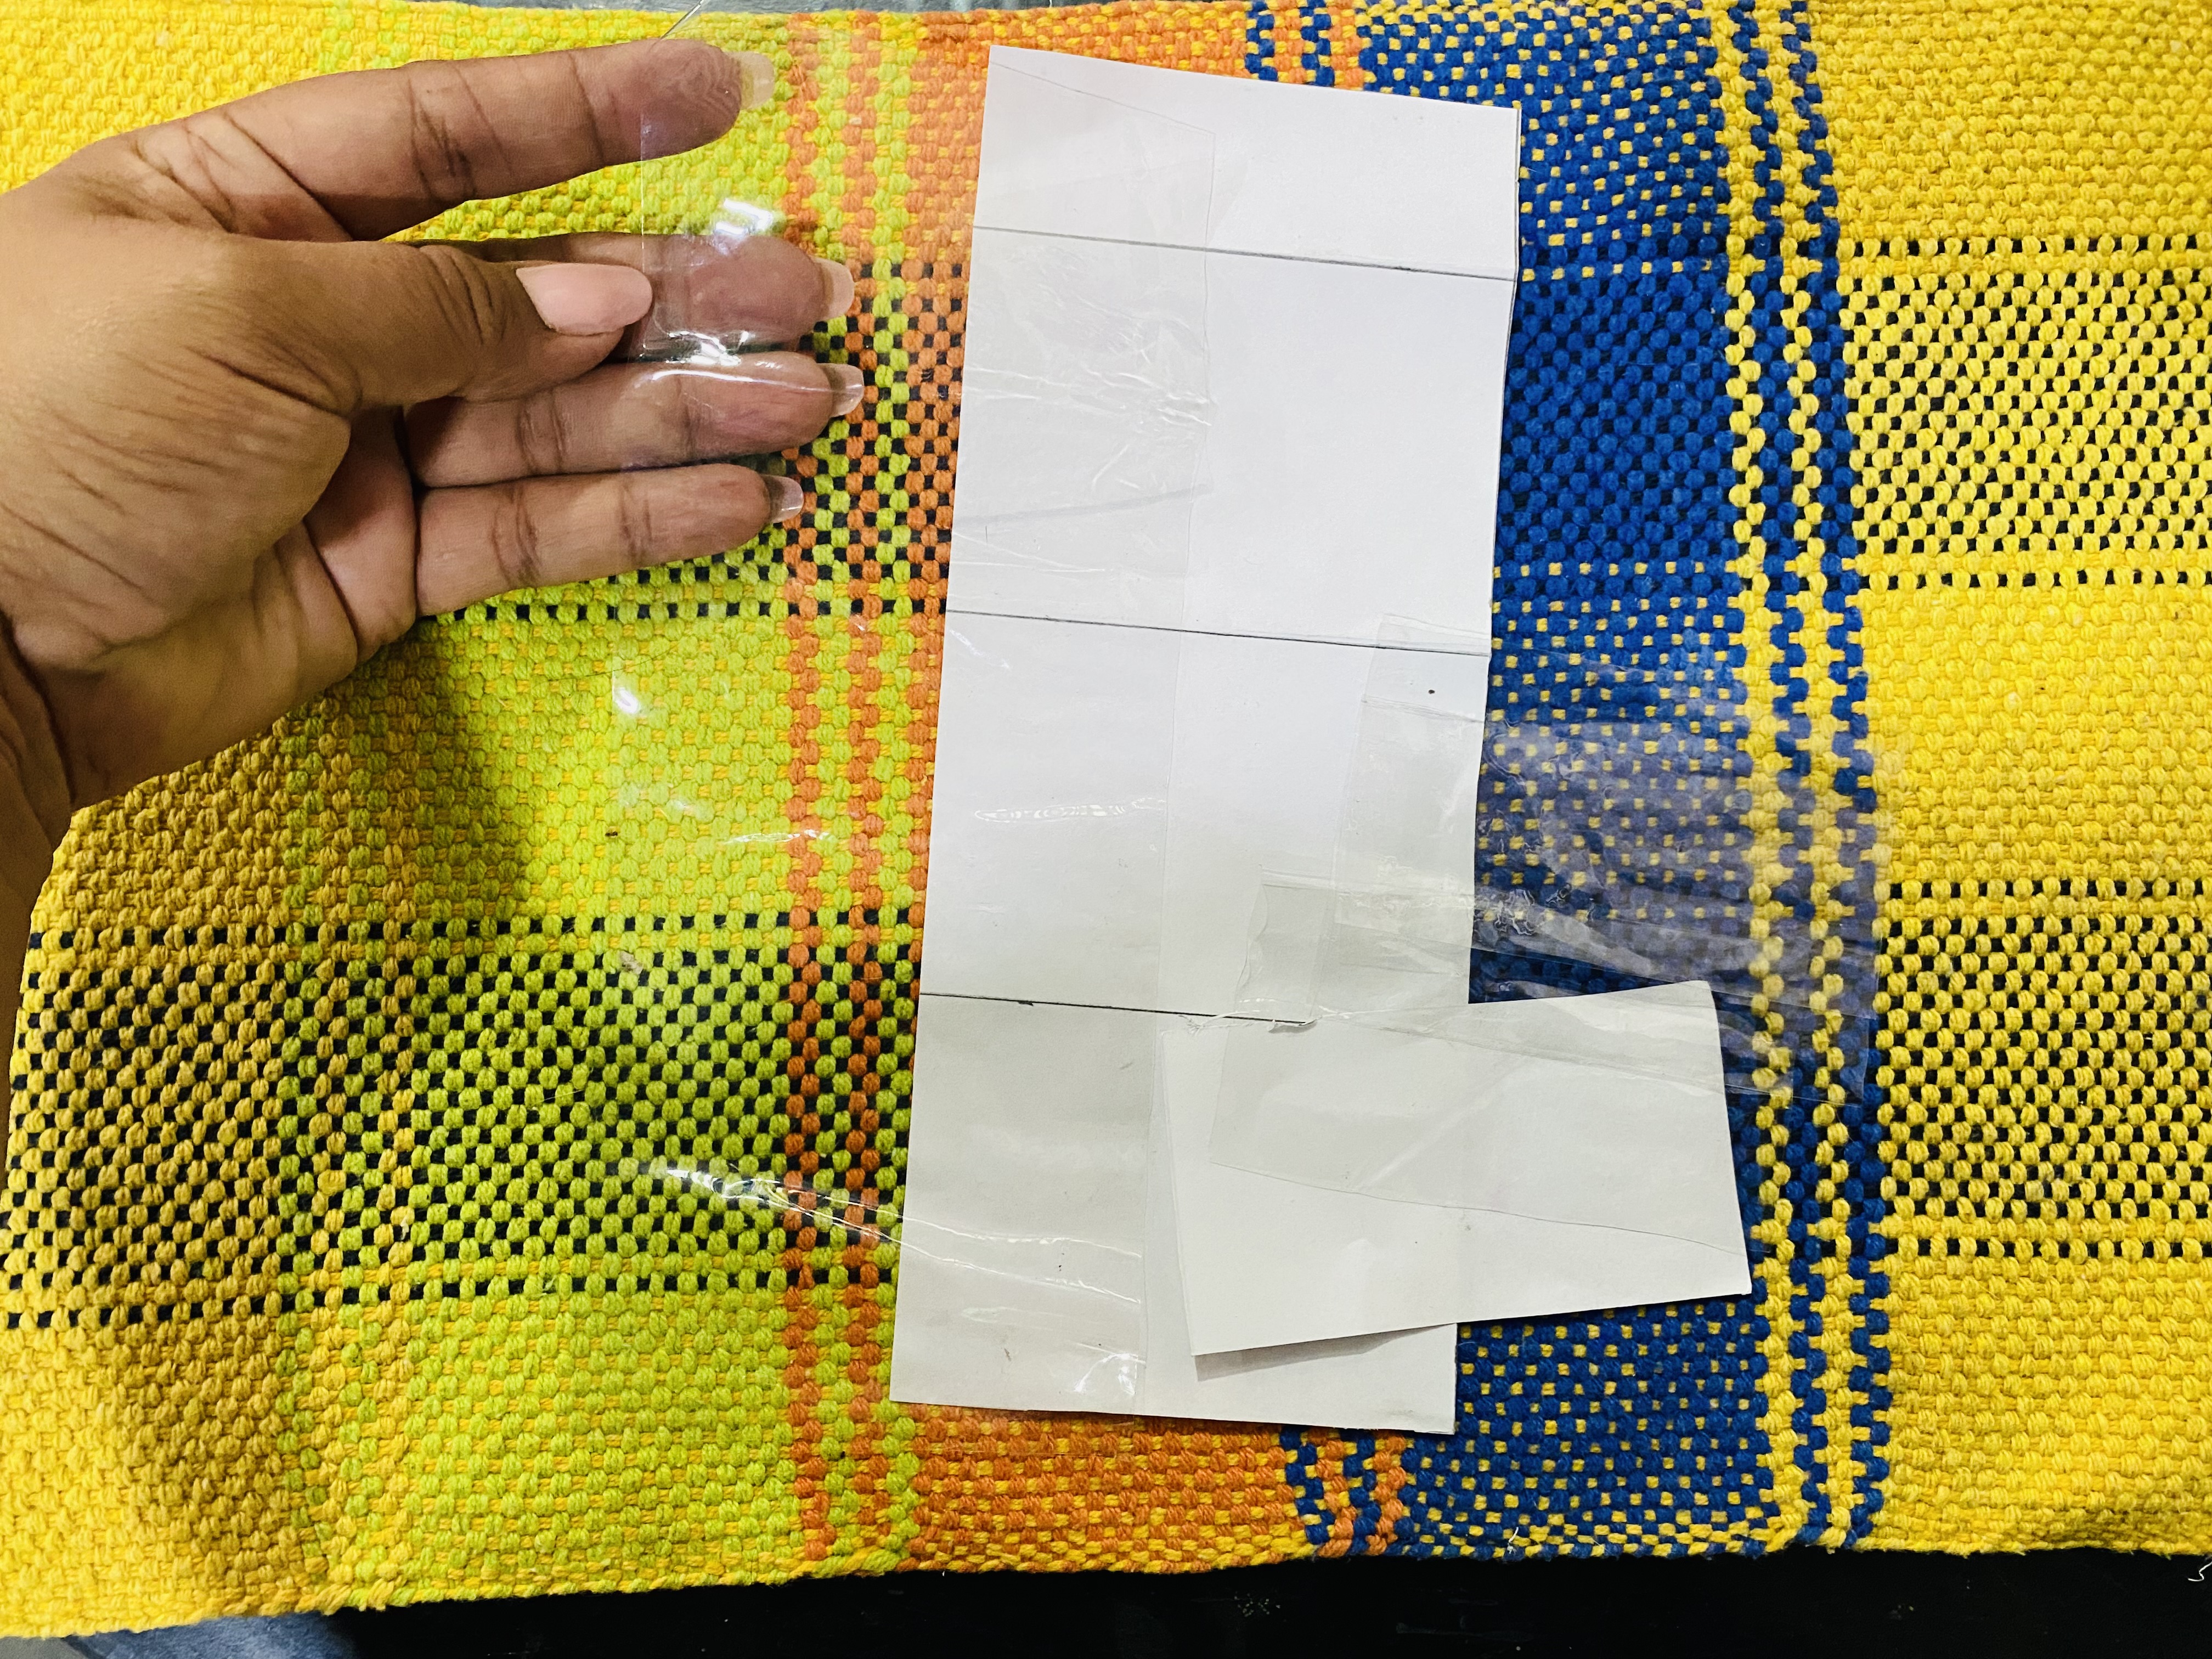
Al tener listo nuestro molde vamos a cortar el plástico transparente, colocamos nuestro molde sobre el plástico nos ayudamos con una regla y pasamos con mucho cuidado por cada orilla, lo bueno de utilizar un exacto de precisión es que el corte queda más limpio y con muy pocos detalles, a diferencia de cortar con tijera qué tal vez se nos haga difícil que nos quede completamente recto, cortaremos una pieza grande y tres piezas pequeñas.
Once we have our mold ready, we are going to cut the transparent plastic. We place our mold on the plastic, we use a ruler and very carefully go over each edge. The good thing about using a precision ruler is that the cut is cleaner and with very few details, unlike cutting with scissors, which may be difficult to get completely straight. We will cut one large piece and three small pieces.
 |  |
|---|
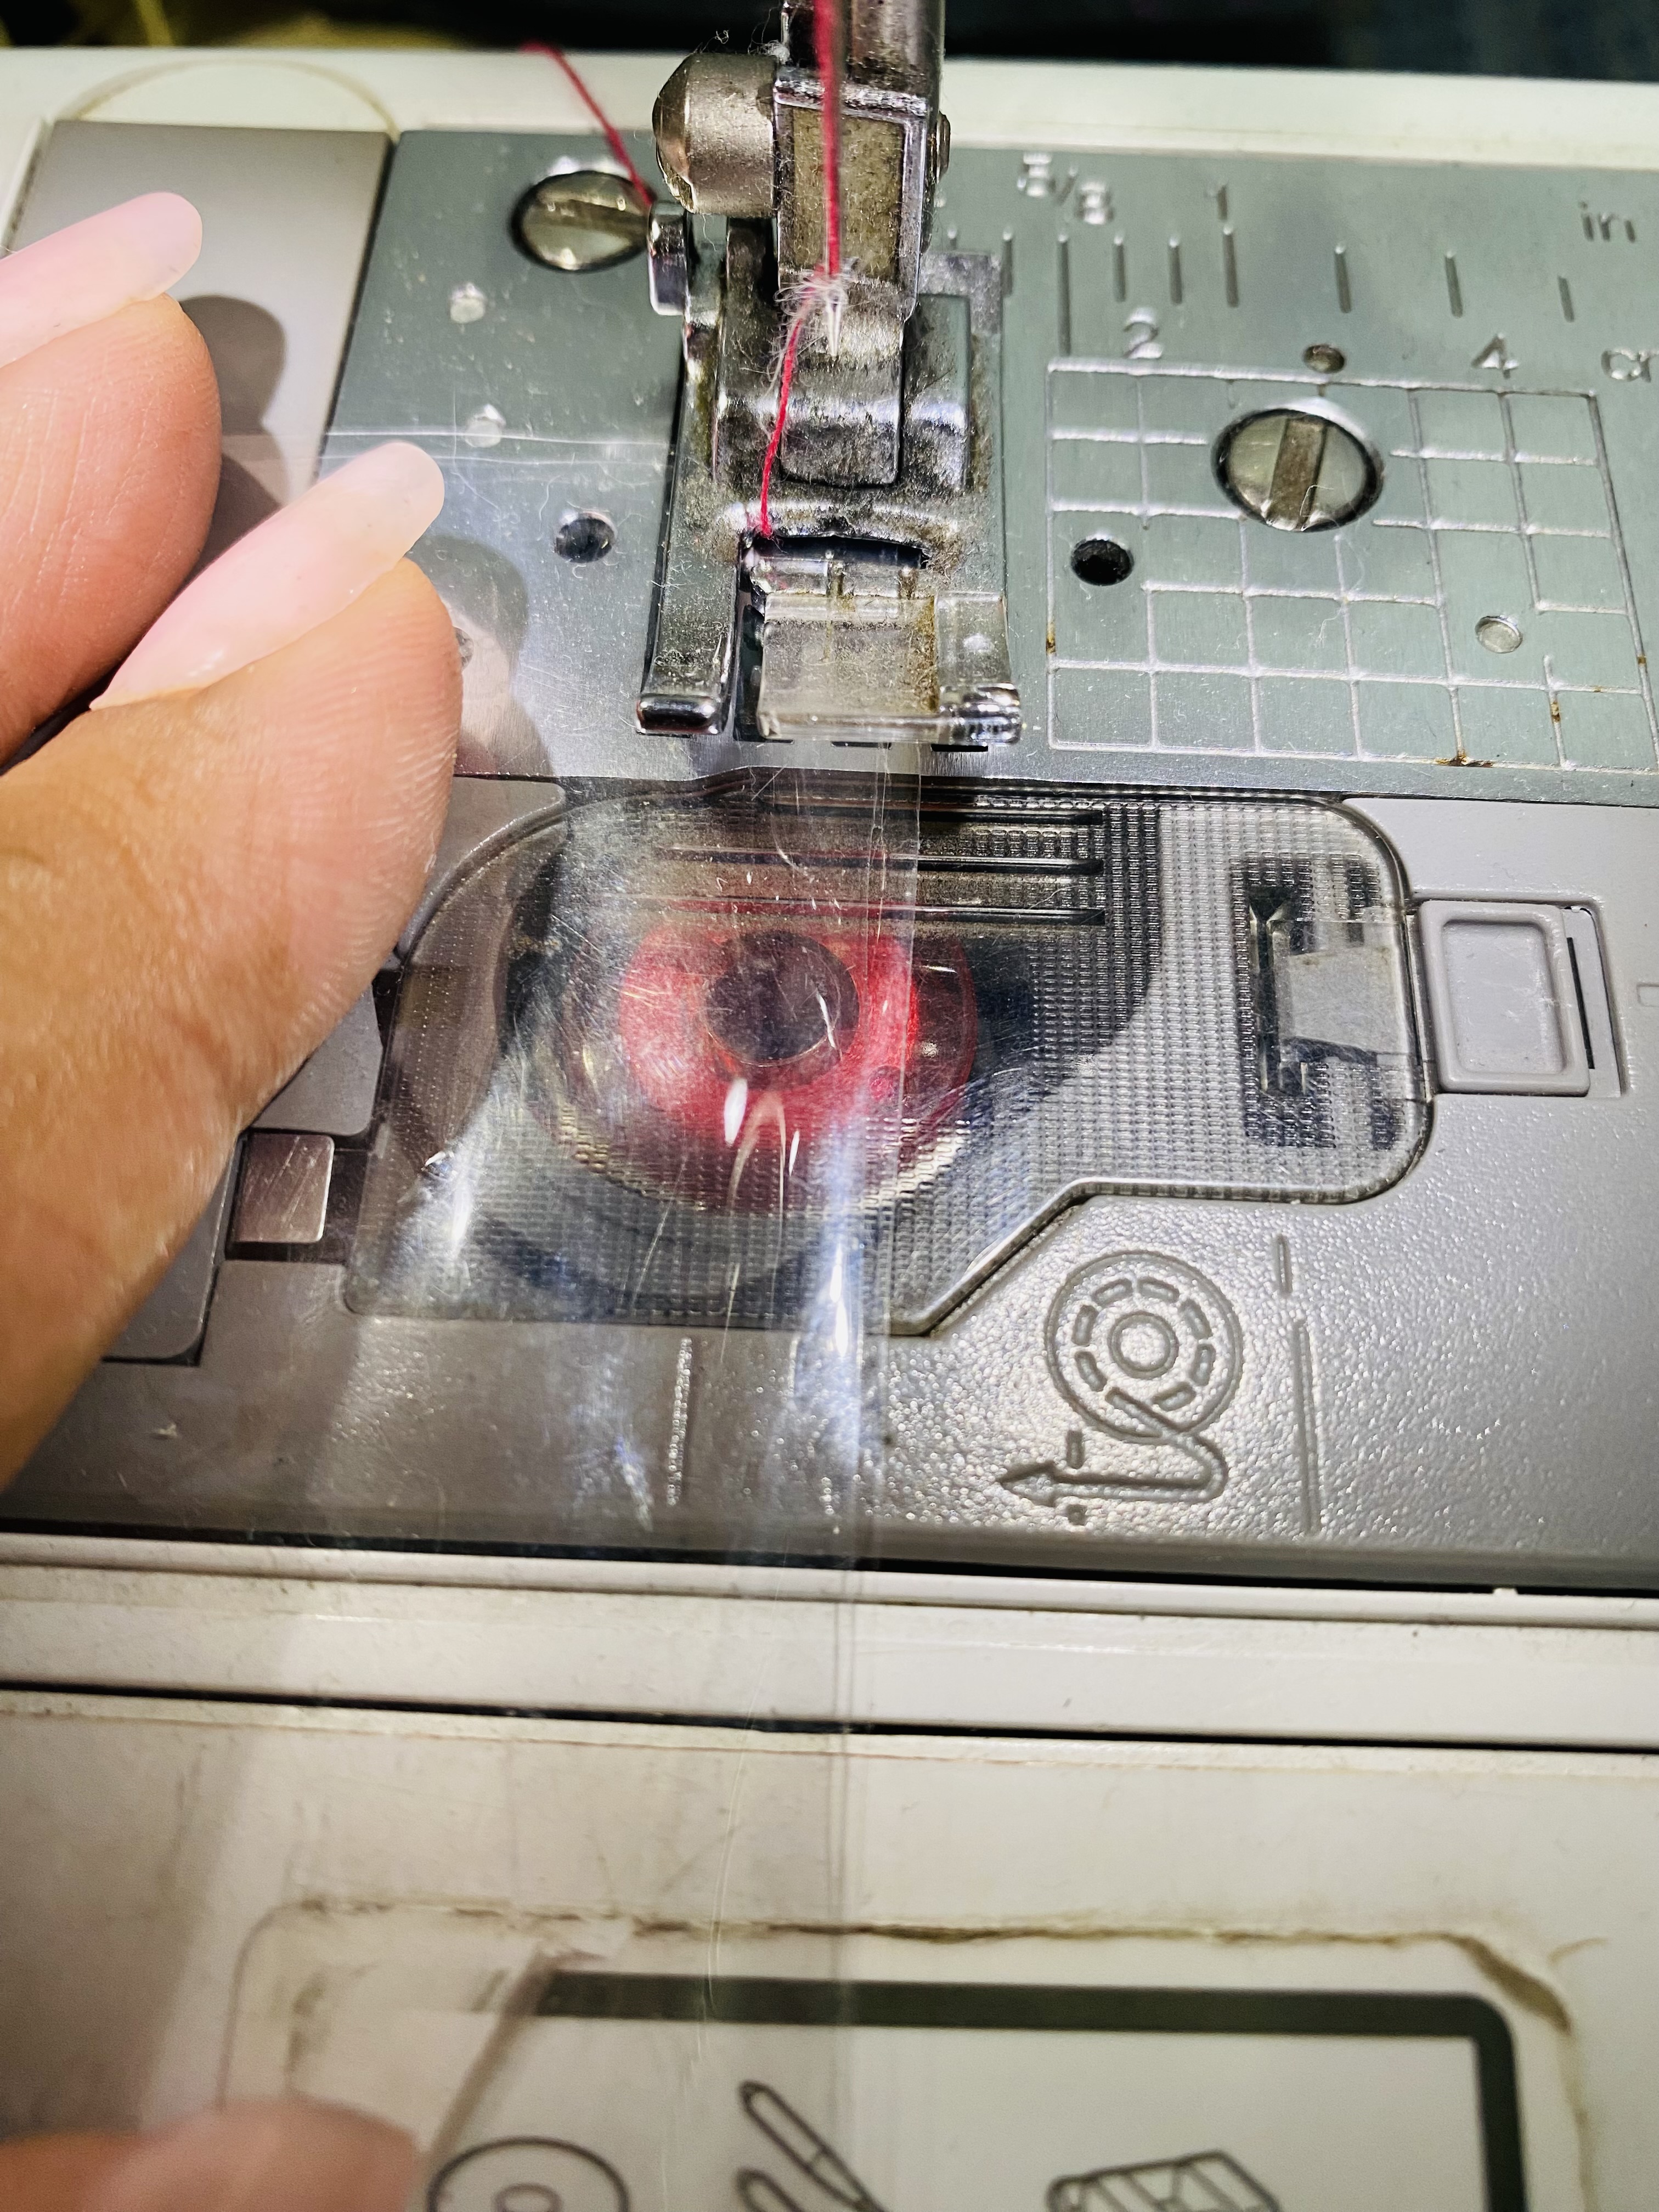
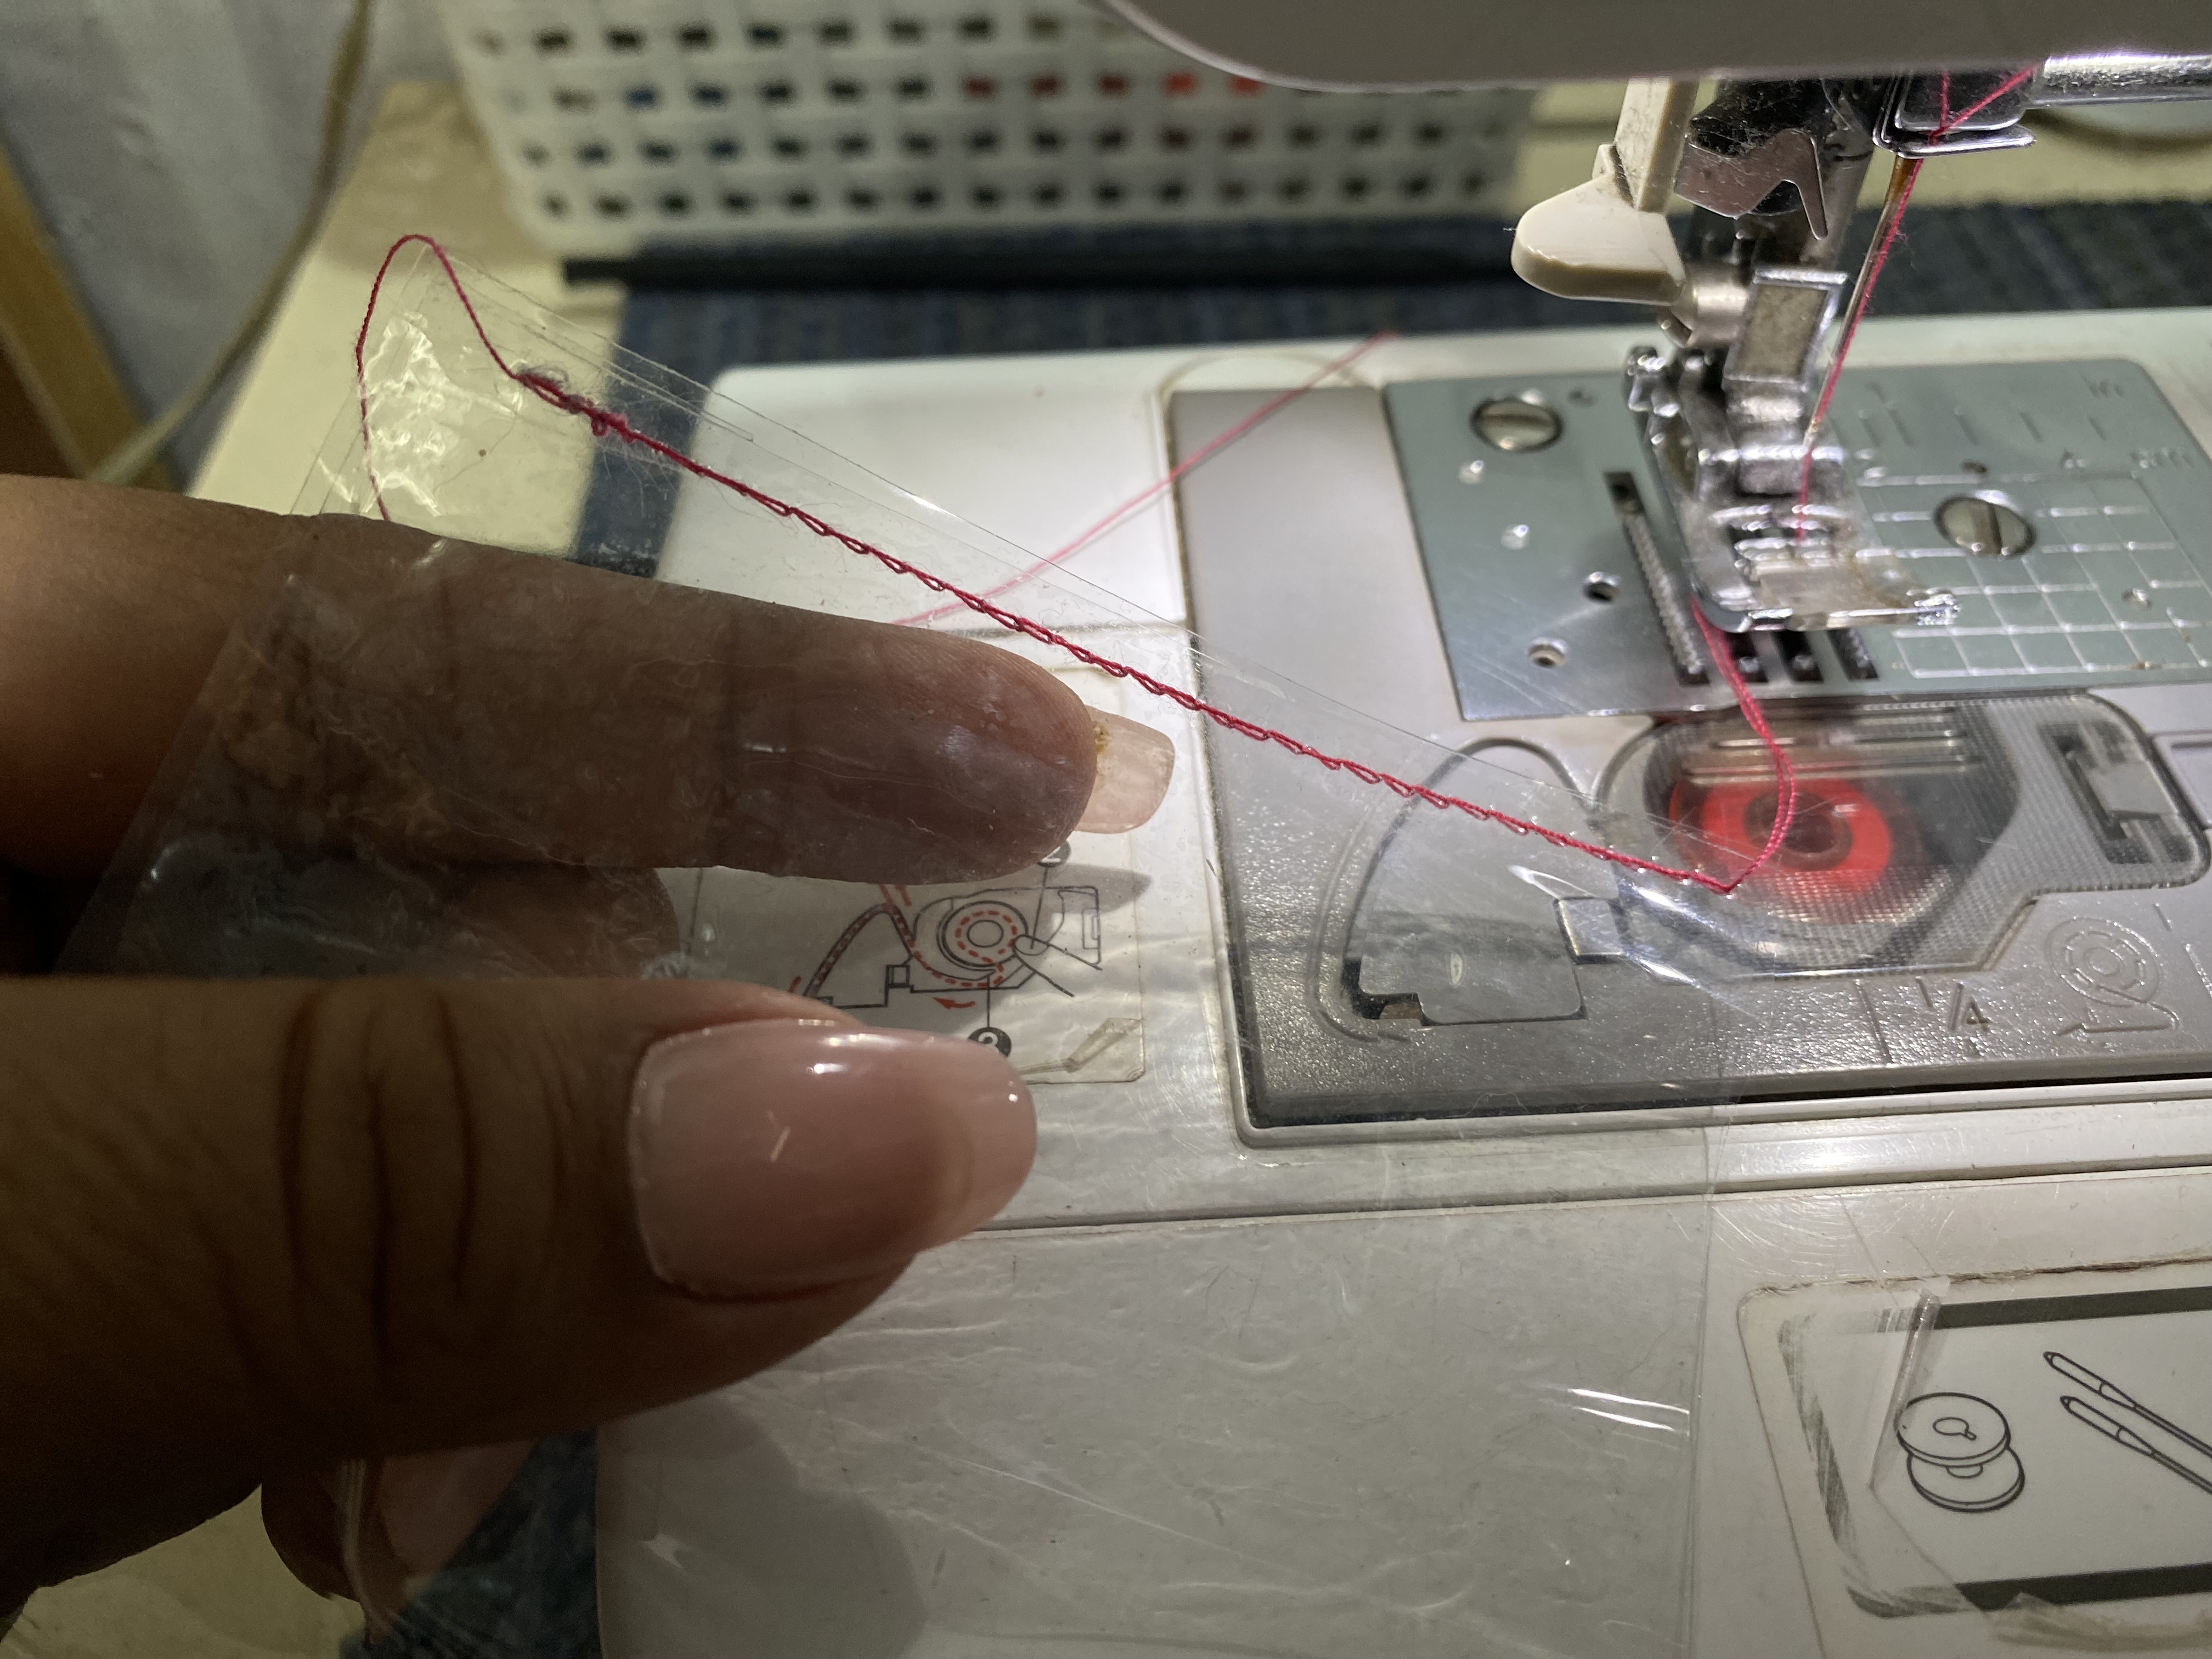
El molde será nuestra guía al momento de pasar costura, cuando ya tengamos cortadas todas nuestras piezas vamos a nuestra máquina de coser, ubicamos una de las piezas pequeñas en la parte inferior de la pieza más grande y le pasamos una costura lo más cercano posible a la orilla, colocaremos el molde por debajo y así guiarnos con las divisiones que tiene marcada, luego de coser lo podemos desprender con facilidad es por esto que es muy importante que hagamos el molde.
nos guiaremos con las rayas del molde y pasaremos costura uniendo cada pieza sólo en la parte inferior de cada división.
The pattern will be our guide when sewing. Once we have all our pieces cut, we go to our sewing machine, place one of the small pieces on the bottom of the larger piece, and sew it as close to the edge as possible. We'll place the pattern underneath, using the marked divisions as a guide. After sewing, we can easily detach it. This is why it's very important to make the pattern.
We'll use the lines on the pattern as a guide and sew, joining each piece only at the bottom of each division.
 |  |
|---|---|
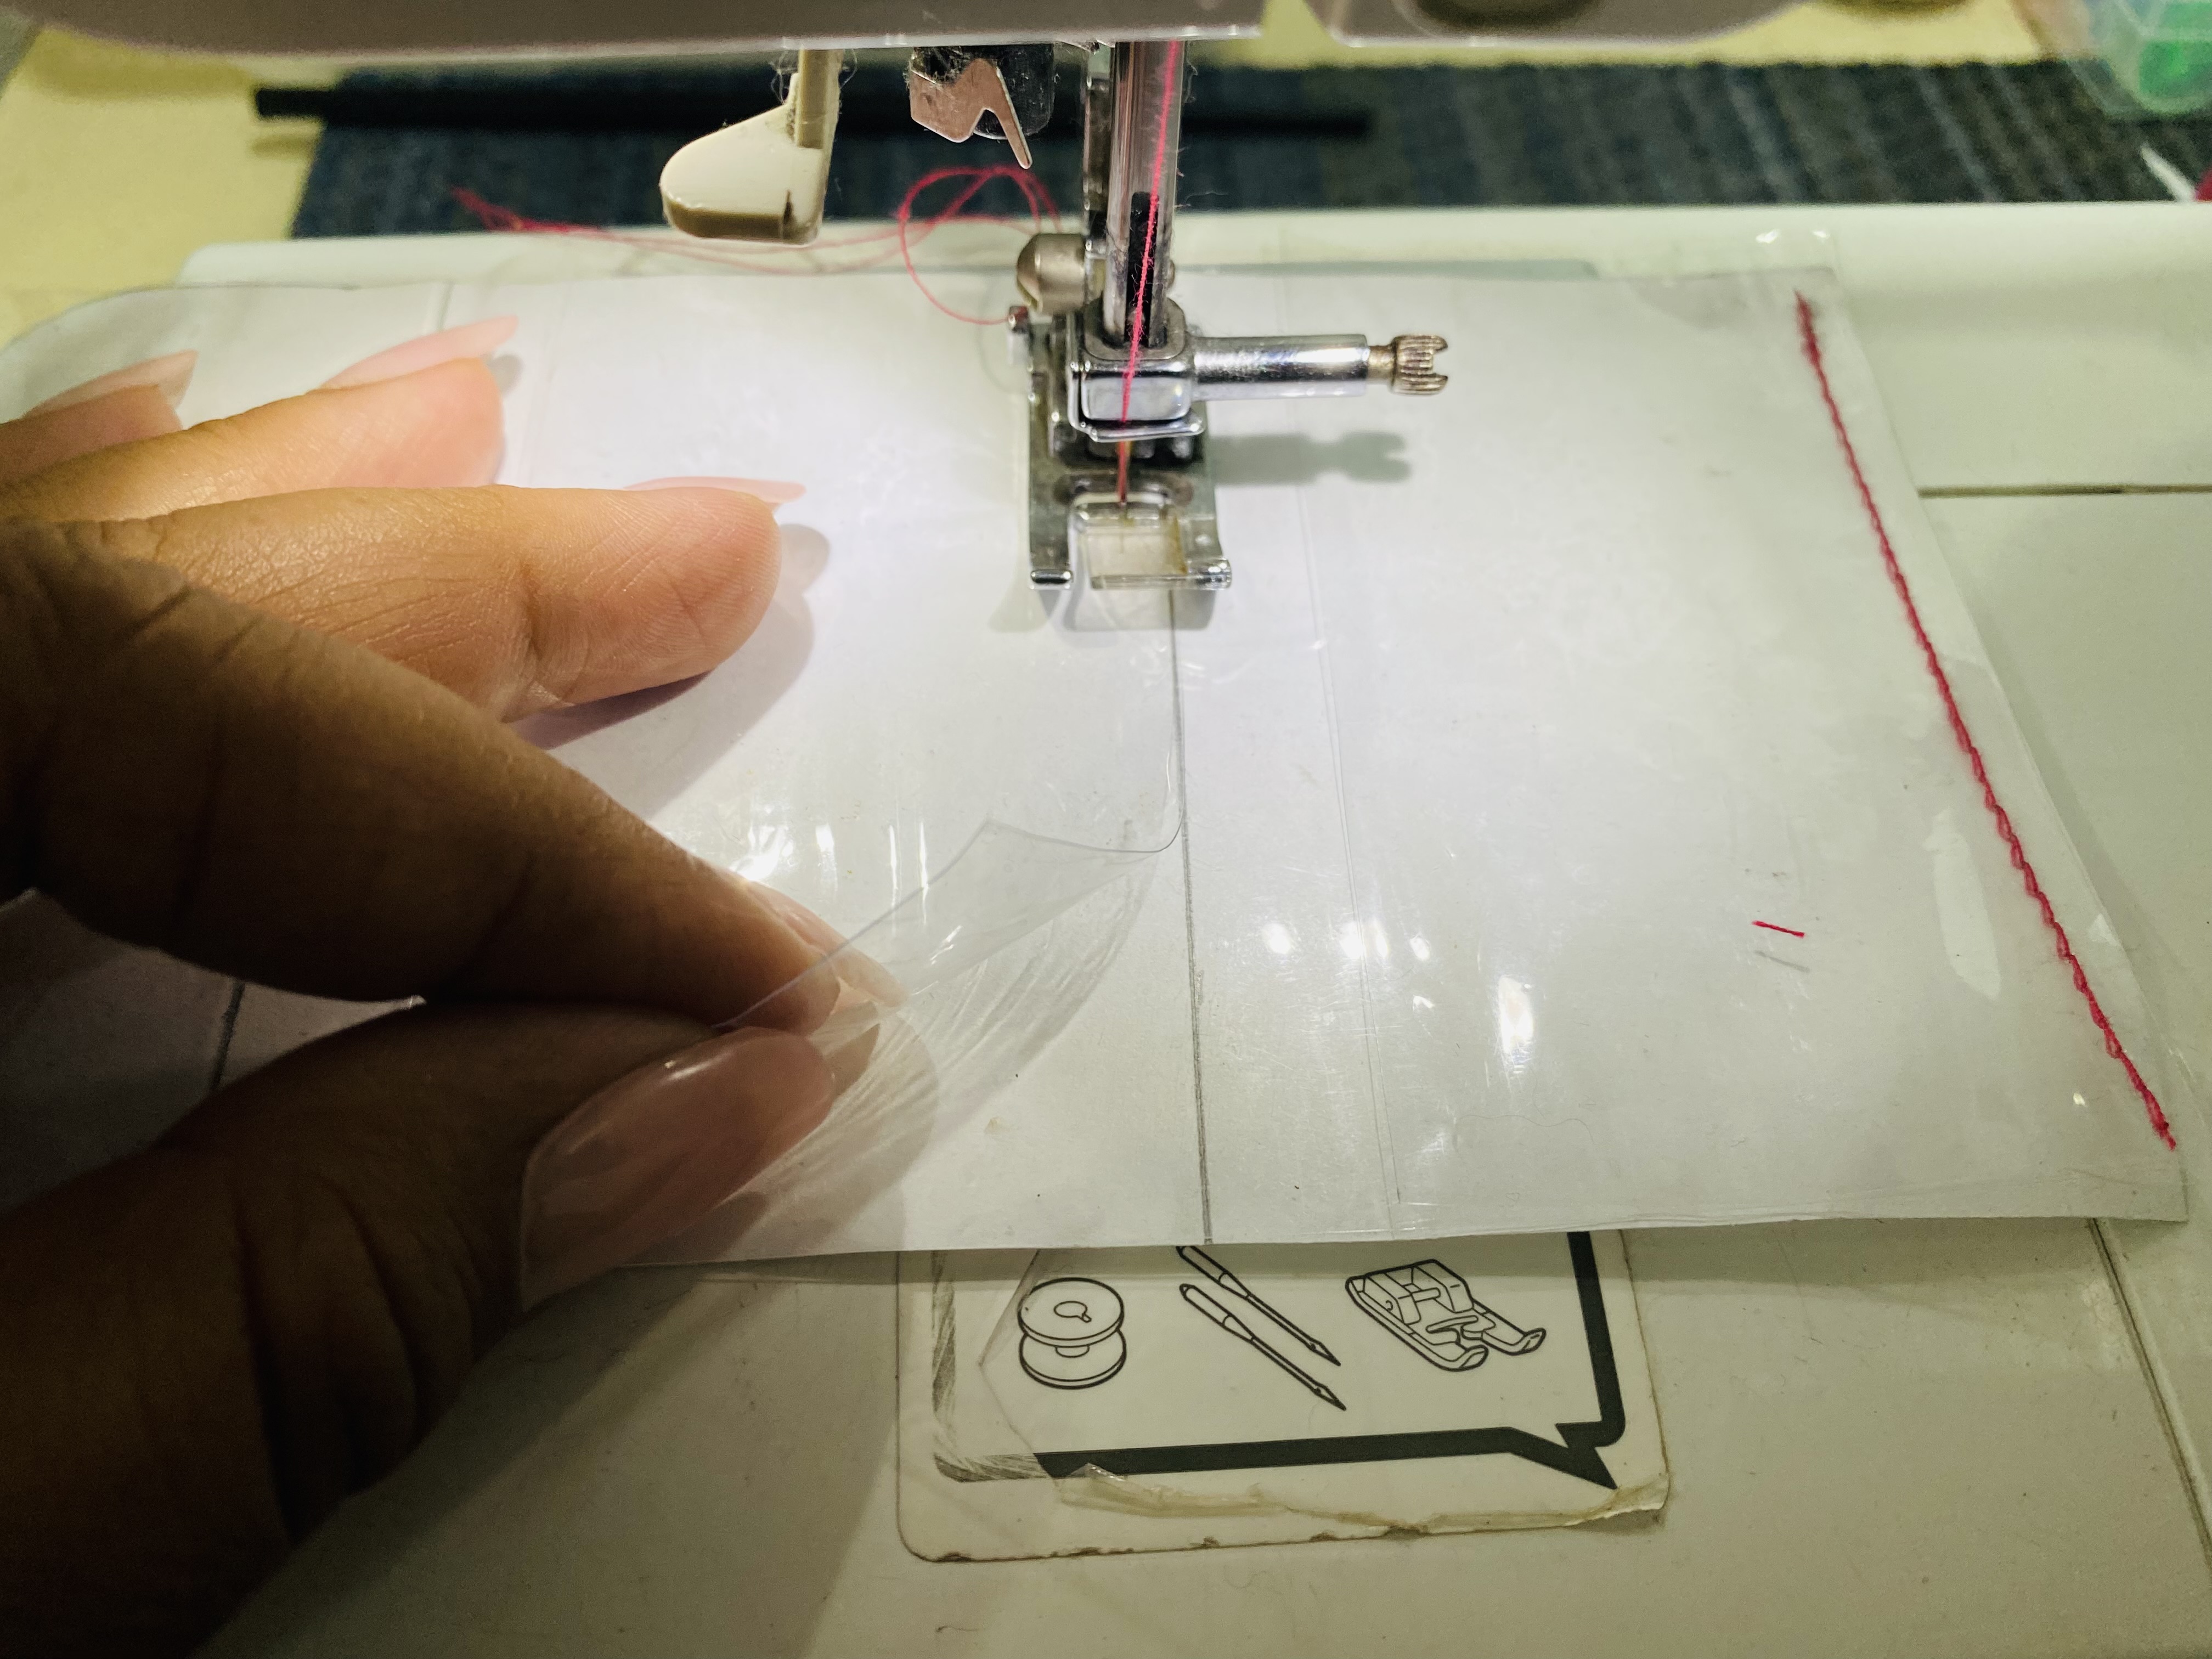 |  |
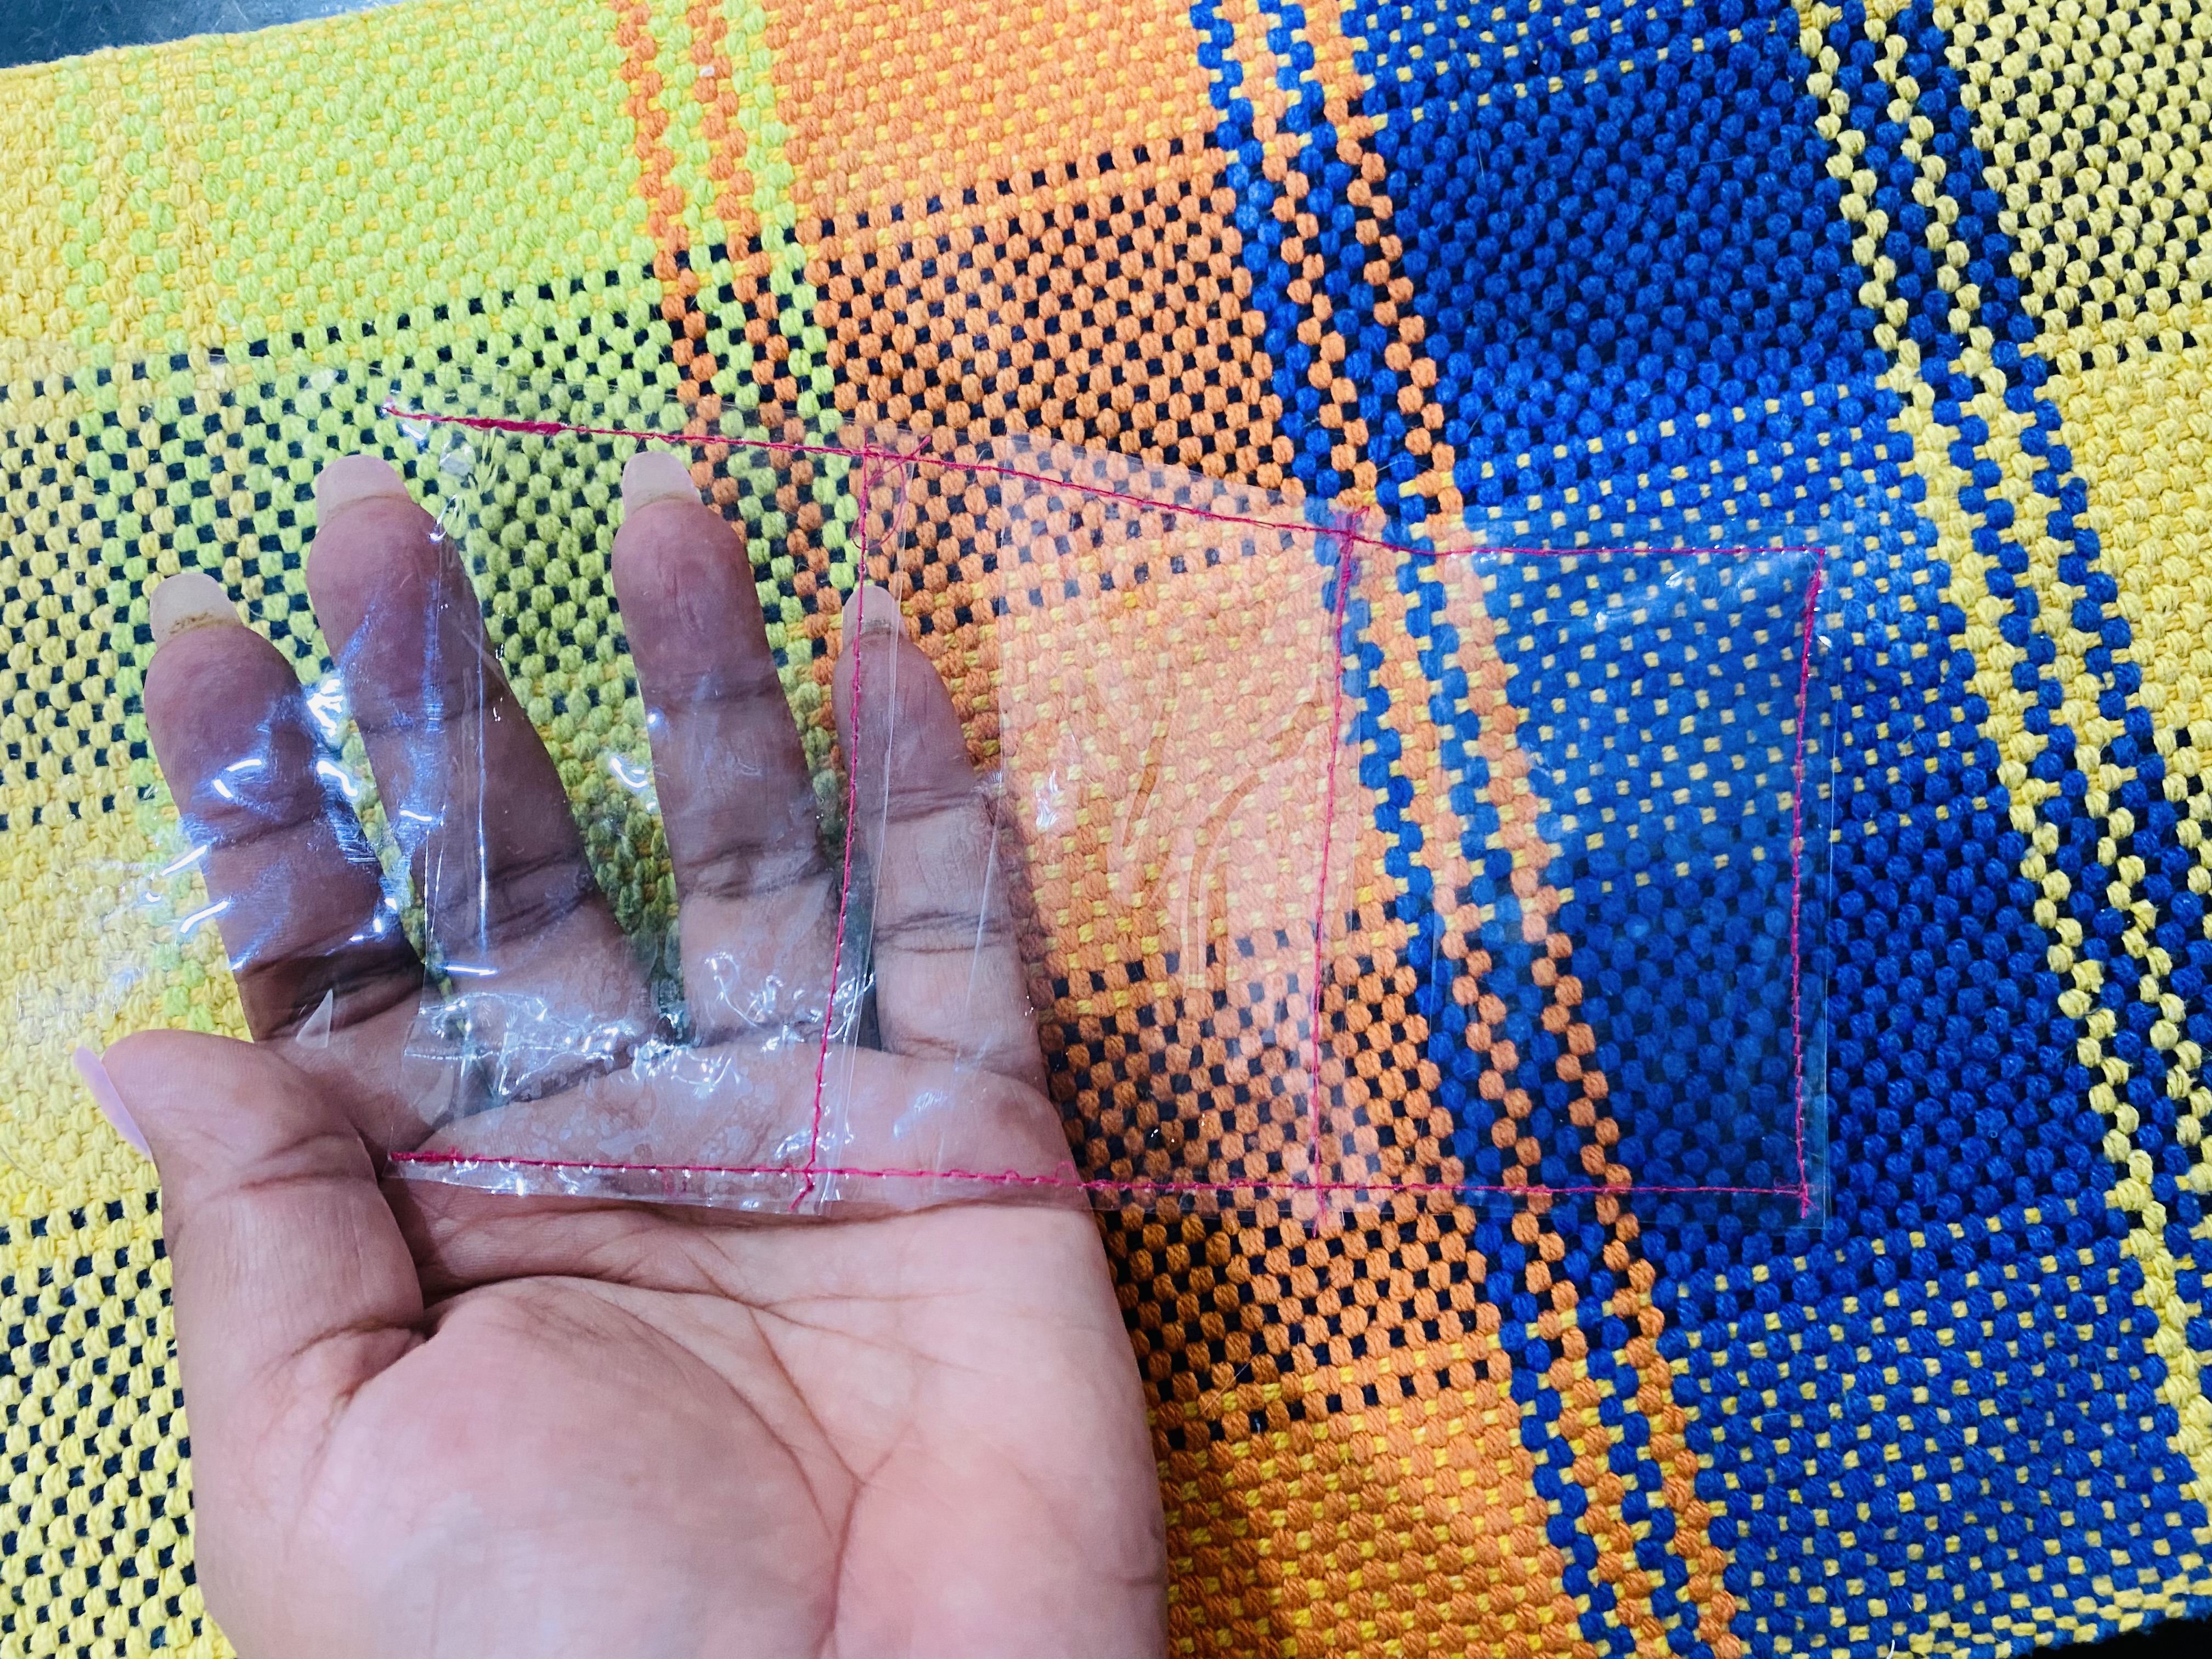
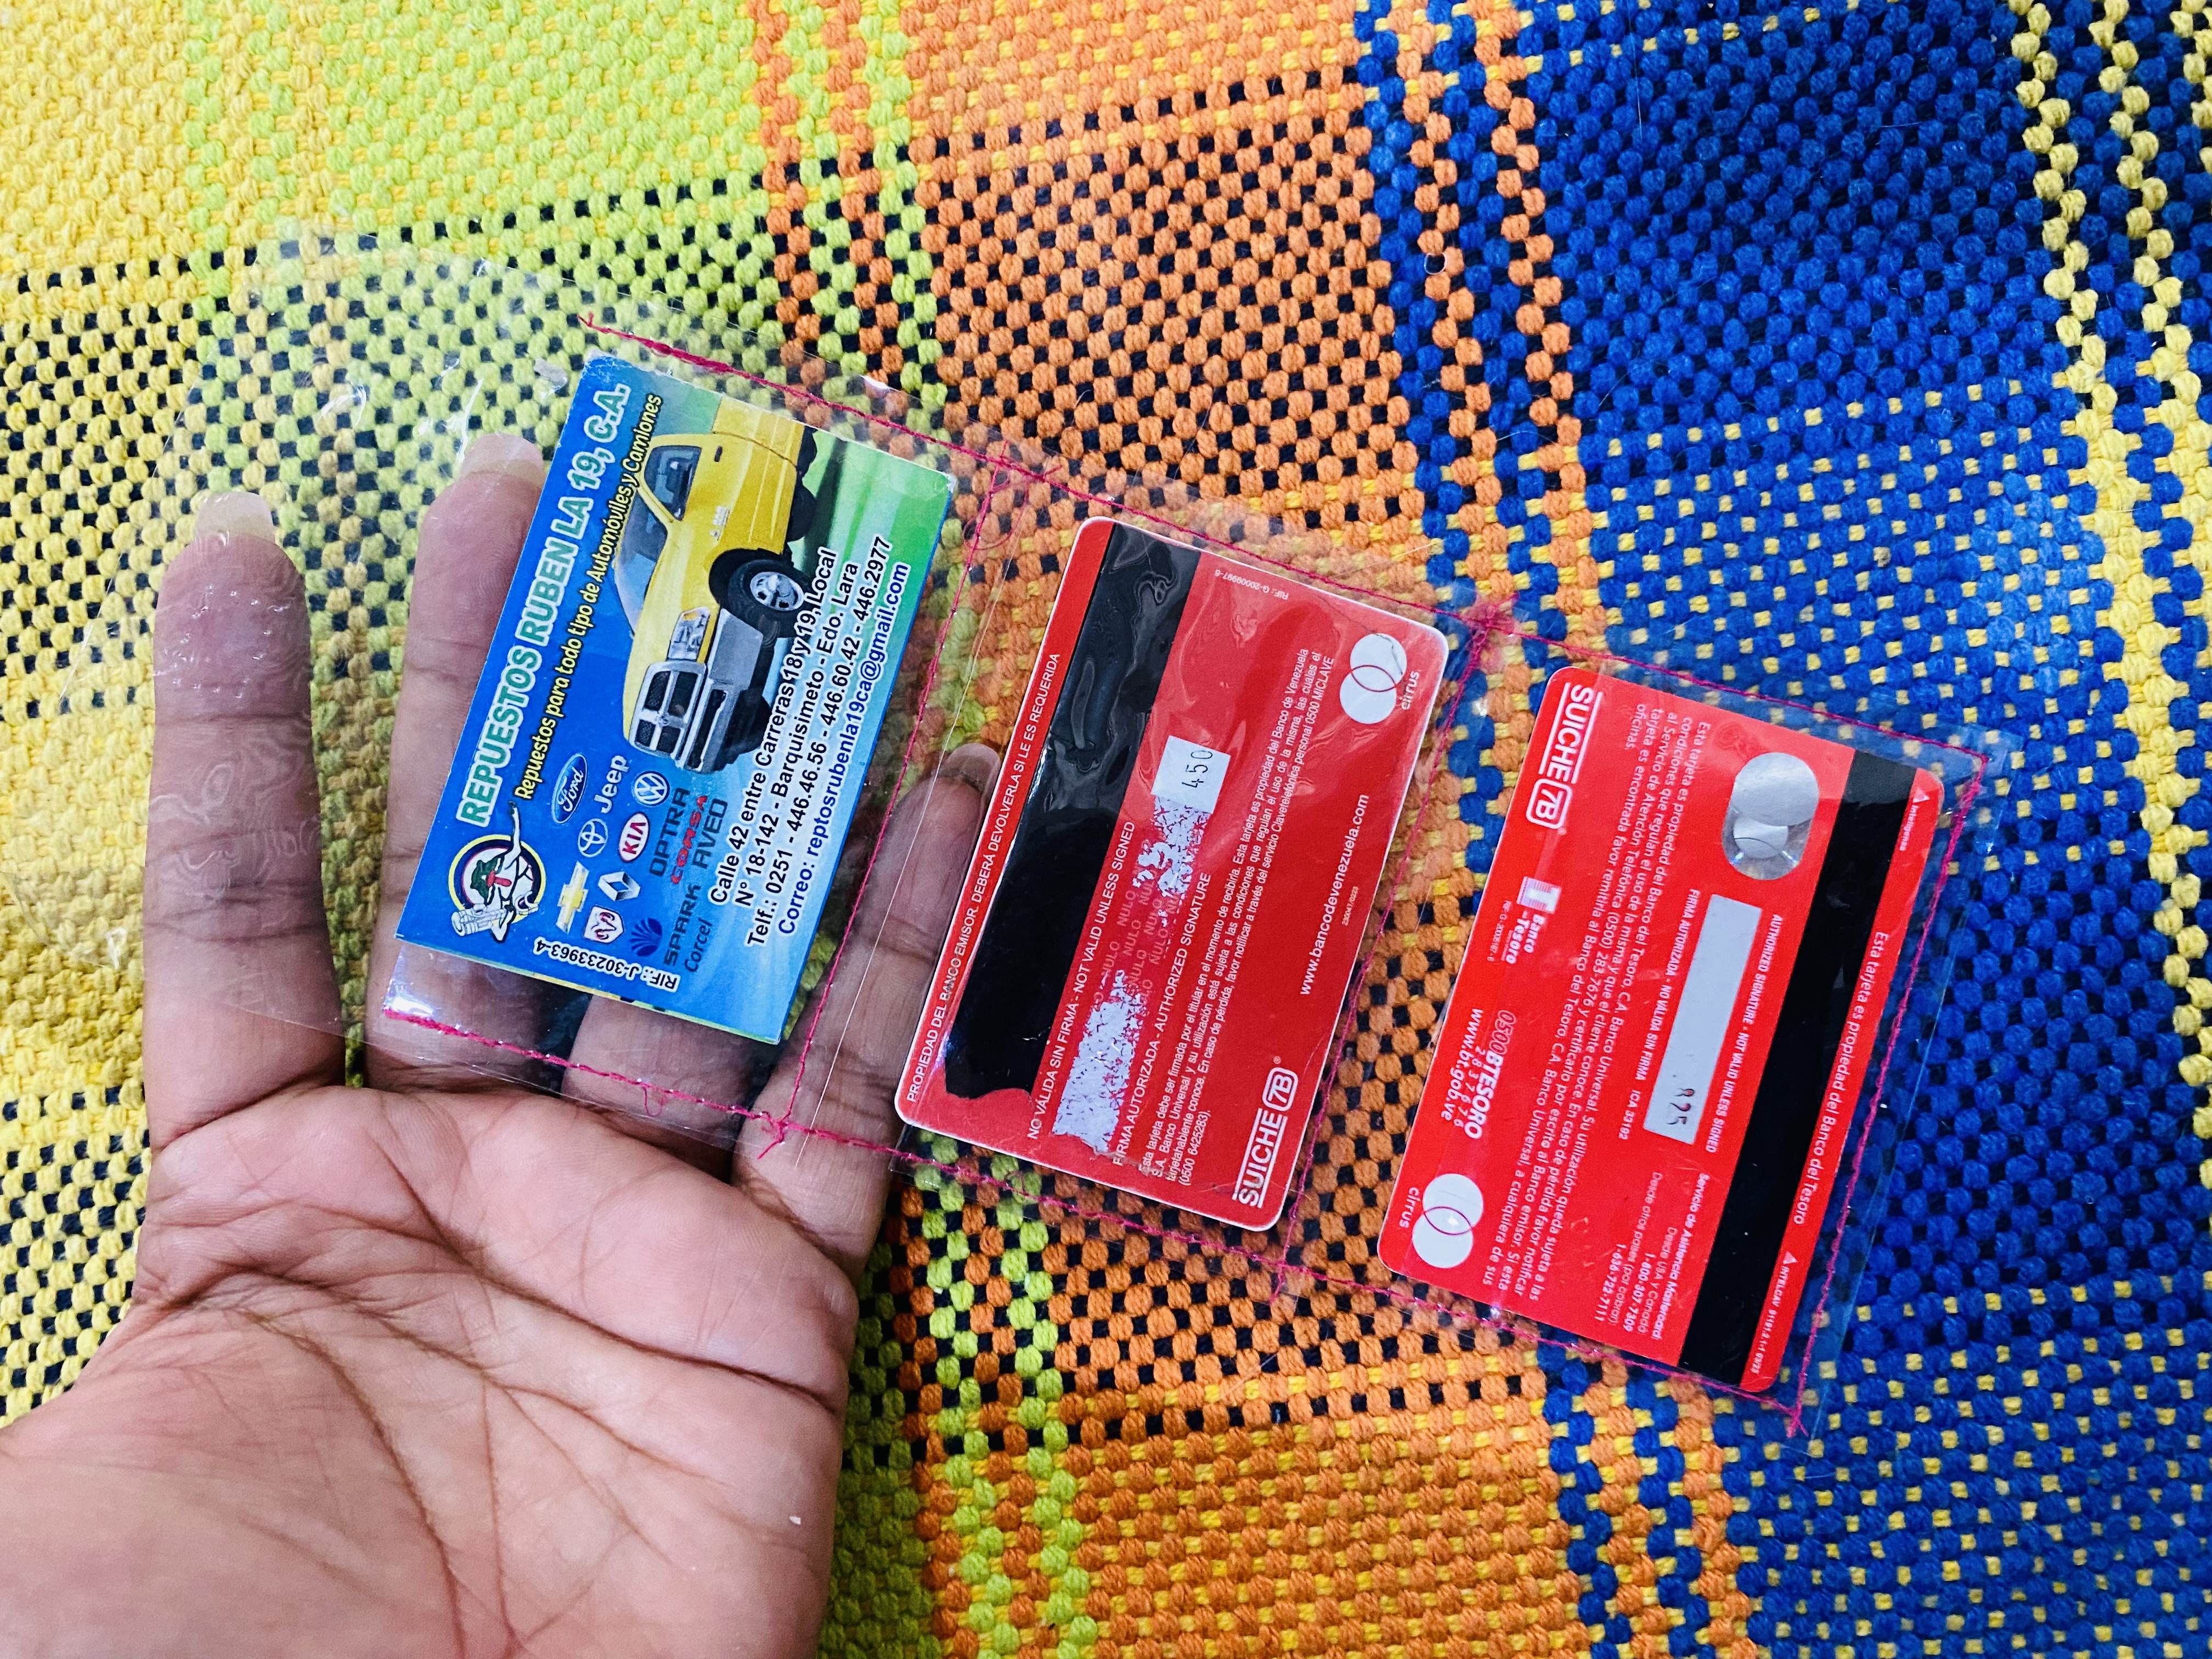
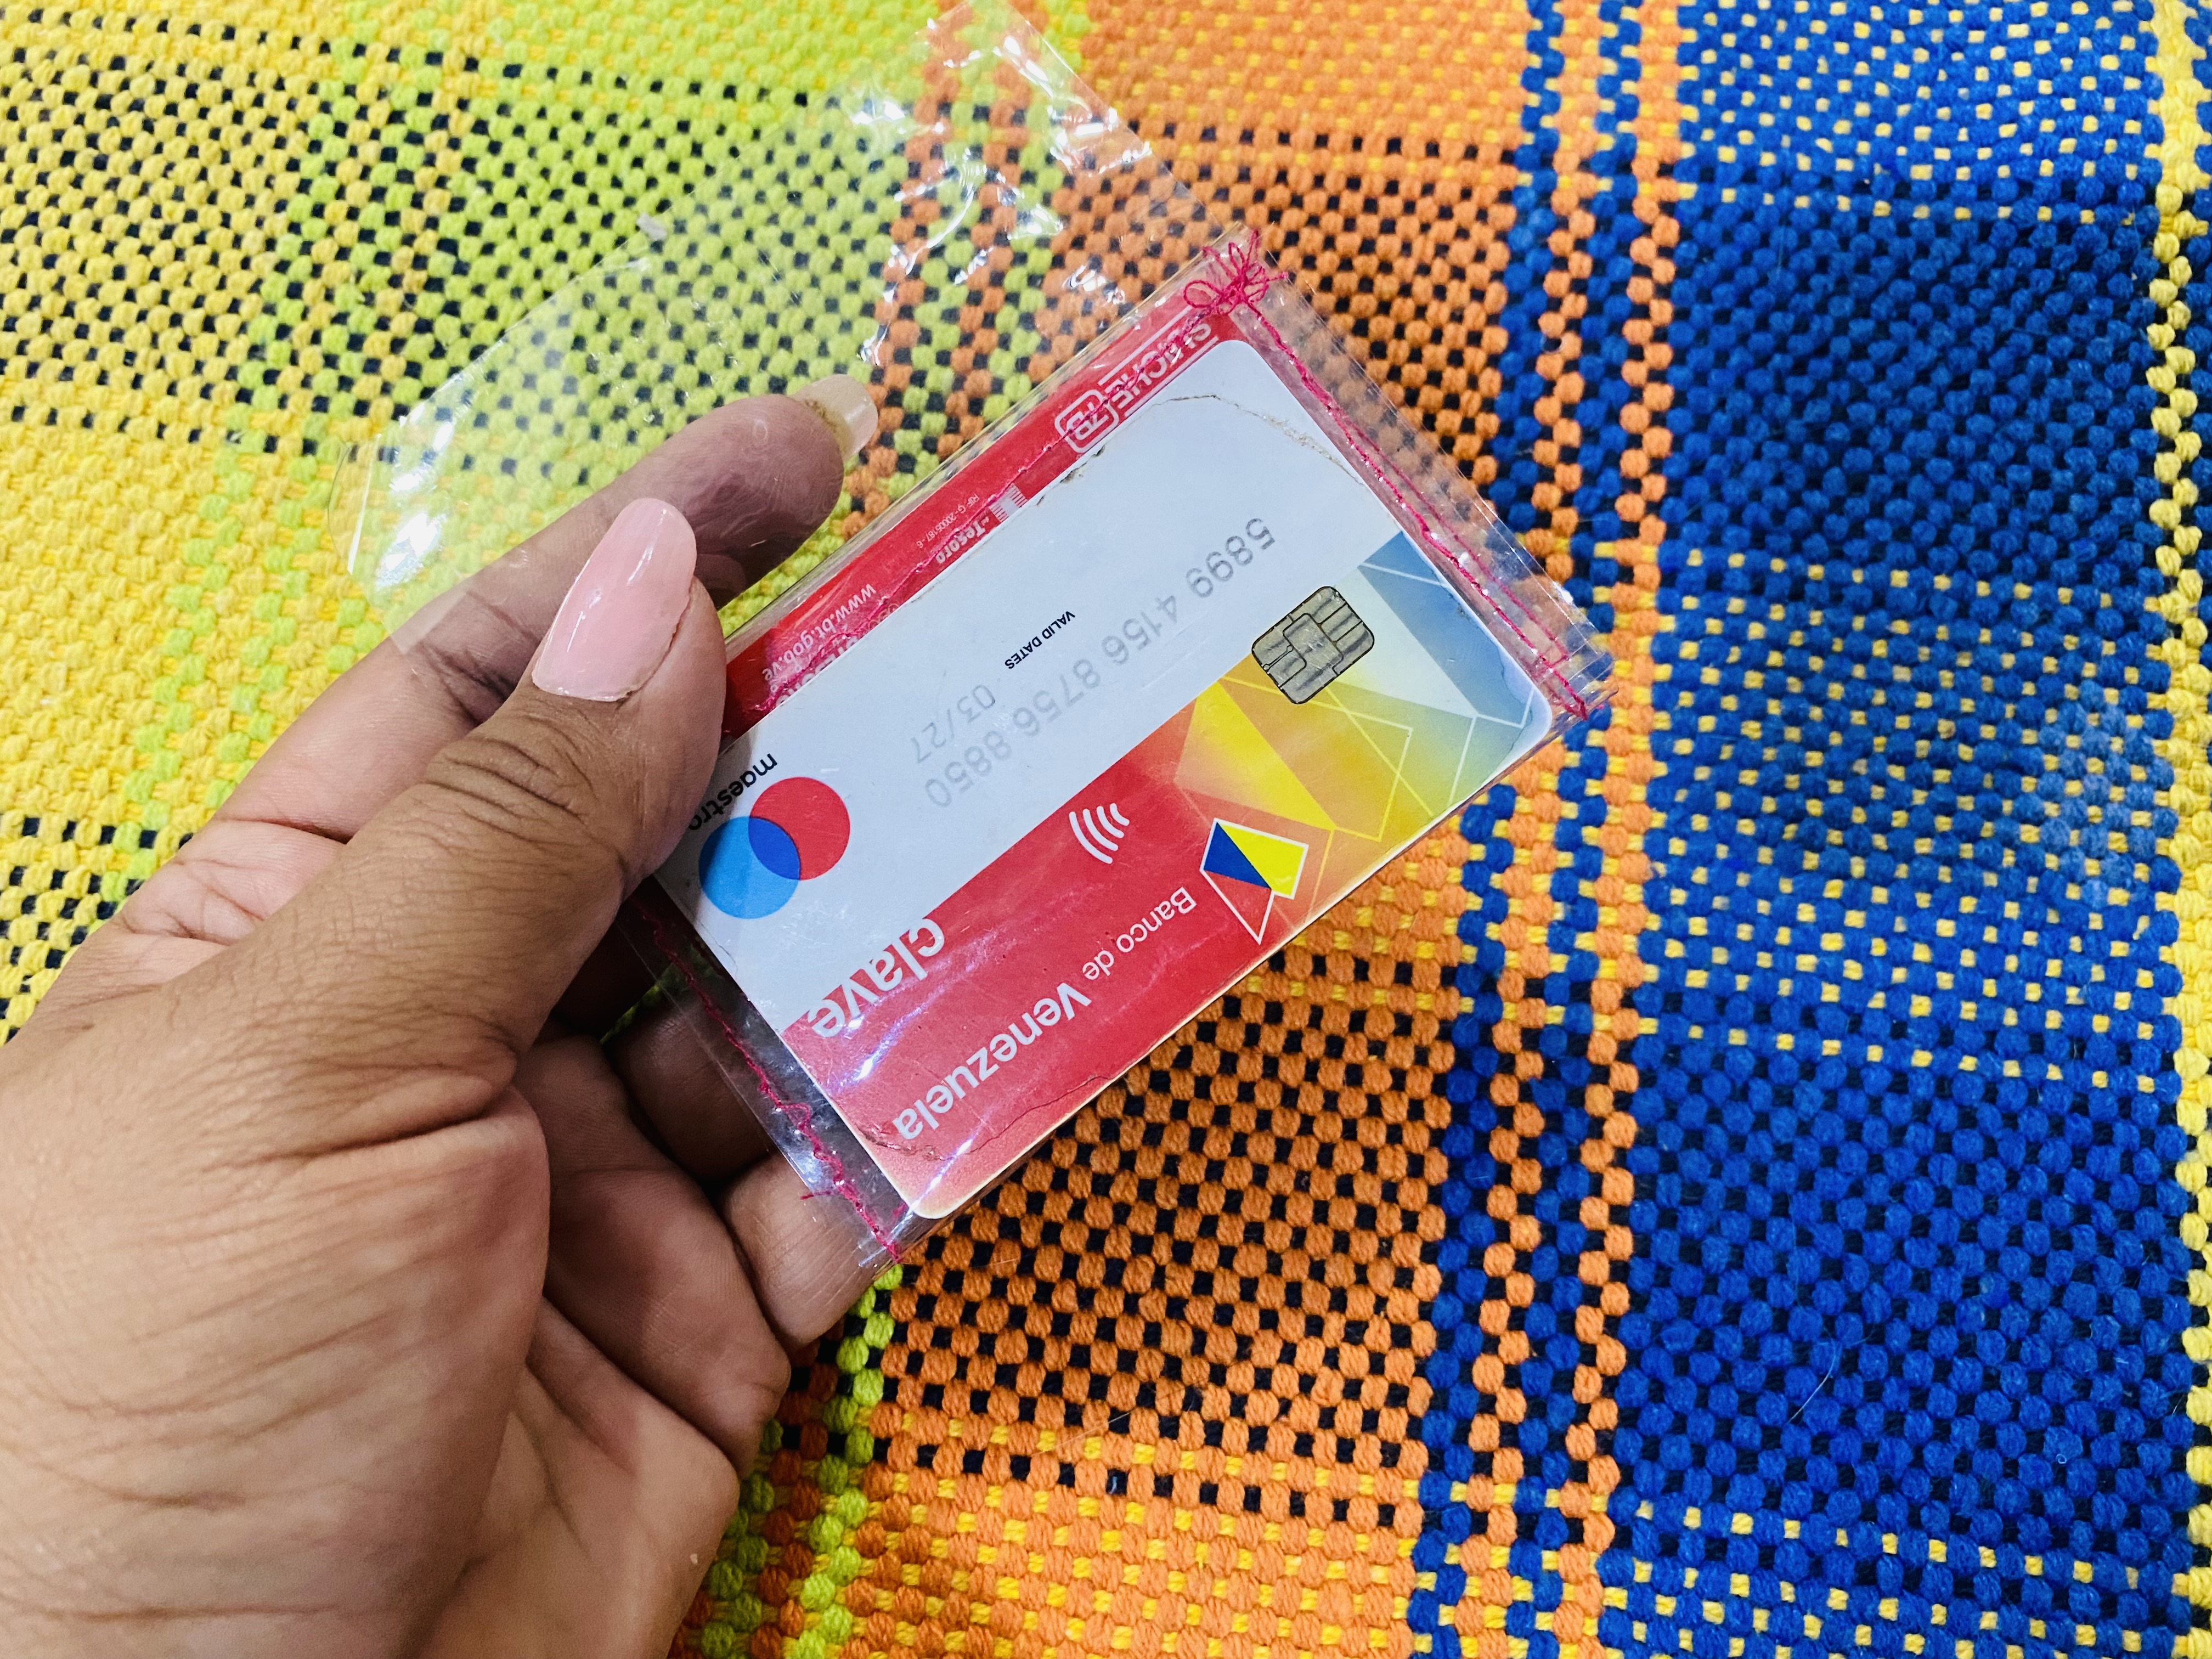
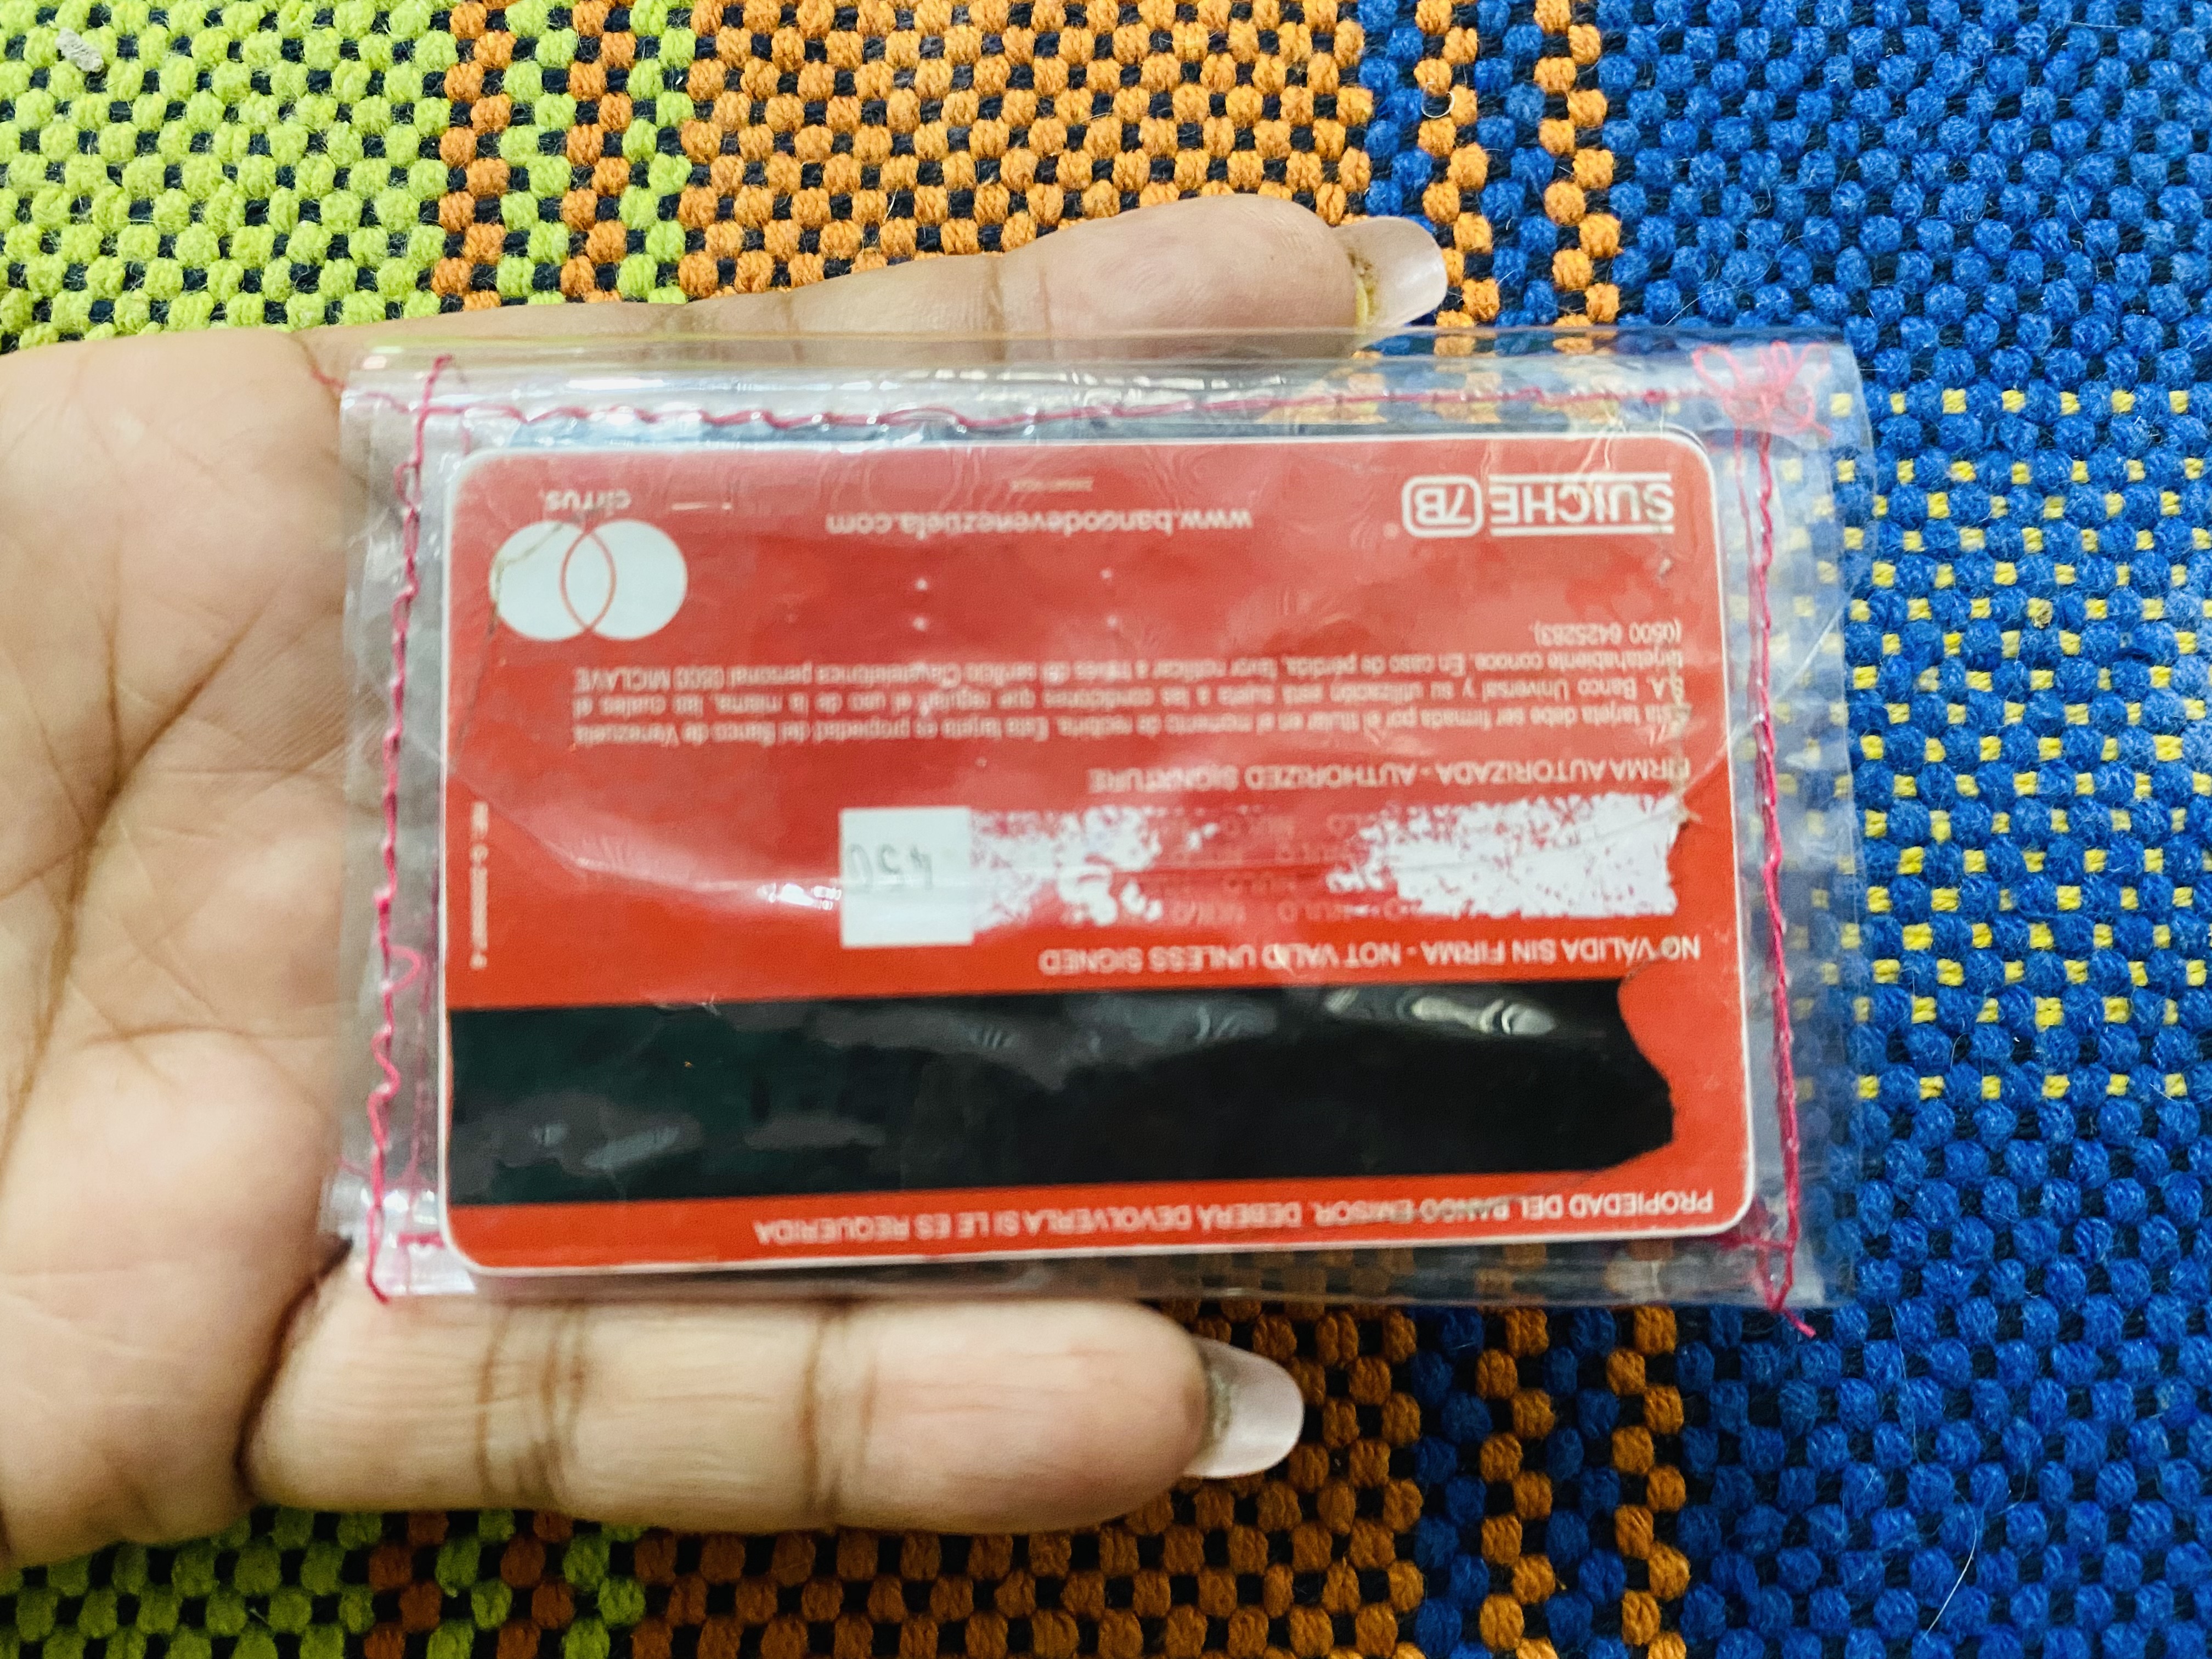
Continuamos pasándole una costura en cada lateral, en esto debemos ser muy precisos ya que no podemos pasar costura dos veces porque el plástico se marca y lo podemos dañar, la costura debemos pasársela lo más cercano posible a la orilla para que nos quede el espacio suficiente para las tarjetas, al finalizar podemos cortar cualquier excedente que nos haya quedado en las orillas, luego ya podemos colocar nuestras tarjetas dentro de cada división y así ya está listo este lindo tarjetero, especial para que podamos cargar organizadas todas nuestras tarjetas o documentos personales.
We continue sewing it on each side, we must be very precise at this point as we cannot sew it twice because the plastic will get marked and we could damage it, we must sew it as close to the edge as possible so that we have enough space for the cards, when finished we can cut off any excess that may be left on the edges, then we can place our cards inside each division and that's how this cute card holder is ready, special so we can carry all our cards or personal documents in an organized way.
 |  |
|---|---|
 |  |
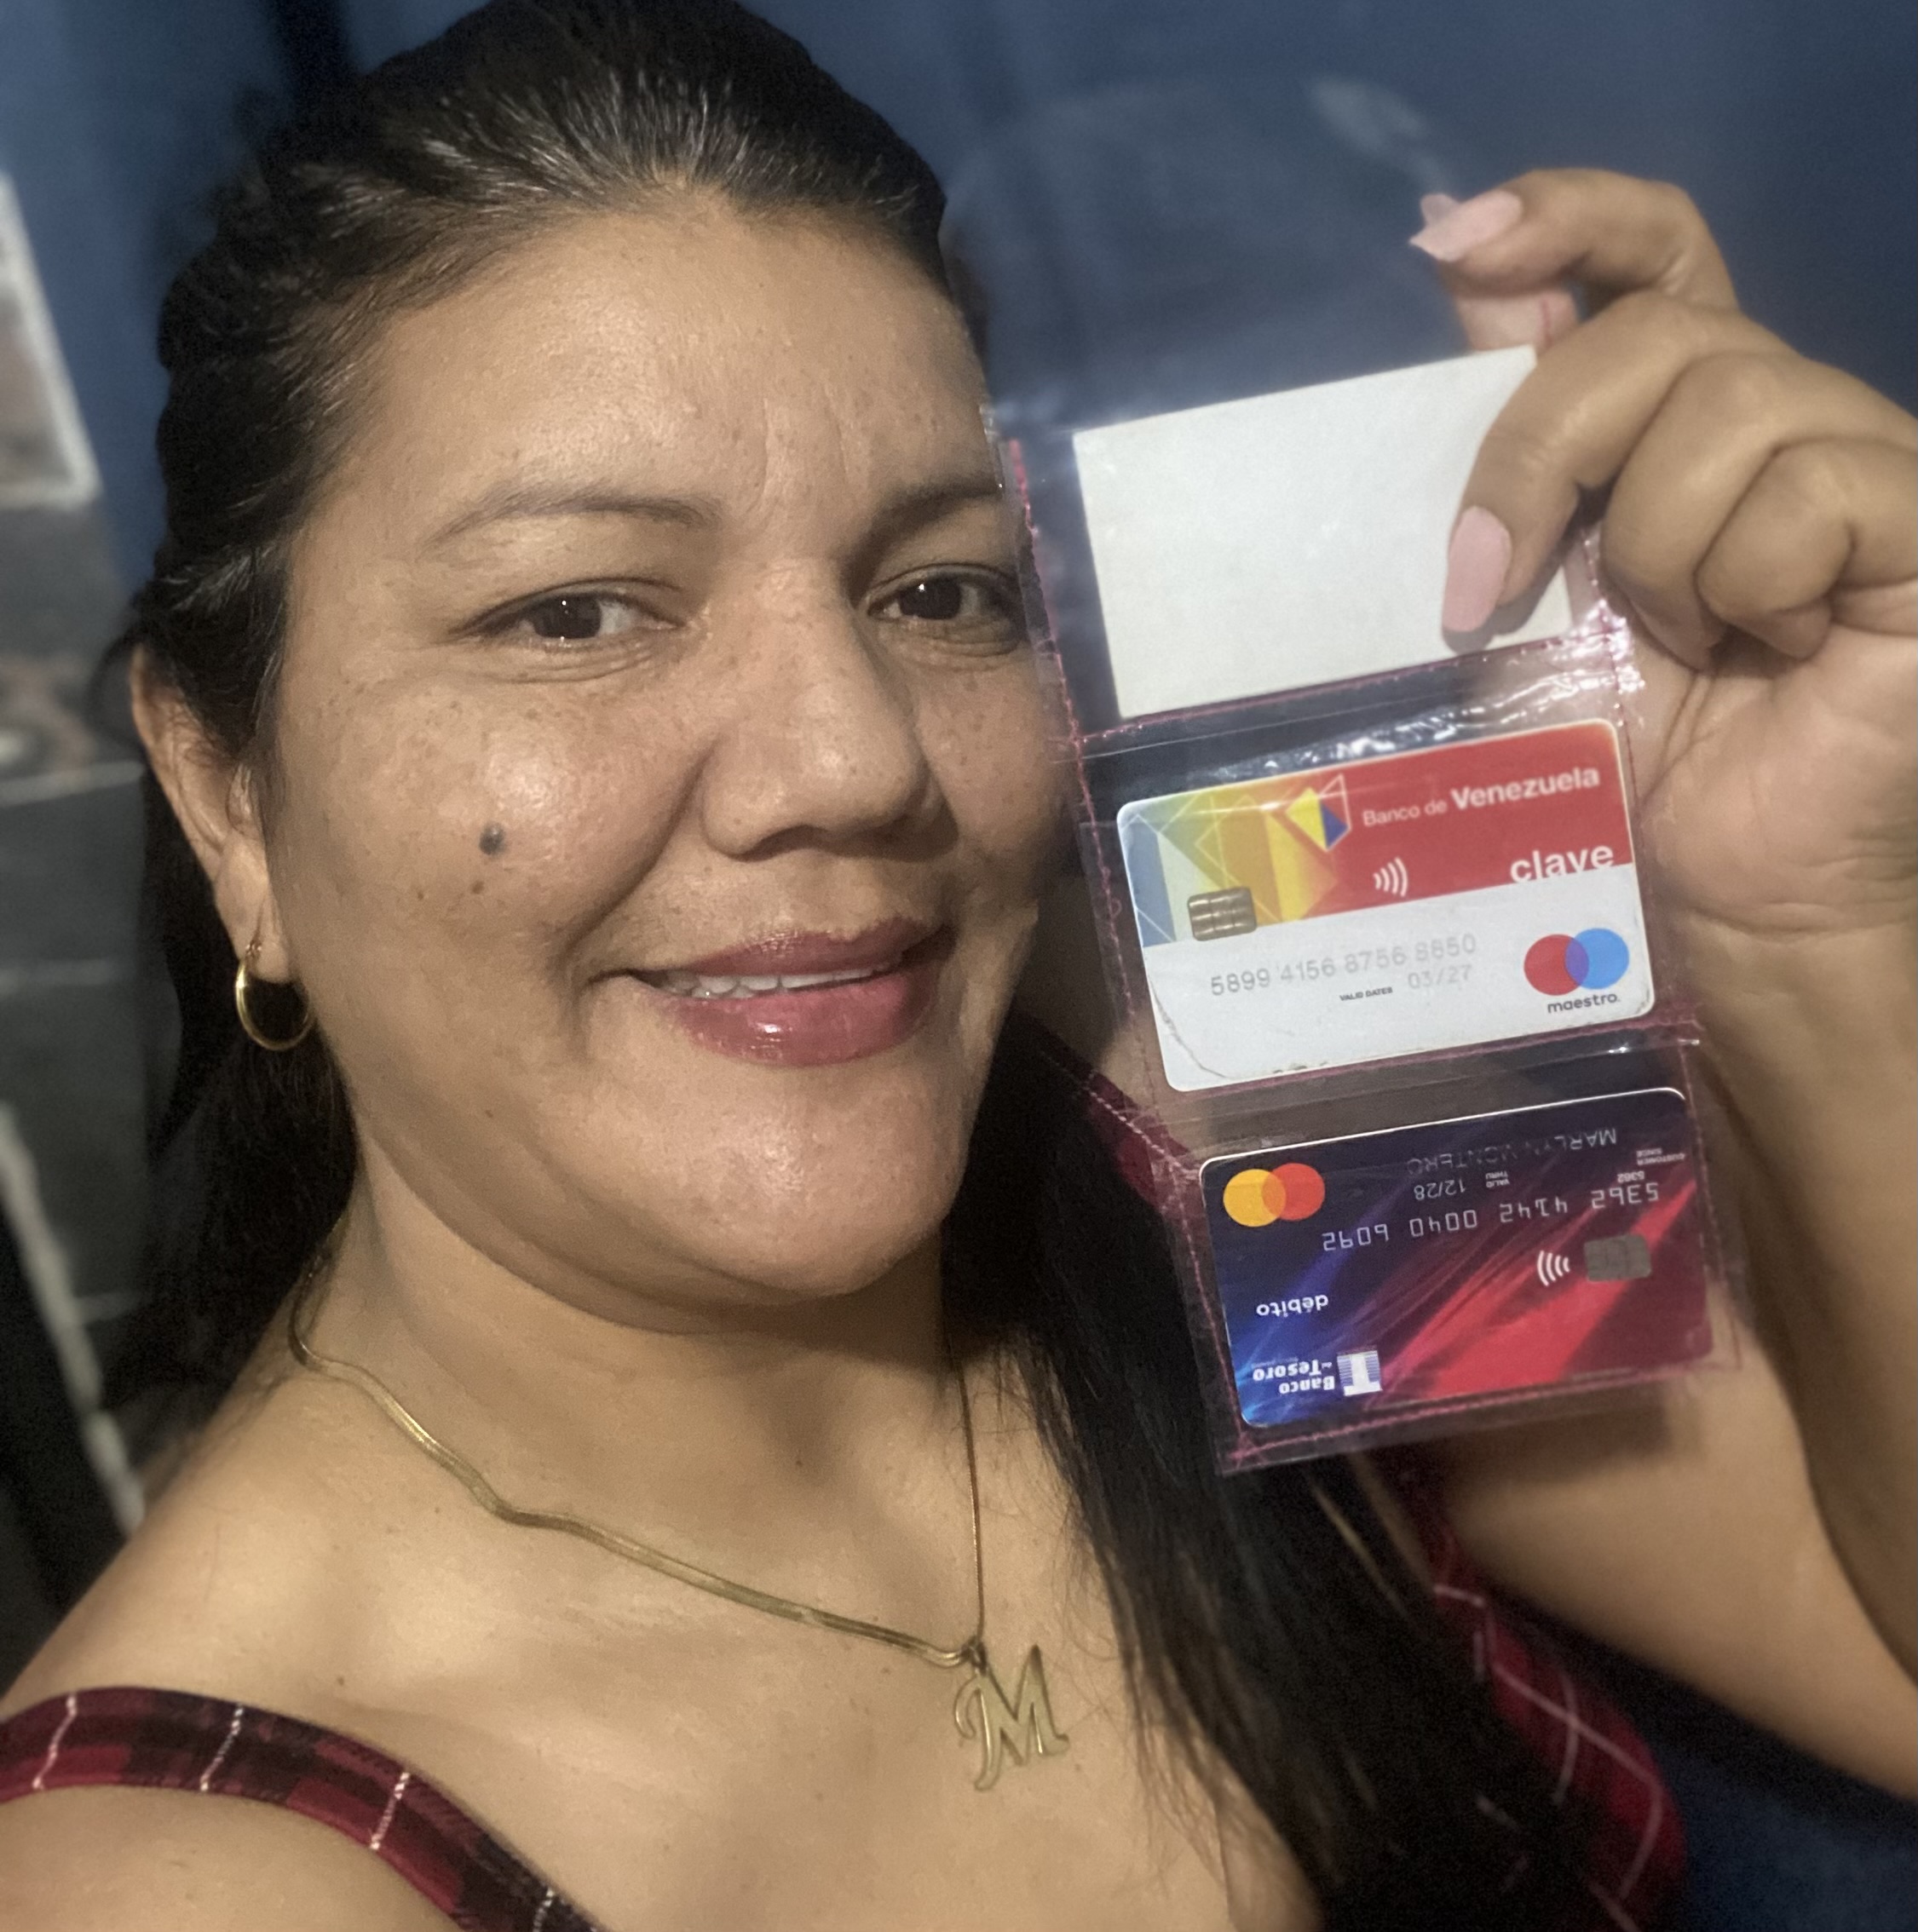
Me gustó mucho el resultado ya que al doblarlo ocupa muy poco espacio en nuestras carteras y es fácil de visualizar cada tarjeta, me gustaría conocer tu opinión, si gustas puedes dejar tu comentario, de antemano estoy muy agradecida de qué hayas visitado mi Publicación, me despido por hoy deseándoles muchos éxitos y bendiciones, hasta otra oportunidad 😊💕
I really liked the result because when folded it takes up very little space in our wallets and it is easy to see each card, I would like to know your opinion, if you like you can leave your comment, in advance I am very grateful that you have visited my Publication, I say goodbye for today wishing you much success and blessings, until another opportunity 😊💕

las fotos aquí compartidas son de mi propiedad tomadas con mi teléfono iPhone 11, la edición fue hecha en Canva, para la traducción del inglés utilice el traductor de Google
Genial idea, para llevar a cabo un tarjetero de una manera muy fácil y práctica.
!discovery 25
Así es amiga gracias por visitar mi publicación, saludos 🥰
This post was shared and voted inside the discord by the curators team of discovery-it
Join our Community and follow our Curation Trail
Discovery-it is also a Witness, vote for us here
Delegate to us for passive income. Check our 80% fee-back Program
Discord Server.This post has been manually curated by @bhattg from Indiaunited community. Join us on our
Do you know that you can earn a passive income by delegating to @indiaunited. We share more than 100 % of the curation rewards with the delegators in the form of IUC tokens. HP delegators and IUC token holders also get upto 20% additional vote weight.
Here are some handy links for delegations: 100HP, 250HP, 500HP, 1000HP.
100% of the rewards from this comment goes to the curator for their manual curation efforts. Please encourage the curator @bhattg by upvoting this comment and support the community by voting the posts made by @indiaunited.
Una idea paractica y sencilla de hacer, está perfecto para llevar en la cartera y ocupa poco espacio.
Si es amiga , gracias por comentar, saludos 🥰
Buen día Marlyn. Que gran idea para tener todas las tarjetas ordenadas y a la vista. Me vendría bien uno de esos, para todas mis tarjetas vacías, pero al menos estarían acomodadas jajaja.
Te mando un saludo, que tengas un lindo día 💕
Lo bueno es que no se le ve el contenido a las tarjetas 😂😂😂, lo importante es que estén organizadas 😊, gracias por comentar amiga, saludos 🥰
This is a very useful and creative project that I think everyone should have, the process is simple but the result is stunning unique. A good and wonderful creation, I love it and well done.
Gracias Amigo por tan bonitas palabras de verdad que me llenan de mucha motivación 🥰