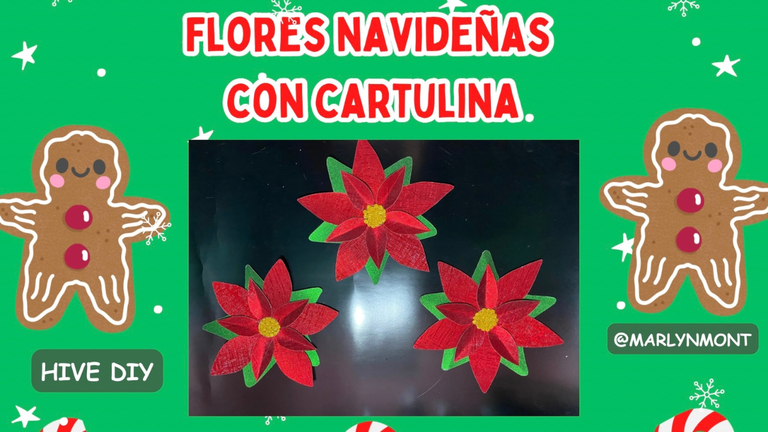
Saludos amigos de HIVEDIY, espero tengan un excelente viernes ❤️
Ya nos quedan muy pocos días del último mes de este año 2024, me siento como en cuenta regresiva ya que tengo tantas ideas para hacer pero muy poco tiempo para lograrlas, desde hace un tiempo había estado con la idea de hacer alguna manualidad con cartulina ya que estas se consiguen de unos colores llamativos y muy hermosos y hoy quiero mostrarles una idea para hacer unas hermosas flores navideñas con cartulina, ven y te muestro como las hice:
Greetings friends of HIVEDIY, I hope you have a great Friday ❤️
There are very few days left of the last month of this year 2024, I feel like I'm in a countdown since I have so many ideas to do but very little time to achieve them, for a while I had the idea of making some crafts with cardboard since they come in striking and very beautiful colors and today I want to show you an idea to make some beautiful Christmas flowers with cardboard, come and I'll show you how I made them:

MATERIALES
MATERIALS
Un día estando en una tienda veo que una señora lleva unas cartulinas en color rojo y verde espectaculares, le pregunté donde estaban y busqué unas para mí, no sabía que hacer con ellas pero como son bastante económicas decidí comprarlas, por un momento sentí dudas en hacer algún tipo de manualidad con ellas ya que la gran diferencia con el Foami es que este es mucho más moldeable.
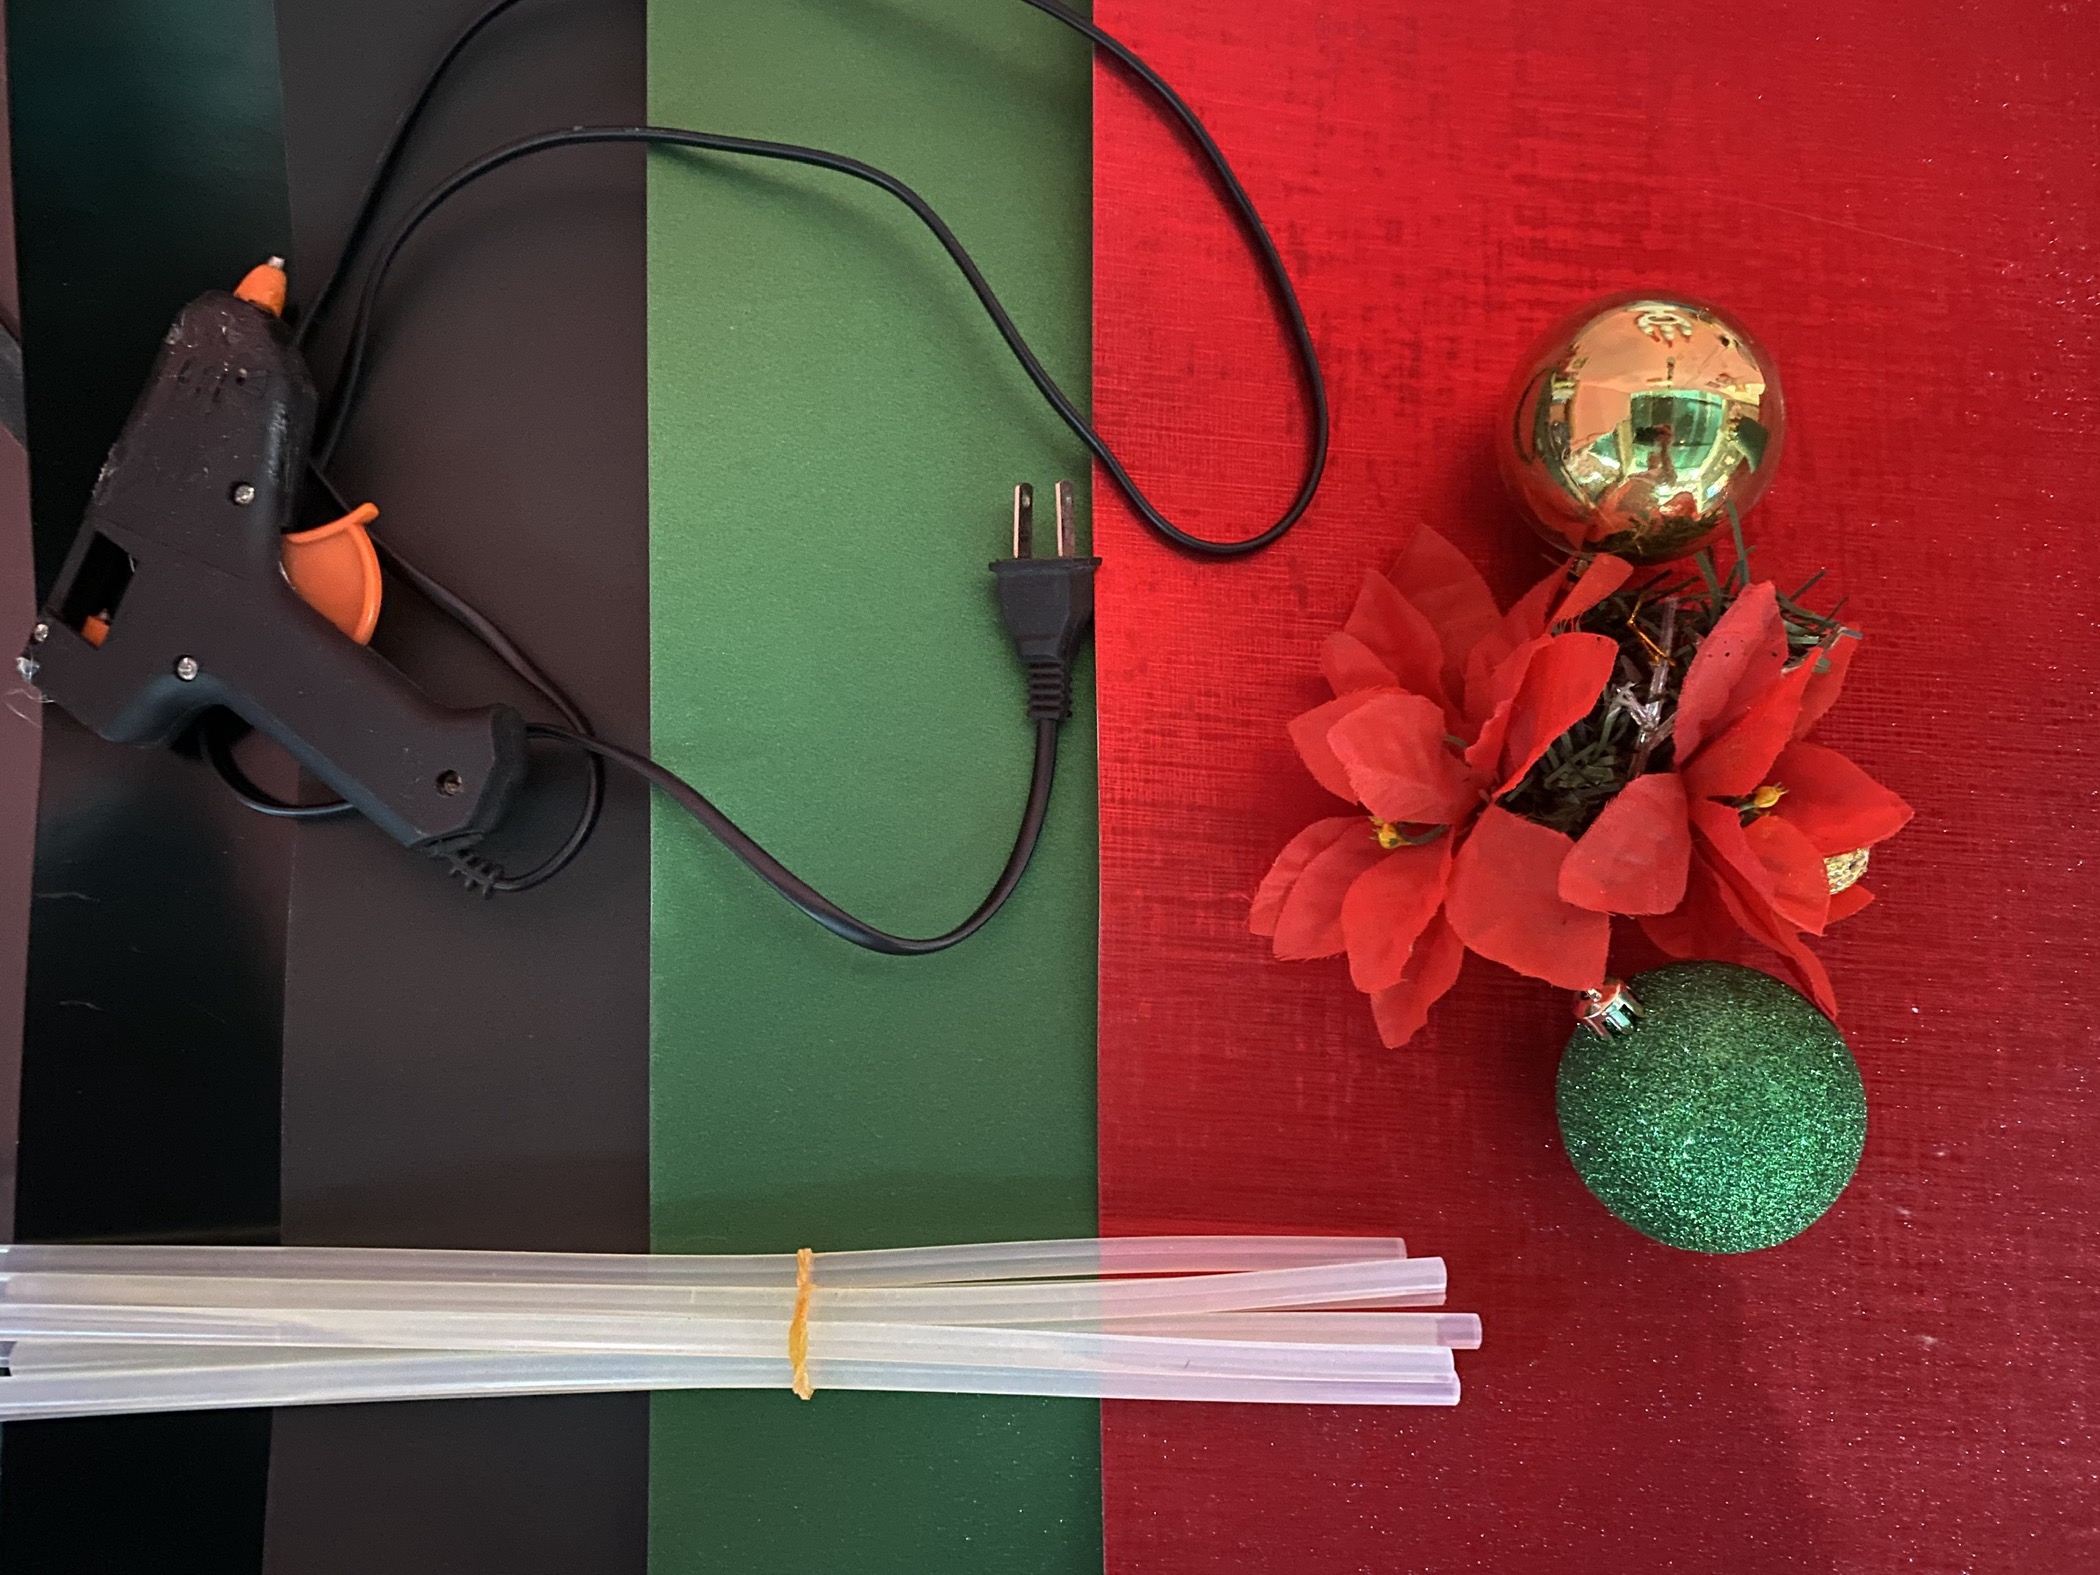
Las flores navideñas son uno de los adornos principales en todas las decoraciones, es muy difícil que no se incluyan ya que estas representan la Navidad, y con este motivo quise darle una oportunidad a las cartulinas y ver qué tan lindas podían quedar, para la realización de estas flores utilicé los siguientes materiales
- Cartulina metalizada en color rojo, verde y dorado
- Silicone
- un pequeño retazo de foamy
- tijeras
- lapiz
One day I was in a store and I saw a lady carrying some spectacular red and green cardboard. I asked her where they were and looked for some for myself. I didn't know what to do with them, but since they are quite cheap I decided to buy them. For a moment I had doubts about making some kind of craft with them, since the big difference with Foam is that it is much more moldable.
Christmas flowers are one of the main decorations in all decorations. It is very difficult not to include them, since they represent Christmas. For this reason I wanted to give cardboard a chance and see how pretty they could be. To make these flowers I used the following materials:
- Metallic cardboard in red, green and gold
- Silicone
- a small piece of foam
- scissors
- pencil
PASO A PASO
STEP BY STEP
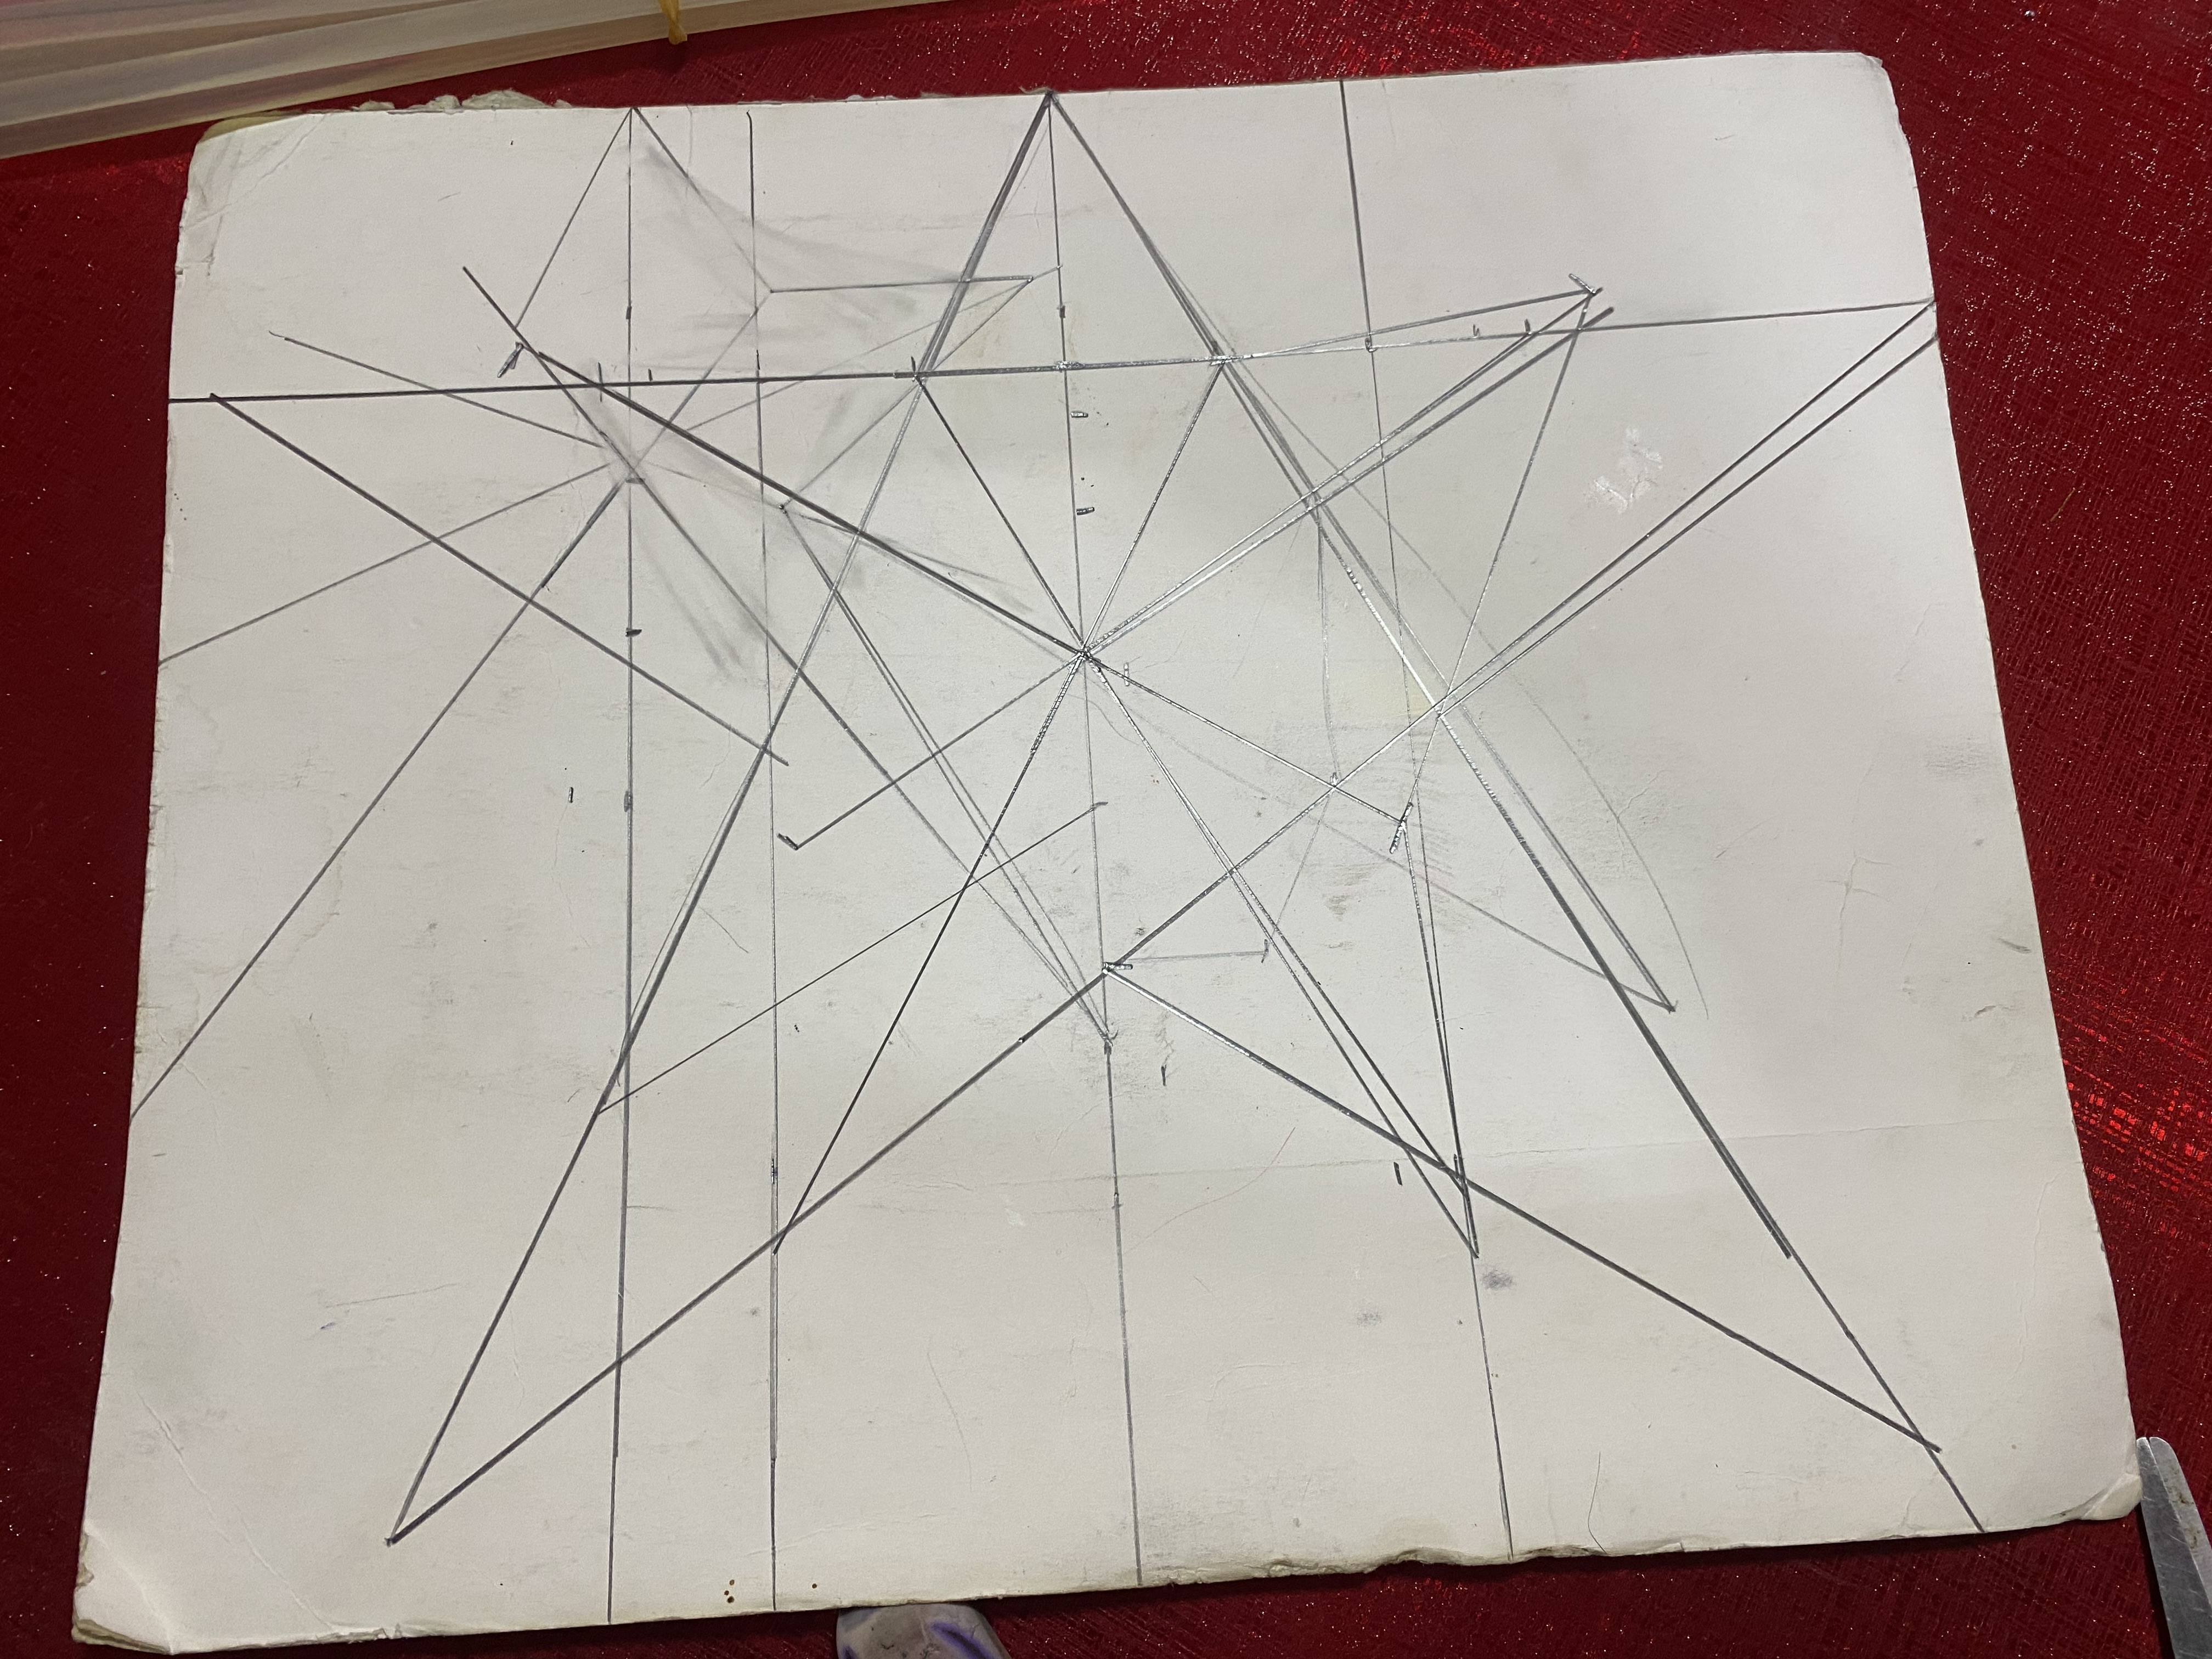
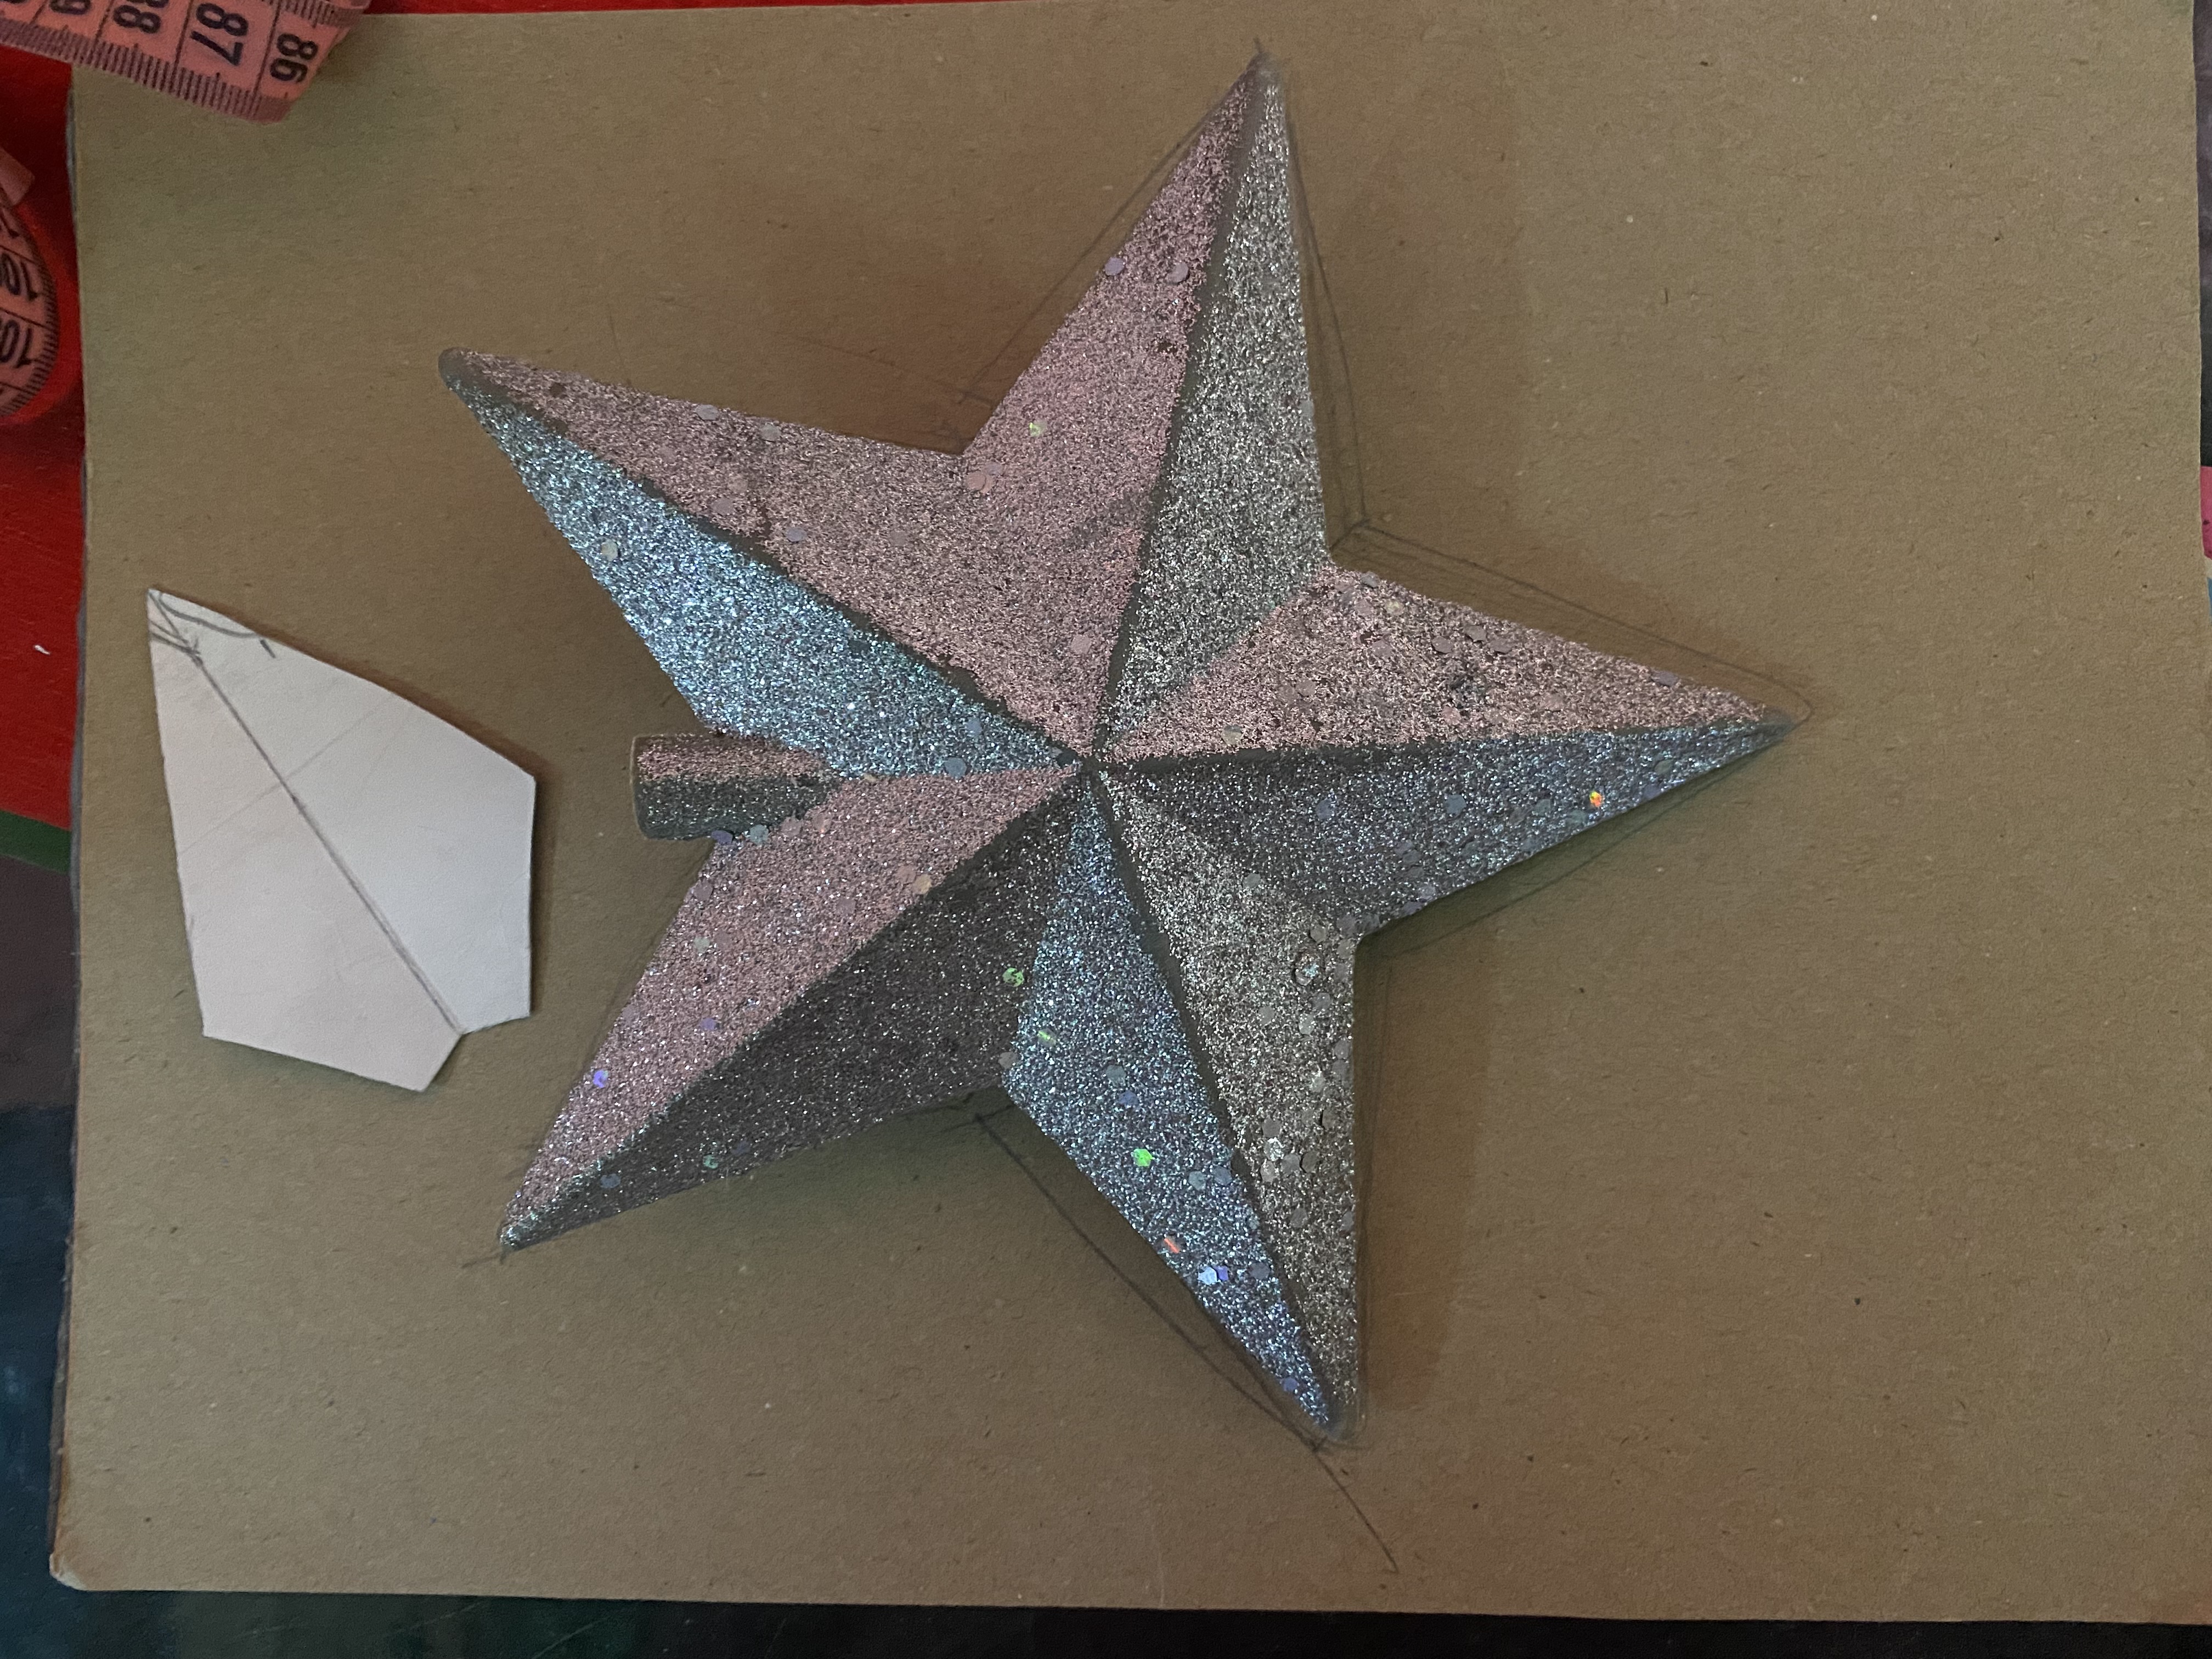
Como primer paso haremos una estrella de cinco puntas en cartón o cartulina de reciclaje para utilizarlo como molde, las estrellas son un poco complicadas de dibujar que te queden perfectas, en este paso se me complicó un poco, es increíble pero cuando deseas un modelo específico de estrella es que te das cuenta que la puedes dibujar de varias formas, la tradicional es la que hacemos recta en las dos puntas superiores y así no es el modelo que deseaba, ya que la estrella que deseo debe quedar como especie de una flor y pude darme cuenta de esto cuando ya la tenía hecha molde, ja ja.
As a first step we will make a five-pointed star out of cardboard or recycled cardstock to use as a mold. Stars are a bit complicated to draw so that they turn out perfect. This step got a bit complicated for me. It's incredible, but when you want a specific star model, you realize that you can draw it in several ways. The traditional one is the one we make straight at the two upper points and that is not the model I wanted, since the star I wanted should look like a flower and I realized this when I already had the mold made, ha ha.
 |  |
|---|
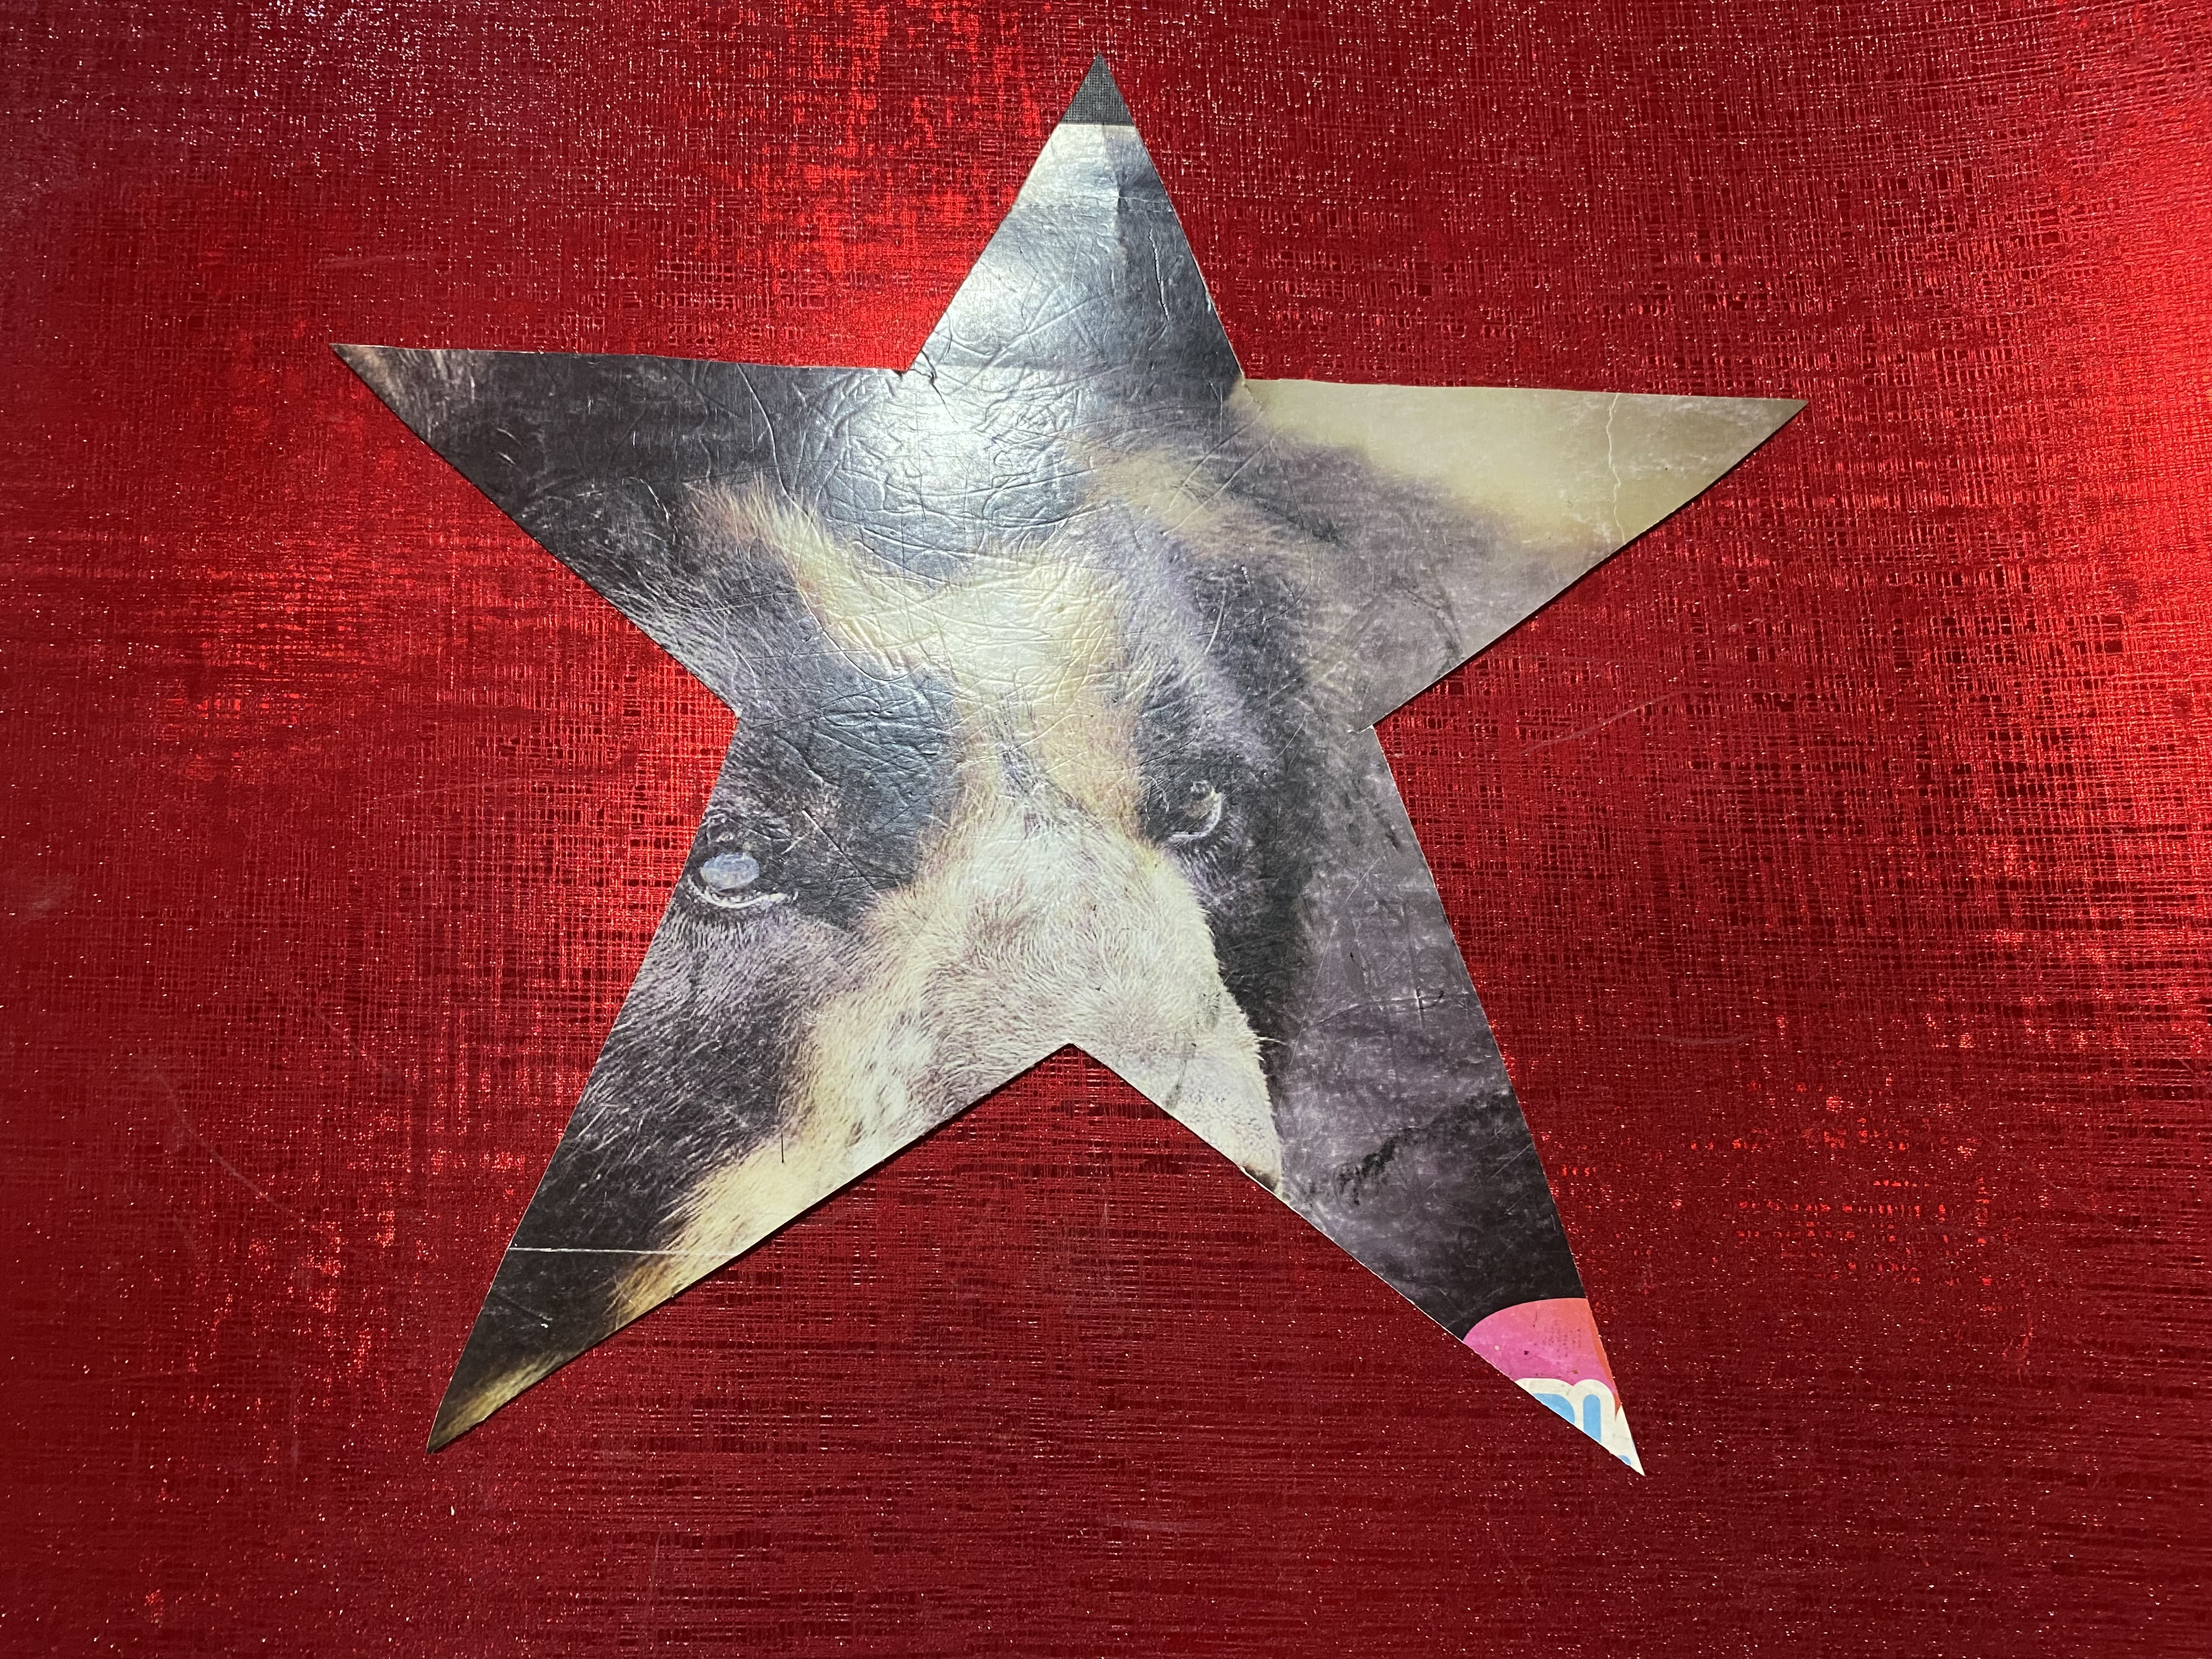
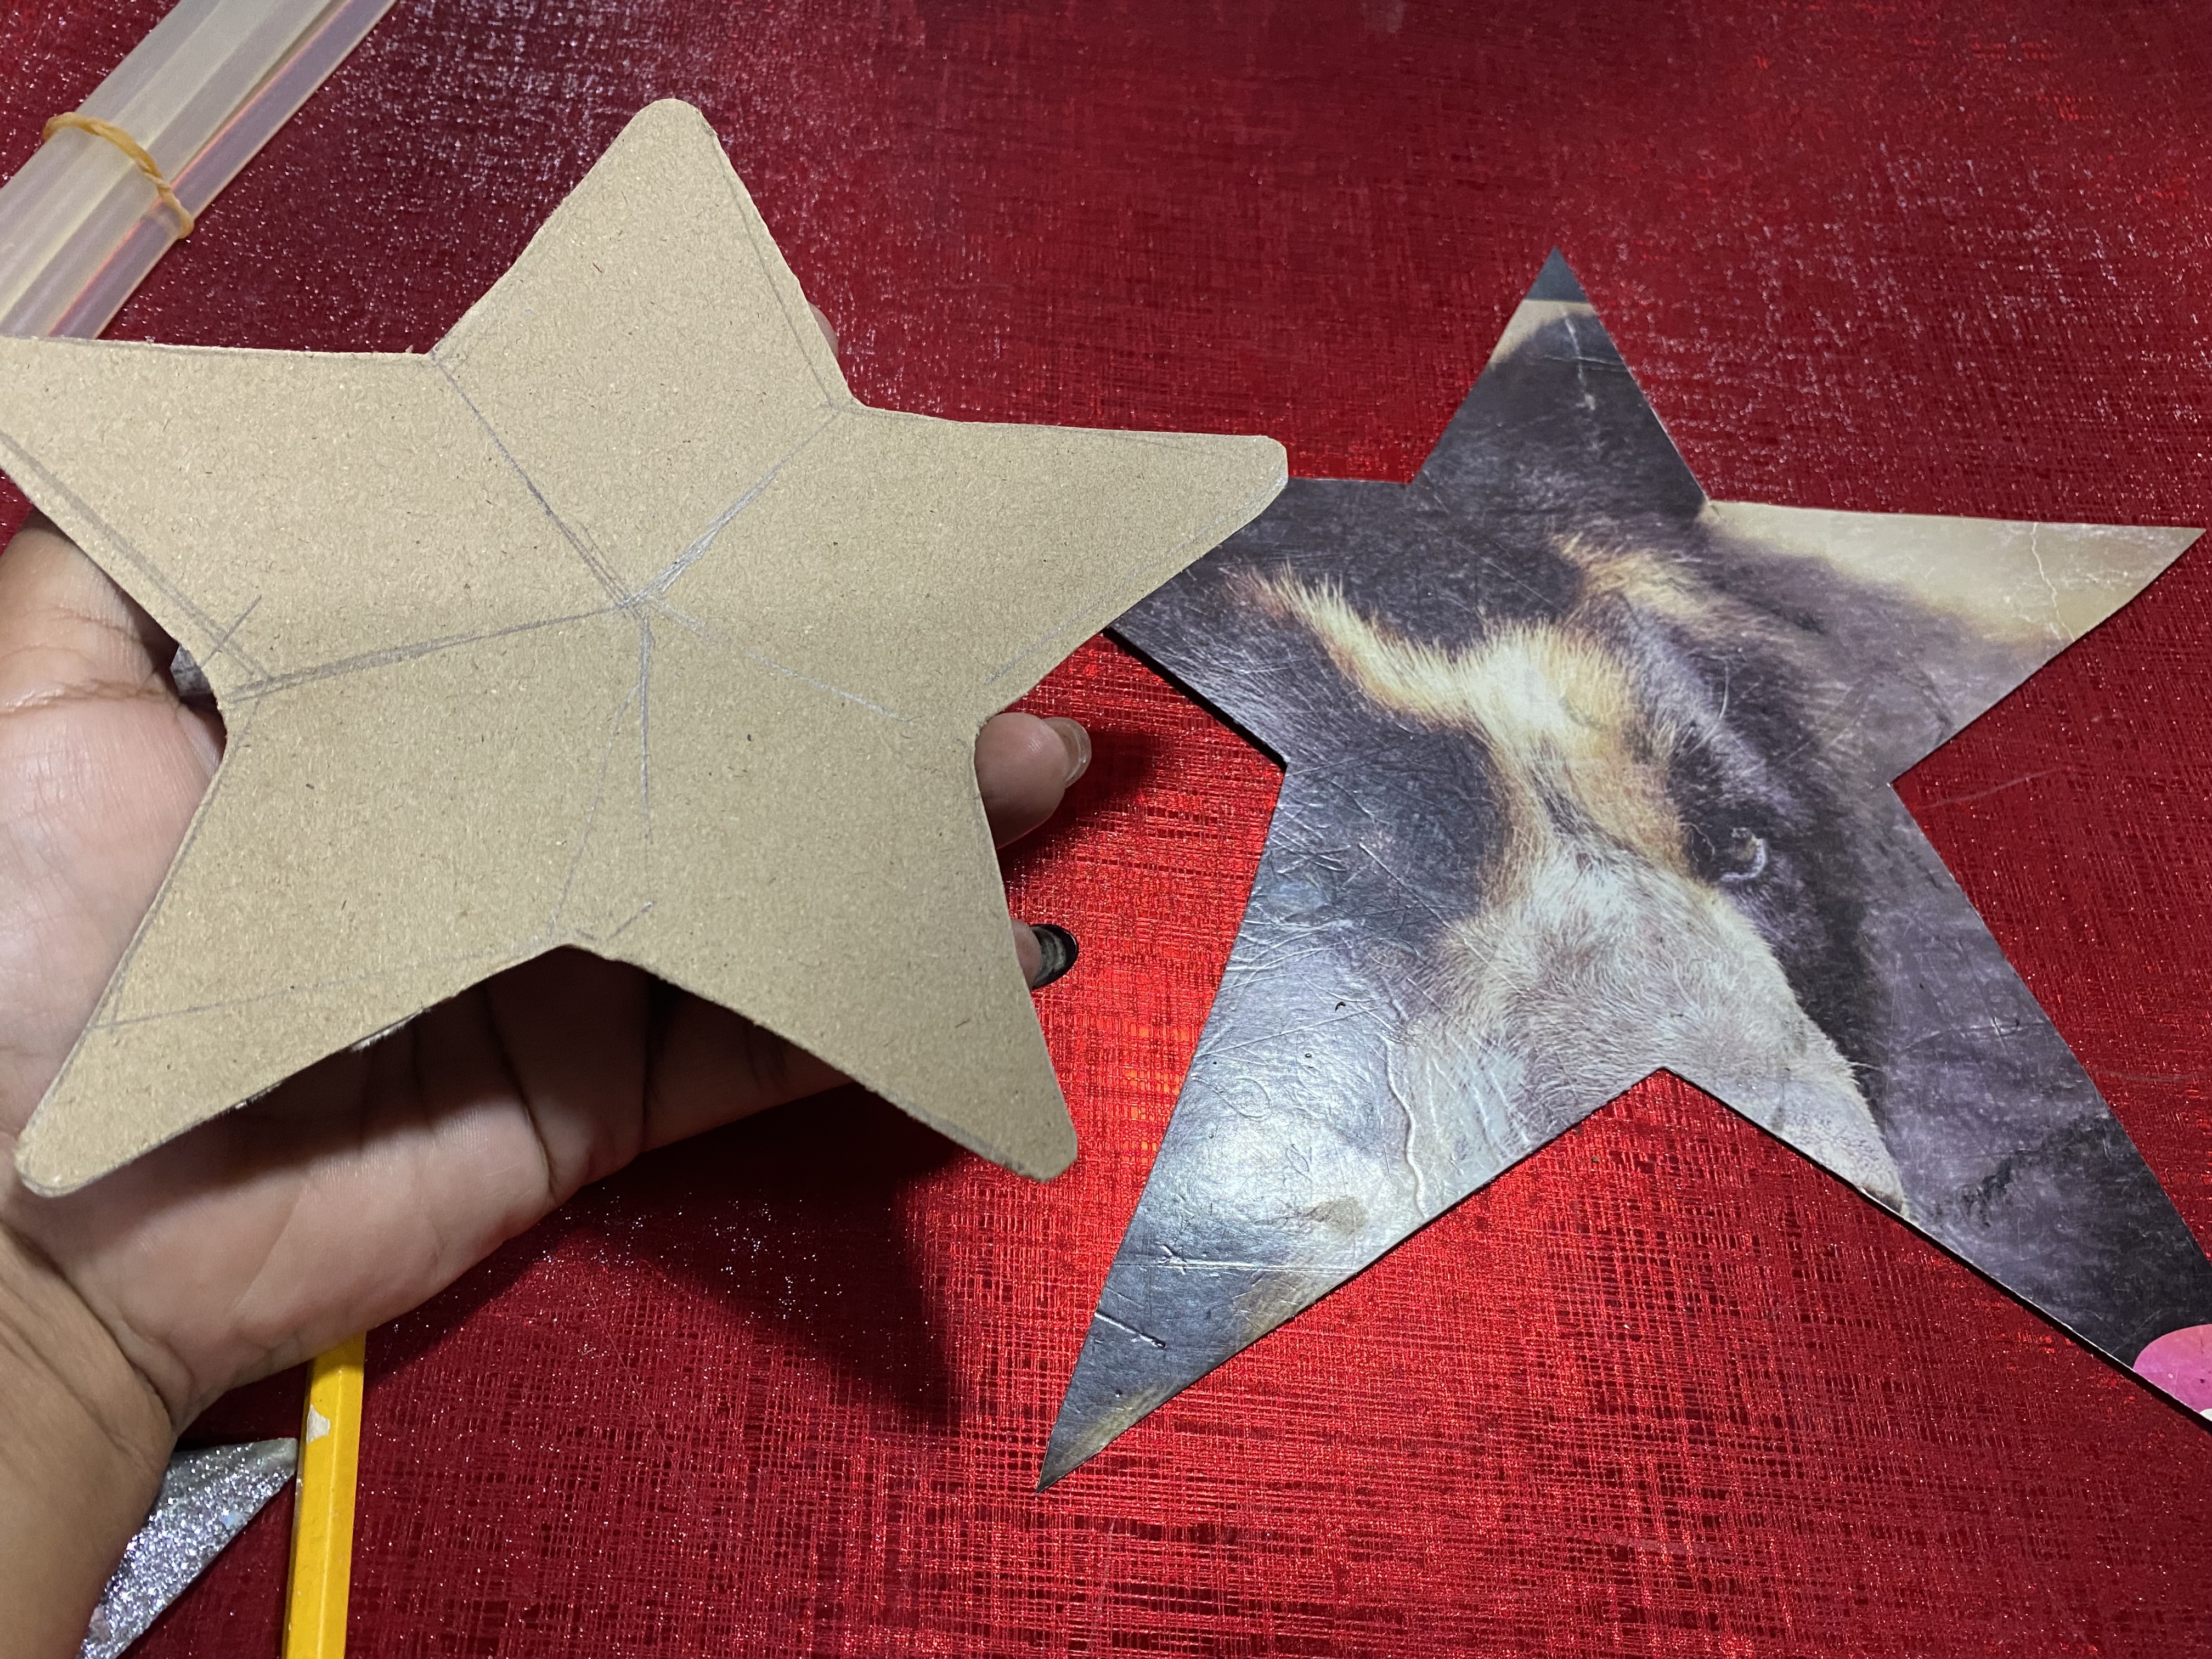
Pero bueno, supongo que de esto consiste en las manualidades, ya que siempre tenemos ensayo y error, luego de ese error continué buscando un modelo para copiarme y que me quedara justo como la quería, revisando entre mis cosas conseguí una estrella con el modelo perfecto, esta la traté de calquear sobre mi cartulina y luego la perfeccioné Tratando de copiar una de sus puntas y así pude hacerle las otras puntas y quedó como yo la deseaba
But well, I guess that's what crafts are all about, since we always have trial and error, after that error I continued looking for a model to copy and that would turn out just the way I wanted it, looking through my things I found a star with the perfect model, I tried to trace it on my cardboard and then I perfected it trying to copy one of its points and so I was able to make the other points and it turned out the way I wanted it.
 |  |
|---|
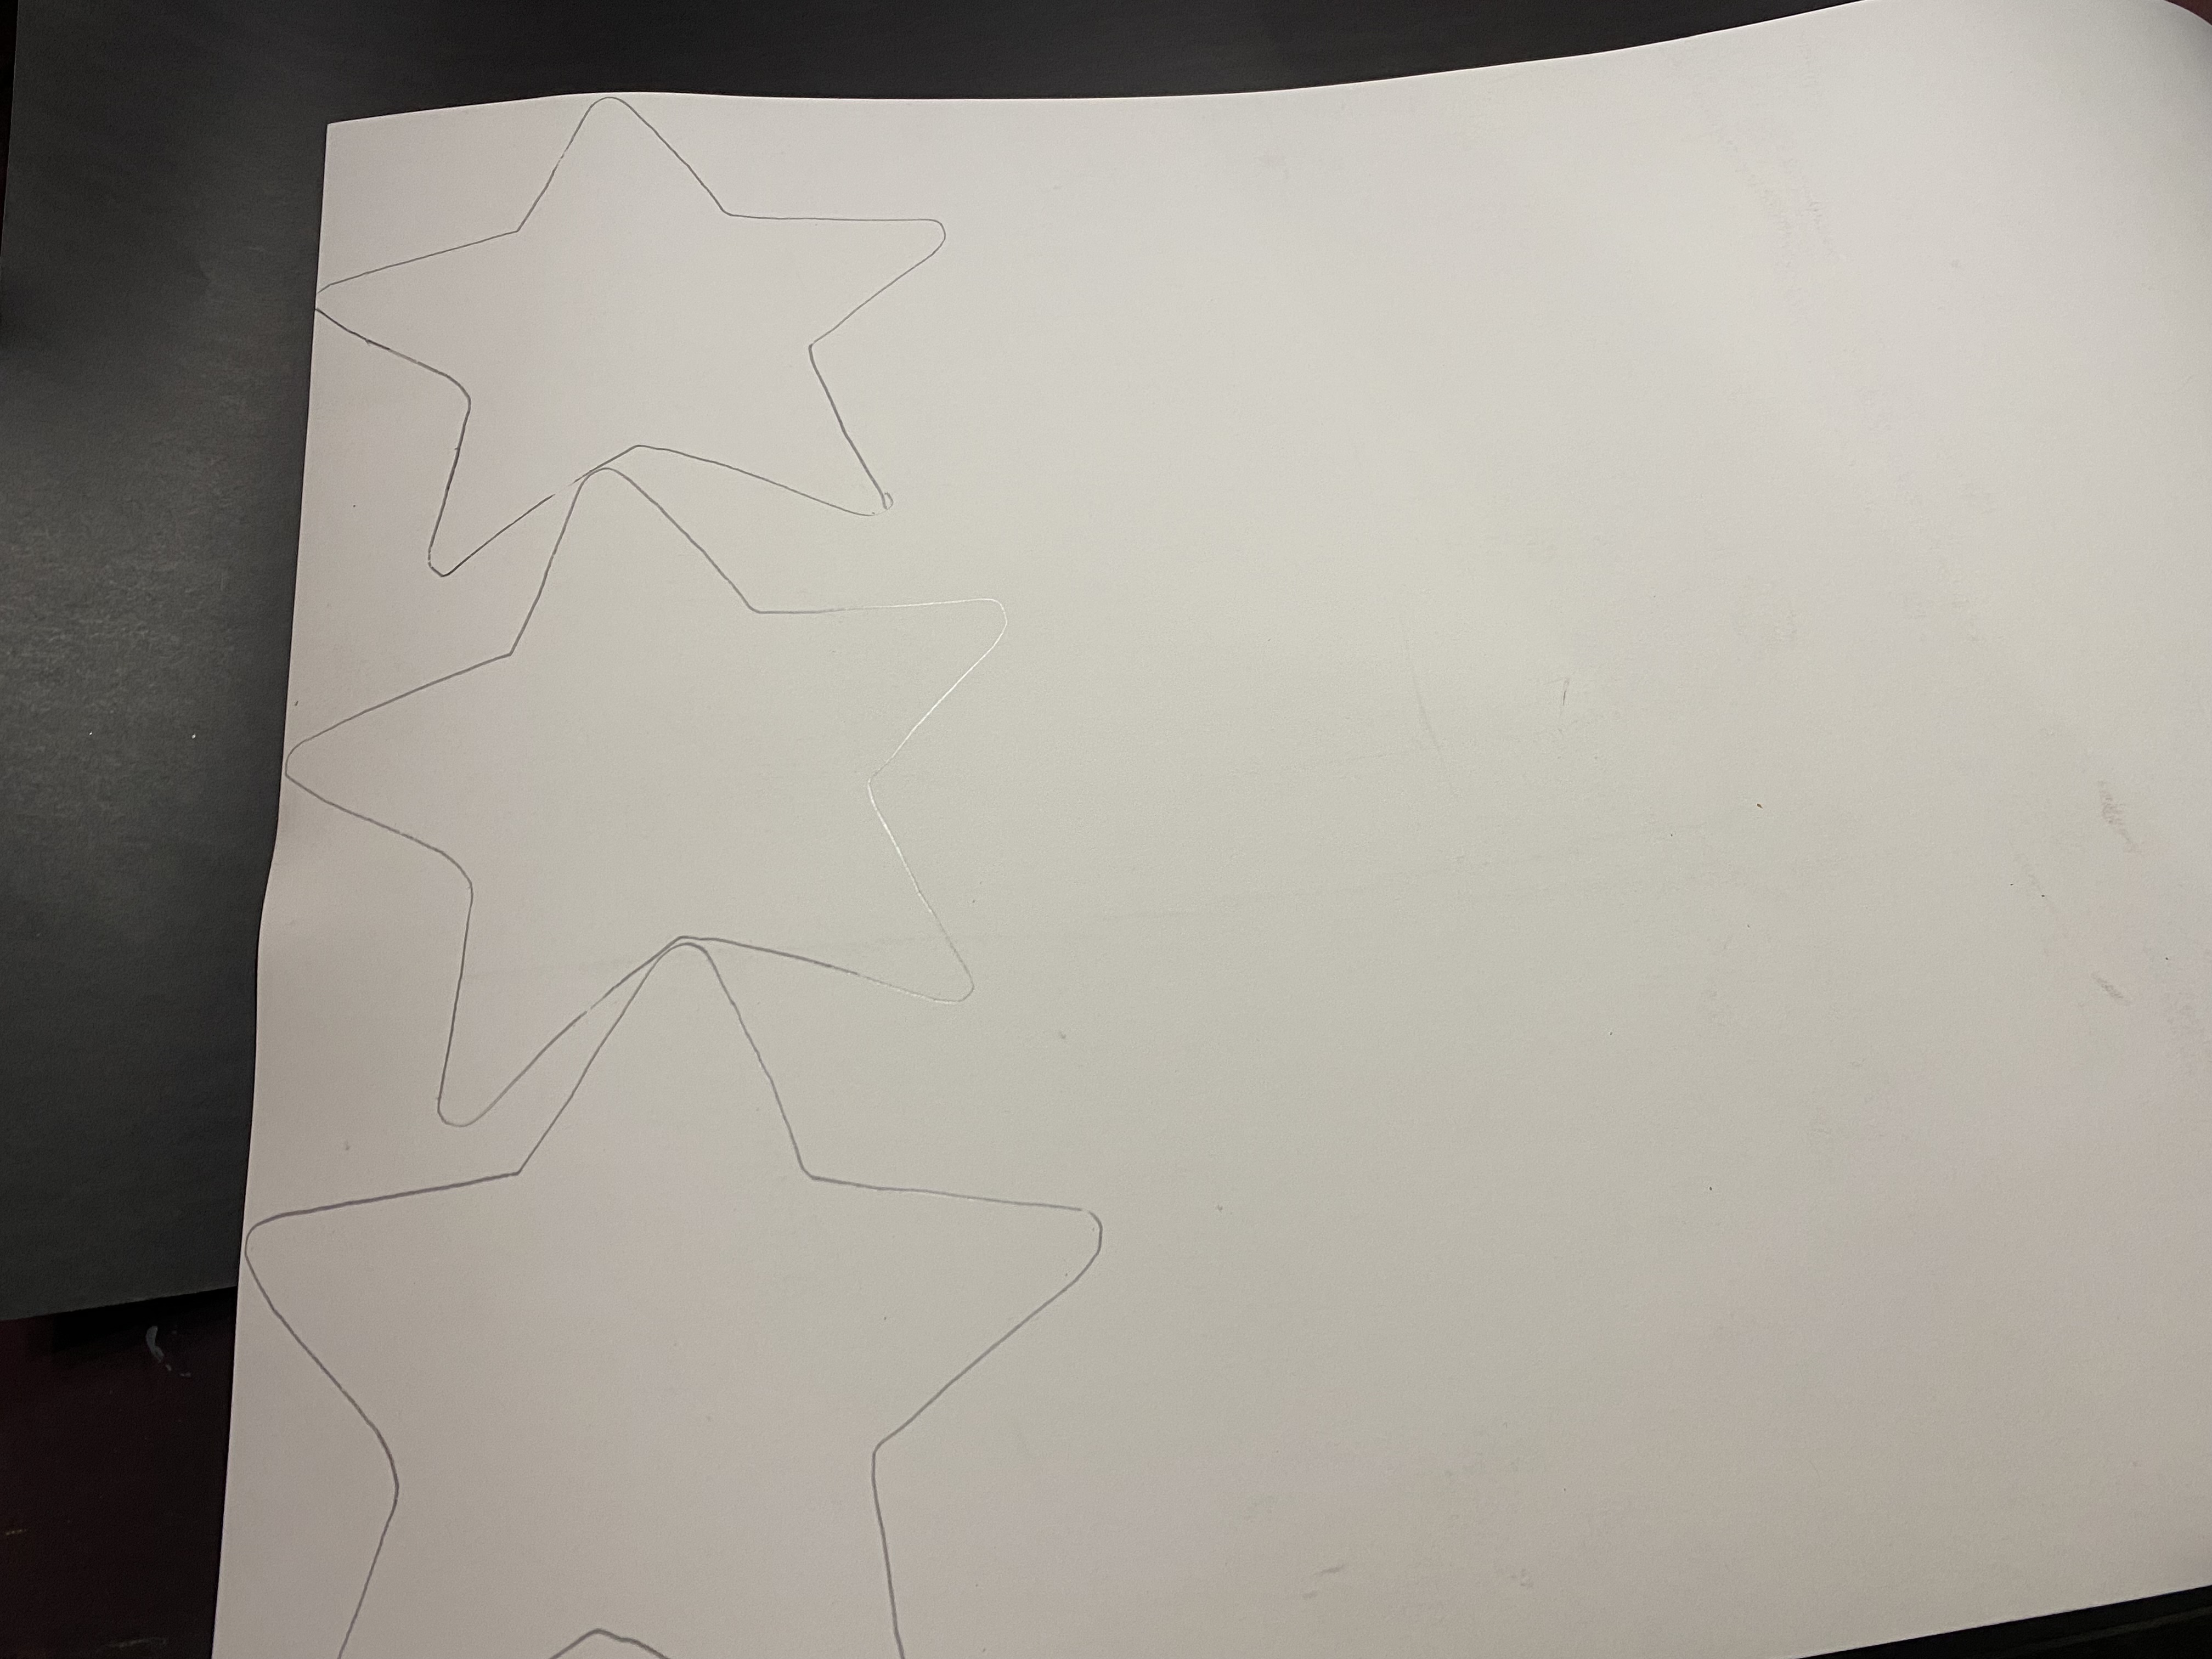
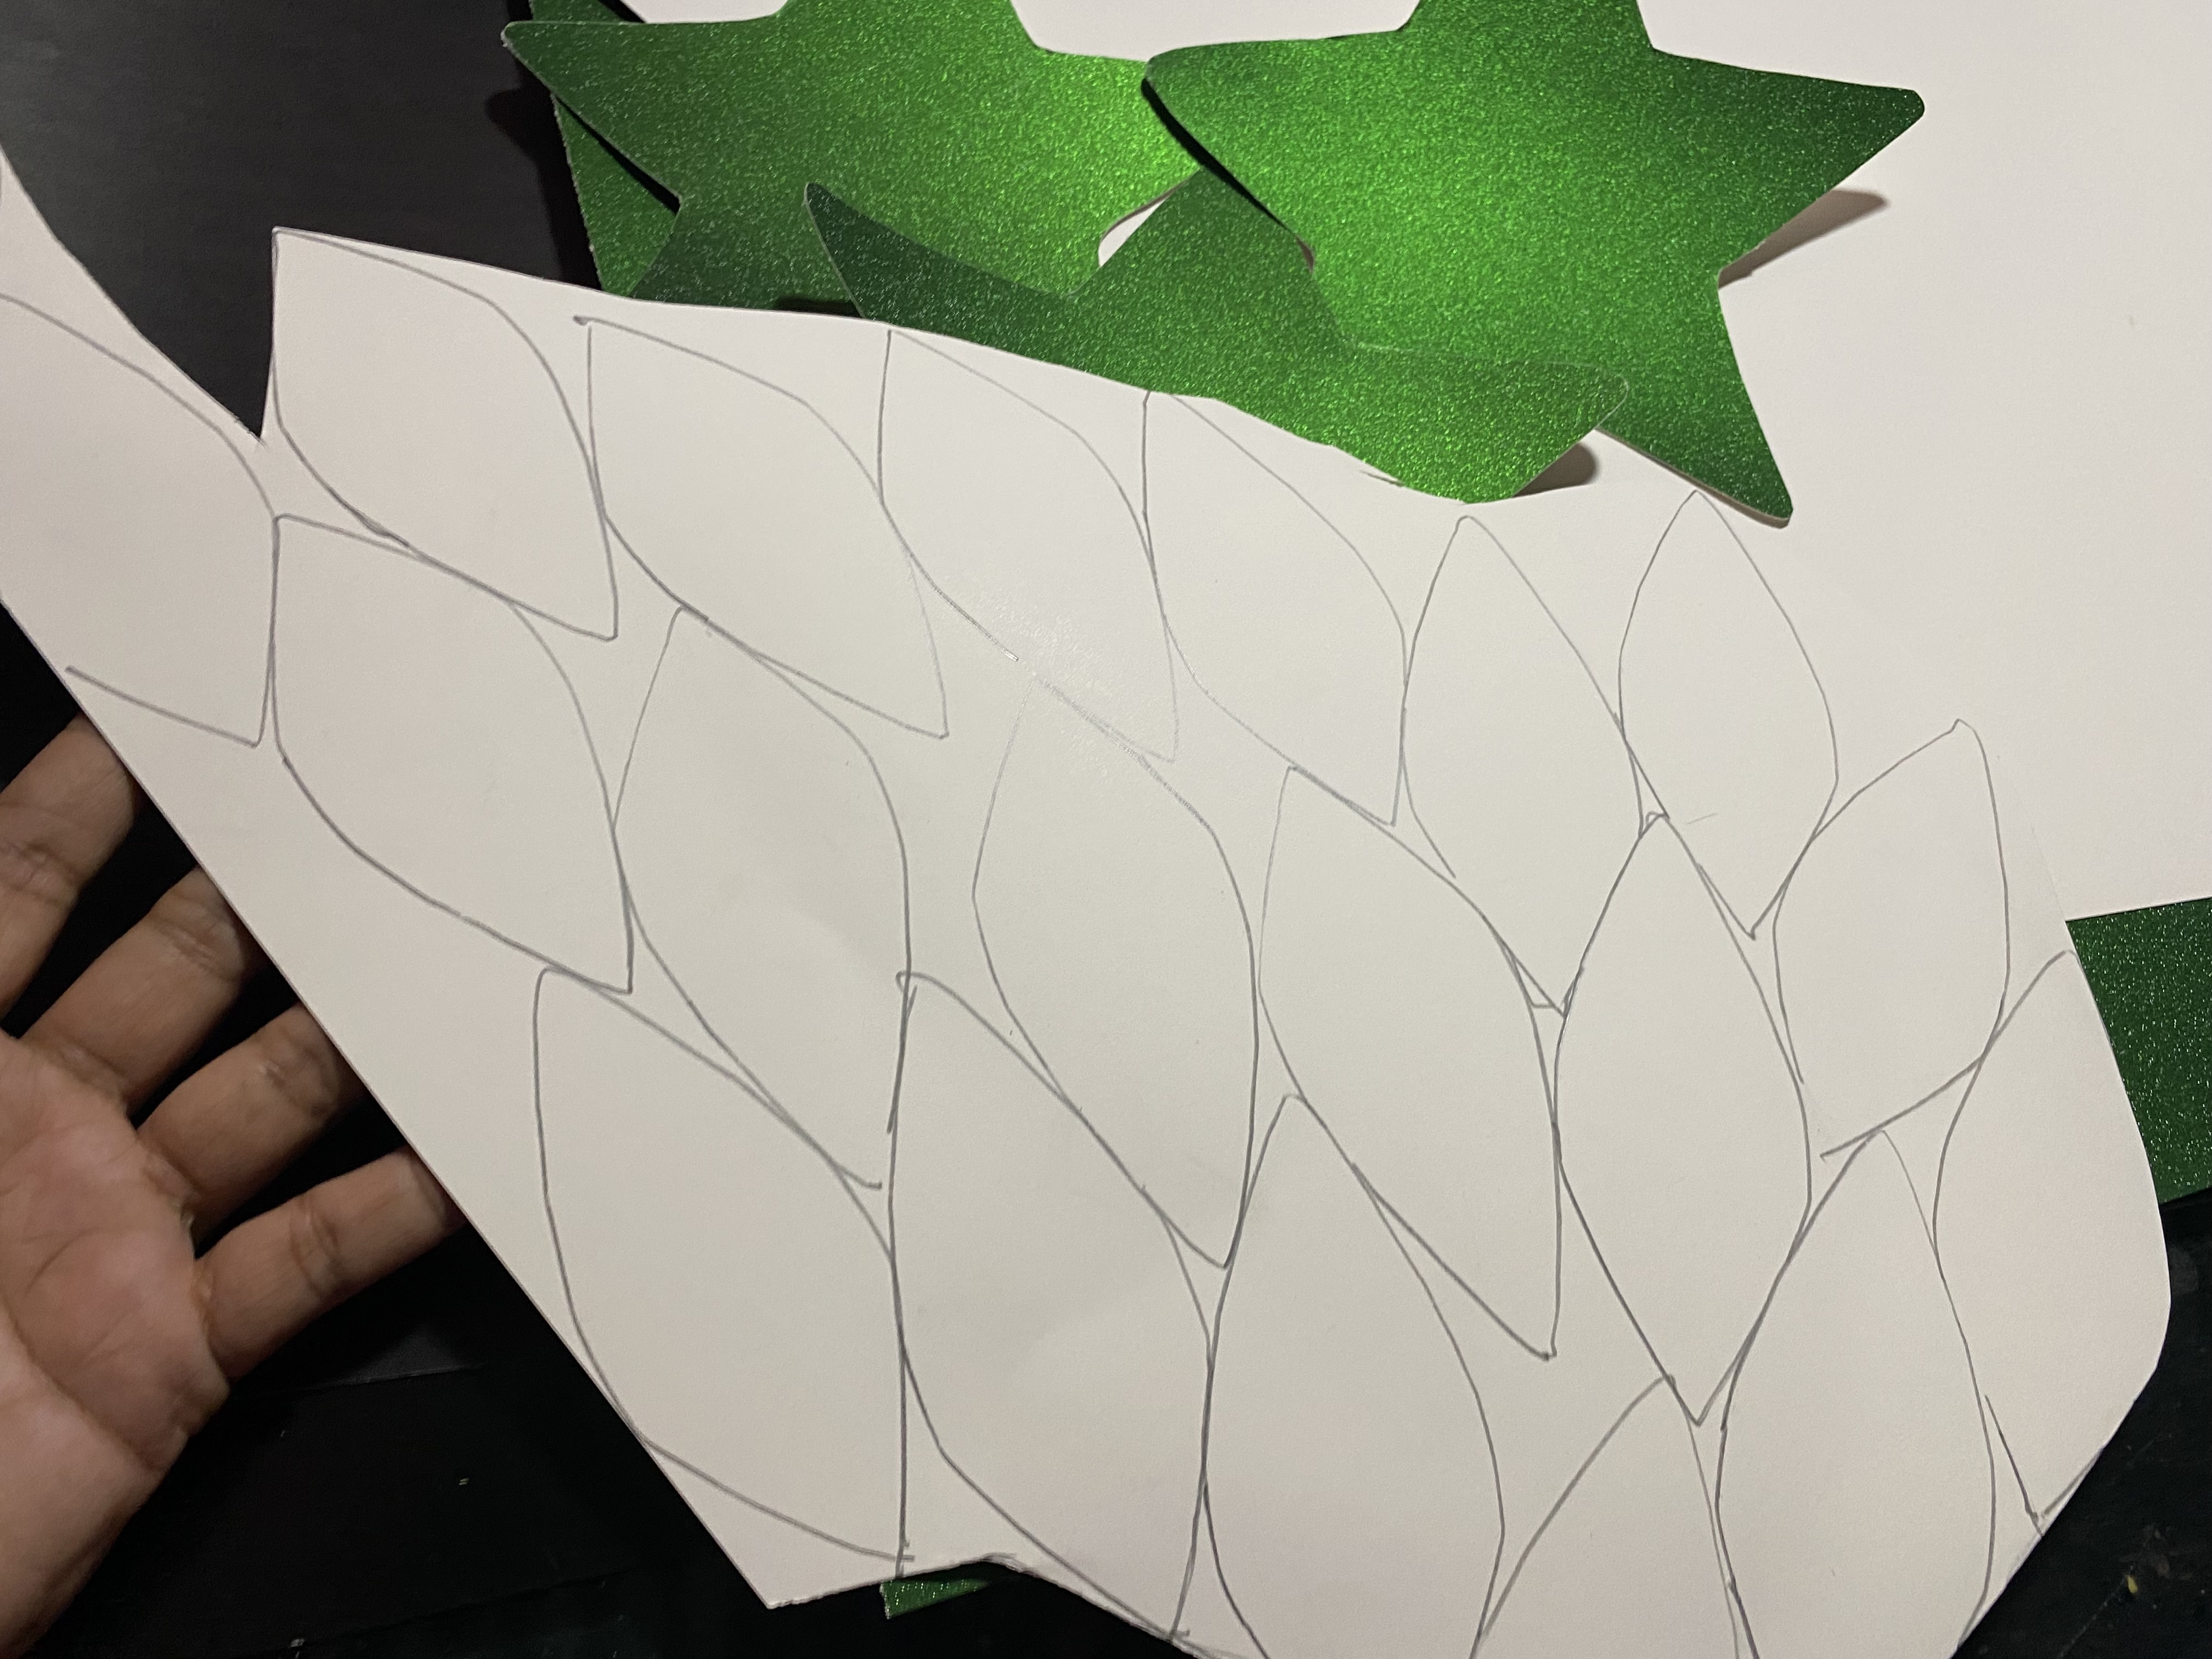
La estrella me quedó de aproximadamente 20 cm aproximadamente, cortaré tres estrellas para hacer tres flores , los pétalos los calculé de 10 cm, estos serán en color rojo, luego de tener mis moldes listos procedí a cortar la cantidad de piezas que creo necesarias, en mi caso haré tres flores, serán cinco pétalos por cada flor en total serán 15 pétalos.
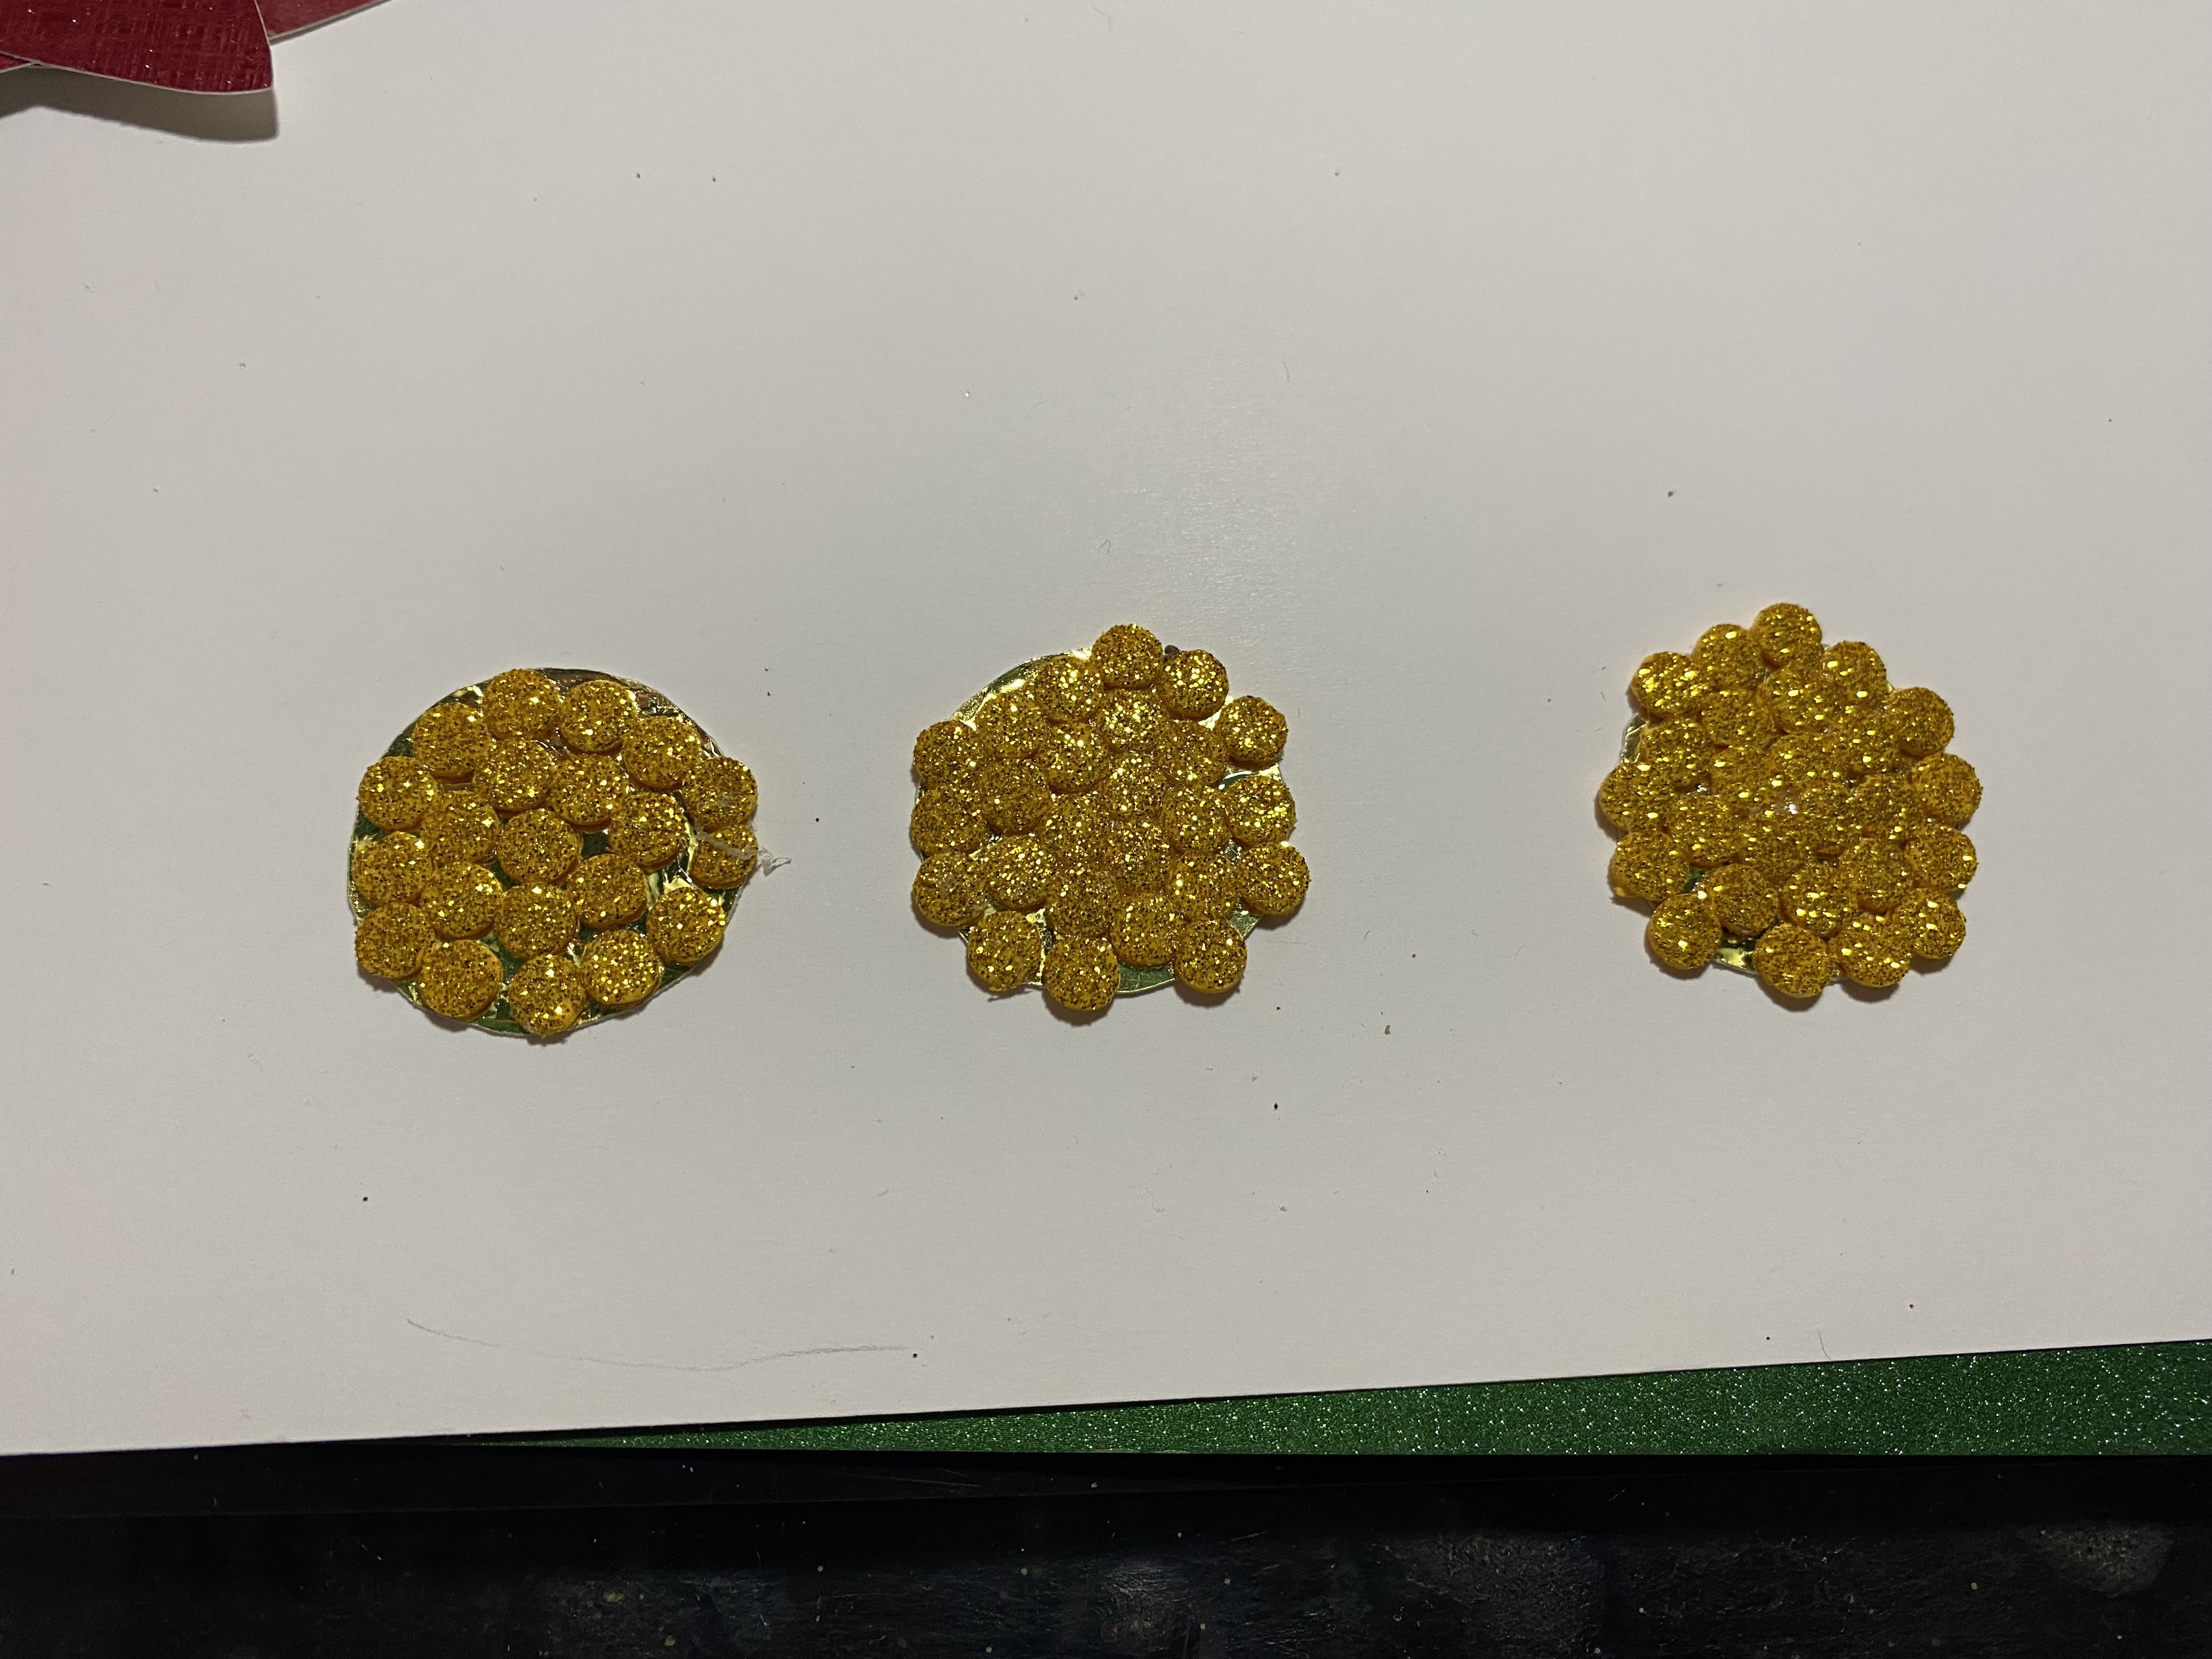
Con un pequeño retazo de cartulina dorada hice tres círculos guiándome por una tapa de refresco, con un sacabocados hice muchas rue ditas en foamy escarchado
The star was approximately 20 cm long, I will cut three stars to make three flowers, I calculated the petals to be 10 cm long, these will be red, after having my molds ready I proceeded to cut the number of pieces that I think are necessary, in my case I will make three flowers, there will be five petals for each flower, in total there will be 15 petals.
With a small scrap of gold cardboard I made three circles guided by a soda cap, with a hole punch I made many little wheels in frosted foam
 |  |
|---|---|
 |  |
Luego comenzamos al armado de nuestra flor, para pegarla decidí utilizar Silicon frío, me pareció más cómodo ya que el Silicon caliente hay que ser muy rápido, comencé pegando todas las rueditas escarchadas a mi círculo dorado y así tener listos los pistilos de mis flores.
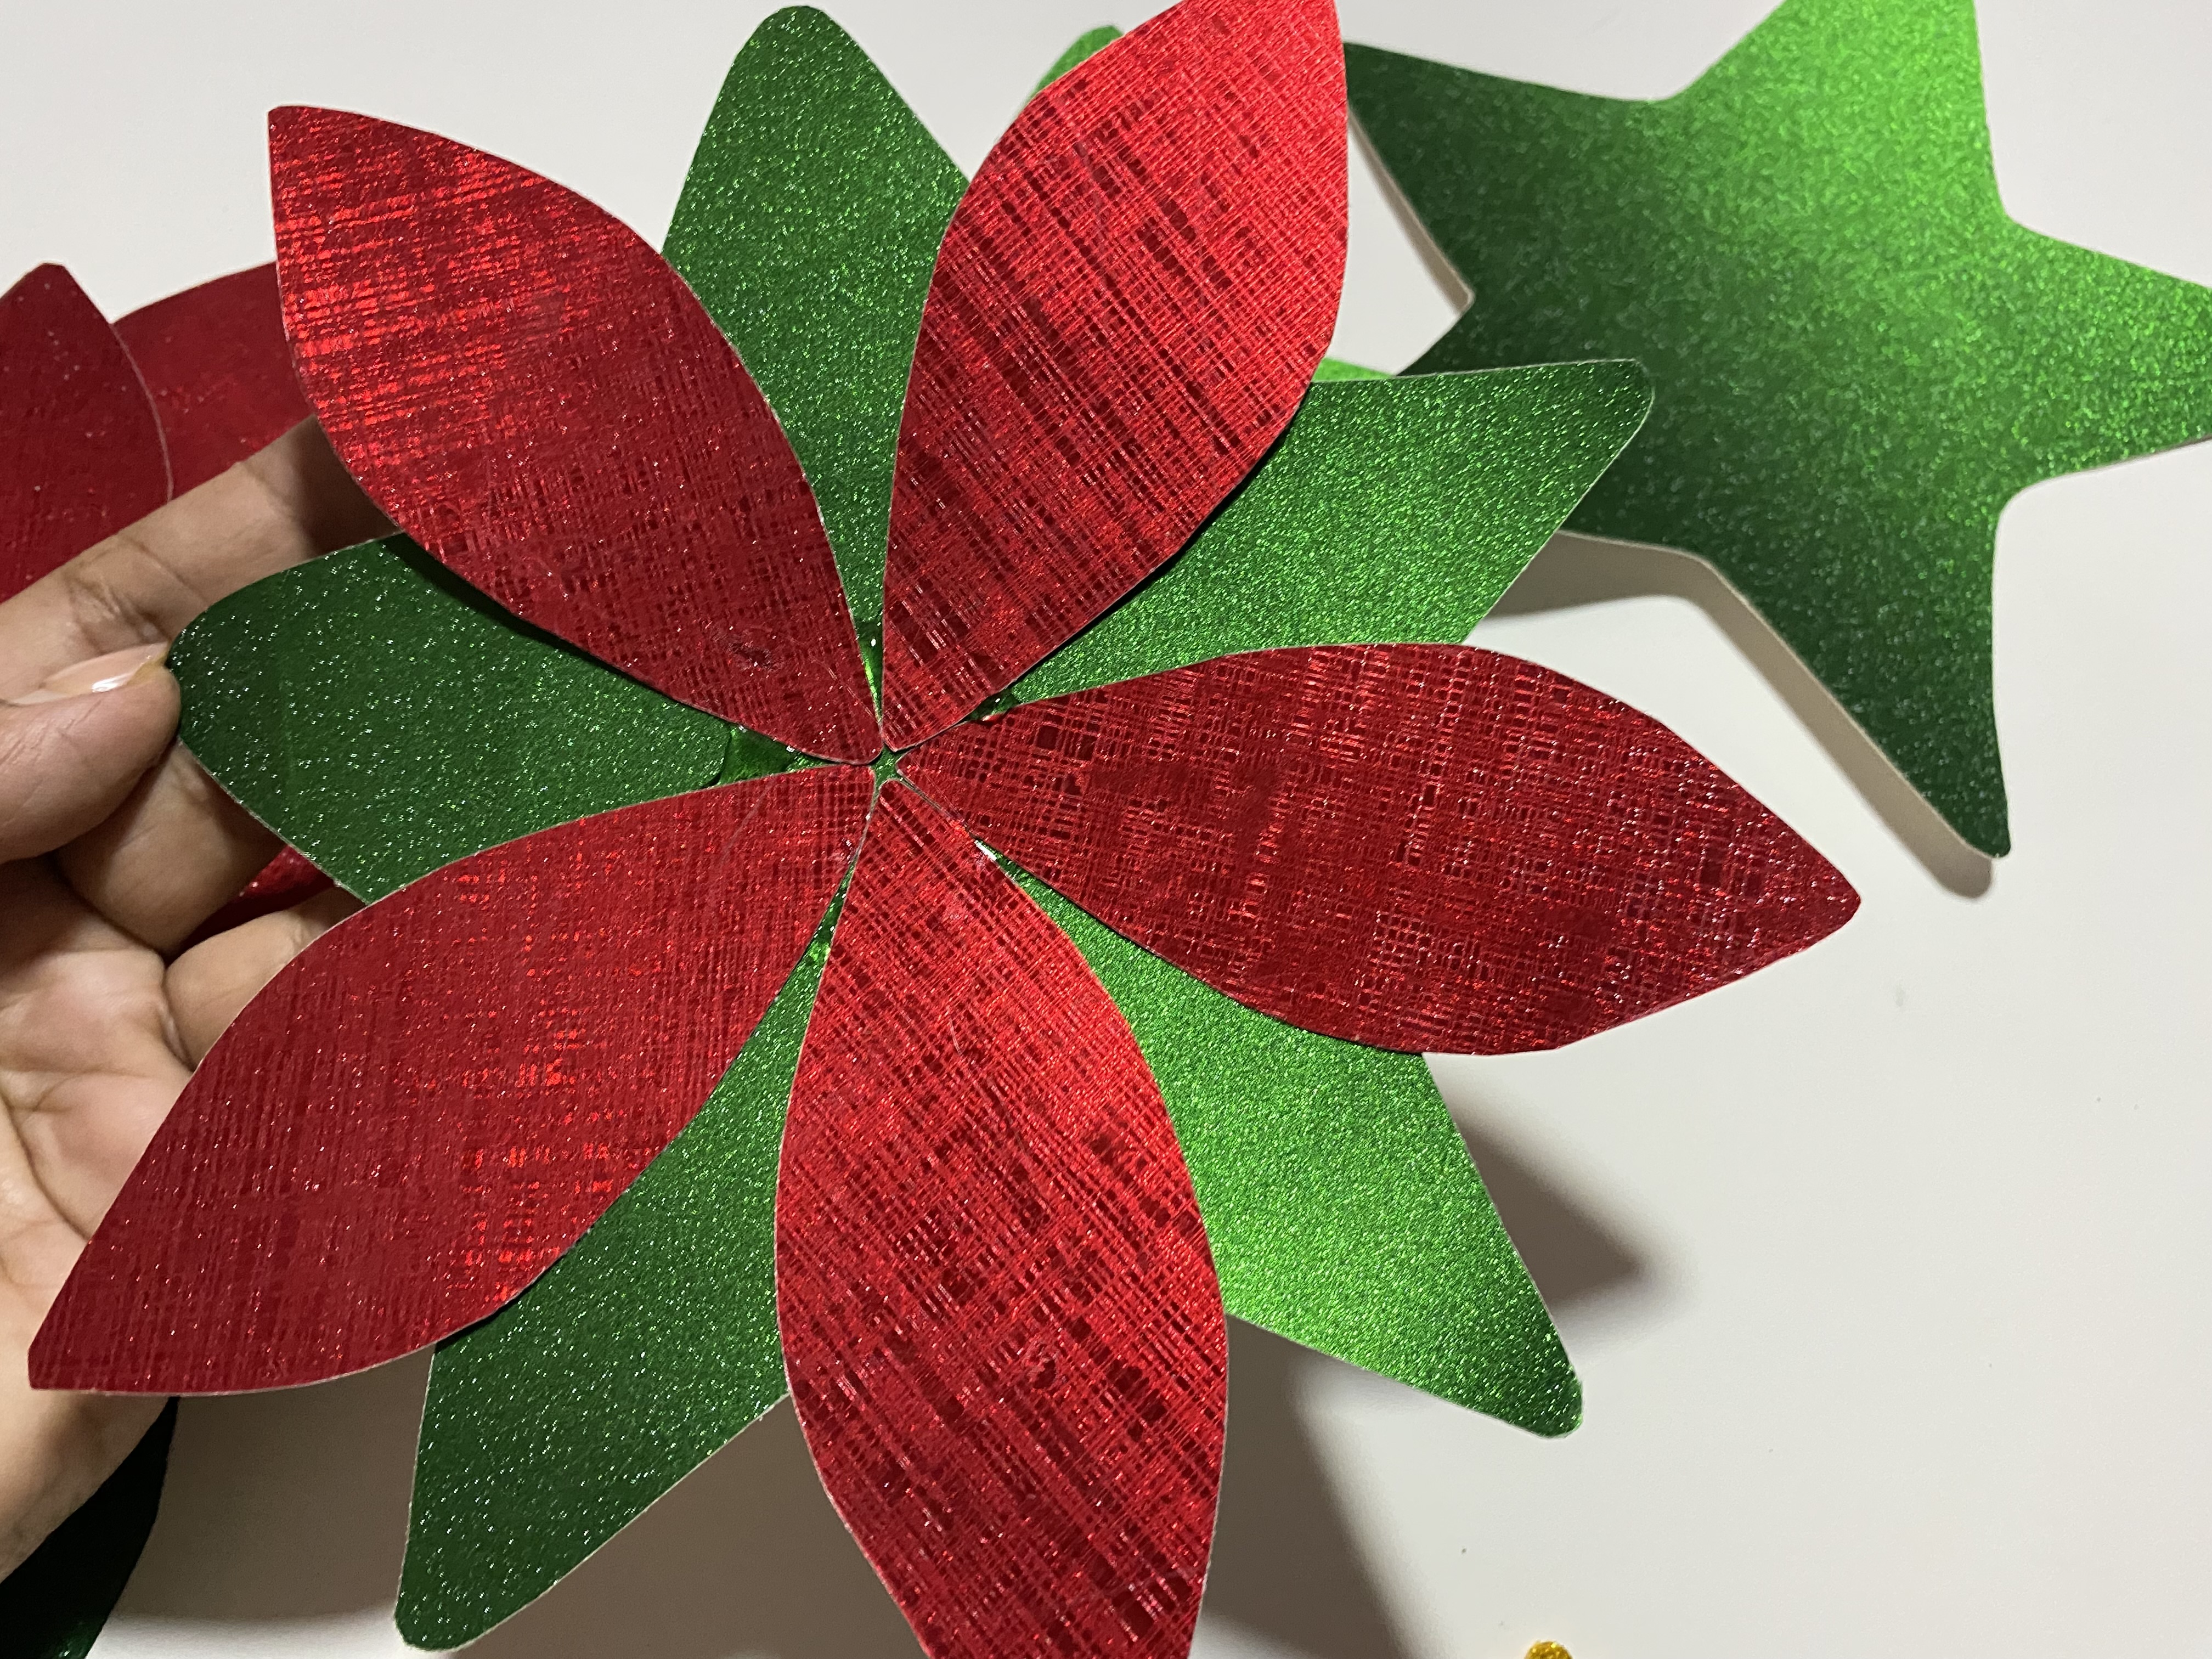
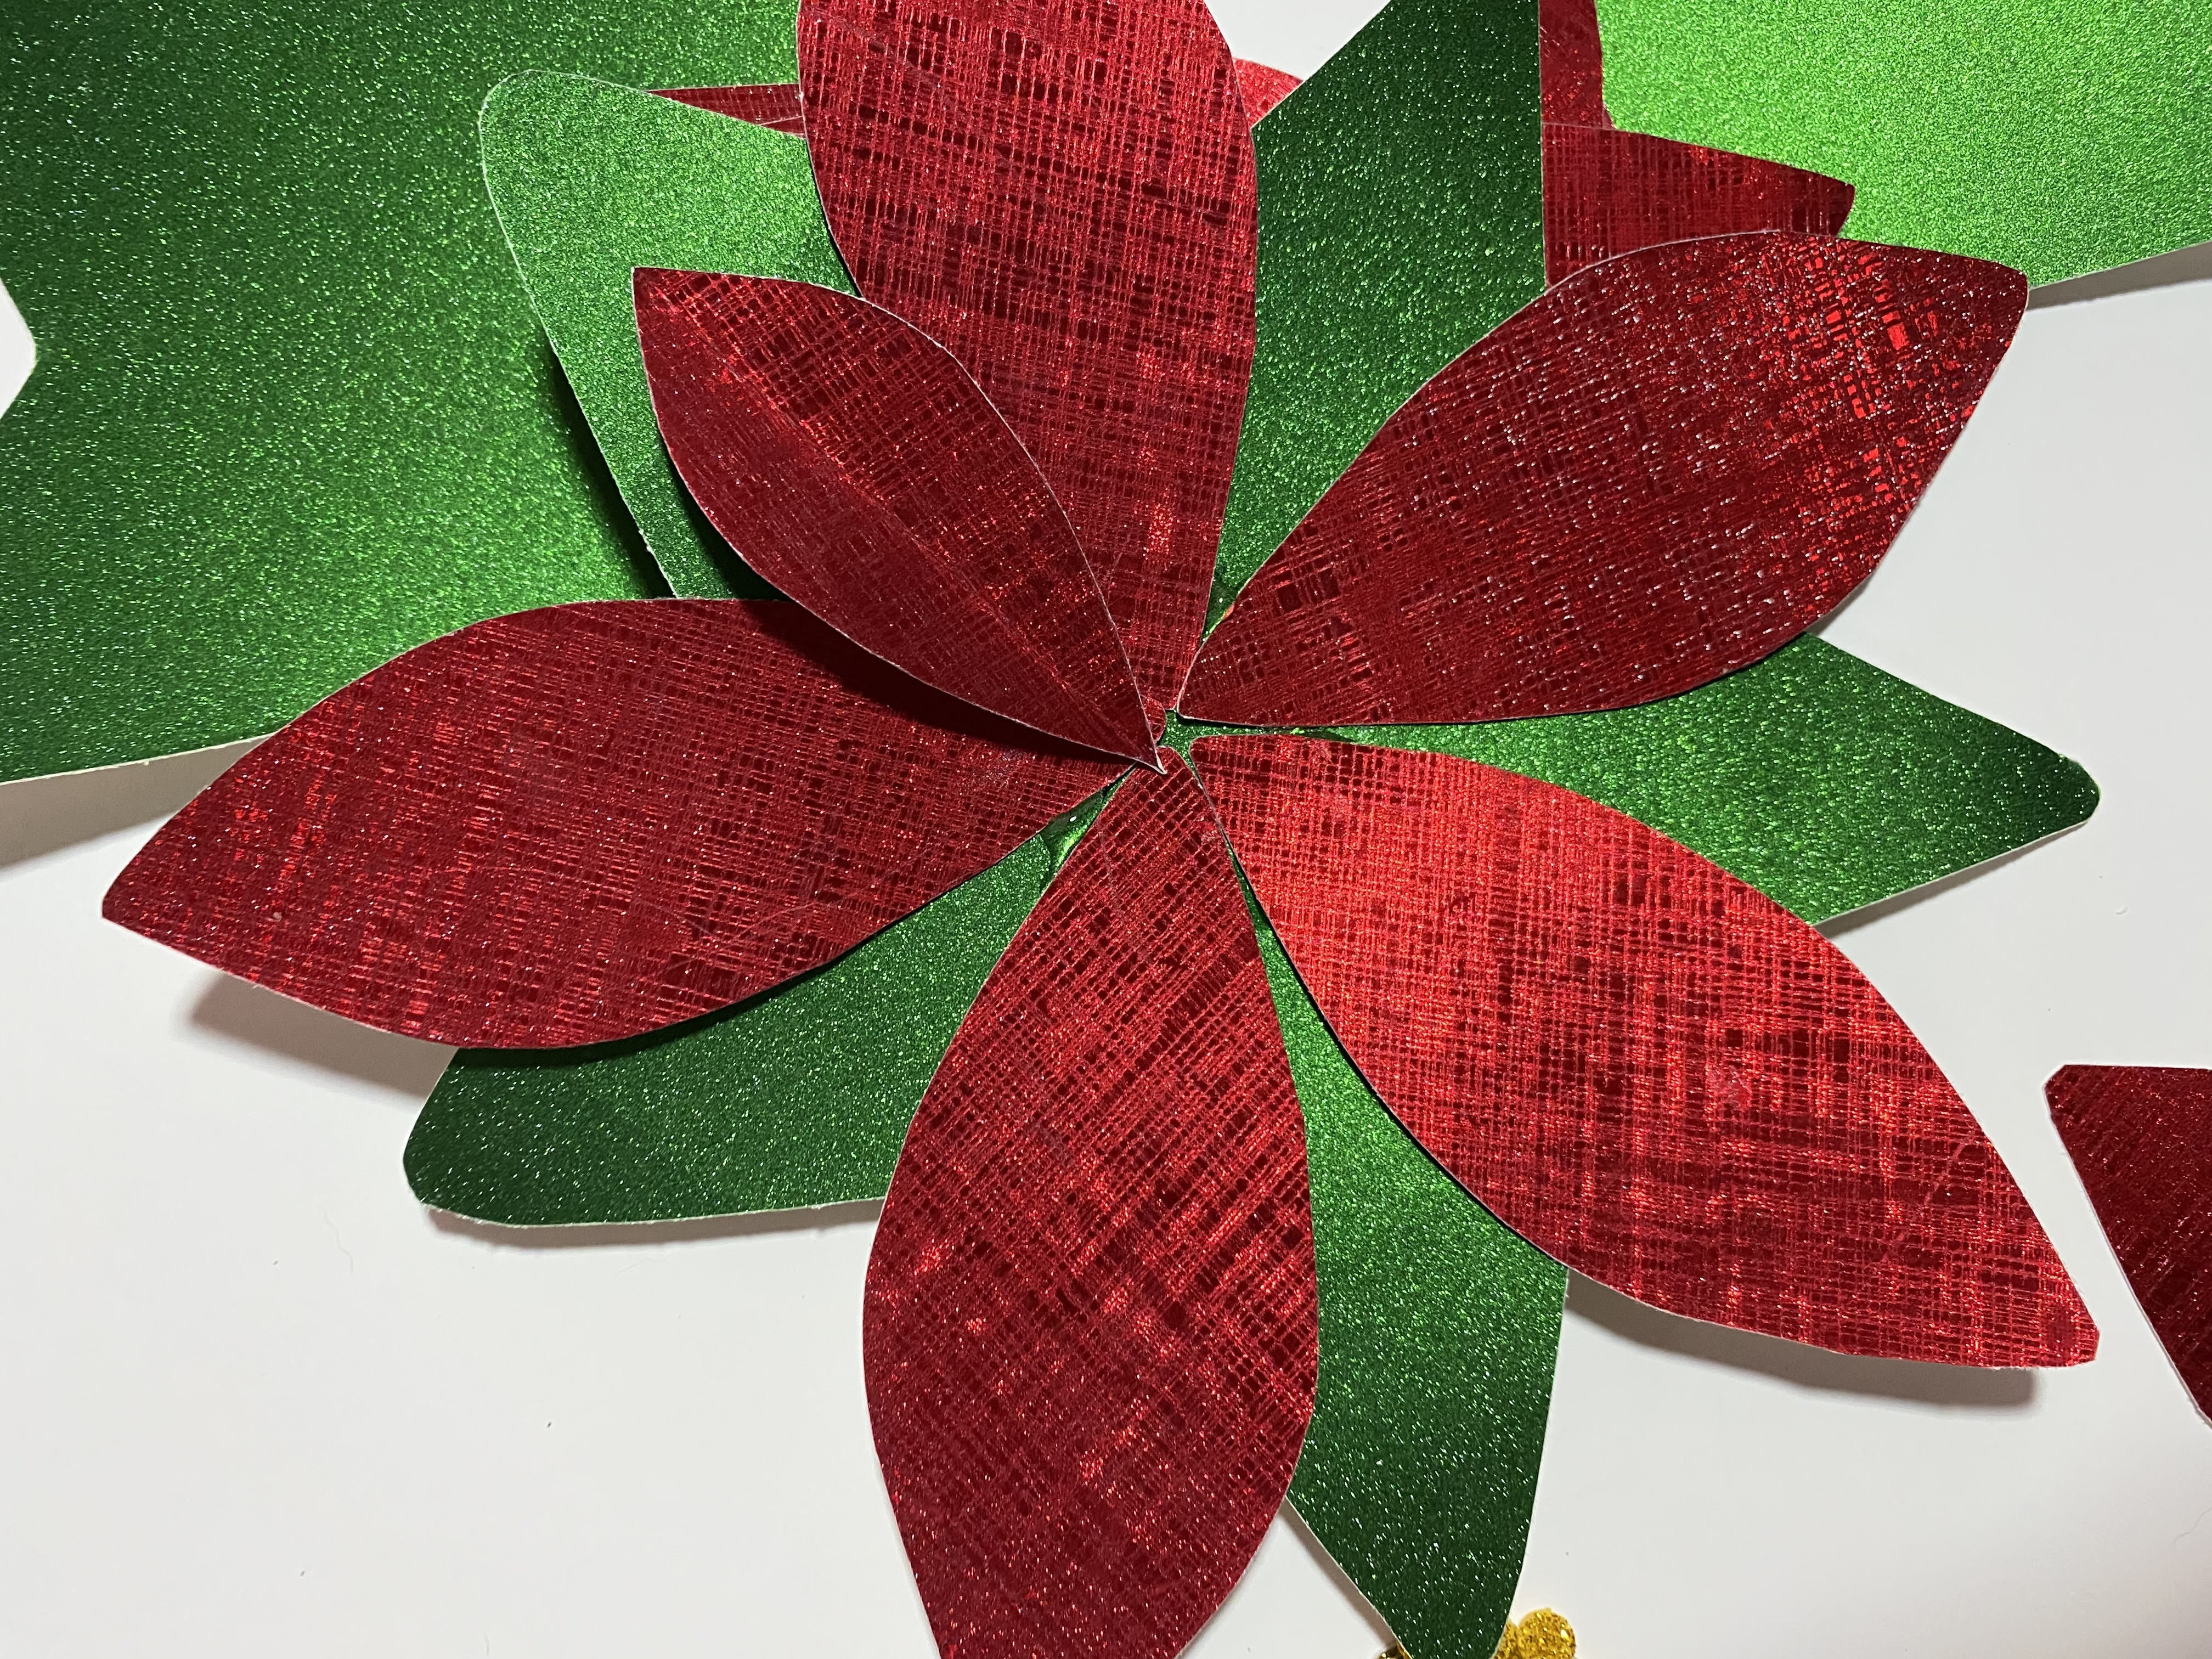
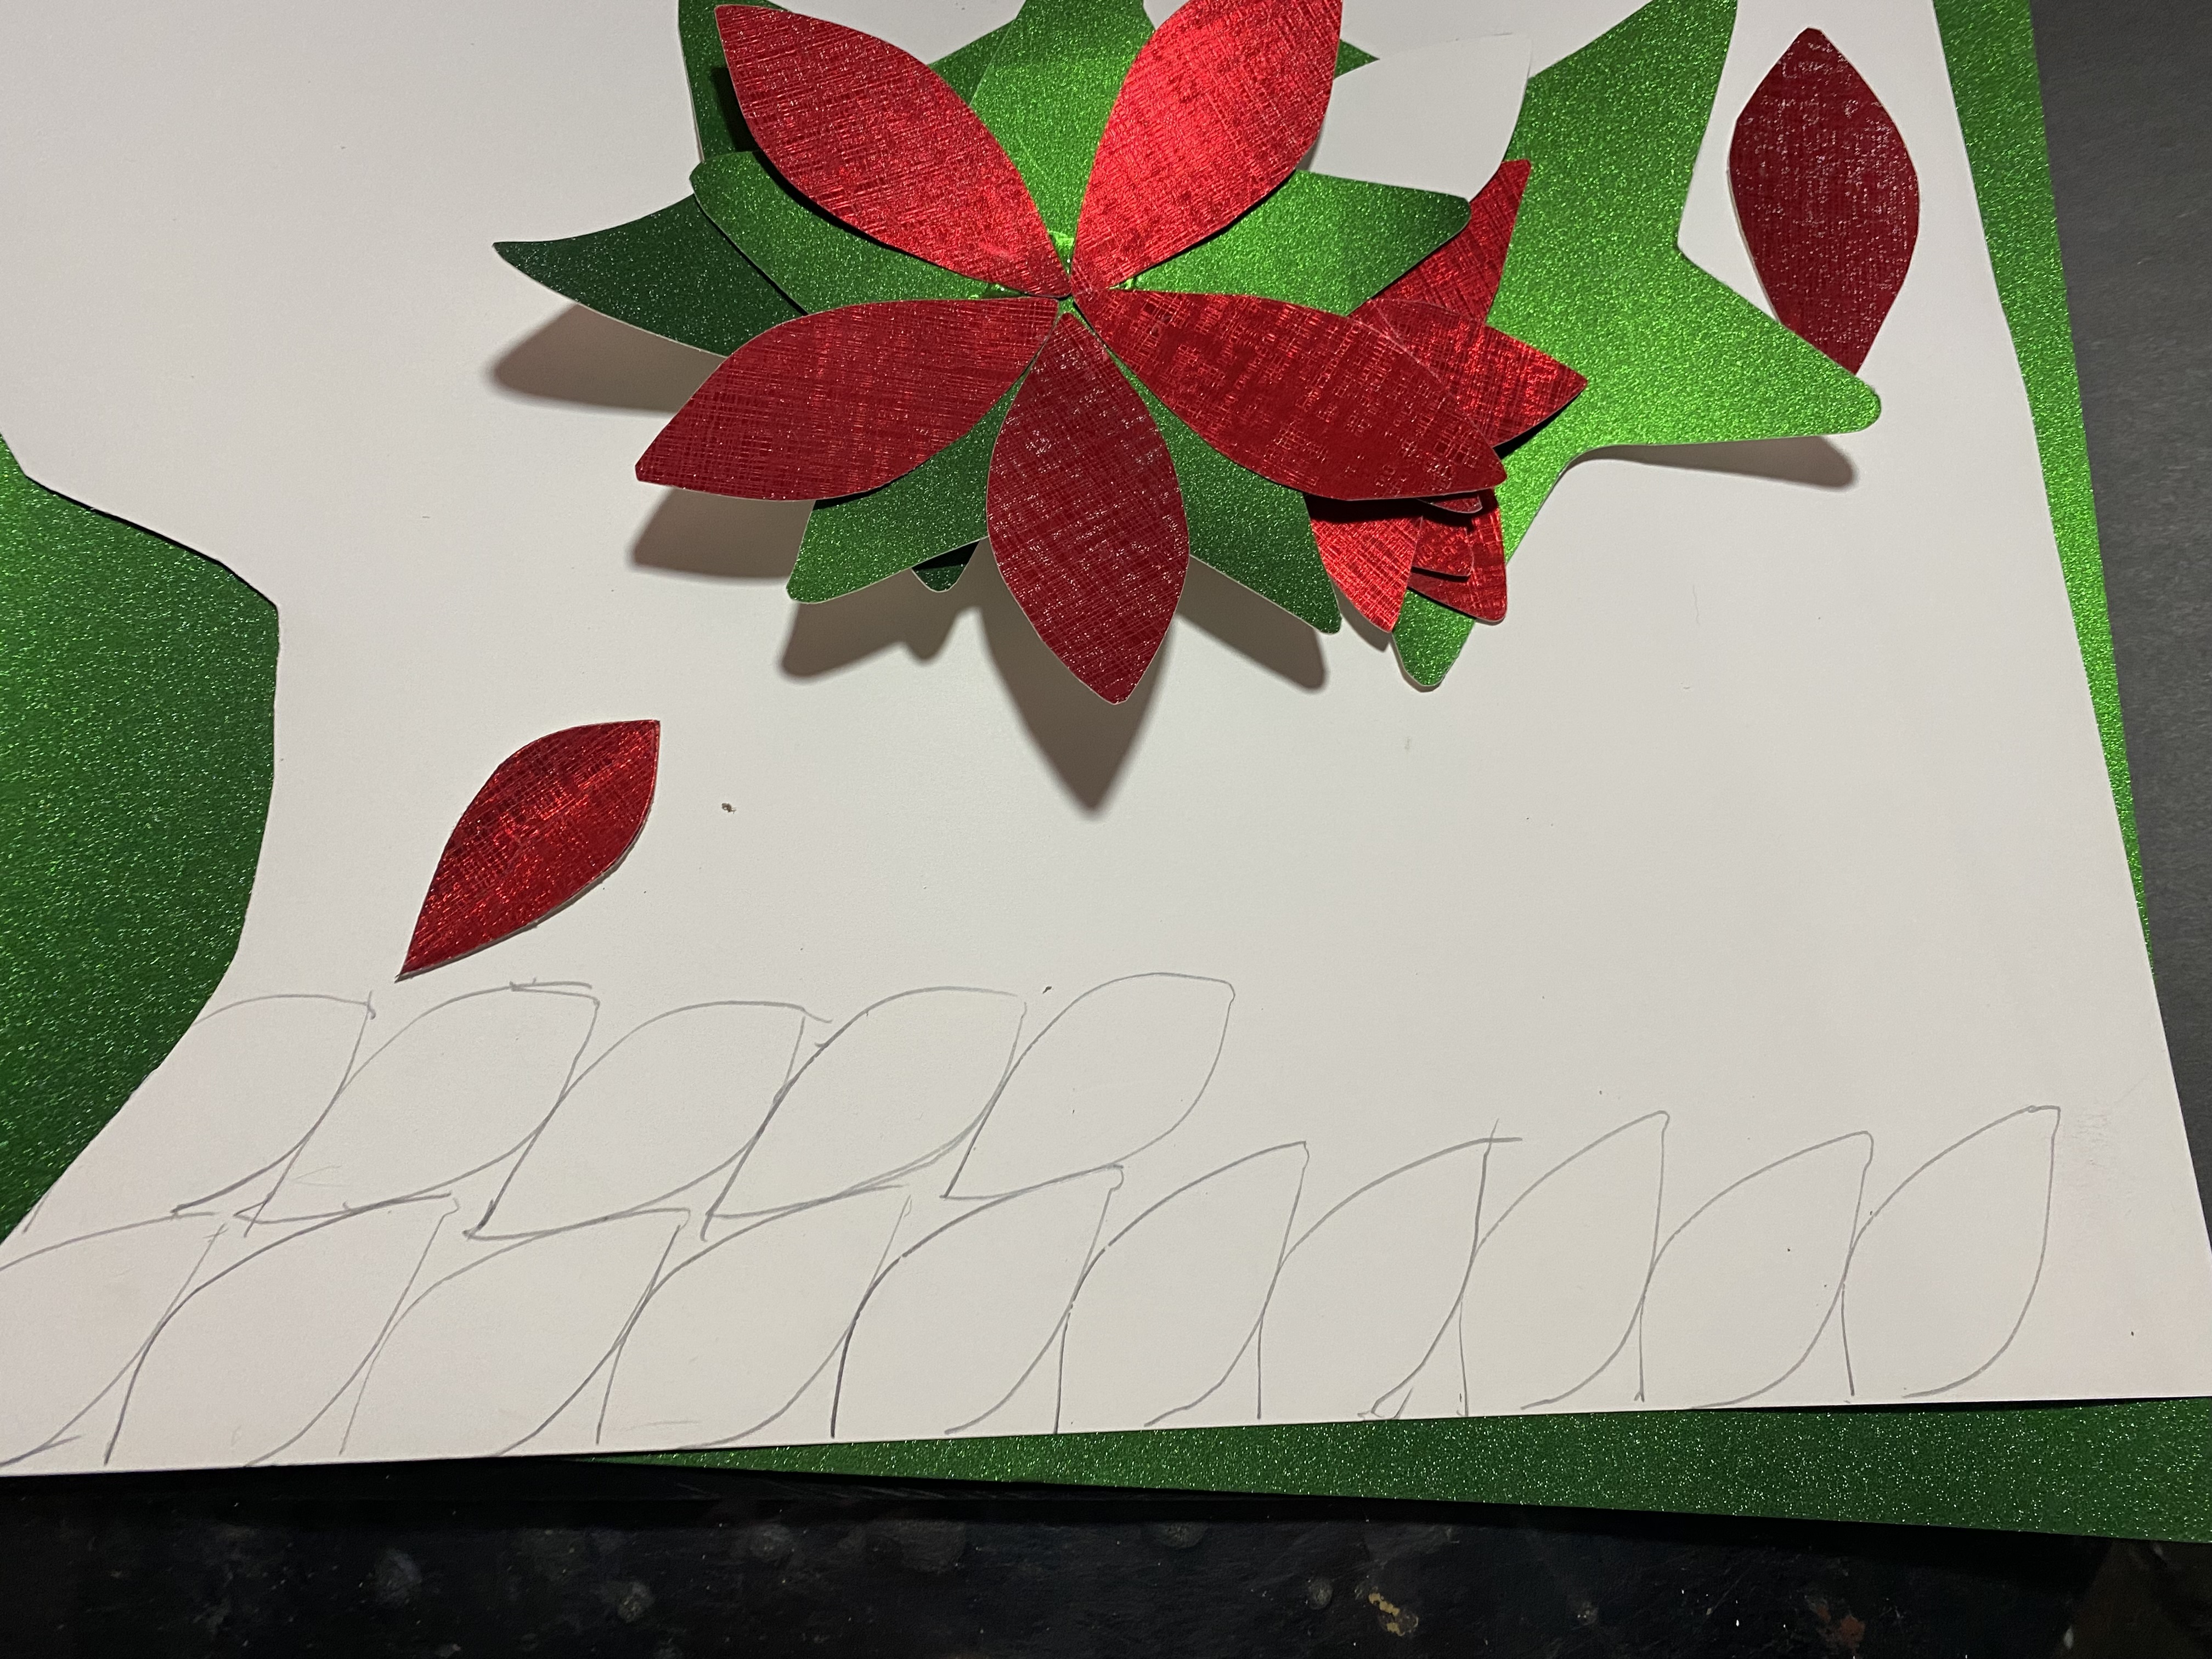
Continué pegando los pétalos a la estrella verde, al pegarlos sentí que la flor estaba muy pobre, así que decidí hacerle otros pétalos en rojo un poco más pequeños y así rellenar el espacio, Luego de cortarlos y pegarlos vi que se veía muchísimo mejor
Then we started to assemble our flower. To glue it I decided to use cold silicone, which seemed easier to me since hot silicone has to be very fast. I started by gluing all the frosted wheels to my golden circle and thus having the pistils of my flowers ready.
I continued gluing the petals to the green star. When I glued them, I felt that the flower was very poor, so I decided to make other petals in red that were a little smaller and thus fill the space. After cutting and gluing them, I saw that it looked much better.
 |  |
|---|---|
 |  |
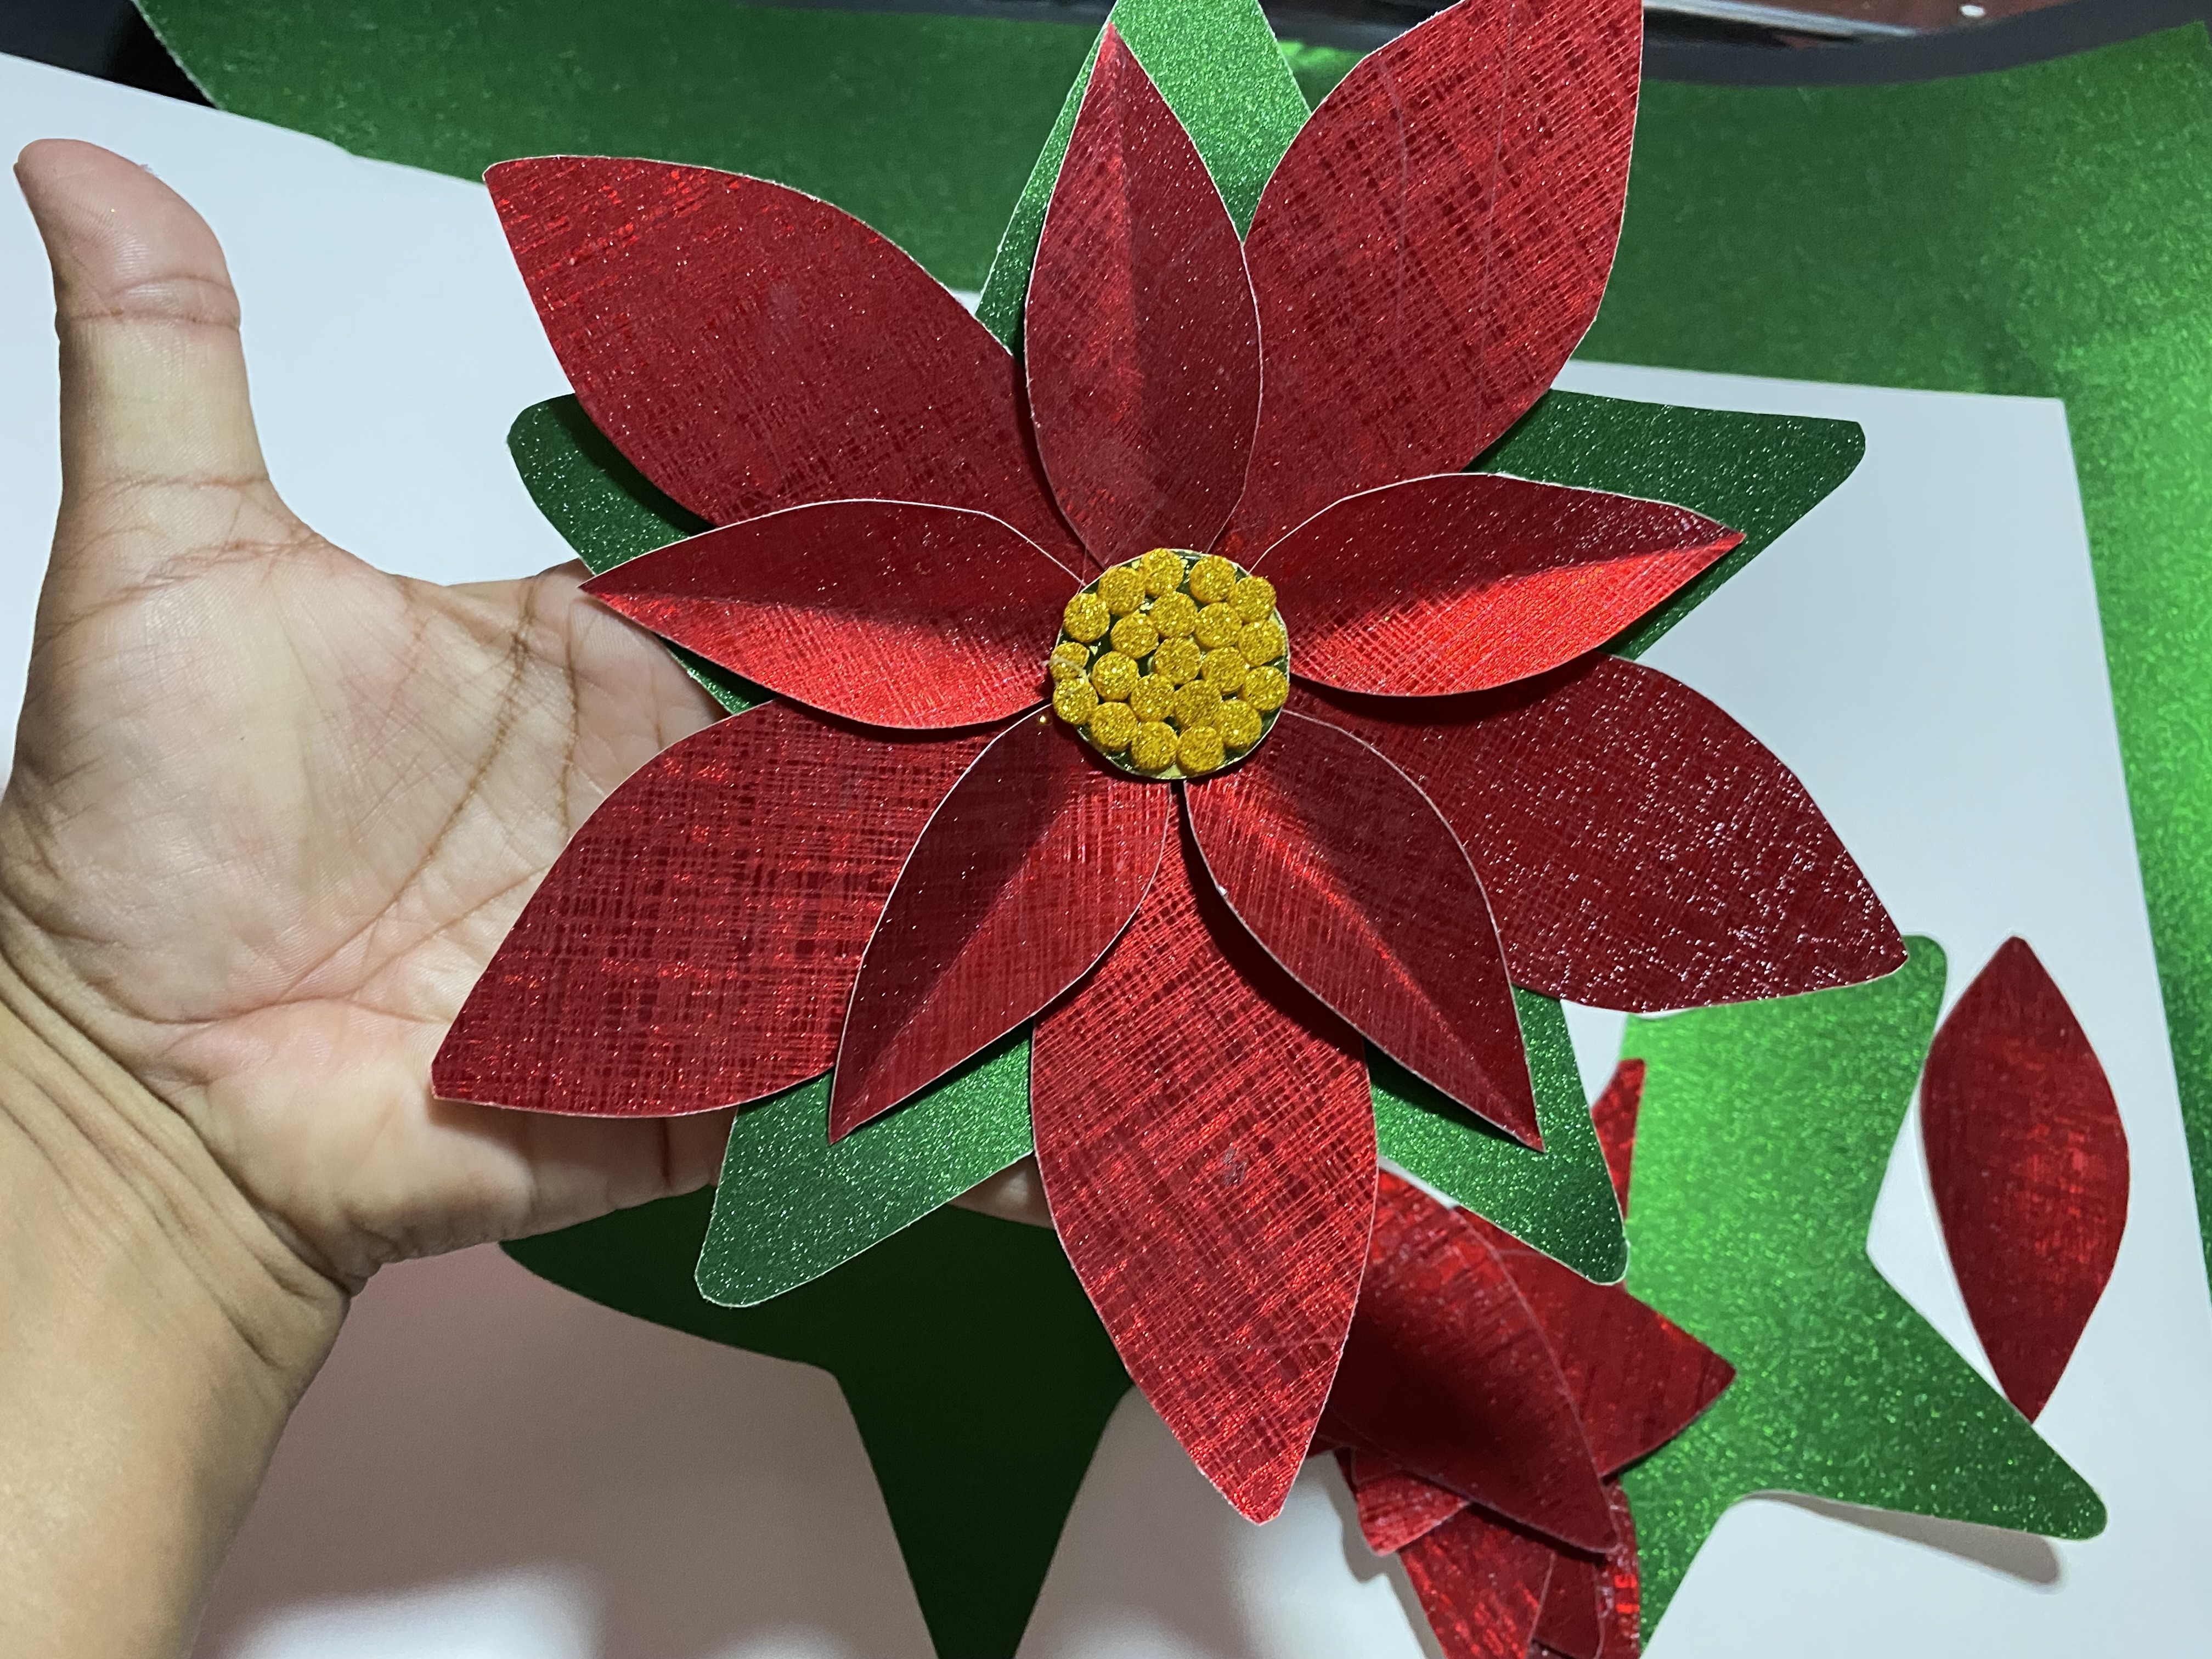
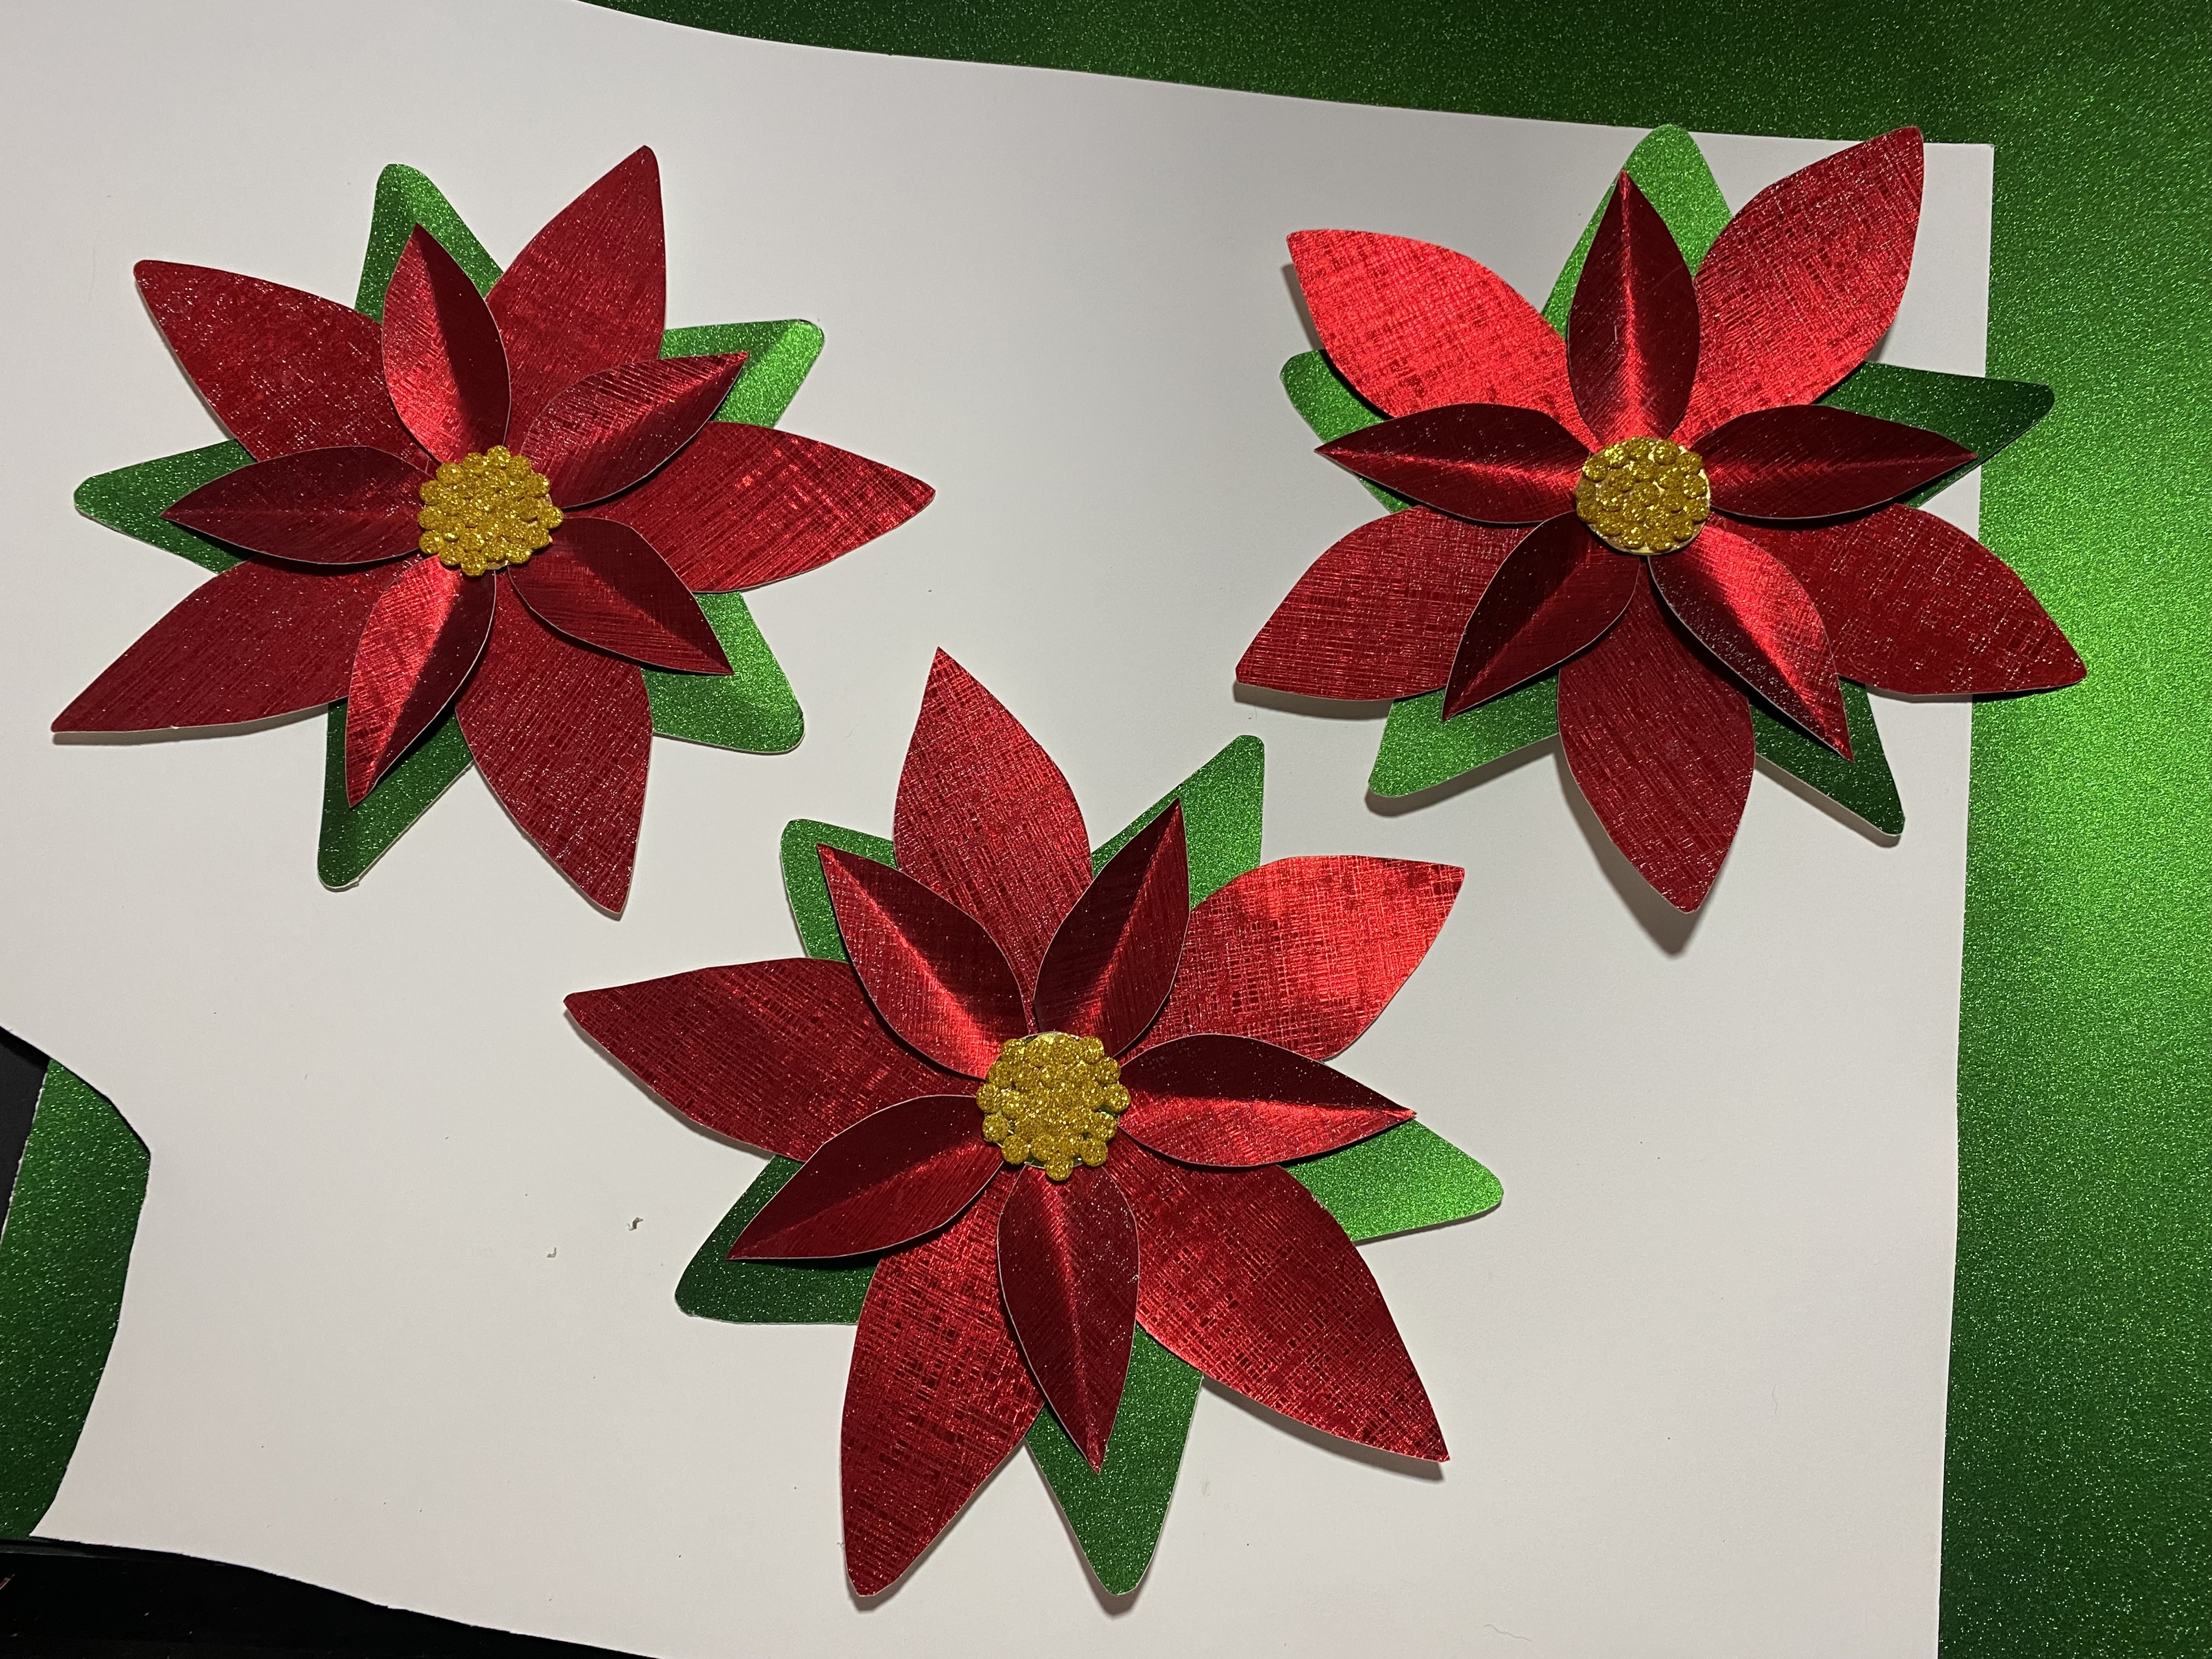
Luego de colocarle los pétalos pequeños y pegarle el centro a mis flores me sentí muy feliz, estuve satisfecha con el resultado, mis flores se ven muy hermosas 🌸, luego procedí a armar y pegar las otras dos flores y aquí les muestro el resultado:
After placing the small petals and gluing the center to my flowers I felt very happy, I was satisfied with the result, my flowers look very beautiful 🌸, then I proceeded to assemble and glue the other two flowers and here I show you the result:
 |  |
|---|
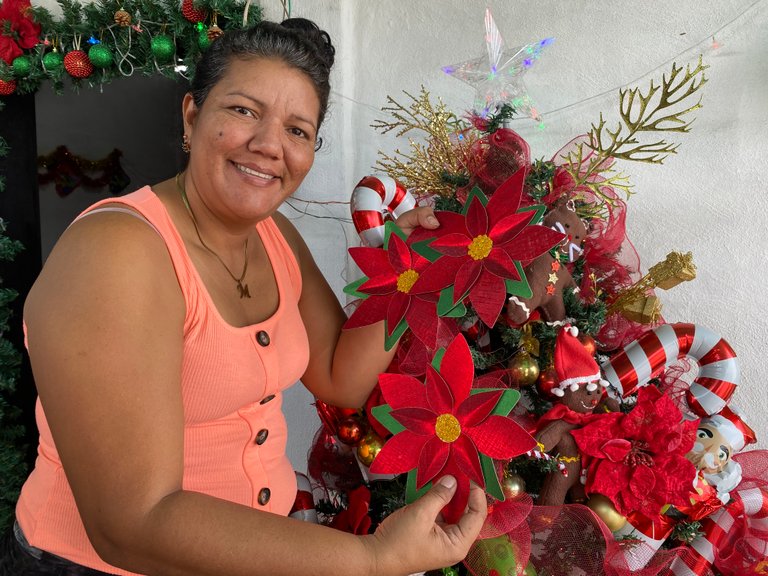
Es muy satisfactorio cuando una manualidad te queda hermosa, a pesar de los errores el resultado me encantó, me gustaría conocer su opinión, si llegaste hasta aquí estoy muy agradecida de qué hayas visitado mi Publicación, me despido deseándoles muchos éxitos y bendiciones
It is very satisfying when a craft turns out beautiful, despite the mistakes I loved the result, I would like to know your opinion, if you got this far I am very grateful that you visited my publication, I say goodbye wishing you many successes and blessings
Te quedaron bellas esas flores de Navidad, el ensayo y error es parte del proceso. Se unen manos y mente creativas. Saludos.
Es cierto amiga a veces necesitamos que sea de esa forma, gracias por comentar, saludos 🥰
Sending Love and Ecency Curation Vote!
 Follow Eceny's curation trail to earn better APR on your own HP. : )
Errors makes us better and better. Despite the errors your flowers came out great, great job friend.
Je je es cierto , gracias 🤭🥰
Te quedaron muy hermosas, definitivamente se ve mejor este tipo de estrella, así son las manualidades nunca tenemos claro y con precisión que vamos a cambiar en el proceso de elaboración, pero bueno, siempre cambiamos para mejorar, te quedó genial.
Es cierto amiga, a veces nos hacemos expectativas de alguna manualidad y terminamos haciéndole cambios muy diferente, ja ja, gracias por comentar, saludos 🥰