Greetings people of the community. For this occasion I come to present you the elaboration of some pencil holders, which are made with a Pringles potato chips container. And without further ado, let's get started:
Saludos gente de la comunidad. Para esta ocasión les vengo a presentar la elaboración de unos portalapices, los cuales están hechos con un envase para papás fritas Pringles. Y sin mas preámbulos empecemos:
1° Version
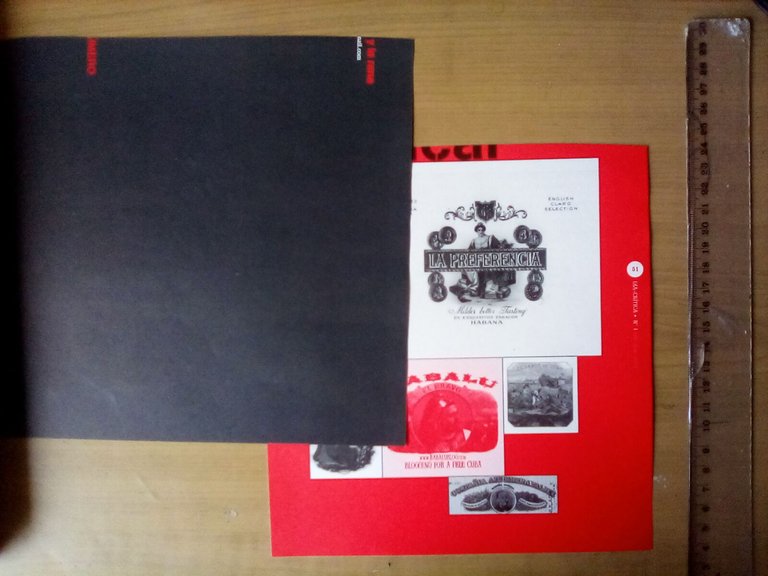
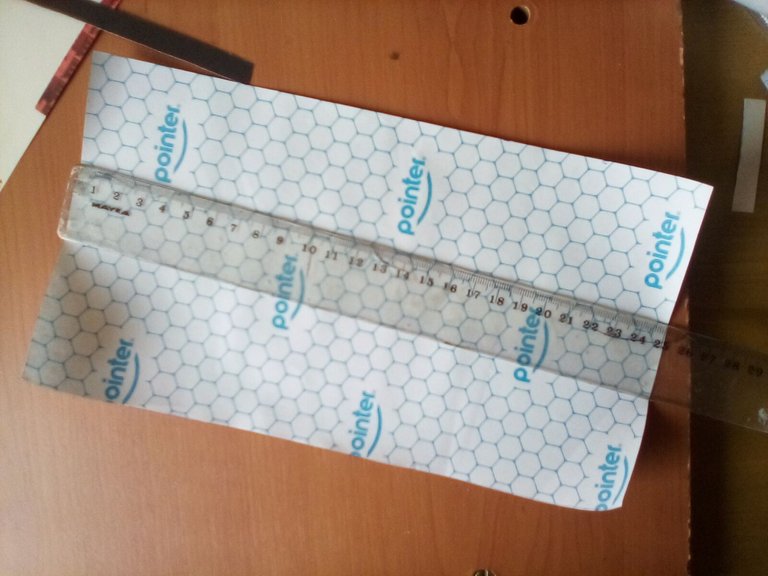
Here we proceed in this way: we will take some magazine clippings whose images will allow us to decorate the container; one of the clippings has an image in which we will take the one in which we can clearly observe a woman located behind the word The Preference; as for the other one that comes being unanimously a color, we cut it with this measurement: 13 cm long by 26 cm wide, with the purpose of decorating the bottom with respect to the previous one.
1° Versión
Aquí procedemos de esta manera: tomaremos unos recortes de revistas que cuyas imágenes nos permitirán adornar el envase; uno de los recortes cuenta con una imagen en que tomaremos la que se puede observar claramente a una mujer situada detrás de la palabra La Preferencia; en cuanto a la otra que viene siendo unánimemente un color, la recortamos con esta medida: 13 cm de largo por 26 cm de ancho, con el fin de adornar el fondo con respecto a la anterior.
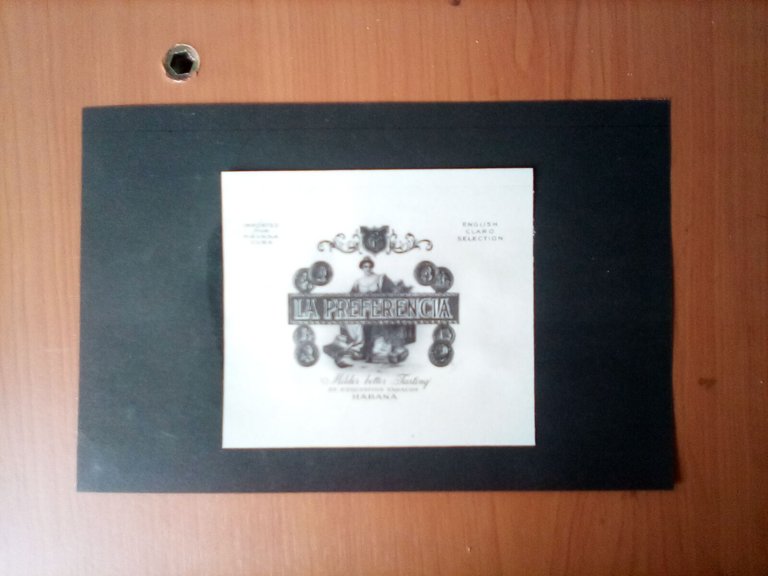
After having done the previous steps, it will look like this.
Tras haber hecho los pasos anteriores nos quedará así.
Then we glue our cutouts to the Pringles container and then cut it out with a cutter. The cut should be 13 cm long.
Acto seguido pegamos nuestro recortes al envase de Pringles para después recortarlo con un cutter. El recorte debe de ser 13 cm de largo.
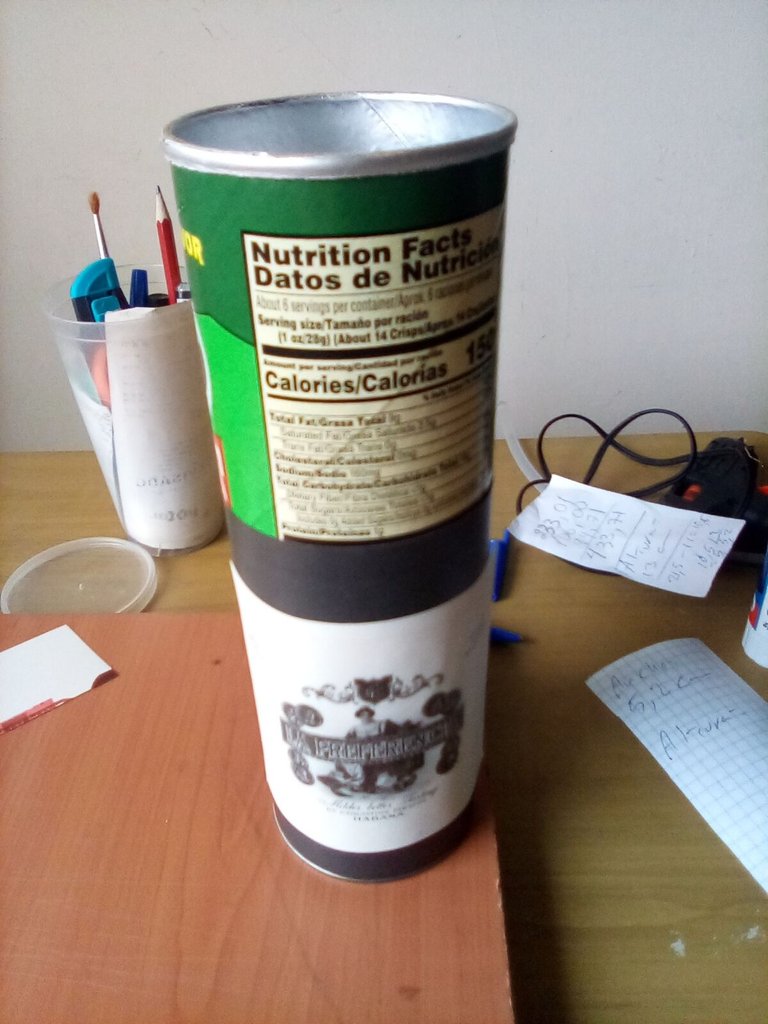
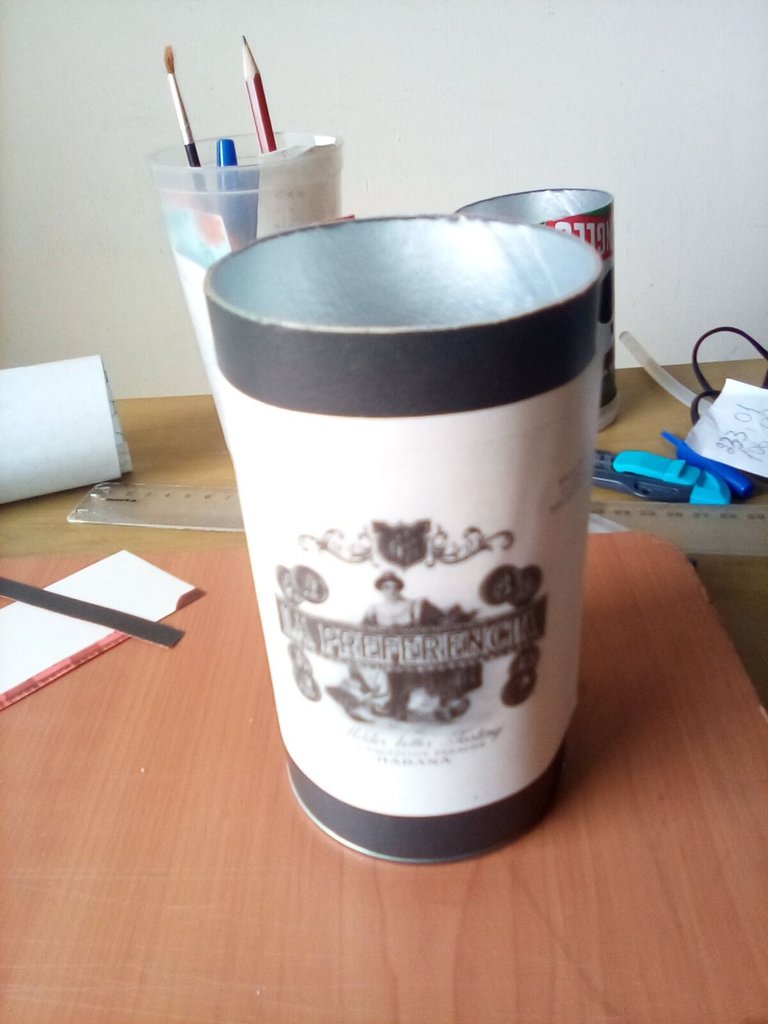
Once we have the final shape of our first pencil holder, we proceed to cover it with transparent contact paper. The cutout should also be 13 cm long by 26 cm long.
Al tener la forma definitiva de nuestro primer portalapiz procedemos a recubrirlo con papel contacto transparente. El recorte debe ser también de 13 cm de largo por 26 cm de largo.
Now let's go with the 2nd version
Ahora vamos con la 2° versión
2nd Version
This 2nd version is due to the use of the residue left over from the Pringles container, so its size is smaller than the other one, and the base will not be made of aluminum but of plastic (because it is the lid).
2° Versión
Esta 2° Versión se debe al aprovechamiento del residuo que queda de envase Pringles, por lo que su tamaño es inferior al otro, y la base no será de aluminio sino de plástico (por ser la tapa).
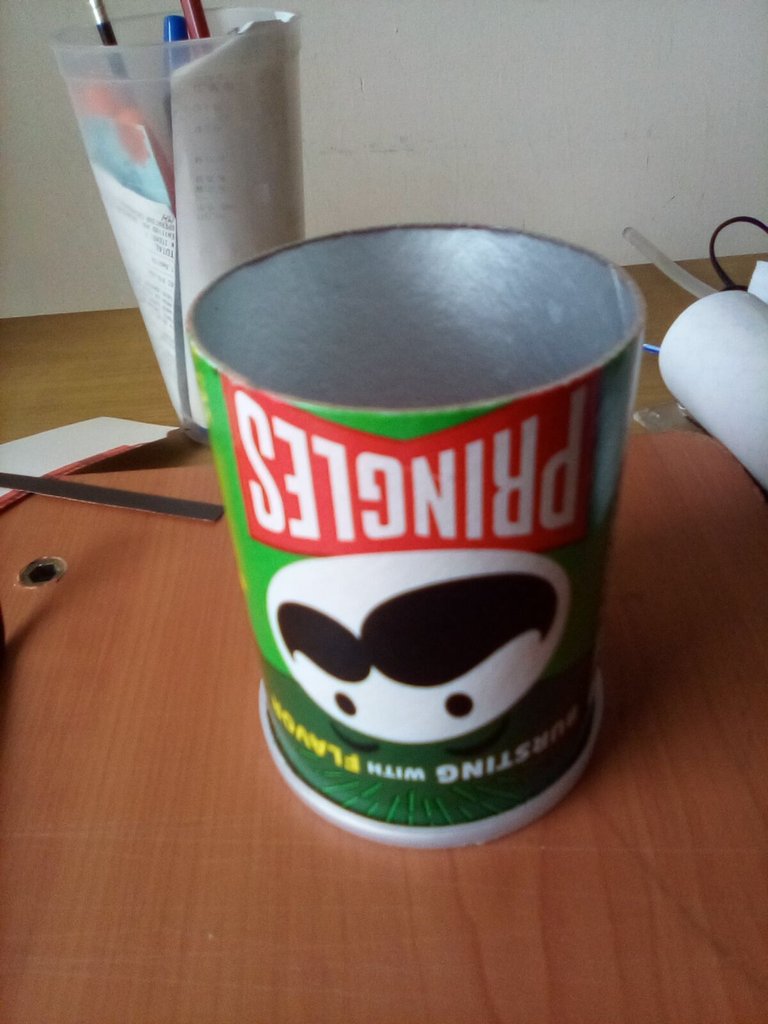
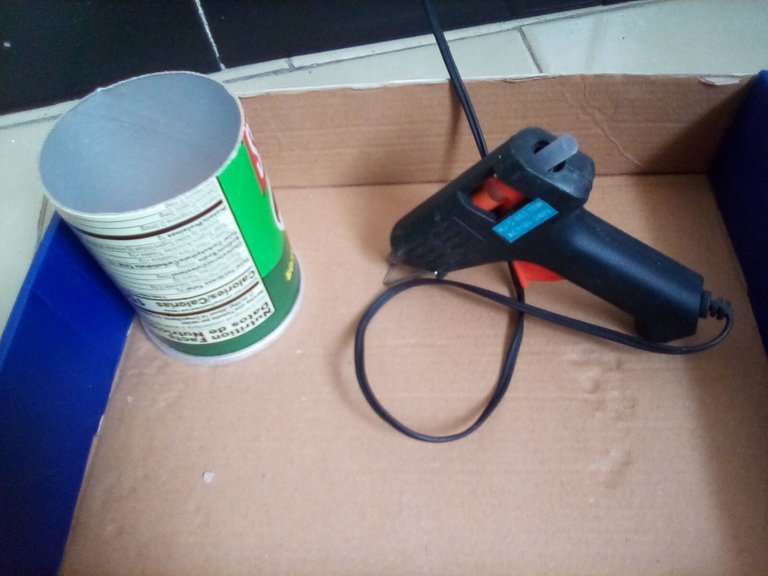
Here what we will do is first seal the base with silicone, so that it will remain firm and prevent it from getting lost over time.
Acá lo que haremos es en primer lugar es sellar la base con silicona, así esta se mantendrá firme y se evita que por alguna razón se pueda perder con el pasar del tiempo.
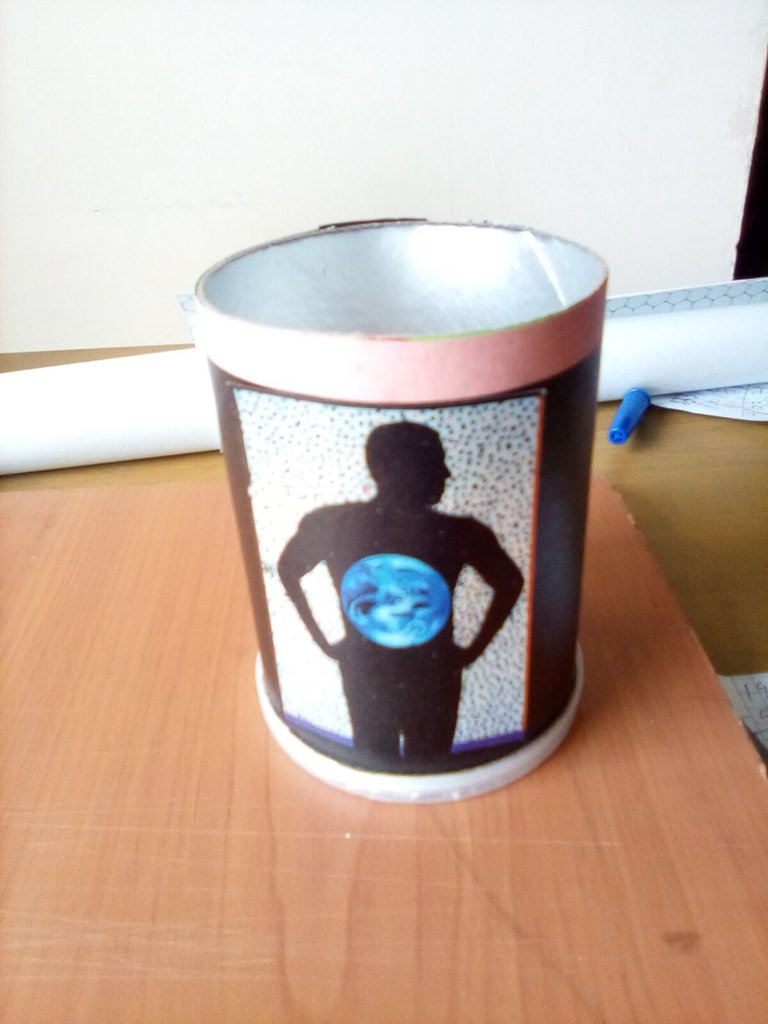
Then, as we did with the previous work, we must have decorative images within reach. And its measures will be: background cutout (color): 10 cm high by 26 cm wide. Main figure -for this case-: 5.5 cm wide by 8 cm long.
Luego, tal como se hizo con el trabajo anterior debemos de disponer de imágenes decorativas al alcance. Y sus medidas serán: recorte de fondo (color): 10 cm de alto por 26 cm de ancho. Figura principal -para este caso-: 5,5 cm de ancho por 8 cm de largo.

We join with the container (preferably use glue stick).
Juntamos con el envase (usar preferiblemente pega de barra).
We place a transparent plastic paper cover with the same measures previously mentioned.
Le colocamos una cubierta de papel plástico transparente con las mismas medidas citadas con anterioridad.
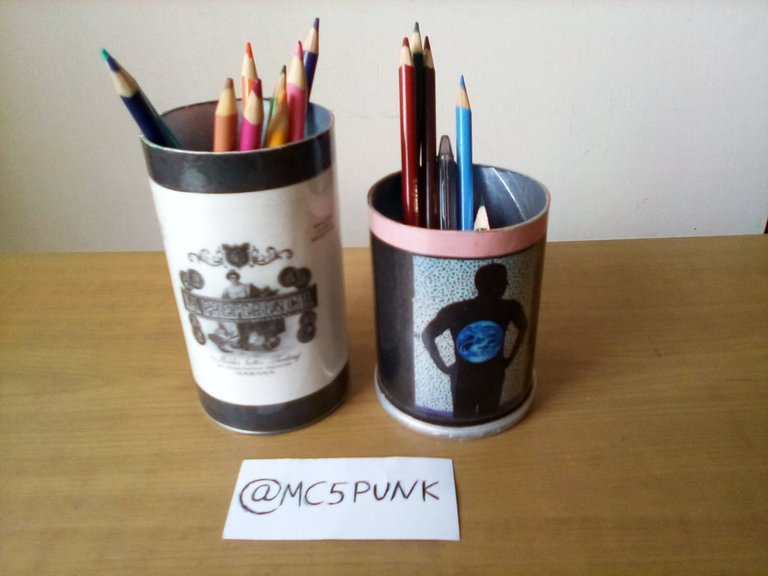
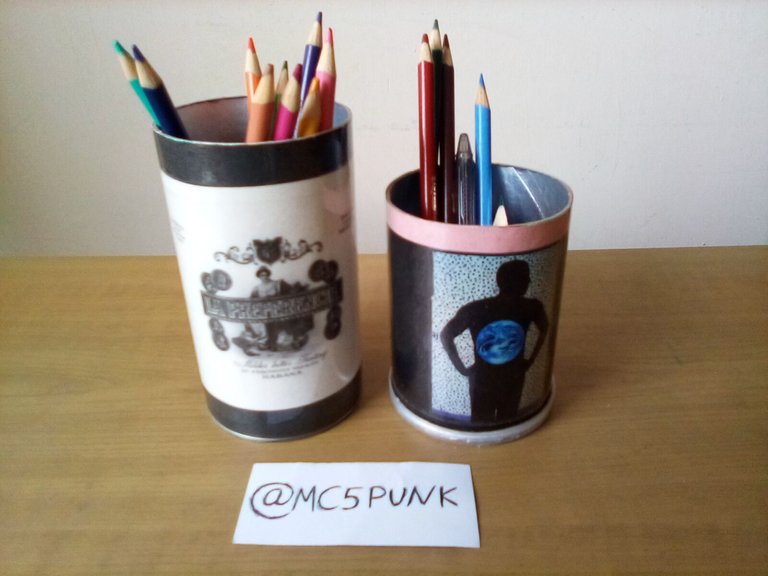
And that's it! We are done with our work 😃 What do you think?
Y listo! Hemos concluido con nuestro trabajo 😃 Que les parece? 😁
I hope this will motivate you to do it. And remember you can comment at the end of this post, I'll be reading and giving you feedback. I also appreciate all the support received from all of you.
Espero que esto les sirva de motivación para hacerlo. Y recuerden que pueden comentar al final de esta publicación, los estaré leyendo y dando respuesta. También agradezco todo el apoyo recibido por parte de todos ustedes.
Without more to say I'll see you in a next installment.
Sin más que decir nos vemos en una próxima entrega.
Until then 😎👍.
Hasta entonces 😎👍
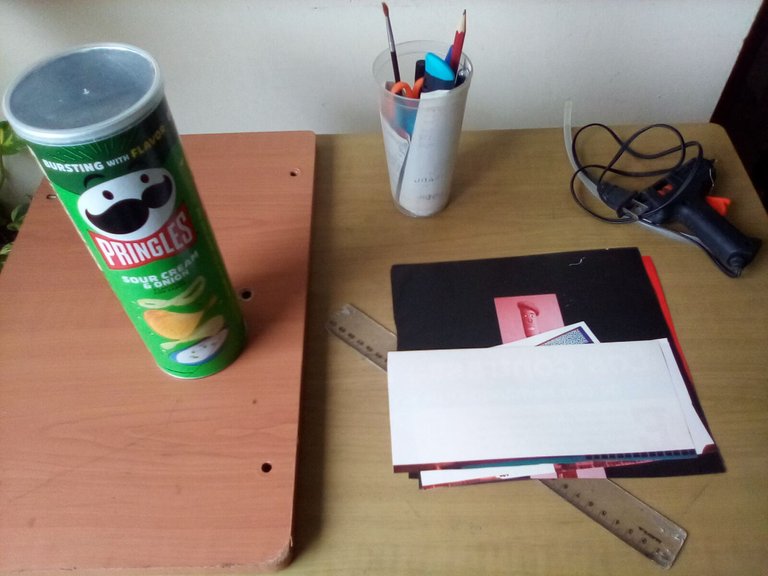
Materials used/Materiales usados
- Transparent plastic paper;
- Cutter;
- Ballpoint pen;
- Ruler;
- Glue stick;
- Pringles container;
- Silicone;
- Magazine clippings.
- Papel plástico transparente;
- Cutter;
- Bolígrafo;
- Regla;
- Pega en barra;
- Envase Pringles;
- Silicona;
- Recortes de revistas.
Source of the images/Fuente de las imágenes
Images captured with my Amazon Fire 8 tablet.
Imágenes capturadas con mi tableta Amazon Fire 8.
Traducido con Deepl.com
Me encanta, lo tomare en cuenta para hacer uno para mis marcadores
Estupendo, me alegra que te sea de utilidad esta publicación 😃 Saludos y bendiciones 🙂🙏
a todo se le puede dar una segunda vida. excelente trabajo.
Muchas gracias 😁 un abrazo. Bendiciones 🙂🙏
Me encanta esta iniciativa de reciclaje con envases; es una bonita forma de darle un segundo uso a este tipo de recipientes, de modo que no tienes necesidad de comprar cosas nuevas. ¡Saludos, mi estimado @mc5punk y que tengas un bonito día!
Muchas gracias, amiga. Te mando un fuerte abrazo 🤗