
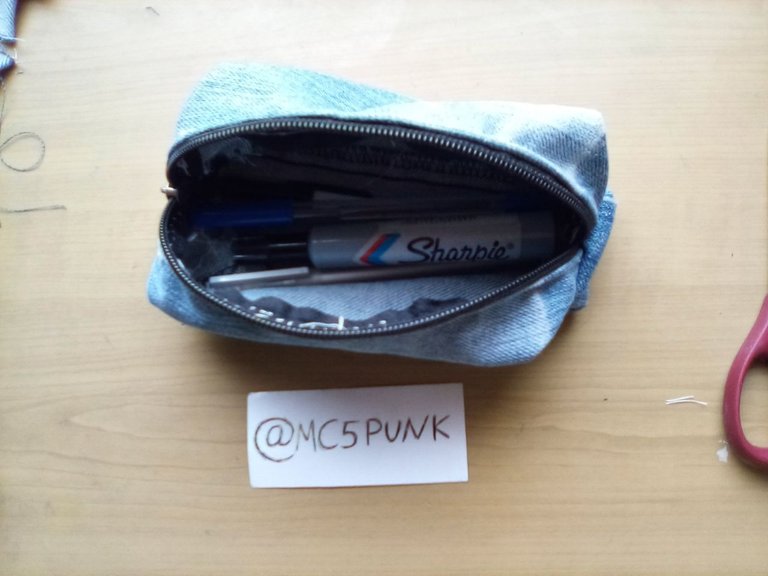
Saludos, amigos de la comunidad de Hive Diy. Es un placer para mi el estar de regreso ante ustedes tras mucho tiempo sin publicar en este espacio; y es que para esta oportunidad les vengo a mostrar el paso a paso para crear nuestra propia cartuchera, el cual nos permitirá guardar nuestras herramientas de trabajo de oficina u otra clase de pertenencias; ejemplo, cosméticos (en el caso de las chicas), lápices de grafito y/o colores, marcadores, etc.
Greetings, friends of the Hive Diy community. It is a pleasure for me to be back before you after a long time without publishing in this space; and is that for this opportunity I come to show you the step by step to create our own card case, which will allow us to store our office work tools or other belongings; for example, cosmetics (in the case of girls), graphite pencils and /or colors, markers, etc.
Cabe decir que, no es necesario tener que comprar tela o cremallera, ya que todo esto lo podemos hacer con materiales reciclados, aquellos pantalones que ya no usamos y bolsos (de los que podemos extraer las cremalleras).
It should be said that, it is not necessary to have to buy fabric or zipper, since all this can be done with recycled materials, those pants that we no longer use and bags (from which we can extract the zippers).
Ahora bien, a continuación veremos el proceso que se llevará a cabo, así que sin más preámbulos comencemos.
Now, below we will see the process that will take place, so without further ado let's get started.
Materiales usados/Materials used
Tela Jean;
Bragueta (cremallera);
Hilo y aguja;
Cutter;
Tijera;
Marcador a base de alcohol;
Regla.
Jean Fabric;
Fly (zipper);
Thread and needle;
Cutter;
Scissors;
Alcohol-based marker;
Rule.
1- lo primero que debemos de tener al alcance es un trozo de tela, que bien puede ser jean o de otra clase, para ser recortado con las siguientes medidas: 30 cm de ancho por 25 cm de largo.
1- the first thing we must have within reach is a piece of fabric, which may well be jean or another kind, to be cut with the following measurements: 30 cm wide by 25 cm long.
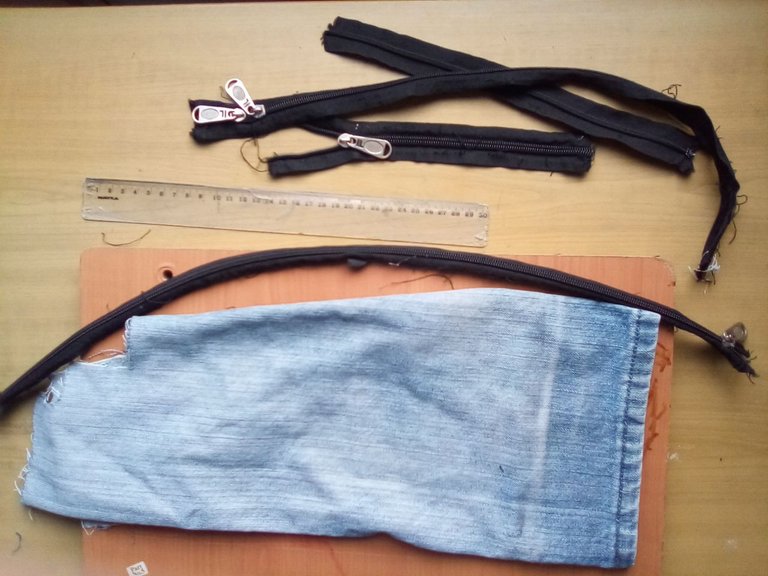
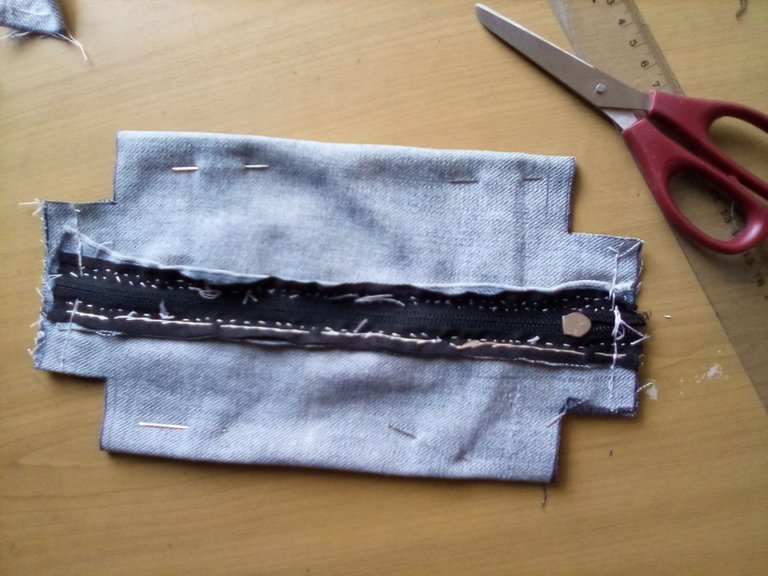
2- después, juntamos la tela con una cremallera, la cual debe tener el mismo tamaño de anchura de 30 cm para ser cocido por el lado del sujetador de la cremallera y el que vendría siendo el exterior de la cartuchera.
2- then, we put the fabric together with a zipper, which must have the same size width of 30 cm to be cooked on the side of the zipper fastener and the one that would be the outside of the cartridge case.
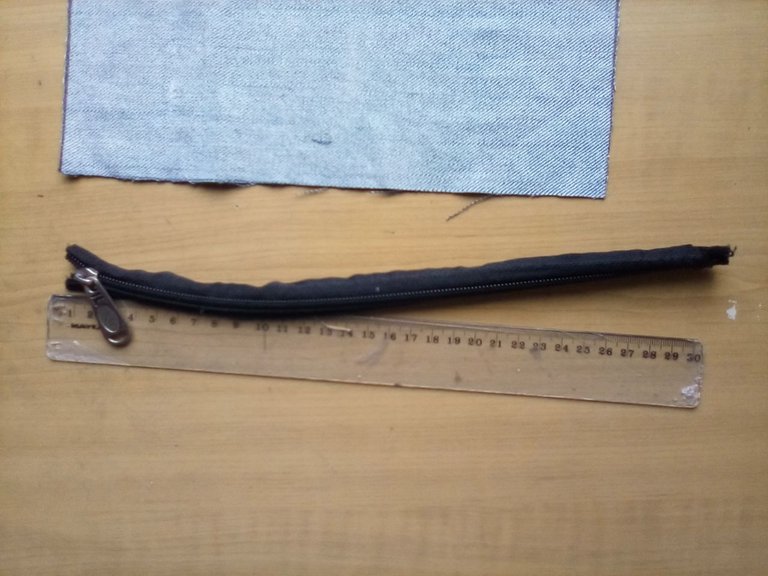
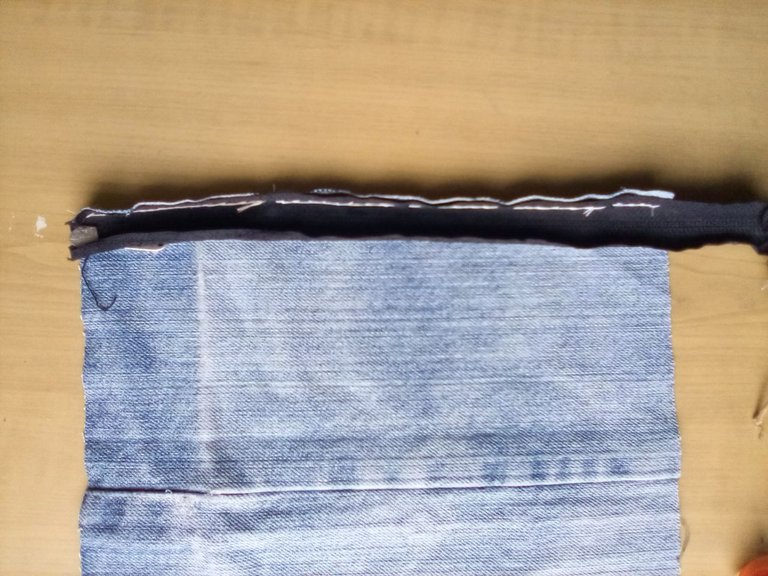
Se repite el mismo proceso por el otro extremo.
The same process is repeated on the other end.
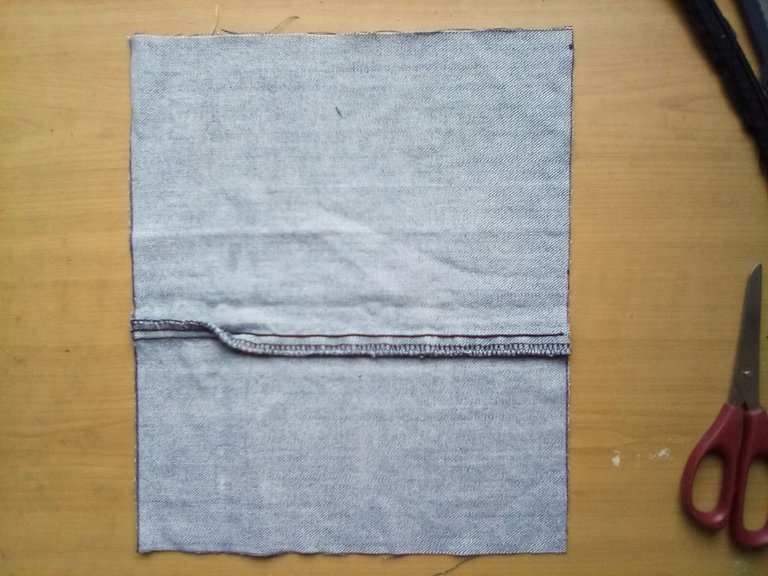
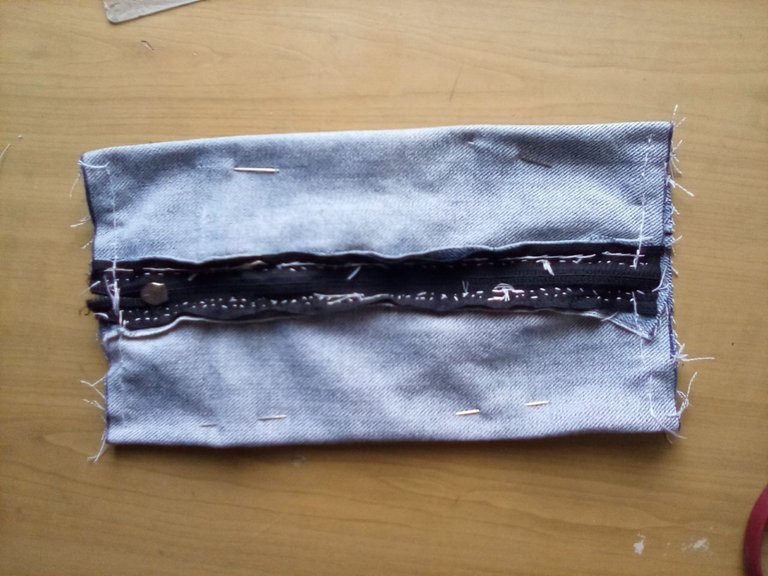
3- una vez hecho lo anterior, pasamos a cocer los extremos, teniendo como indicador de la misma a la cremallera como referente del centro de la misma.
3- once the above is done, we go on to cook the ends, having as an indicator of it the zipper as a reference of the center of it
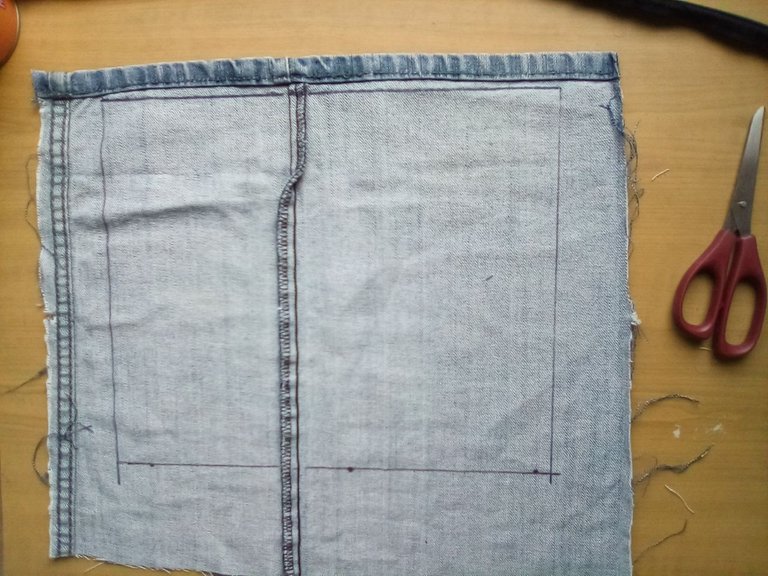
4- tras coser los extremos vamos a marcar en sus esquinas un área de 3cm de ancho por 3 cm de largo para ser recortados.
4- after sewing the ends we are going to mark in their corners an area of 3cm wide by 3 cm long to be cut out.
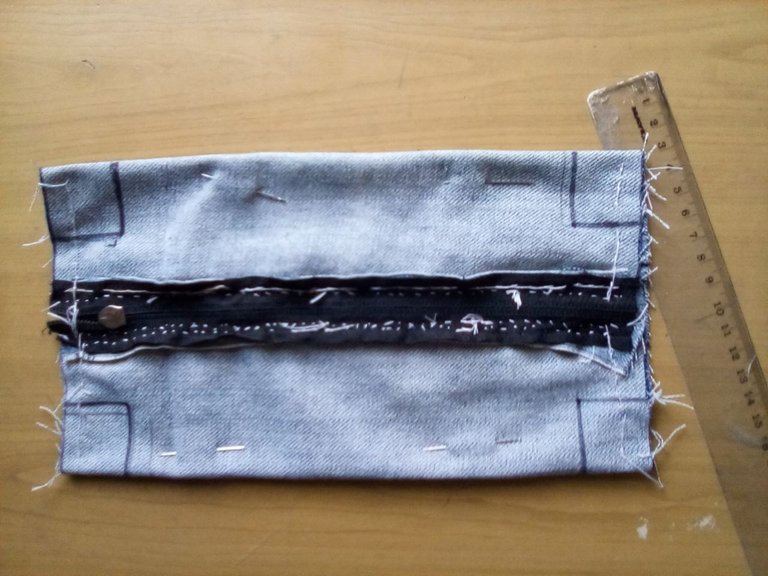
5- cosemos cada esquina en una posición que quede a los costados de la cartuchera.
5- sew each corner in a position that is on the sides of the cartridge case.
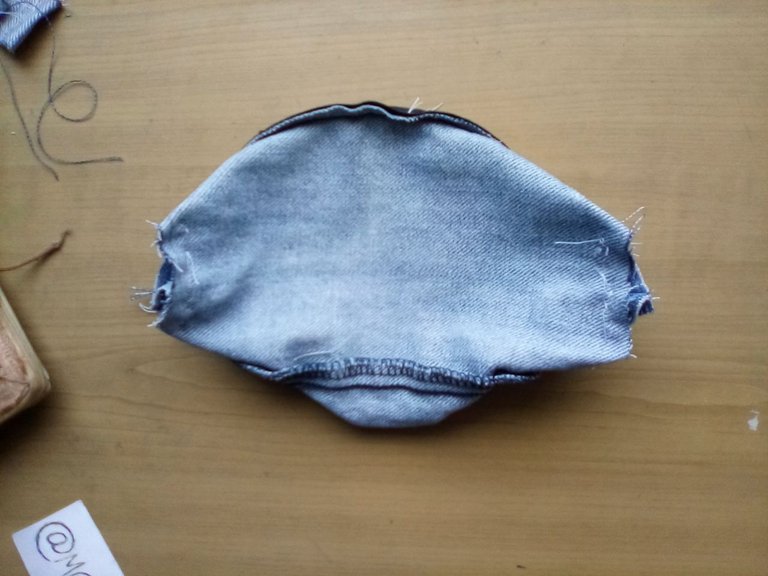
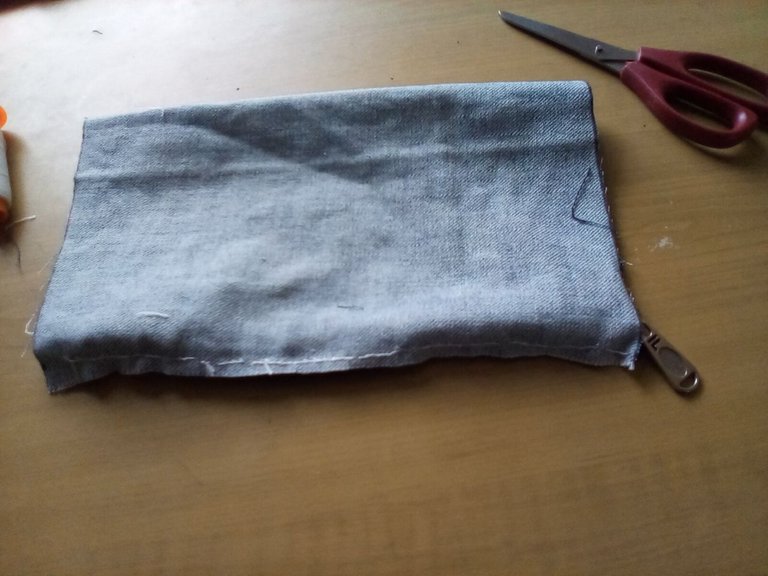
6- pasamos a voltear y ya tenemos lista nuestra cartuchera para ser usada.
6- we turn over and we have our cartridge case ready to be used.
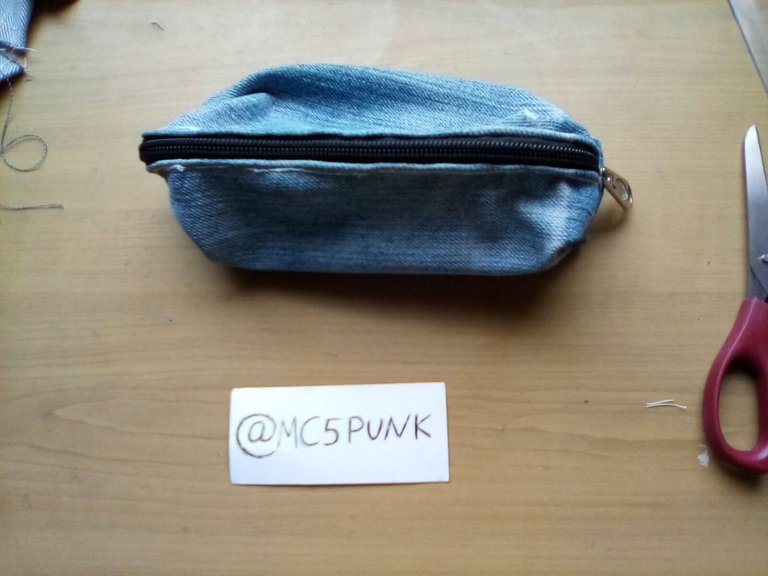
Y listo! Hemos concluido con nuestro trabajo 😃 Que les parece? 😁
And that's it! We are done with our work 😃 What do you think?
Espero que esto les sirva de motivación para hacerlo. Y recuerden que pueden comentar al final de esta publicación, los estaré leyendo y dando respuesta. También agradezco todo el apoyo recibido por parte de todos ustedes.
I hope this will motivate you to do it. And remember you can comment at the end of this post, I'll be reading and giving you feedback. I also appreciate all the support received from all of you.
Sin más que decir nos vemos en una próxima entrega.
Without more to say I'll see you in a next installment.
Hasta entonces😎👍
Until then 😎👍
Fuente de las imágenes/Source of the images
Imágenes capturadas con mi tableta Amazon Fire 8.
Images captured with my Amazon Fire 8 tablet.
Traducido con Deepl.com