Bienvenidos || Welcome

No existe nada más gratificante que dejar que la creatividad fluya y con ella crear sin limitarse ya saben lo que dicen los límites están en la mente, desde hace unos comencé aprender el arte de las uñas y vamos avanzando en el segundo módulo y las prácticas con personas también sin embargo a la hora de realizar los diseños con las pinturas se me dificulta donde realizar las mezclas de colores o colocar las gotas de esmalte para que sea más sencillo tomarlo con el pincel así que debido a ello u con el fin de facilitarme la vida decidí realizar un anillo paleta de manicura con acrílico, tenía tiempo con la idea de realizarlo sin embargo el tiempo no había estado a mi favor hasta estos días 😁 así que sin más iniciemos:
There is nothing more gratifying than to let creativity flow and with it to create without limiting yourself, you know what they say, the limits are in the mind, since a few years ago I began to learn the art of the nails and we are advancing in the second module and the practices with people also however at the time of realizing the designs with the paintings it is difficult to me where to realize the mixtures of colors or to place the drops of enamel so that it is simpler to take it with the brush so due to it and with the purpose of facilitating the life I decided to realize a ring manicure palette with acrylic, I had the idea of doing it for a long time but time had not been in my favor until these days 😁 so without further ado let's start:
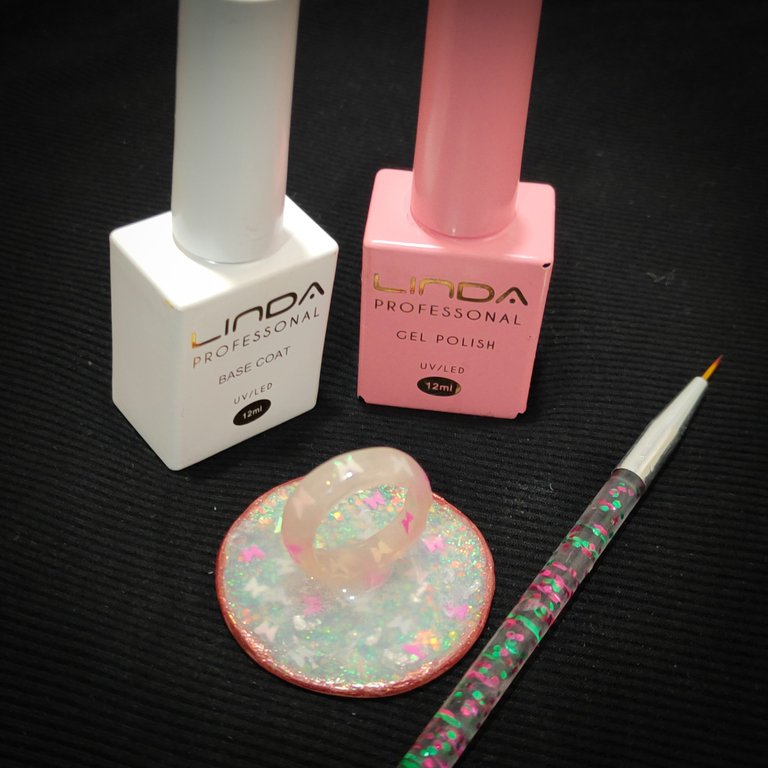
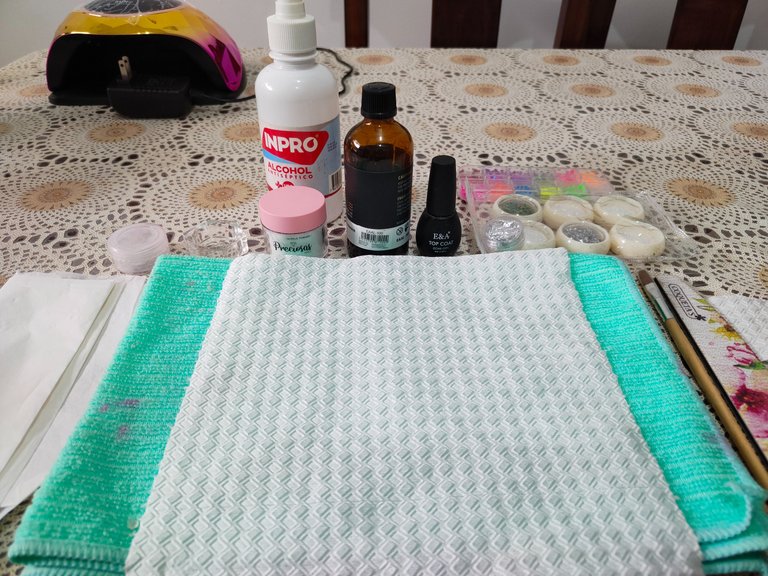
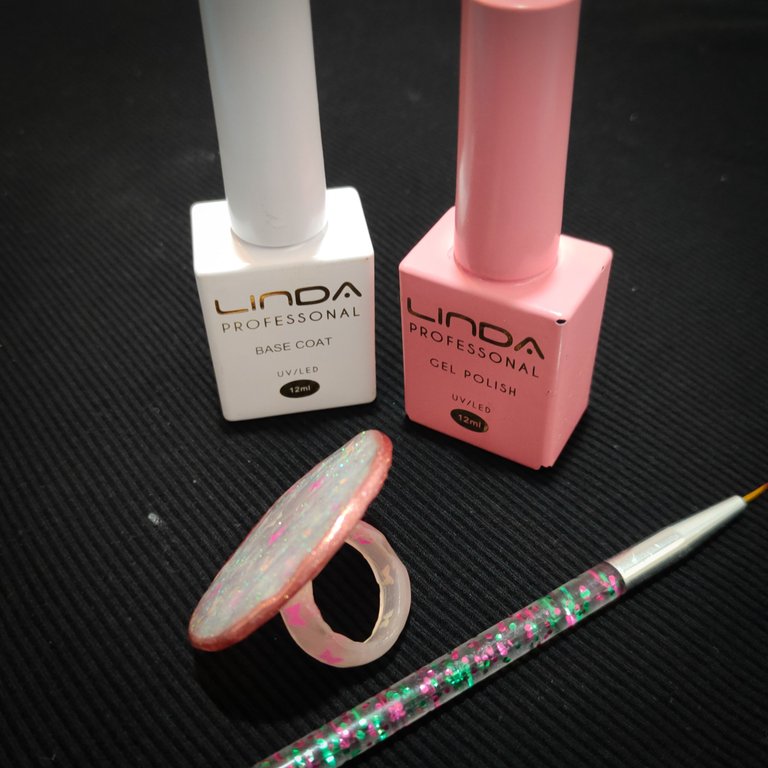
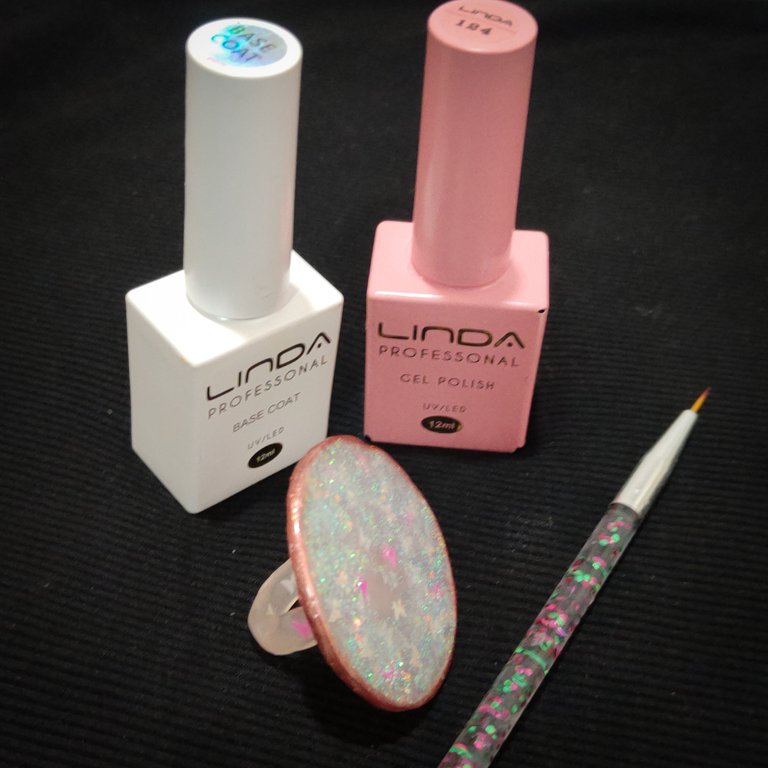
Materiales || Materials
✅ Acrílico clear.
✅ Monómero.
✅ Pincel para acrílico.
✅ Papel cebolla.
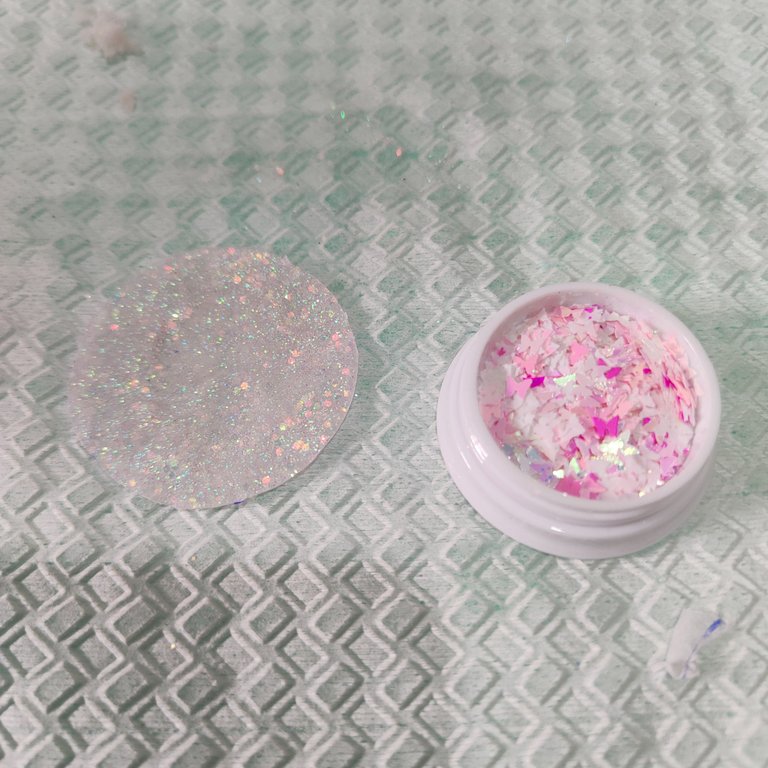
✅ Decoraciones para encapsular de su preferencia o escarcha.
✅ Limas.
✅ Alcohol.
✅ Lámpara.
✅ Gel Finalizador.
✅Acrylic clear.
✅ Monomer.
✅ Acrylic brush.
✅ Onion paper.
✅ Decorations for encapsulation of your choice or frosting.
✅ Files.
✅ Alcohol.
✅ Lamp.
✅ Finishing gel.
Pasos ||Steps
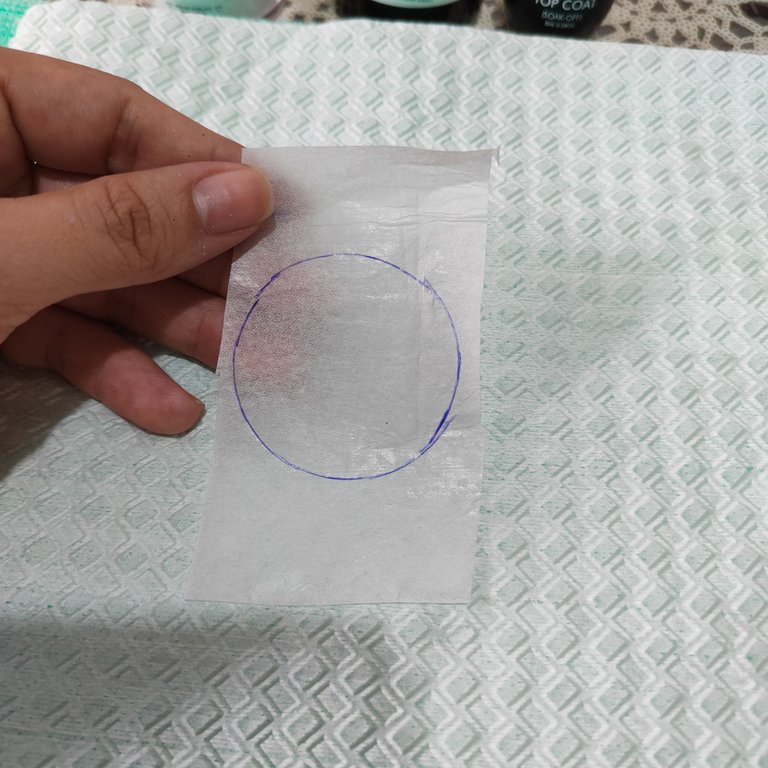
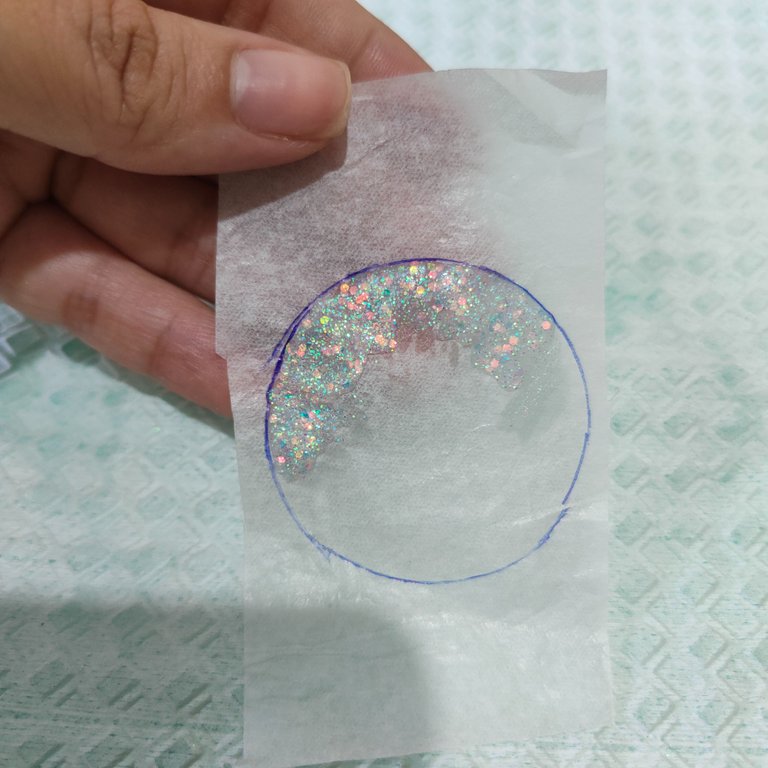
✅ Paso 1. Inicie dibujando en el papel cebolla la forma base que quería para mí paleta en primer instante pensé en un corazón, sin embargo al final me decidí por algo más práctico como lo es un círculo ya que al ser una figura más uniforme se puede aprovechar mejor la pelota.
✅ Step 1. I started by drawing on the onion paper the base shape I wanted for my paddle, at first I thought of a heart, but in the end I decided on something more practical like a circle, since it is a more uniform figure and the ball can be used better.
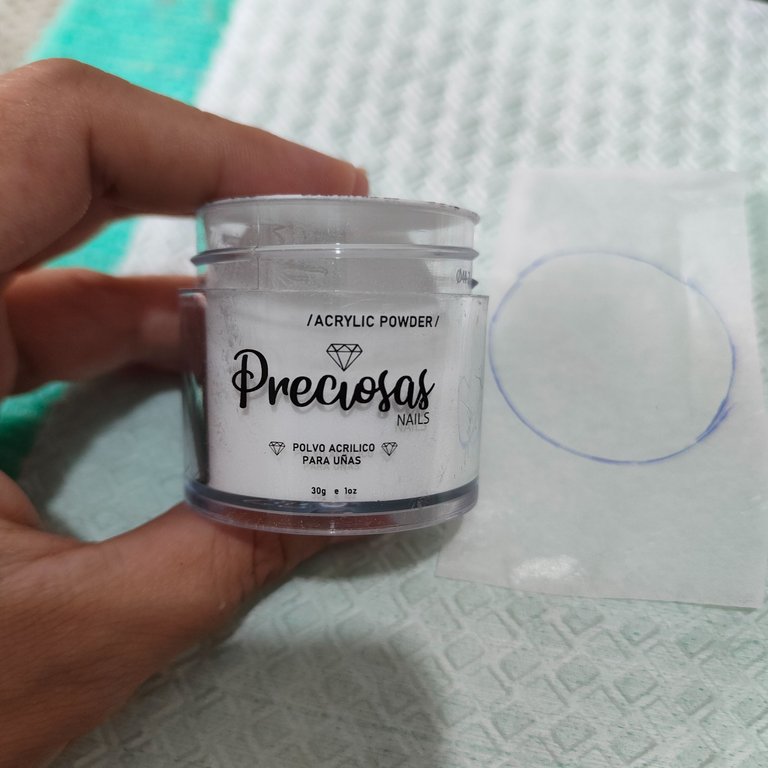
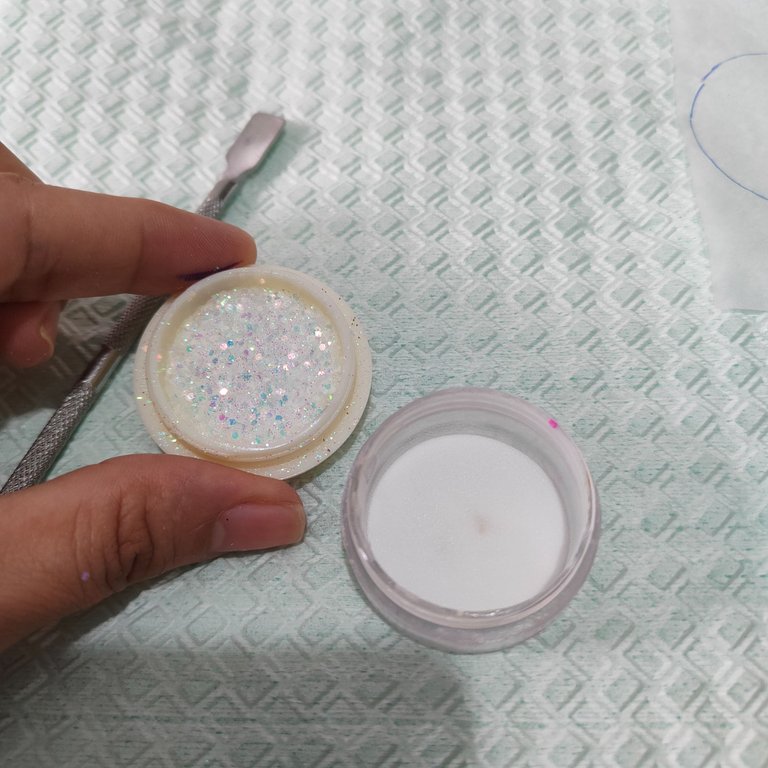
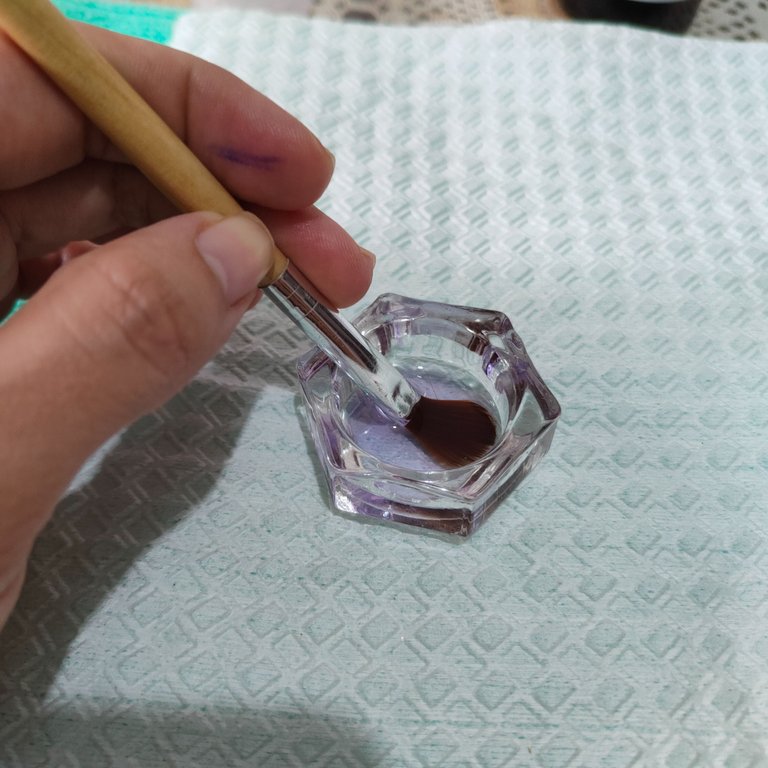
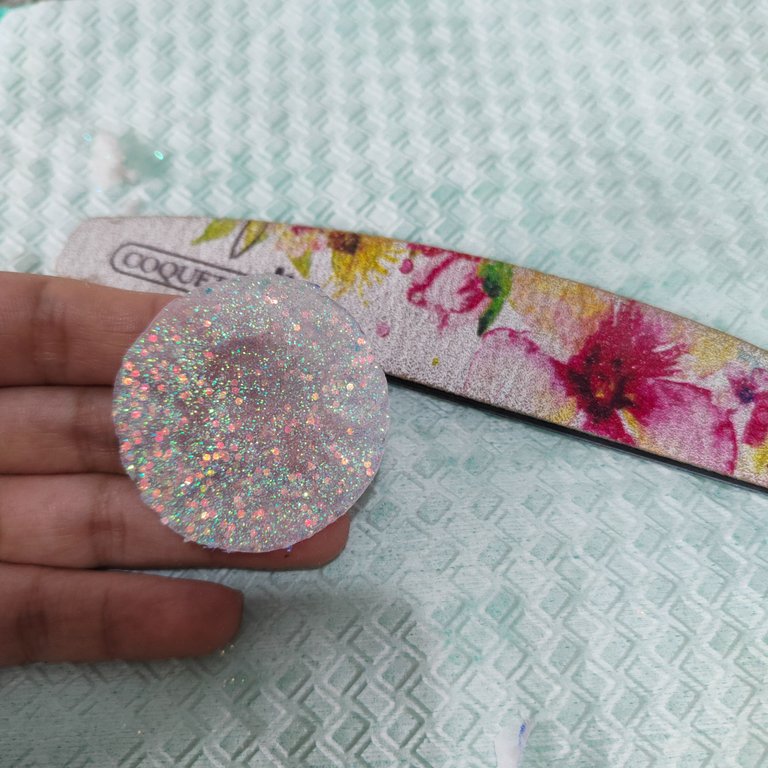
✅ Paso 2. Lo siguiente fue tomar el acrílico clear y mezclarlo con escarcha para ellos use 6 medidas de acrílico y 3 de escarcha mezcle muy bien y con el pincel húmedo en monómero comencé a tomar perlas para rellenar el círculo poco a poco.
✅ Step 2. Next was to take the acrylic clear and mix it with frost for them I used 6 measures of acrylic and 3 of frost mix very well and with the brush wet in monomer I started to take pearls to fill the circle little by little.
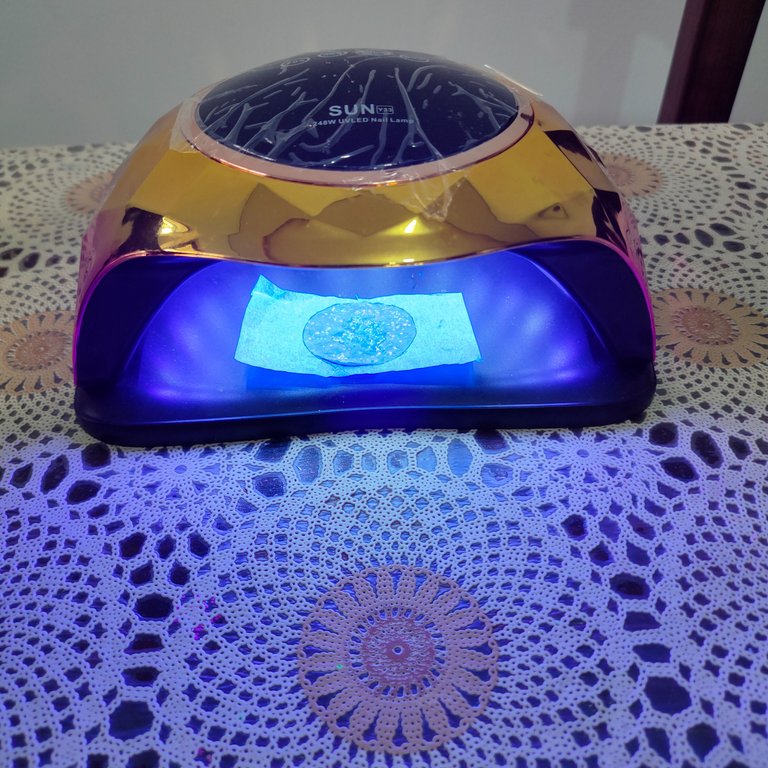
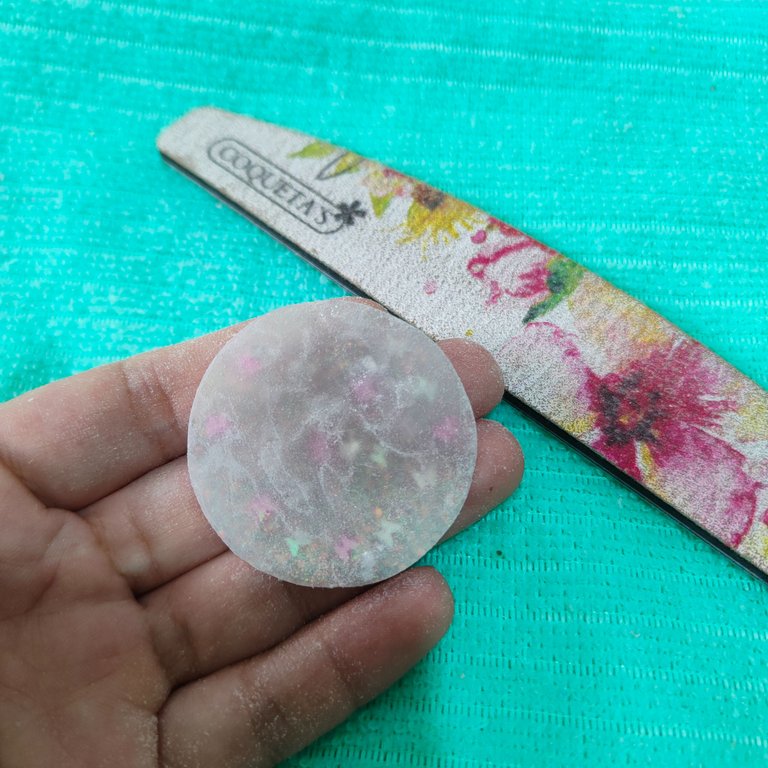
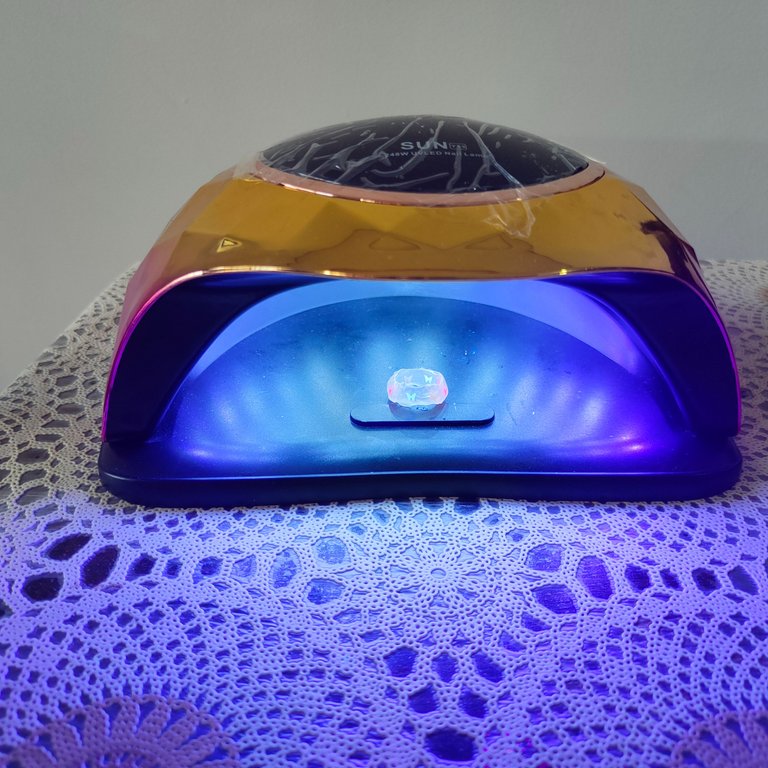
✅ Paso 3. Una vez que que realicé una base fina lleve a lampara a curar por 60 segundos y así mismo retire el papel cebolla, lo siguiente fue colocar apliques de mariposa, para luego aplicar acrílico clear encima para volver a curar en lámpara por 60 segundos más.
✅ Step 3. Once I made a thin base take to lamp to cure for 60 seconds and likewise remove the onion paper, the next thing was to place butterfly appliques, then apply clear acrylic on top to return to cure in lamp for 60 seconds more.
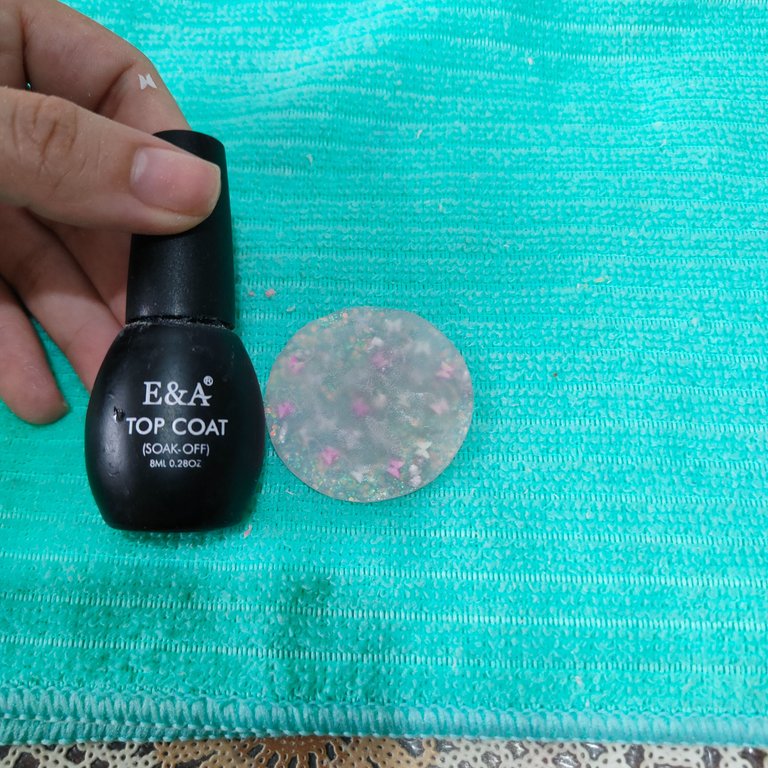
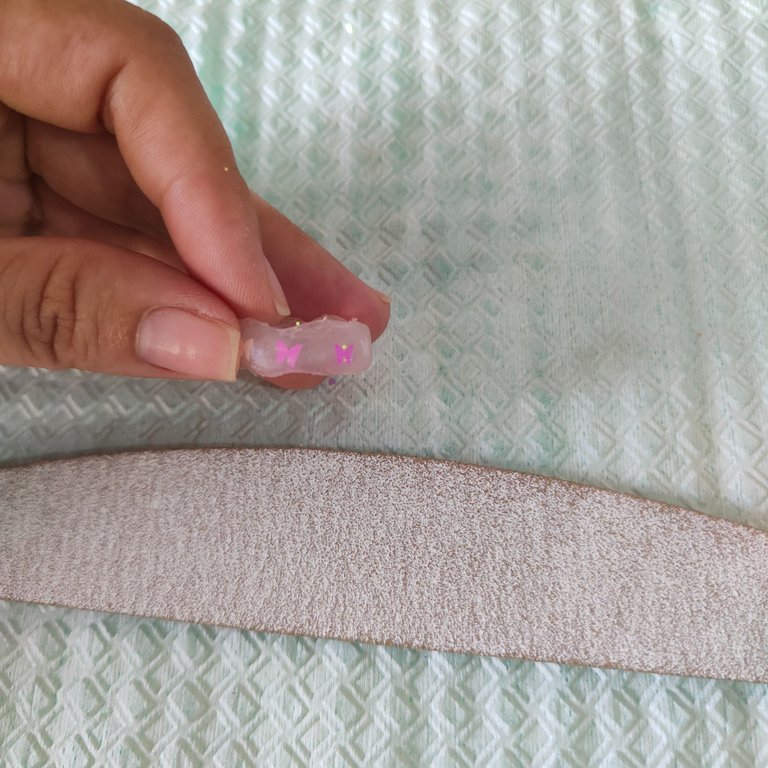
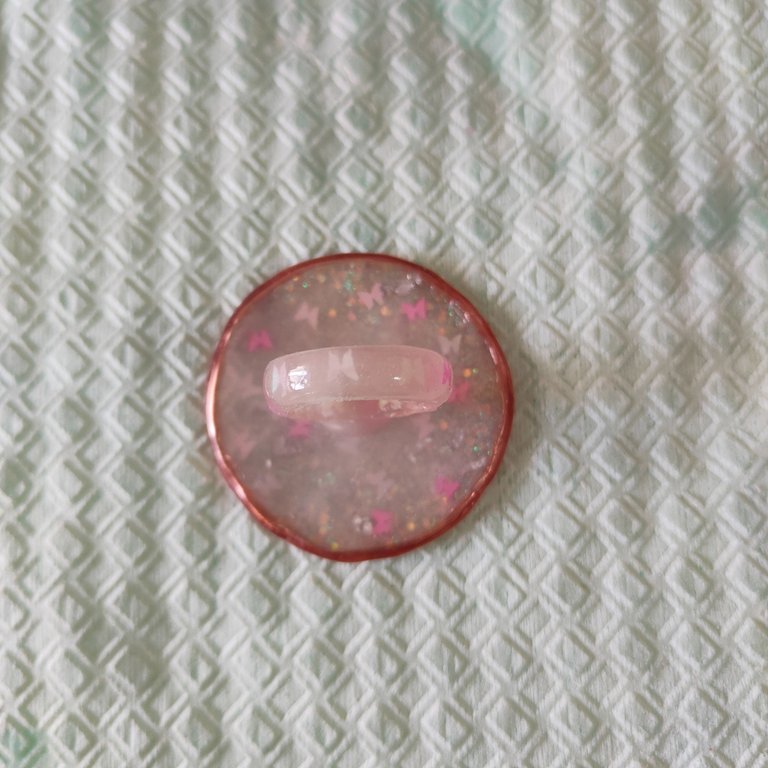
✅ Paso 4. Una vez que la base de la paleta tiene el grosor deseado llegó el turno de las limas así que toca limar los detalles y dejar más parejo los bordes y ambas superficies de la base, aplicamos gel Finalizador por ambas caras de la paleta y por el borde para así llevar a lampara por 60 segundos por cada lado.
✅ Step 4. Once the base of the palette has the desired thickness, it's time to file the details and make the edges and both surfaces of the base more even, we apply Finalizer gel on both sides of the palette and on the edge of the palette to lamp for 60 seconds on each side.
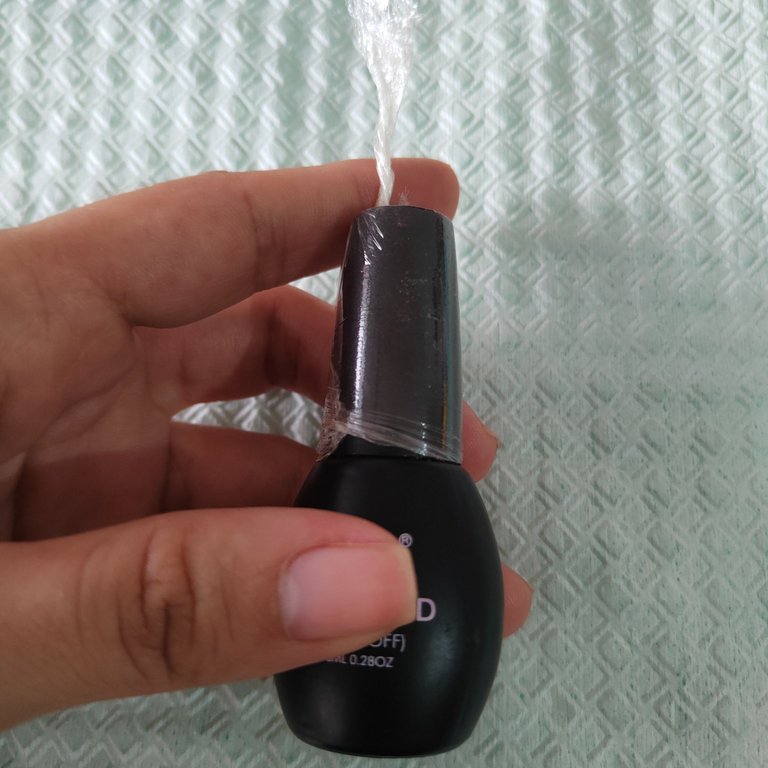
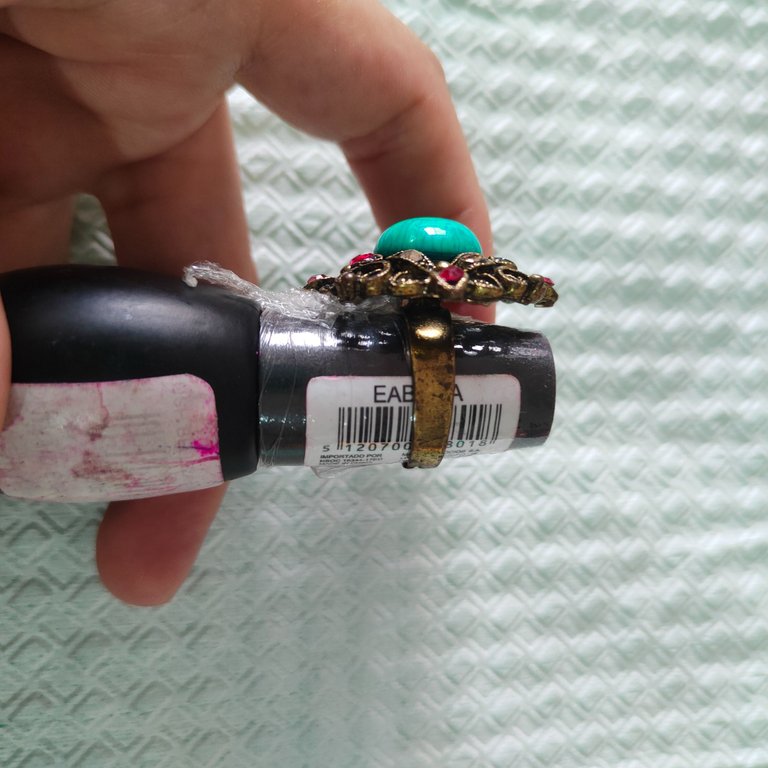
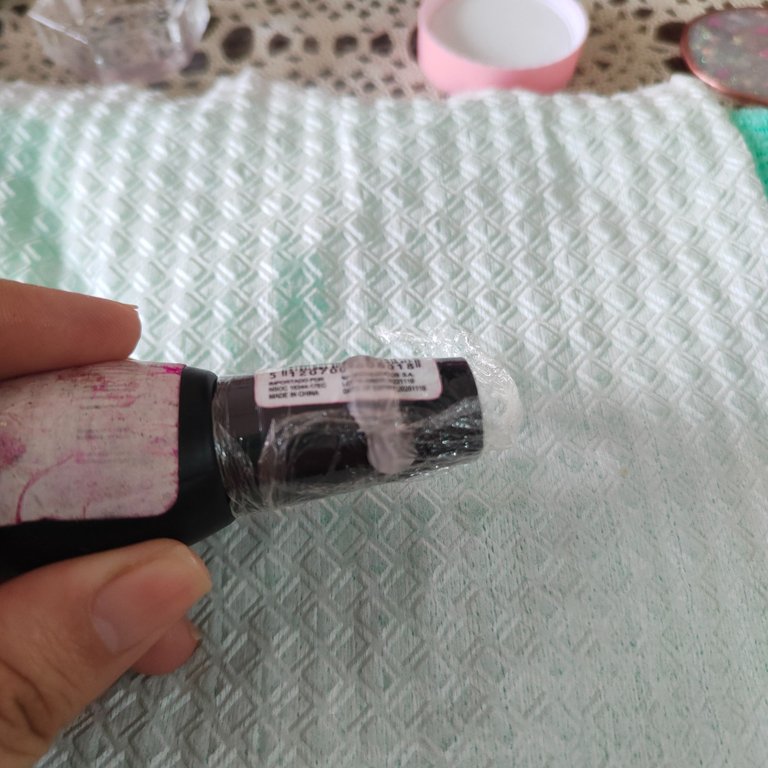
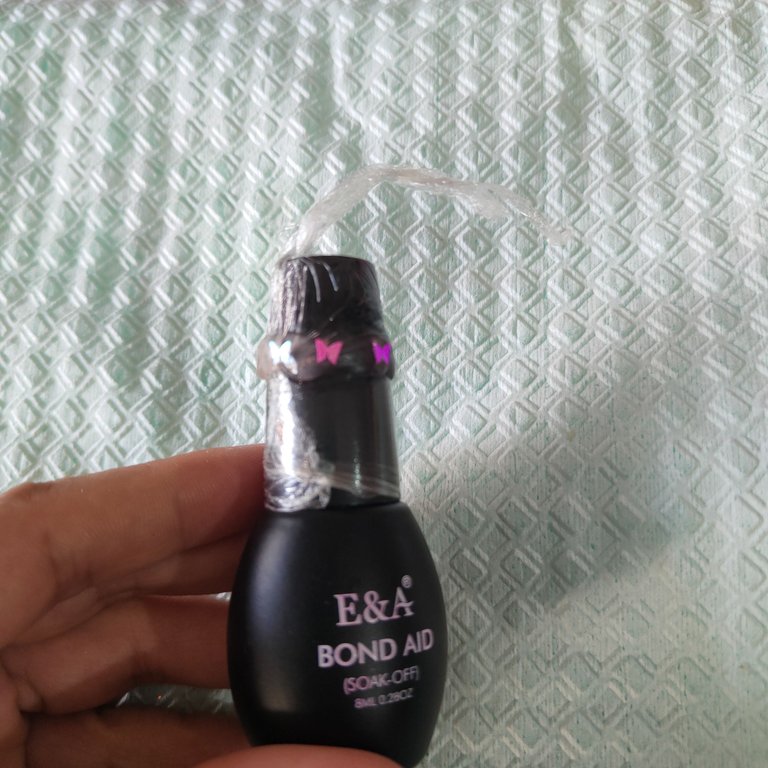
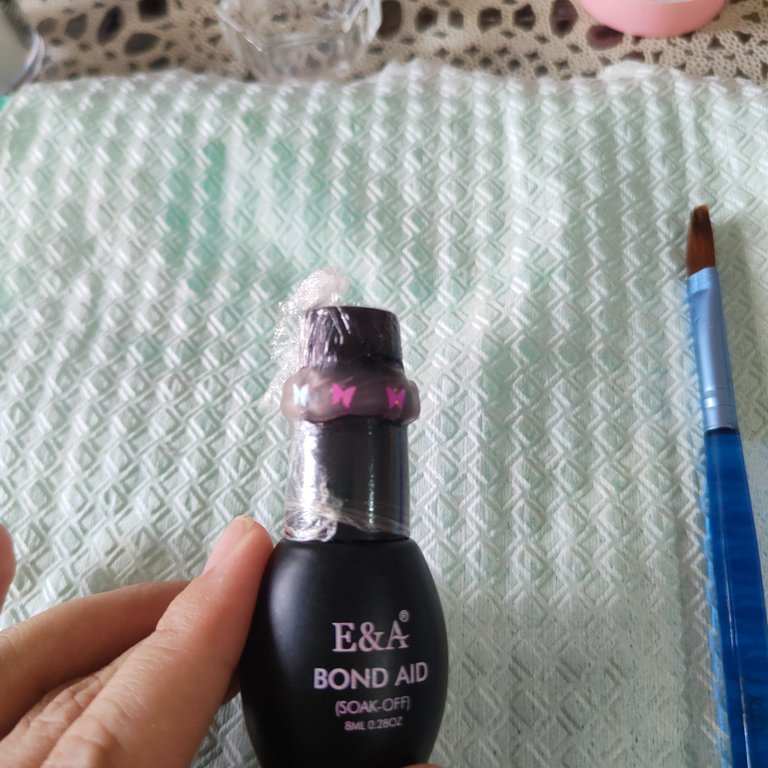
✅ Paso 5. Para realizar el anillo tome unos de mis anillos que son ajustables y tome la medida de mi dedo pulgar y lo lleve a lo que es una tapa cilíndrica de uno de mis finalizadores, así mismo ante de comenzar a realizar el anillo con el acrílico coloque papel fil para que fuese más sencillos quitar el anillo al terminarlo.
✅ Step 5. To make the ring I took one of my adjustable rings and took the measurement of my thumb and took it to what is a cylindrical cap of one of my finishers, also before starting to make the ring with the acrylic I placed fil paper so that it was easier to remove the ring when finished.
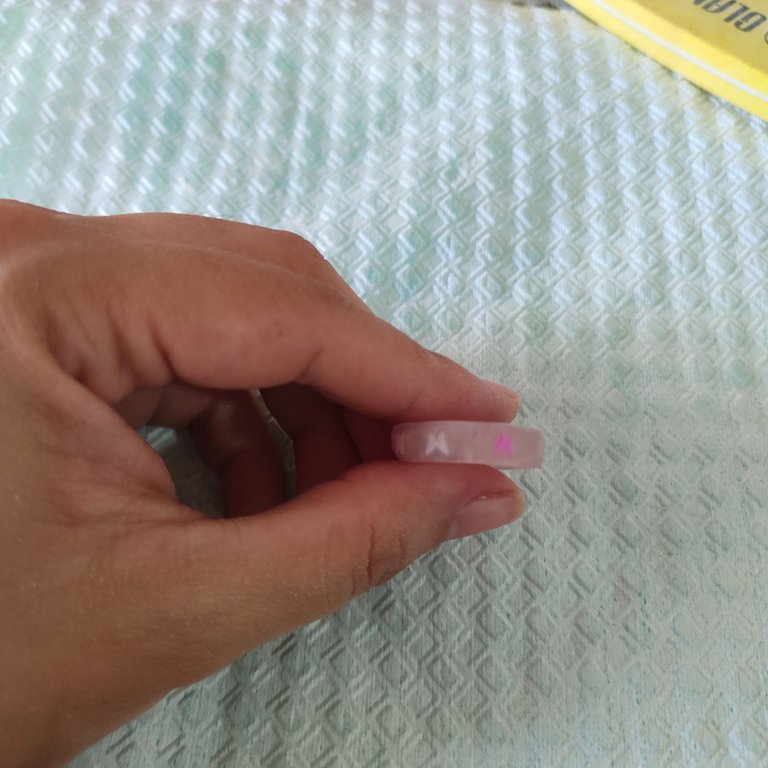
✅ Paso 6. Comencé poco a poco a formar el anillo con el acrílico con pequeñas perlas hasta bordear la totalidad del cilindro, seguidamente aplique los diseños de mariposas aplique nuevamente acrílico clear en toda la estructura y quite el papel fil y lleve a lampara por 60 segundos.
✅ Step 6. I started little by little to form the ring with the acrylic with small beads until the entire cylinder is bordered, then apply the butterfly designs again apply clear acrylic on the entire structure and remove the paper fil and take to lamp for 60 seconds.
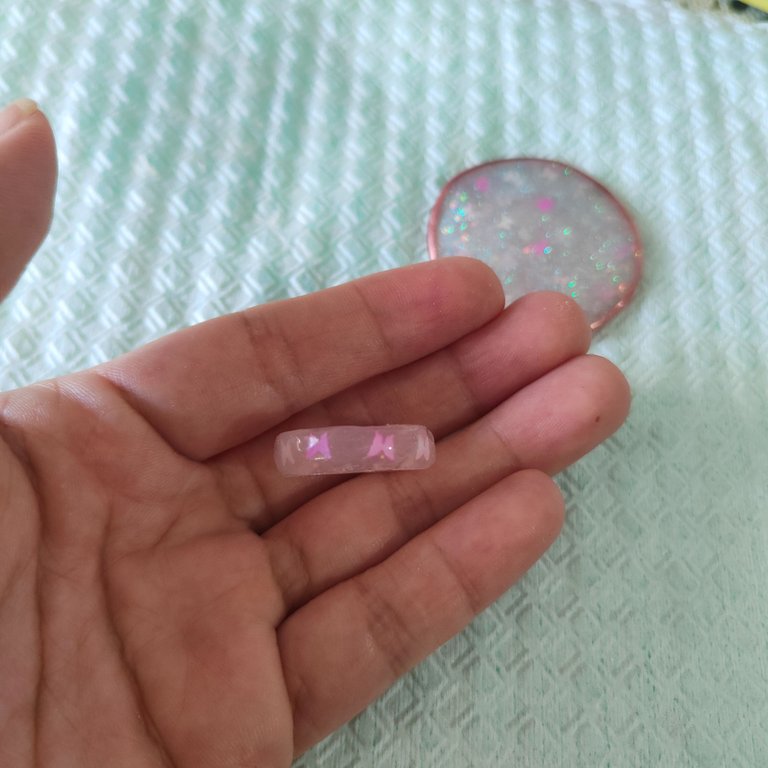
✅ Paso 7. Una vez que el anillo está listo toca limar los bordes y las superficies.
✅ Step 7. Once the ring is ready it is time to file the edges and surfaces.
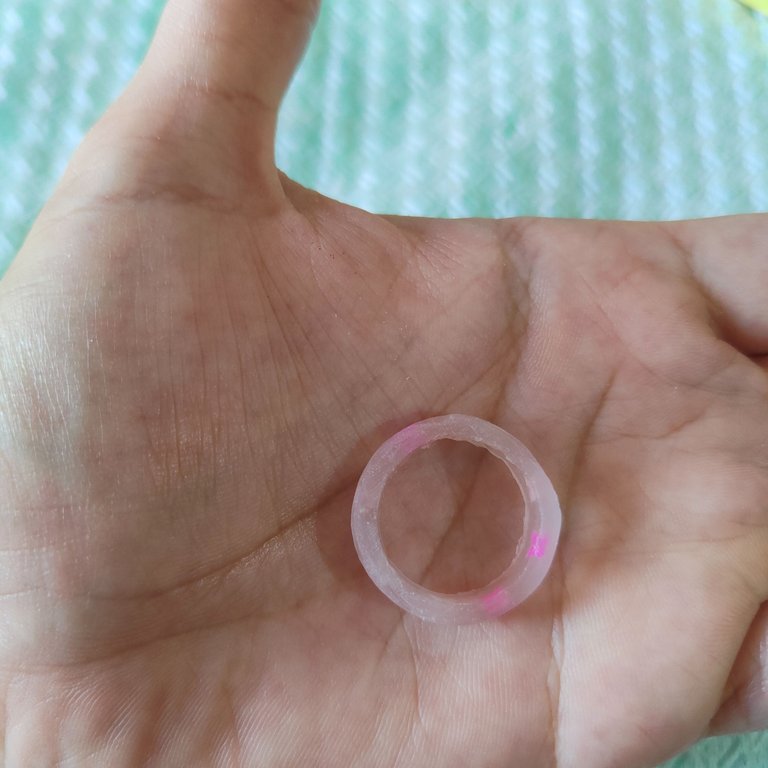
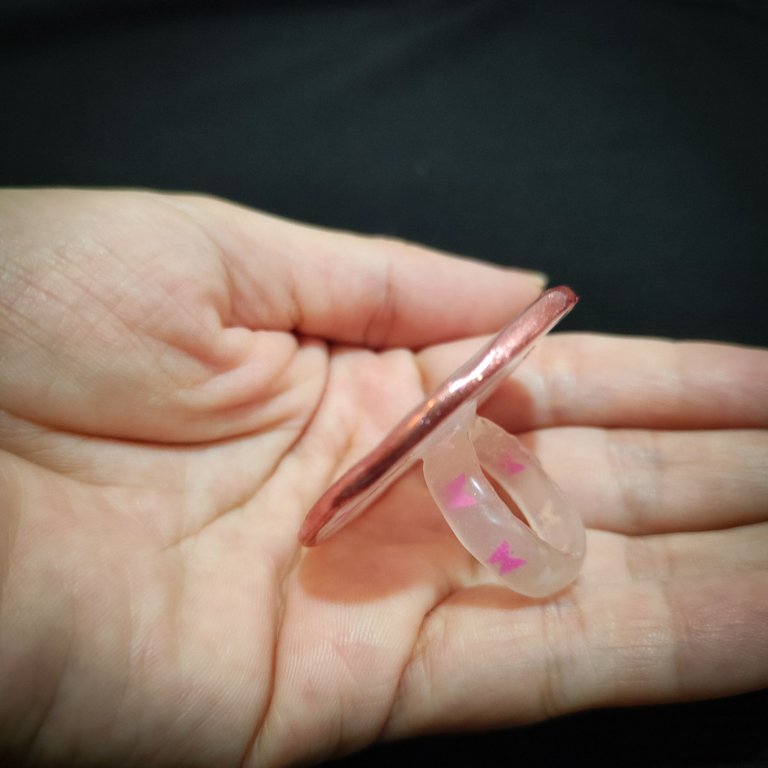
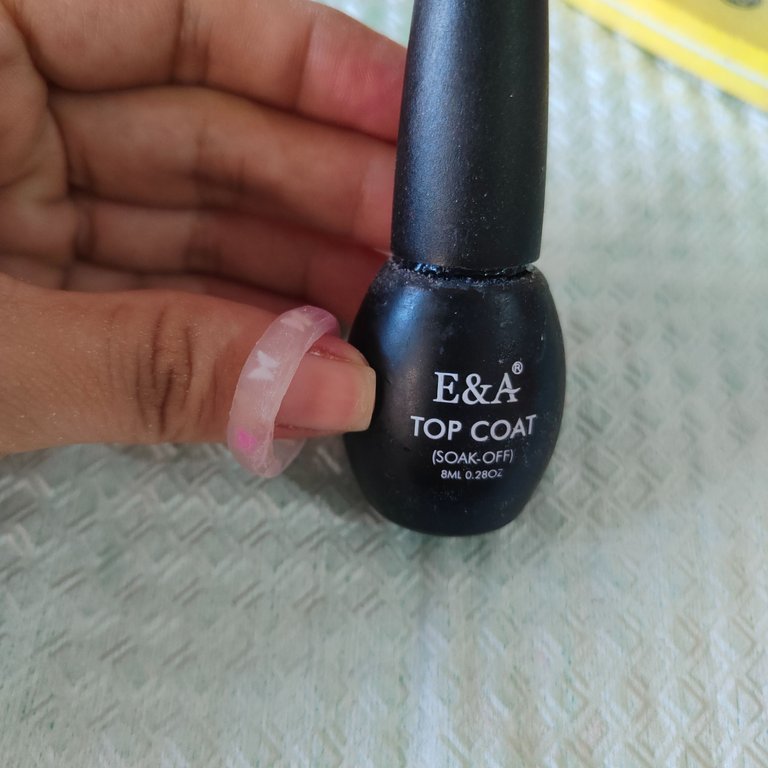
✅ Paso 8. Aplique gel finalizador tanto en la zona interna y externa del anillo y lleve a lampara por 60 segundos y para culminar con una perla de acrílico uno ambas piezas y lleve nuevamente a lampara por 60 segundos.
✅ Step 8. Apply finishing gel to both the inside and outside of the ring and lamp for 60 seconds and finish with an acrylic bead on both pieces and lamp again for 60 seconds.
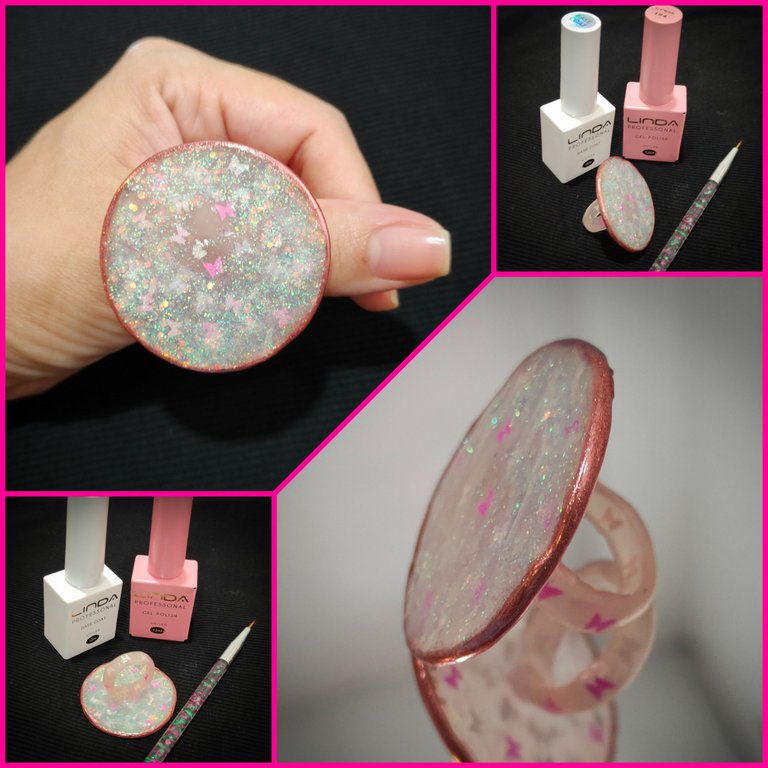
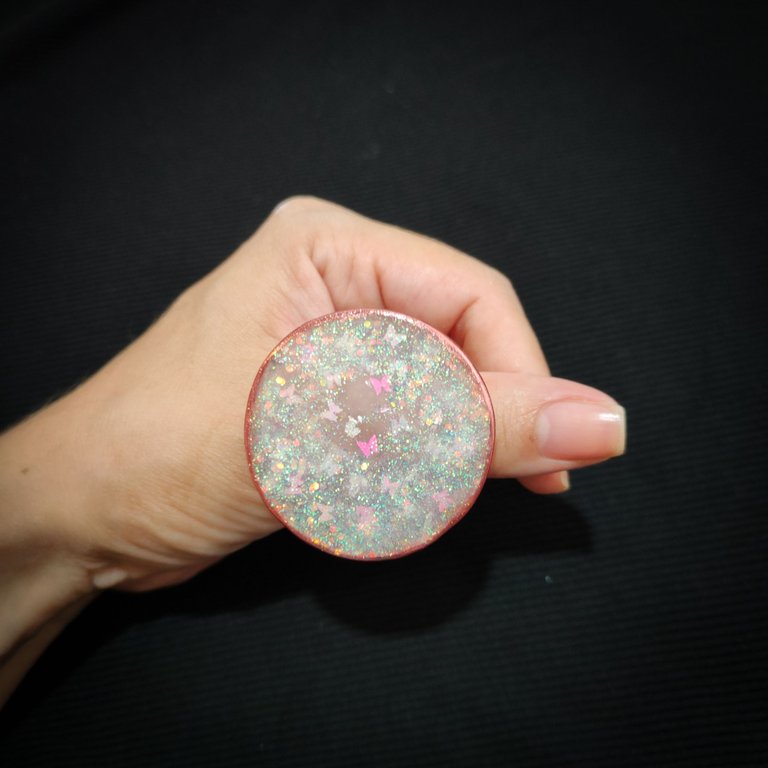
Resultado || Result
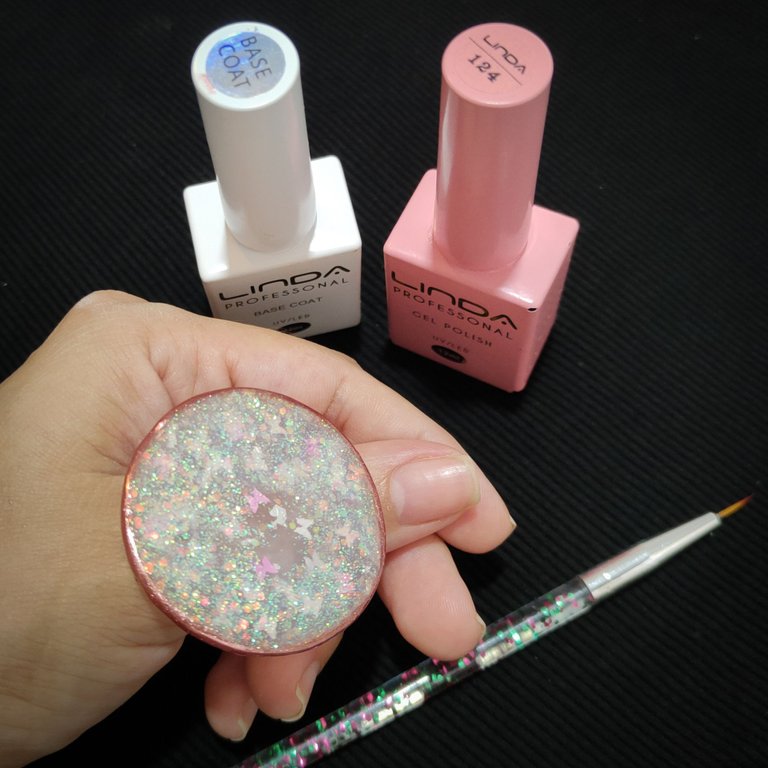
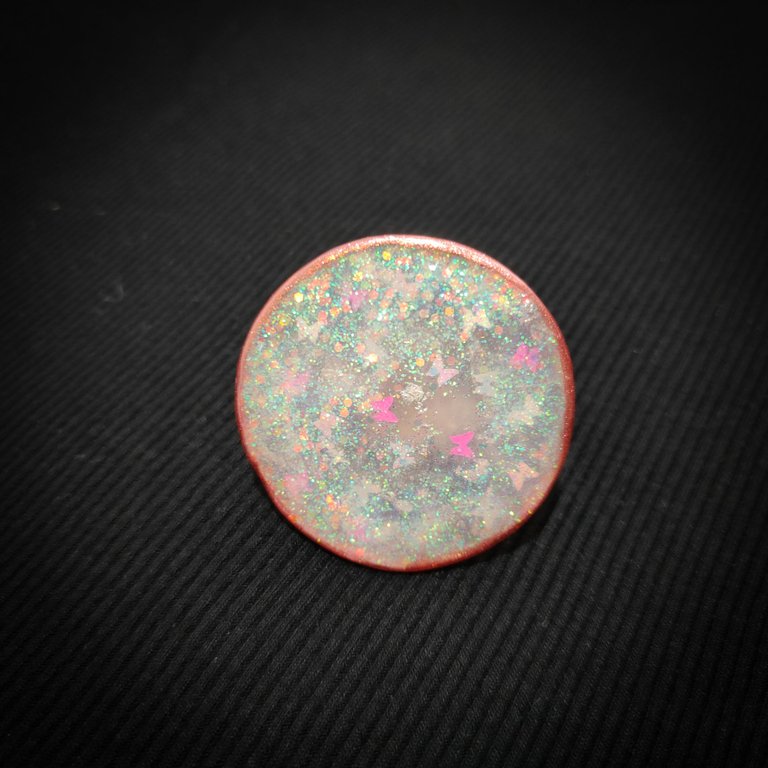
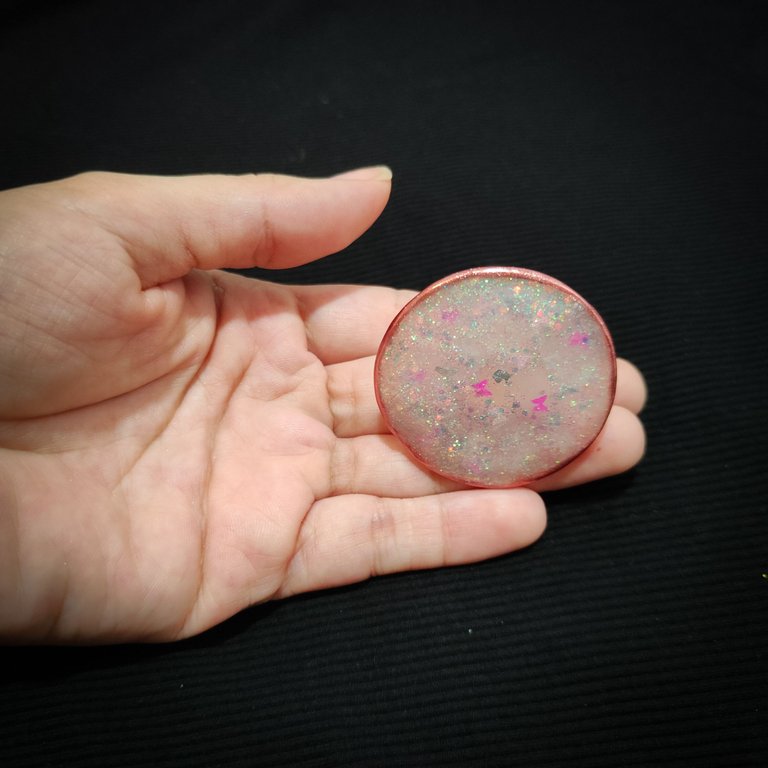
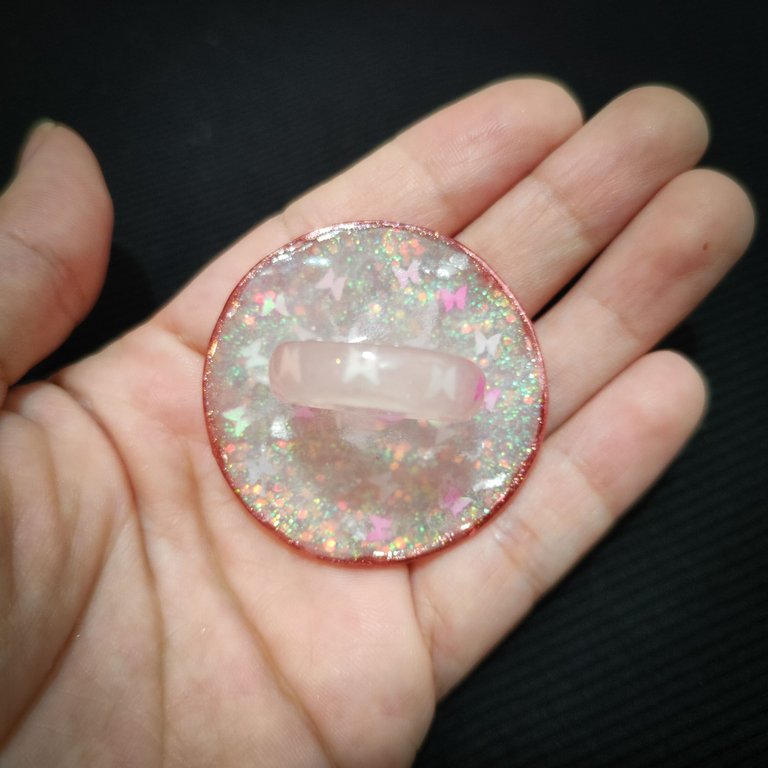
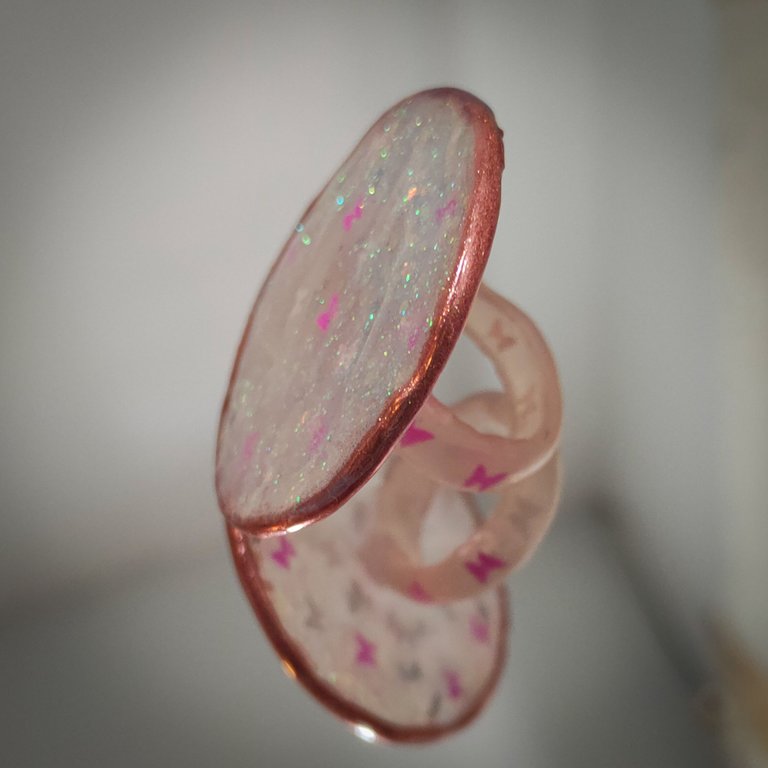
Ame el resultado en especial el uso que le daré a mi anillo paleta de manicura a la hora de hacer uso de los esmaltes para realizar los diseños ante de terminar las uñas, la cual es mi parte favorita, como siempre es un placer estar y compartir con ustedes así mismo espero poder estar más seguidas en este grandioso espacio, sin más me dispuso hasta una próxima oportunidad.
Love the result especially the use that I will give to my manicure palette ring when making use of the enamels to make the designs before finishing the nails, which is my favorite part, as always it is a pleasure to be and share with you and I hope to be more often in this great space, without further ado I will be available until a next opportunity.
La creatividad no tiene límite. || There is no limit to creativity. ✨💎🎉🌷

HIVE DIY

🎥Imágenes y vídeo creados con: |Images and video created with: Youcut video| Giphy | Canva |
🇪🇸 Traducido con DeepL
Te quedó muy lindo y delicado, me encanta 😍
Nunca me imaginé que el acrílico para uñas podía utilizarse para hacer anillos! Gracias por compartir el paso a paso!
Te quedó super bonito, no sabía que se podía hacer 😍 Me encanta poder hacer las cosas uno mismo 🙌
Esto es una gran inspiración creativa, sé ve demasiado lindo, me recuerda los que usaba cuando era niña, esos con escarcha eran mis favoritos. 💖
This looks like such a fun activity and the finished ring is unique:)
Espléndido trabajo! Es una herramienta muy útil y hermosa, sus colores y brillos son asombrosos
Tu comunidad artesana ahora es testigo

Me encanta! Aparte de que está precioso!
Me alegra mucho que fuese de tu agrado amiga 😊 Bendiciones.