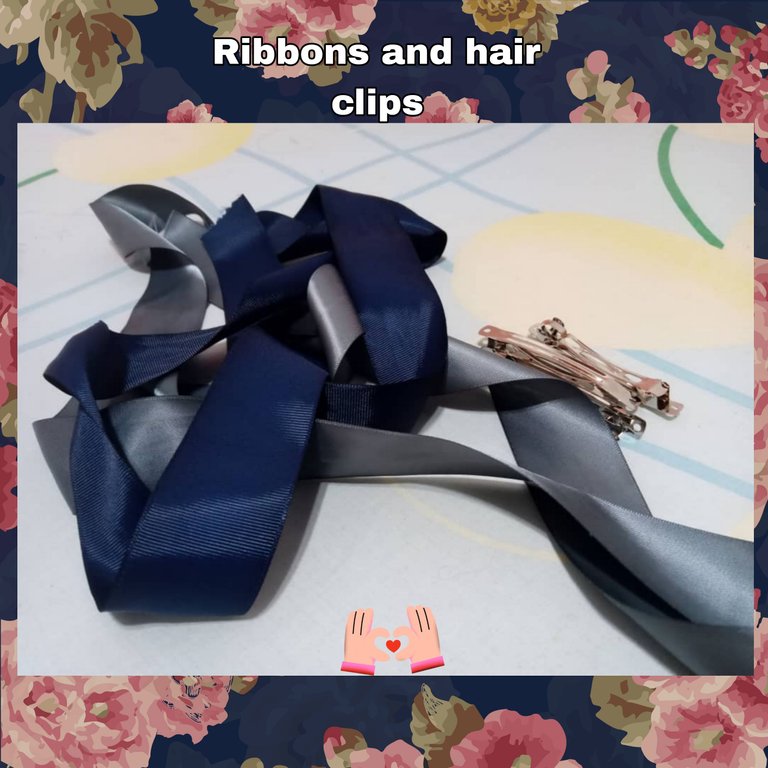
Hola a todos mis amigos de la comunidad de Hive Diy es un gusto estar aquí con mi primer post en la comunidad. El día de hoy quiero enseñarles a hacer de una manera muy fácil lazos para el cabello estilo coquette, que están muy de moda en este momento y que quise hacer unos para mí. Lo que necesitaremos para hacer nuestros hermosos lazos son: Cintas del color que ustedes prefieran. Ganchos como los que les mostraré en las imágenes para poder colocarnos nuestros lazos, una tijera para hacer que las puntas de los lazos se vean más bonitas y también un encendedor para que no se nos vaya ningún hilo. Y por último cilicon caliente para pegar nuestros lazos a los ganchos y que queden listos para usar.
Hello to all my friends of the Hive Diy community, it's a pleasure to be here with my first post in the community. Today I want to show you how to make in a very easy way hair bows coquette style, which are very fashionable at the moment and I wanted to make some for me. What we will need to make our beautiful bows are: Ribbons in the color of your choice. Hooks like the ones I will show you in the pictures to be able to put on our bows, a scissors to make the ends of the bows look prettier and also a lighter so that no thread gets lost. And finally hot cilicon to glue our bows to the hooks so they are ready to use.

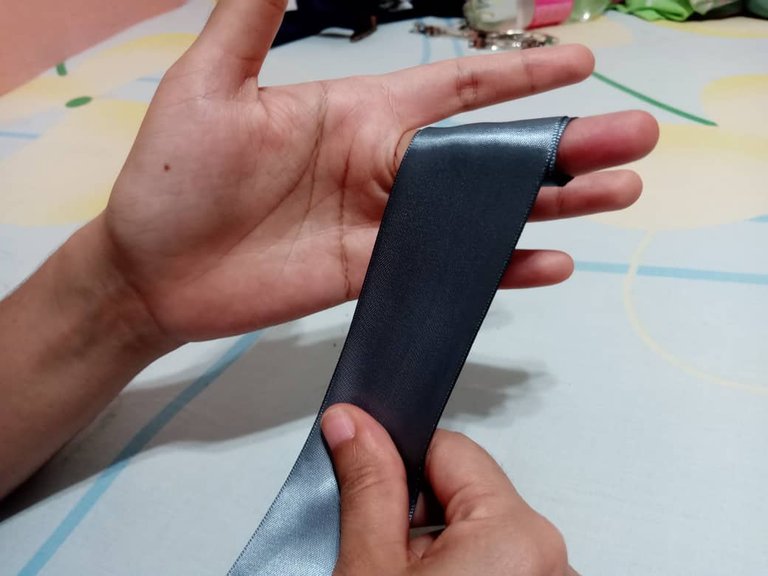
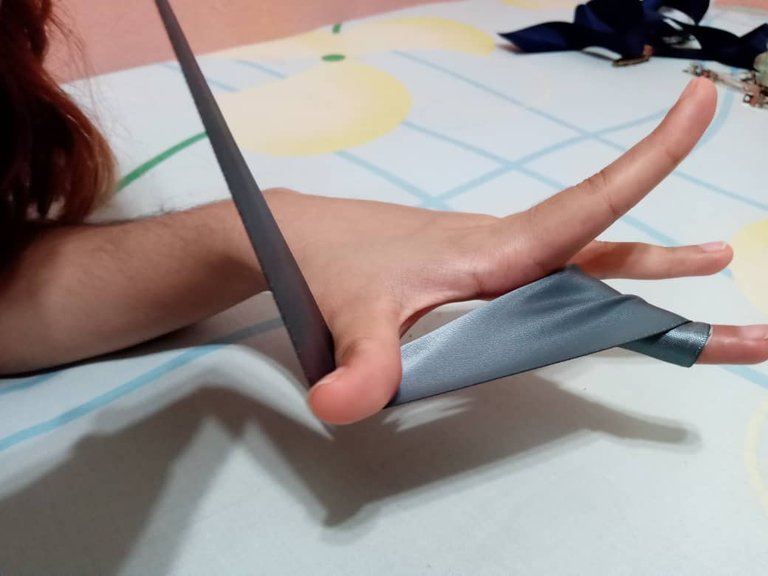
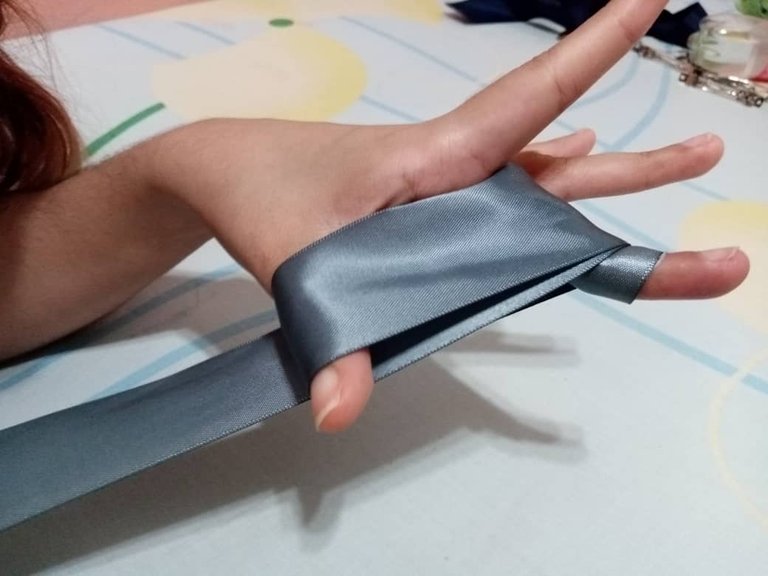
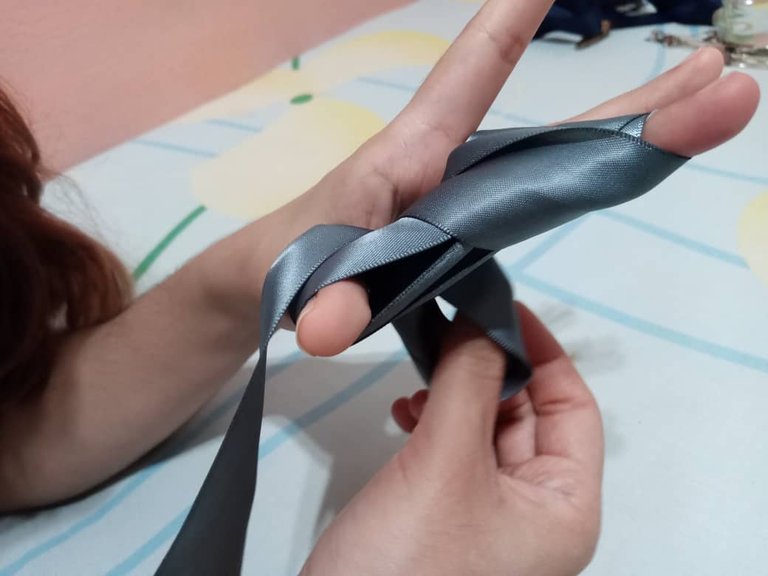
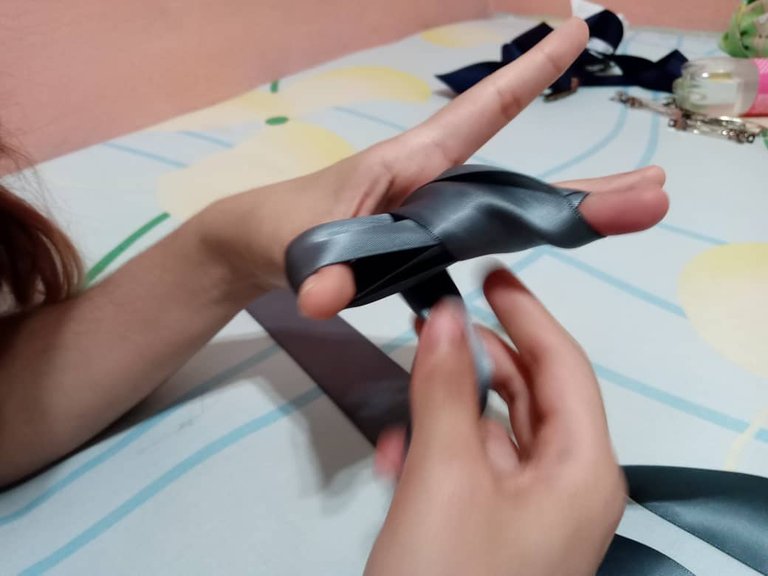
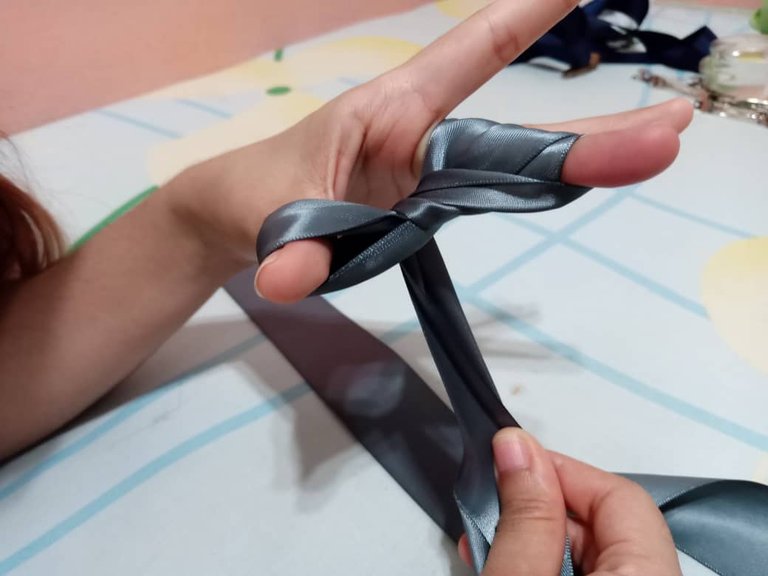
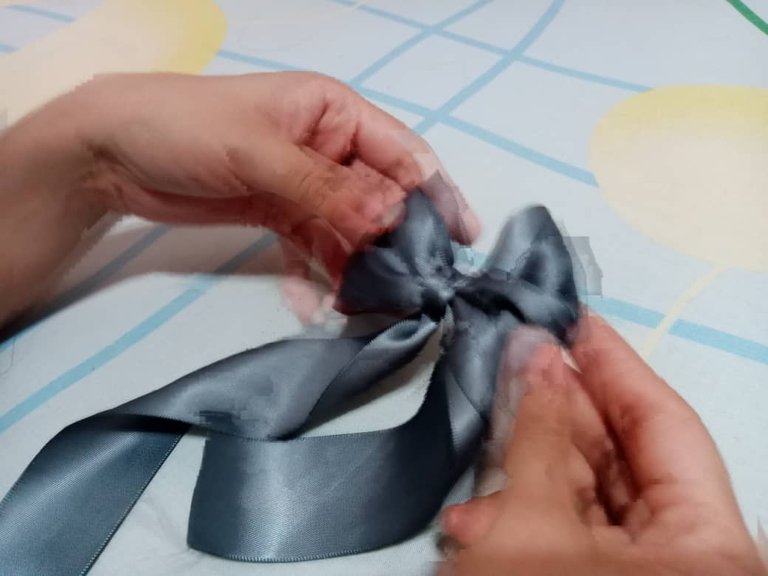
Comenzaremos tomando el lazo de nuestro color favorito, tomaremos una de las puntas y la pondremos en nuestro dedo medio y le daremos dos vueltas hacia el lado de adentro, luego pasaremos la cinta por debajo de nuestro dedo pulgar y subiremos la cinta por encima de nuestro dedo del medio y daremos dos vueltas nuevamente. Luego pasaremos la punta de la cinta por en medio del lazo y luego cuando tengamos ya lo que sería el medio del lazo meteremos la cinta por el medio de él para que se haga el nudo y no se nos suelte nuestro lazo. Espero estar explicándolo de una buena manera y que en las imágenes puedan entender un poco como fue que lo realicé.
We will start by taking the ribbon of our favorite color, we will take one of the ends and we will put it on our middle finger and we will give it two turns to the inside side, then we will pass the ribbon under our thumb and we will raise the ribbon over our middle finger and we will give it two turns again. Then we will pass the tip of the ribbon through the middle of the loop and then when we have what would be the middle of the loop we will put the ribbon through the middle of it so that the knot is made and our loop does not come loose. I hope I am explaining it in a good way and that in the images you can understand a little bit how I did it.
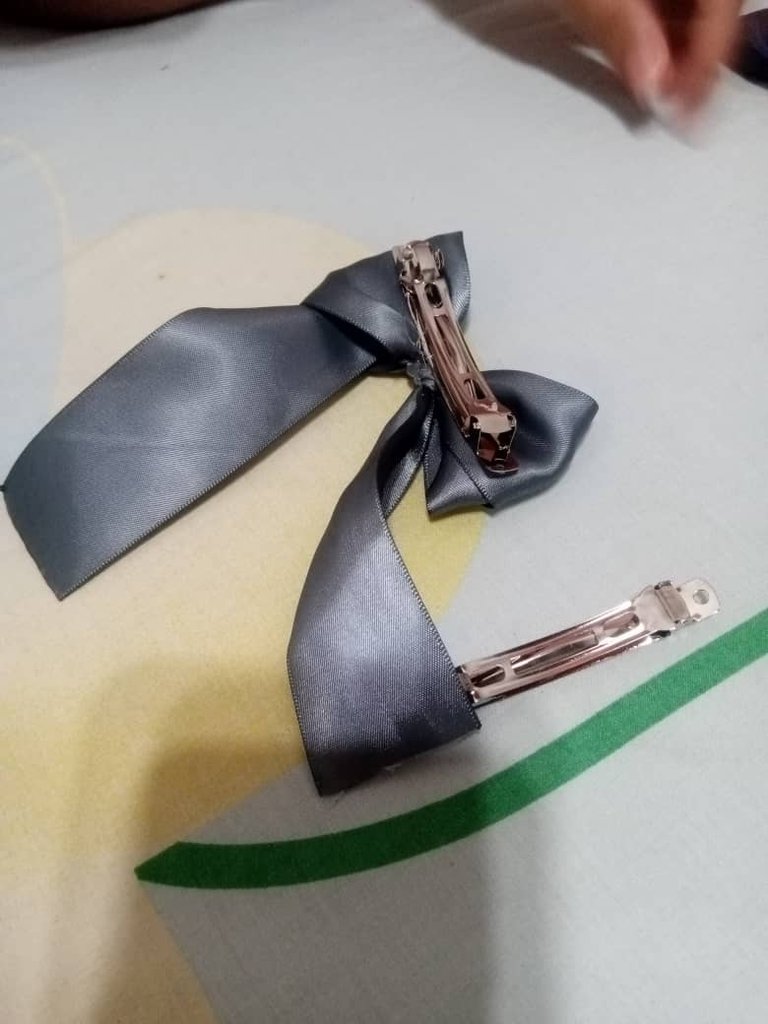
Luego que tengamos nuestro lazo listo y ajustado procedemos a cortar la cinta que nos quedaqs larga y nos aseguramos antes de hacer el corte que nuestro nudo del medio quedo intacto para que nuestro lazo no se vaya a deshacer luego. Quemamos las puntas de nuestros lazos para que ningún hilo quede suelto y si queremos podemos hacer un recorte con la tijera en forma de triángulo para darle otro estilo a nuestro lazo coquette. Para terminar procedemos a calentar nuestra pistola de silicón y luego tomamos el gancho para el cabello, lo ponemos en el medio del lazo del lado donde se ve el nudo que hicimos para que no se deshaga el lazo y pegamos el gancho allí.
After we have our bow ready and adjusted we proceed to cut the ribbon that is left long and we make sure before making the cut that our middle knot is intact so that our bow will not unravel later. We burn the ends of our ribbons so that no thread is loose and if we want we can make a cut with the scissors in the shape of a triangle to give another style to our coquette ribbon. To finish we proceed to heat our silicone gun and then we take the hair clip, we put it in the middle of the bow on the side where you can see the knot we made so that the bow does not come undone and we glue the clip there.
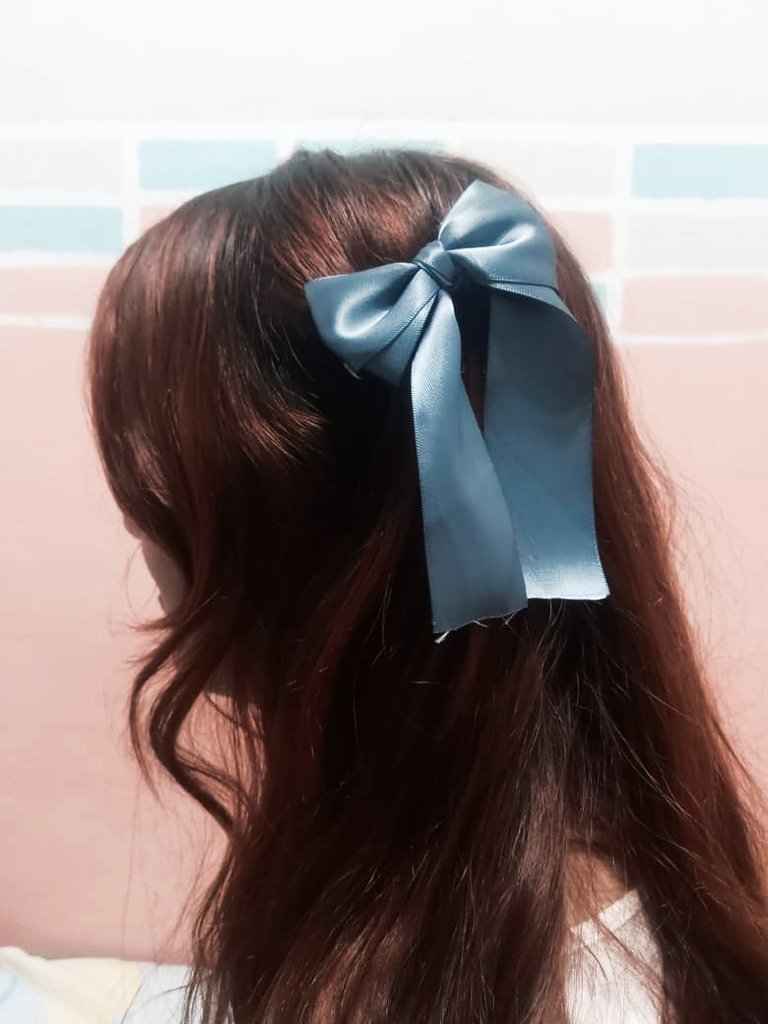
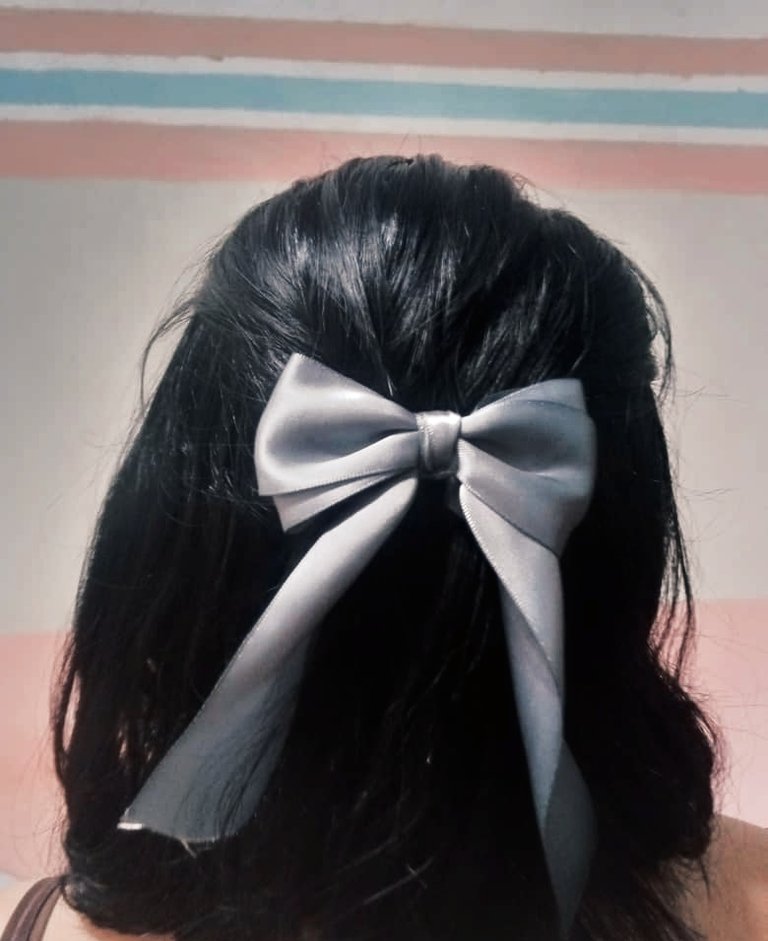
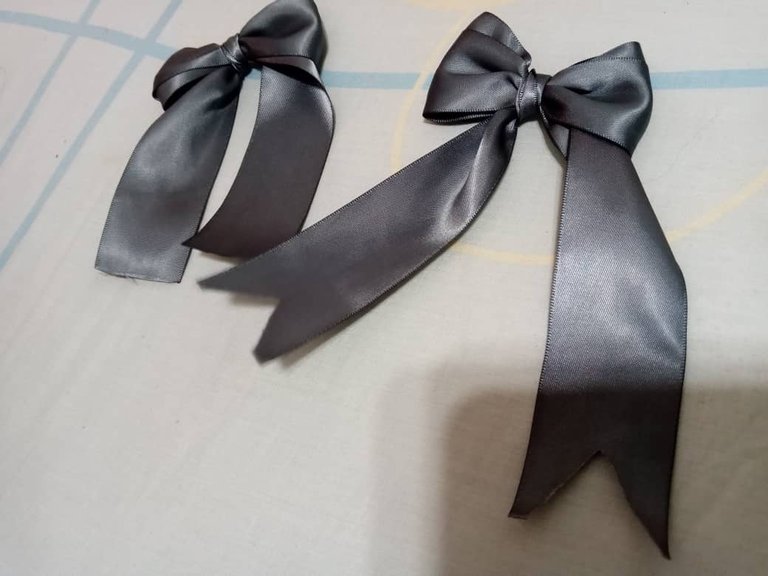
Y listo tendríamos nuestros lazos muy bonitos y fáciles de hacer desde la comodidad de nuestros hogares. Los lazos siempre estuvieron de moda sobre todo cuando era niña o cuando estaba en la adolescencia pero ahora he visto que hay muchas personas vendiendolos de diferentes tamaños y colores y me parecen muy bonitos y además se pueden usar en cualquier ocasión. Los hice de color gris brillante y azul marino y me parecieron muy bonitos como quedaron, espero que ustedes puedan realizar estos lazos si les gustan y que me dejen un comentario sobre que les pareció, agradezco mucho el apoyo que siempre me dan, les mando un fuerte abrazo.
And ready we would have our bows very nice and easy to make from the comfort of our homes. The bows were always fashionable especially when I was a child or when I was a teenager but now I have seen that there are many people selling them in different sizes and colors and I think they are very nice and can be used on any occasion. I made them in shiny gray and navy blue and I thought they were very nice, I hope you can make these bows if you like them and leave me a comment about what you thought, I appreciate the support you always give me, I send you a big hug.
Espero que les haya gustado este post y gracias por siempre apoyarme, les mando un abrazo y nos vemos pronto 🤗
I hope you liked this post and thank you for always supporting me, I send you a hug and see you soon 🤗
Todas las imágenes fueron editadas en Picsart - All images were edited in Picsart.
Traducción - Translation with Deepl
Hola @naath, gracias por compartir la elaboración de un hermoso lazo, primera vez que veo esta técnica para hacer lazos, intentaré hacer uno siguiendo tu explicación.
Saludos!
@belkyscabrera Gracias amiga 💓
Si realmente son muy fáciles de hacer y sin necesitar muchas cosas. Espero pronto puedas hacerlos ☺️
@hive-130560 Thank you for your support of my post ☺️
~~~ embed:1746264902753255678?t=ODE8L70fpMkpthnh66rWAw&s=19 twitter metadata:aW1uYWF0aF98fGh0dHBzOi8vdHdpdHRlci5jb20vaW1uYWF0aF8vc3RhdHVzLzE3NDYyNjQ5MDI3NTMyNTU2Nzh8 ~~~