Saludos amigos de esta hermosísima comunidad Hive DIY. Feliz jueves para todos...
Greetings friends of this beautiful Hive DIY community. Happy Thursday everyone...

We meet again in this space to show you the step by step of a simple but very practical candy box that I made for my daughter Dariana's birthday as a gift for the children who attended the party, the best of all is that I was able to work with recycled materials and some new ones, I must also say that it has become useful when it comes time for my girl to store her makeup, hehehe, and as you can see, it continues to have other functions. I share how I did it and the materials used.
Materiales
1. Retazos de cartulina doble fas y sencilla.
2.Silicon frio y silicón en barras.
3.Opalina blanca.
4.Impresiones de unicornio.
5.Lapiz y bolígrafo.
6.Reglas.
7.Patron.
8. Tijeras. 9. Retazos de foami.
1. Double-sided and single-sided cardboard scraps.
2. Cold silicone and silicone bars.
3.White opaline.
4.Unicorn prints.
5.Pencil and pen.
6.Rules.
7.Pattern.
8. Scissors.
9. Pieces of foami.
Procedimiento - Process
Paso I – Step I
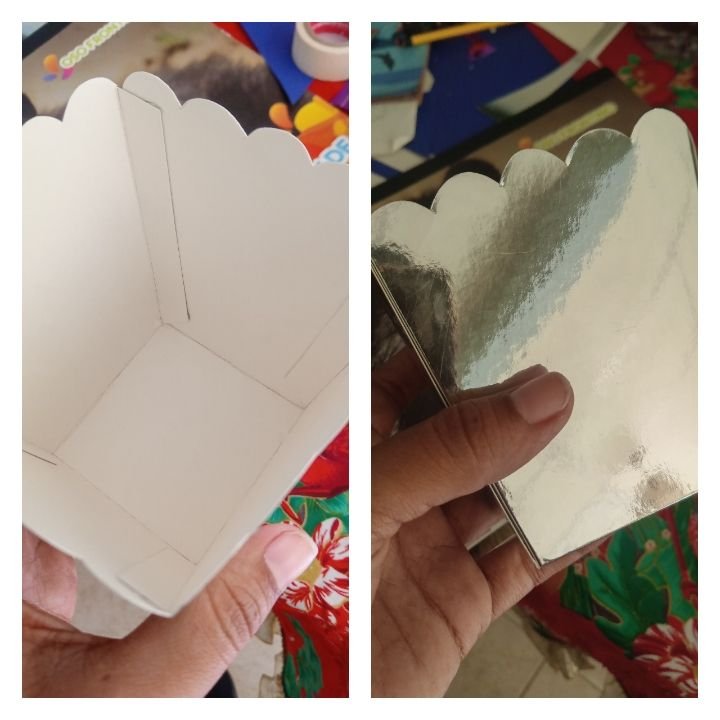
To begin, you must make the pattern with which we are going to make the candy box, in this case do it by hand and on a recycled cardboard for better support when marking, however you can print it if you wish, the truth is that the measurements will depend on our requirements and work on this occasion with a height of 10 cm and a width of approximately 8 cm, considering that this type of box has a smaller base while it becomes wider as you His height. On the other hand, at the upper end of the candy box I made an edge in the shape of a cloud or flower so that they would look more elaborate, understanding that there are scissors that make this type of figure, however I did it by hand.

Paso II - Step II
With the pattern ready, we are going to mark its shape on the pieces of cardboard. The material used to make the candy bowls is mostly recycled and was still in good condition. Use blue single card for boys and silver and fuchsia double card for girls. The cuts are made with scissors looking for the best possible result, and considering that they are made at home by me, they are very well cut, hehehe.

Paso III - Step III
Once the cuts are ready, we are going to use cold silicone for the candy boxes made of simple cardboard and hot silicone for those that were built with double-sided cardboard, the reason is because simple cardboard is easier to handle when sticking and the fas needs faster drying. Doing it this way will prevent them from coming unstuck later.
Paso IV – Step IV
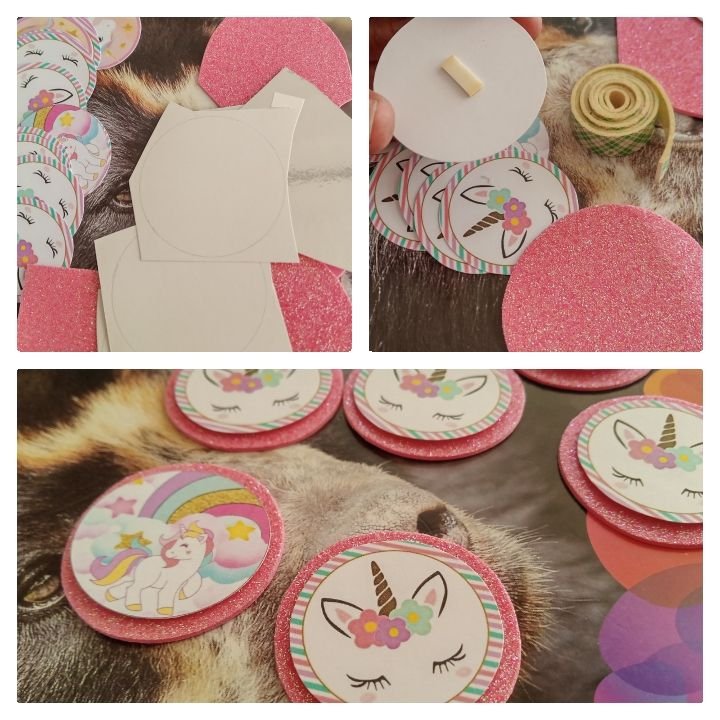
Knowing the reason for my girl's birthday, previously made some circles with the figure of the unicorn in Power Point that were printed on white opaline cardboard. Having the impressions in hand, we cut out the circles and assemble them in another circle of greater dimension, in this case I used pink foam as a way of highlighting the motif and this was secured with double-sided tape, a material that is widely used today and It gives a neater touch and a very nice relief to the work we do. The number of circles depends on the number of candy makers and maybe some in reserve for any mistake.
Paso V – Step V
With the circles ready and the boxes ready, what we have left is to use the double-sided tape to secure the circles to the sweets, and in this sense you will be able to notice how beautiful they look considering the relief offered by double-sided tape,it is as if they float.
Resultado - Result
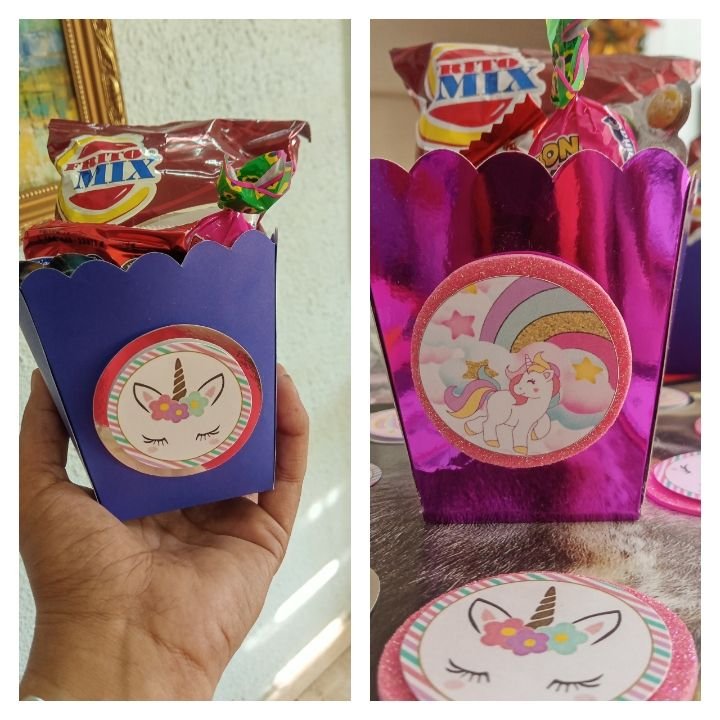
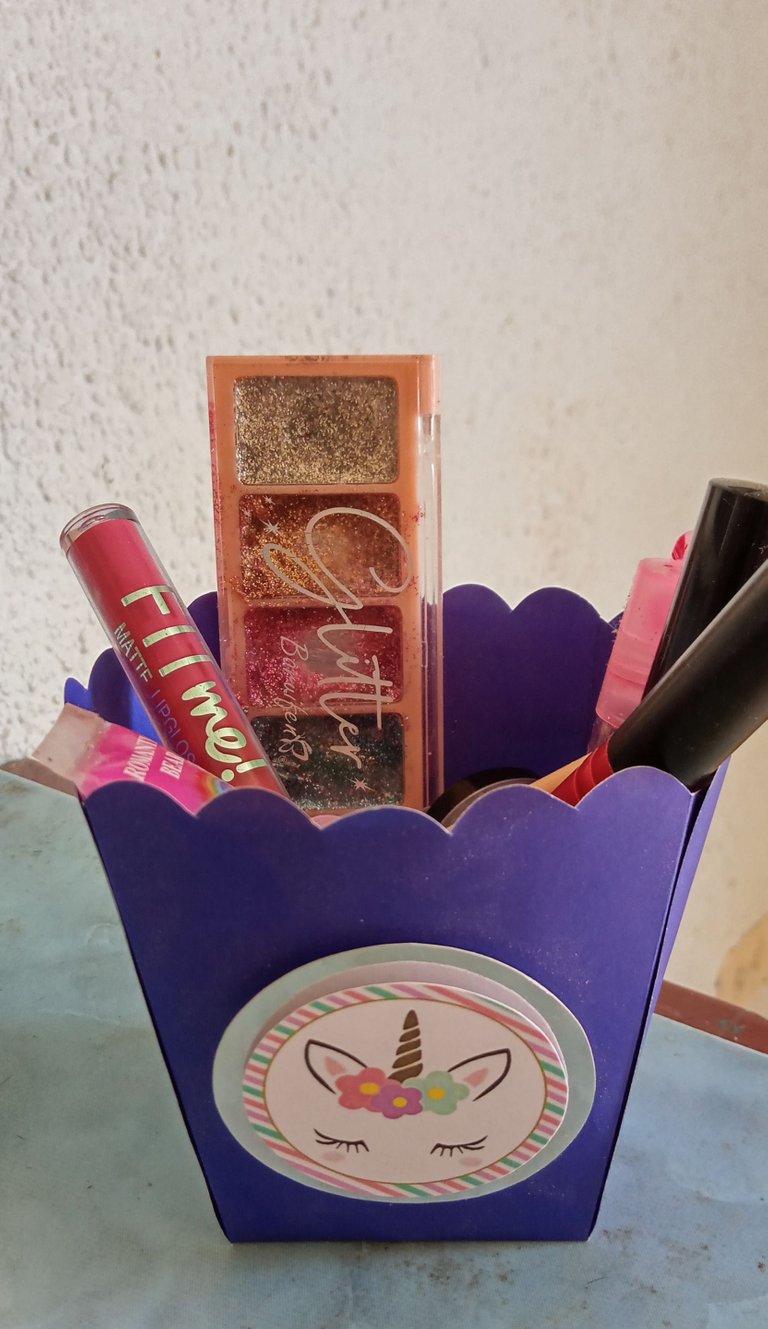
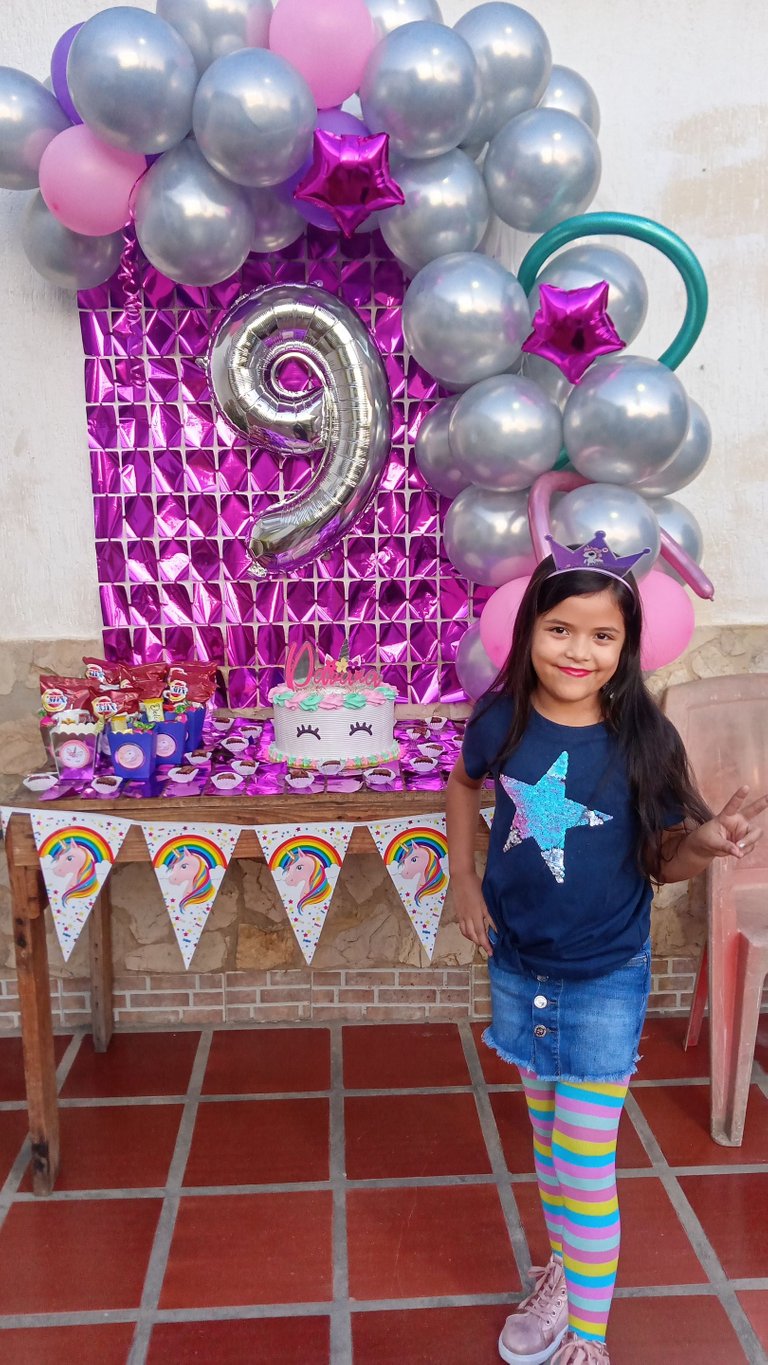
At this point I show you how the sweets turned out with their candies inside, that is, more than ready for my daughter Dariana to share and also beautiful when decorating the candy table, let me tell you that I also made the piñata and the cake topper, hehehe.

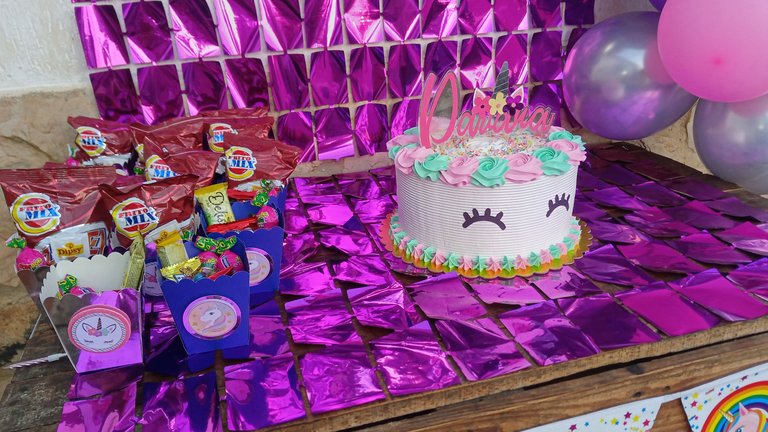
It is important that we can continue using useful or recycled material for our crafts, and this case was more than special for me, the truth is that I wanted to do something nice for the birthday of my princess without spending so much money and the best thing is that my girl's guests were able to take this souvenir candy box that will serve as a gift perhaps to other children, it is a little box that can be used to store small things and without a doubt my daughter was happy to see the presents for her little friends.
This year for my daughter's birthday I started recycling trying to save and of course it became a possibility to contribute to the life of our planet that without a doubt every granite counts... And he fulfilled them happily.
Hasta una proxima vez con ustedes - Until next time with you.
Creditos - Credits
The rewards earned on this comment will go directly to the people( @kristal24 ) sharing the post on Twitter as long as they are registered with @poshtoken. Sign up at https://hiveposh.com.
Felicidades amiga, te quedó super lindo, es genial que hayas utilizado material de provecho... El rostro de tu niña lo dice todo, transmite mucha felicidad y alegría, mis mejores deseos... Un abrazo! @natica83
Gracias bella @kristal24, definitivamente lo que se hace con amor queda bonito, y el amor esta por todos lados y a mi hija le encantaron, hasta se quedo con un dulcero donde guarda su maquillaje, jejeje. Por otro lado es importante que sigamos reutilizando material eso amerita seguir siendo creativos. Saludos.. Feliz dia...
Happy birthday to princess
¡Felicitaciones!
Estás participando para optar a la mención especial que se efectuará el domingo 5 de marzo del 2023 a las 8:00 pm (hora de Venezuela), gracias a la cual el autor del artículo seleccionado recibirá la cantidad de 1 HIVE transferida a su cuenta.
¡También has recibido 1 ENTROKEN! El token del PROYECTO ENTROPÍA impulsado por la plataforma Steem-Engine.
1. Invierte en el PROYECTO ENTROPÍA y recibe ganancias semanalmente. Entra aquí para más información.
2. Contáctanos en Discord: https://discord.gg/hkCjFeb
3. Suscríbete a nuestra COMUNIDAD y apoya al trail de @Entropia y así podrás ganar recompensas de curación de forma automática. Entra aquí para más información sobre nuestro trail.
4. Visita nuestro canal de Youtube.
Atentamente
El equipo de curación del PROYECTO ENTROPÍA