Hello everyone in this great community of hive diy, making crafts is something I love, this time I offer you a tutorial on how to make a wire tree. This is a creative, artistic and very easy way to create a unique sculpture that can serve as a striking decoration or a piece of art.
Here are the basic steps to create your own wire tree:
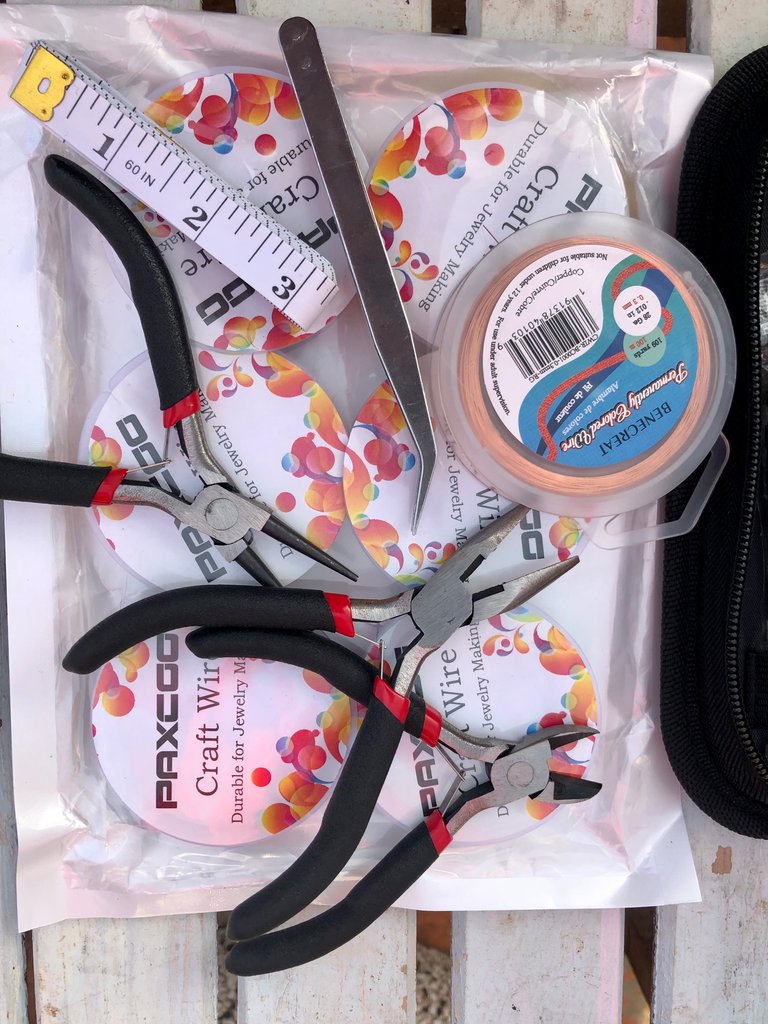
Materials:
Wire: Choose a flexible but resistant wire, such as aluminum wire or copper wire. You can find it in craft stores.
Pliers or tweezers to bend the wire, if you don’t have tweezers, use a toothpick to make the turns.
Steps:
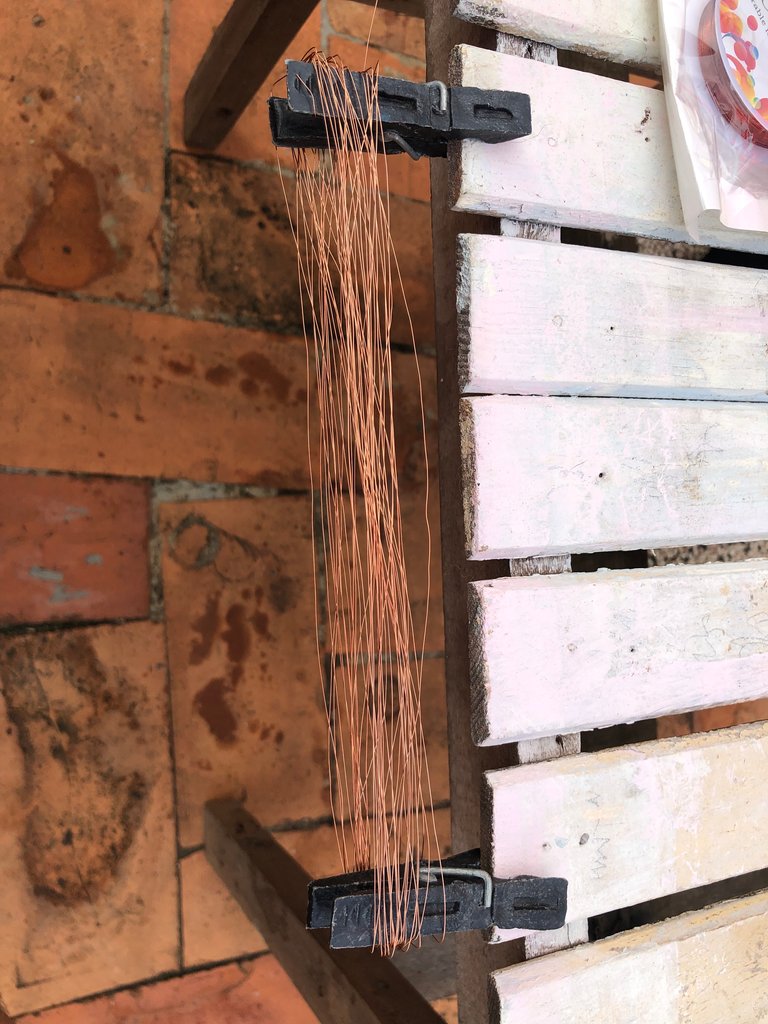
The first thing I did was measure the wire (25cm) to decide the size of my final result, each tree you make is different so everything is approximate depending on your purpose. To make my work easier, I put two hanging hooks to be able to tangle the wire better. Decide on the size, shape and number of branches you want.
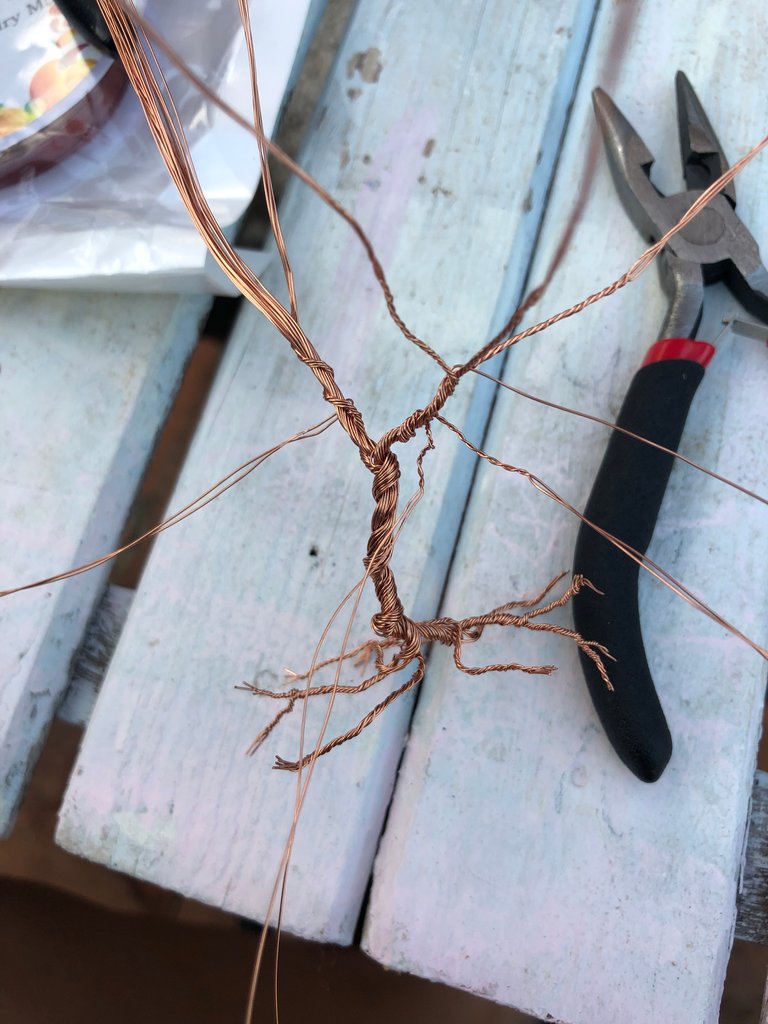
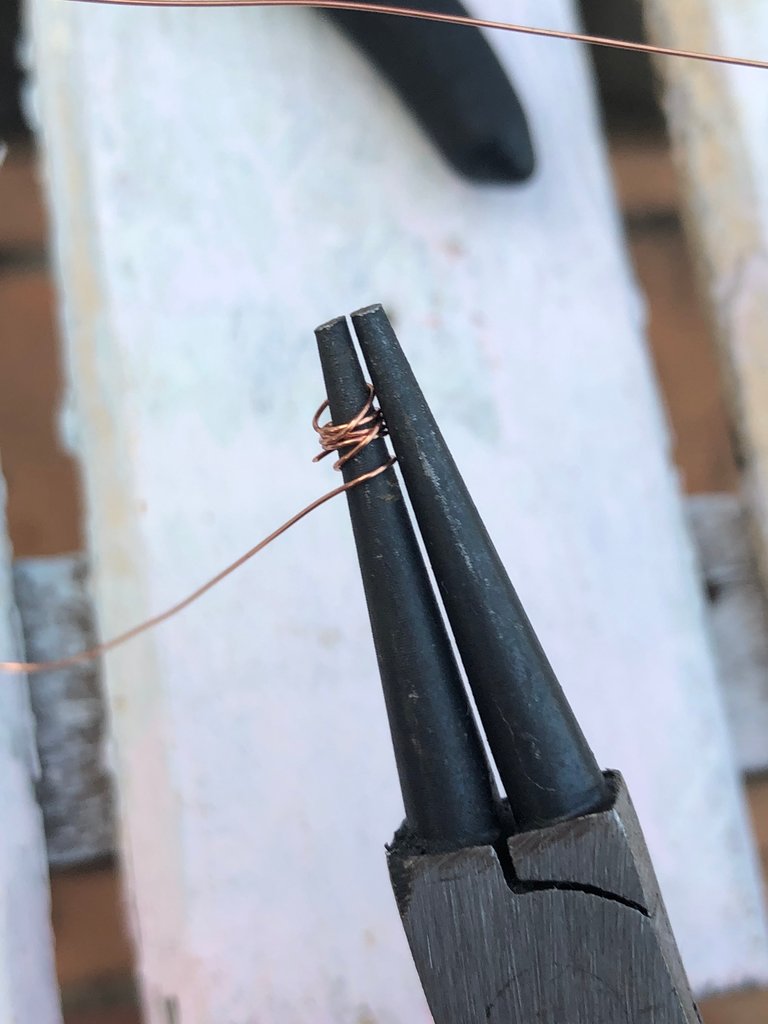
Base: Form the base of the tree. Cut the ends of the wire rolled on the hooks and wring them forming two coils of the same size.
Trunk: Next, create the trunk of the tree. Intertwin the two coils by making the trunk of the tree. Only up to half, create the roots in the same way dividing wire bulk so that you can have a better support.
Branches: Now, it begins to form the branches. Spread wire strands from the central trunk to create the branches of the tree. Now is when you can use the chopsticks and tweezers to create spirals with the wire strands to make it more or less leafy depending on your taste. You can vary the length and number of branches to give it a natural look.
Leaves: If you wish, you can add small beads, beads or colored nail polish on the branches to represent the leaves of the tree.( This step is optional).
To finish, be sure to shape the branches and trunk until you are satisfied with the appearance of your wire tree. You can use pliers to bend and adjust the wire as needed.
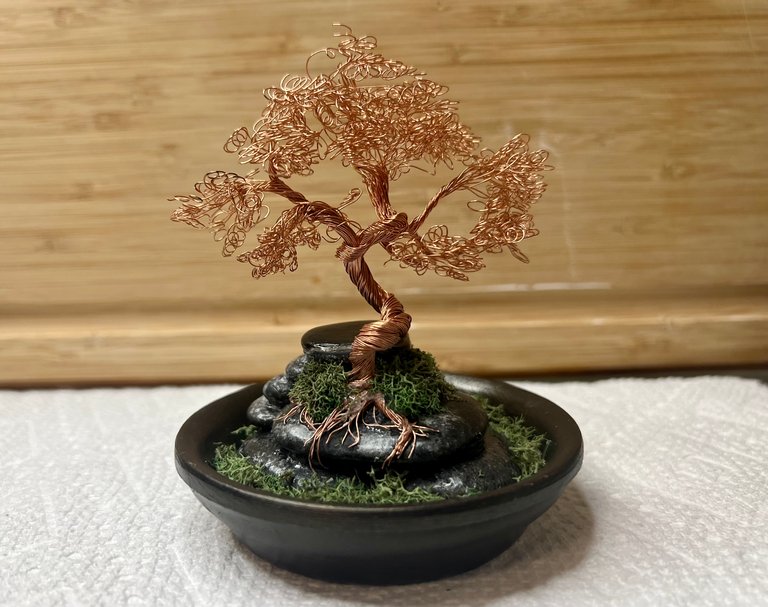
Presentation: Place your wire tree on a solid base, such as a piece of wood or a pot, so that it looks more beautiful and presentable, you can decorate it with artificial muzgo and stones.

This is my first tree and I wanted to share it with you, I had a lot of fun doing this craft, I hope you liked it and are encouraged to make one with your own tastes, the truth is very easy for beginners, it admits all kinds of decoration and can be a beautiful gift made with your own hands. See you in the next craft.
My Original Image @nicolelorena

Es hermoso, me encantan estos árboles, sueño con tener uno con piedras de cuarzo adornando mi casa. Gracias por compartir como se hace, creo que me atrevo a hacerlo yo mismma. Iré recolectando las piedras 🙌
Inténtalo, es muy fácil de hacer y puedes adornarlo como quieras … ☺️saludos
Wow! So cool!
Thank you !!!
Guao que trabajo más hermoso, se nota lo complejo de este trabajo, te felicito
Muchas gracias ☺️
Yay! 🤗
Your content has been boosted with Ecency Points, by @xerox94.
Use Ecency daily to boost your growth on platform!
Support Ecency
Vote for new Proposal
Delegate HP and earn more