¡Hola, Bienvenidos!
Hace días imprimí una guía de conceptos relevantes para mis estudios de medicina, no quería cargarlas en carpetas por temor a perder las hojas , fue entonces donde nació la idea de crear un forro con ganchos que las sujetará y a la vez me facilitara la lectura pasando páginas.
Tenía muchas ideas en la cabeza pero me sentí atraída por un material de cuero sintético en la tienda textil y no dudé en comprarlo. Igualmente quería combinarlo con algo divertido porque a veces entro en salas de pediatría y pensé en los niños al mirar los dinosaurios.
Considero que es un proyecto creativo fácil de elaborar pero se toma su tiempo para conseguir un buen acabado. Te invito a ver el siguiente paso a paso...
A few days ago, I printed a guide to concepts relevant to my medical studies. I didn't want to carry them in binders for fear of losing the pages. That's when the idea of creating a cover with hooks was born. This would hold them in place and make it easier to turn the pages.
I had many ideas in mind, but I was drawn to a synthetic leather material at the textile store and didn't hesitate to buy it. I also wanted to combine it with something fun because I sometimes walk into pediatric wards and think of children when I look at the dinosaurs.
I think it's an easy creative project to put together, but it takes time to achieve a good finish. I invite you to see the following step-by-step instructions...


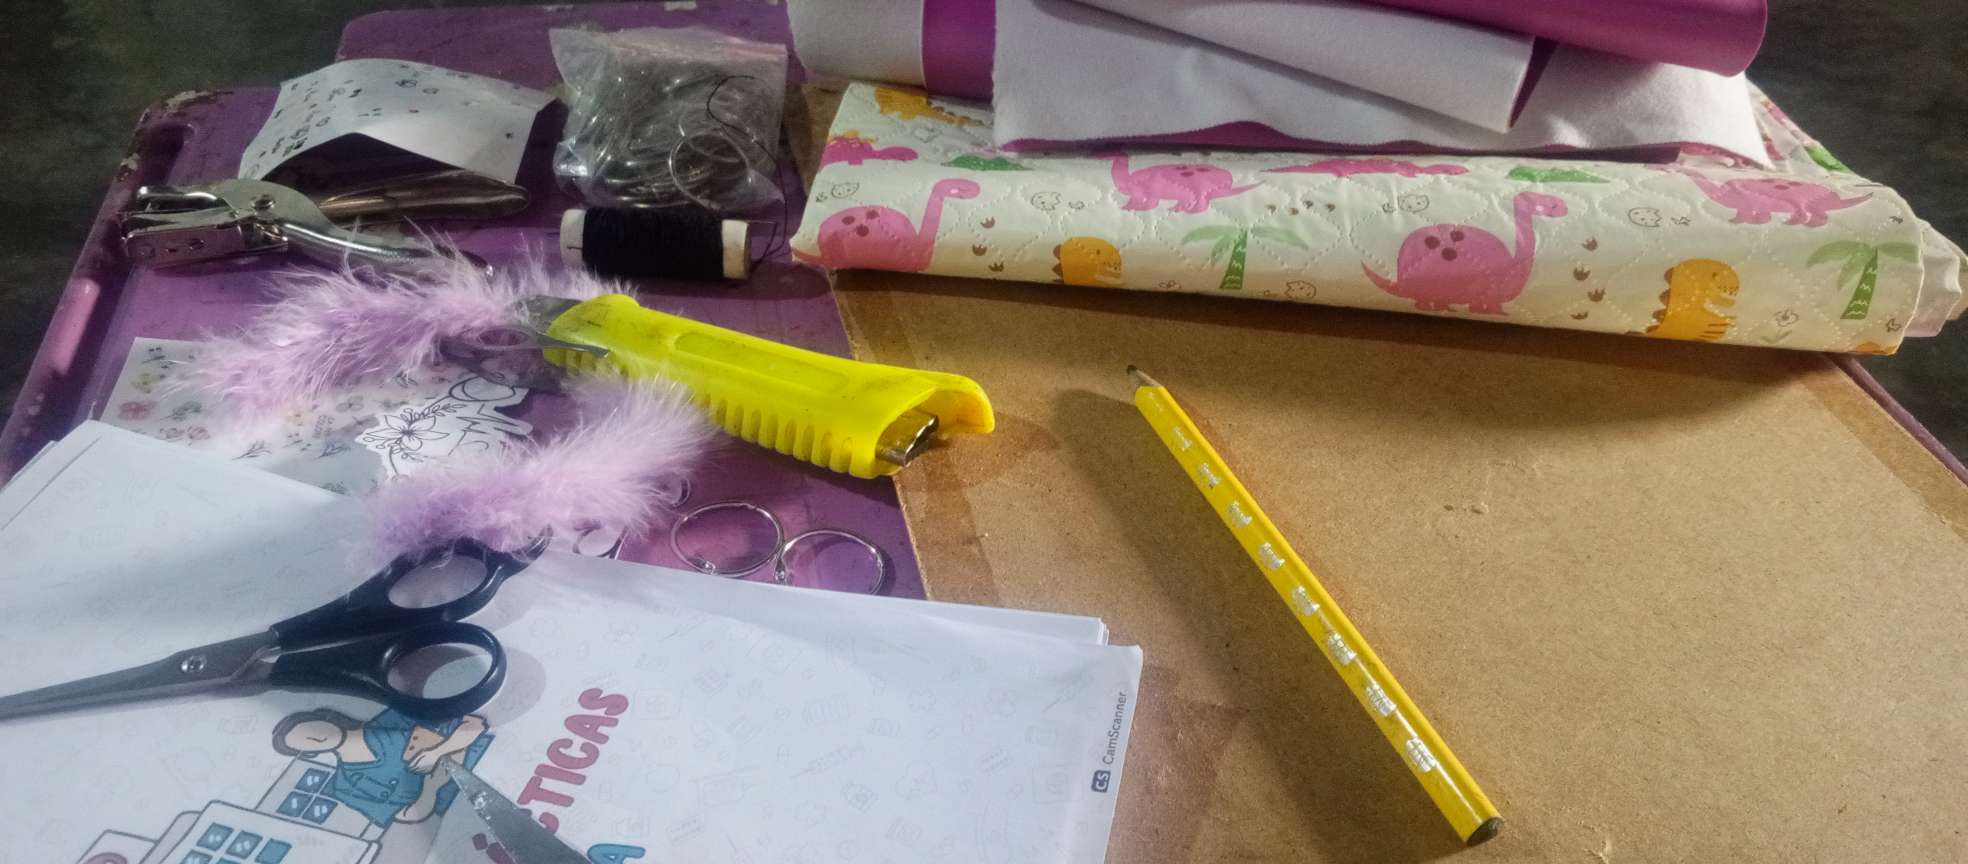
Materiales/ Materials
Cuero sintético color fucsia
Tela de cuna
Pegamento instantáneo
Cartón de 3 milímetros de espesor
Tijera
Cúter
Cartulina morada
Lápiz
Regla
Abre huecos
Ganchos
Plumas
Stickers
Fuchsia synthetic leather
Crib fabric
Instant glue
3-millimeter-thick cardboard Scissors
Cutter
Purple cardstock
Pencil
Ruler
Hole punch
Hooks
Pens
Stickers
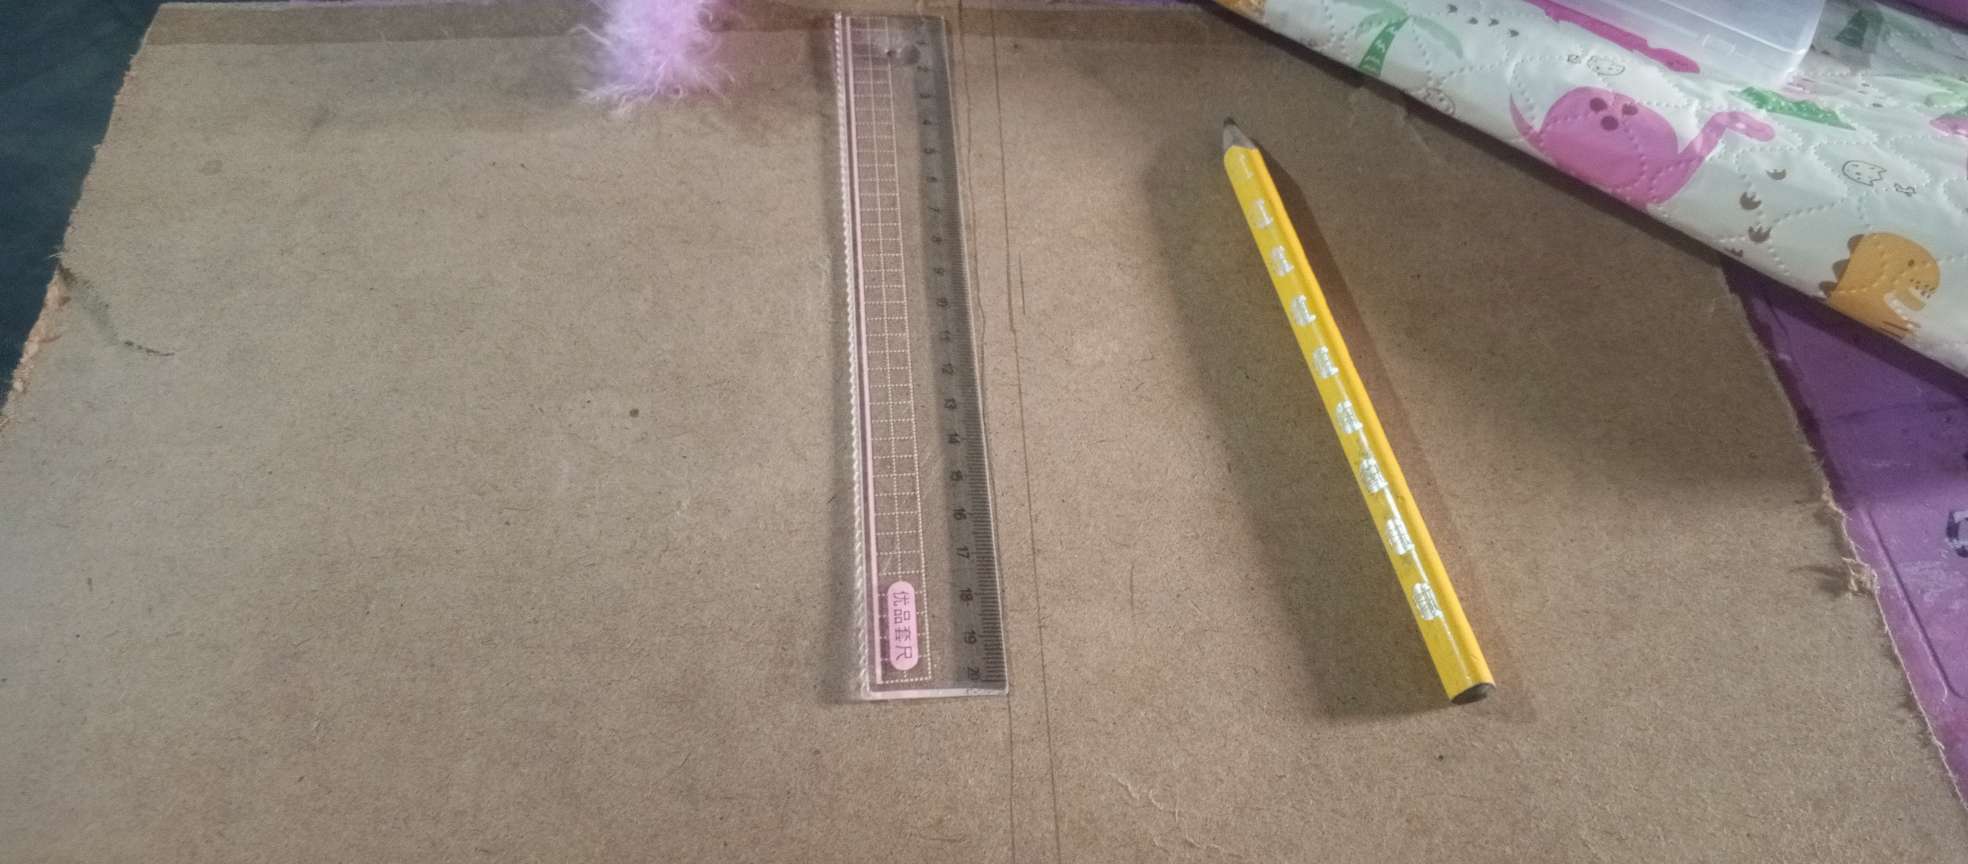
Primer paso
Medir el tamaño de las hojas impresas y recortar el cartón un centímetro más por cada lado. Utilicé un exacto o cúter para realizar el corte ya que es un cartón de poco espesor.
Step One
Measure the size of the printed sheets and trim the cardboard one centimeter longer on each side. I used a box cutter to make the cut since the cardboard is thin.
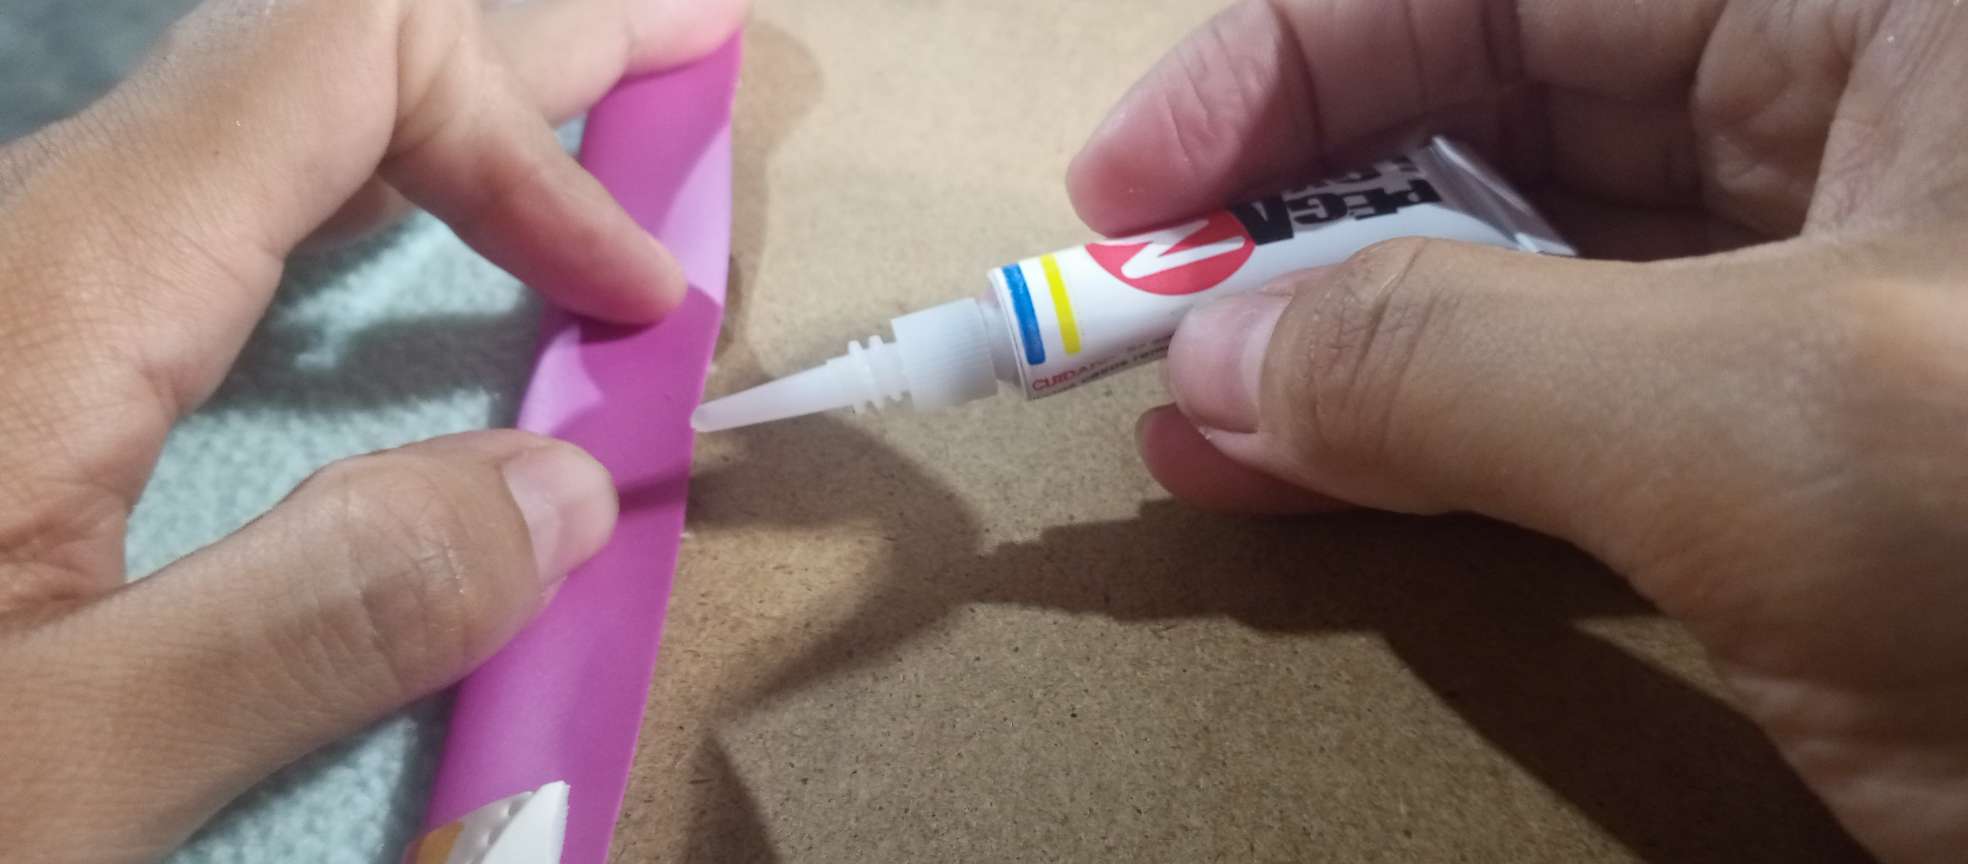
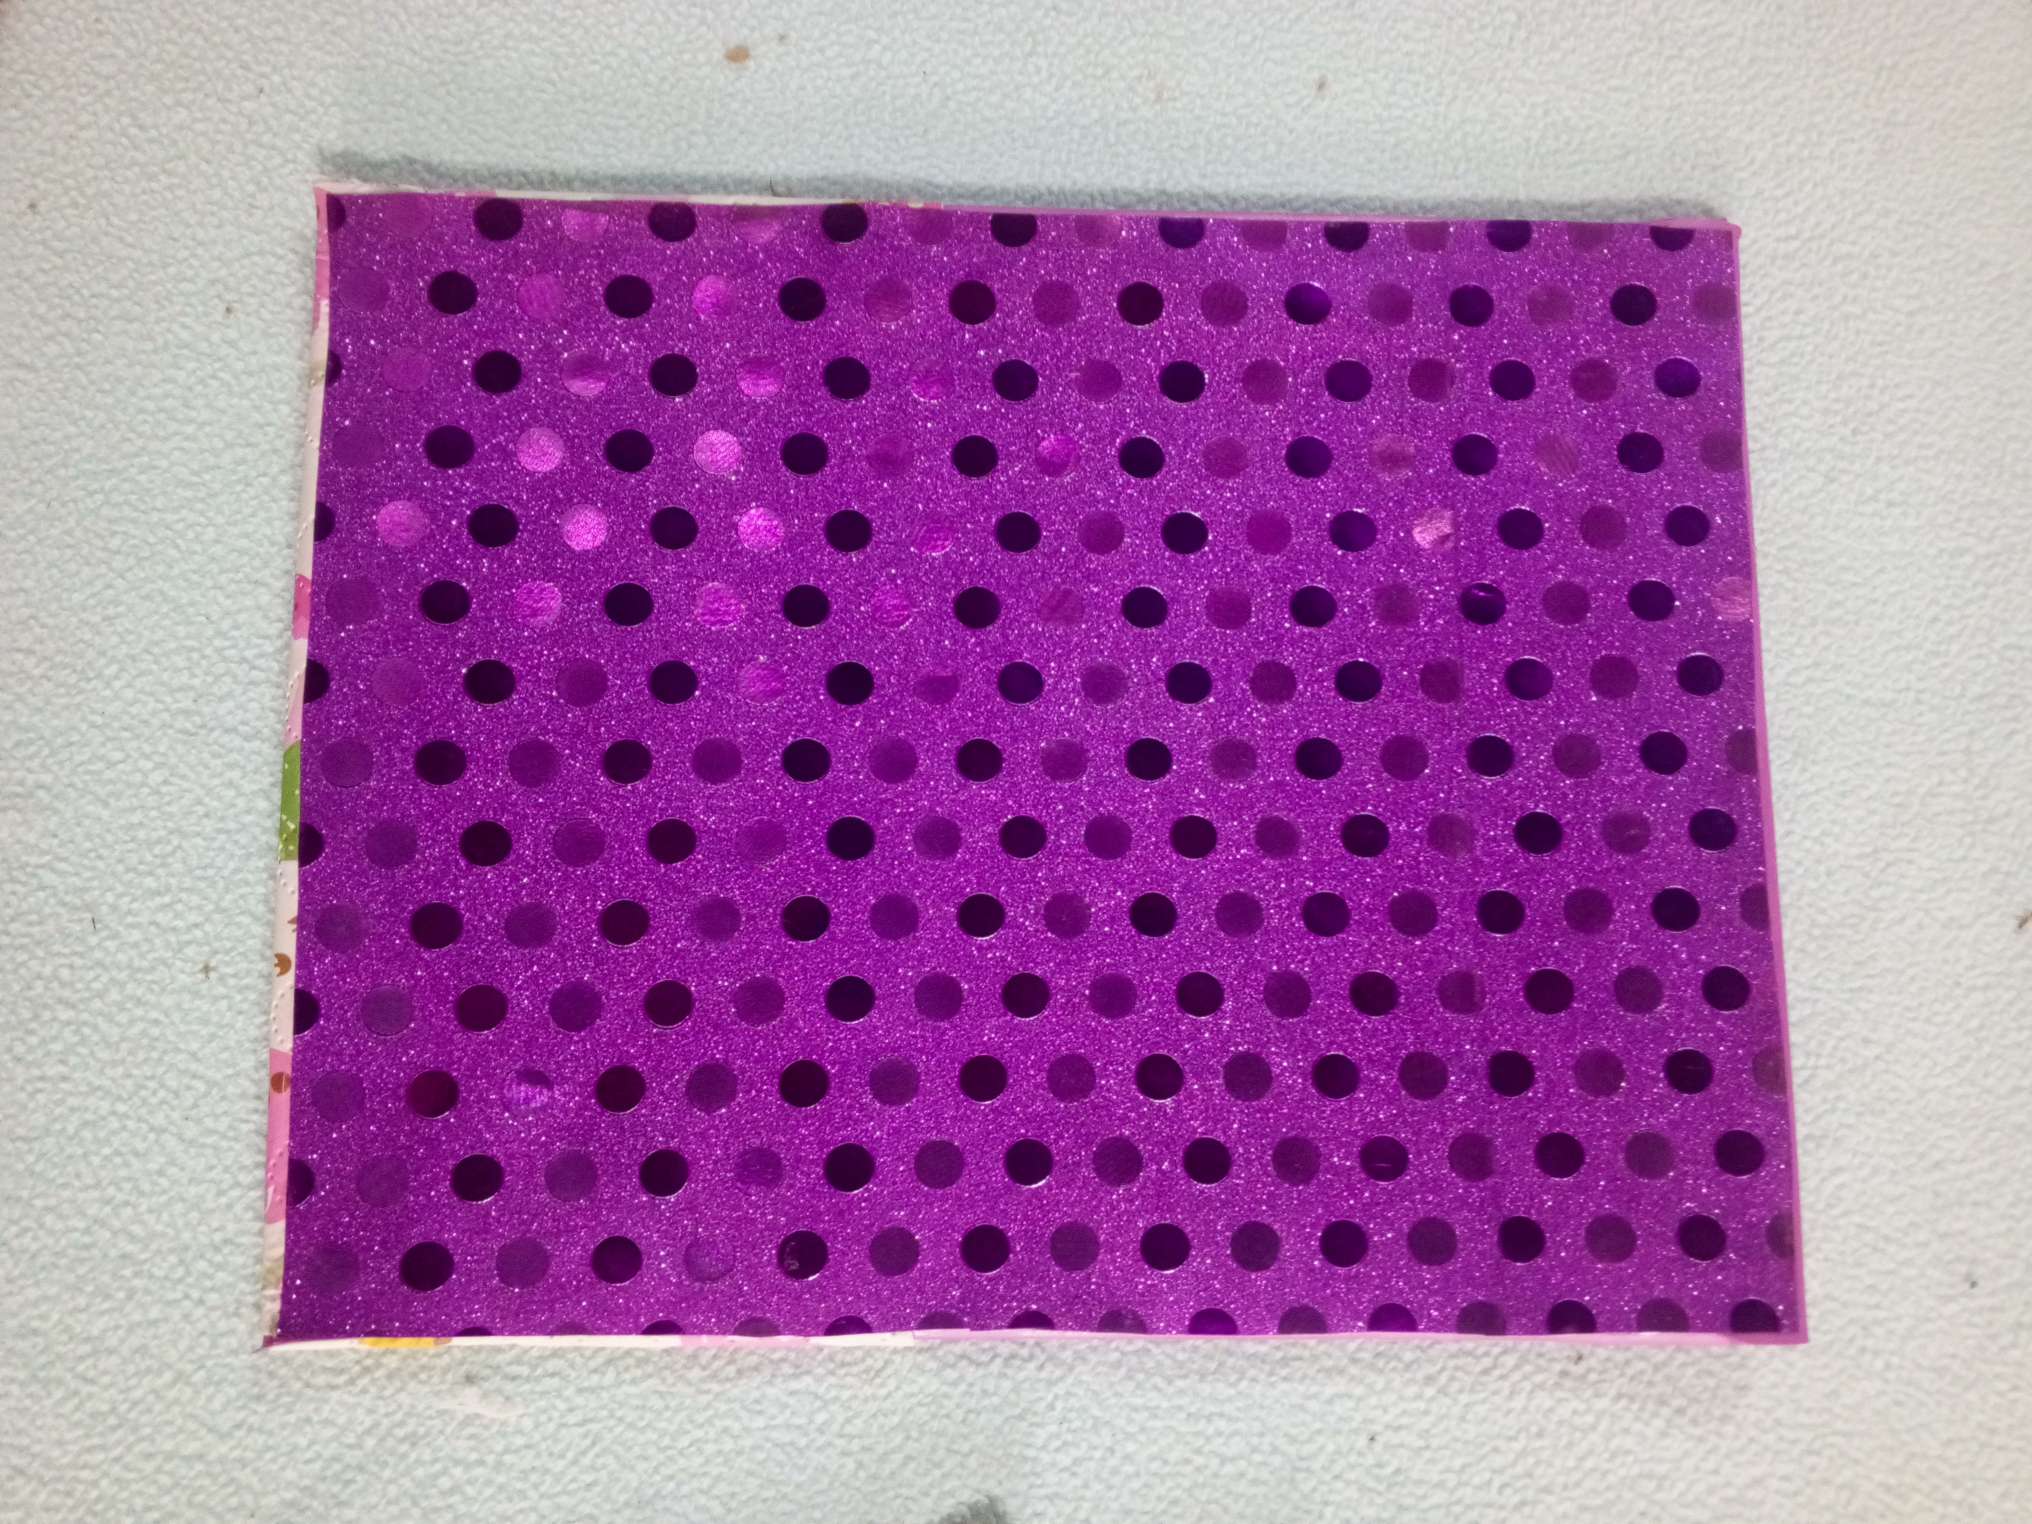
Segundo paso
Recortar el cuero sintético un poco más grande que el cartón de manera que lo cubra más allá de los bordes.
Utilicé pegamento instantáneo para adherirlo a toda la superficie del cartón.
Step 2
Cut the faux leather slightly larger than the cardboard so that it covers the edges.
I used superglue to adhere it to the entire surface of the cardboard.

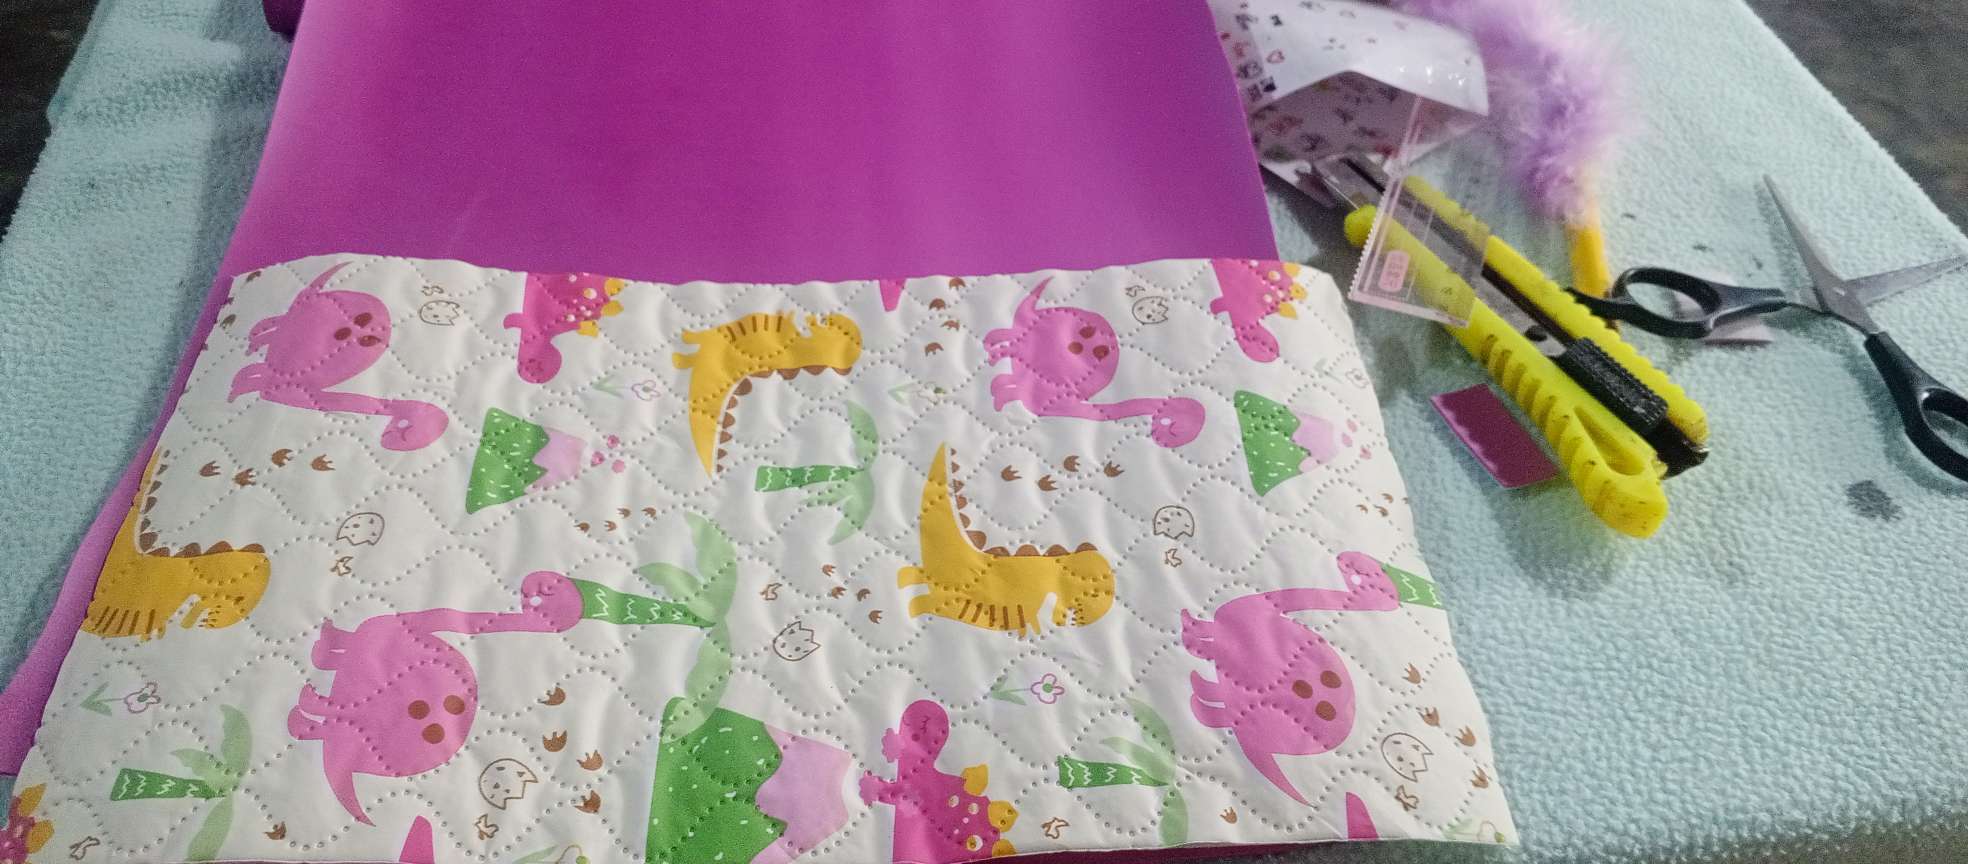
Tercer paso
Recortar la tela de cuna de bebé para hacer un bolsillo tipo cartuchera que servirá para guardar lápices o algunos instrumentos pequeños de mis prácticas en el trabajo.
Para una mejor estética del diseño recorté cartulina morada y la pegué en la parte posterior para que al abrir la libreta luzca más bonita.
Step Three
Cut out the baby crib fabric to make a pencil case-style pocket that will hold pencils or some small tools I use for my work practices.
For a more aesthetically pleasing design, I cut out some purple cardstock and glued it to the back so it looks prettier when I open the notebook.
4to paso
Medir y perforar las hojas y las tapas de la libreta con un abre huecos. En este paso es importante que haya una simetría entre en lo orificios de las hojas impresas y las tapas para que no haya inconveniente al abrir y cerrar con los sujetadores
Step 4
Measure and punch holes in the notebook's pages and covers with a hole punch. In this step, it's important to ensure symmetry between the holes in the printed pages and the covers so there's no problem opening and closing the holes with the fasteners.

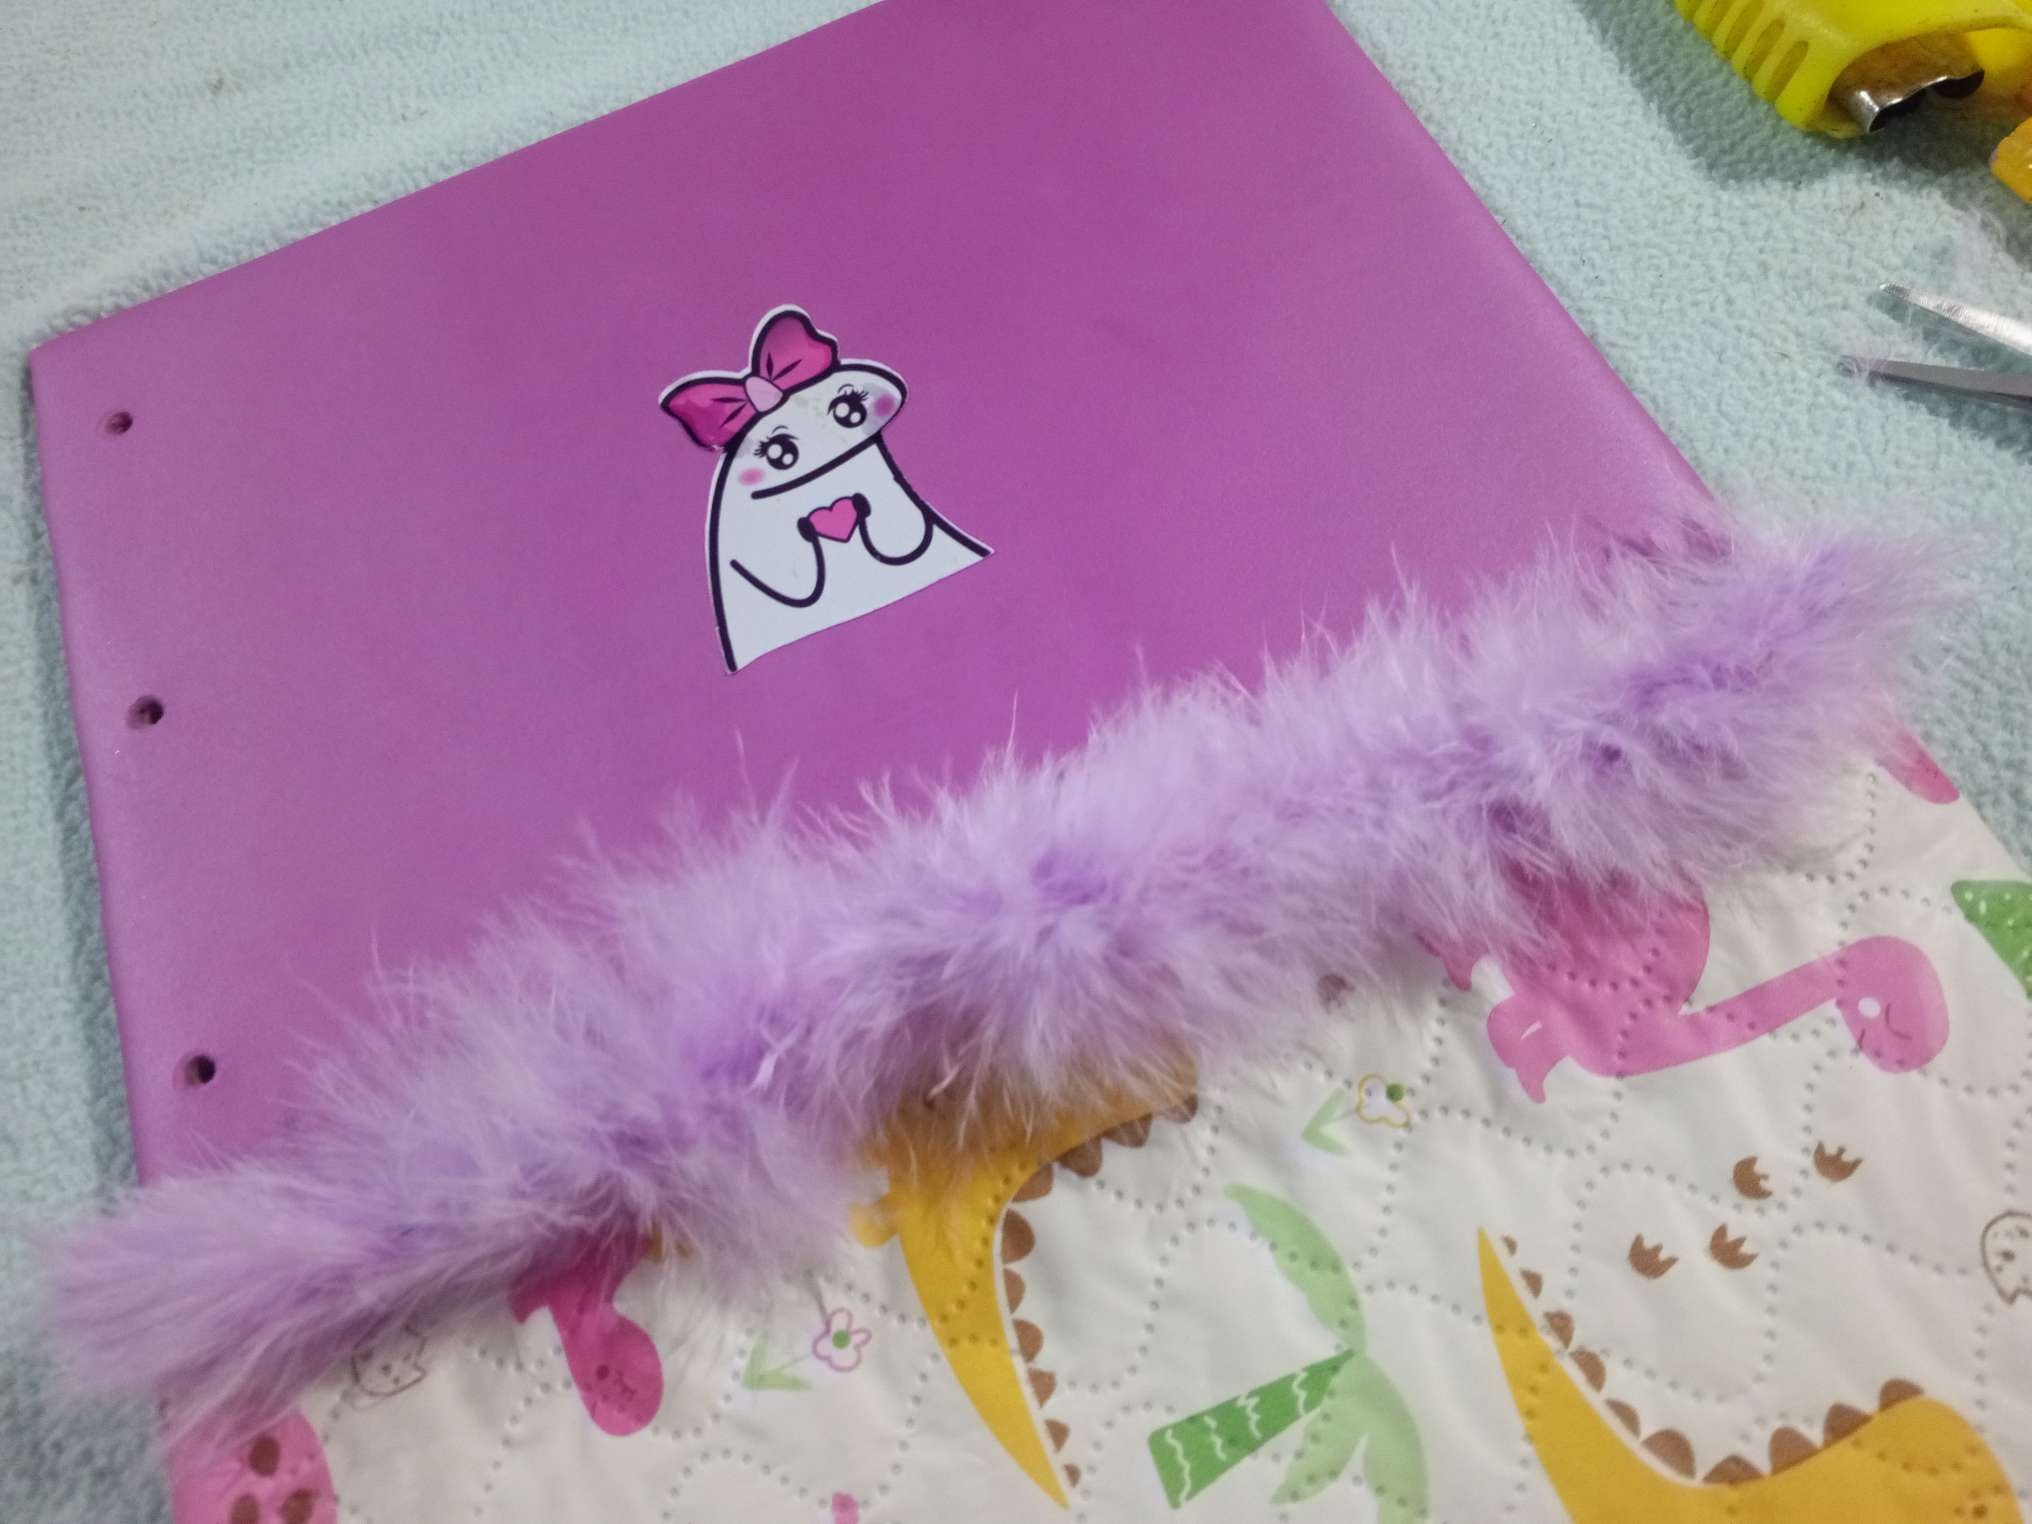
5to paso
Decoración final
Coloque un sticker de mi preferencia y para el borde la cartuchera unas plumas que resaltará su entrada, esto le da un aspecto más llamativo por la combinación de los colores .
Step 5
Final Decoration I placed a sticker of my choice and placed some feathers around the edge of the pencil case to highlight its entrance. This gives it a more striking look thanks to the combination of colors.

Para finalizar
Introduje las hojas y las tapas en los ganchos sujeta papel
To finish
I inserted the sheets and covers into the paper clips.

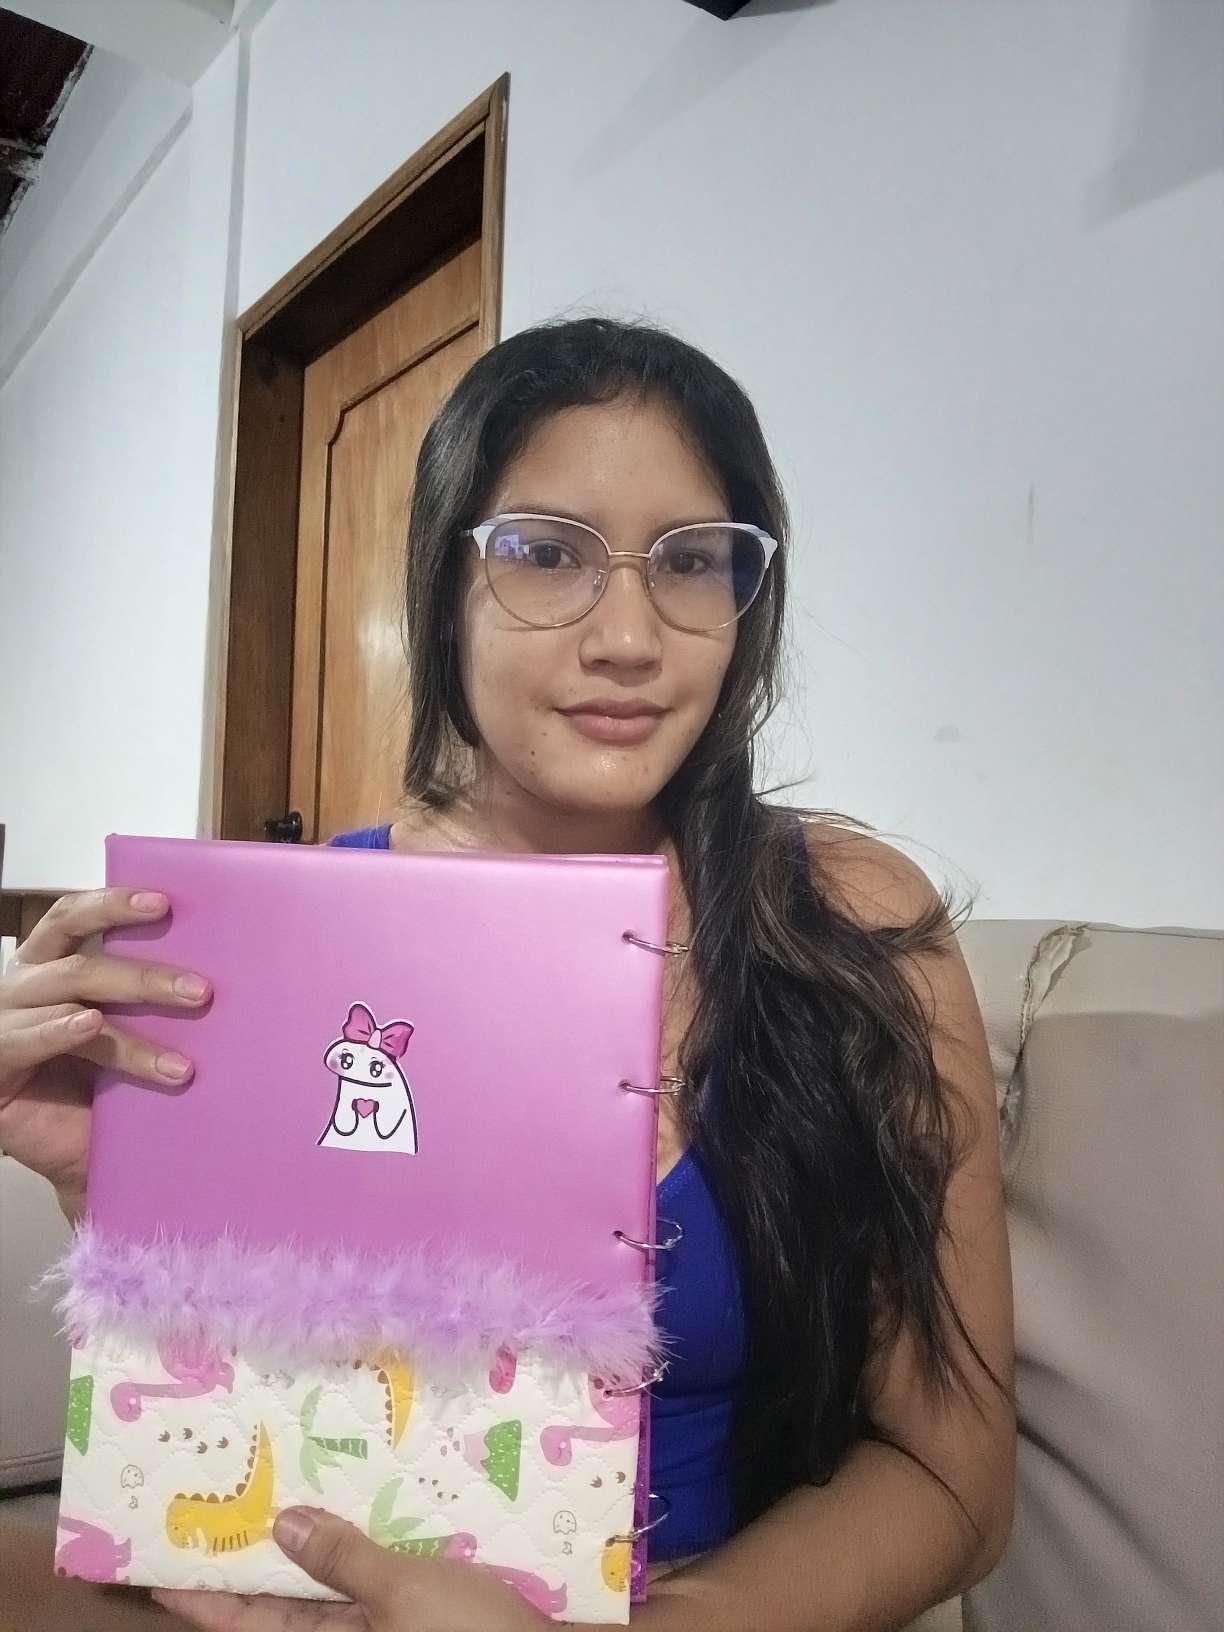
Así quedó mi trabajo espero les guste y nos vemos en una próxima publicación.
This is how my work turned out. I hope you like it and I'll see you in the next post.
Este trabajo es hermoso, se ve que le pusiste mucho amor y dedicación, porque el resultado es asombroso y con terminados delicados. Felicidades, has hecho una obra de arte con un cuaderno para tomar notas
Todavía estoy estirando los brazos para despertar las manos jeje , Gracias muy amable 🙂. Me alegro que te haya gustado. Saludos
Felicidades por ese trabajo tan creativo, es bueno ver como con cosas sencillas se logran resultados de catálogo jeje . Continúa así @pattymarcanog
Agradecida, bendiciones @emiliocabrera
Amén 🙏
Congratulations @pattymarcanog! You have completed the following achievement on the Hive blockchain And have been rewarded with New badge(s)
Your next target is to reach 1500 upvotes.
You can view your badges on your board and compare yourself to others in the Ranking
If you no longer want to receive notifications, reply to this comment with the word
STOPCheck out our last posts:
It takes time to create things but when you complete them, they are always beautiful. This turned out pretty nice, well done, and thanks for sharing.
selected by @ibbtammy
I'm glad you liked it and great for the appreciation.