Mark Twain
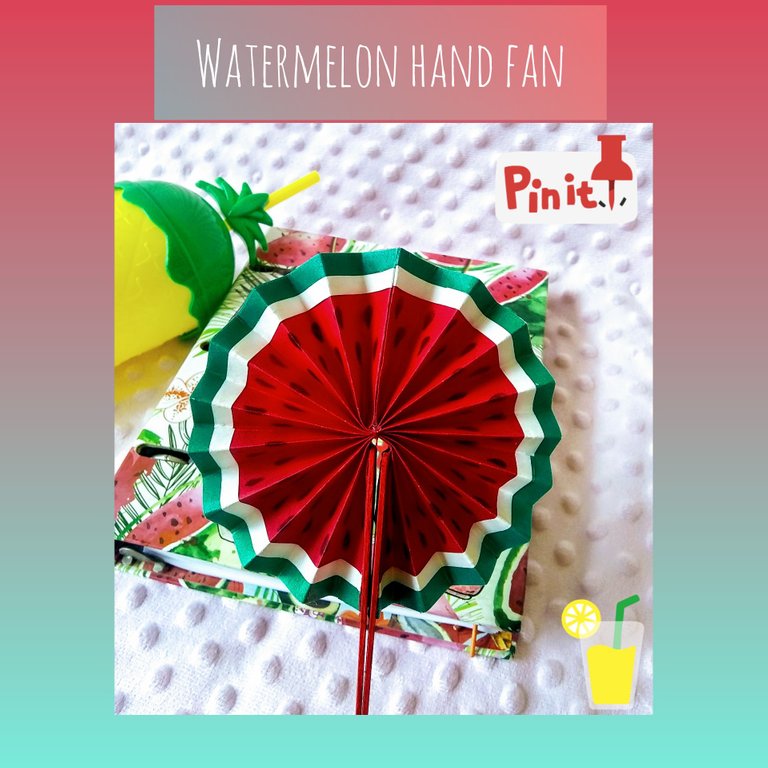
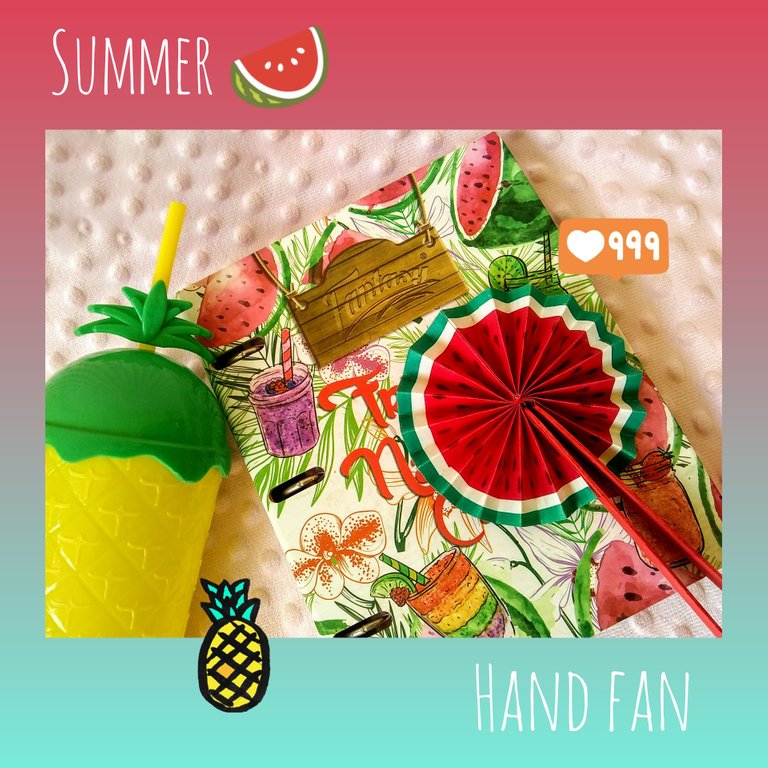
I'm from the city of the Beloved Sun, that's how they call it, and this last week the summer heat has been very strong ☀️.
Soy de la ciudad del Sol Amada, así le dicen y esta última semana el calor del verano ha estado muy fuerte ☀️.
Nothing that a delicious patilla or watermelon can't solve with its refreshing taste 😊 however the proposal I bring you today, although it won't be sweet to the palate, I assure you that it will help to dissipate the exhausting heat.
Nada que una deliciosa patilla o sandía no resuelva con su sabor refrescante 😊 sin embargo la propuesta que hoy les traigo aunque no será nada dulce al paladar les aseguro que si ayudará a disipar el extenuante calor.
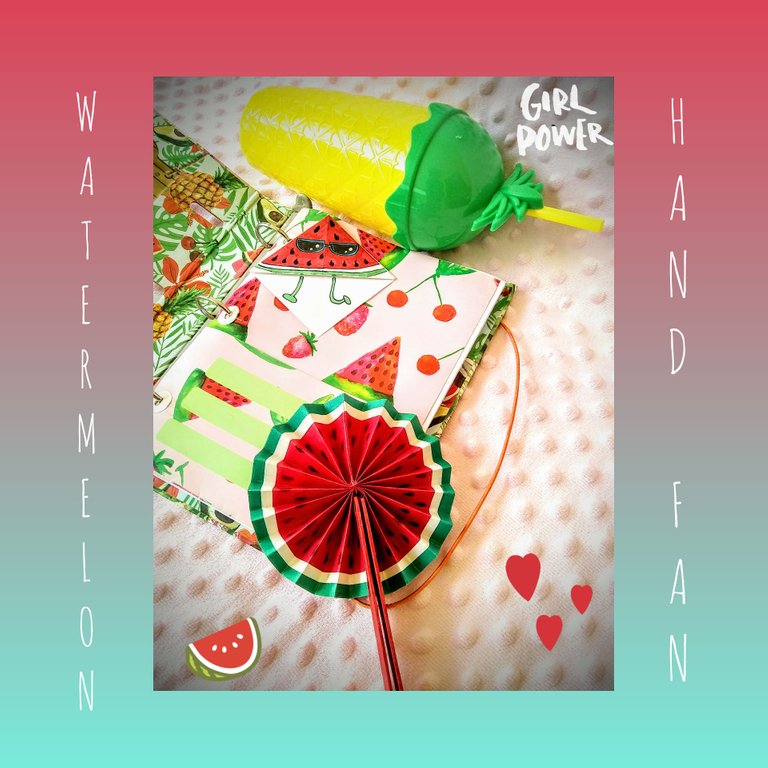
I hope you like the patilla 🍉 as much as I do.
Espero les guste la patilla 🍉 tanto como a mí.
Constructs a hand fan.
Construye un abanico de mano.
For this work I used:
- Red, green and white cardstock
- Red, green and white cardboard
- Scissors
- Silicone
- Two wooden pallets.
Para este trabajo utilicé:
- Cartulina roja, verde y blanca
- Tijeras
- Silicón
- Dos paletas de madera.
Step by Step/ Paso a Paso.
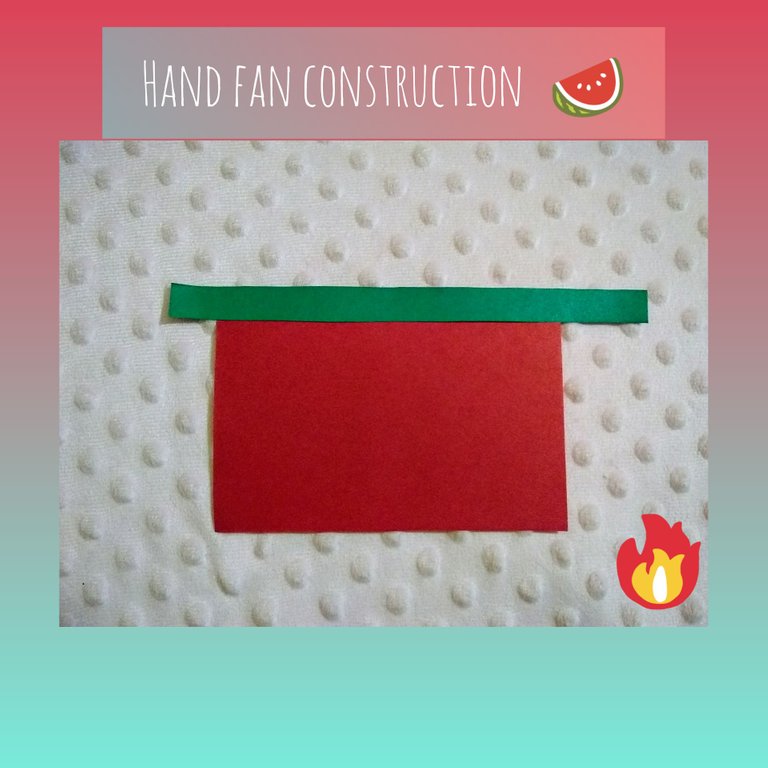
Cut two rectangles of red cardboard, four strips of green cardboard and four strips of white cardboard thinner than the green ones.
Corte dos rectángulos de cartulina roja, cuatro tiras de cartulina verde y cuatro tiras más finas que las de color verde de cartulina blanca.
1- I glued a green strip on the red cardboard, I did this on both sides (top and bottom) of the rectangle. You can see it in the image 👇🏽.
1- Pegué una tira verde sobre la cartulina roja, esto lo hice en ambos lados (superior en inferior) del rectángulo. Puedes apreciarlo en la imágen 👇🏽
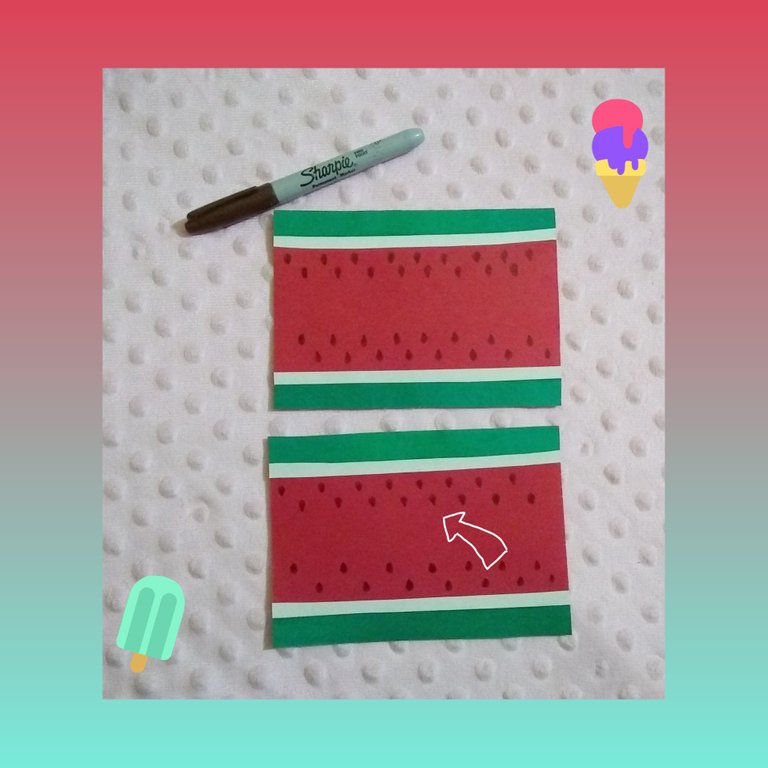
2- Then glue the white strip followed by the green strip, I did this on both sides (top on bottom) of the rectangle. Reference image 👇🏽
2- Luego pegue la tira blanca seguida de la verde, esto lo hice en ambos lados (superior en inferior) del rectángulo. Imágen de referencia 👇🏽

Step 1 and 2 must be done for the two red cardboard rectangles.
El paso 1 y 2 se debe hacer para los dos rectángulos de cartulina roja
3- Cut off the leftover green and white strips. I took a black marker and drew on the red cardboard the seeds of the sideburn. The drawing was done on the top and bottom of the cardboard, leaving the center free. As you can see in the image 👇🏽 .
3- Corte los sobrantes de las tiras verdes y blancas. Tomé un marcador negro y dibujé sobre la cartulina roja las semillas de la patilla. El dibujo lo realicé en la parte superior e inferior de la cartulina, dejando libre el centro. Tal como se aprecia en la imágen 👇🏽
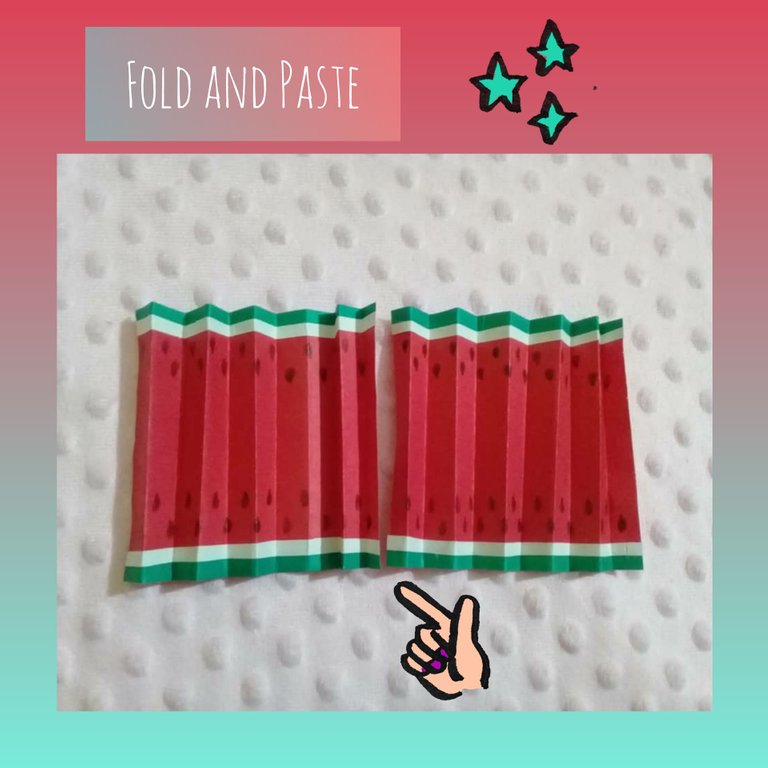
4- In each cardboard I made small folds in a continuous way, and then with glue I overlapped and joined, leaving a single piece. Look at the image 👇🏽.
4- En cada cartulina hice pequeños dobleces de manera continúa, y luego con pega solape y uni, quedando una sola pieza. Mira la imágen 👇🏽
5- I compressed the leaves since they had the folds marked and with a red thread I tied in the center of the cardboard, it was fastened and two pieces remain detached. I glued one part with silicone (marked with an arrow) and in the other opening I glued a wooden paddle on each side. Detailed image 👇🏽
5- Comprimi las hojas ya que tenían marcados los dobleces y con un hilo rojo amarre en el centro de la cartulina, quedó sujeto y quedan dos piezas despegadas. Pegué una parte con silicón (señalada con flecha) y en la otra abertura pegue de cada lado una paleta de madera. Detallar imágen 👇🏽
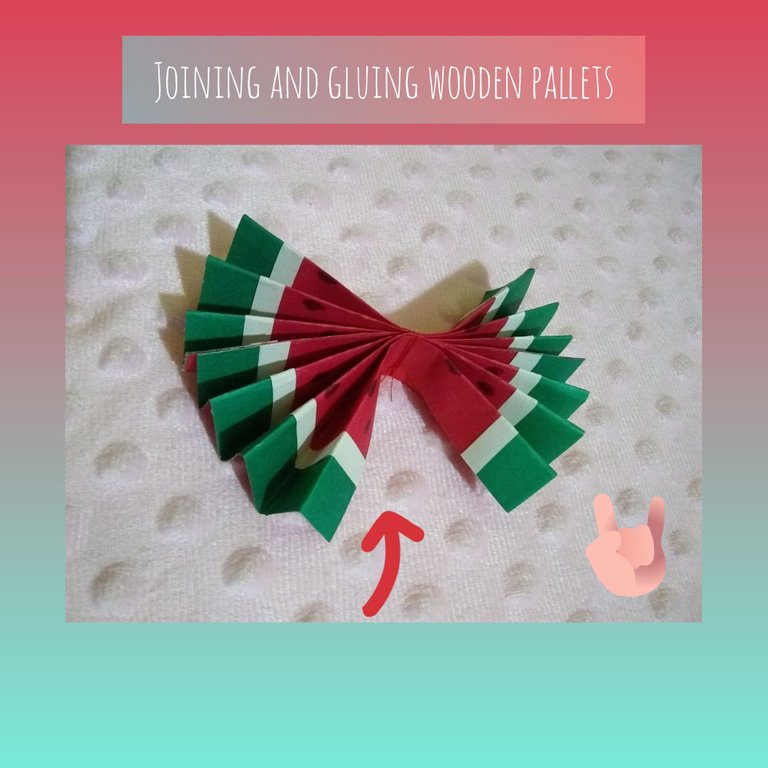
Finally I painted the wooden sticks red, this way they will have a better finish.
Finalmente pinté los palitos de madera de color rojo, de esta manera tendrán un mejor acabado.
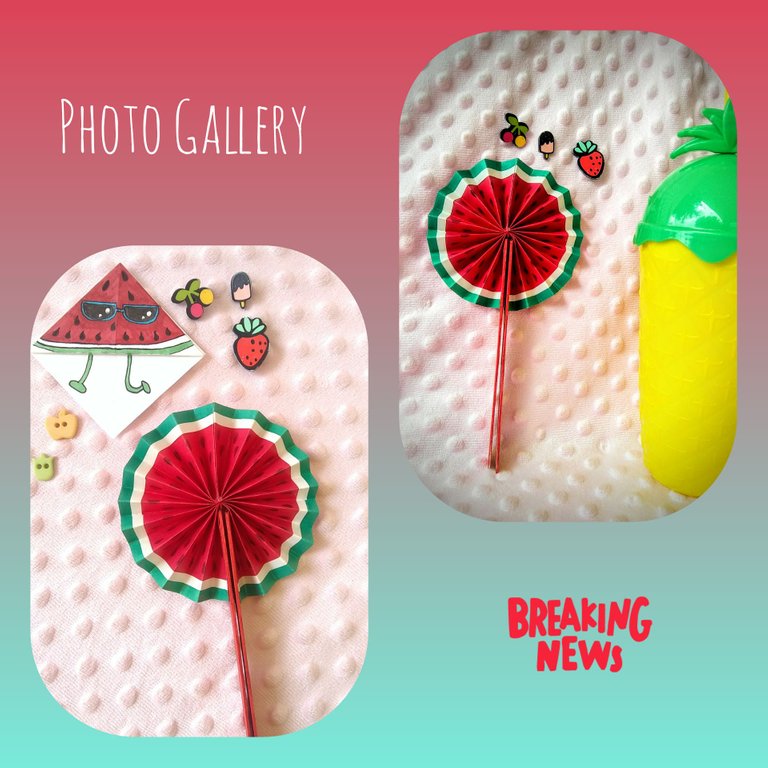
Don't dismiss the functionality of this fan for its size, it really works 😆 and helps when the temperature rises in the middle of the day.
No desestimes la funcionalidad de este abanico por su tamaño, realmente funciona 😆 y ayuda cuando la temperatura sube en horas del medio día.
For kids it will be of great use and fits perfectly because of the size and fun design.
Para los niños será de gran utilidad y se ajusta perfectamente por el tamaño y su divertido diseño.
You could make other fruits as refreshing as the patilla. This idea can be used in themed party decorations and even if you make them tiny they can be placed in drinks to decorate the glasses.
Podrías hacer otras frutas tan refrescante como la patilla. Esta idea puede usarse en decoraciones de fiestas temáticas incluso si los haces pequeñitos pueden colocarse en las bebidas para adornar los vasos.
I will be sharing more creative stationery designs soon.
Pronto estaré compartiendo más diseños de papelería creativa.

Derechos Reservados®️ 2021
Imágenes propiedad de @pcojines
#posh 🐦
Hola amiga! el abanico Esta lindo y muy practico para estos calores tan fuertes.
Si, está haciendo calor! y en ocasiones en mi ciudad hay fallas de electricidad... Así que son útiles estos abanicos de mano!
Hola @pcojines hermosa tu propuesta y muy original, buen paso a paso.
Saludos
Gracias, espero la hayas disfrutado ♥️
Ese abanico está genial!!! El diseño y la manera en que has usado el entorno para las fotografías es simplemente genial, que bonito todo.
Gracias, me encanta que te haya gustado!
Esta genial! te ha quedado muy chulo y bien elaborado, es un abanico muy divertido.
Gracias por el apoyo! 💖