▶️ Watch on 3Speak


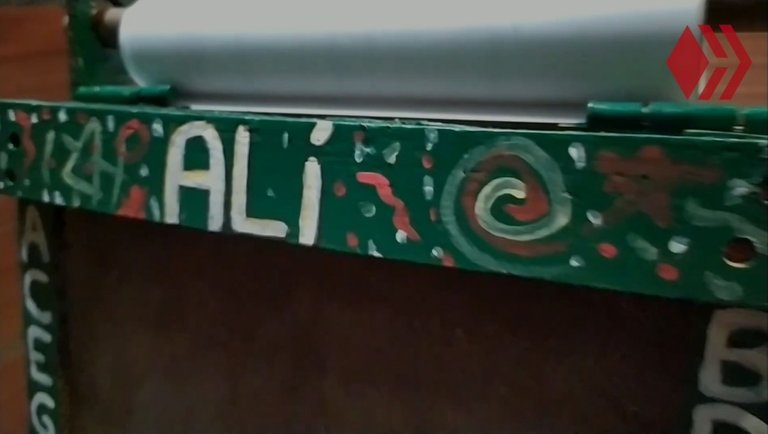
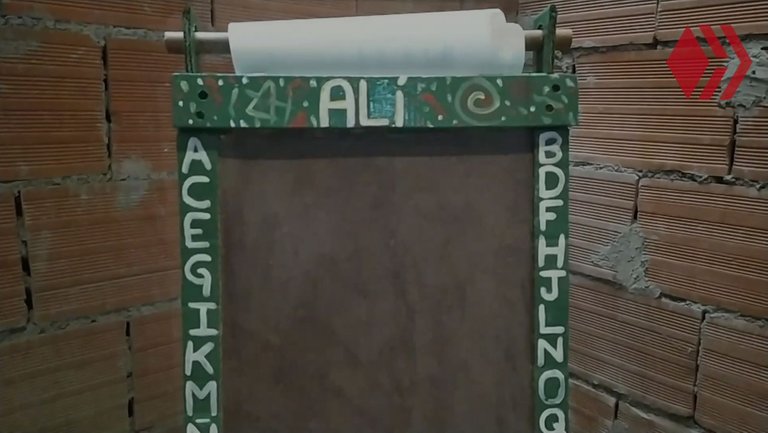
Greetings dear creative friends, once again I am visiting this great community in which creativity and art abound; Today I would like to share with all of you a DIY project that I have been working on for the last two months and it is a multifunctional blackboard that I have created for the son of my friend @lamujernegra1, a gift for the little "ALI". Some time ago @lamujernegra1 told me that she was looking to do something for her son so that he could paint and scratch, since he was beginning to scratch the walls of his house, I offered to create a blackboard for him so that he would not be scratching walls, but if you can have a place to express your nascent creativity, this is where the idea of this fabulous DIY was born. Saludos queridos amigos creadores, nuevamente paso de visita por esta grandiosa comunidad en la que abunda la creatividad y el arte; el día de hoy me gustaría compartir con todos ustedes un proyecto de bricolaje en el que he estado trabajando los últimos dos meses y se trata de una pizarra multifuncional que he creado para el hijo de mí amiga @lamujernegra1, un regalo para el pequeño "ALÍ". Hace un tiempo atrás @lamujernegra1 me comentó que estaba buscando de hacerle algo a su hijo para que pudiera pintar y rayar, ya que estaba empezando a rayar las paredes de su casa, yo me ofrecí para crearle una pizarra para que no estuviera rayando paredes, pero que si pueda tener un lugar dónde expresar su creatividad naciente, de aquí nació la idea de este fabuloso bricolaje.
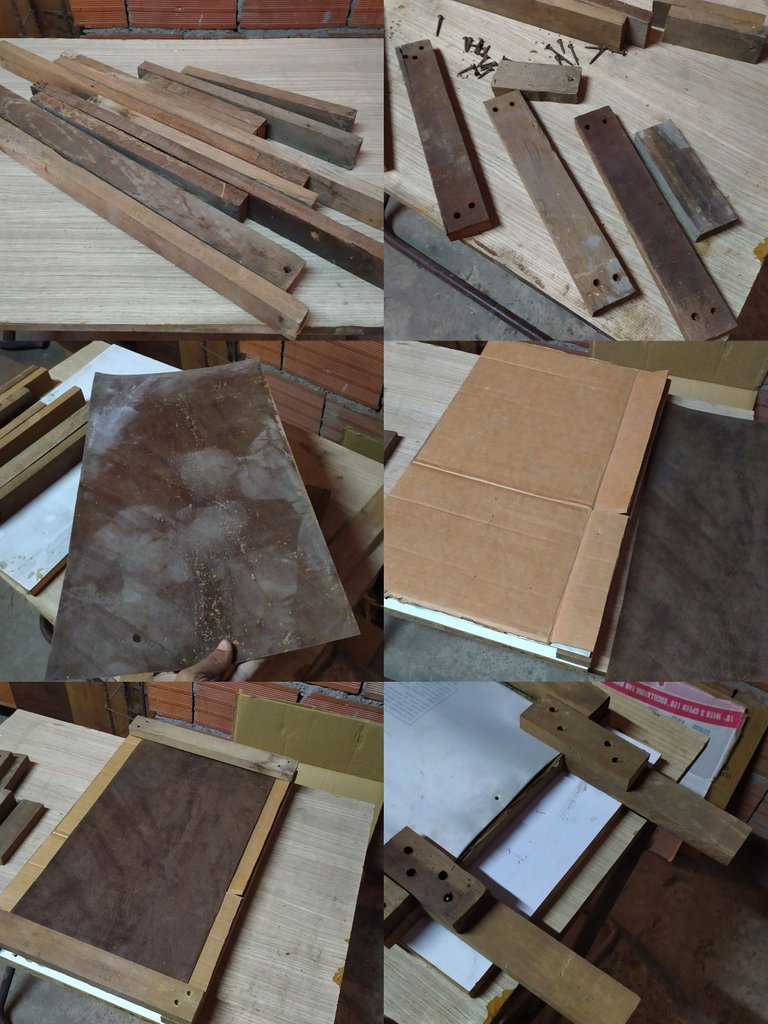
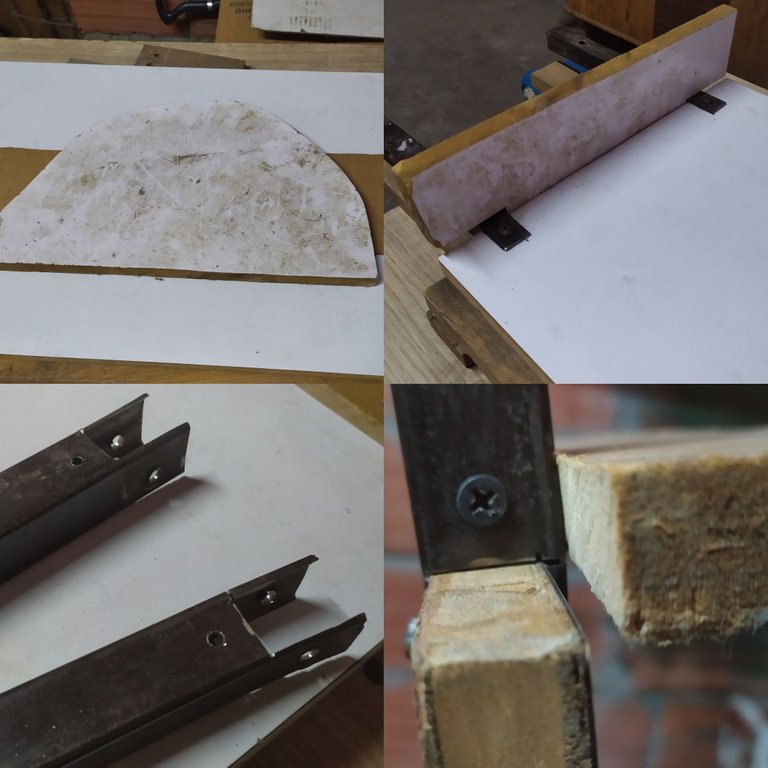
As usual, all the DIYs I do are with recycled materials that I find among all the paraphernalia that I have in my house, I used a lot of wood that was from an old bed and a piece of Formica that I detached from another wood, to create one of the chalkboard faces, use the roughest part of the Formica sheet to use as the chalk scratch surface; I placed cardboard behind the Formica to give it more firmness and then with screws I joined all the pieces of wood to shape the frame that will become one of the faces of the board.
Como es de costumbre todos los bricolaje que realizo son con materiales reciclados que encuentro entre toda la parafernalia que tengo en mí casa, utilice muchas maderas que eran de una vieja cama y un pedazo de Formica que desprendí de otra madera, para crear una de las caras de la pizarra, utilice la parte más rugosa de la lamina de Formica para utilizarlo como la superficie donde se pueda rayar con tizas; le coloqué cartón por detrás de la Formica para darle mas firmeza y luego con tornillos uní todas las piezas de madera para darle forma al marco que se convertirá en una de las caras de la pizarra.
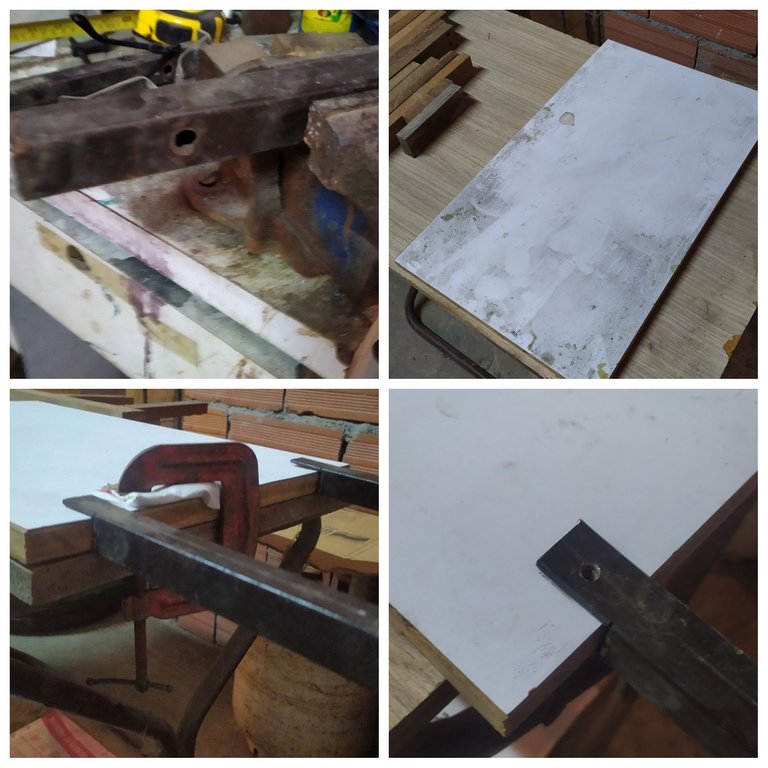
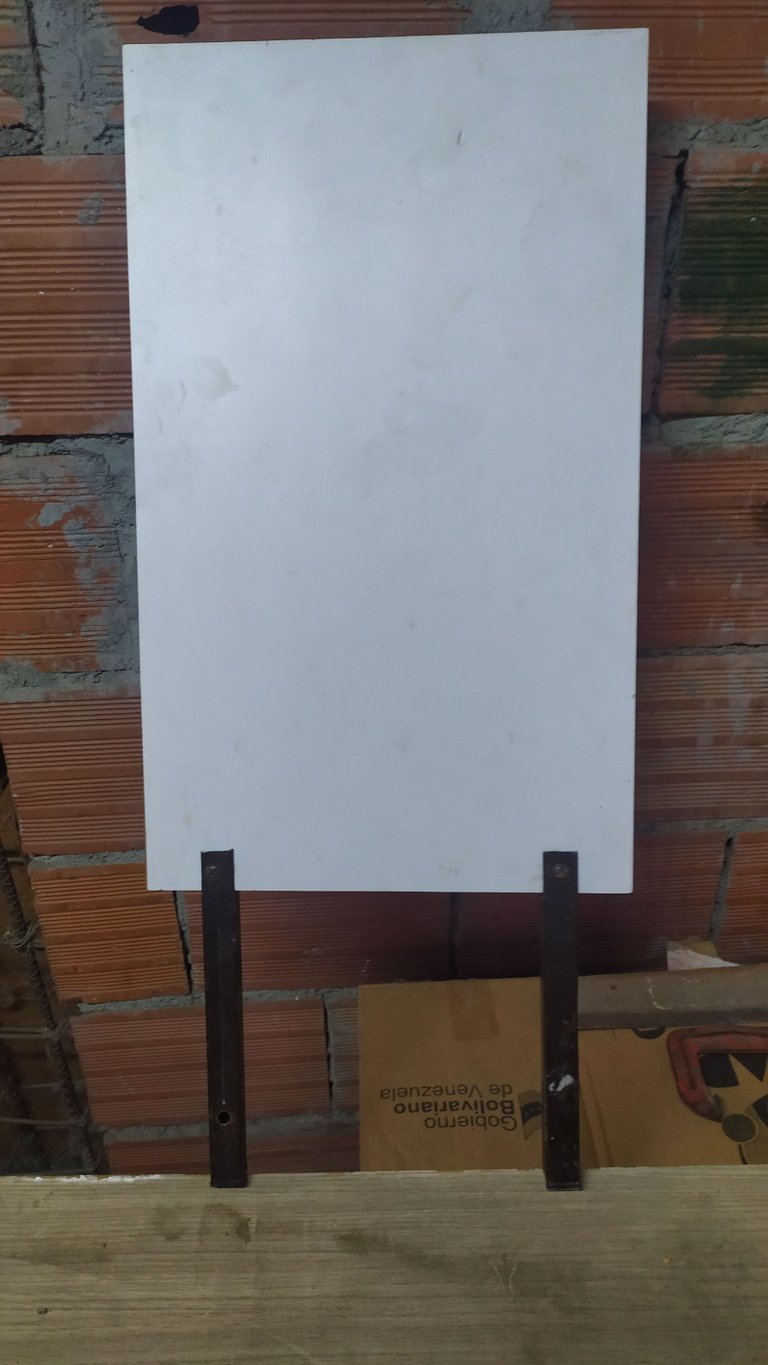
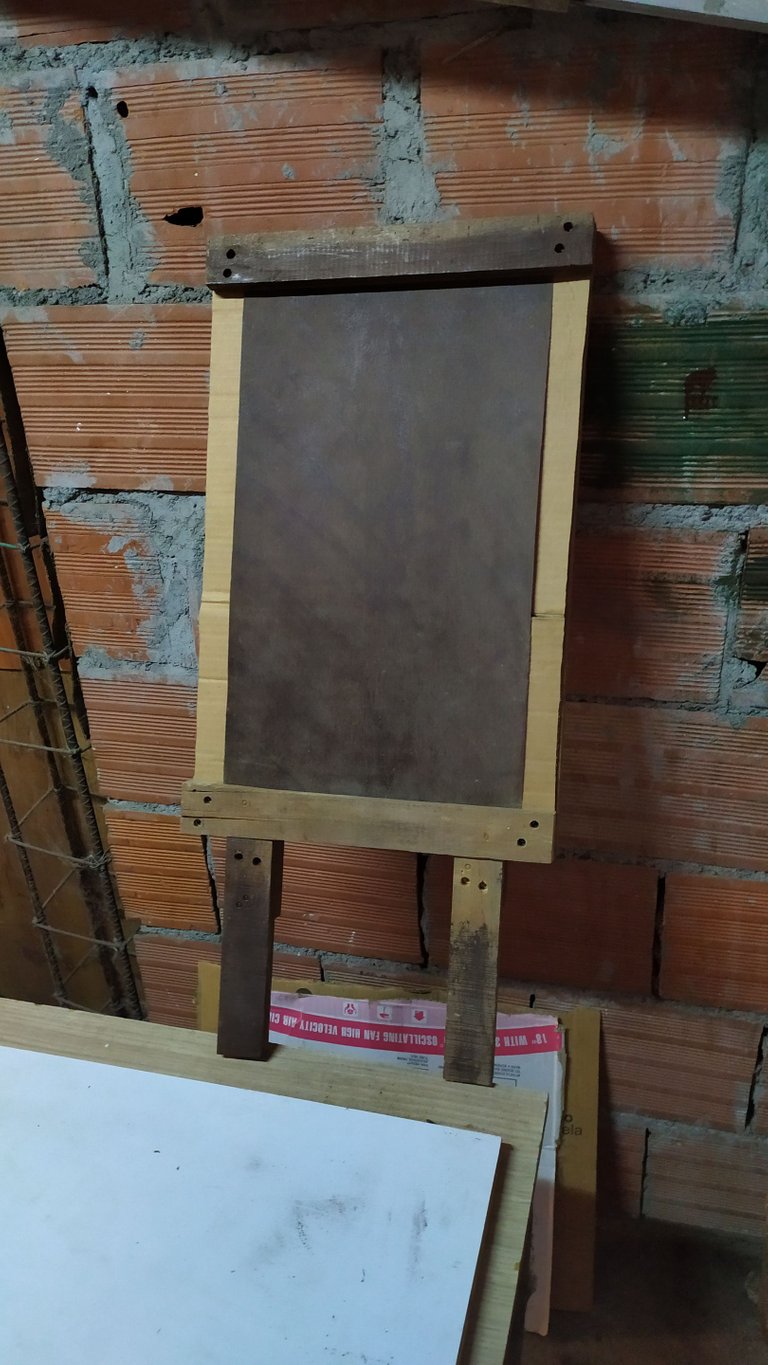
The other side of the board was made using plywood that already had one side lined with white Formica, ideal for use as a scratching surface with acrylic markers; I found two legs from an old desk that had been disassembled a long time ago, those legs were perfect for this board, I cut them using an emery wheel and left them the same size so that the board does not have an unevenness, I joined all the parts and I already had both sides of the blackboard.
La otra cara de la pizarra la hice usando una madera contrachapada que ya tenía una cara forrada con Formica color blanco, ideal para usarla como una superficie para rayar con marcadores acrílicos; encontré dos patas de un antiguo escritorio que hace mucho desarme, esas patas eran perfectas para esta pizarra, las corte usando un esmeril y las deje del mismo tamaño para que la pizarra no tenga un desnivel, uní todas la partes y ya tenía las dos caras de la pizarra.
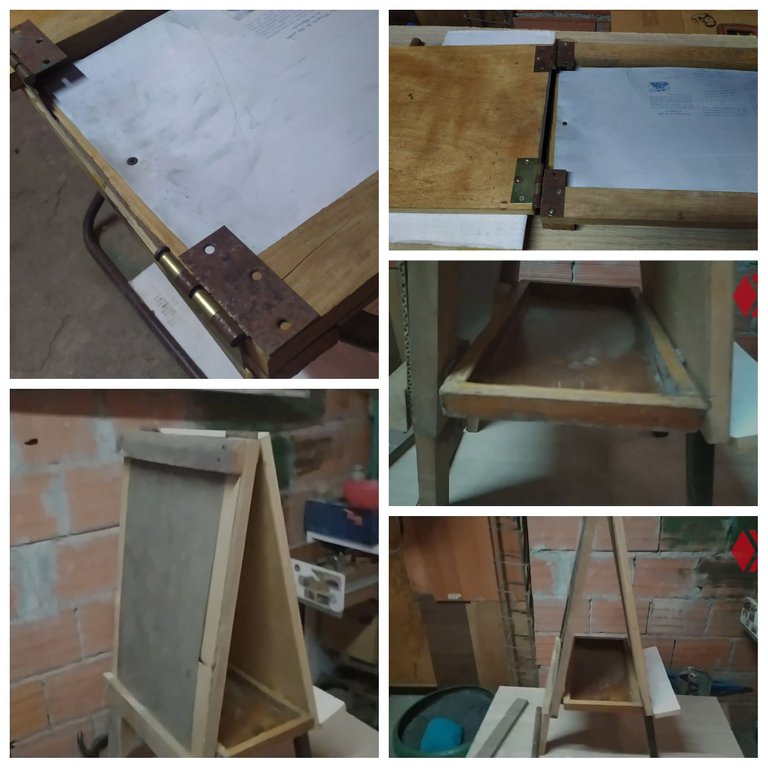
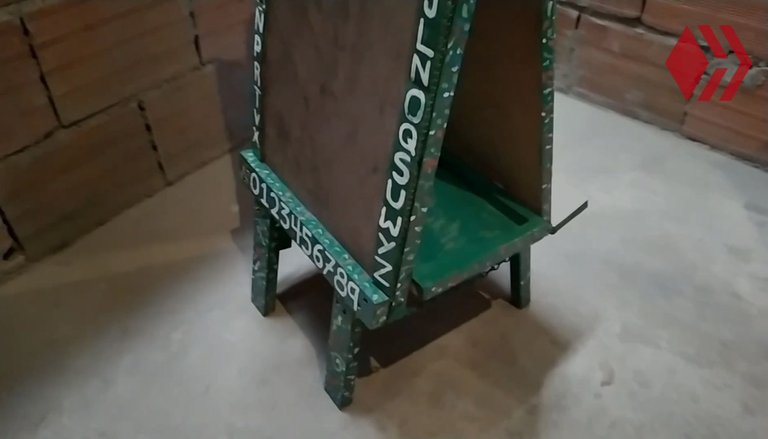
Then with some hinges I joined the two faces of the board to create a large easel; I also cut a piece of wood to add a small shelf to place the paintings when little ALÍ is in his creative process. I secured it well to the legs with some screws to give the board strength.
Luego con unas bisagras uní las dos caras de la pizarra para crear un gran caballete; también corte una madera para agregarle una pequeña repisa para colocar las pinturas cuando el pequeño ALÍ este en su proceso creativo. La aseguré bien a las patas con unos tornillos para darle resistencia a la pizarra.
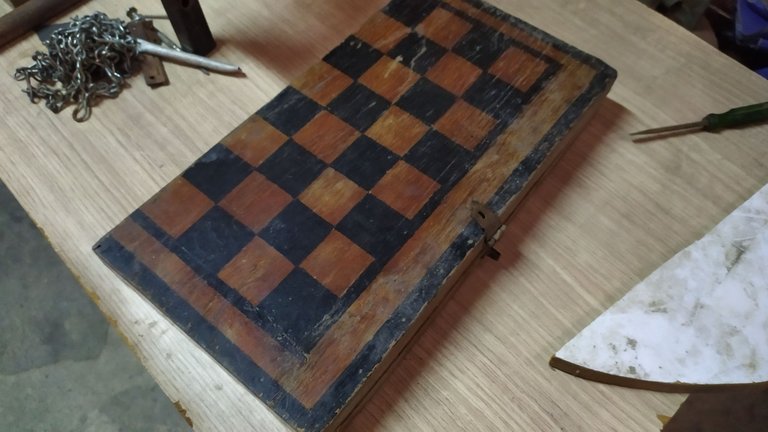
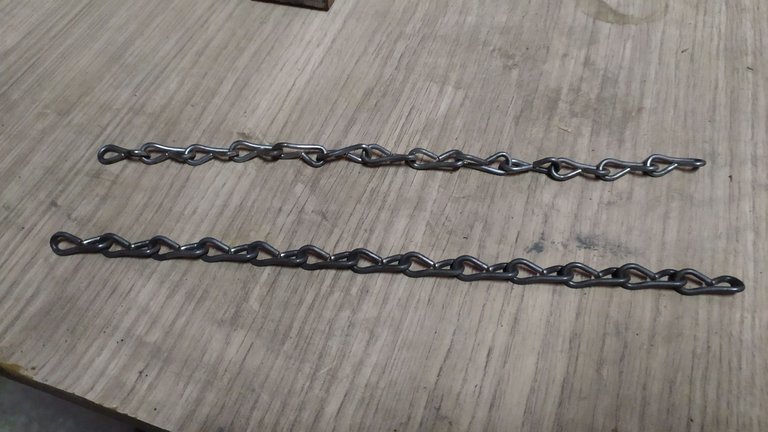
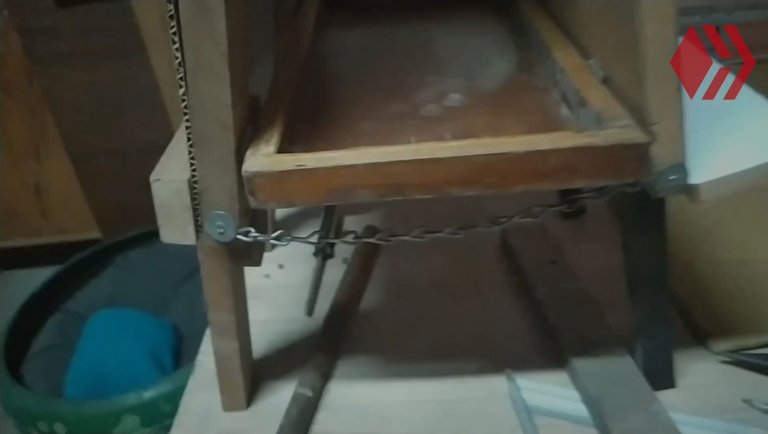
Using a chessboard that my dad once made for my brother, but it was already damaged, I made a deposit for the board so that Ali can store his artistic implements in a practical way. I also added some chains to the sides to ensure the board stays in the correct shape.
Usando un tablero de ajedrez que mí papa le hice alguna vez a mi hermano, pero ya estaba dañado, le hice un depósito a la pizarra para que Alí guarde sus implementos artísticos de manera práctica. También le agregué unas cadenas a los lados para asegurar que la pizarra se mantenga en la forma correcta.
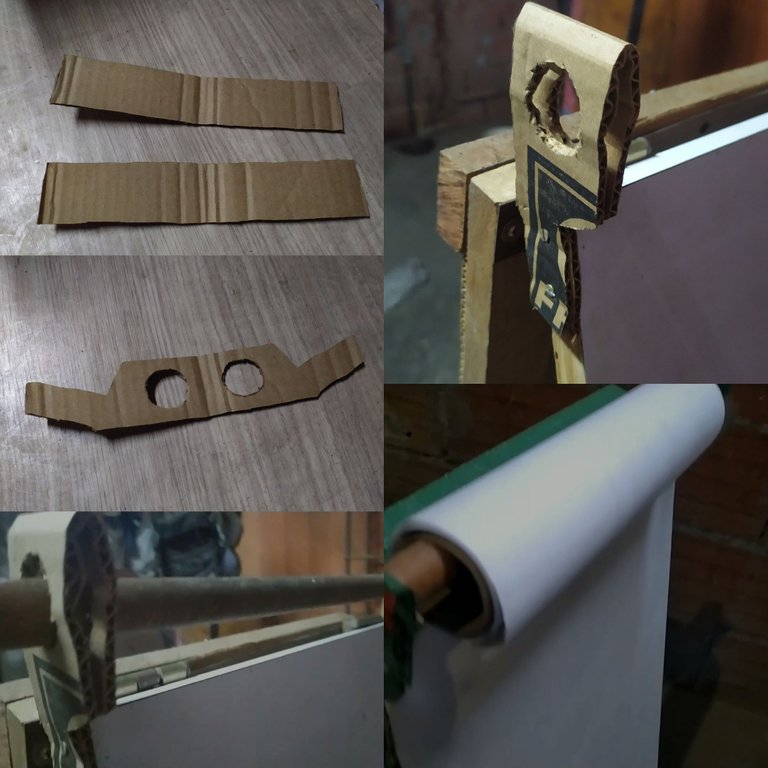
Finally, using cardboard, I placed some supports to place a roll of paper, in which Ali will have a canvas in which he can use paints and thus not stain the other surfaces; You can see the rest of the project in the video, I apologize for the length of the video, it just took a lot of time to do the DIY and I didn't want to leave anything unshown.
Por último usando cartón le coloque unos apoyos para colocar un rollo de papel, en el cual Alí tendrá un lienzo en el que podrá utilizar pinturas y así no manchar las otras superficies; el resto del proyecto lo puedes apreciar en el video, me disculpo por la duración del vídeo solo que tomó una gran cantidad de tiempo realizar el bricolaje y no quería dejar nada sin mostrar.
This was a job that took me almost two months to complete, more than all the delays were because the materials that I was recycling some were not in perfect condition and that caused me to rethink the way in which I was executing the project, I also I greatly limit the lack of tools to cut wood, I only have a hacksaw to cut and it is not exactly for cutting wood, but that was what I had and it helped me to finish the DIY, I loved the final result, I am satisfied, I made a lot of effort so that everything will be fine and I did it, besides little Ali showed me that the effort was worth the joy. I hope this post is to his liking, good vibes 🖖🏼.
Este fue un trabajo que me llevo casi dos meses para culminar, mas que todo los retrasos fueron porque los materiales que estaba reciclando algunos no estaban en perfectas condiciones y eso ocasionó que tuviera que repensar la manera en la que estaba ejecutando el proyecto, también me limito mucho la falta de herramientas para cortar madera, tengo solo una segueta para cortar y no precisamente es para cortar madera, pero eso era lo que tenía y me ayudo a finalizar el bricolaje, el resultado final me encanto, estoy satisfecho, me esforcé mucho para que todo quedará bien y lo logré, además el pequeño Alí me demostró que el esfuerzo valió la alegría. Espero que este post sea de su agrado, buenas vibras 🖖🏼.

MANY THANKS / MUCHÍSIMAS GRACIAS


All images and texts cited in this publication are my own authorship.
Todas las imágenes y textos citados en esta publicación son de mi propia autoría.
The banner was created with the tools of the canva platform.
El banner fue creado con las herramientas de la plataforma canva.
GOOGLE TRADUCTOR
▶️ 3Speak
Gracias por nuestra pizarra 💖 a Alí le gusta mucho, y aunque sigue rayando las paredes jajaja sabe que esa pizarra es para escribir "A-lí"
🤣🤣😅 que bueno que les gustó la pizarra, espero sea de mucha utilidad y le permita a Alí poder desarrollar su creatividad y escritura 🤓😌
Buenas vibras 🖖🏼
!PIZZA
The rewards earned on this comment will go directly to the person sharing the post on Twitter as long as they are registered with @poshtoken. Sign up at https://hiveposh.com.