

It is a pleasure to be here in this community, to share with you a practical and economical way to cover our children's notebooks, now that they are starting the 2022-2023 school year in Venezuela.
I have always liked to make a difference when it comes to lining notebooks. I am bored to death with the contact covers sold in bookstores, because in my country there is little variety.
So, remembering a time when I lined a notebook with scrap material, I thought of doing something similar this time. I had little recyclable material at home, but I did have cold paints that, in my case, have worked on almost any surface.
I'll tell you how I did it and you'll see how simple it is and above all, how fun the notebooks look.
💡 💡
💡
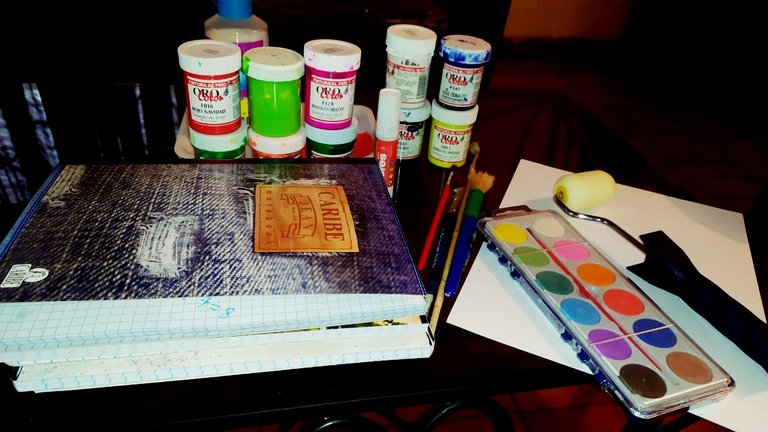
📌Letter-size white sheets
📌Cold paint in cheerful colors.
📌Brushes
📌 Toothbrush that you do not use.
📌 Liquid silicone
📌 Notebooks
👣 👣
👣
The first thing we will do is crumple all our white sheets into balls. The number of sheets will depend on the number of notebooks or school notebooks you have and also, if you will cover both the front and the back cover. Since I had 6 notebooks, I needed 12 sheets. Once you have made balls with each of the sheets, you are going to stretch them. As in the following image:

After stretching the sheet, you will take the liquid silicone and apply it to the first notebook you are going to work with.

Now you are going to take one of the crumpled sheets of paper and place it on top of the notebook to be lined. Make sure you have the same space at the top and at the bottom. Make your calculations to the eye percent as if you were lining the notebooks with the paper that is usually used for this.
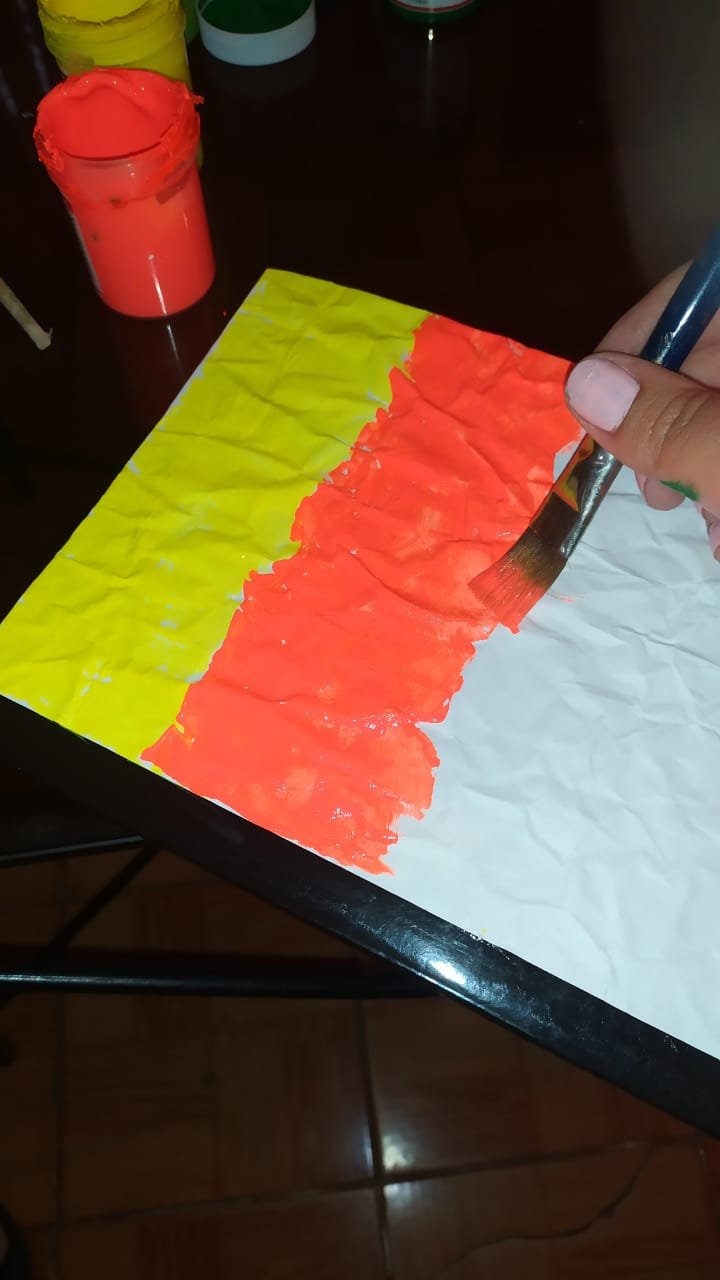
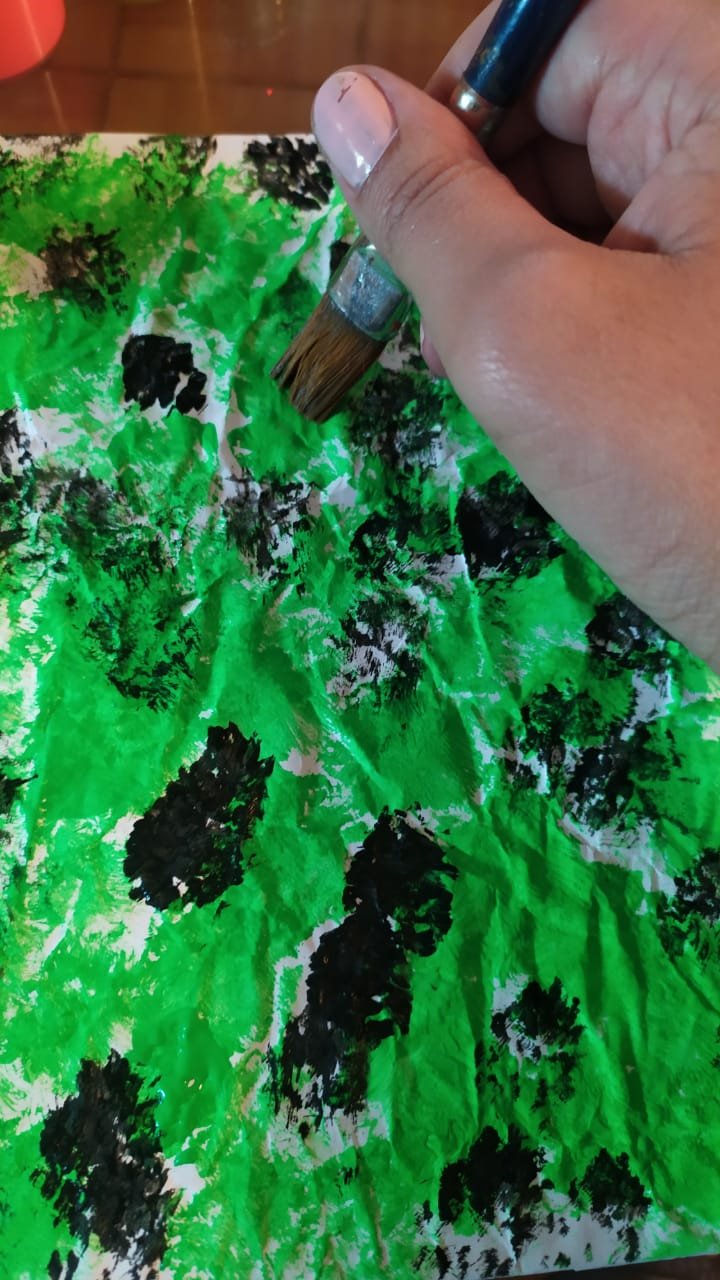
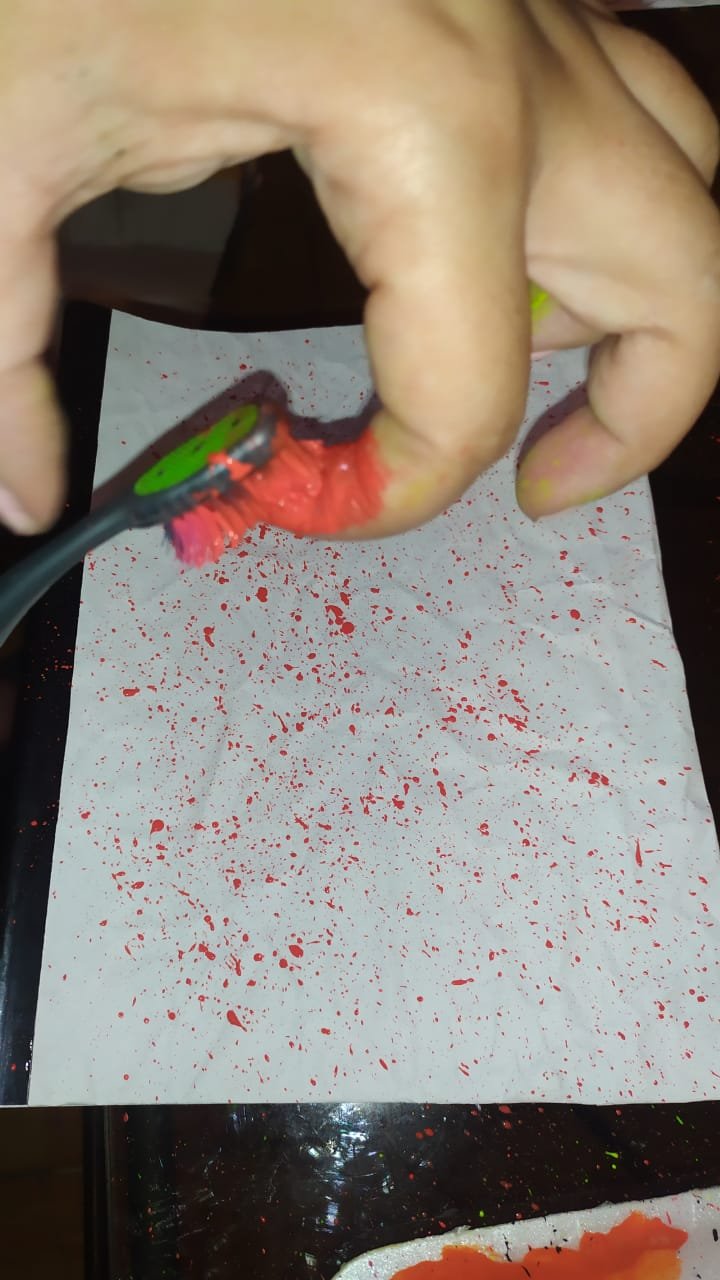
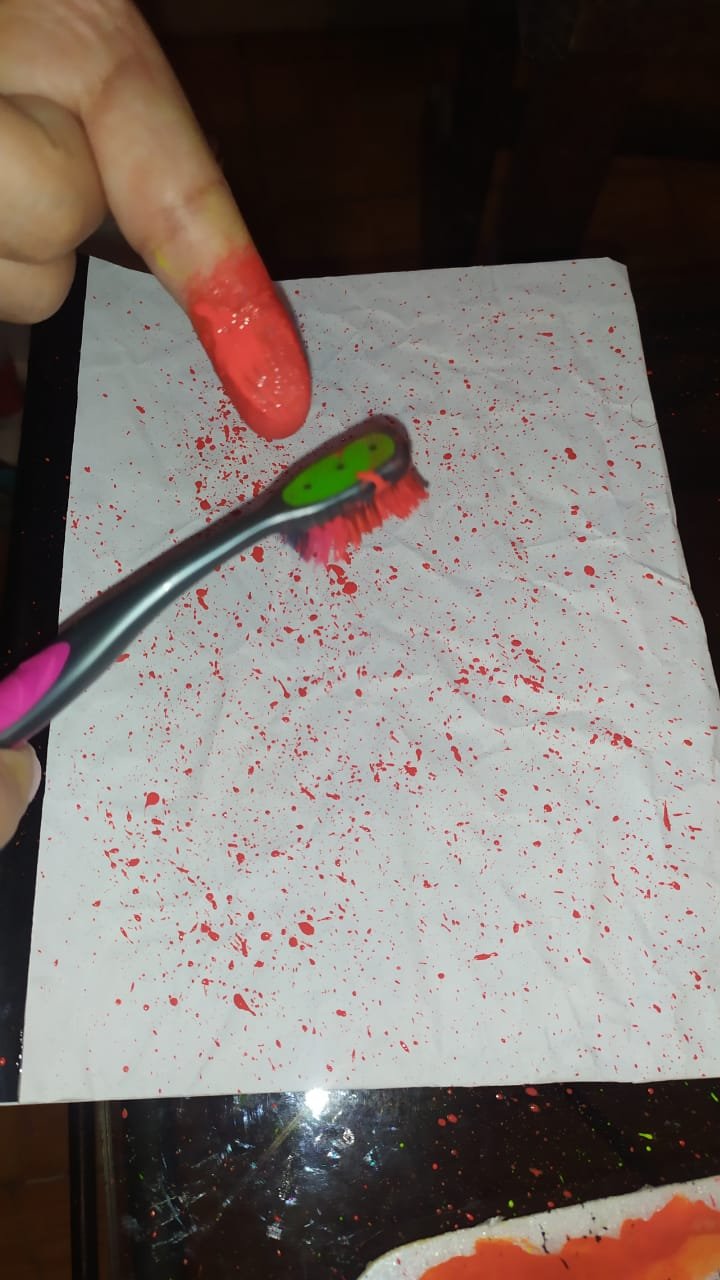
Now that you have this step ready, you just have to enjoy because it's time to paint! If you can involve your children in this activity, all the better, because if there is something that relaxes, it is painting. And even more if you let your imagination fly. I confess that I have always been a bit rebellious when it comes to doing things the same as others, so I wanted to go outside the rule and simply make fun strokes, with bright and cheerful colors.
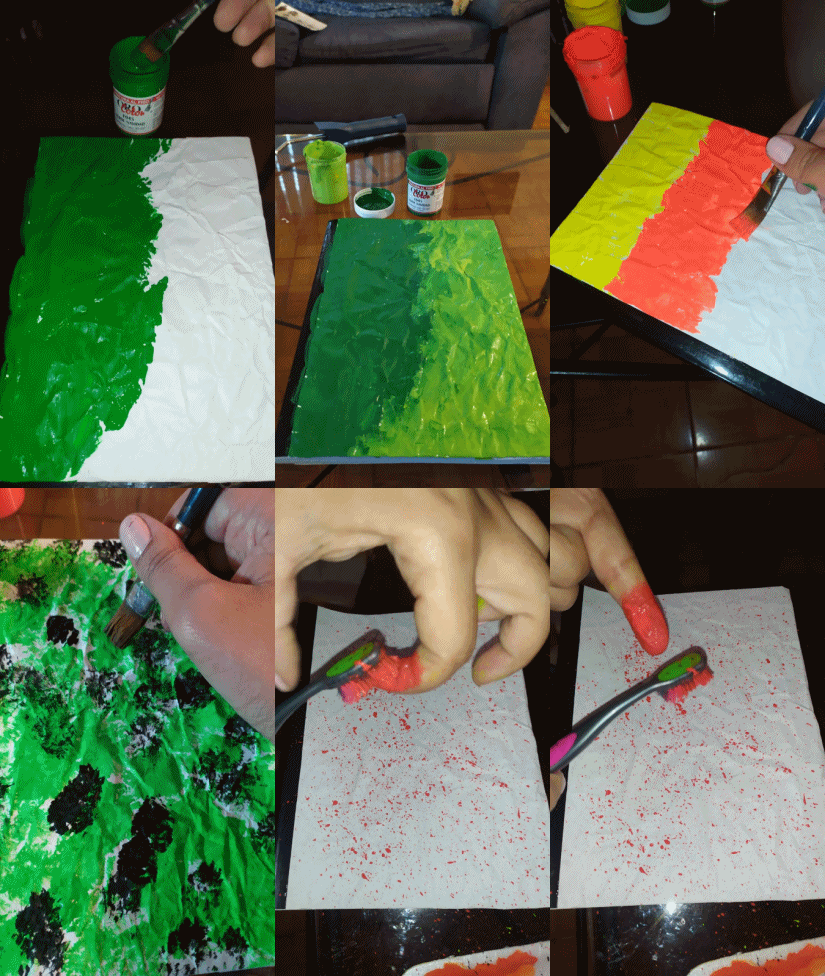
In this step, you will only dedicate yourself to create, to let your imagination fly. You can do whatever you want. I love designs like this, crazy and fun and of course, no one else has them. My son was delighted with what I made for him. He didn't come with me to do it with me, because he was busy with an English assignment he had.
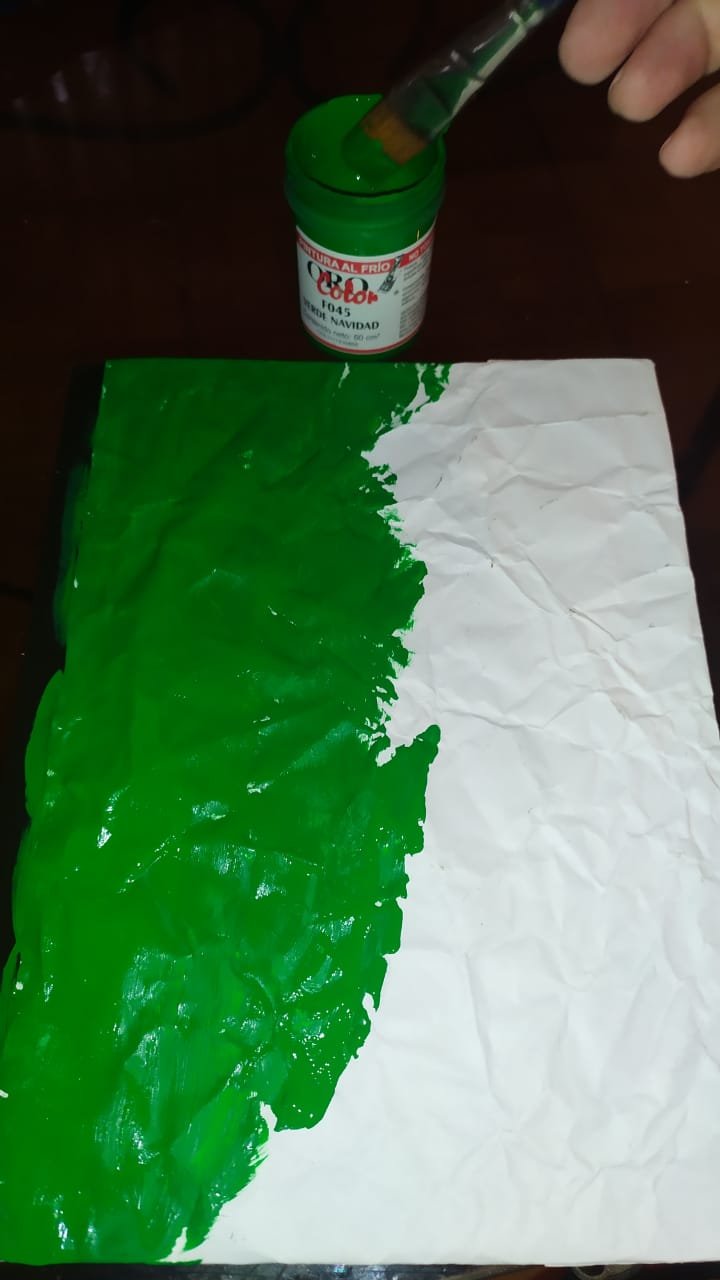
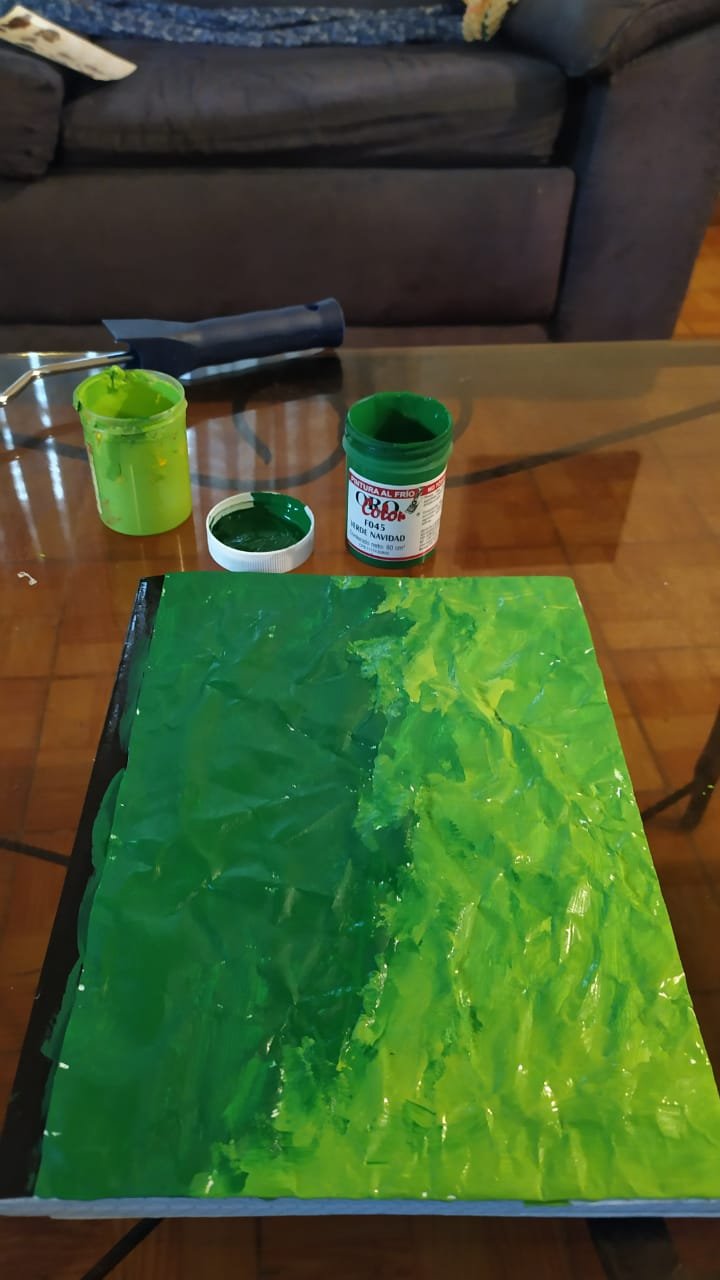
But in the gif the images don't look so sharp, so I want you to be able to see them better here:
👉 Slide the photos from left to right 👉
👉 Slide the photos from left to right 👉
The final result of each notebook, delighted my son and me too because it is my style.
And like every child, he wanted to put some stickers with the characters of one of his favorite movies "Star Wars". This is how the notebooks turned out, both on the front and on the back:


If you want to give a different touch to your notebooks, those of your children or someone else, this can get you out of trouble. I made this one for myself, some time ago:


Thank you for having accompanied me this far, thank you for reading me, thank you thank you thank you thank you thank you!
💛🌼💛🌼
Credits:
*100% original content.
*Photographs taken with the camera of my Samsung S20 Fe cell phone.
*For the cover photo, I used Canva in its free version, to make the frame.
For the rest of the photo frames, I used the free program PhotoScape, as well as for making the gif.
For the titles, the royalty-free tool used was es.cooltext.com.
*For the eng-spa translation, I had the support of Deepl in its free version.
*All rights reserved @purrix.


Un placer estar aquí en esta comunidad, para compartir con ustedes una manera práctica y económica de forrar los cuadernos de nuestros hijos, ahora que ya están iniciando el periodo escolar 2022-2023 en Venezuela.
Siempre me ha gustado marcar la diferencia a la hora de forrar los cuadernos. Me aburre a morir los forros contact que venden, pues en mi país hay poca variedad.
Por ello, recordando una vez que forré una libreta con material de desecho, pensé en hacer algo parecido esta vez. Tenía poco material reciclable en casa, pero sí tenía pinturas al frío que, en mi caso, me ha funcionado en casi cualquier superficie.
Te contaré cómo lo hice y verás lo sencillo que resulta y sobre todo, lo divertidas que se ven las libretas.
💡 💡
💡
📌Hojas blancas tamaño carta
📌Pintura al frío de alegres colores
📌Pinceles
📌 Cepillo de dientes que no utilices
📌 Silicón líquido
📌 Cuadernos

👣  👣
👣
Lo primero que haremos es arrugar todas nuestras hojas blancas. La cantidad de hojas va a depender del número de cuadernos o libretas escolares que tengas y además, si las forrarás tanto la carátula como la contraportada. Como yo tenía 6 libretas, necesitaba 12 hojas. Una vez que hayas hecho bolitas con cada una de las hojas, las vas a estirar. Como en la siguiente imagen:

Después de estirar la hoja, vas a coger el silicón líquido y se lo colocarás a la primera libreta con la que vas a trabajar.

Ahora vas a tomar una de las hojas de papel arrugado y vas a colocarla sobre la libreta para forrar. Calcula bien que te quede tanto arriba como abajo, el mismo espacio. Haz tus cálculos al ojo por ciento como si estuvieses forrando las libretas con el papel que usualmente se usa para esto.
Ya teniendo listo este paso, solo te queda disfrutar porque ¡llegó la hora de pintar! Si puedes involucrar a tus hijos en esta actividad, muchísimo mejor, porque si hay algo que relaja, es pintar. Y más si dejas volar tu imaginación. Yo confieso que siempre he sido un poco rebelde a la hora de hacer las cosas igual a los demás, así que también en esta actividad quise salirme de la regla y simplemente hacer trazos divertidos, con colores chispeantes y alegres.

En este paso, solo te vas a dedicar a crear, a dejar volar tu imaginación. Puedes hacer lo que quieras. A mí me encanta los diseños así, alocados y divertidos y que por supuesto, no los tenga nadie más. Mi hijo estaba encantado con lo que le hice. No me acompañó a hacerlo conmigo, porque estaba ocupado en una asignación que tenía de inglés.
Pero en el gif las imágenes no se ven tan nítidas, por eso quiero que las puedas ver mejor aquí:
👉 Desliza las fotos de izquierda a derecha 👉
👉 Desliza las fotos de izquierda a derecha 👉
El resultado final de cada libreta, encantó a mi hijo y a mí también porque es mi estilo.
Y como todo niño, quiso ponerle unas calcomanías con los personajes de una de sus películas favoritas "Star Wars". Así quedaron las libretas, tanto por delante, como por detrás:


Si quieres darle un toque distinto a tus libretas, las de tus hijos o alguna otra persona, esto puede sacarte de apuros. Esta la hice para mí, hace algún tiempo:


Gracias por haberme acompañado hasta acá, gracias por leerme, gracias gracias gracias.
Créditos:
*Contenido 100% original.
*Fotografías tomadas con la cámara de mi celular Samsung S20 Fe.
*Para la fotografía de portada, utilicé Canva en su versión gratuita, para hacer el marco.
Para el resto de los marcos de las fotografías, me apoyé en el programa gratuito PhotoScape, así como para a realización del gif.
Para los títulos, la herramienta libre de regalías empleada fue es.cooltext.com
*Para la traducción eng-spa conté con el apoyo de Deepl en su versión gratuita.
*Todos los derechos reservados @purrix.

Una forma muy ingeniosa y diferente de personalizar los cuadernos. Y me encanta el que tiene el bolsillo de tela de bluejean. Muy creativo, felicidades :)
Siii...! el de bolsillo me salió lindo y lo mejor es que este tipo de forros hacen las carátulas más resistentes. Gracias @coquicoin 🌼💛🌼
Una forma bonita y única de llevar los cuadernos personalizados!
Me gustó mucho el del bolsillo, se ve cuchi✨😍
Hola!!! Gracias por tu apoyo! Es lo que comentaba ahorita, que este tipo de forros, hacen más resistentes las carátulas de los cuadernos.
Te dejo un abrazo ✨✨✨
Con el apoyo de la familia.
Trail de TopFiveFamily
Gracias familia!
Que forma tan hermosa y artística de personalizar los cuadernos! Felicitaciones para ti y tus hijos! @purrix
Hola @mllg!! Gracias mi niña, hazlo, te va a quedar lindo. No sé si recuerdas cuando forrábamos los cuadernos con el papel de los chocolates y otras chucherías? Se veían espectaculares! 💛💛💛
Excelente trabajo, me encanto, hermosa creatividad, te felicito.
Hola @coromoto20!!! Gracias por tu apoyo, gracias gracias gracias!