Eng
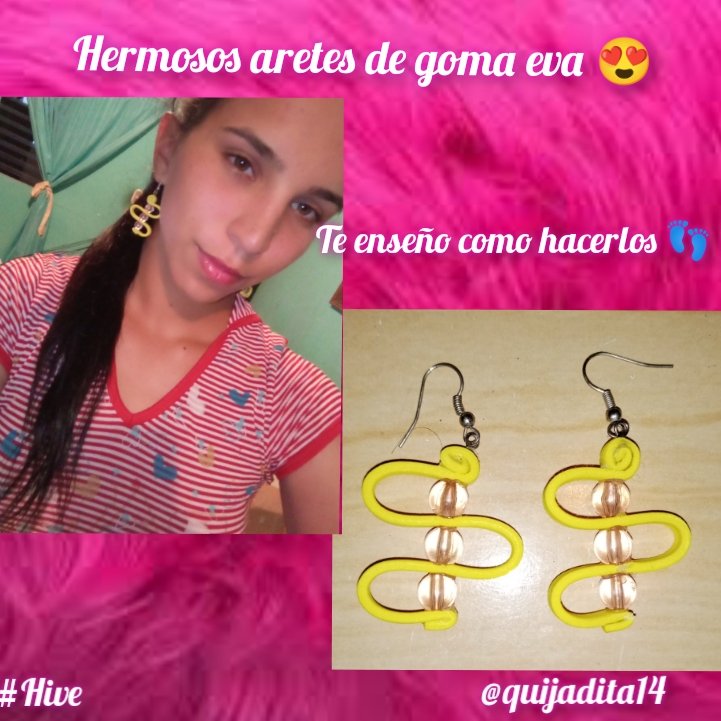
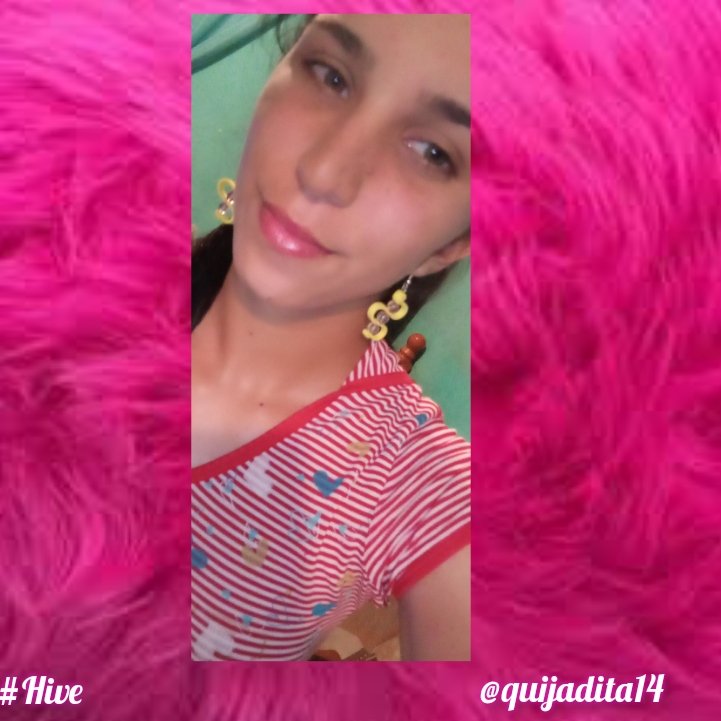
Good energies I wish you to start this new week of June 🍒, I hope everyone is very well! I wish you many blessings for each of your homes 😘🌈 today I want to share with you these beautiful earrings made of eva rubber and transparent jewelry stones, I tell you that this idea was born since last Wednesday I got on a bus and well I am very retailer thanks to my career and I noticed that a girl had an eva rubber bracelet, some pretty strips with their closures and with small rhinestones inlaid and I said "why not make some eva rubber earrings?" 🤔 so I tried it and I really liked the result so here I show you all my procedure 🛠️.
Esp
Buenas energías les deseo para iniciar está nueva semana de junio 🍒, espero estén muy bien todos! les deseo muchas bendiciones para cada uno de sus hogares 😘🌈 hoy quiero compartir con ustedes estos hermosos aretes hechos de goma eva y piedras de bisutería transparentes, les cuento que está idea nace ya que el pasado miércoles me monte en un bus y bueno soy muy detallista gracias a mi carrera y me fijé que una niña tenía una pulsera de goma eva, unas lindas tiras con sus cierres y con pequeñas incrustaciones de diamantes de fantasía y dije " por qué no hacer unos aretes de goma eva?" 🤔 así que lo intente y me gustó mucho el resultado así que acá les muestro todo mi procedimiento 🛠️.

Eng
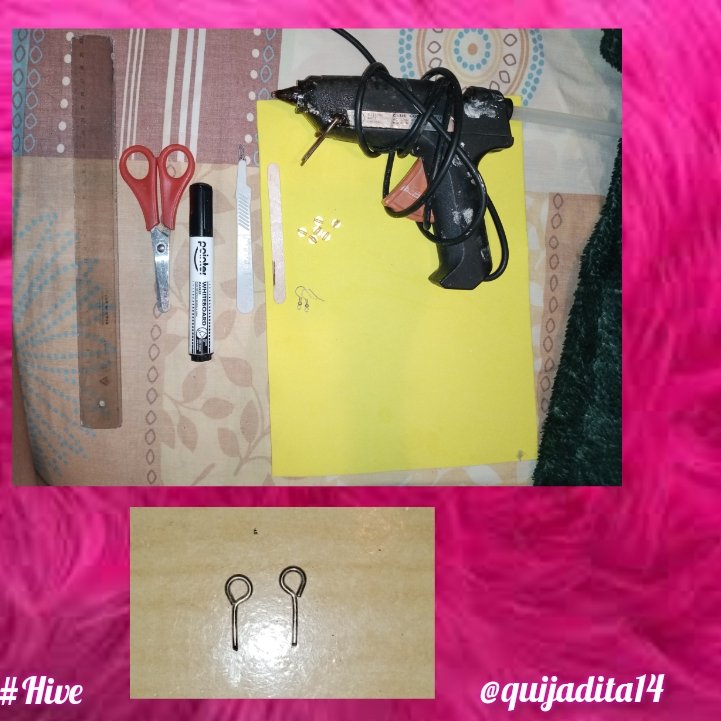
Before starting we will prepare our work table with the following materials:
- Yellow EVA foam
- Hot silicone
- Ruler, marker and exact
- Transparent jewelery stones
- Jewelry hooks
- Wooden pallet
- small jewelry nails
Esp
Antes de comenzar prepararemos nuestra mesa de trabajo con los siguientes materiales:
- Goma eva color amarillo
- Silicón caliente
- Regla, marcador y exacto
- Piedras de bisutería transparentes
- Anzuelos de bisutería
- Paleta de madera
- clavos de bisutería pequeños
Eng
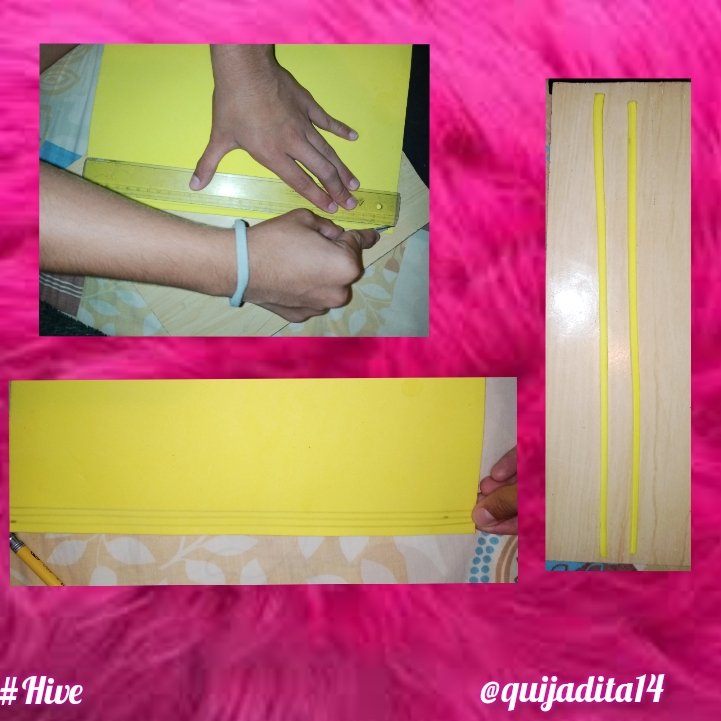
To start we are going to take the Eva rubber, the rule and the score, we will make 3 lines of 5 millimeters wide along the Eva rubber, then with the exact more the support of the rule we will cut each of the strips, taking care that that They are as straight as possible, since there will be the charm of the slopes
Esp
Para comenzar vamos a tomar la goma eva, la regla y el marcador, haremos 3 líneas de 5 milímetros de ancho a lo largo de la goma eva, luego con el exacto más el apoyo de la regla cortaremos cada una de las tiras, cuidando que queden lo más rectas posibles, ya que ahí estará el encanto de los pendientes
Eng
In a comfortable space we place the wooden pallet to hold the jewelry stones, just as we place the hot silicone gun plus the EVA rubber strips that we previously cut.
Esp
En un espacio cómodo colocamos la paleta de madera para que sostenga las piedras de bisutería, al igual colocamos a la mano la pistola de silicón caliente mas las tiras de goma eva que anteriormente cortamos.

Eng
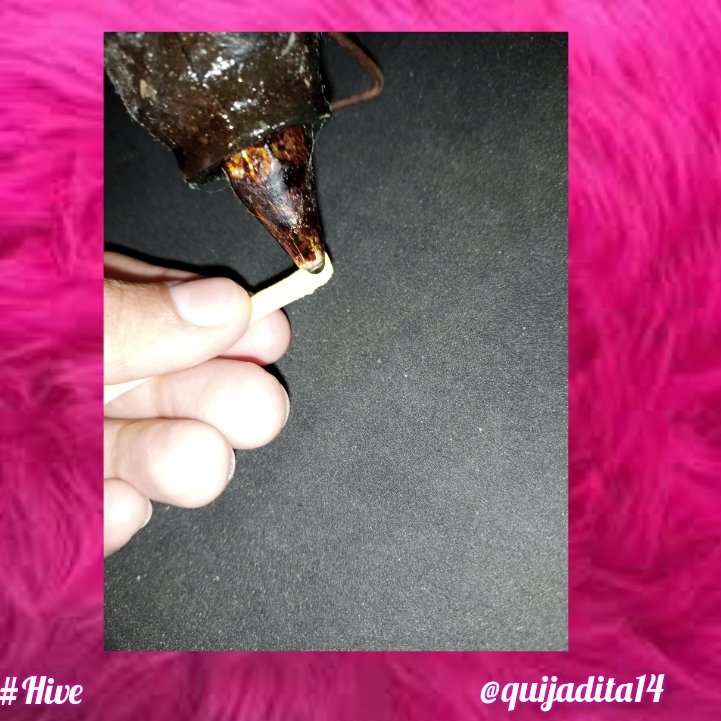
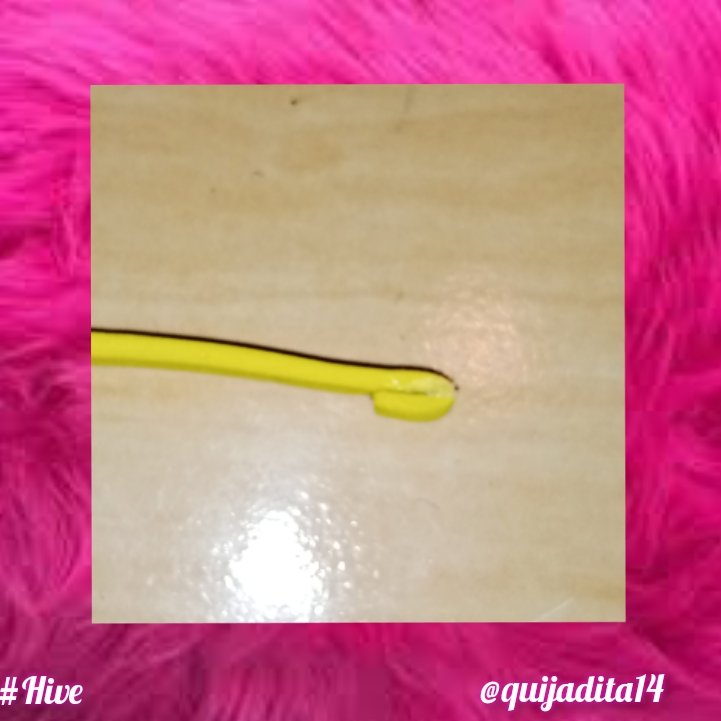
We are going to take a strip of eva rubber, we put hot silicone on one end and we will make it a double of 5 millimeters long, we leave it pressed for a few seconds with our fingers so that the silicone cools and it is fixed.
Esp
Vamos a tomar una tira de goma eva, le colocamos en un extremo silicón caliente y le harem0s un doble de 5 milímetro de largo, la dejamos presionada por unos segundos con los dedos para que el silicón se enfrié y este quede fijado.
Eng
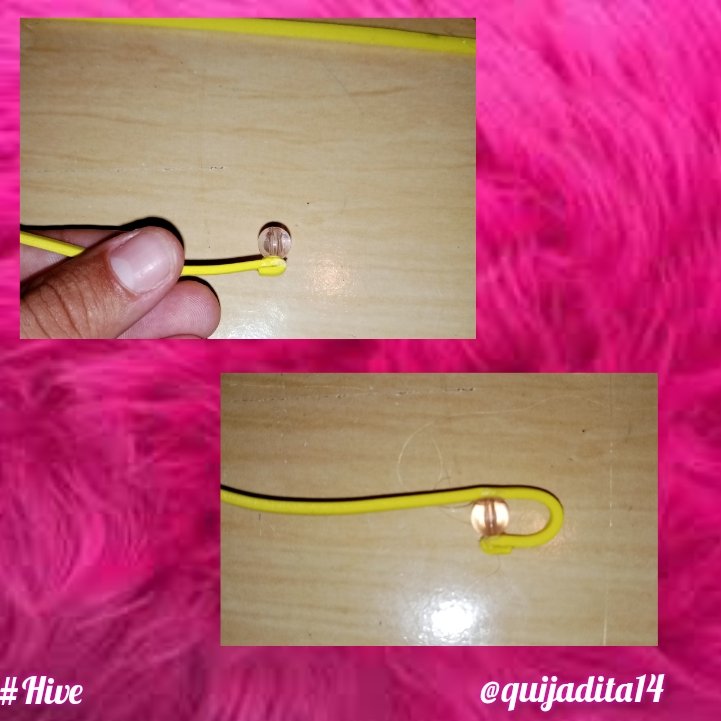
Once the silicone cools, we place the first jewelry stone and in the opposite direction we bend the EVA rubber strip to create a curve which we fix to the jewelry stone with the hot silicone, let's try to work with small amounts of hot silicone so that we do not looks bulky or loaded.
Esp
Una vez enfriado el silicón colocamos la primera piedra de bisutería y en sentido contrario doblamos la tira de goma eva para crear una curva la cual fijamos a la piedra de bisutería con el silicón caliente, tratemos de trabajar con pocas cantidades de silicón caliente para que no se vea abultado o cargado.
Eng
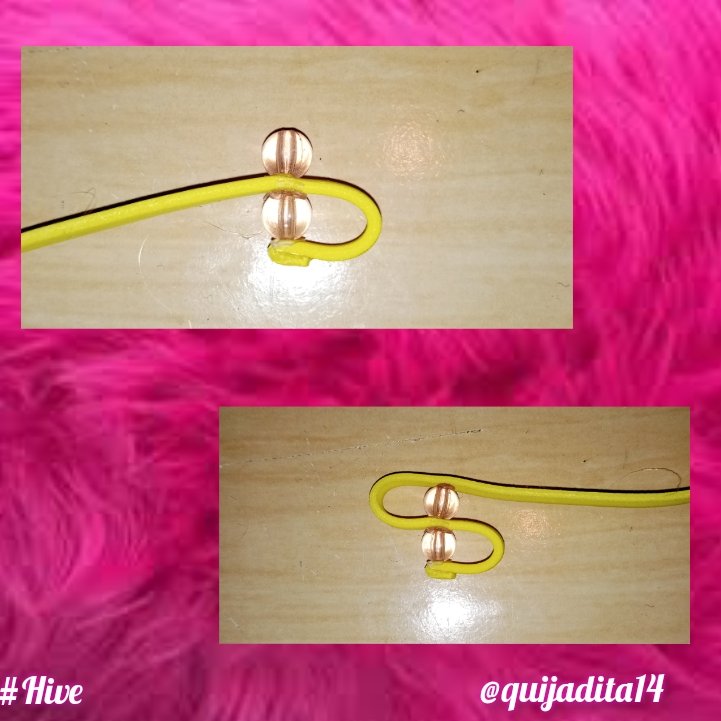
In our second stone we will do the same procedure, only this time we look at the position of the previous stone so that all of them are vertically straight, just as we will use a small amount of hot silicone so that our earring does not look loaded, we double the Eva rubber strip to the opposite side of where it was, making a curve, we have to try that the curves are of the same proportionality so that the earring looks good.
Esp
En nuestra segunda piedra haremos el mismo procedimiento, solo que esta vez nos fijamos de la posición de la piedra anterior para que todas nos queden rectas verticalmente, al igual que utilizaremos poca cantidad de silicón caliente para que no se vea cargado nuestro arete, doblamos la tira de goma eva al lado contrario de donde estaba, realizando una curva, tenemos que tratar que las curvas sean de la mismas proporcionalidad para que el arete se vea bien.
Eng
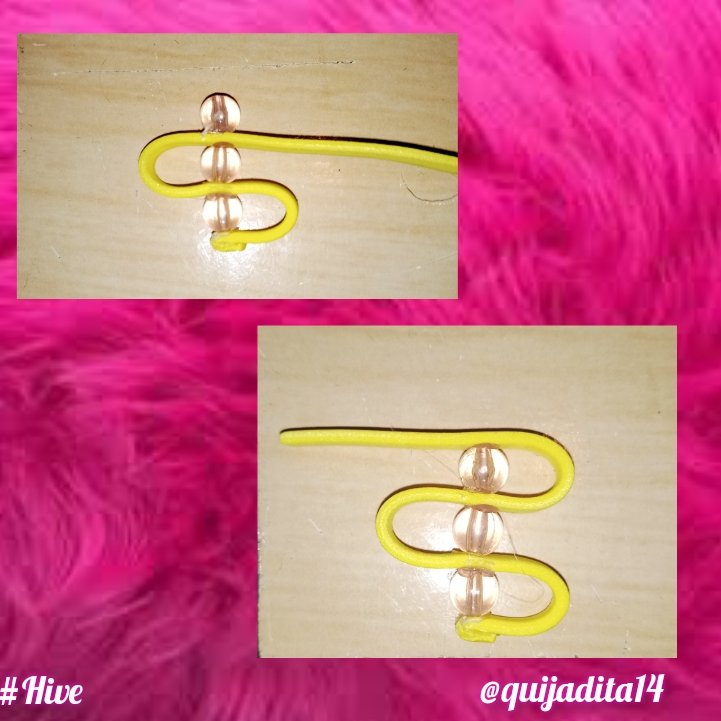
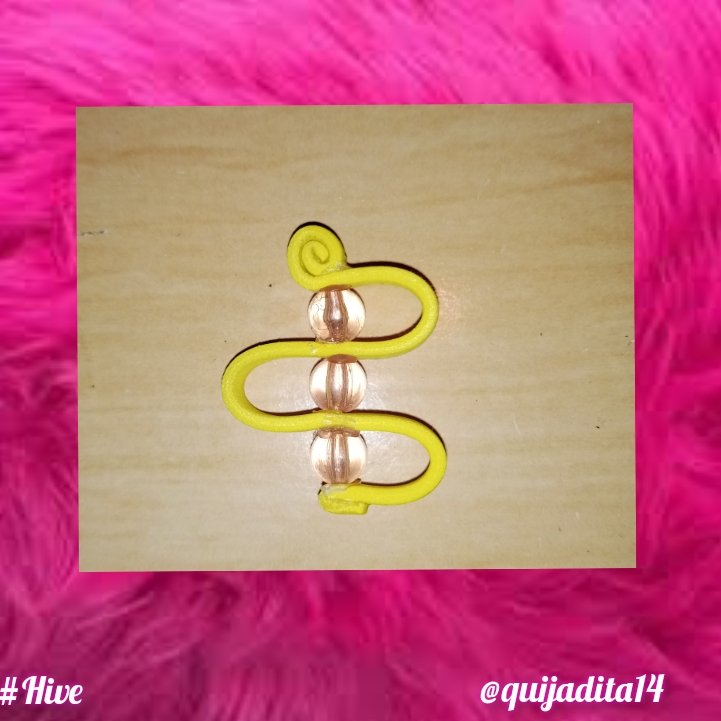
To finish placing our stones we will guide ourselves from the previous stone fixing it with hot silicone, only this time when making the curve we measure from the stone to the end of the eva rubber strip and we are going to leave approximately 3.5 centimeters long. which we will use to make a mini spiral to our earring, here I will also remind you to be very careful when applying the hot silicone.
Esp
Para terminar de colocar nuestras piedras nos guiaremos de la piedra anterior fijando la con silicón caliente, solo que esta vez al realizar la curva medimos de la piedra al extremo de la tira de goma eva y vamos a dejar aproximadamente 3,5 centímetros de largo lo cual utilizaremos para hacer un mini espirar a nuestro arete, acá también les recordare tener mucho cuidado al aplicar el silicón caliente.
Eng
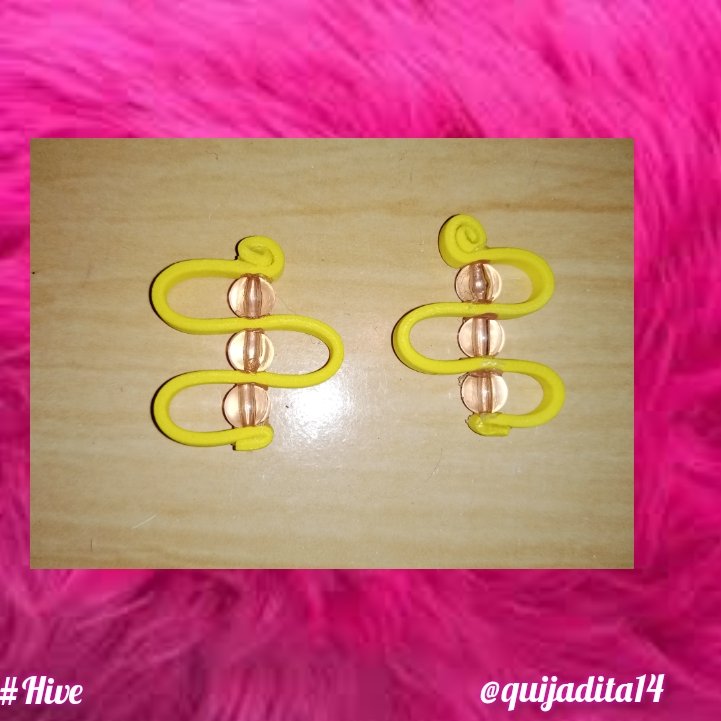
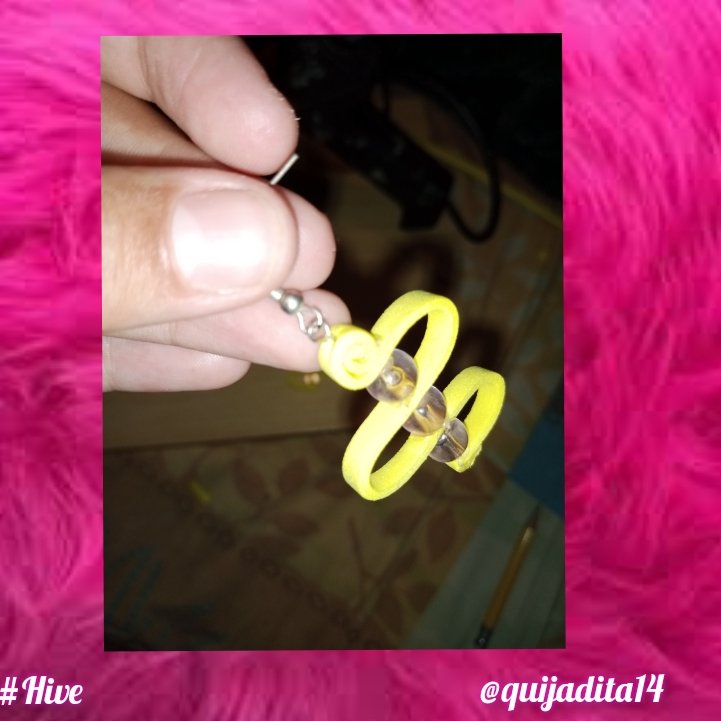
This is how the body of our earrings should fit.
Esp
Así nos deben quedar el cuerpo de nuestros aretes.
Eng
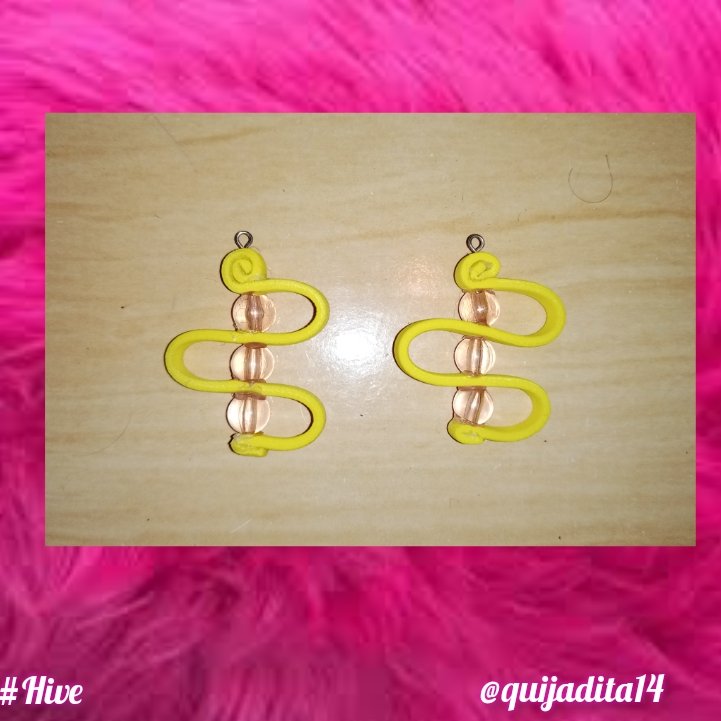
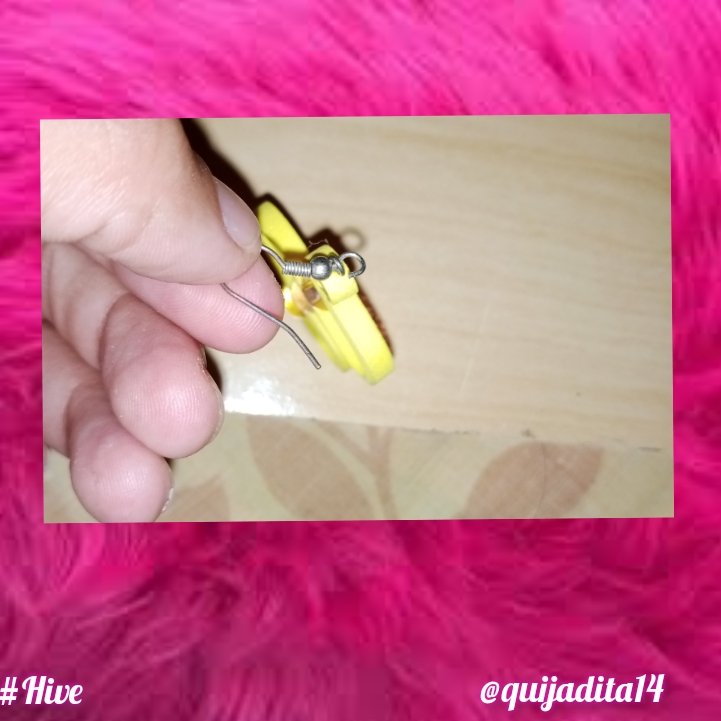
We only need to place the nail and jewelry hook, to be able to show off our earrings in our ears, these little nails have a slightly sharp point so we will take it between our fingers and we will turn it over the top of the spiral, once the hole is made we will place a little bit of silicone and place the nail so that it is completely fixed.
Esp
Solo falta colocarle el clavo y anzuelo de bisutería, para poder lucir nuestros aretes en nuestras orejas, estos clavitos poseen una punta un poco filosa entonces la tomaremos entre nuestros dedos y le daremos vueltas en cima del espiral, una vez realizado el hueco le colocaremos un poquito de silicón y colocamos el clavo para que quede completamente fijado.
Eng
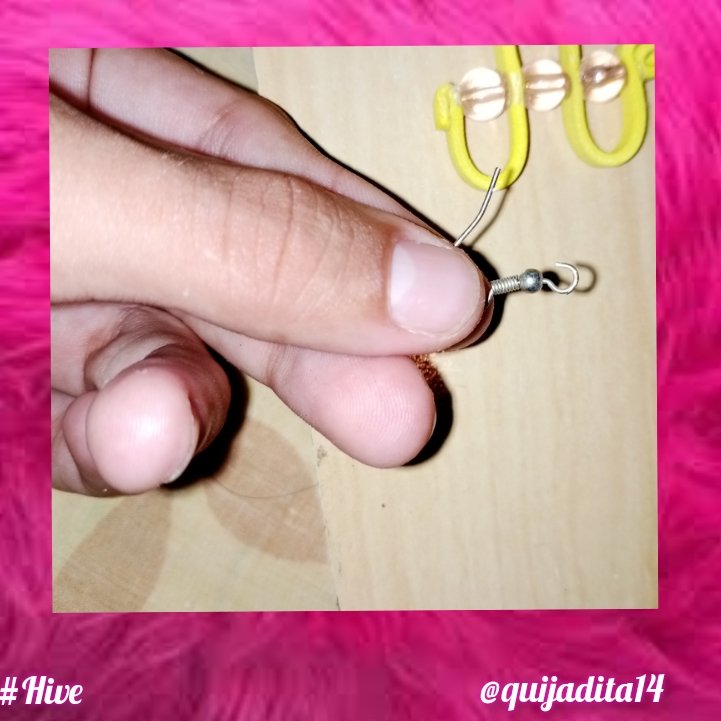
For the hooks we will delicately open the lower ring that they bring to pass it through the ring of the jewelry nails and we will proceed to close it.
Esp
Para los anzuelos vamos abrir delicadamente la argolla inferior que traen para pasarla a través de la argolla de los clavitos de bisutería y procederemos a cerrarla.
Eng
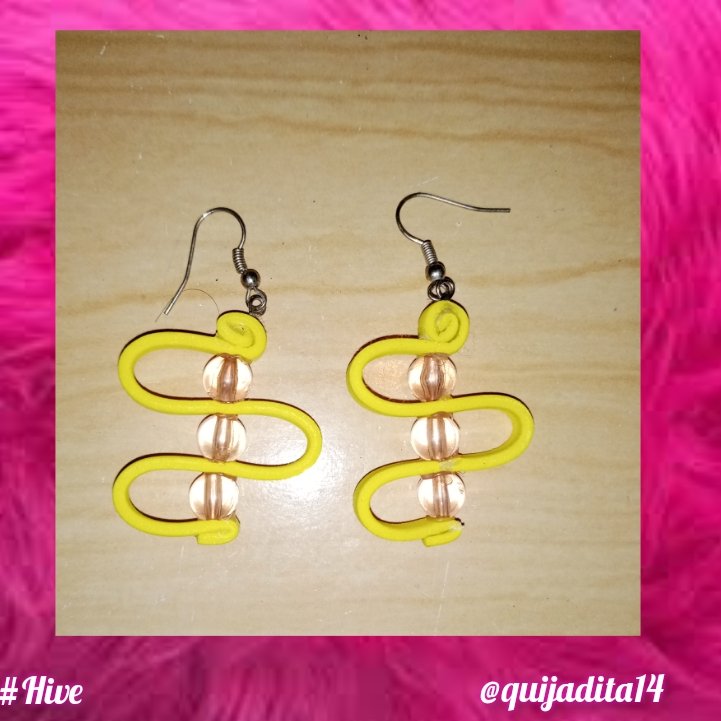
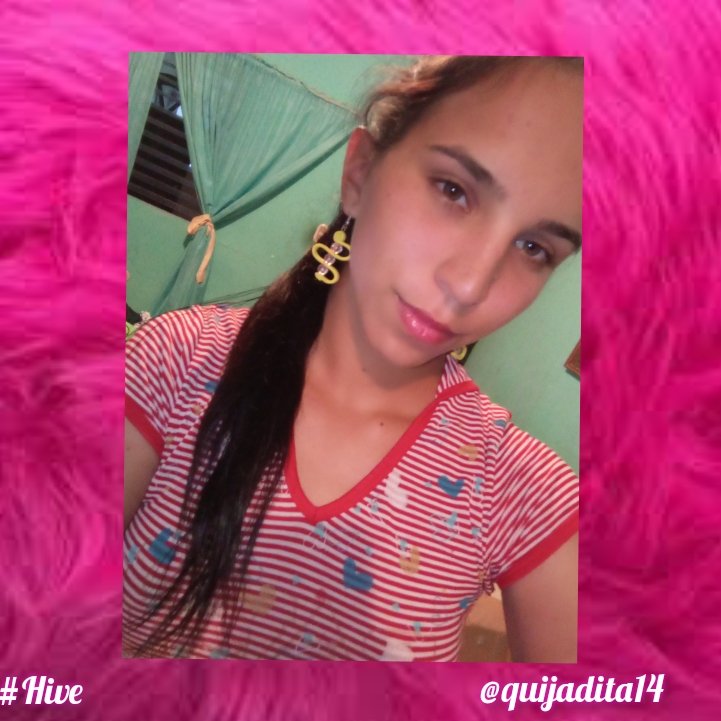
Ready dear family, this is how our beautiful earrings made with eva rubber and jewelry stones turned out, I never thought they could be so beautiful and attractive, but I really liked trying this idea and above all sharing it with you, happy start to the week 😍😋
Esp
Listo querida familia así quedaron nuestros hermosos aretes realizados con goma eva y piedras de bisutería, nunca pensé que podrían quedar tan bonitos y atractivos, pero me gusto mucho probar esta ocurrencia y sobre todo compartirla con ustedes, feliz inicio de semana 😍😋
Eng
All the photographs are my own, taken with an Infinix Hot 11 Play, edited in InCollage and the text was translated in Google translator
Esp
Todas las fotografías son de mi autoría, tomadas con un Infinix Hot 11 Play, editadas en InCollage y el texto fue traducido en Google traductor
Congratulations @quijadita14! You have completed the following achievement on the Hive blockchain and have been rewarded with new badge(s):
Your next target is to reach 2250 upvotes.
You can view your badges on your board and compare yourself to others in the Ranking
If you no longer want to receive notifications, reply to this comment with the word
STOPCheck out the last post from @hivebuzz:
Support the HiveBuzz project. Vote for our proposal!