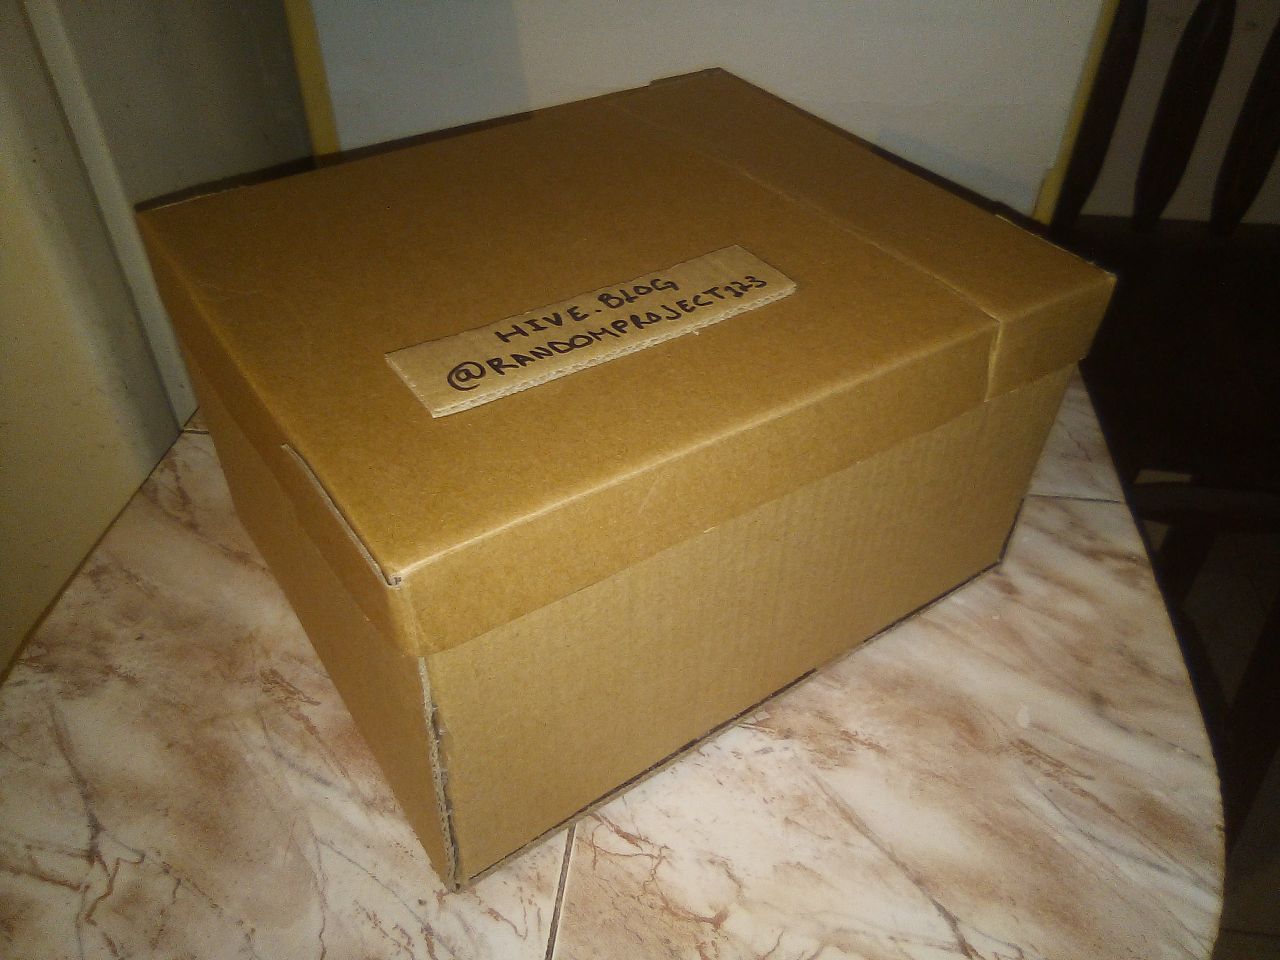
This cardboard box is where I will keep the gifts that I will take to my adventure companion on her birthday, it is a long-awaited trip and I cannot fail
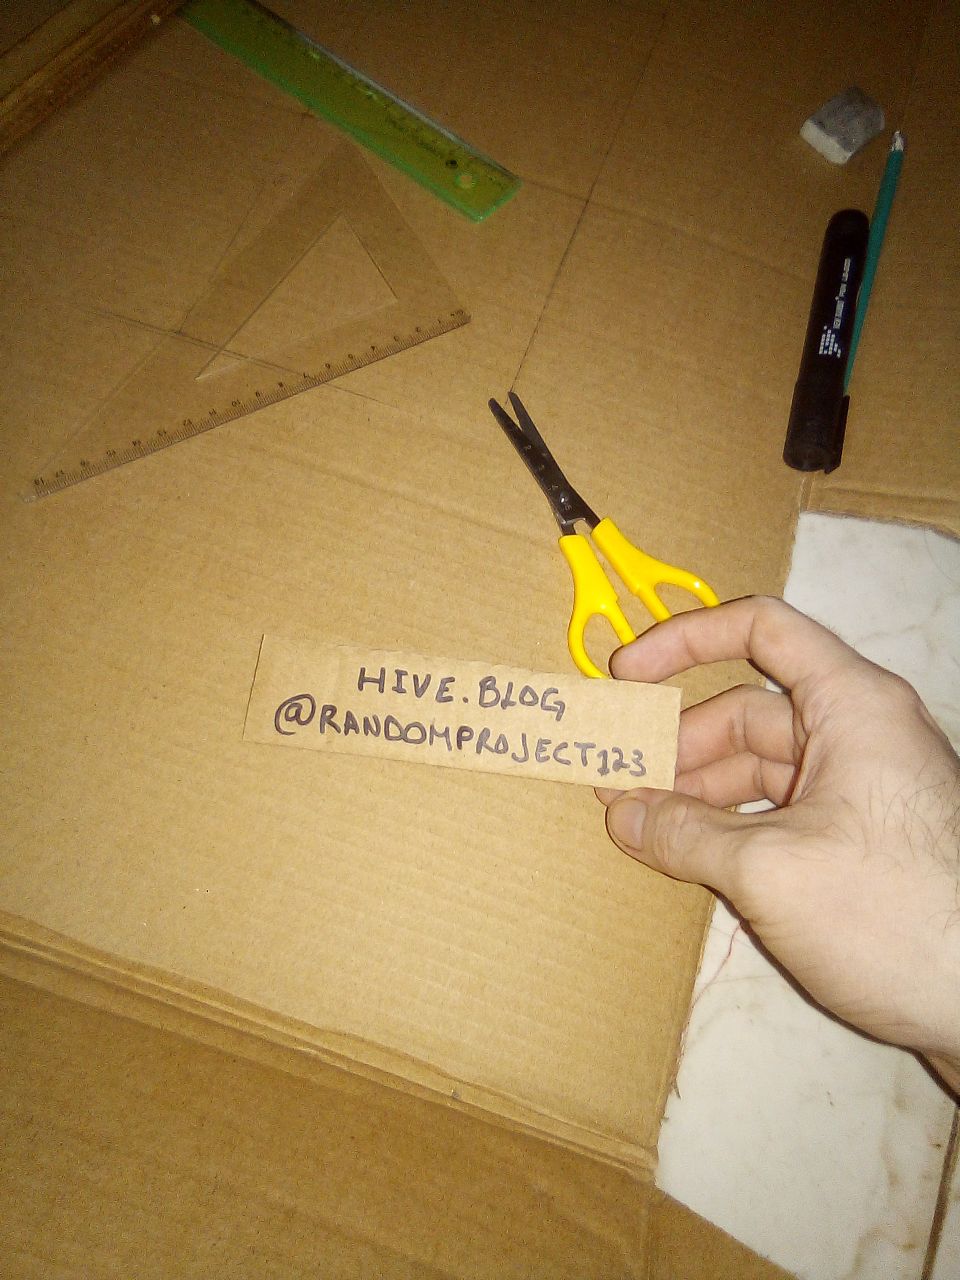
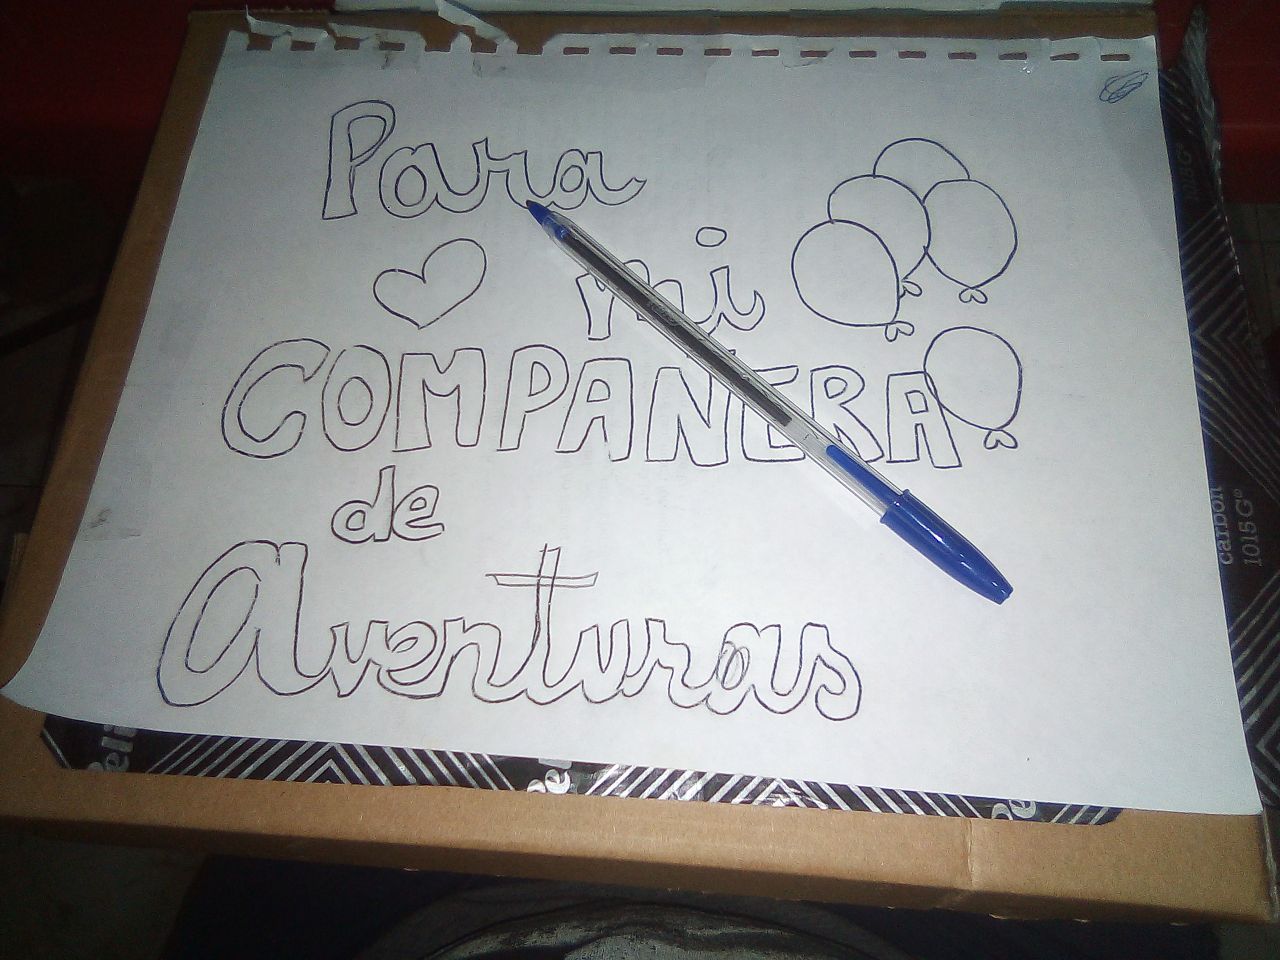
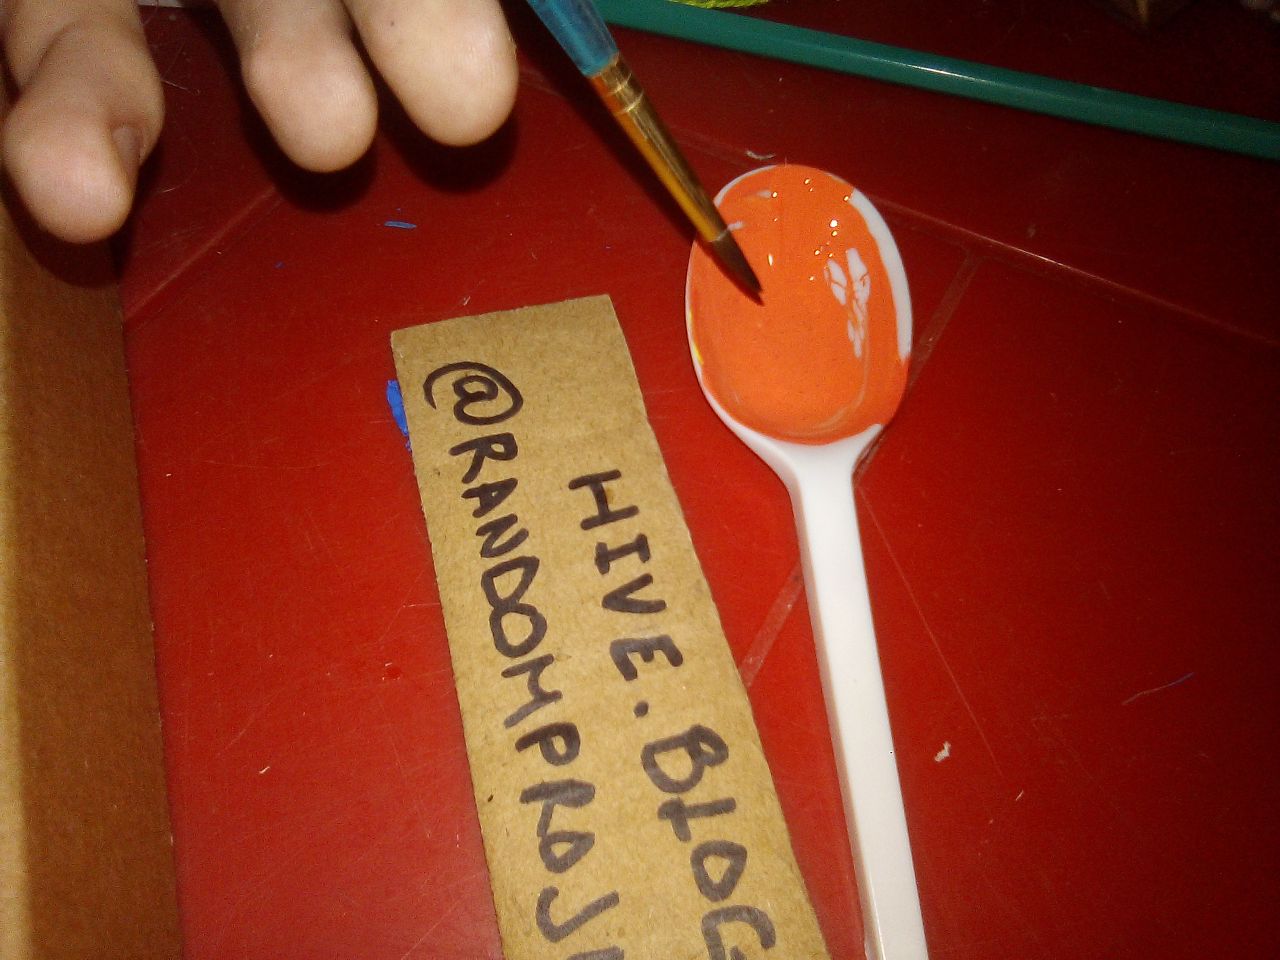
Lo primero que hice fué hacer un pequeño cartél, ya que siempre los pierdo.. tal vez no sea mala idea crearme uno de llavero y asi no perderlo tanto, aunque por ahora esto iba a funcionar.
The first thing I did was make a small poster, since I always lose them ... maybe it's not a bad idea to create a keychain so I don't lose it so much, although for now this would work.
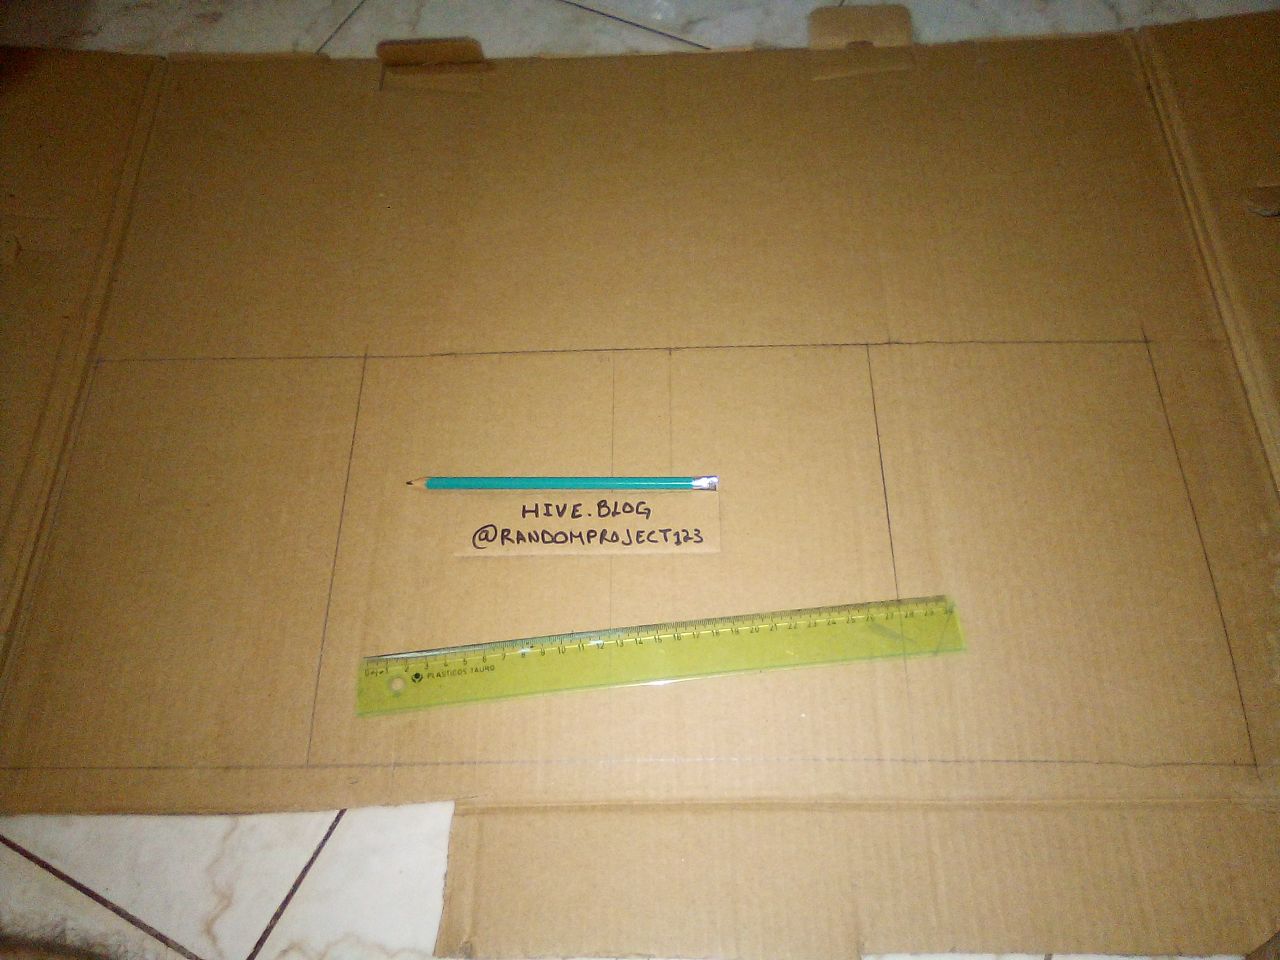
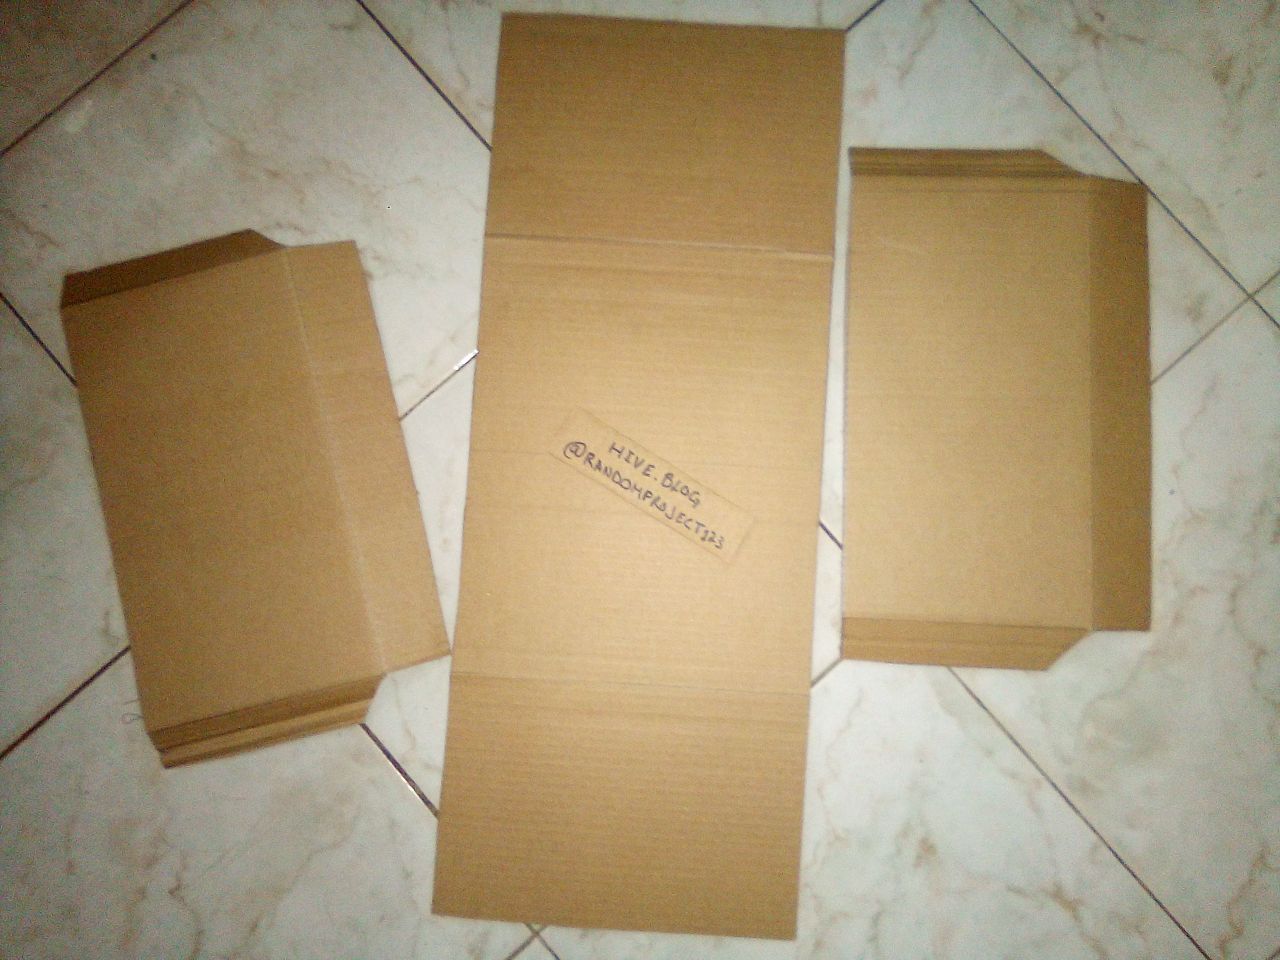
Tenia poco carton, aunque eso no me detuvo para lograr la meta, haria una caja en 2 partes. Lo primero fué marcar la base, en mi caso fueron 30 cm x 26 cm. Y luego a ese cuadro central se le suman lo que serà dos de las paredes laterales. En mi caso tendrà un alto de 16 cm.
I had little cardboard, although that did not stop me from achieving the goal, I would make a box in 2 parts. The first thing was to mark the base, in my case they were 30 cm x 26 cm. And then to that central square are added what will be two of the side walls. In my case it will be 16 cm high.
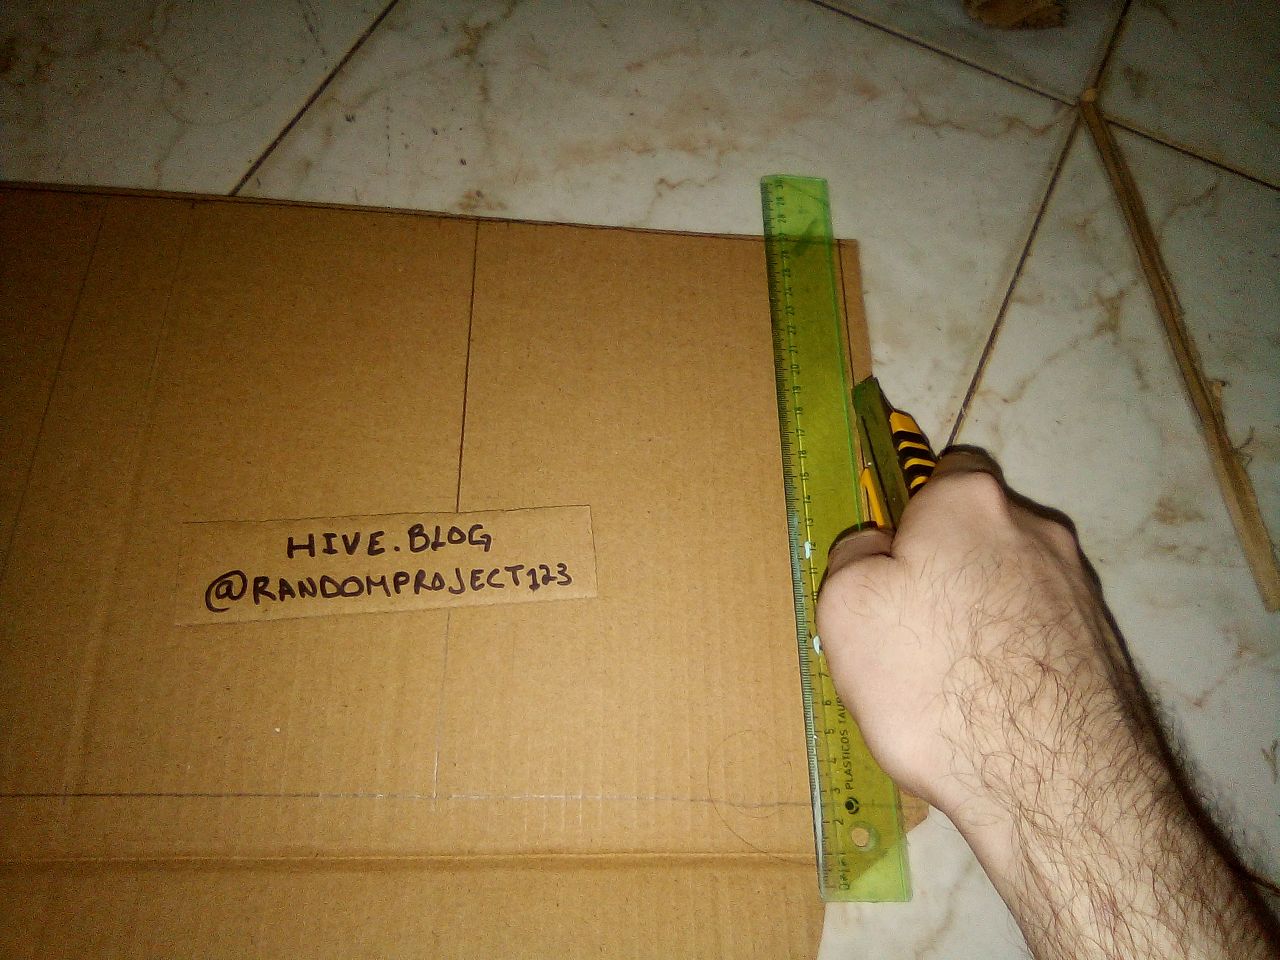
Luego hice los cortes utilizando una cuchilla y una regla, si tu no tienes una cuchilla o no està tan afilada como la mia, tamjien puedes utilizar una tijera, aunque es importante no maltratar los bordes al momento de cortar.
Then I made the cuts using a blade and a ruler, if you do not have a blade or it is not as sharp as mine, you can also use scissors, although it is important not to mistreat the edges when cutting.
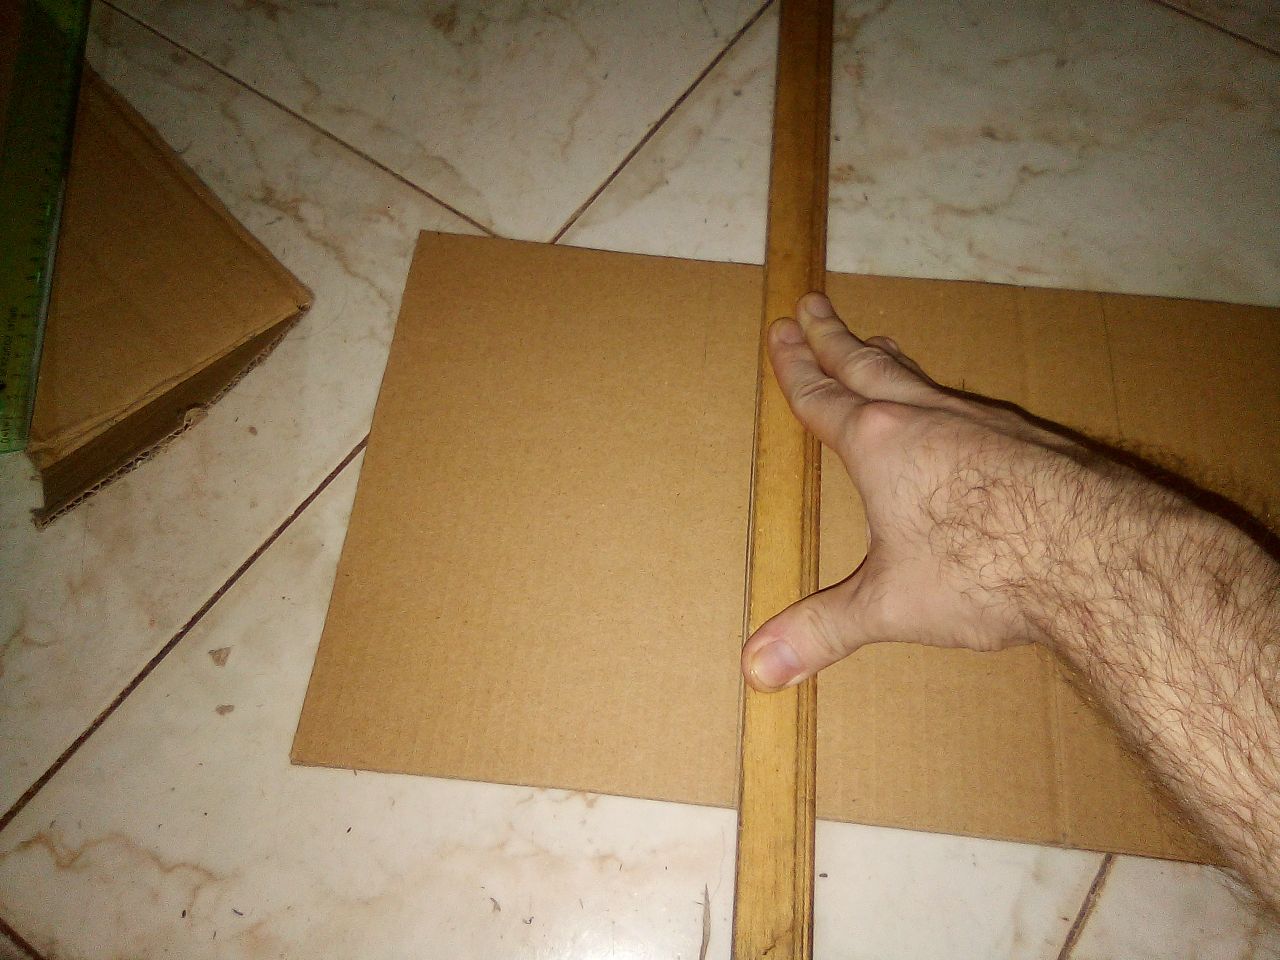
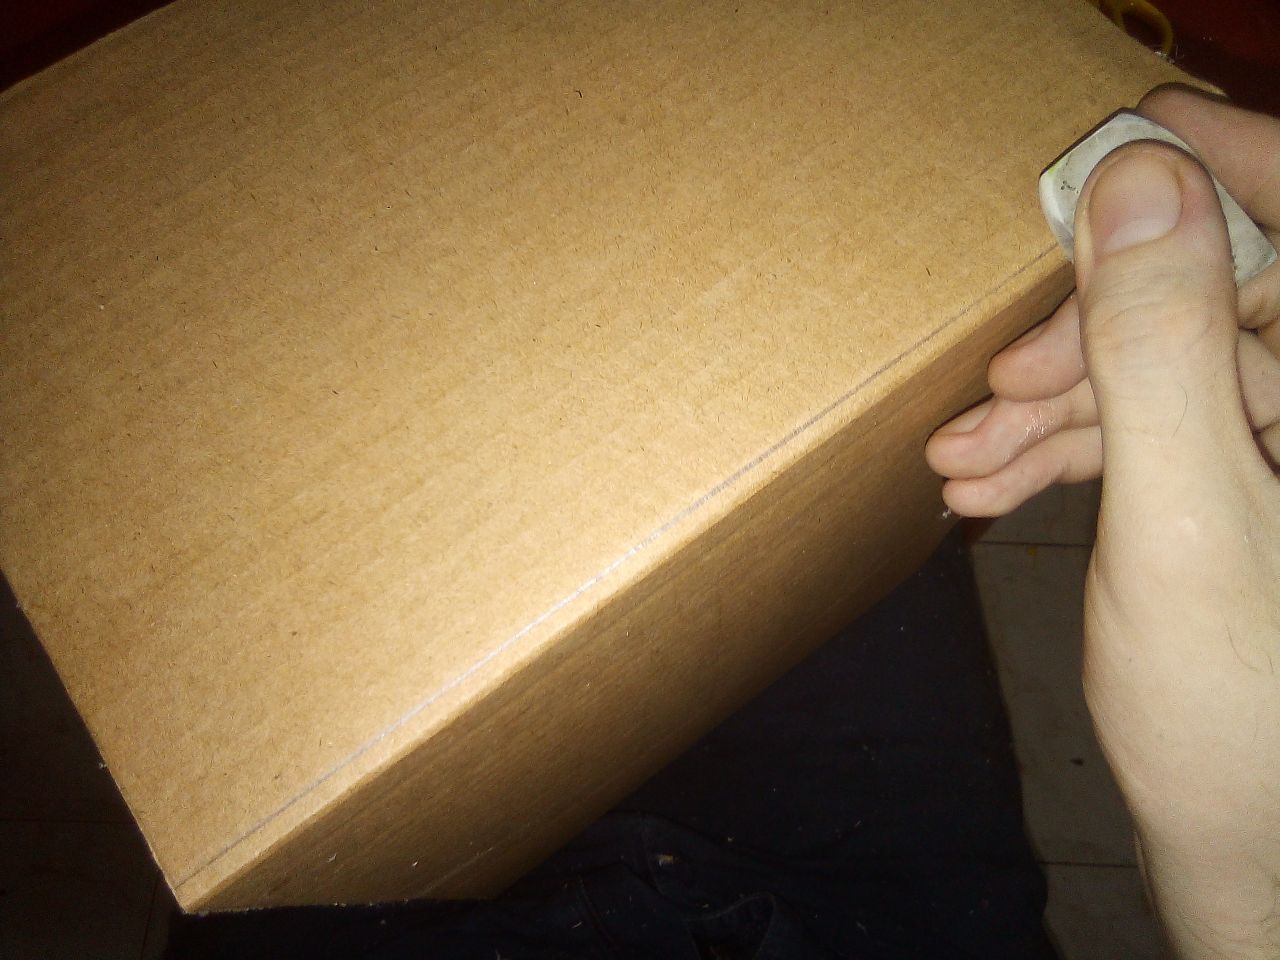
Con una regla mas grande o con un trozo de madera como es mi caso, hice una pequeña endidura justo donde iba a doblar el carton. Me costó capturar ese momento, dimplemente hice presion y deslicé mi mano por debajo del carton para generar la parte doblada.
With a bigger ruler or with a piece of wood as is my case, I made a small crevice right where I was going to fold the cardboard. It was difficult for me to capture that moment, I simply pressed and slid my hand under the cardboard to generate the bent part.
Luego hice las paredes que me faltaban, fué mas de lo mismo, marcar, cortar y doblar, aunque para esta añadí 3 sobre salientes de 3 a 4 cm como ven en la imagen.
Then I made the walls that I was missing, it was more of the same, marking, cutting and folding, although for this I added 3 on projections of 3 to 4 cm as you can see in the image.
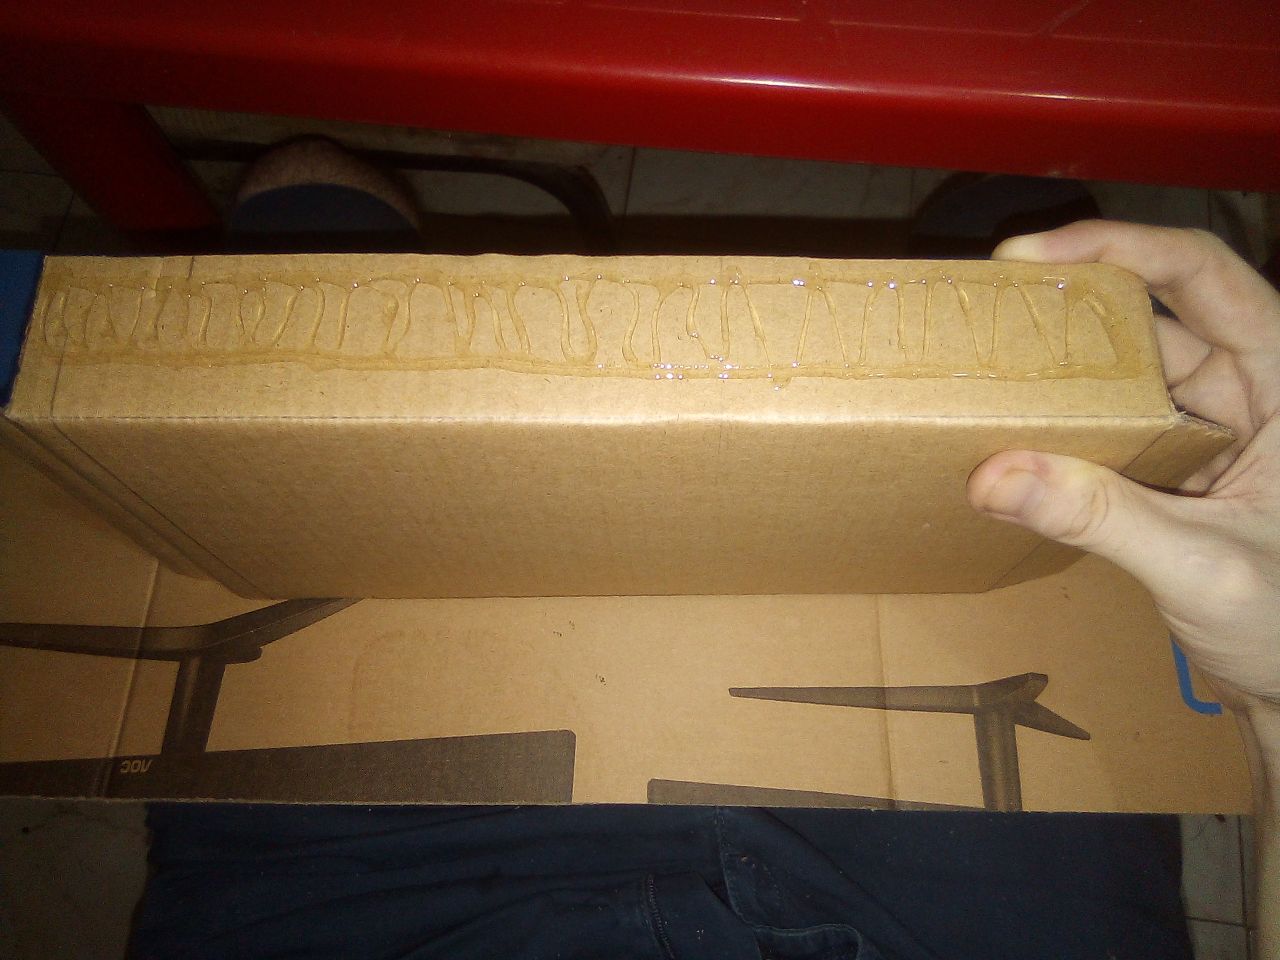
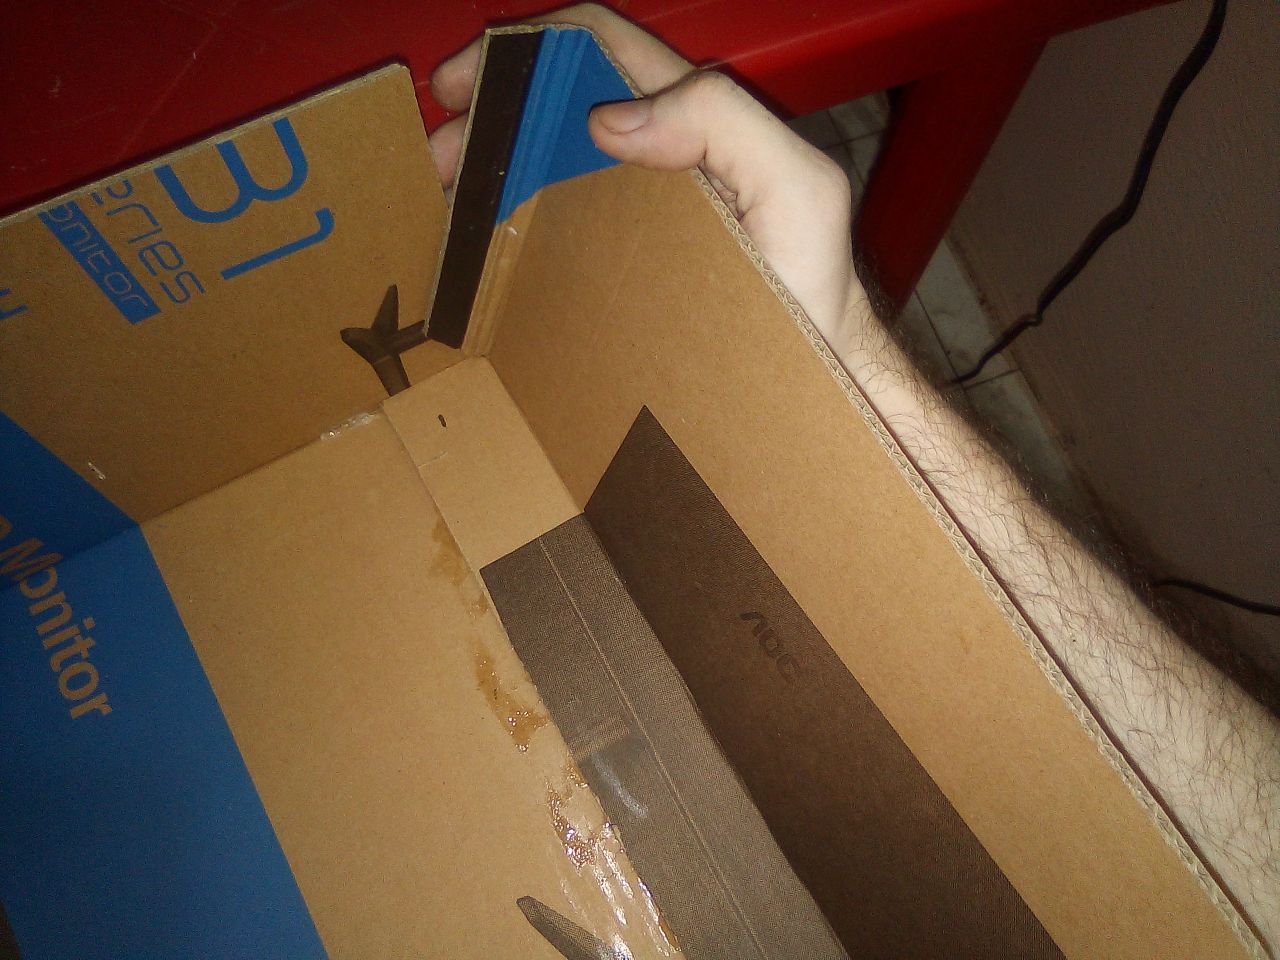
Luego procedí a pegar todas las partes como ven en la imagen, utilicé silicon liquido, tarda un poco en secar aunque ni tanto como esperaba. Tambien podrian añadir puntos de silicon caliente para sujetar todo en su sitio y que sea mas facil pegar todo.
Then I proceeded to glue all the parts as you see in the image, I used liquid silicone, it takes a while to dry although not as long as I expected. They could also add hot silicone dots to hold everything in place and make it easier to glue everything.
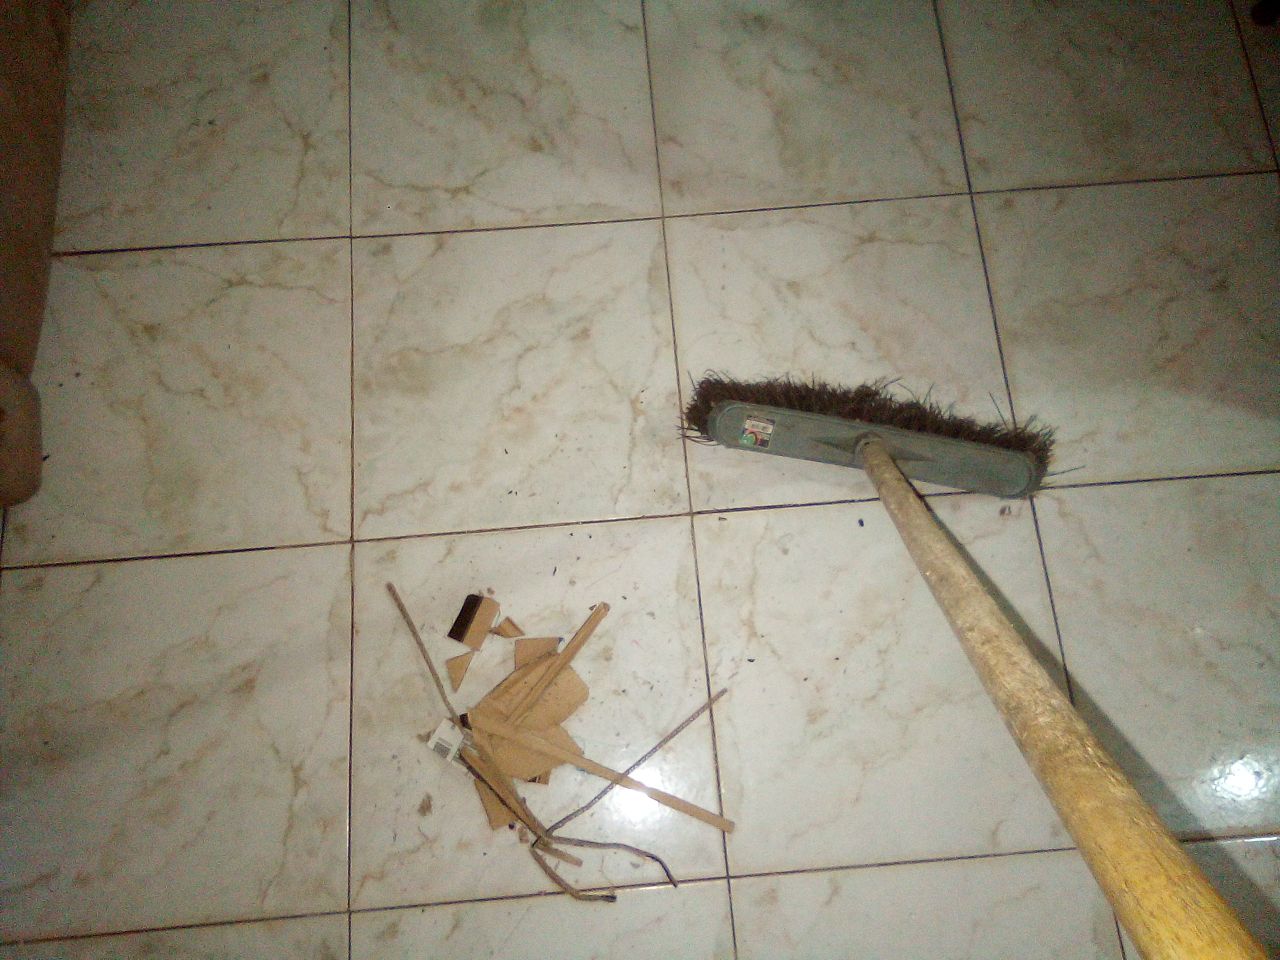
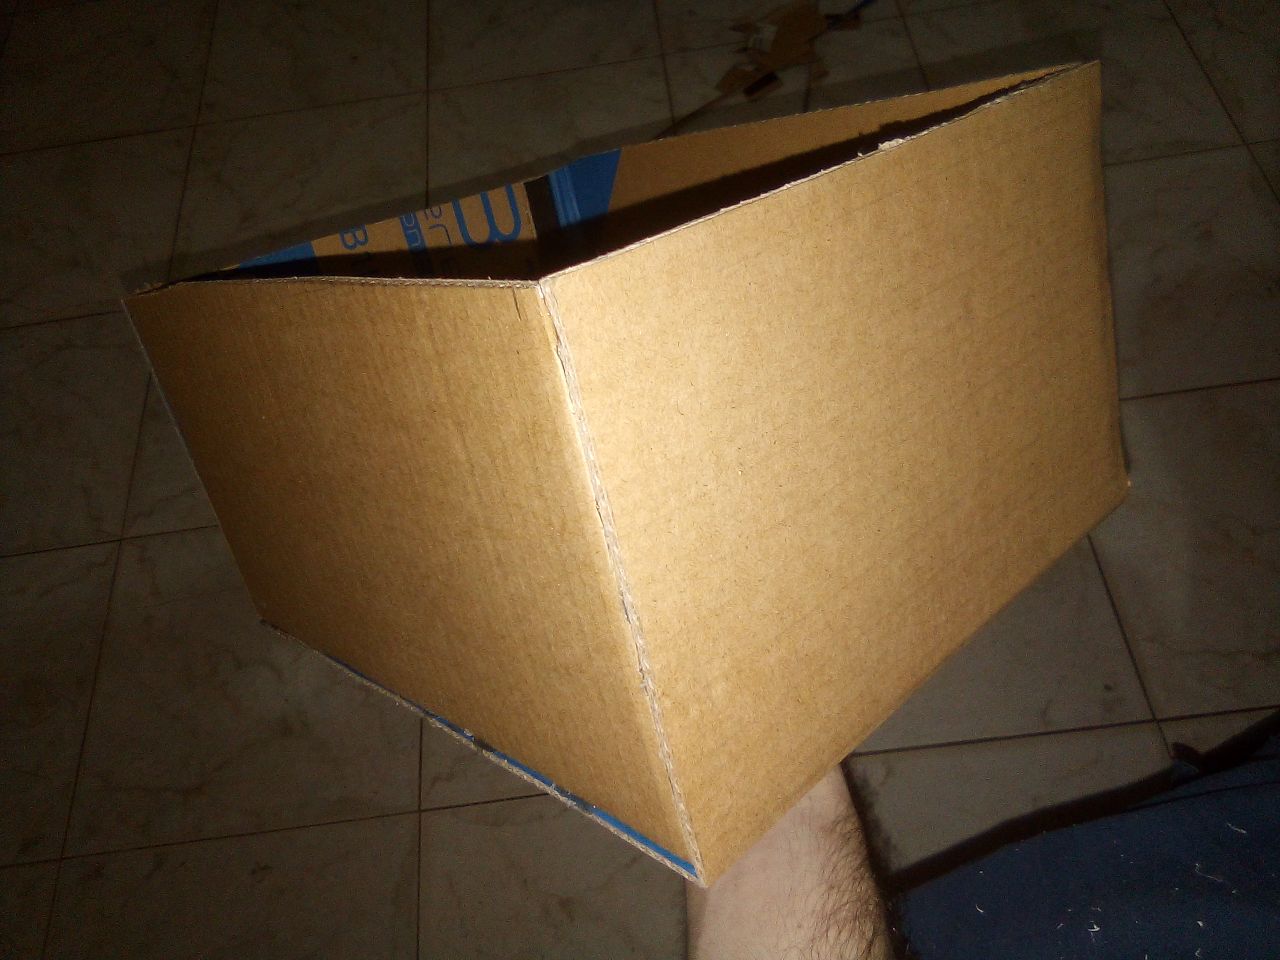
Luego es super importante hacer limpieza, recojer los restos del suelo, borrar las lineas que quedaron y limpiar todo para el siguiente paso. Esto creo que nadie lo muestra y me parexe importante el orden y la limpieza en cada trabajo. De esta manera ya la caja estaba lista, tambien le hice una pequeña tapa, no mostré el preceso porque fué mas de lo mismo.
Then it is super important to clean up, collect the remains of the floor, erase the lines that were left and clean everything for the next step. I think that nobody shows this and I find order and cleanliness important in each job. In this way the box was ready, I also made a small cover for it, I did not show the process because it was more of the same.
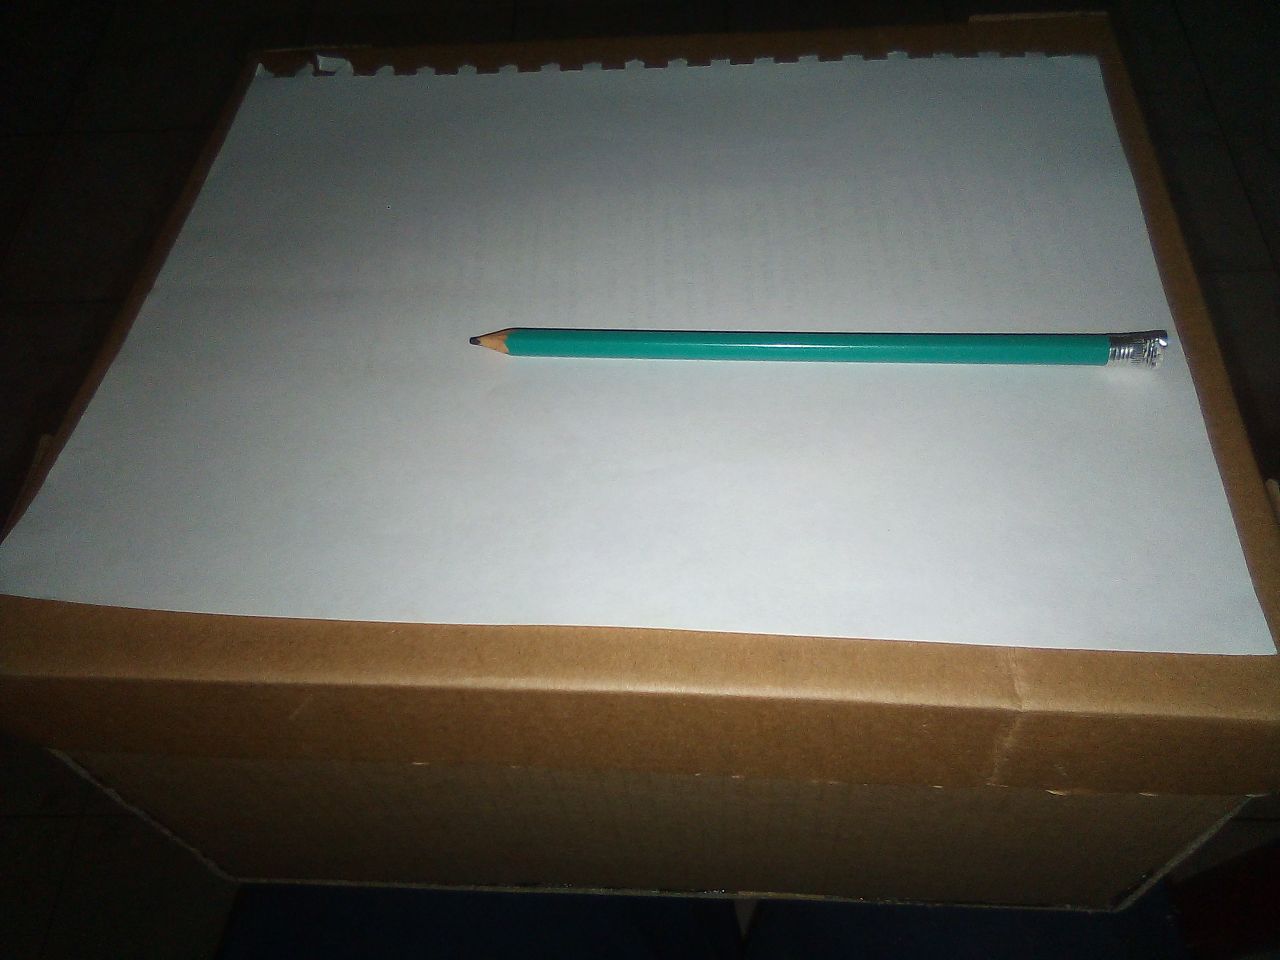
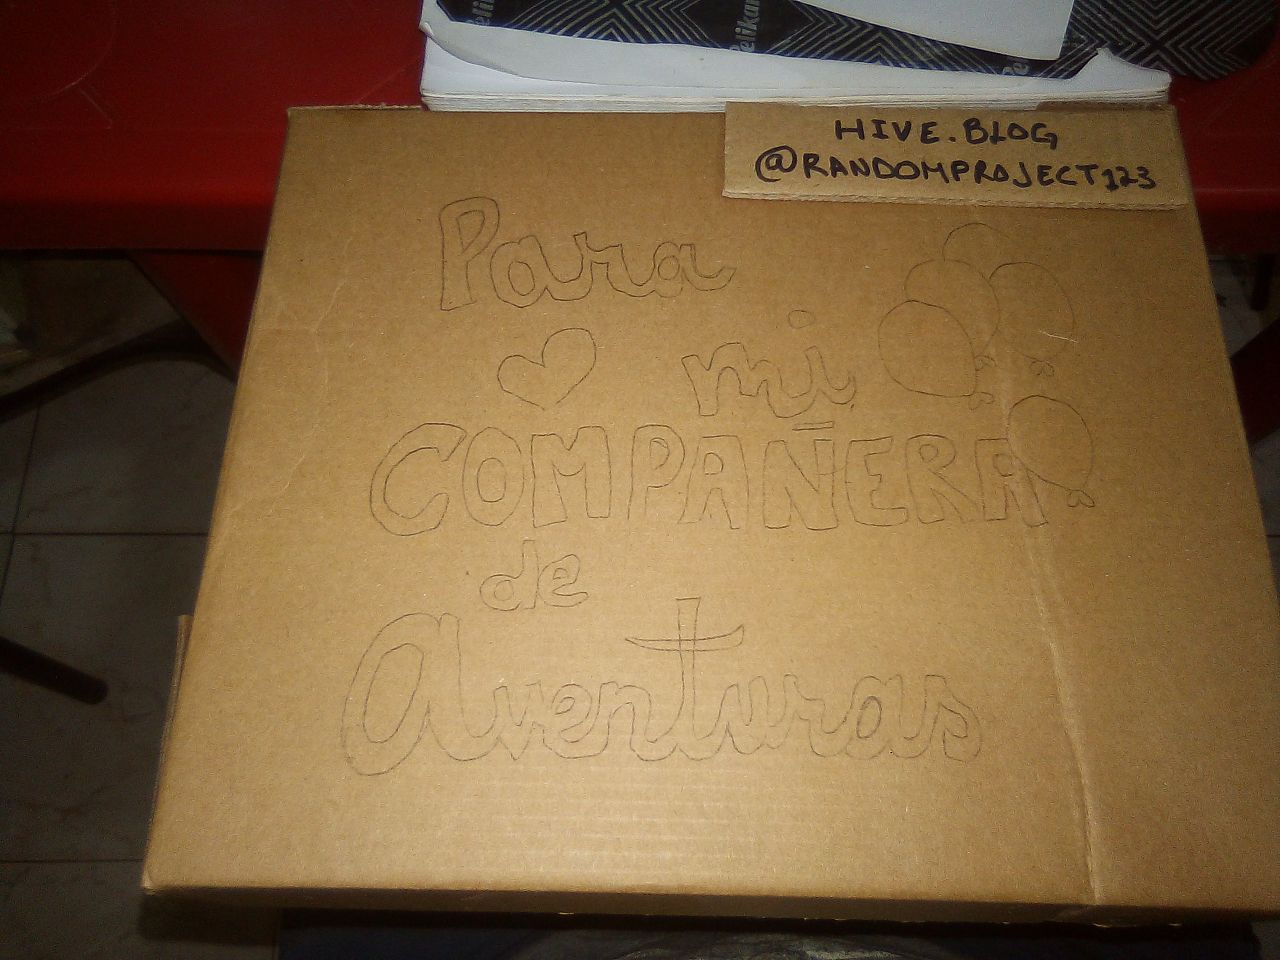
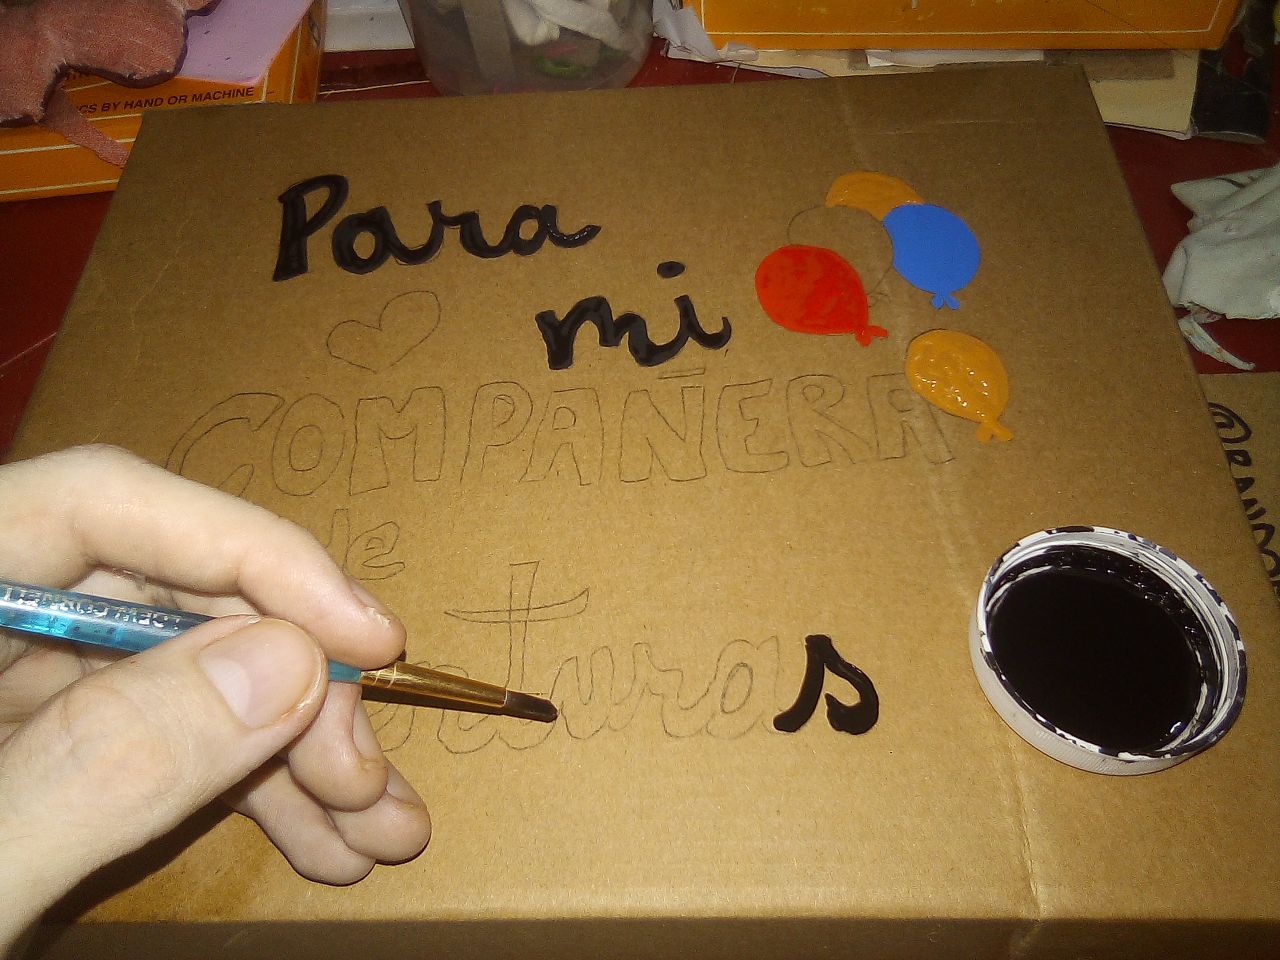
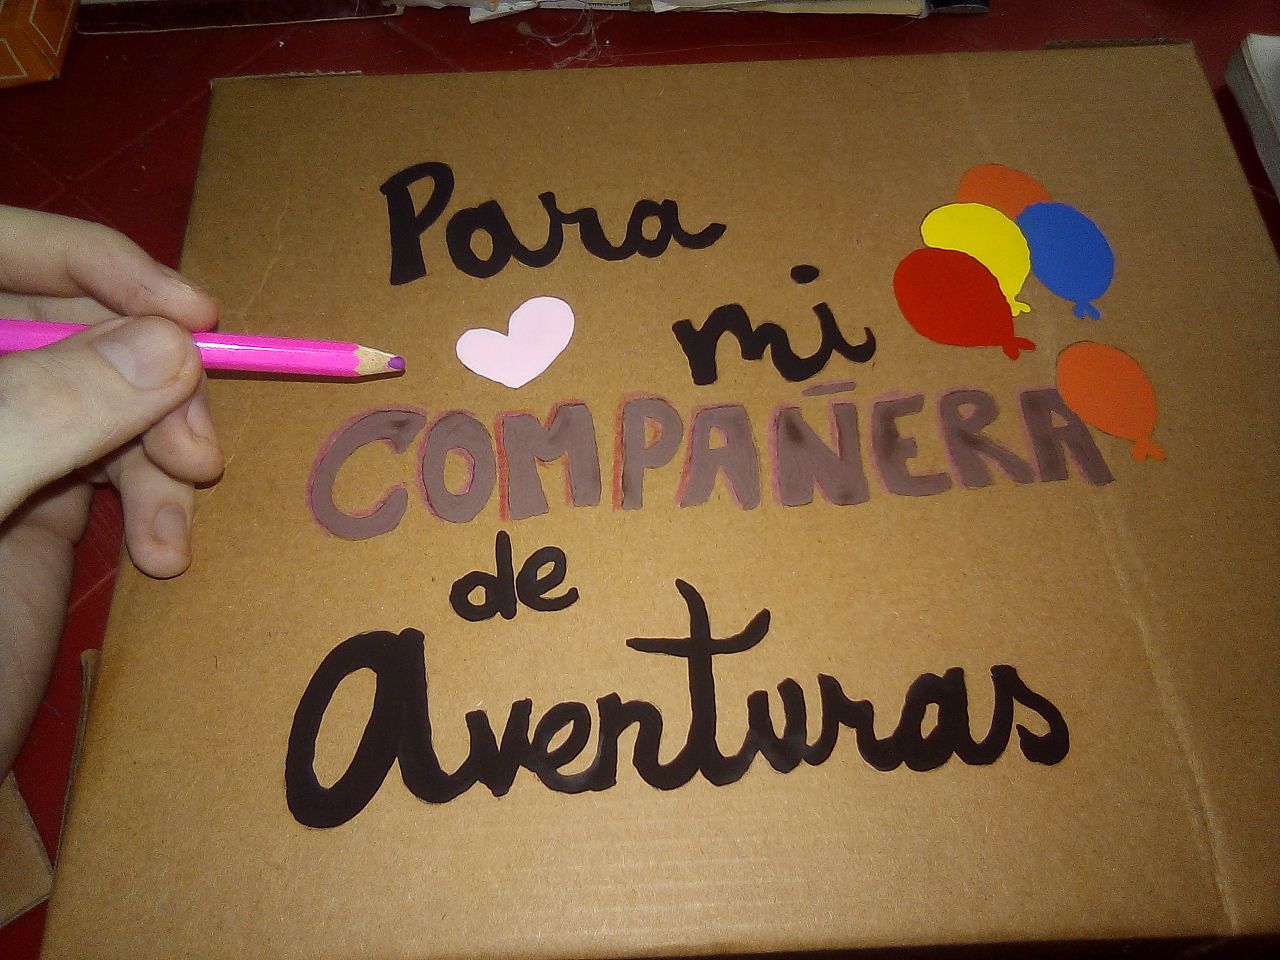
Lo siguiente fué diseñar lo que se iba a dibujar, lo mejor es utilizar una hoja y luego transferir todo a la caja por medio de papel carbon. En mi caso yo escribí "Para mi compañera de aventuras". Ya que en todos mi proyectos la nombro de esa manera se ha vuelto nuestra manera de referirnos el uno al otro.
The next thing was to design what was going to be drawn, it is best to use a sheet and then transfer everything to the box using carbon paper. In my case I wrote "For my companion of adventures". Since in all my projects I name it that way, it has become our way of referring to each other.
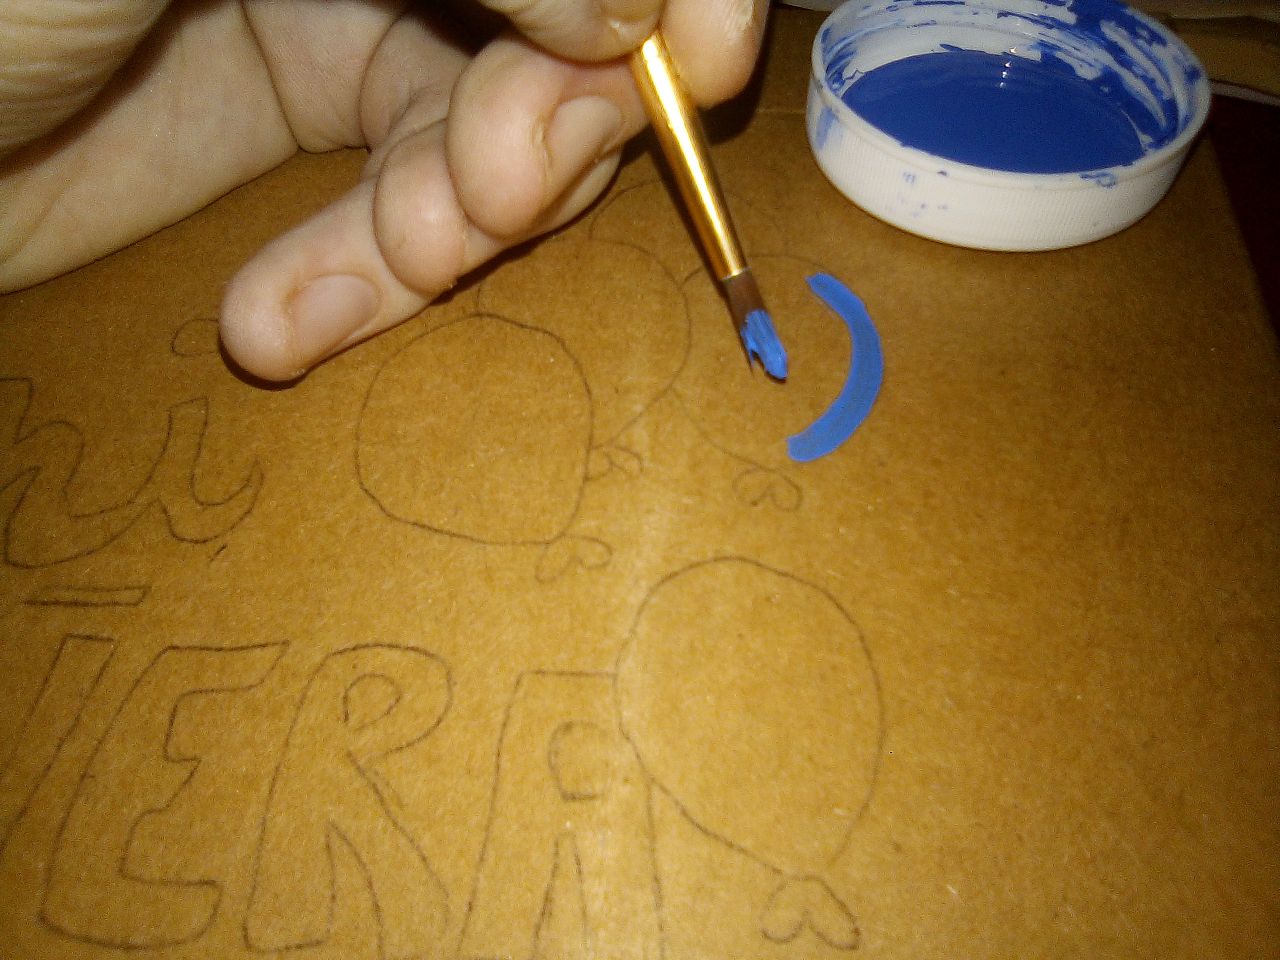

Luego viene la parte divertida, comenzar a pintar para mi es lo mas relajante que puede haber. Simplemente fuí colocando color por color, lavando el pincel y repitiendo el proceso con cada color que planeaba utilizar.
Then comes the fun part, starting to paint for me is the most relaxing thing there can be. I just went color by color, washing the brush, and repeating the process for each color I planned to use.
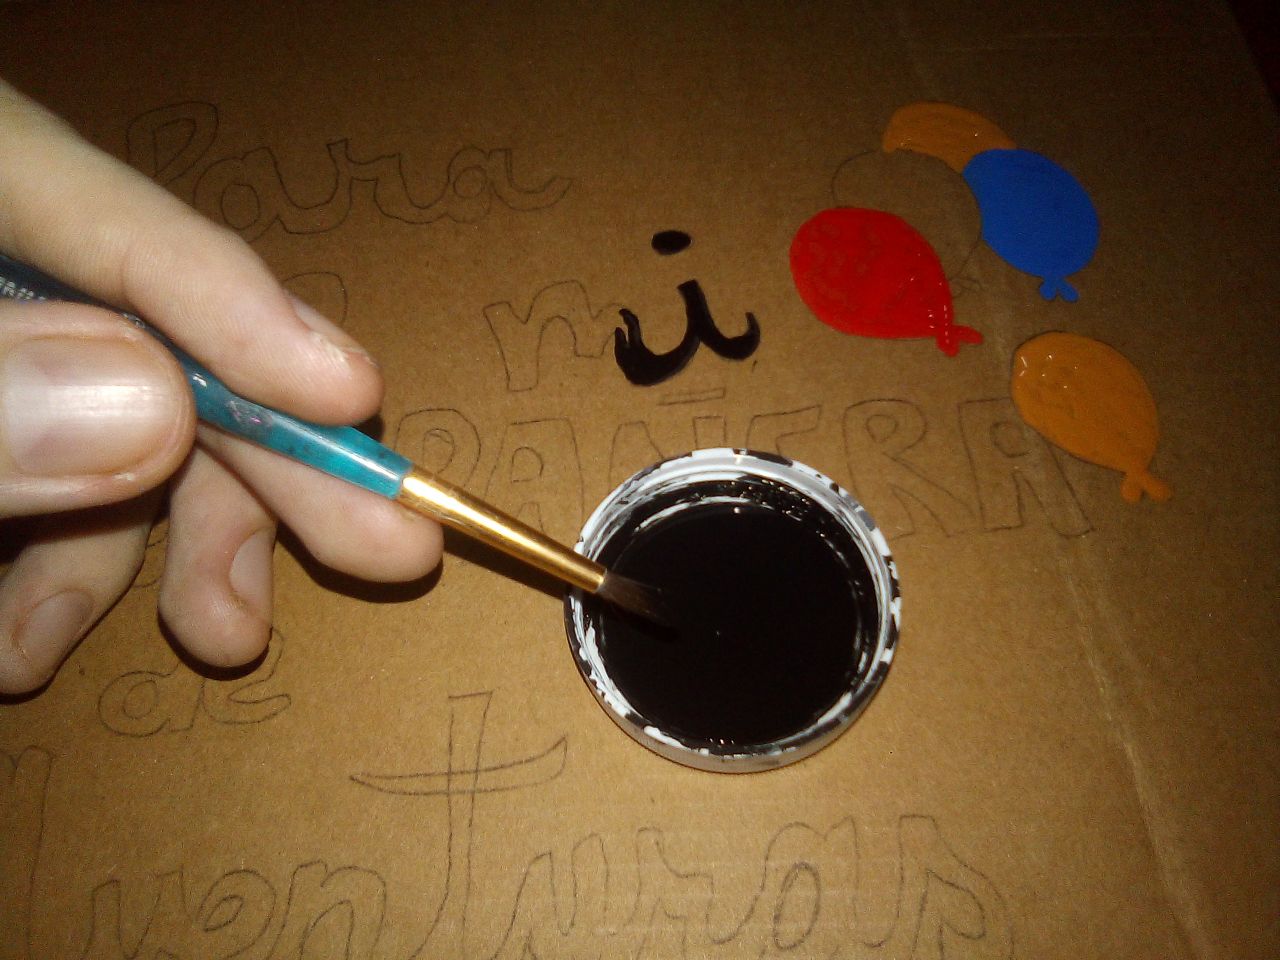
Algo muy importante que noté y que me parece de utilidad para todos, es ir pintando de arriba a abajo y de derecha a izquierda (en mi caso que soy zurdo), ya que esto hace que nuestro brazo ni dañe la parte ya pintada por error, esto es carton asi que no hay dos oportunidades.
Something very important that I noticed and that seems useful to everyone, is to paint from top to bottom and from right to left (in my case, I am left-handed), since this makes our arm not even damage the part already painted by mistake This is cardboard so there are no two chances.
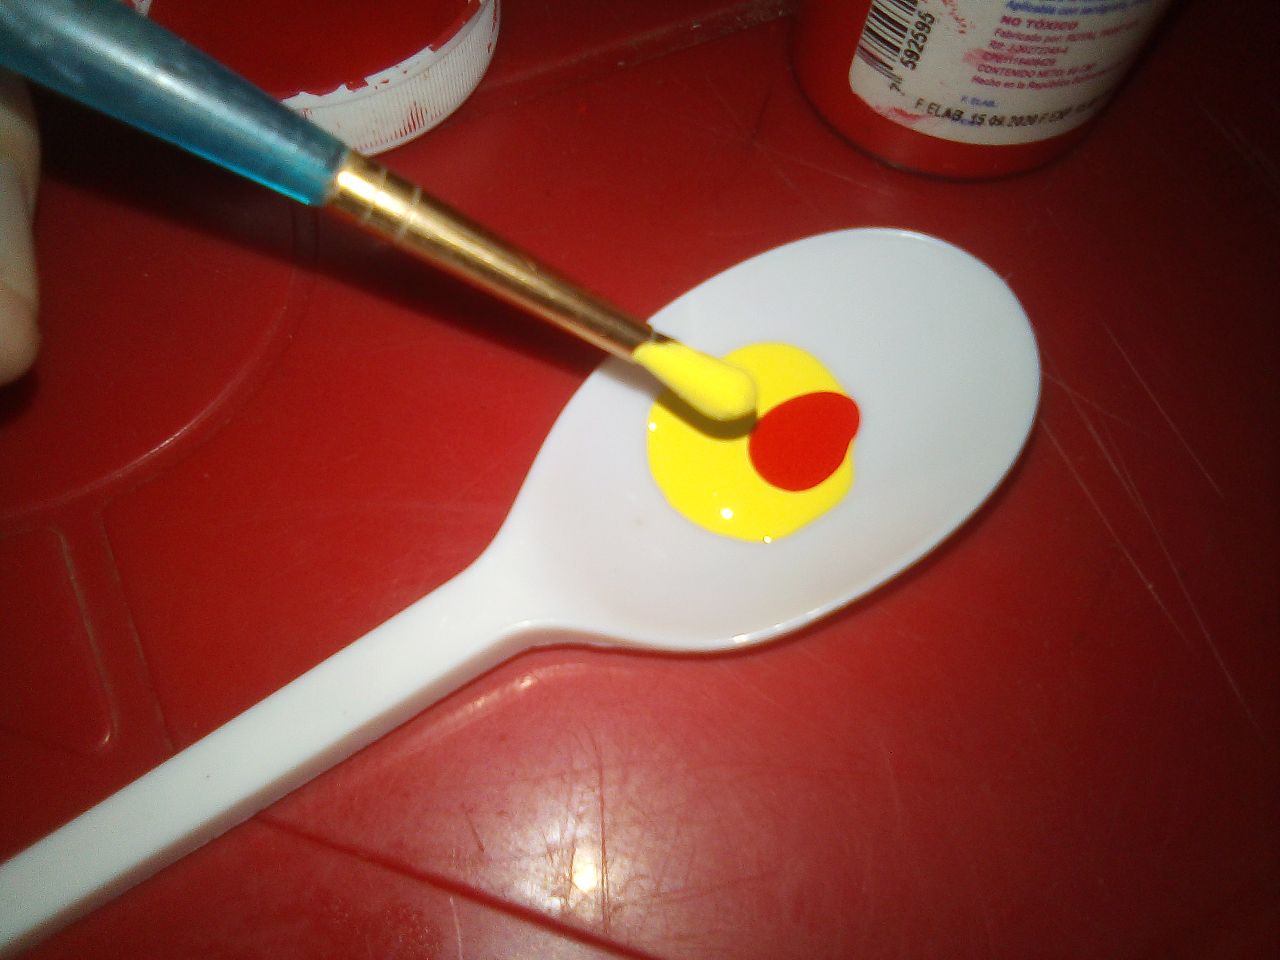
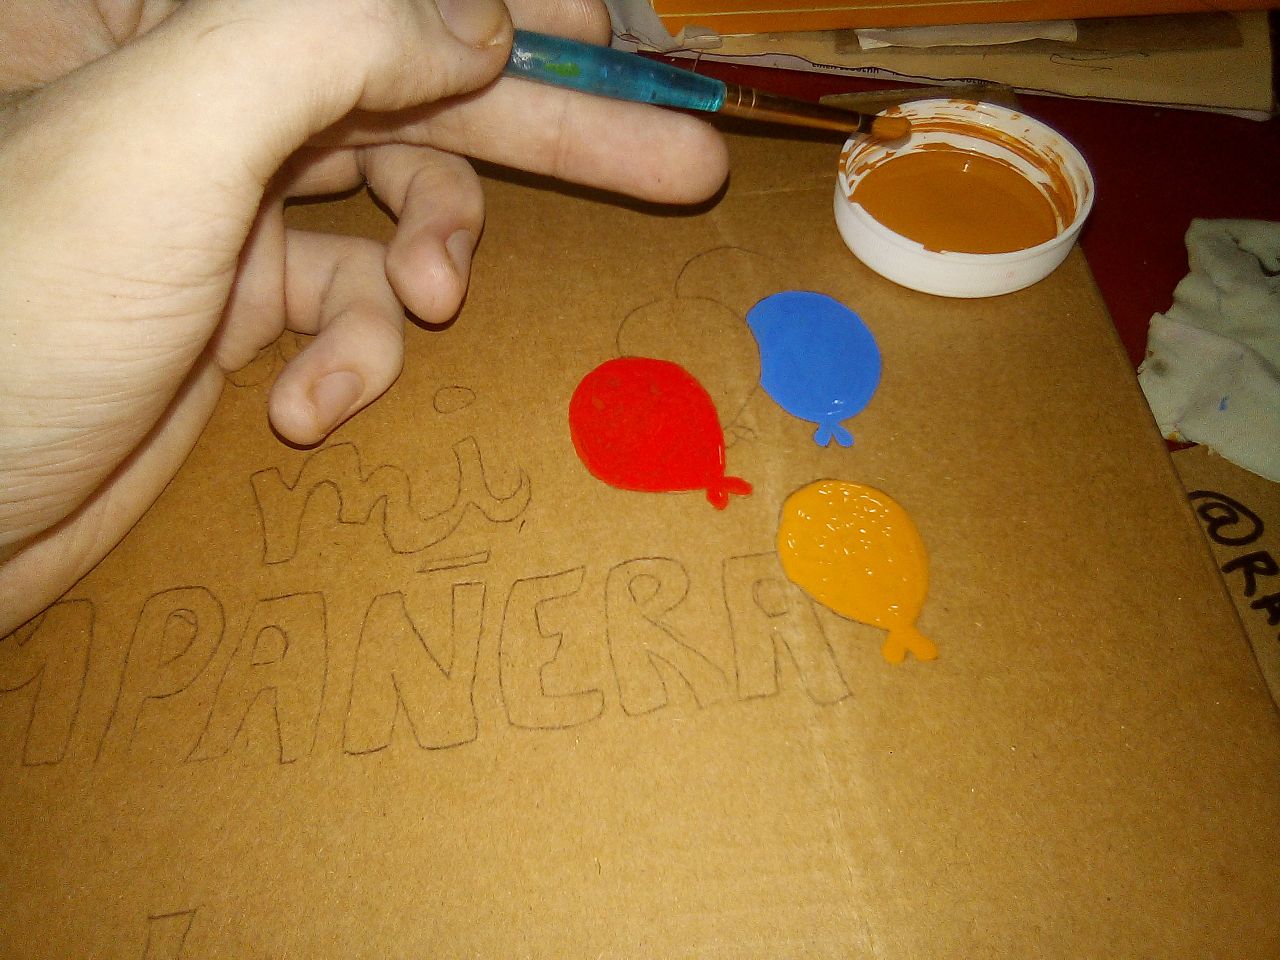
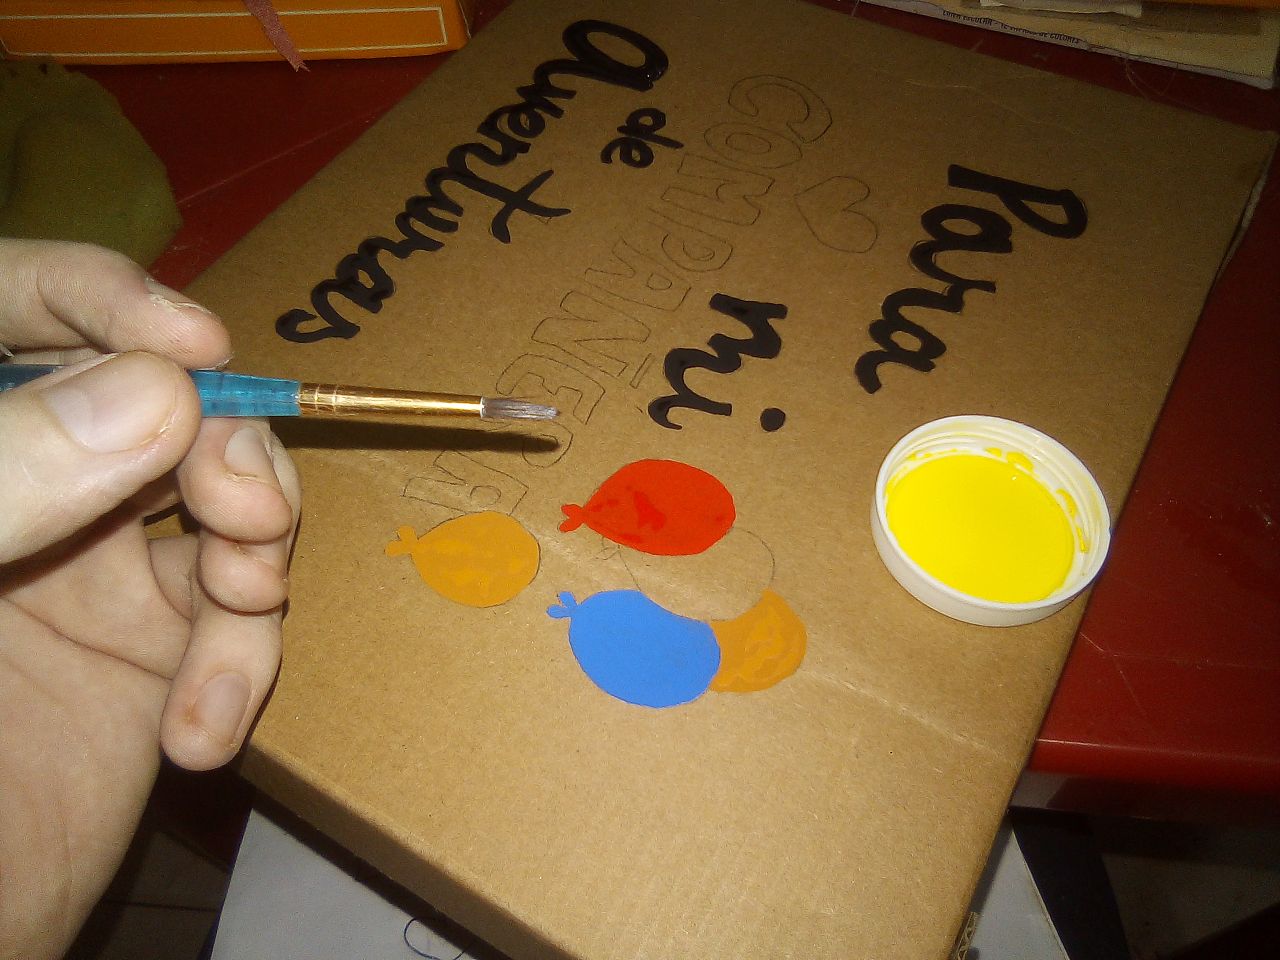
Una de las cosas que no me gustó, fue que ese color naranja de los globos parecia ser un color canela, entonces me dispuse a hacer uno, como ven se logra añadiendo una gota de rojo al amarillo, no es el mejor naranja del mundo, aunque sin duda seria mejor que el otro. Suponco que la pintura estaba dañada o algo..
One of the things that I did not like was that the orange color of the balloons seemed to be a cinnamon color, so I started to make one, as you can see, it is achieved by adding a drop of red to the yellow, it is not the best orange in the world, although without a doubt it would be better than the other. I guess the paint was damaged or something..
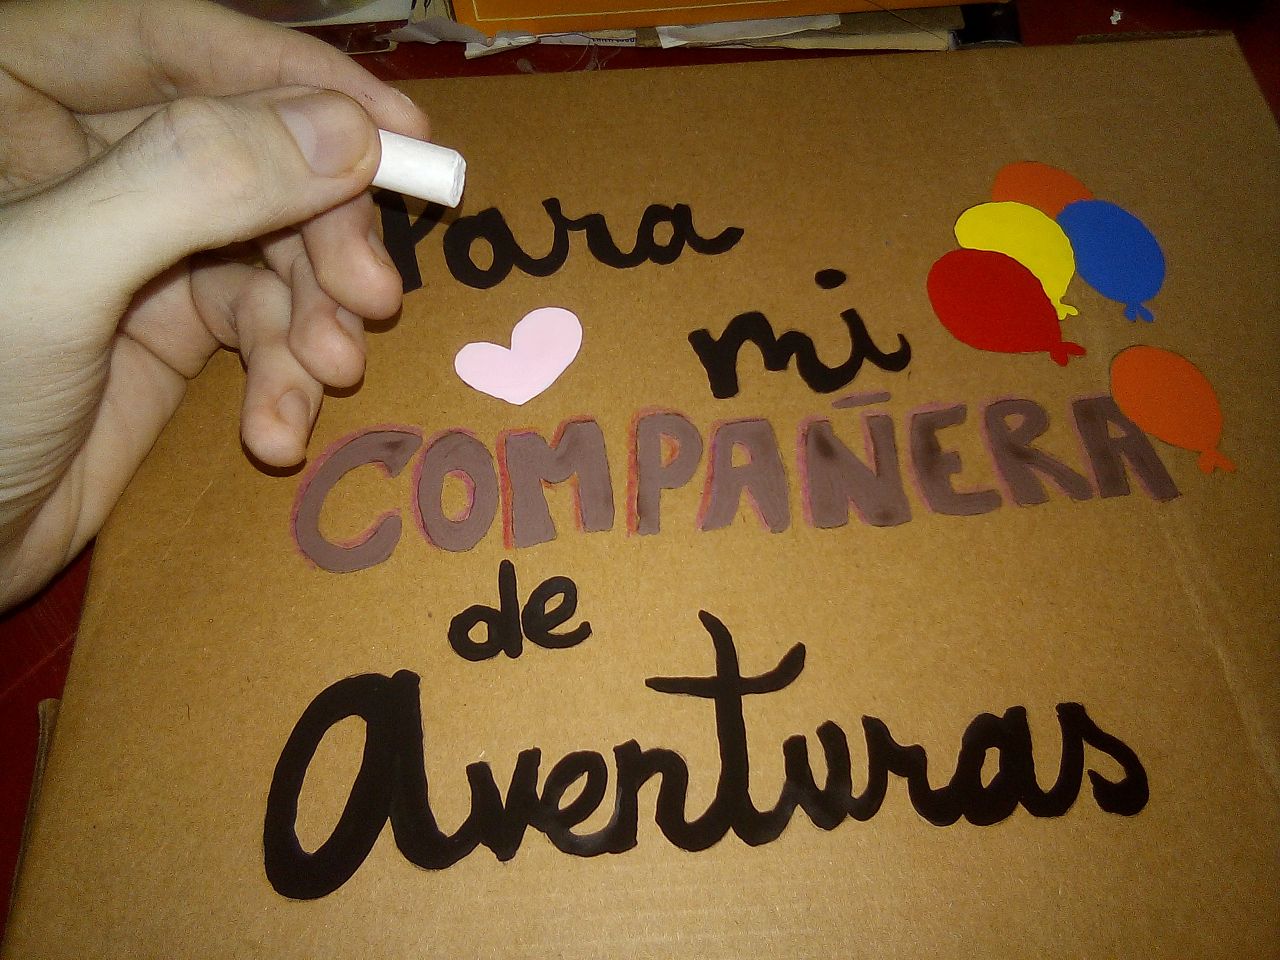
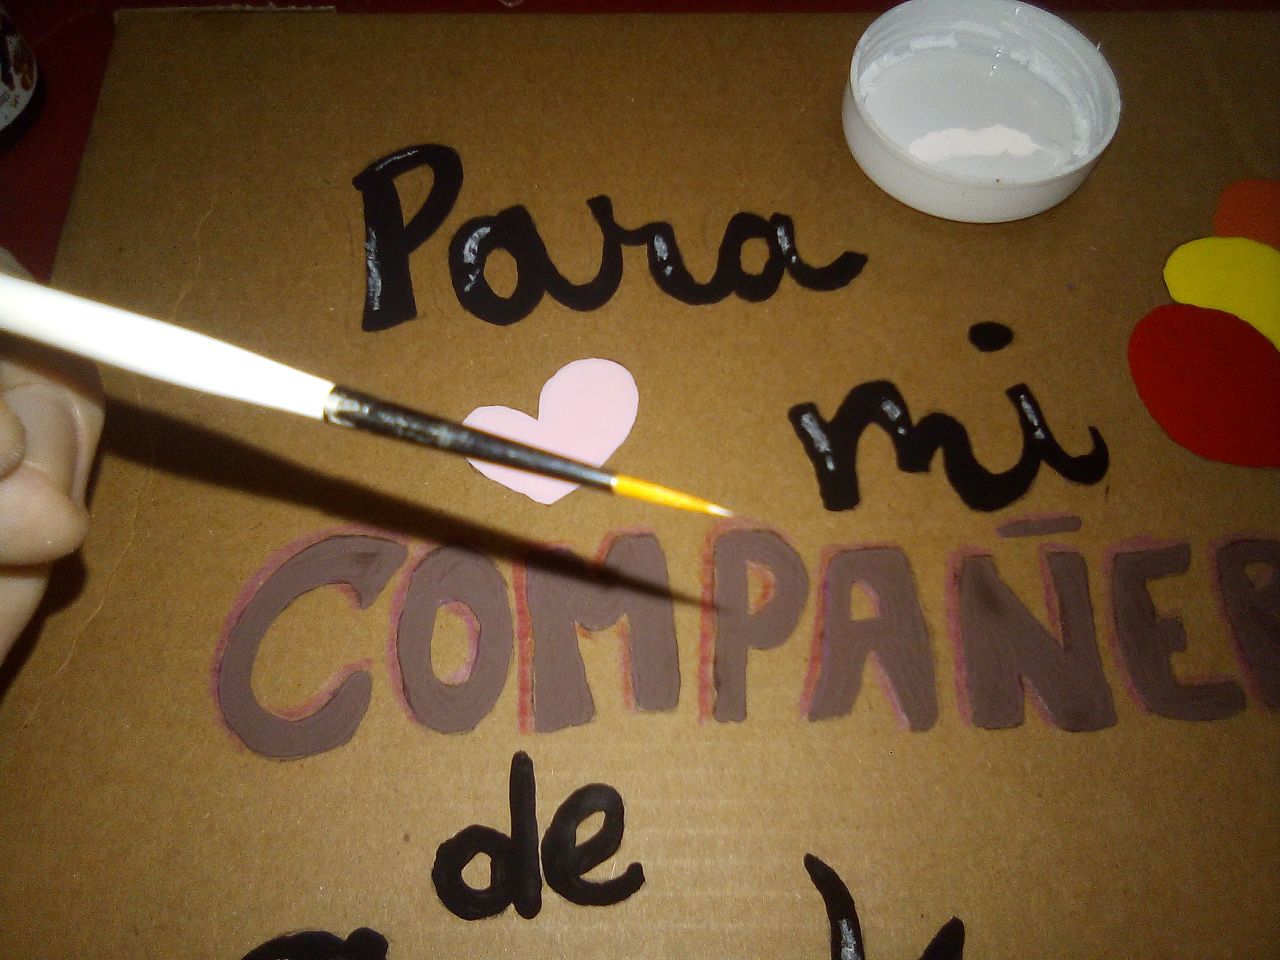
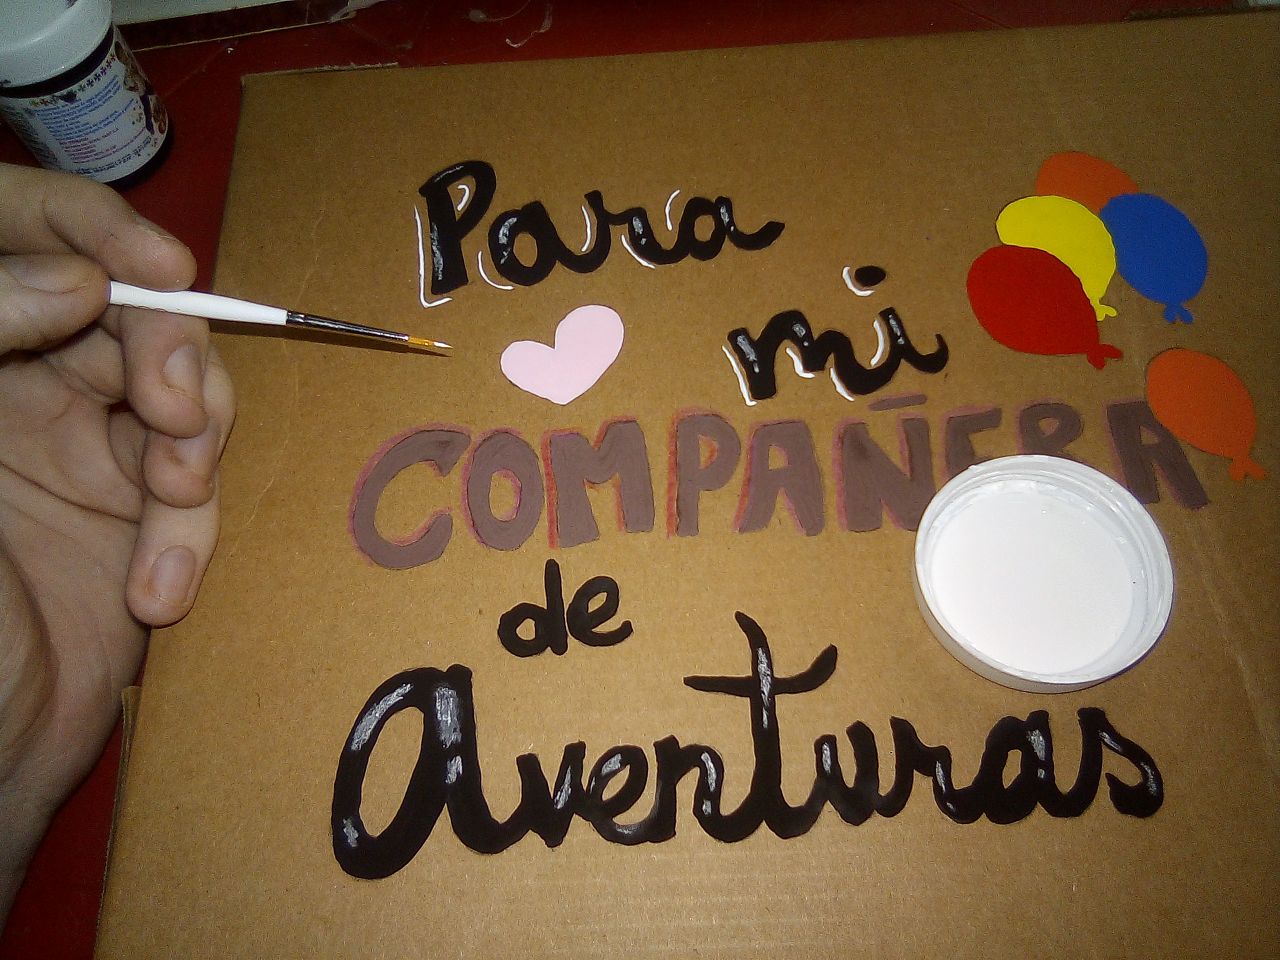
Como vieron en la imagen anterior, ya habia empezado a hacer detalles con un color rosa en las letras marrones, lo siguiente fué añadir detalles con tiza para darle brillo a las letras por dentro y utilizar un pincel muy fino para realzar por fuera las letras.
As you saw in the previous image, I had already started to make details with a pink color in the brown letters, the next thing was to add details with chalk to give the letters shine on the inside and use a very fine brush to enhance the letters on the outside.
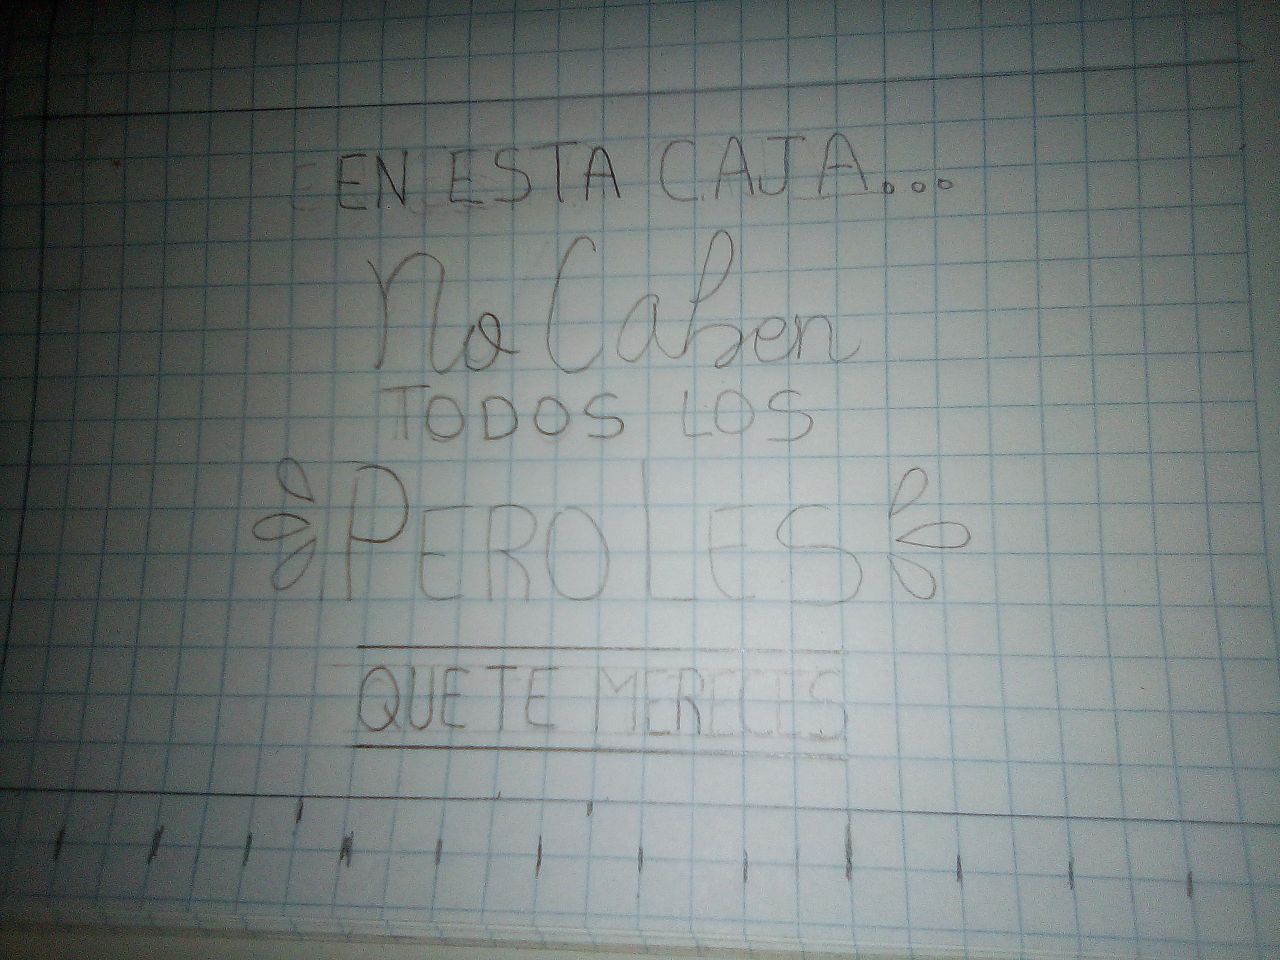

De la misma manera hice algo para la pared del frente, aunque para esta parte no fué a mano alzada, utilicé una hoja cuadriculads para delimitar un espacio, ya que si me pasaba la tapa podria tapar el diseño, el procedimiento fué el mismo que el anterior y aunque tenia menos colores, fué lo que mas tardó debido al tamaño.
In the same way I did something for the front wall, although for this part it was not freehand, I used a squared sheet to delimit a space, since if I passed the cover I could cover the design, the procedure was the same as the one Previous and although it had fewer colors, it was the longest due to the size.
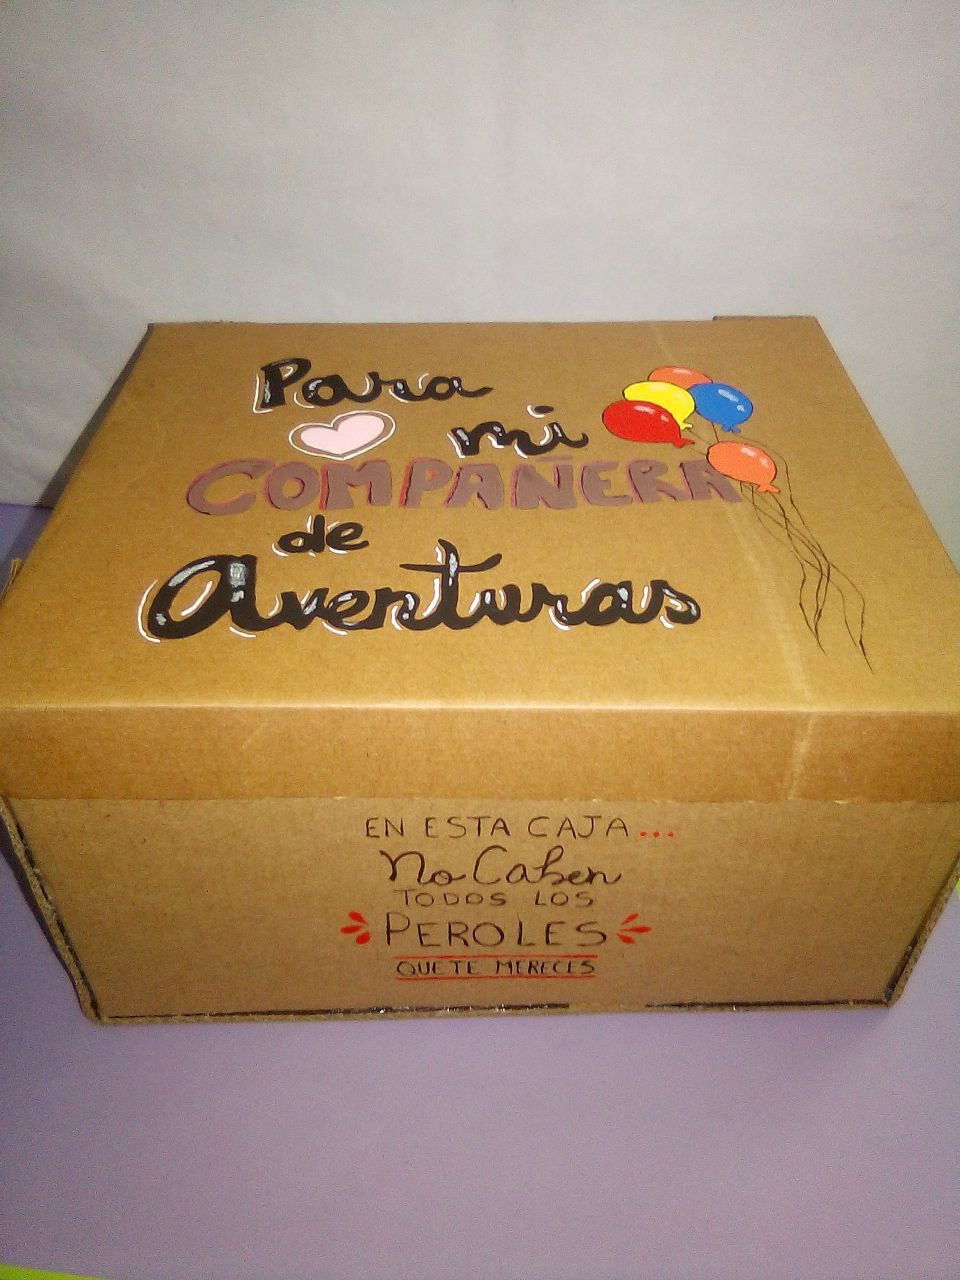
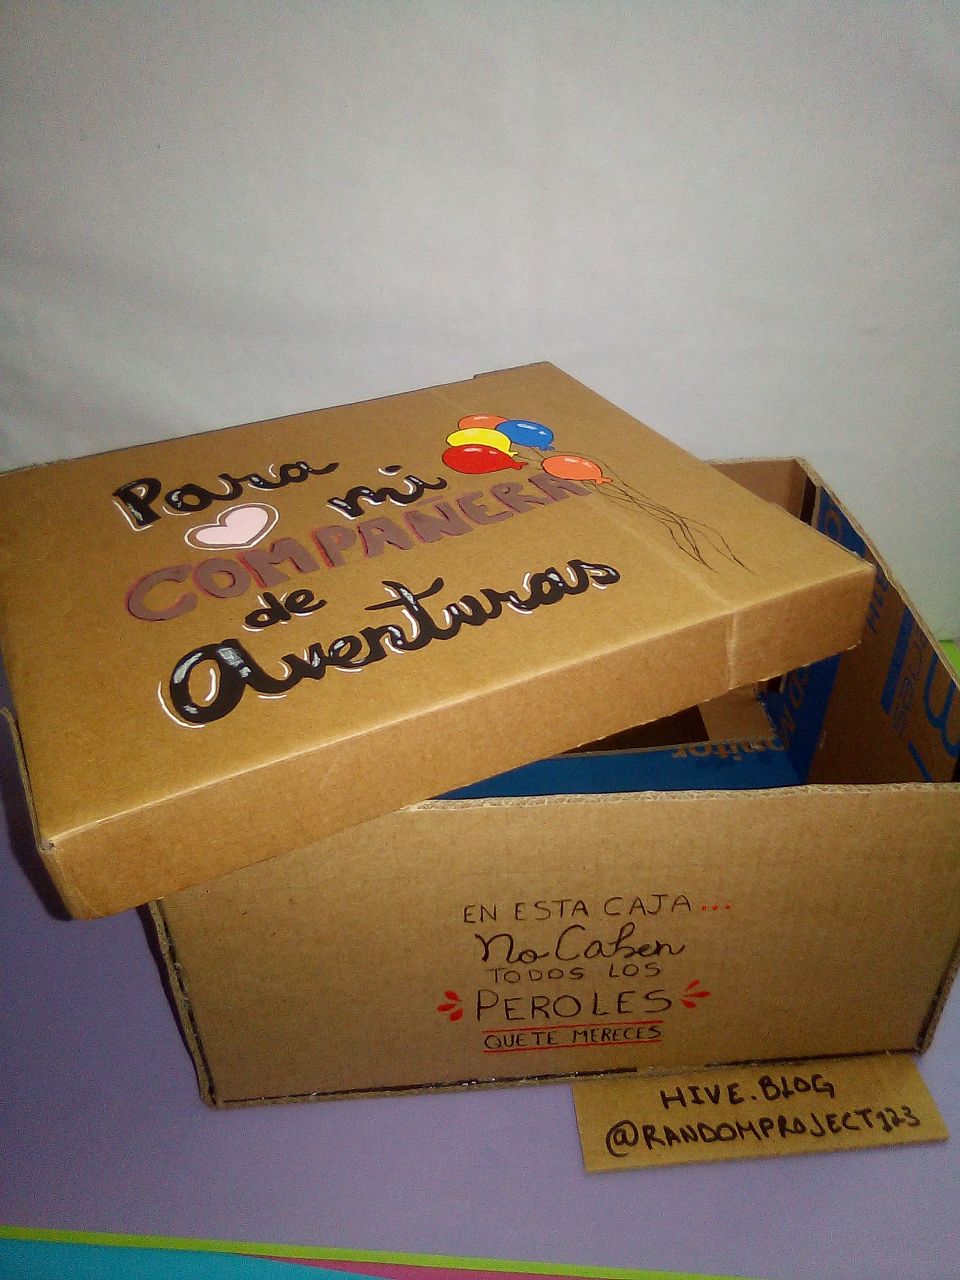
De esta manera ya tenemos una caja de carton decorada, si por error mi compañera de aventuras llega a ver esto, solamente verà la caja, es por ello que no me todo el riesgo de mostrar los regalos o de mostrar como y con que forré el interior. Espero esto pueda ser de utilidad para alguna persona, ya que si bien las cajas forradas sin mas llamativas, es dificil transportarlas en un viaje largo sin dañarlas.
In this way we already have a decorated cardboard box, if by mistake my adventure companion gets to see this, she will only see the box, that is why I do not take all the risk of showing the gifts or showing how and with what I lined the inside. I hope this can be of use to someone, since although the lined boxes are not flashy, it is difficult to transport them on a long trip without damaging them.